
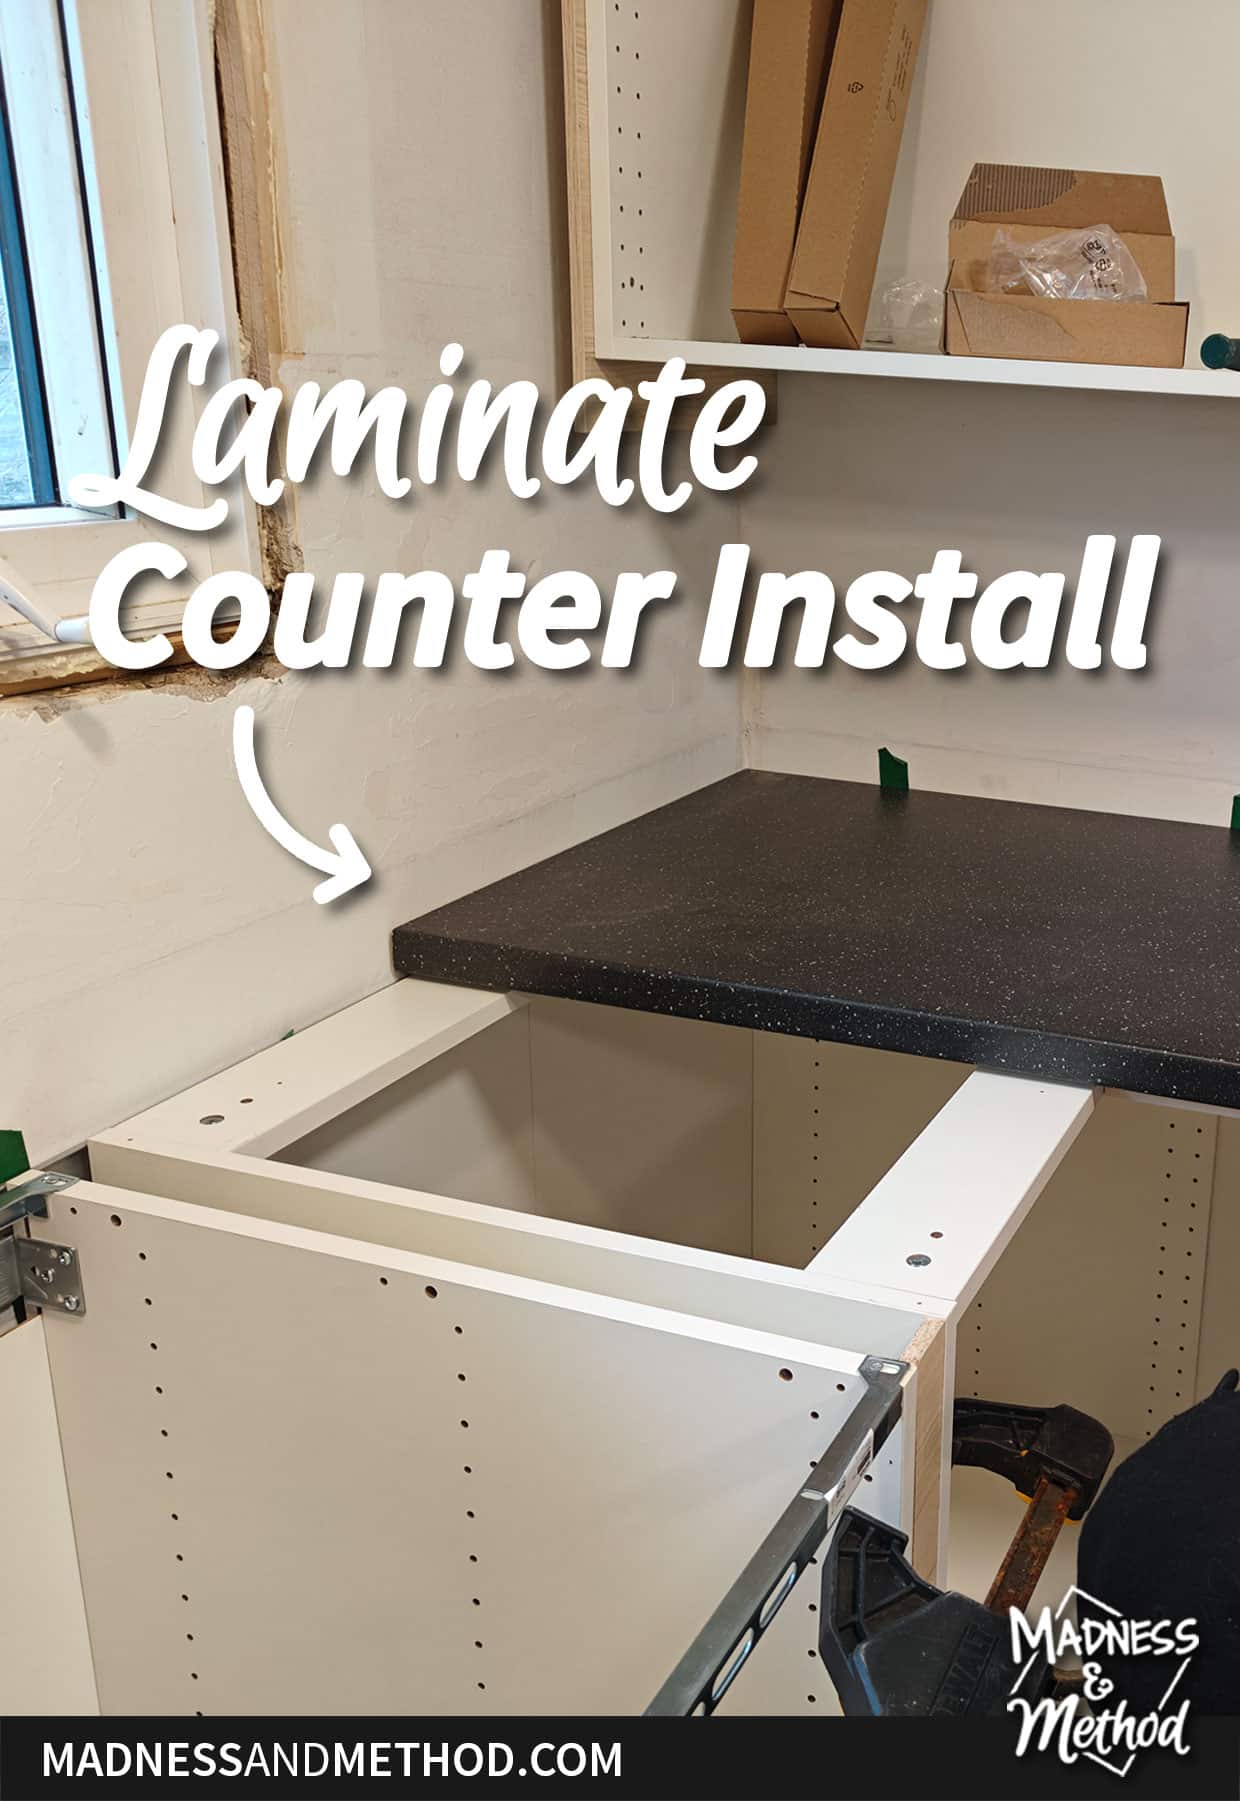
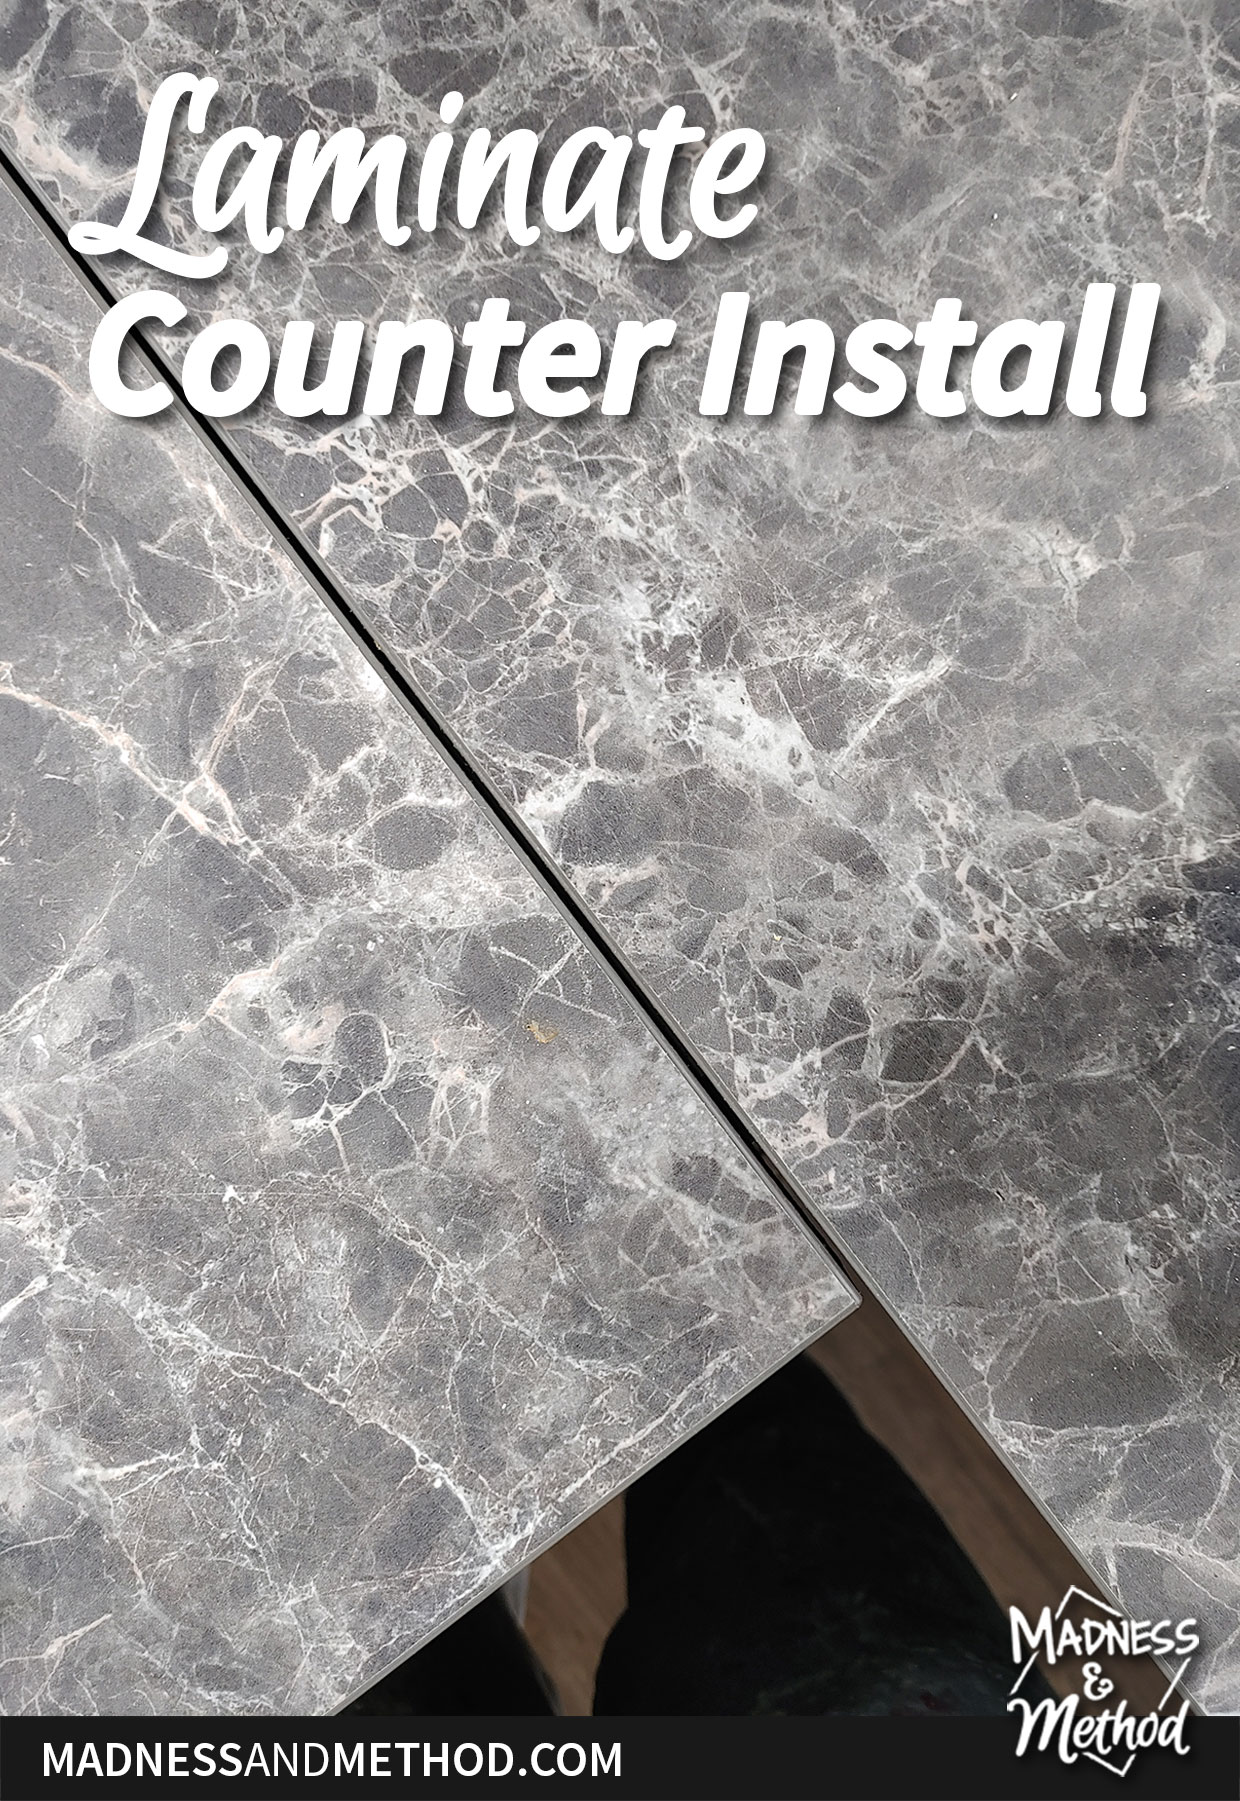
We’re trucking along with our kitchen renovation and have (almost) installed all the counters! Spoiler, there was one piece that we miscut and now we need to wait for another one to come in, but other than that, it’s looking good. Since I’m sharing this project as we go, and I don’t have a lot else to show, this week is all about the laminate counter install!
– Note: This post contains affiliate links. See more information about affiliates here. –
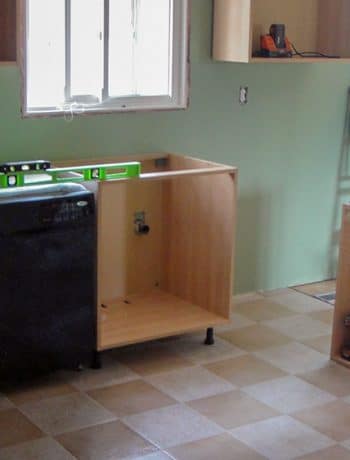
PS: We’re updating the kitchen at our rental renovation. Coinciding with the Spring 2024 One Room Challenge, I’ve shared the before photos, demolition and plans, priming/prepping, floor tiling, and the Ikea cabinet installation.
Up until this point, we had been a bit ahead of what I was posting on the blog. But now, we’re all caught up to real time – which is a little disconcerting. ie: I hope I can get what I need done by next week and complete this kitchen on time.
But let’s not worry about that and focus on the counters, shall we?
For our kitchen, I chose the Ikea Säljan counters in the black mineral effect. There is a rounded edge on the front that I did not know about – but it’s something I would reconsider in the future. Read on to find out why, ha.
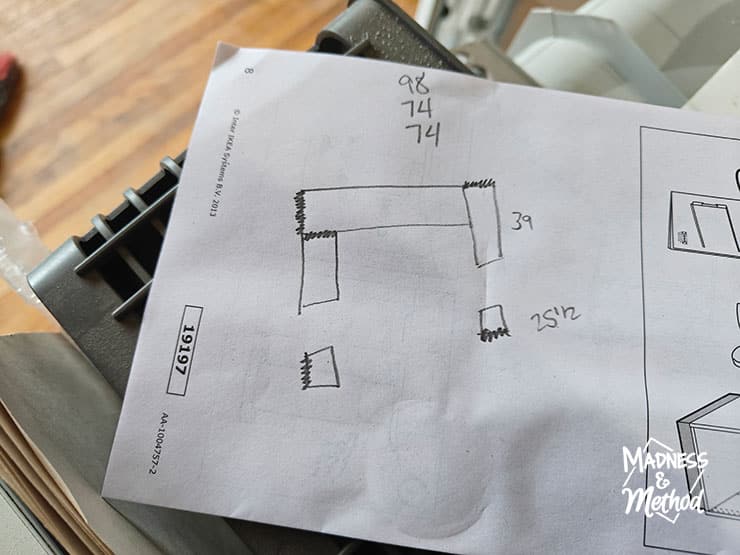
Ikea’s updated kitchen planner saves templates (ish) of what you’ll need to cut for your countertops. Obviously, it’s better to measure everything in place to account for variances. Either way, I still drew out our kitchen shape and marked which pieces of countertops would be going where. Our longest wall (111″) it was just a bit too big for the longest Ikea countertop length (98″), so I knew there would be a seam there.
Then, I marked out where the cut edges (my jagged lines) would be, and we got to work.
Cutting Laminate Counters
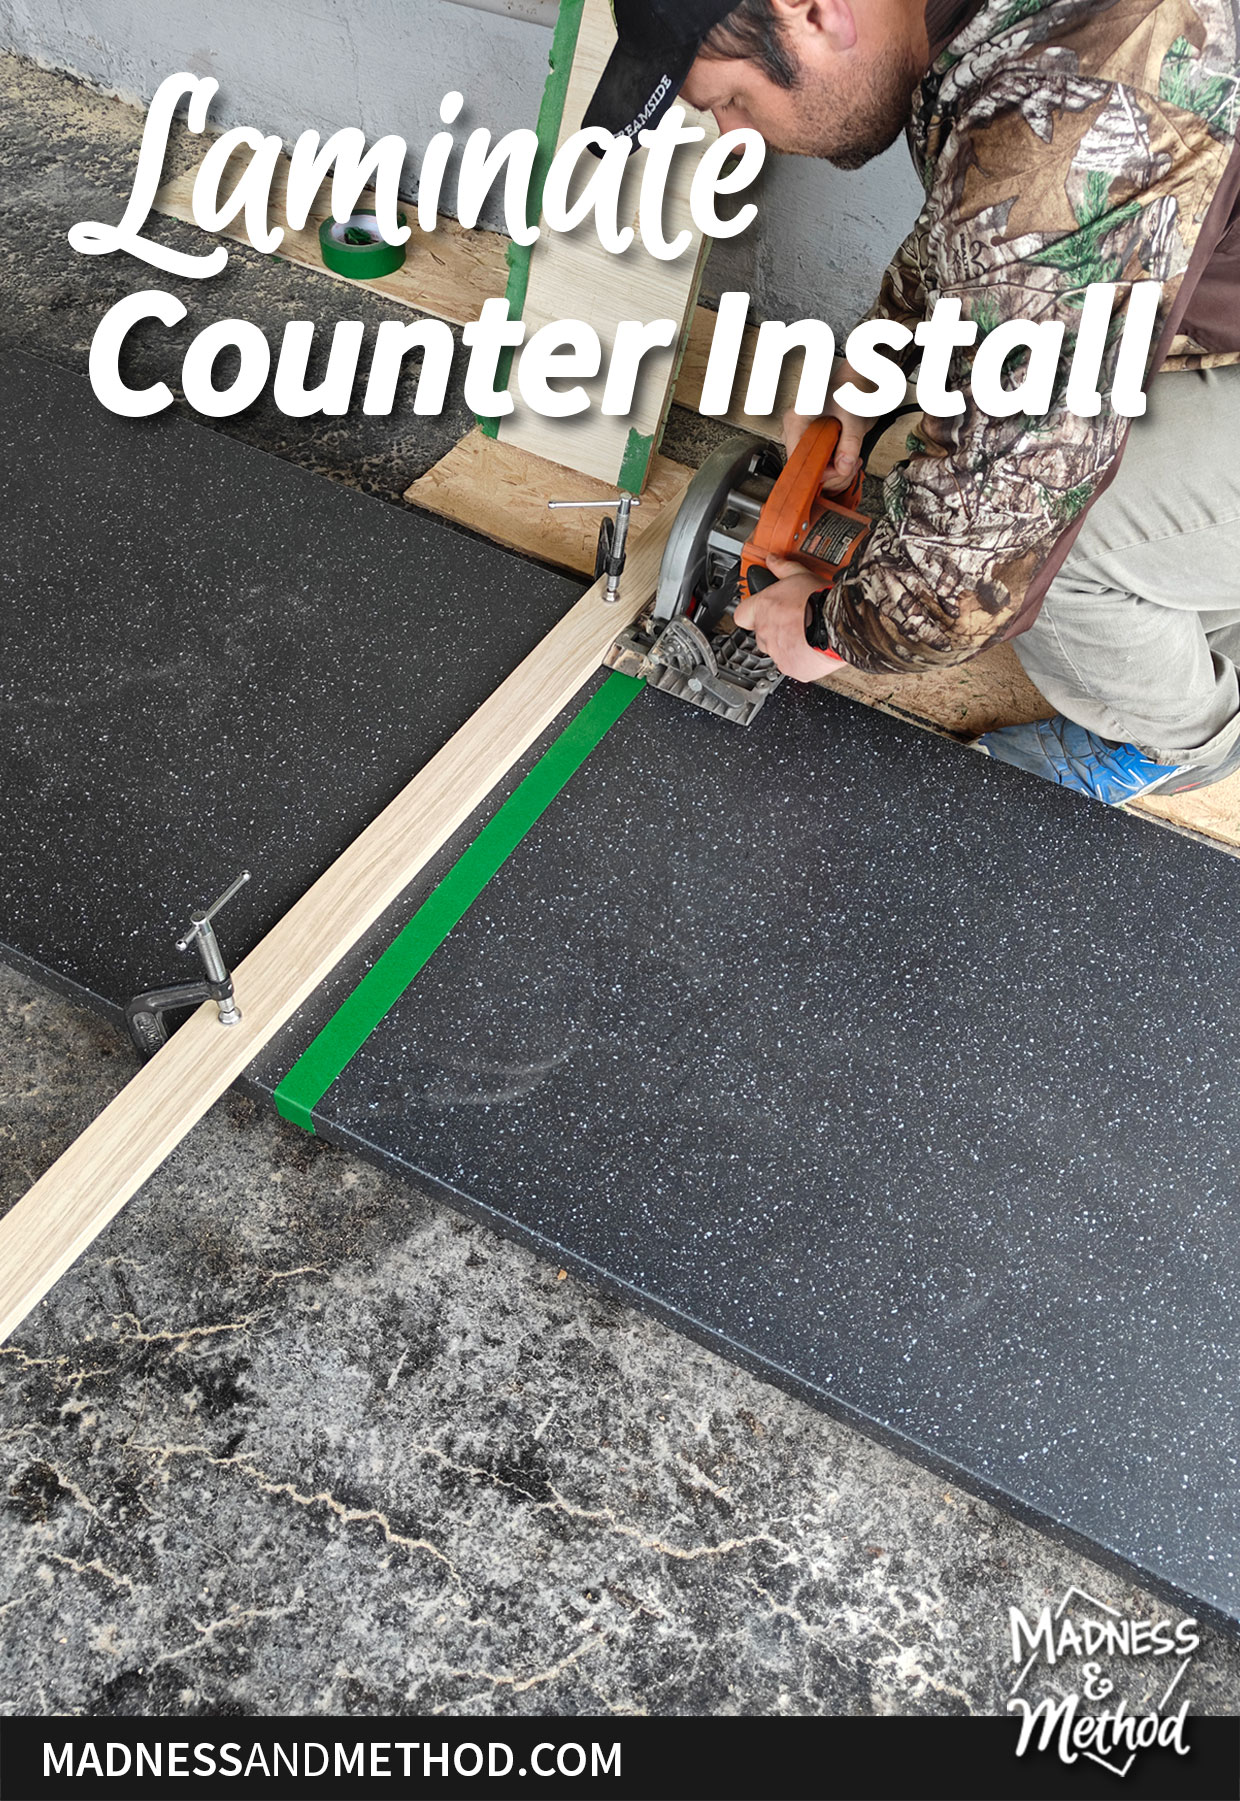
I should mention that the Ikea instructions say to cut the countertops from the bottom. YOU SHOULD DO THAT. Lol, it actually does make a smoother cut that way (because of how the circular saw blade works) but we didn’t have any bad jagged edges.
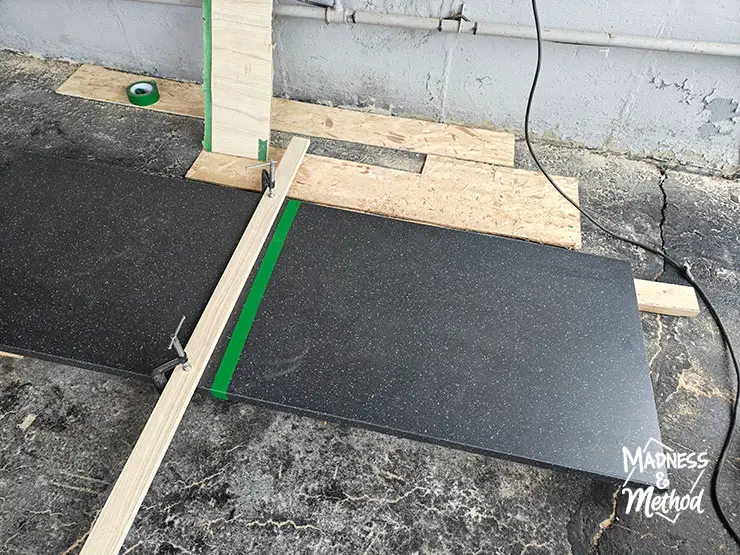
Essentially, you measure out the length you need – then tape where you’re going to cut (to contain the splintered pieces/make it less jagged). Using clamps and a straight piece of wood, we set up a guide for our straight cuts.
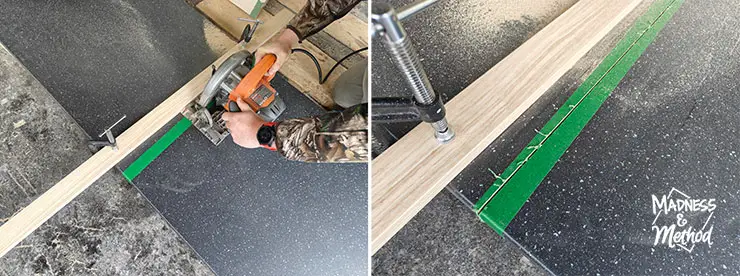
The husband carefully passed the circular saw against the guide to get a straight line. The tape was not straight, if that’s what you’re worried about (in the photo above on the right).
For corners where two pieces of countertop butt together, I like to add pocket holes to the underside. Then, when you get them lined up, you simply screw into your pocket holes so that the counters are attached to each other. We also secure the counters to the cabinets following the Ikea instructions.
Cutting Laminate Counters for Sink
If you didn’t know, laminate counters are essentially slabs of MDF/particle board/whatever with a thin layer of plastic/veneer on top. Most of the butcher block counters that Ikea sell are the same thing, ie: a wood veneer on top of a particle board base. (In the past, Ikea did sell full-wood butcher blocks, but none that I can see now).
Anyways, what that all means is that the only type of sink you can use with a laminate counter is an overmount sink. (Also called a drop-in). That’s because you do not want any of the ugly exposed cut of the counter core, that does not do well with water.
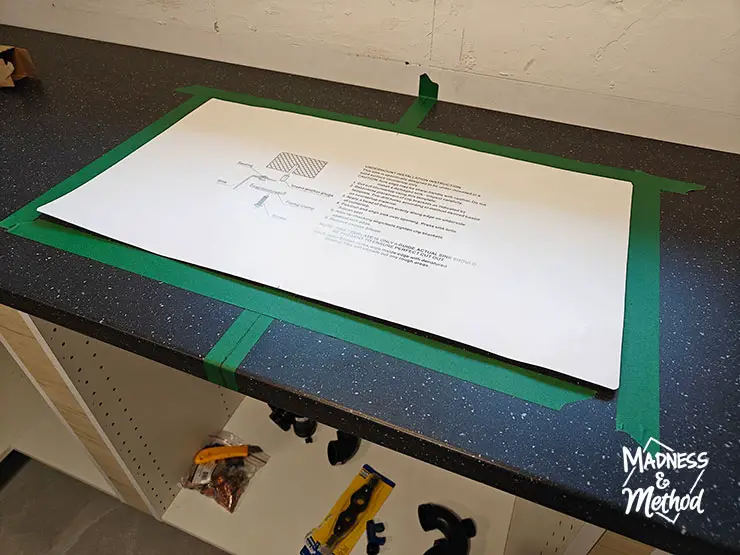
The black stainless steel sink that I bought can be installed as a drop-in or an undermount. It’s also the biggest size sink that we could have used for our 30″ cabinet. We centered the template under the window, then taped around it to create the cut guidelines. The template is only for the undermount, so we tried to add a 1/8-1/4″ around that.

To cut the space for your sink, you need to drill large holes in the corners/edges. That way, you can get your jigsaw blade in place to cut around the sides. Check out my video on YouTube that shows the same thing for a butcher block counter.

There were a few areas that rubbed the sink, so I put little pieces of tape to mark those sections and cut again. I kept cutting and trimming until we got the sink in nicely.
A little too nicely, since it doesn’t want to come out now :) We still need to add the silicone to install it in place (and do all the plumbing), but for now, that’s one task closer to being done.
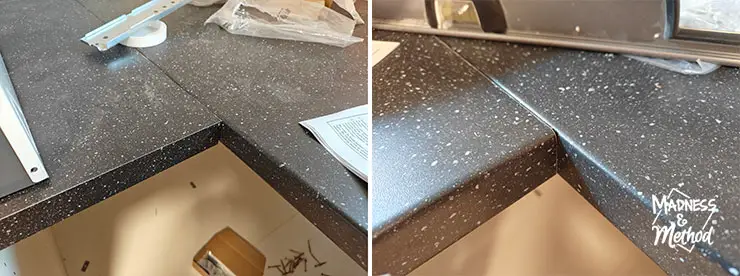
Remember earlier when I mentioned that the front of the counters were rounded? Turns out, the Husband cut the small piece of counter (next to the fridge) before the bigger piece on top of the dishwasher. We couldn’t turn the counter around because there was a hard edge on the back (seen in the photo above on the left). As opposed to two rounded edges (like above on the right).
And yes, Ikea does send side pieces that you can iron on – but he had also cut the edge weirdly rounded so it didn’t work for us.
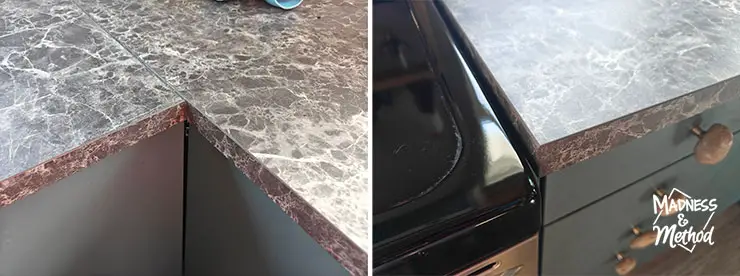
By comparison, the counters at our cottage (Ikea’s Ekbacken dark gray marble) have the same sides/back/front. That way, you have more options when cutting the counters because you can flip it around.
About the One Room Challenge
Want to see more room makeovers? Visit the One Room Challenge blog to see all the projects this round. And, follow me on Instagram to see progress as it happens!

Follow this Kitchen Renovation
- Ready for our Next Renovation
- Kitchen Demo & Plans
- Clean Slate Before Reno
- Tiling Kitchen Floors
- Ikea Kitchen Installation
- Here!
To Do List for Next Week
- Finish installing panels/doors
- Fix that wonky double-tile
- Finish countertops
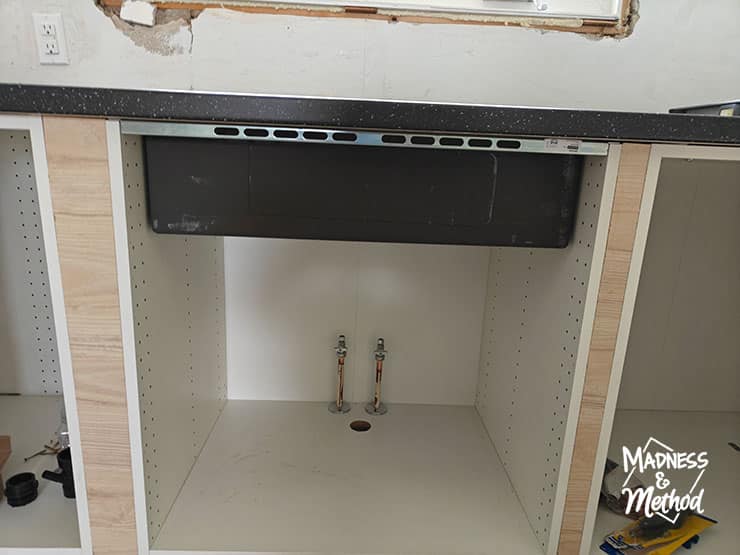
- Install microhood
- Sink/faucet intake plumbing
- Start and finish backsplash
Whoops! We have the exact same to-do list as last week. Well, minus the fact that I want to start and finish the backsplash now.
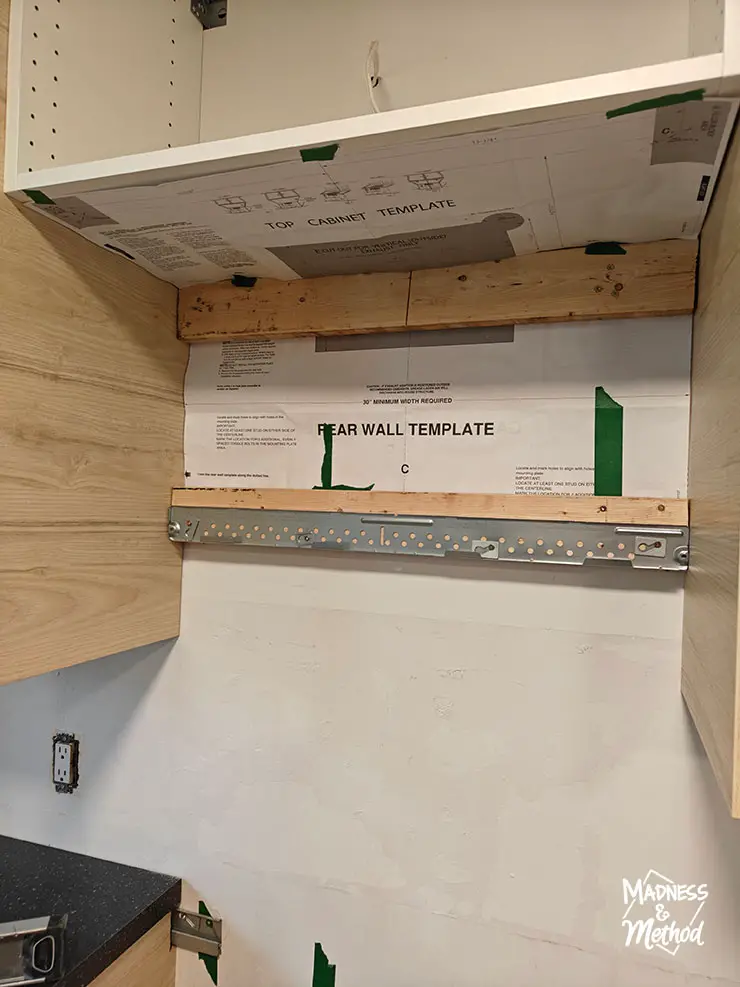
We did start on the microhood installation – as you can see from the photo above of the bump-outs we needed to add. But yeah, there wasn’t a lot of projects completed last week.
To Do List for Entire Project
- Dishwasher plumbing
- Knobs on
- Sink black (outtake) plumbing
- Top trim pieces
- Floating shelves
- Fridge + oven
- Paint
- Other house updates (cleaning, painting, minor electrical)
The biggest reason we didn’t get too much done last week is because we had Airbnb guests in the basement apartment. I didn’t think it would be a good idea to make a bunch of renovation noise while there were there. Now we really need to get cracking from here on out.
Although the Husband is busy with fishing tournaments the next two weekends, ugh.
(I anticipate that the backsplash is going to be a time-consuming project – and I’m still waiting on my material!)
Time to panic yet!?


No Comments