
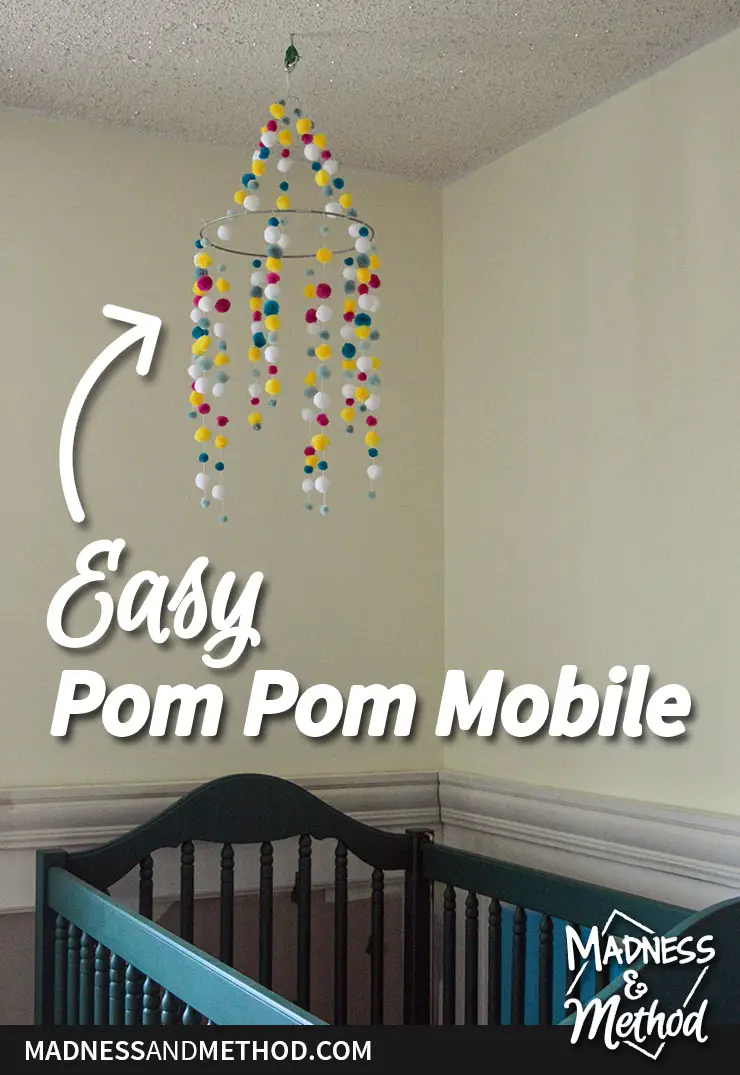
I’m feeling really good about this simple project I completed this weekend as part of our One Room Challenge nursery makeover. I also managed to get a bunch of stuff on the wainscotting done, painted the walls yellow again and finished painting the crib. But making an easy DIY pompom mobile was probably the simplest and cutest project yet :)
– Note: This post contains affiliate links. See more information about affiliates here. –
We’re getting ready for baby #3 by working on a new not-so-neutral nursery, and I’ve already talked about the design plans for the space, painting the walls, painting the crib a dark teal and now making this mobile!
Normally we just use the same mobile for each child, but baby #2 still has it in her crib and hasn’t tried to take it down yet. Then, I saw this (similar) pom pom mobile online and fell in love with the cute look – but not so much the price.
I noticed that there were also a lot of sellers on Etsy who do custom pompom mobiles, but knew that I could hack something together myself.
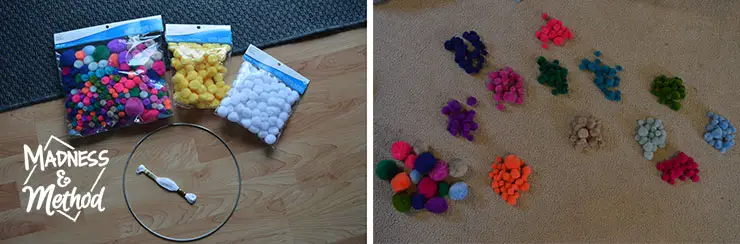
Supplies Needed
- String/Thread
- Pompoms (I bought mine from Michaels these white/yellow ones, and this mixed pack, but you can also buy mixed ones from Amazon or white ones here)
- Needle
- Ring/thing to hang from
- Ceiling hook
Fun fact! The metal circle I had was actually the ring from the old lampshade that I had taken apart to make a custom metal lampshade in our last nursery.
You can also make your own pompoms from scratch using a cardboard template, the fork method, or even just your hands! I had made some when I was younger and knew that they could be time-consuming, so bought them instead :)
Planning a DIY Pom Pom Mobile
After buying the pompoms in the colours I wanted, I got to work separating them all. There were more multi-colour packs available, but I was looking for things to match our teal, aqua, yellow colour scheme.
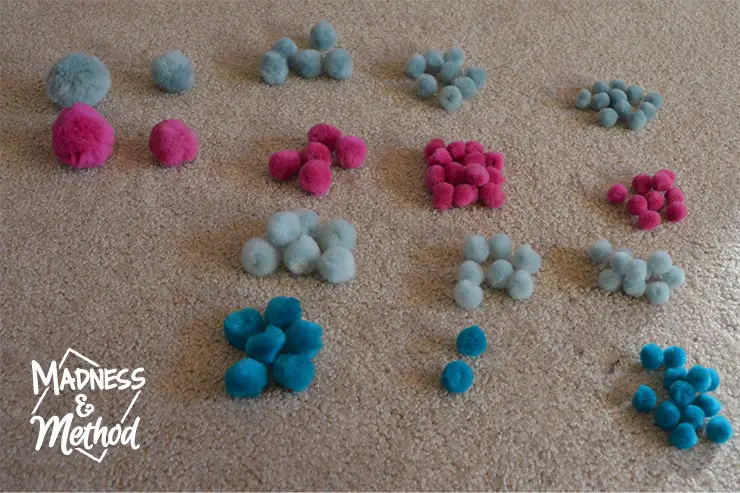
I even dyed some of the blue-er pompoms to be more green/aqua coloured with some Dark Green Rit Dye I had. I tried making the pink ones redder, but I think they are all made from polyester and didn’t take dye that well.
Either way, I then separated the colours I was going to use by size, then made even-numbered piles.
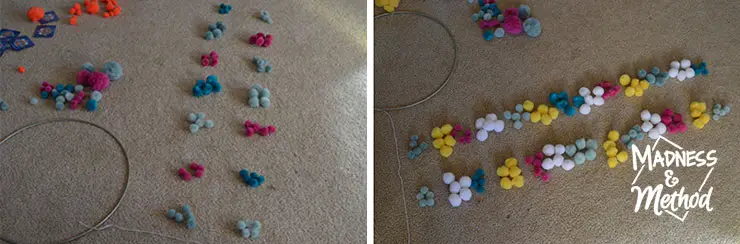
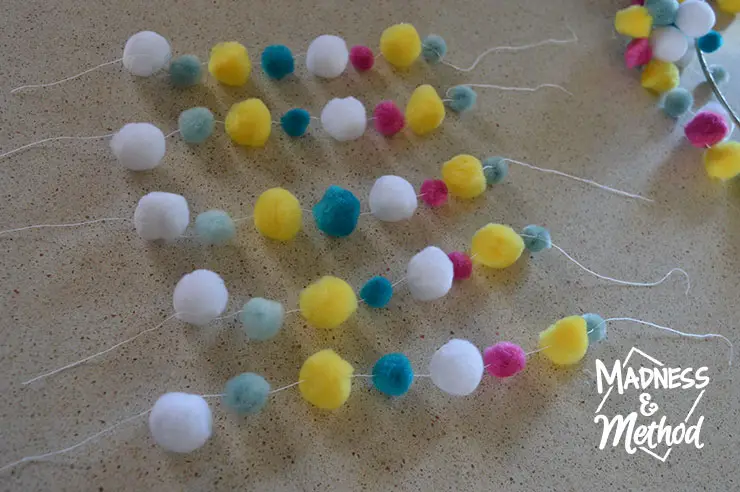
I put all the odd-sized and overflow pompoms aside, then opened the yellow and white packs and made two patterns with 5 pompoms each.
Here is where I was going on a limb! I had my little piece of white string (which turns out, was 6 strands wrapped into one) and threaded it into a needle I had).
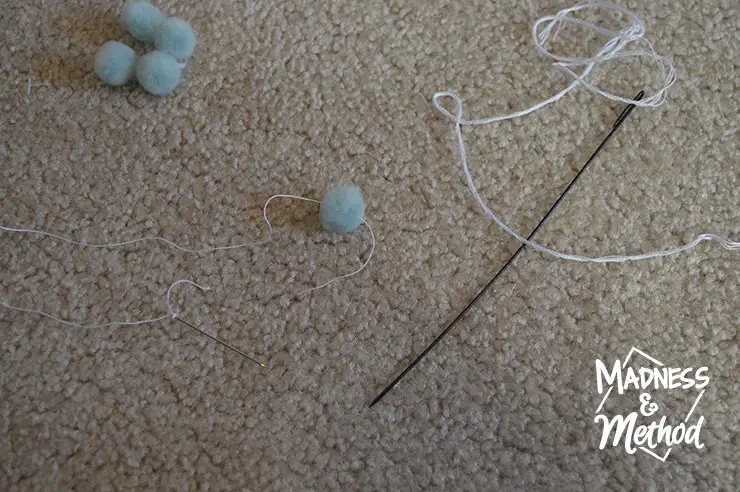
From other pompom mobile tutorials I read, most just explain how to make DIY pompoms… and not necessarily how to get them on the strings.
It’s literally as simple as stabbing the needle through them!
(Although, you’ll notice two needles in the photo above – the first big one I could string the 6-strands, but I could not push through the small pompoms). I later switched to a smaller needle I had (from a free hotel sewing kit) and separated the string into the small sections only.
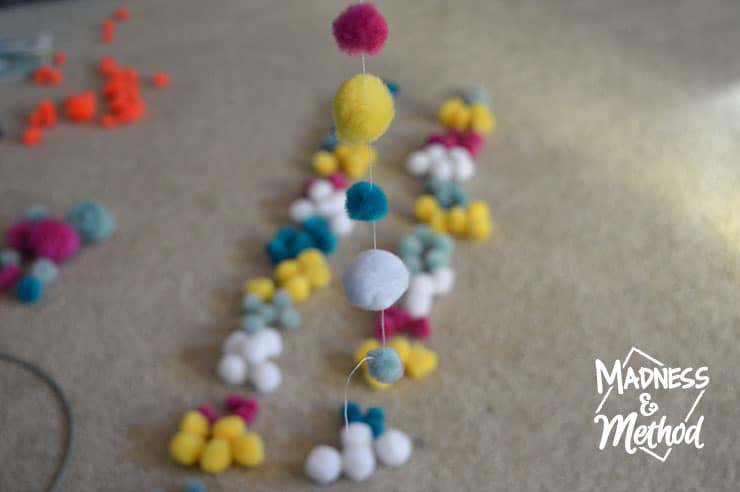
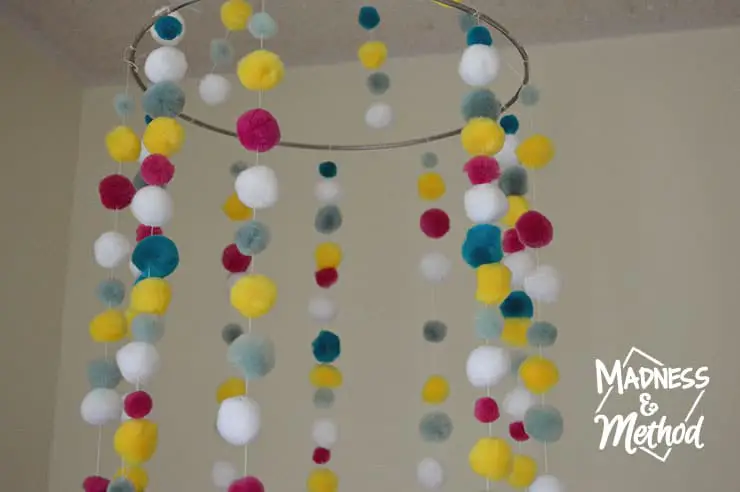
I tied a simple knot on the bottom pompom but left the others in the strand free-flowing (so I could move them around if I needed to). My string was probably just over a foot long, and I made 5 strands with the exact same pattern.
From there, I simply tied them around the ring, then held it up to check how they hung. For the next set of strands, I decided to make them a bit shorter and have the pompoms a bit closer together to vary the look.
Hanging a DIY Pom Pom Mobile
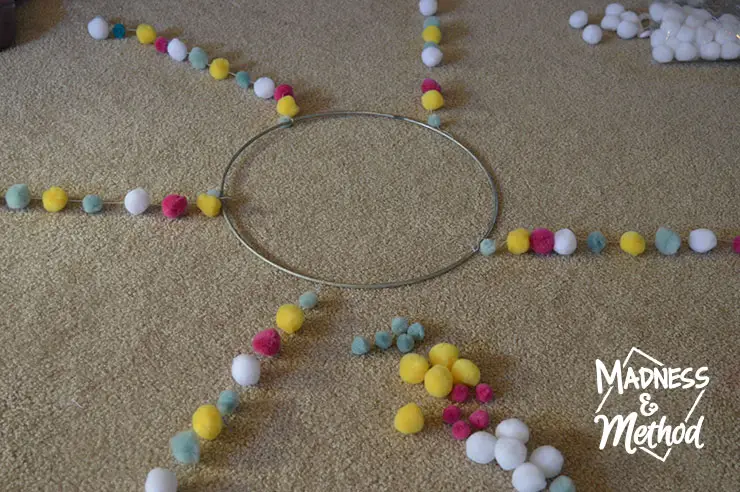
It took me just about one hour to organize and string all my pompoms through the 10 strands. This also involved time shooshing the toddler away from my pompoms (he had his own to play with!). I’m glad I didn’t attempt to make my own pompoms, it would have taken forever!
Anyways, I then took my miscellaneous pompoms that were left and grabbed one of each colour pattern I had (regardless of size). I strung them up but made sure to leave a lot of extra string on each end (tying both end pompoms with knots).
These would then be tied together at the top, then hung up on the ceiling hook.
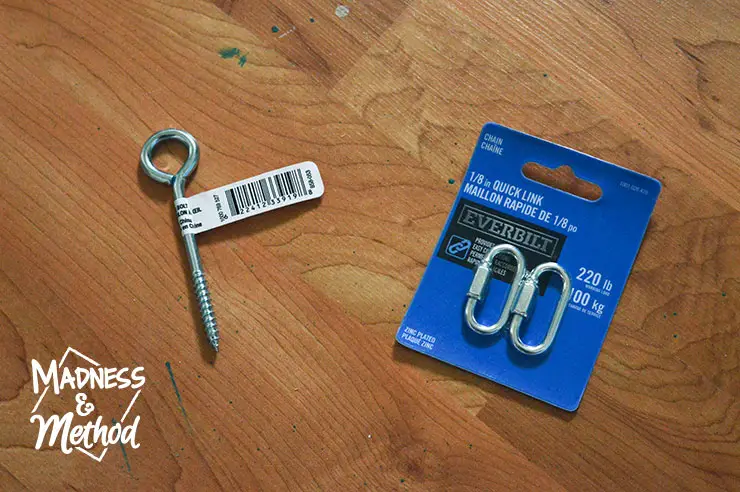
I knew I wanted to hang the pompom mobile from the ceiling, so bought a hook that was long enough to go through the drywall into the joists. I also bought some quick links hoping I could easily link the mobile to that (then onto the hook) but they were too small for the hook :(
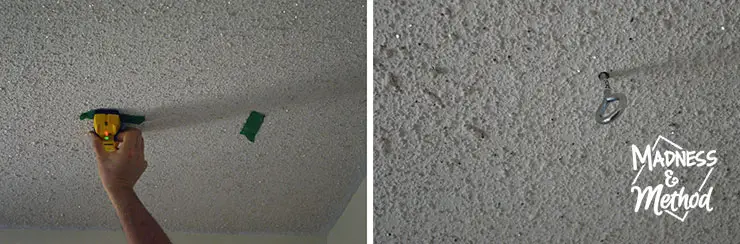
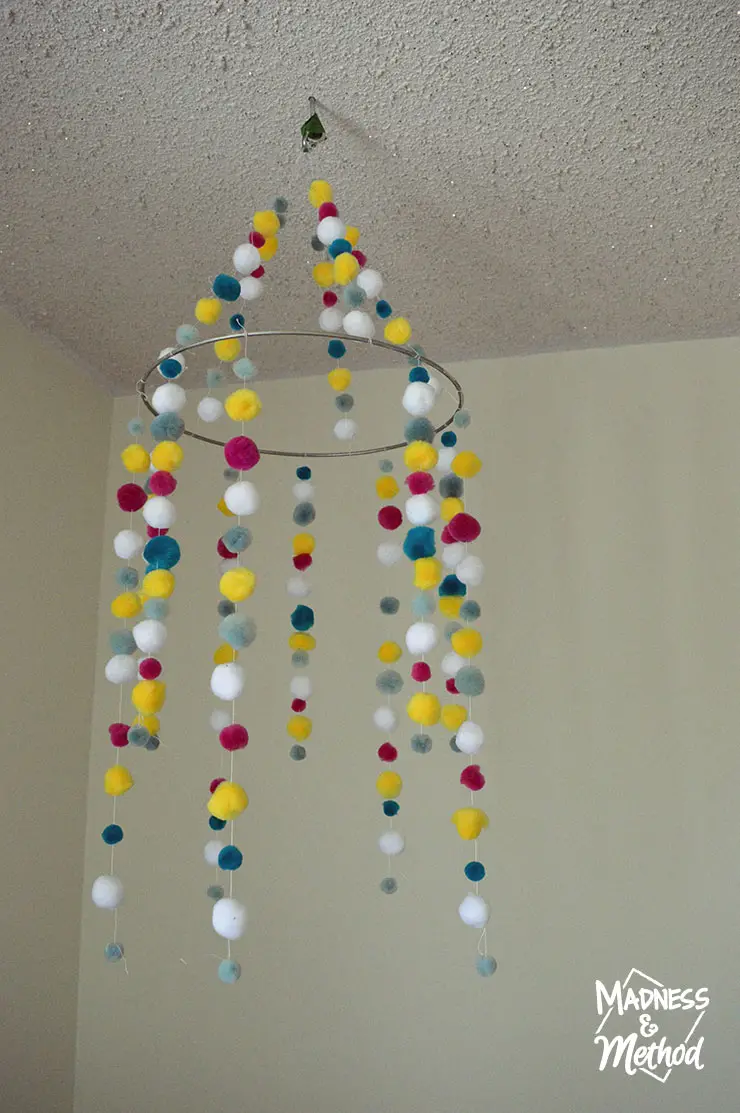
Using a stud finder, I located the joists then loosely decided where I wanted to hang the mobile. (Essentially I wanted it evenly hung from the corner of the wall, but the toddler hid my measuring tape…). The Husband drilled into the joist, then twirled the hook on as I supervised from below.
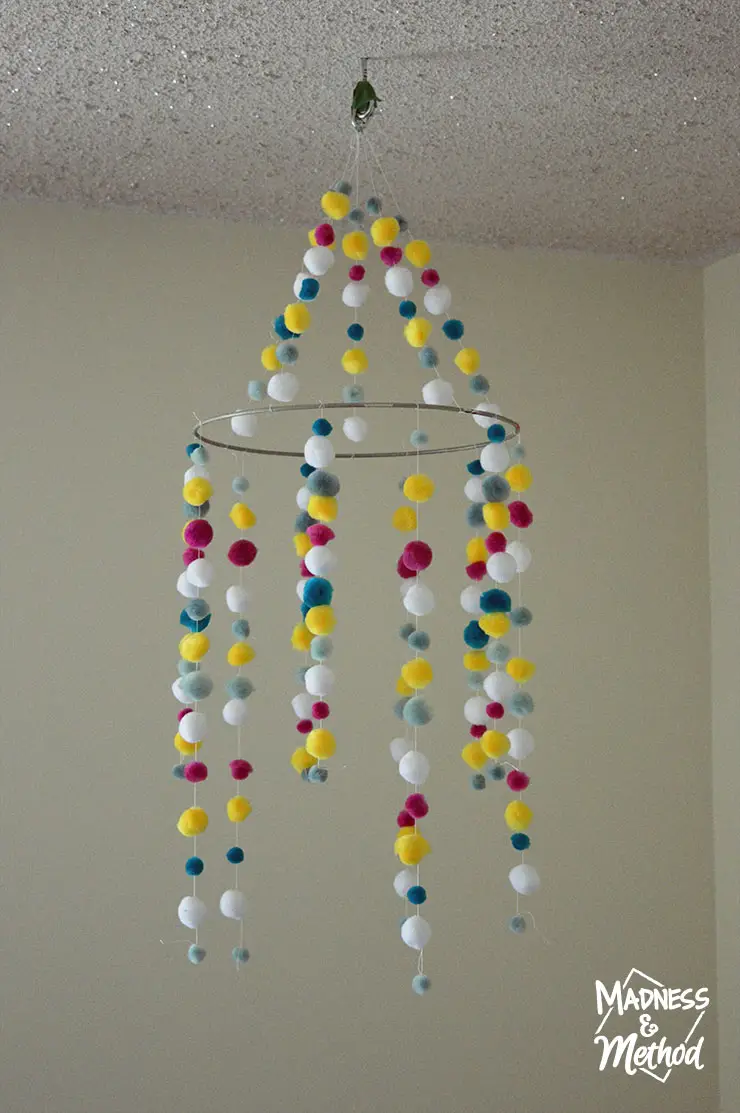
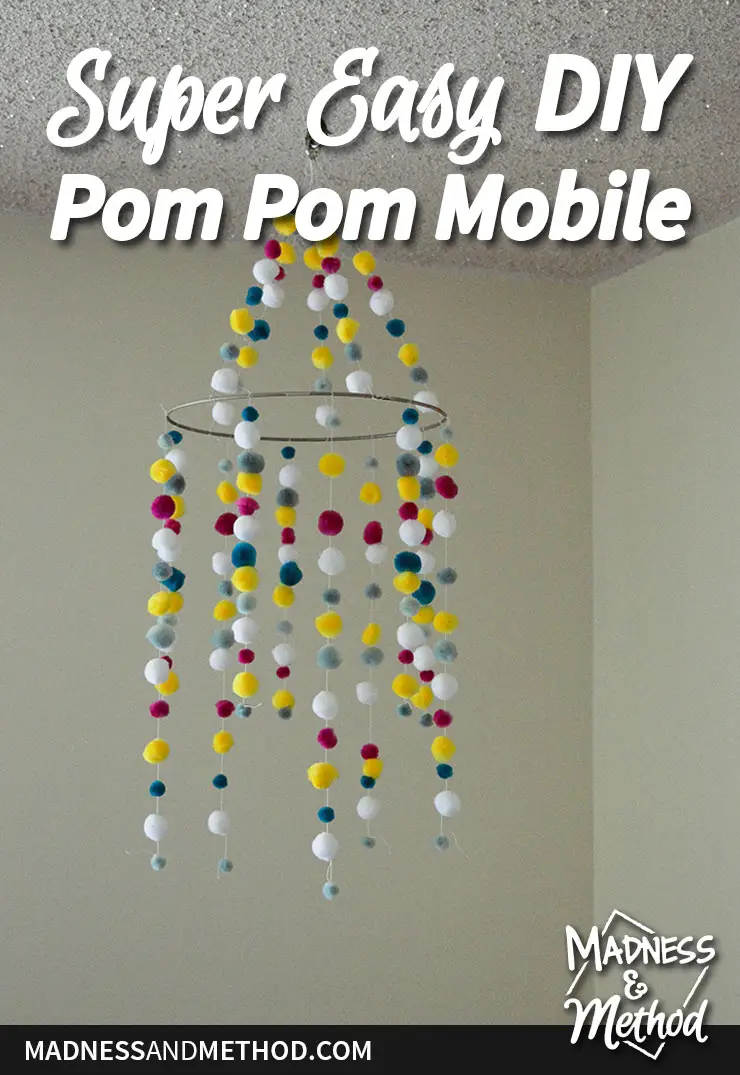
And here is how it looks! You’ll notice the janky looking painters tape at the top. It’s because my quick links didn’t work and I didn’t want to permanently hang the mobile just yet (I have some more drywall sanding to do and want to avoid the dust).
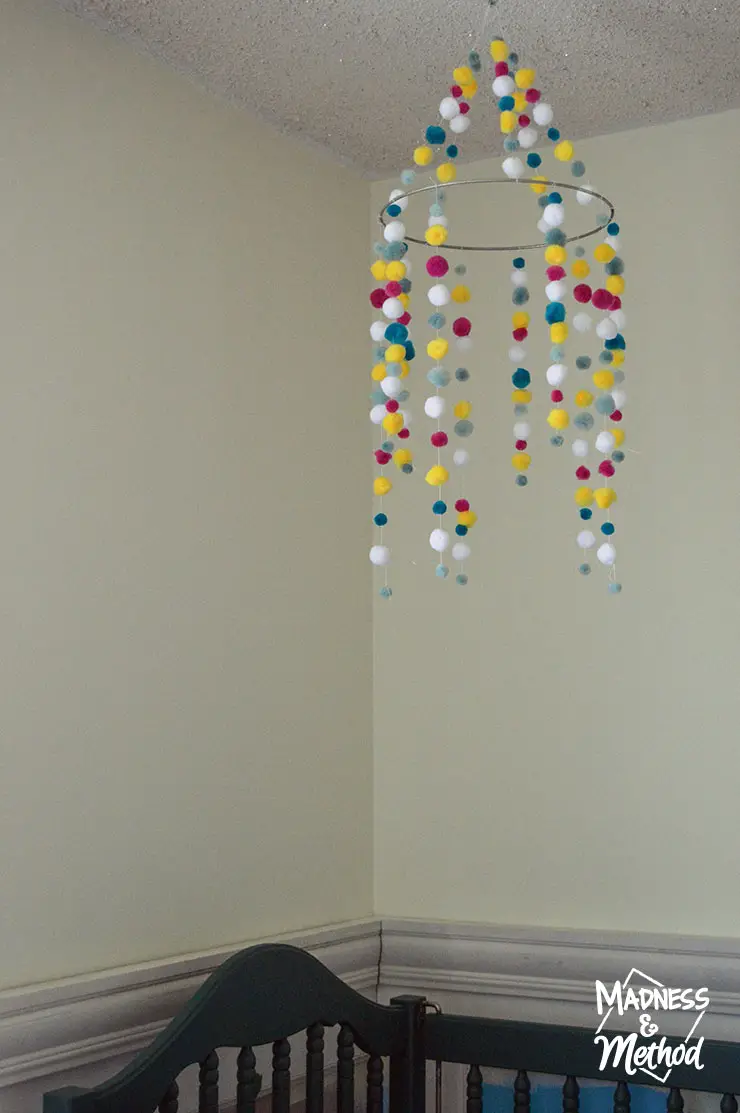
From the ceiling to the top of the crib was about 4′, then I figured I wanted to mobile to hang at least 1 foot above that so that baby couldn’t reach it (in months when they are standing). I’d estimate my mobile is just over 2 feet long from ceiling to bottom of pompom – so should be safe!
Nursery Progress
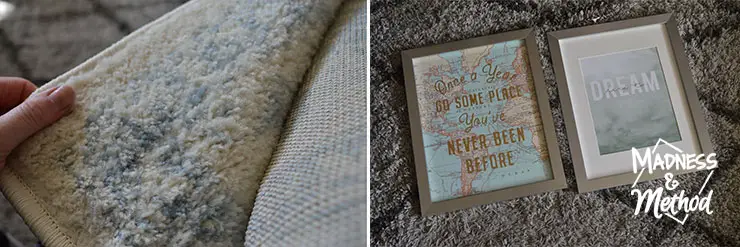
In other news, I’ve received some of my prints and picked up some silver frames similar to these. I also have the rug and took a little sneak peek. I’d say it’s a bit bluer than I was wishing for, but it should do just fine once it’s in the room.
I’m slowly chipping away at the wainscotting, so hopefully should have that close to complete next week for my next post. Here is a breakdown of everything so far:
What’s Been Completed
- Clear out the room (including blinds)
- Remove old trim and unattached phone cable
- Patch any holes and prime top parts of walls
- Paint light yellow (did this three times!)
- Clean and paint crib
- Install new trim (first casings, then flat pieces, baseboards, chair rails)
- Patched wainscotting where needed
- Build a mobile and hang from the ceiling (pretty much done)
- Sand and patch wainscotting, patched again
- Installed panel moulds on doors, and most centre/angle pieces
What Needs To Be Done
- Finish centre/angle pieces for wainscotting
- Clearcoat crib
- Finish sanding and caulking new wainscotting (started both)
- Prime and paint grey wainscotting
- Paint white baseboards and casings
- Reinstall blinds, install curtain rod and curtains
- Clean everything, bring in furniture
- Added: scrape paint from floors
- Hang artwork and take photos!
- (Prep for baby by organizing clothes and drawers)
Follow the One Room Challenge
Check out all the other bloggers and linking participants for the One Room Challenge here.

Week 1: Yellow, Grey and Teal Nursery Plans
Week 2: Painting Yellow Walls
Week 3: Painting a Dark Teal Crib
Week 4: Easy DIY Pom Pom Mobile (you’re here!)
Oh, WAIT! I forgot to ask! Do you think I should I wrap/hide the metal ring (with white yarn or ribbon or something) or leave as is? I’ve taken down the mobile for now until the dust settles, so do have the chance to tweak it a bit.
In the meantime, I’m marking this task as complete and a slamdunk in the books! This easy DIY pom pom mobile looks great and other than having a perfect system for hanging it (I thought about a keyring too), it’s pretty good :)
(Oh, and yes, I know there are open hooks that I could have used for the ceiling, similar to this style, but I thought that having it closed/tight would be better in case baby could reach it and try to rip it down).
Let me know your thoughts!


No Comments