It feels like forever since I’ve shared a good DIY project here right!? I’ll have a BUNCH of goodness coming to you when we start the nursery makeover, but until then (and after the dust settles there!) I have a few small organizing type things to share. Aka this magnet board makeover, aka how I turned a plain magnet board we didn’t use into something better looking AND useful, aka why you shouldn’t try to force people to follow a chore chart…
– Note: This post contains affiliate links. See more information about affiliates here. –
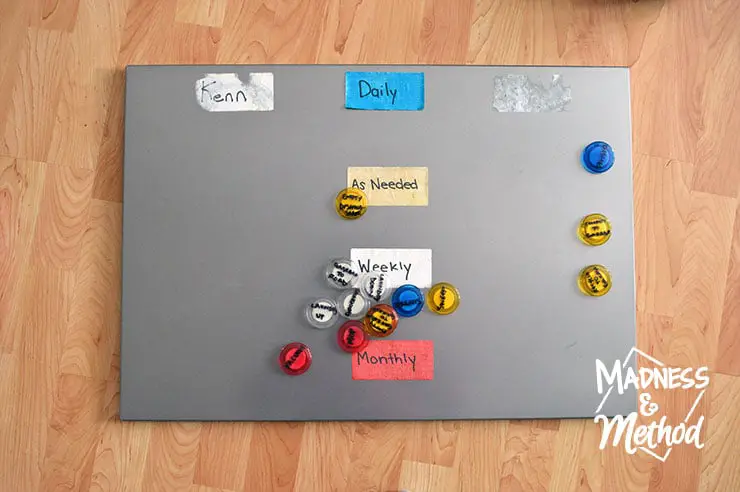
So a bit of background info is that I had a magnetic board from Ikea (I believe it was even an old roommates!) and knowing how handy it was, I kept it. When we moved into our home, and obviously being a Pinterest browser (before I started this blog) I thought that I would use it to make a fun chore chart for the Husband and me to follow!
The Husband was on one side, I was on the other, and I had tasks separated by time/occurrence and used colour coded magnets for each task.
The idea was simple, chores would be divided between us and fall under our column/side, then when they got accomplished, they would move to the centre of the board.
Super easy right!?
Well… apparently no amount of colour-coding organization can actually make the tasks get accomplished… if you know what I mean? Let’s just say, the tasks ended up more on my side and/or I would just do the things anyways out of frustration.
And that’s why our house is messy now, because no one cleans :)
Ha – but seriously!
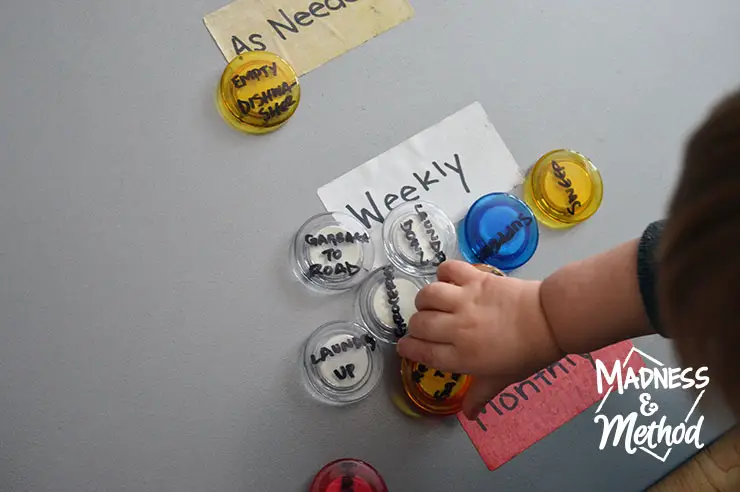
Check out those chunky toddler hands! He was super happy when I had the board out and he could play with the magnets.
So I stored the magnet board/chore-chart under the guest bed and vowed to do something with it one day. I did consider donating it, but does anyone really want a chore-chart with other people’s specific chores and names?
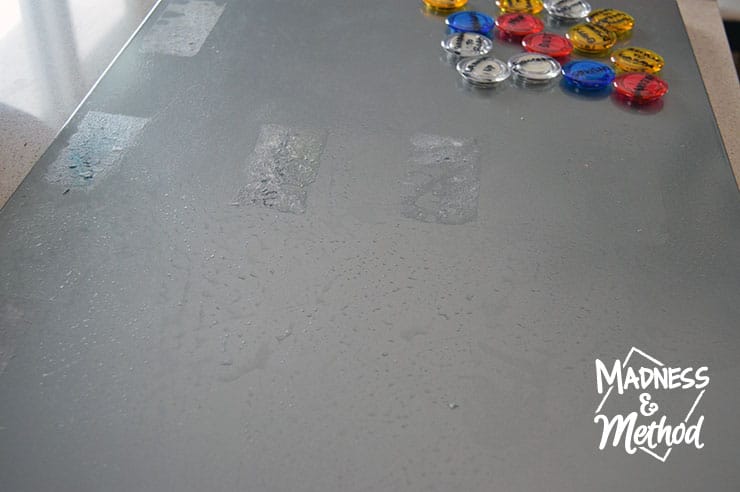
Plus, apparently the labels I used were super tacky, and I didn’t want to go through the trouble of removing them unless I had to. A few spritzes of water, then a few solid rounds with Goof Off, ended up doing the trick…
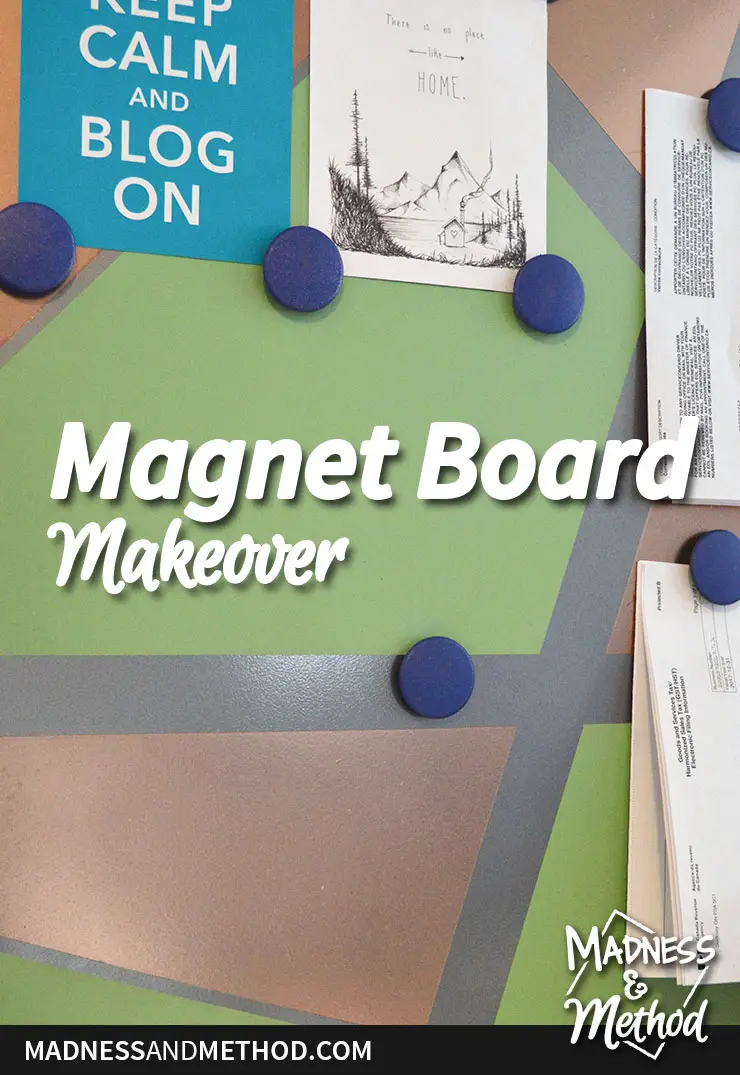
Magnet Board Makeover
To recreate, you will need:
- Magnet board (mine was from Ikea, but not these dimensions)
- Magnets
- Paint (I used pistachio, rose gold and blue)
- Painter’s Tape (I used regular and skinny)
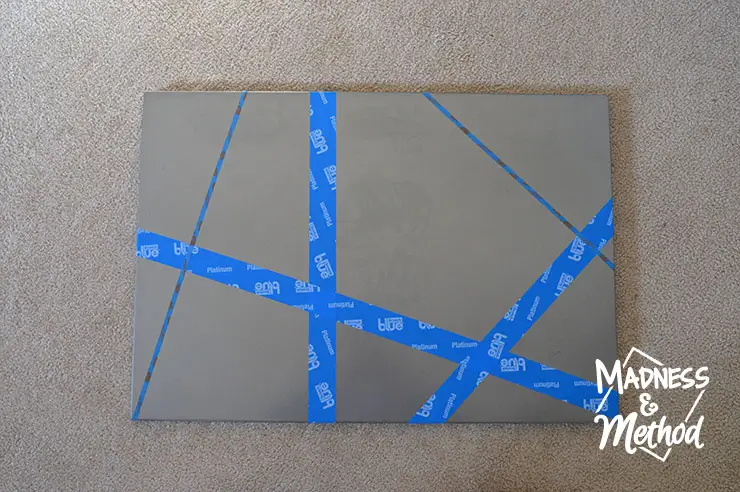
Even though the magnet board was no longer tacky, I did have some permanent marks from some of my labels. I knew I would be painting the board anyways, so decided to just use the paint to cover the imperfections! I did a random pattern using some regular width painter’s tape and my super skinny painter’s tape (purchased for my brother’s bathroom floor remodel).
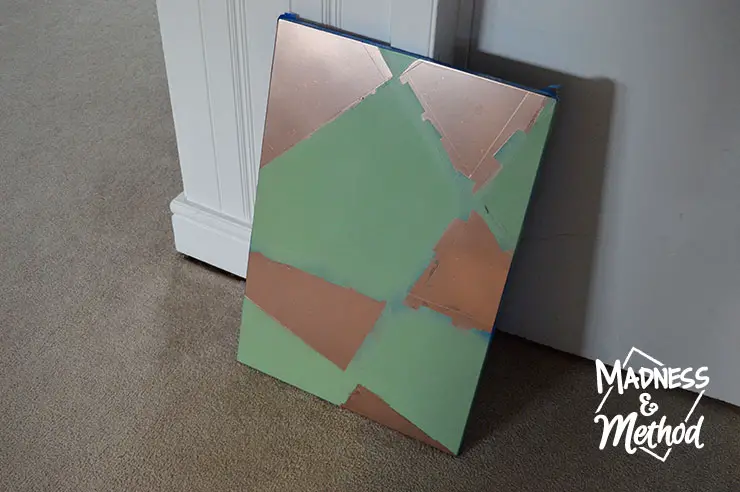
While I was going to originally paint everything one colour, then remove the tape and do a second application, I ended up just doing a checkerboard of alternating pistachio and rose gold. I also painted my magnets with some bright blue as well.
After a coat or 2 of each colour (and some crafty covering of the finished sections with random bits of paper), I was excited to peel off the tape and see what I had!
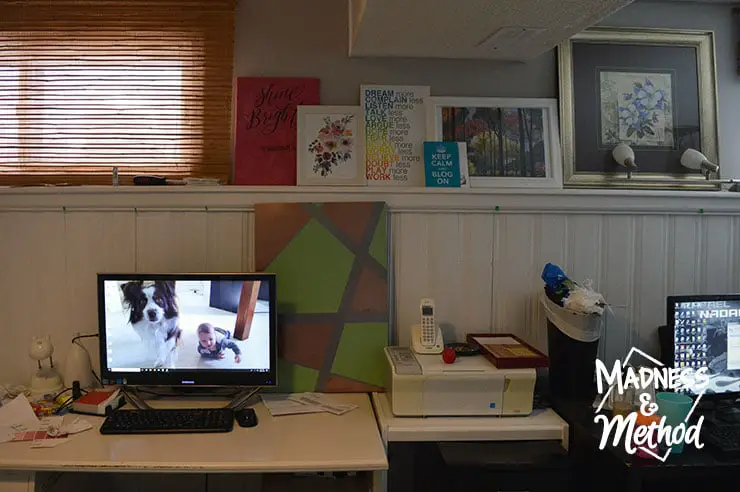
Notice those super tiny green stickies across the moulding? Because of the cold winter, we have some gaps that will need to be caulked in our panelling again!
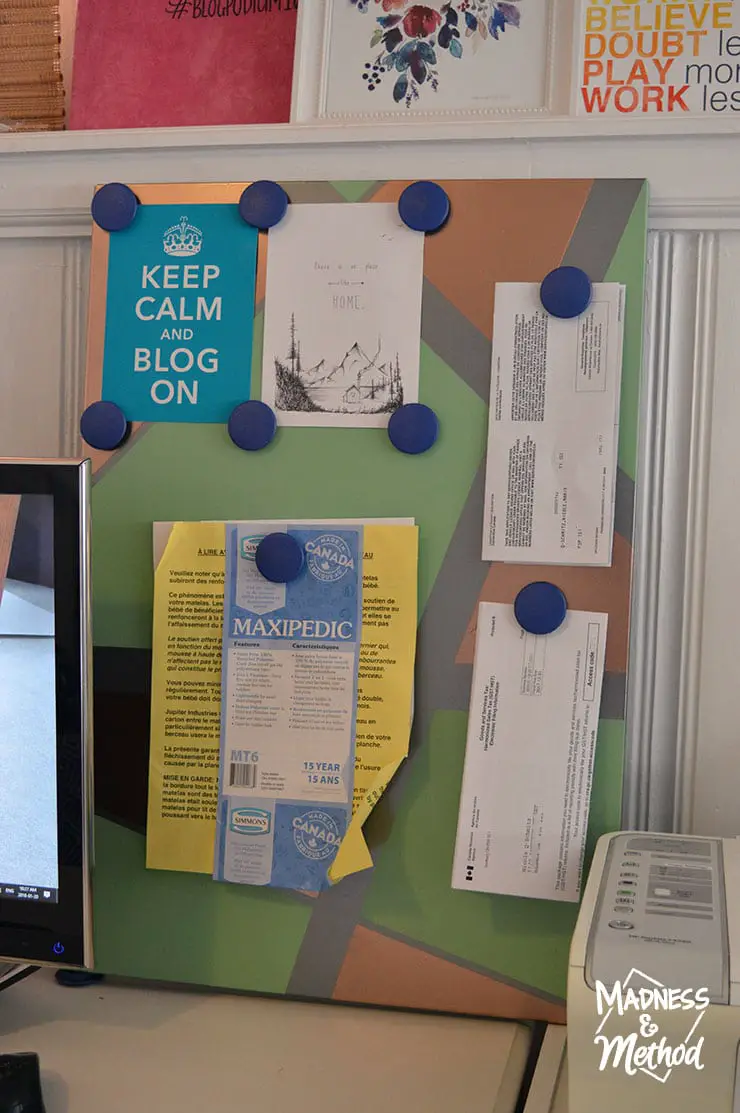
I knew exactly where this newly updated magnet board would be going – to help corral the paper clutter from my desk! I’m pretty good at filing and putting away papers when I no longer need them, however I usually have a “to-do” pile that I didn’t want little fingers reaching…
(Notice all the random stuff around the photo above too? Usually things we take away from the mister and try to put them where he can’t reach…)
The top two postcards are strictly décor, and I like that they now have a permanent home. My “to-do” things are the other random papers I attached, aka getting my license plates renewed, filing my taxes, and ordering a crib mattress for the new nursery.
(I realized after lots of online searching that I like the one we have now, so that’s the info for it so I can get the same thing!).
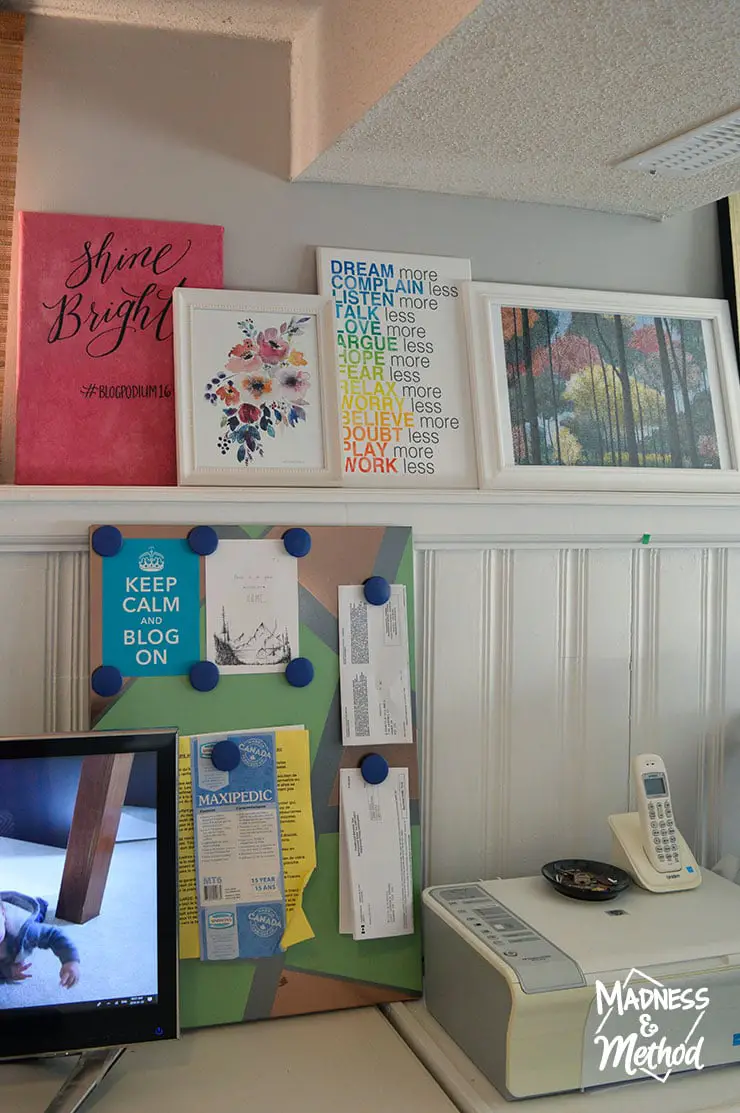
I also brought most of the pieces of art/posters that were on the photo ledge down here, since they were always meant to go in an office. They just fit between our windows (with the floral art that I may eventually do something with), so I’m happy about that!
This magnet board makeover has been officially done and setup for about a week, and so far it’s working great! Once I get those “to-dos” done, I’ll file those papers away and have some more blank space for upcoming things. Or you know, stare at the cool design and bask in no to-dos :)



No Comments