
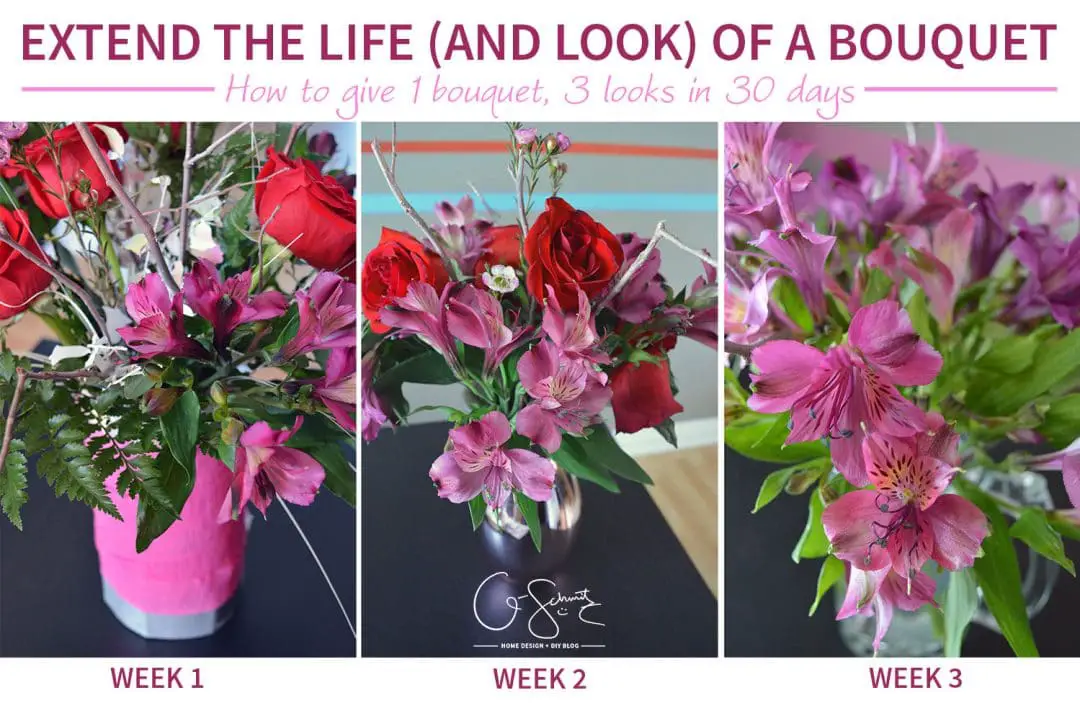
The Husband had gotten me a lovely bouquet of flowers for Valentine’s Day this year. I have to admit, I only know three to five types of flowers, so I can tell you there were some red roses in the bouquet… and something else? Either way, he had plopped them into a water filled vase on the dinner table after taking them out of their plastic wrap. I was super happy he had gotten me the flowers, because I was convinced he didn’t even know it was Valentine’s Day (well, I guess all the displays at the grocery stores might have tipped him off). Continue reading to find out how I took the standard store bouquet and created an elevated floral arrangement – actually, 3 separate arrangements (that lasted more than a month!).

First things first, I cut all the stems at a 45° angle and made sure they were a good height for the vase. It was missing a little something to beef it up, so I went through the yard and gathered some evenly sized sticks (ok, it was the middle of winter, so this was a bit tricky, but I was able to rip some off some weedy trees – aka trees that are growing in the middle of nowhere that we don’t want).
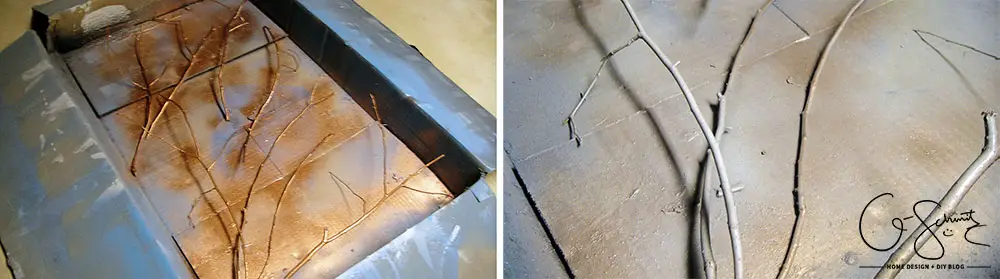
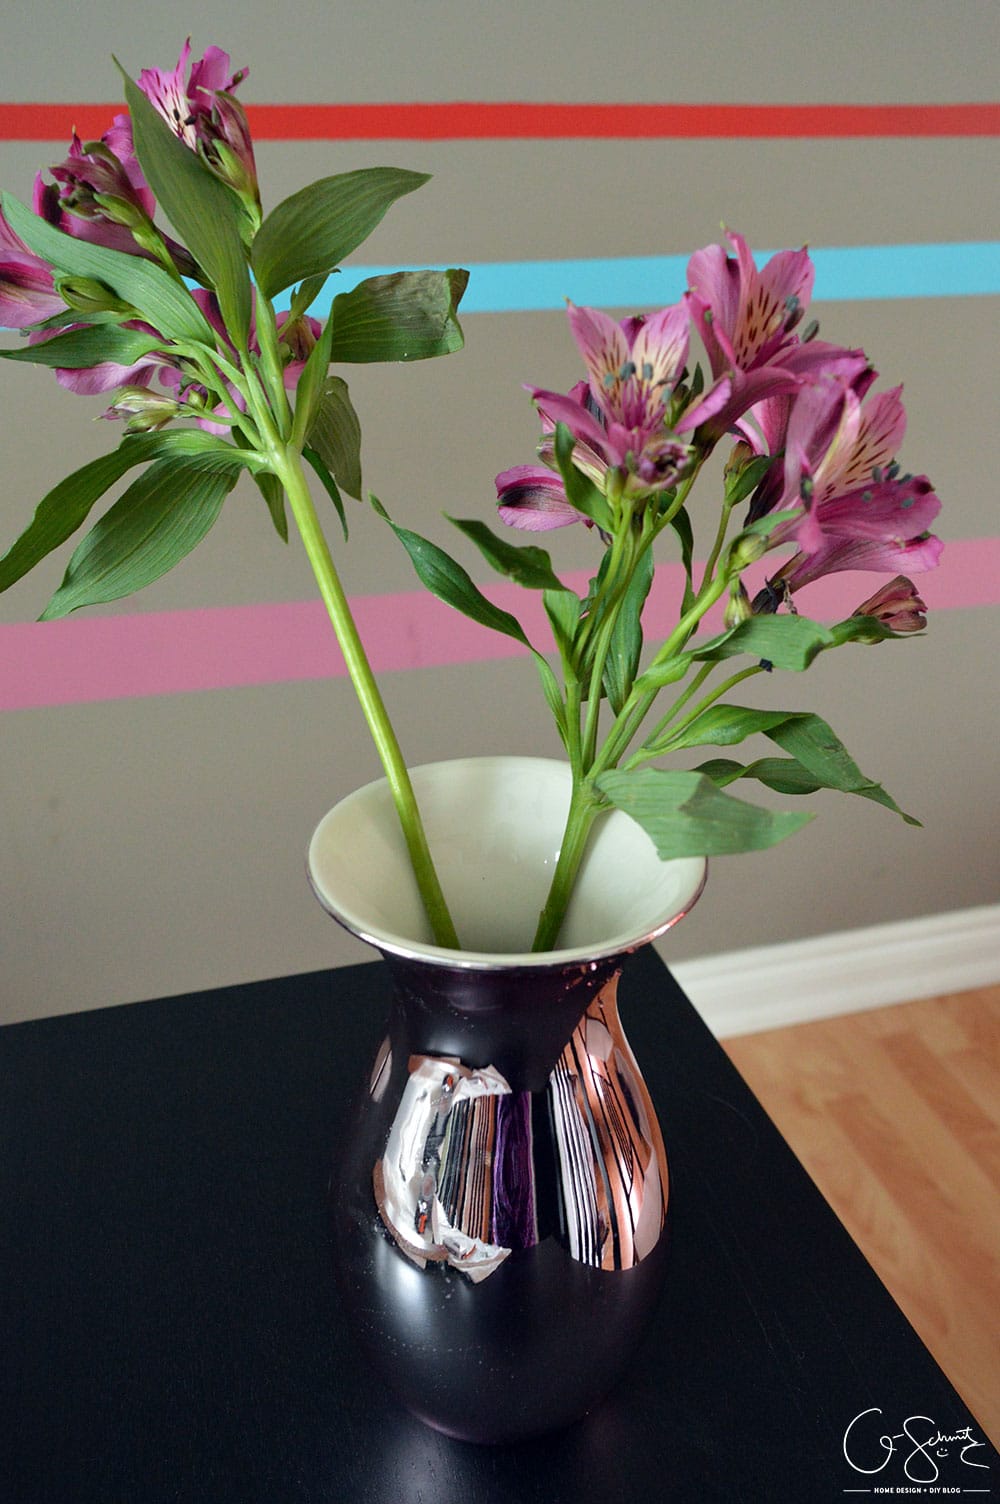
I then tried to wipe off all the excess snow, and after the sticks were dry I took them into my spray painting zone (a box in the crawlspace). I was hoping I had some red or pink spray paint (to match the Valentine’s Day theme) but instead went with a layer of copper, then a thin mist of white on top (which turned out to be a shiny blush colour).
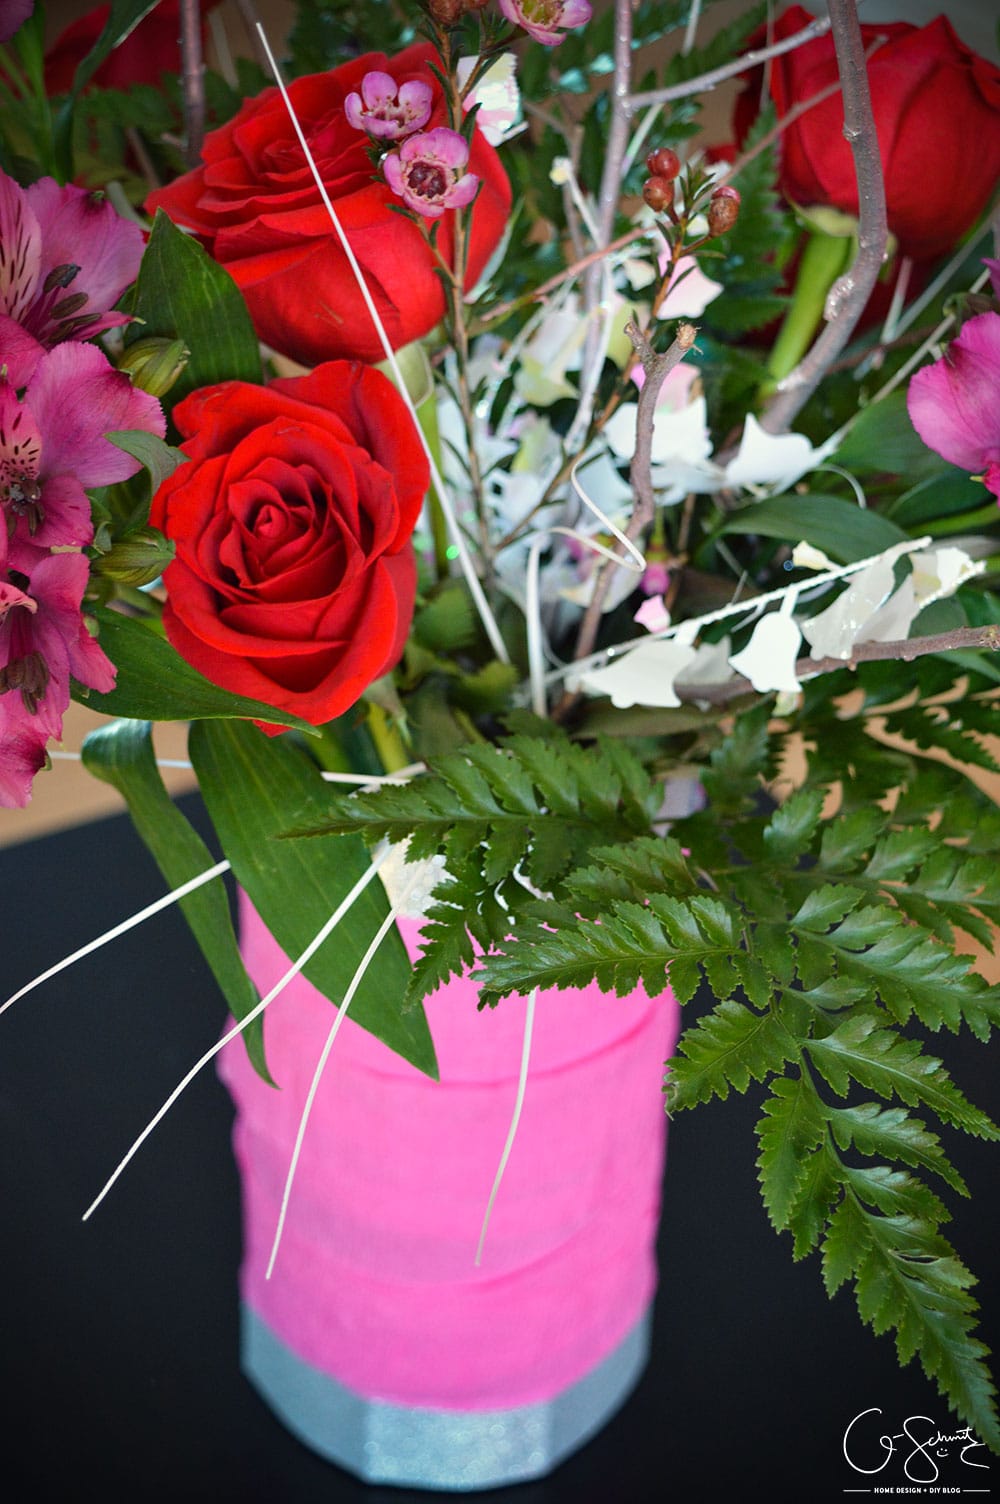
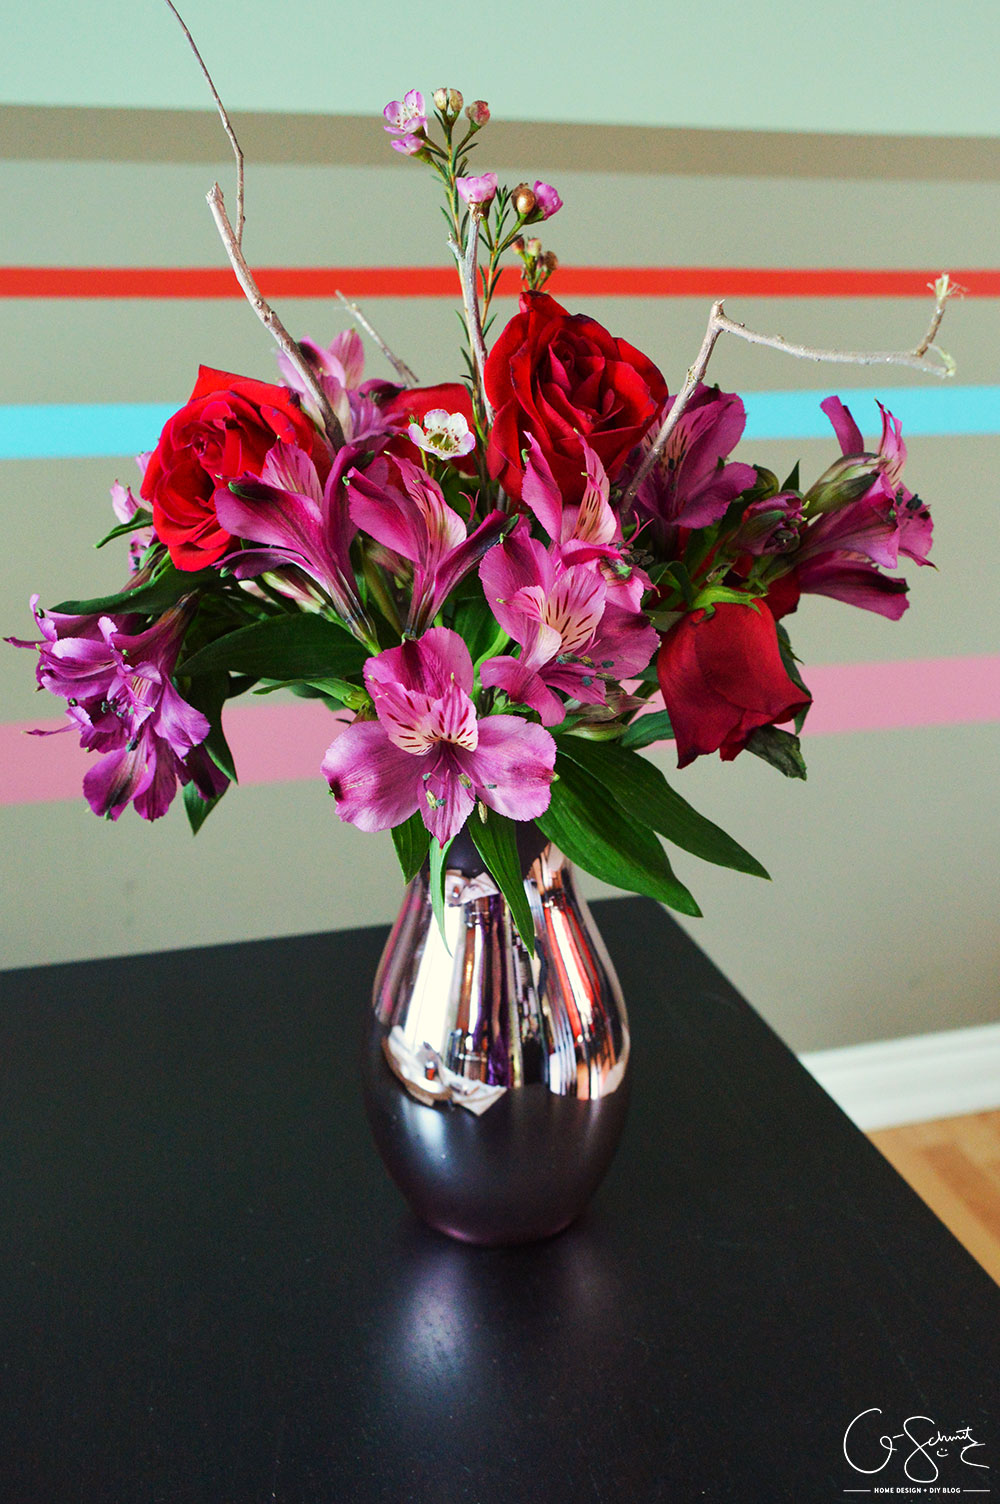
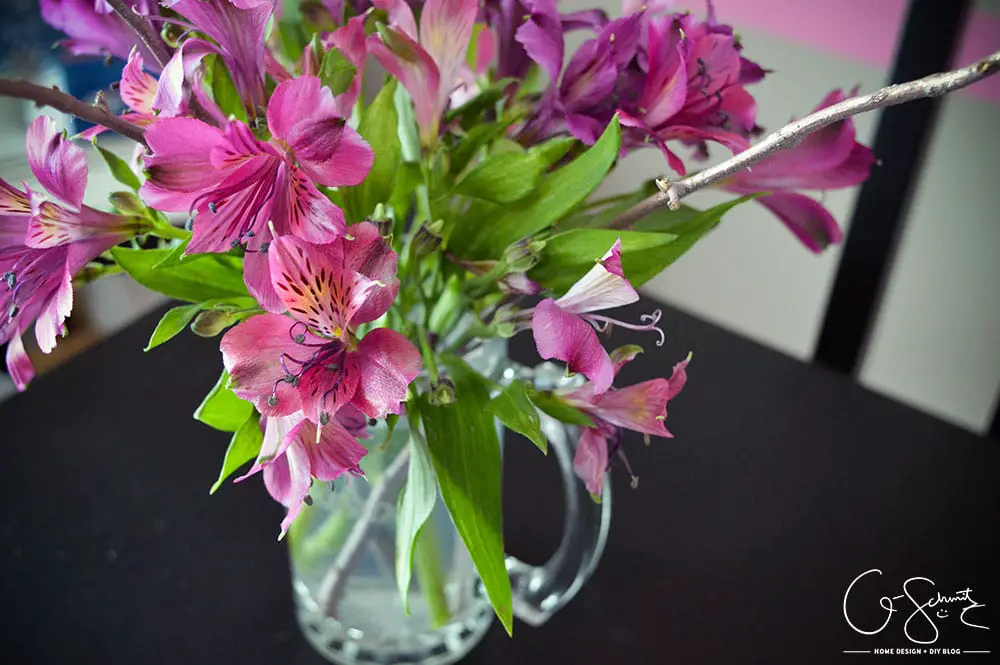
I filled the vase with some water (and the cut flower powder you get in the little packets) and wrapped the clear vase with some silver sparkly paper I had left over from our wedding (and some pink crepe streamers too). After finding a balloon weight lying around, I decided to take it apart and put the white pieces among the flowers as well.
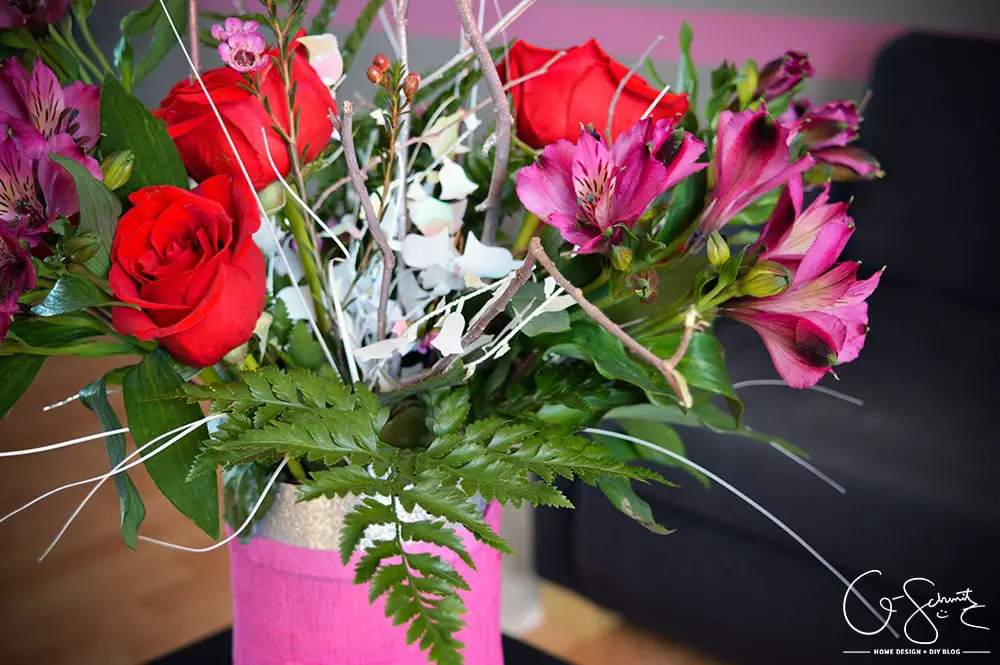
This arrangement was the biggest, and lasted around a week (meaning, somewhere between 5-10 days). Eventually, the outer rose petals got a bit wilted and dark looking, so it was time to condense the arrangement into something smaller. It was also a bit tricky to move the vase around since the crepe streamers would slide around whenever I picked it up from the sides.
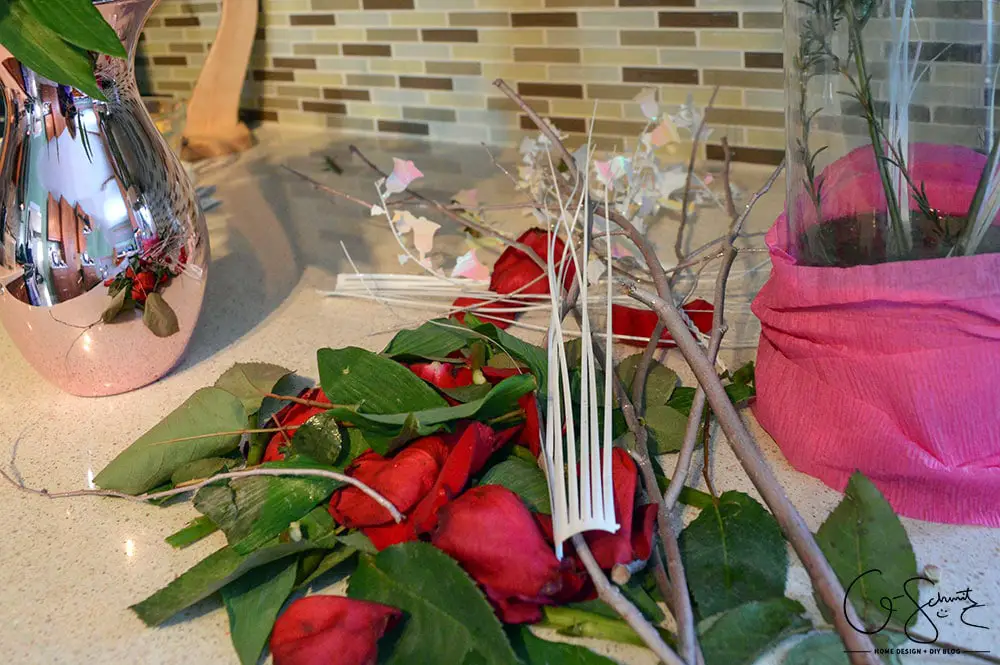
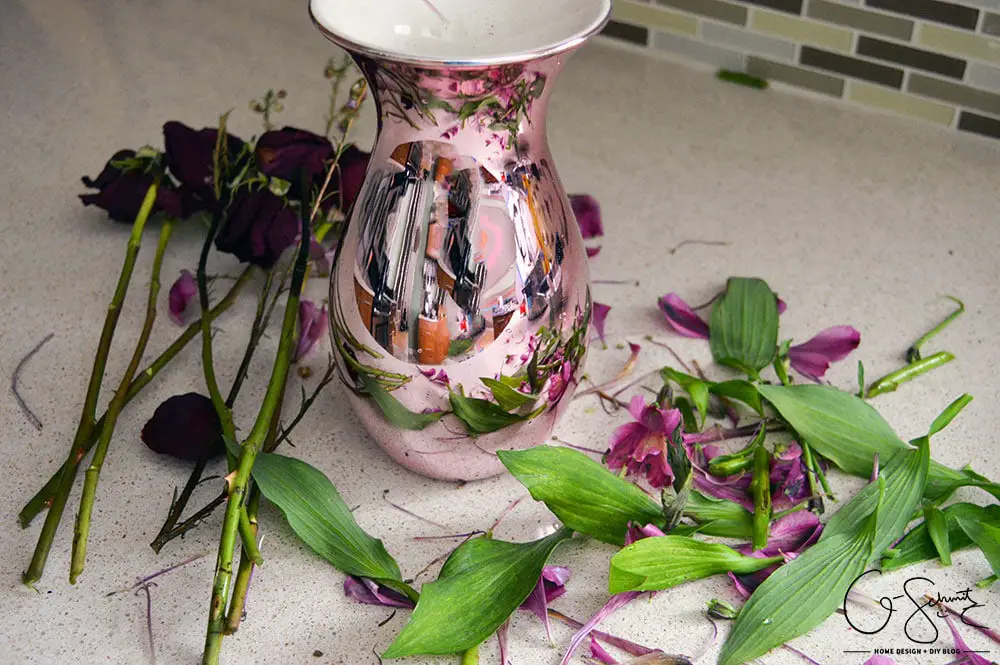
It was time to take out all the dead and dying greenery, and in the photo above you can see the pieces of balloon weights I was talking about (the white stringy things in the front, and the iridescent “branch” in the back). DIY/PRO Tip: To make roses look fresher, you can easily just remove the outer petals that have started to brown (and they will probably start getting loose anyways).
Because I would be condensing the size of the arrangement, I got out a smaller vase and had to cut the stems once more. I would recommend that you cut at least an inch from the bottom to ensure maximum freshness, but because I was going to a short vase, I had to cut a bit more off (again, at a 45° angle).
I discarded the white balloon weight pieces, about half of the painted branches and whatever other greenery “fluff” they had in the original bouquet; and completely changed out the water from before. Again, this arrangement lasted around a week, and was much more manageable to move around whenever I had to clear off the table.
Unfortunately, the roses got pretty wilted by now (ie: completely dry) so I had to take them out completely, along with any other wilted pieces. Now, I also took out as much of the bottom leaves as possible, with my reasoning being that the water goes up the stem, and I didn’t want the leaves to absorb water that could be going to the flowers itself instead.
Now, I don’t have many vases here (actually, just three) so for the final, and smallest arrangement I decided to put them in a clear beer mug. A nice clear glass cup would have probably been better aesthetically, but I was worried that the weight and top-heaviness of the flowers might easily tip it over (and this beer mug was pretty sturdy!). Again, I filled it with new fresh water treated with the flower powder, and whichever type of flowers these are have seemed to last a while, as it’s been more than 10 days since I changed it over to this mug. Some petals are falling down, but I just pick them up – I may eventually go to the glass cup container method, because there are still some super fresh looking flowers left.

So that’s how I was able to take one grocery store floral arrangement and create 3 different looks within 1 month! How about you? Do you have any tips and tricks on how to extend the life of cut flowers? What about any go-to bouquet “fluff” material (like the painted branches and balloon weight décor I used)? I’d love to hear your comments!
No Comments