
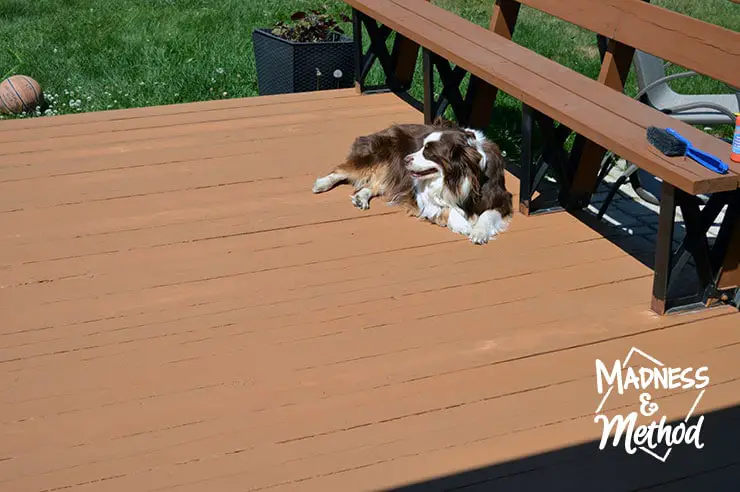
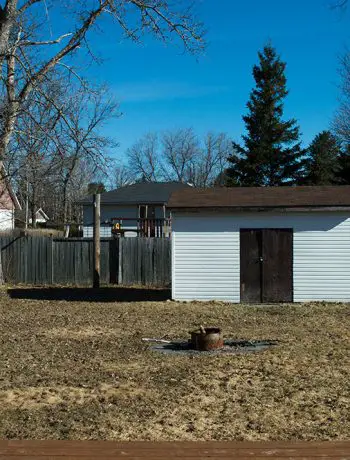
Even though we’re in the middle of projects at the rental renovation, there are still things we need to do around our main house too! I figured I had to take a break from the other stuff and share this outdoor project I did a bit ago (you know, before summer ends, ha!). Find out how to repair damaged deck boards and scratch an outdoor project off your list before the weather gets cold again!
– Note: This post contains affiliate links. See more information about affiliates here. –
As part of our regular outdoor maintenance, it seems like I have to stain the deck every. single. year. Even though I prep everything properly and make sure to follow all the instructions, we always end up with peeling stain.
It’s usually worse in the areas that get a lot of foot traffic, and no matter how I treat the deck in the winter (whether we shovel the whole thing, or just let the snow build up)… every summer it looks the same.
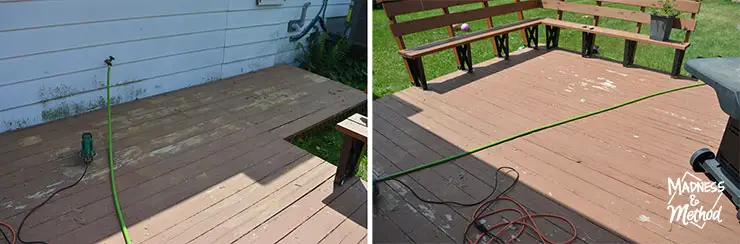
This year, I even researched different stains to see if there was a better product out there, and began the task of sanding and cleaning the deck again.
Materials Required
- I used regular/indoor wood filler
- BUT you should use this product to fill in your wooden deck cracks
- And can try this one to stop rotting!
- Paint scraper / broom / vacuum
- Stain applicator and outdoor stain
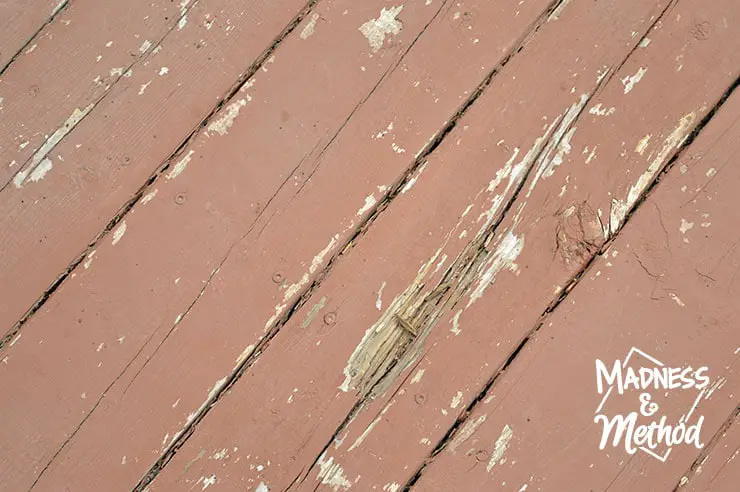
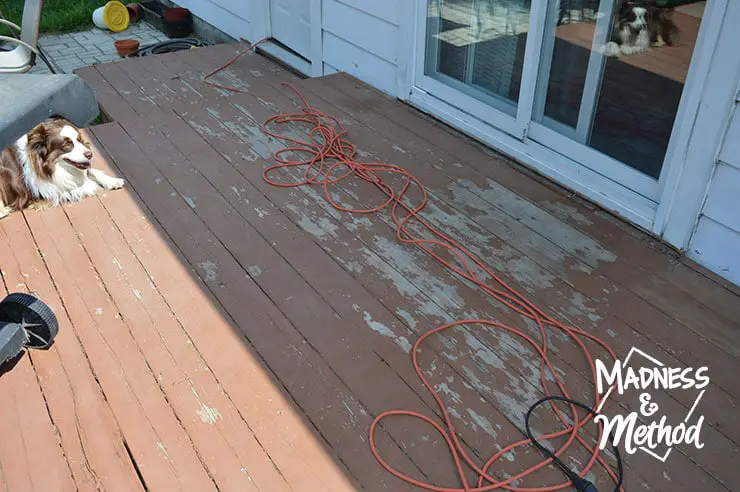
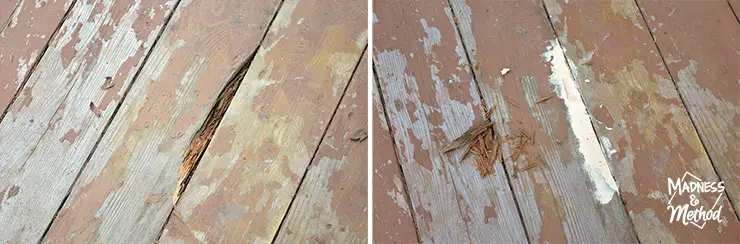
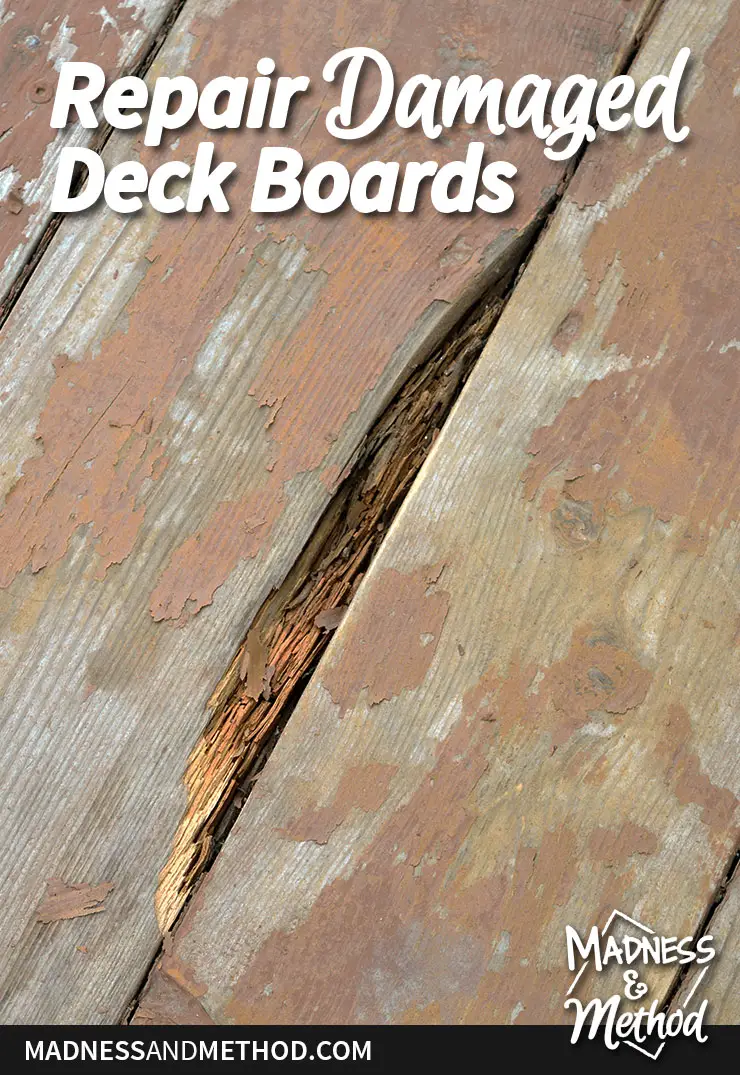
Unfortunately, I noticed that we had some pretty substantial cracks along a few of the deck boards, and even some rotted out areas too.
There were about 5 boards that had a big split in the middle (you can hardly tell what the normal gaps are compared to the splits in the photo above!) and I wanted to repair the broken deck boards this year so that there would be no further damage.
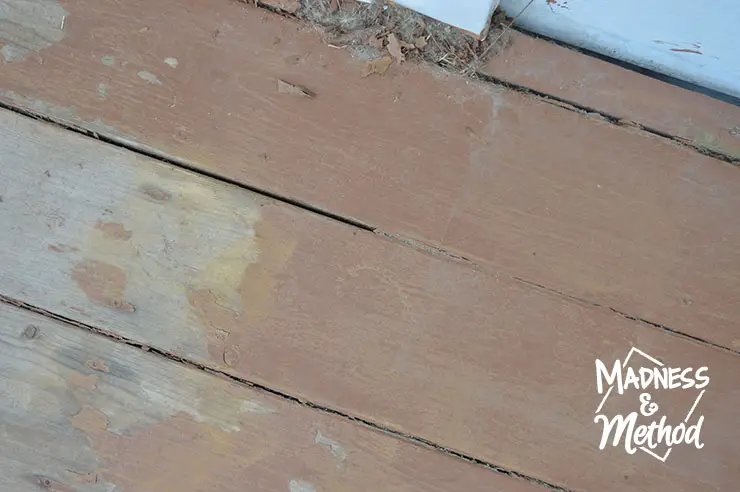
I think that our deck was probably not built correctly, because it seems like the boards are a bit too close together. There isn’t enough place for the water to escape, because the seems are getting filled up with gunk and the water is just sitting on top. I’ve also seen the proper “deck boards” at the store that have curved edges, while ours are more squared off…
How To Repair Broken Deck Boards
My initial thought was to just unscrew the damaged boards, then re-install some new ones in their place. Unfortunately, after years of wear and tear, the screws would not come out! They would either be stuck too tight and the drill couldn’t grab them, the hole would strip or they would snap halfway. The Husband and I tried ten different screws, and only one came out all the way!
So much for that idea…
The Husband’s next suggestion was to tear apart the entire top of the deck and replace all the boards. Which would mean we would have to take apart the benches we built too. And we’d probably have to rebuild the support underneath since it would most likely need to be replaced too…
Now, I don’t know about you, but that seemed like a big time and money expense (and our time and money have been going to the rental renovation lately) just because a few boards were split.
So I thought about the next best thing… can’t you just use a wood patch compound to fill in the gaps!?
Turns out you can!
(But not really the one I used, see below for more info)
Once I had cleared the loose wood debris from the holes/gaps, I took out my wood filler and filled everything in.
Side note: Apparently Wood Filler isn’t meant to be used for “horizontal deck boards”, but I didn’t know that until after I had filled everything in… More internet research found that you can use this product to fill in your wooden deck cracks, and even this one to stop rotting!
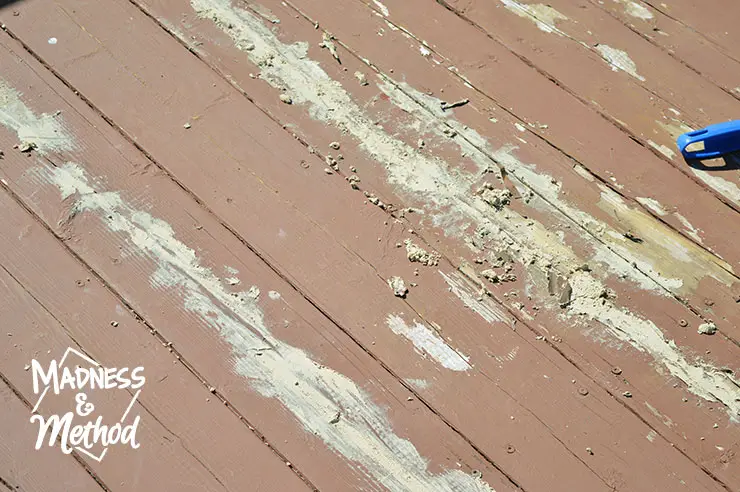
I scraped the wood filler into the gaps and tried to scrape away as much excess as possible. I remember from past experience that wood filler dries pretty hard, so wanted to avoid as many unnecessary bumps and ridges as possible.
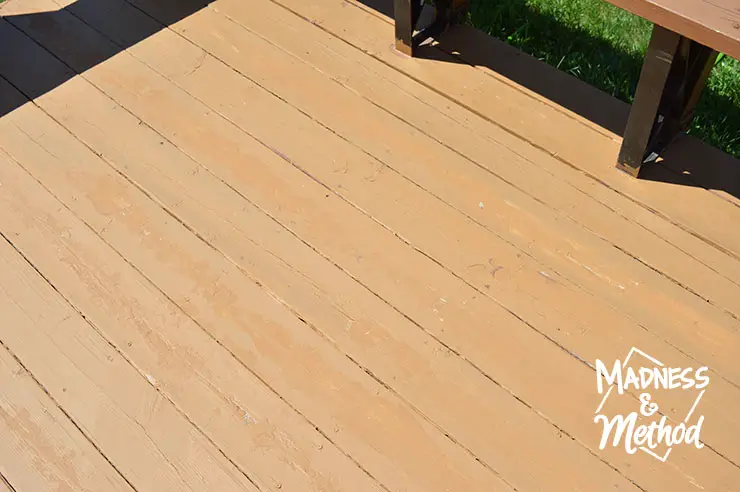
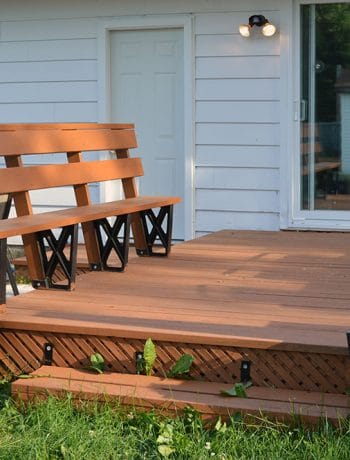
I still went back and sanded everything of course, then cleaned up properly and applied my first coat of stain. In the past, I always stained with a brush, but this year I decided to get an applicator and it was super quick. Cleanup was a bit more of a hassle though since it really seemed to absorb a lot of colour.
I also couldn’t get into the nooks and crannies as well and will need to go back with a brush to do all the edges, but at least the wood filler has held up nicely so far! (It’s been almost 2 months since I did this…). And yes, I do still have my second coat to do, but I’ll get to that eventually, ha!
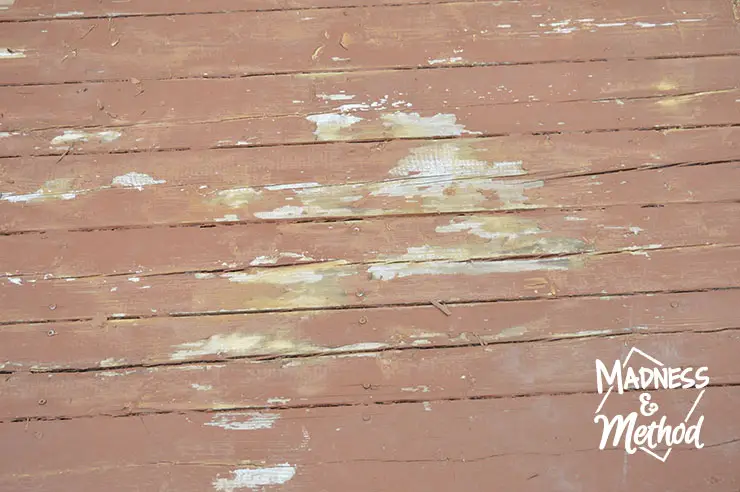
Oh, and remember how I wanted to avoid the peeling paint this time (I wish it would just fade away, rather than come off in chunks)? When it gets wet, you can totally see the stain bubble underneath, so I know I’m in for some more peeling… (and this is the third stain I’ve tried!).
But at least my improperly wood-filled gaps seem to be doing okay! I’ll let you know how they handle the snow and cold temperatures we get :)
Just remember, when you need to repair damaged deck boards, first try and remove the damaged ones, and if you can’t, then look into the products to fill them properly!
Year Update: The wrong wood-filler does seem to be holding up still.

4 Comments
Chris
June 7, 2020 at 8:55 pmHi Nicole,
I have been helping our landlord out by dealing with staining and repairing our deck. There are spots and cracks just as your show in your pics. Like you we started out following his lead from previous years but the deck was worse now so those methods no longer held up or worked. There is alot of information and opinions on what to do and not do on outside decking so here’s the BEST info. (FYI, my job is being a bit of a jack of all trades for things like this so Im very good on research and very knowledgeable in a large area of topics just so you know your not listening to some quack :) )
You are spot on with the Minwax wood hardener for those open chunk areas, however my research leads me to follow the opinion that wood filler on a deck is NOT a good idea, will never work as others say AND if you read the label it is not specific for decks its an indoor/outdoor so whenever you see that its better to stay away. For repairs like this you want something that is SPECIFICALLY and ONLY for what your doing.
Seeing as your already through this year my recommendation for you next year’s sealing is a product called Cabot’s Deck Correct! In addition to using the Minwax wood hardener first in those problem areas.
https://www.cabotstain.com/do-it-yourself/exterior/deckcorrect.html
Its tintable as well so that covers your color. It also solves the beading difference you can see under the stain that you describe.
Biggest thing is to clean the deck properly before doing this next year as you should not need to seal the deck again for several years if done right. WITH this do a little more research on cleaning your deck as there is actual feedback that says power washing and using alot of water to clean it IS BAD. I agree it can do more damage prior to staining and sealing.
For future info as well just re-staining sealing in future Valspar Solid One Coat Exterior Stain and Seal is an excellent product Ive used in past also, again a tintable brand.
Good luck to you, hope this was helpful!
Nicole
June 8, 2020 at 7:33 pmThanks for the feedback/research. So, the “wrong” wood filler I used held up one summer (as in, perfect level deck – just needed stain again), and then this year was our second summer after this patch. I did have some areas that were pitted again, and not sure if they were the original ones or new ones. Not sure whereabouts you live, but we get a lot of snow, and I do know that some other local people have similar issues (ie: stain peeling and having to recoat each year). I believe whoever installed this deck originally had placed the boards too close together, so there was not really a gap in between to let the water escape.
We’ve just sold our house, and I’ll make sure to pass on as much info to the new owners as possible, thanks again for visiting!
Alex Sutton
February 11, 2022 at 11:25 amThis is incredible! I wish I would have found this last summer! Our deck ended up having some similar issues with boards splitting down the middle. It was going to be a huge pain to try to get them all up and try to replace them on top of needing to clean and restain everything. We ended up having a local deck repair company come out and they recommended that we just replace pretty much everything so it was newer and would hold up better over the years. They even included restaining everything, which was awesome! I will definitely be keeping this in mind for future deck projects. Thanks for sharing!
Nicole
February 11, 2022 at 11:31 amThat makes sense! Our deck could have probably done with a full refresh/install of the top boards. Our fix lasted us at least two years (then we sold the house).