
If you’ve ever stained outdoors before, you know how tricky it is to get nice weather that will cooperate with you. You need almost a whole week without any rain, and the temperature can’t get too cold (or hot) either. I think I waited a month to get perfect conditions to stain, and even then, we still got a sprinkling of rain! Check out all the photos of the progress and read about the details.

I first set aside the pieces of wood we needed to add to our straight and corner benches (along the bottom). Remember how we were going to wait to install them until after we stained the deck? Well, the Husband thought the benches looked just fine without the bottom, so we stored these away for another project.
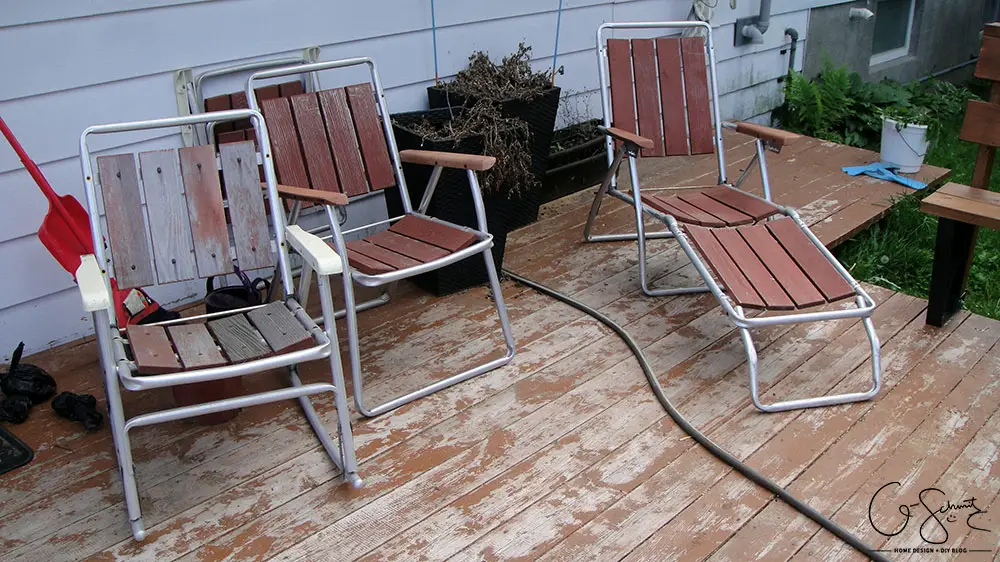
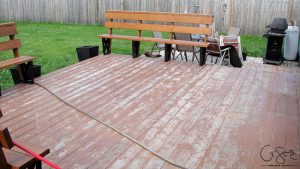
The first thing we had to do was clear the chairs and stuff off the deck. Notice all the flower pots in the photo above? Ya, I never actually cleaned them out from the year before and they were on the deck all winter.
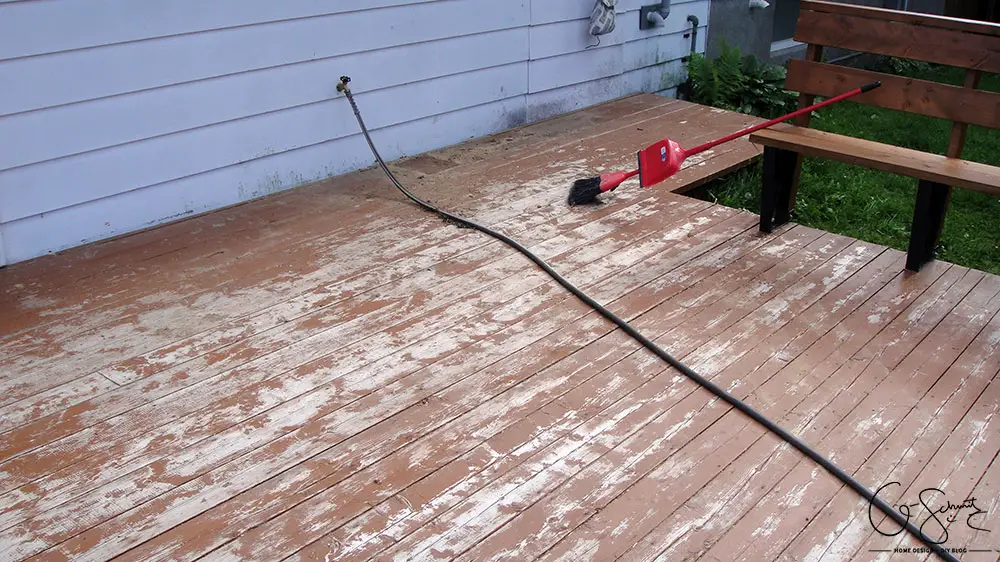
Once everything was out of the way, I was able to go in and sweep all the loose debris, dirt, leaves, etc.
It was super dirty and there was a lot of sawdust leftover from when we built the benches and our raised garden beds. Once that was all clear, I was able to start the staining process!
I figure I wouldn’t be able to offer too many tips on staining that differed from the pros, so if you’re looking for in depth information I’d suggest reading this article from Mike Holmes. In case you want a quick recap, here are the main points:
- Clean and pressure wash your deck
- Sand everything
- Stain (not in blazing heat, and not when it will rain)
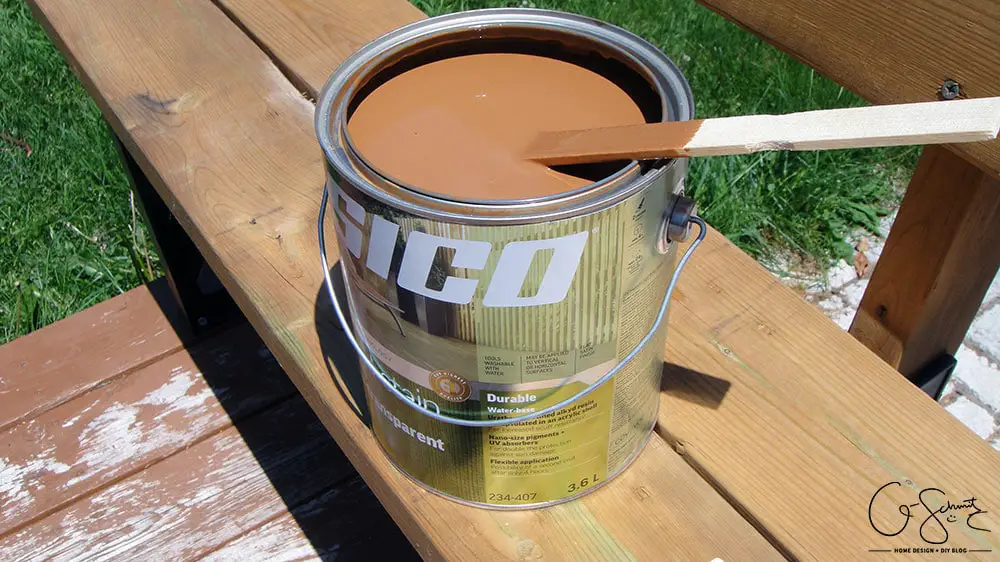
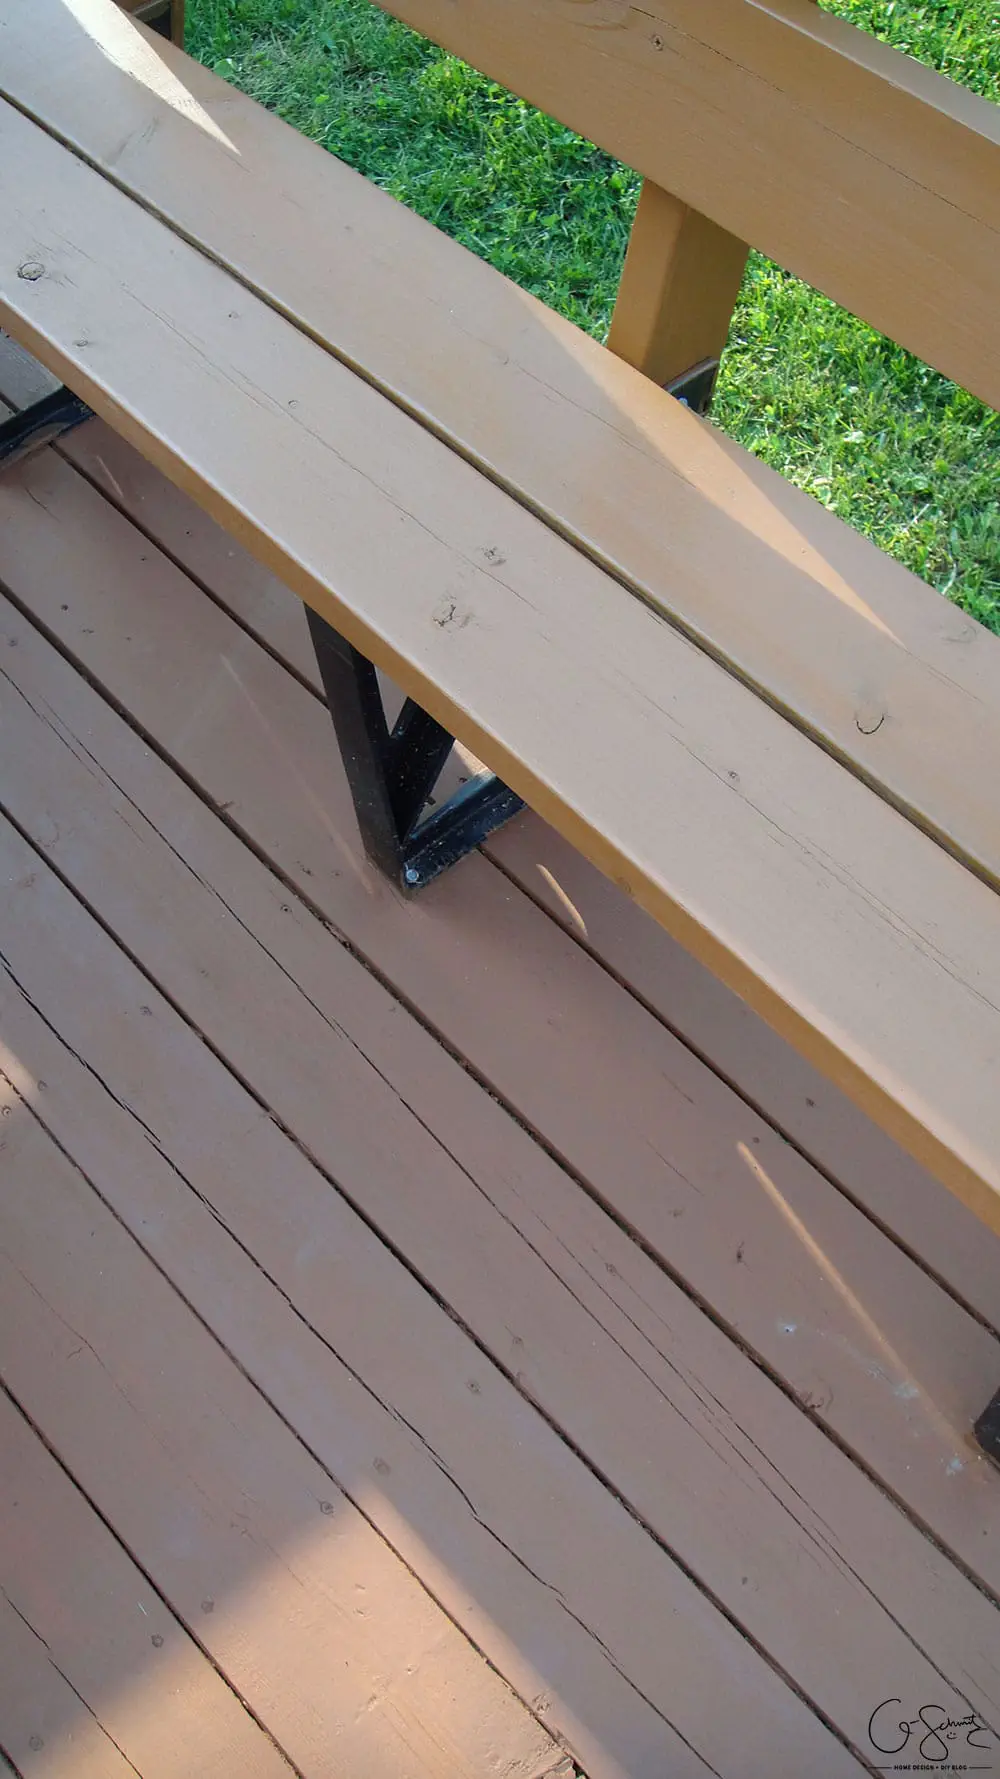
I had some semi-transparent stain leftover from doing the deck last year and I figured I would use it on the benches, and do a nice solid stain for the actual deck part. I believe the colour used was called “Teak” but I bought it on super sale because it was one of the mis-tint colours at the store.
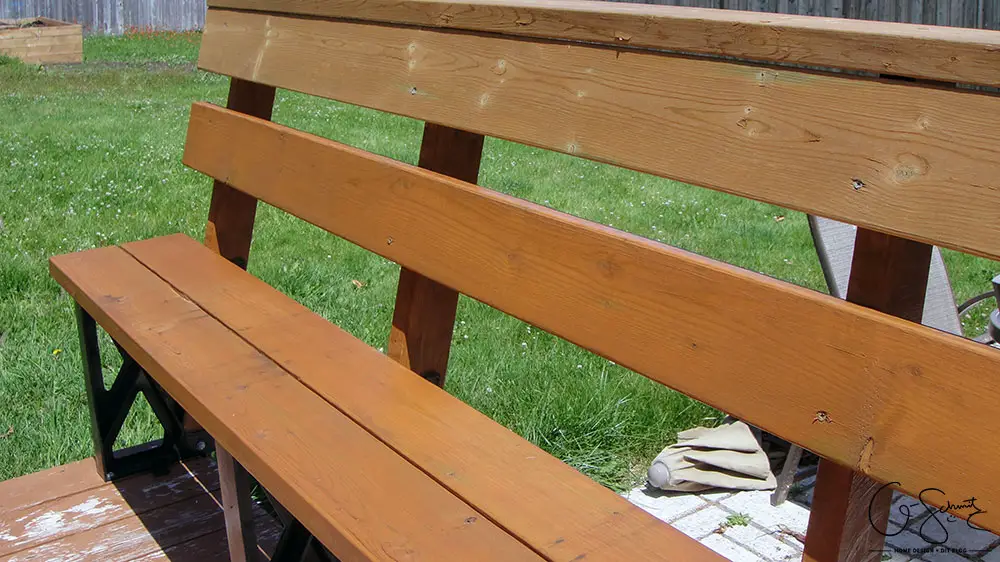
At first, I did the bottom (seat) section, then worked my way up, BUT soon realized this was not the ideal way to stain. When working on vertical surfaces, you should start from the uppermost section, then work your way down. That way, if you have any drips of stain, you can wipe them away as you go and you don’t have to back-track.
I finished the straight bench, and then moved on to the corner bench using the top-down technique. They were looking super sharp and nice after the first coat. I should also mention that I just stained these straight, and didn’t bother with sanding them down first. The Husband figured that since they were pressure treated, it would make more sense to keep whatever pressure-treated chemicals on the surface there were.
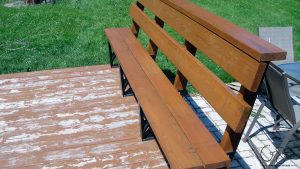
After a few days, and at a different time of day, the benches were still looking good, but they did require a second coat. I would suggest to whoever is building these, it might be a good idea to stain your wood AHEAD of time (ie: before installing them). That way, you don’t have to manoeuvre around the brackets and/or get stain all over them.

My Mom suggested getting Olympic stain because it was the best one, so we went with that in the colour “Timberline”. Looking at the samples in store, and comparing it to the semi-transparent stain we had before (from memory), I figured it would be the closest option.

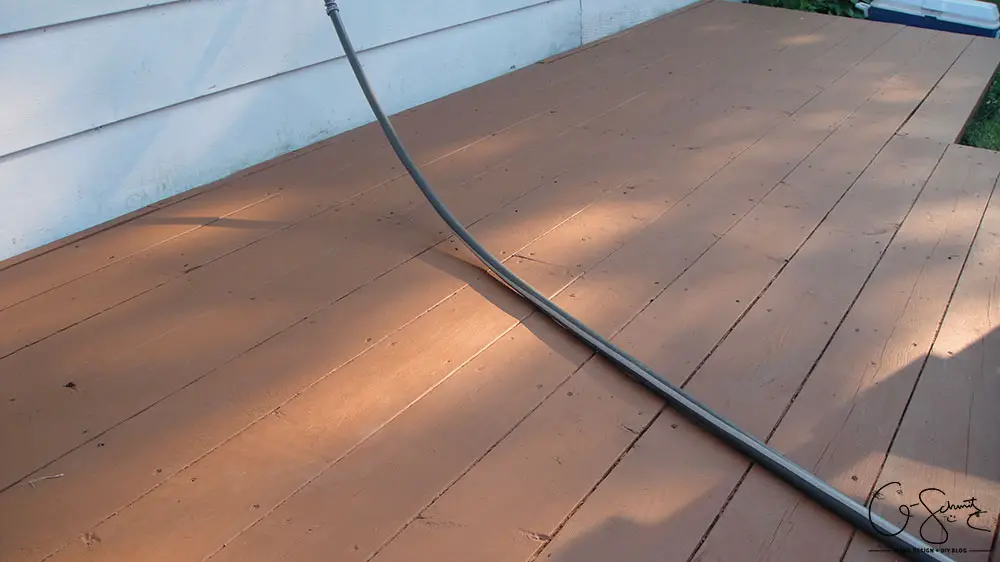
I pressure washed the deck on a Monday, it rained on Tuesday, then sanded on Thursday and had the first coat of stain on Thursday night (photo shown above after first coat). It’s important to make sure you stain when the deck is cool (ie: not “blazing” heat) or the stain will dry too fast and not absorb into the wood properly. I started the second coat of stain on the Friday morning, and by the time I was done the deck I noticed some clouds rolling in! You need 24 hours (minimum) without rain after you stain, but unfortunately we got some drizzle about 12 hours in. I was so disappointed, especially since they were NOT calling for rain!
I think the deck will be “ok” for now, and it seems to be keeping the water off, so we probably won’t be doing another coat anytime this summer. I’m really hoping my “5-year” Olympic stain will last that long, but I have a feeling it will be more like 2 years until I have to do another staining process (oh please don’t make me stain again next year!).
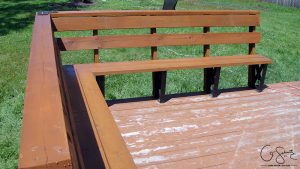
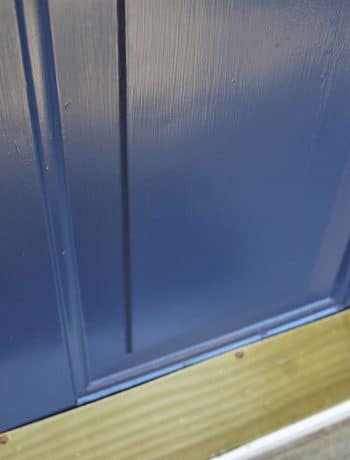
Remember how dirty and gross this area was after I had moved our patio chairs and flower pots away? Now, it’s all nice and stained, ready for the stuff to move back onto the deck.
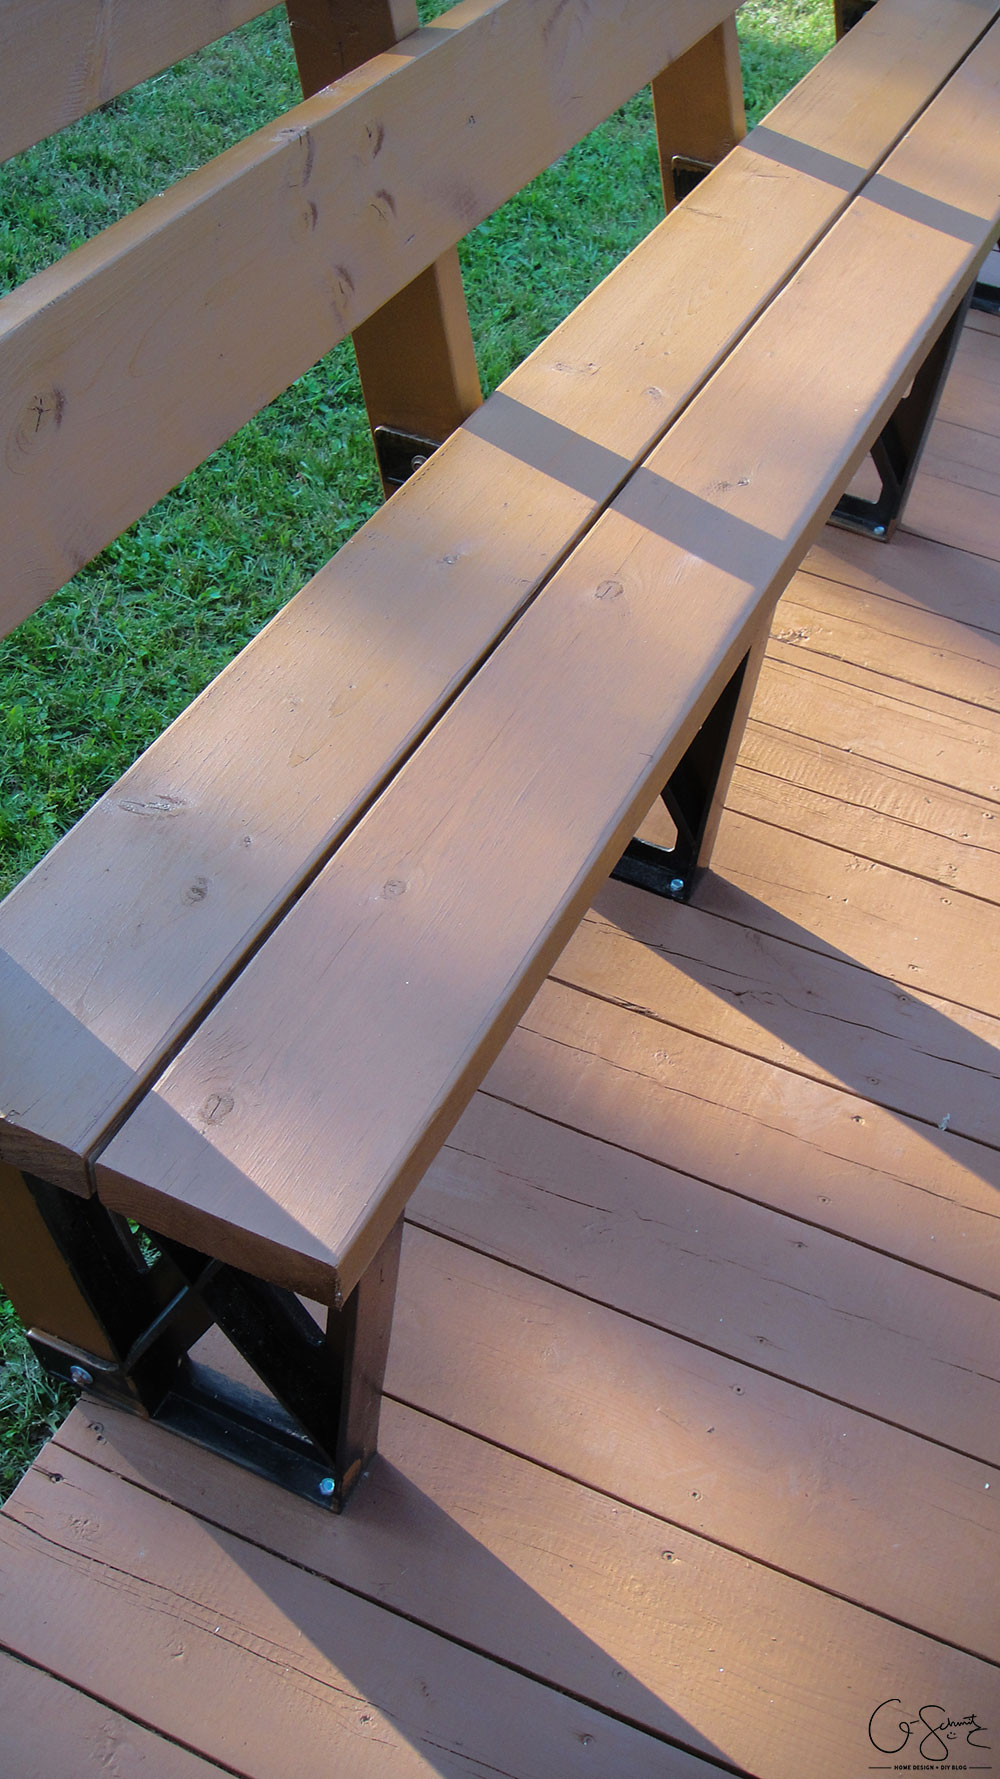
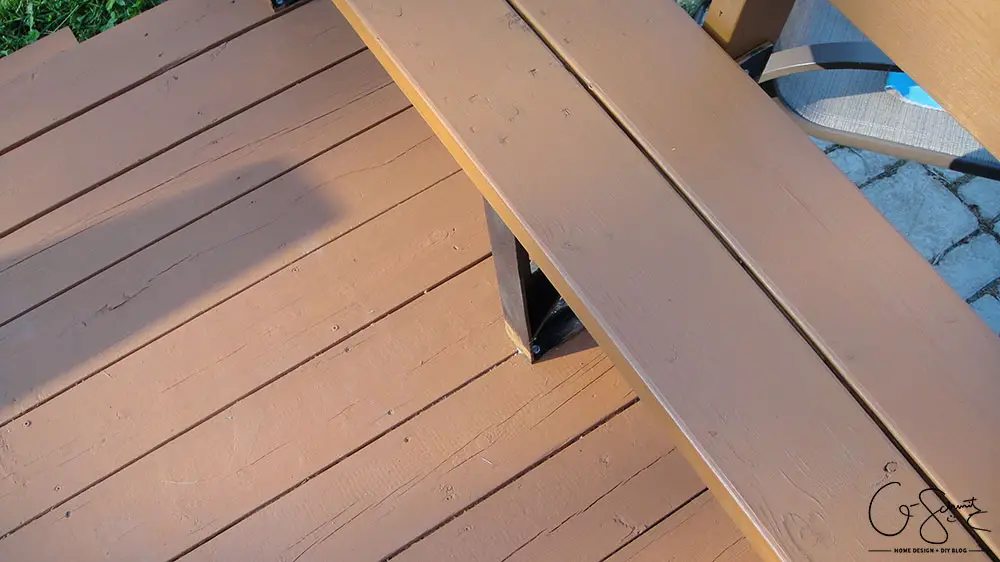
I had also done the second coat on the benches sometime on Thursday as well (after sanding the deck, to make sure no sawdust got stuck while it was drying). I think that both stains go perfectly together, and you can’t even tell they’re different finishes and brands!
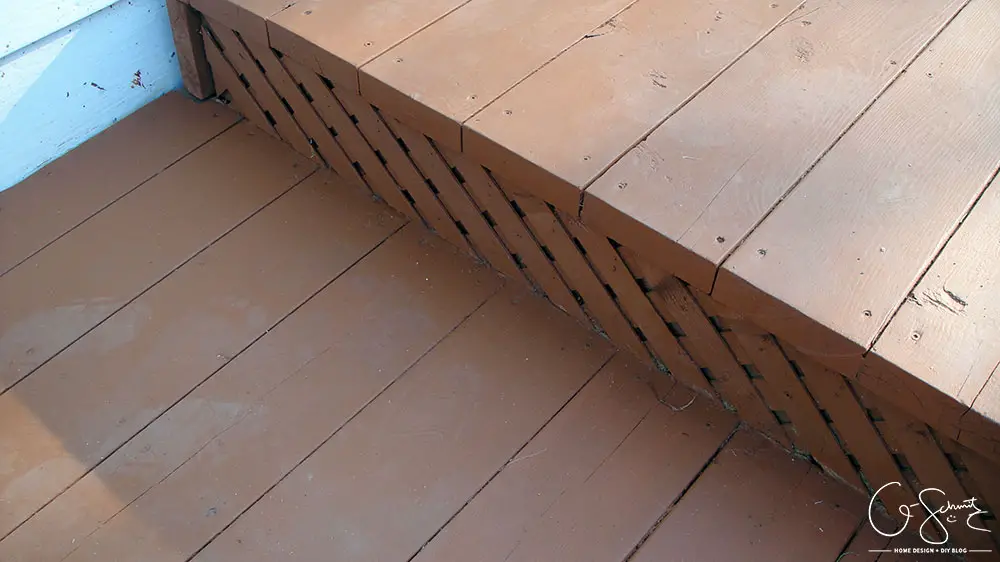
When I had written about our deck plans, I shared an image of how this area looked last year; and some new stain really makes it nice! Now, you can even see dusty feet-prints on the ground.
Staining the deck is a time-consuming task, and it is especially lengthy if you have a large area to cover. Remember, (1) clean your deck properly, (2) stain it down to remove any old loose stain and to prep your wood, and (3) then stain when there will be no chance of rain.
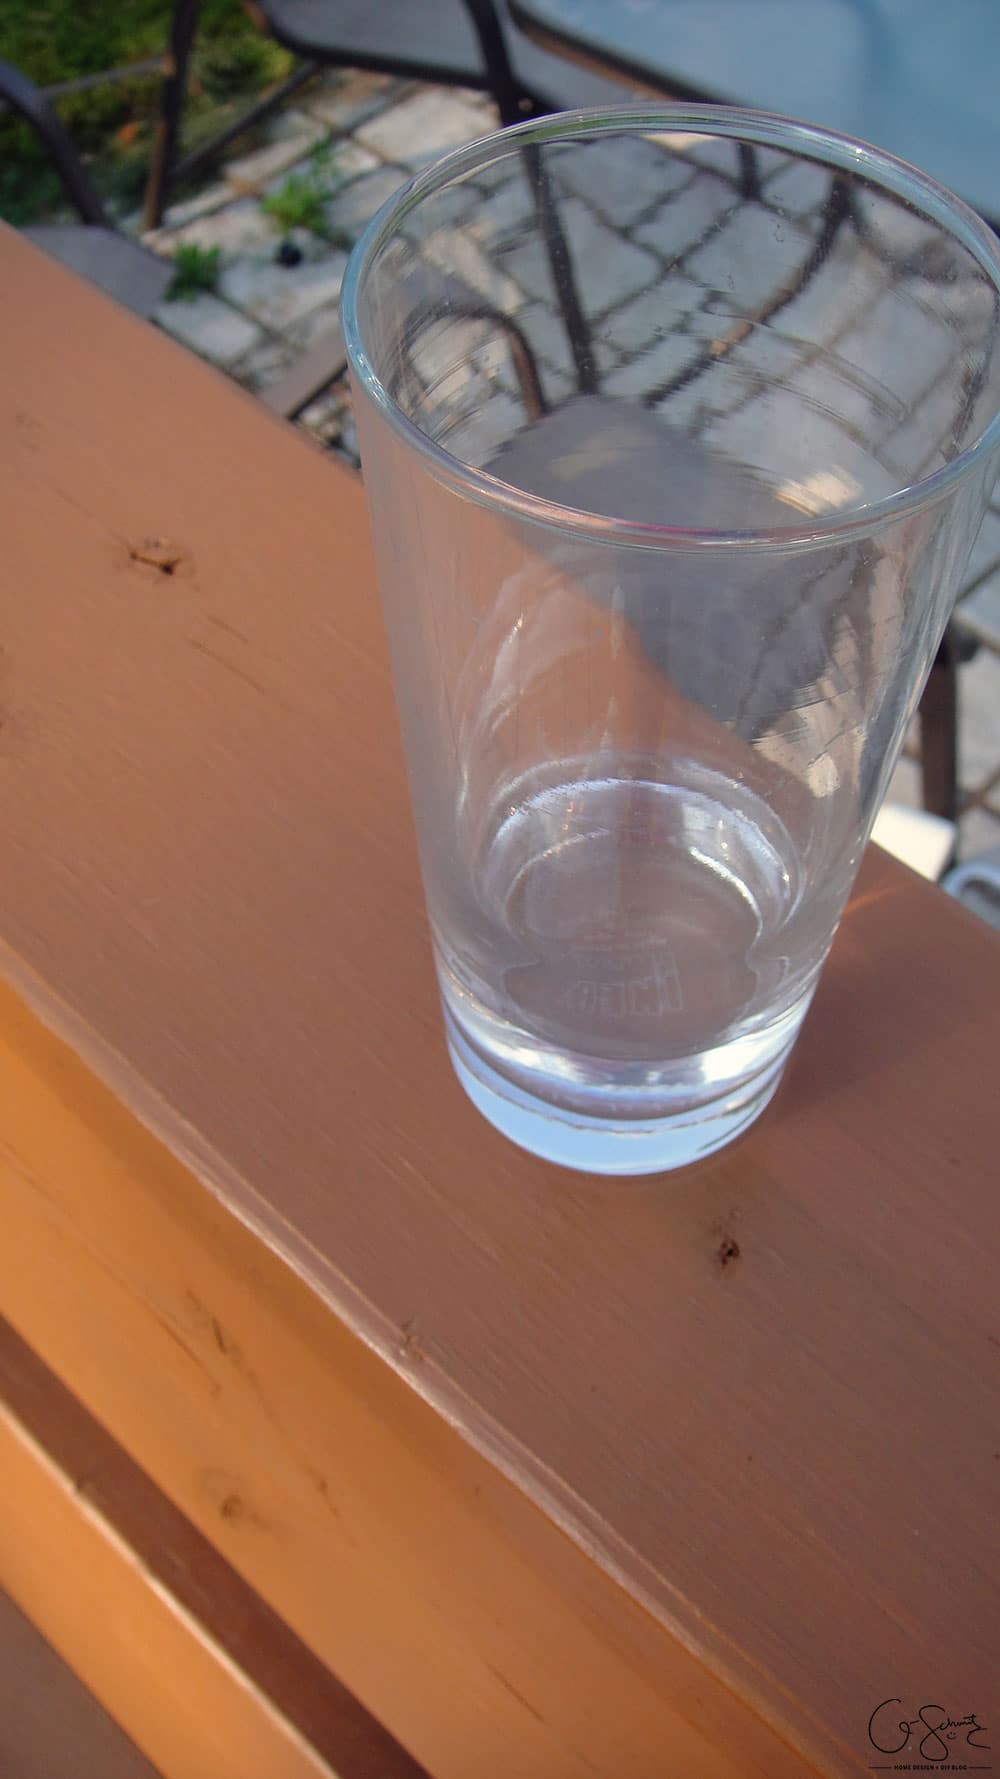
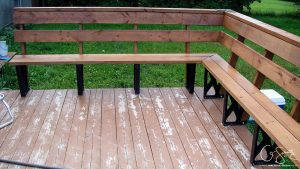
Now that the stain is on, I don’t have to work about water seeping through the wood, and can use our bench “cup-holder ledge” to its full potential! Have you stained your deck yet this year? Do you have any tips or tricks about the best technique to use? I’d love to hear your thoughts in the comments!
I can’t wait to get our table on this deck and host some great backyard barbecue parties. Spoiler: we’ve already done this but you’ll have to wait until next week to find out the details!
No Comments