

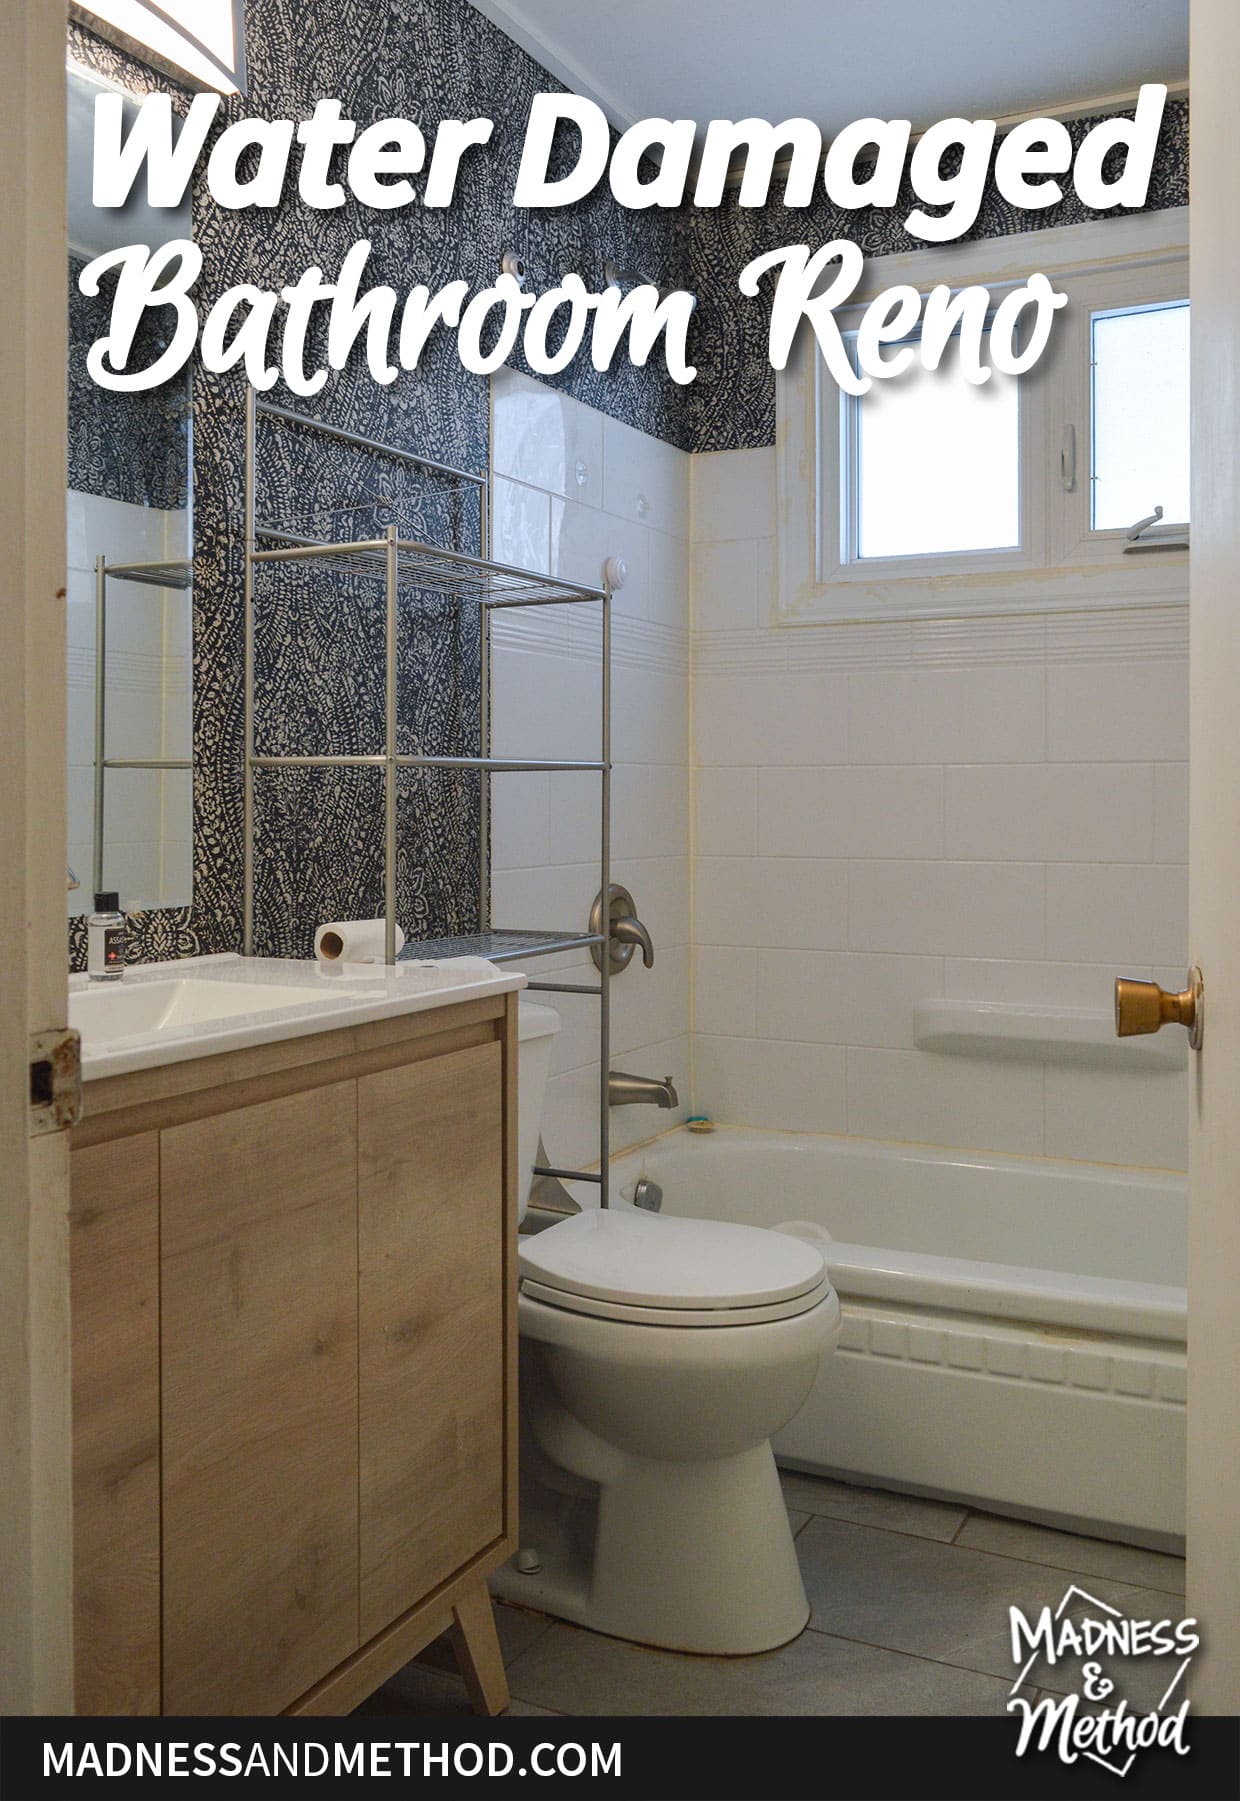
The upstairs bathroom at our rental renovation went through quite the transformation this summer. It was a necessary change, since it was leaking water into the basement! If you’re wondering why I’m finally sharing this water-damaged bathroom reno, it’s because I just finished it. It was livable this whole time – but now it looks a little bit better :)
– Note: This post contains affiliate links. See more information about affiliates here. –
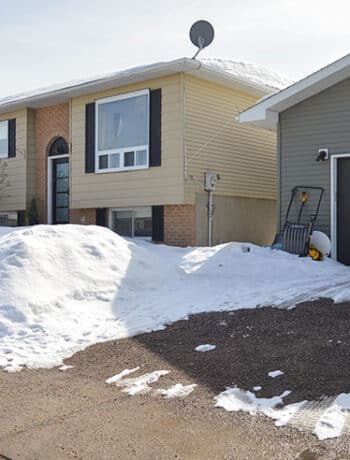
For some context, this is the bathroom in the upstairs unit of the house we bought in 2018. The upstairs is rented out full-time, and we use the basement apartment as an Airbnb.
You can see a tour of the upstairs here when we bought it, and a tour of the basement before here. (Plus an after tour of the basement here).
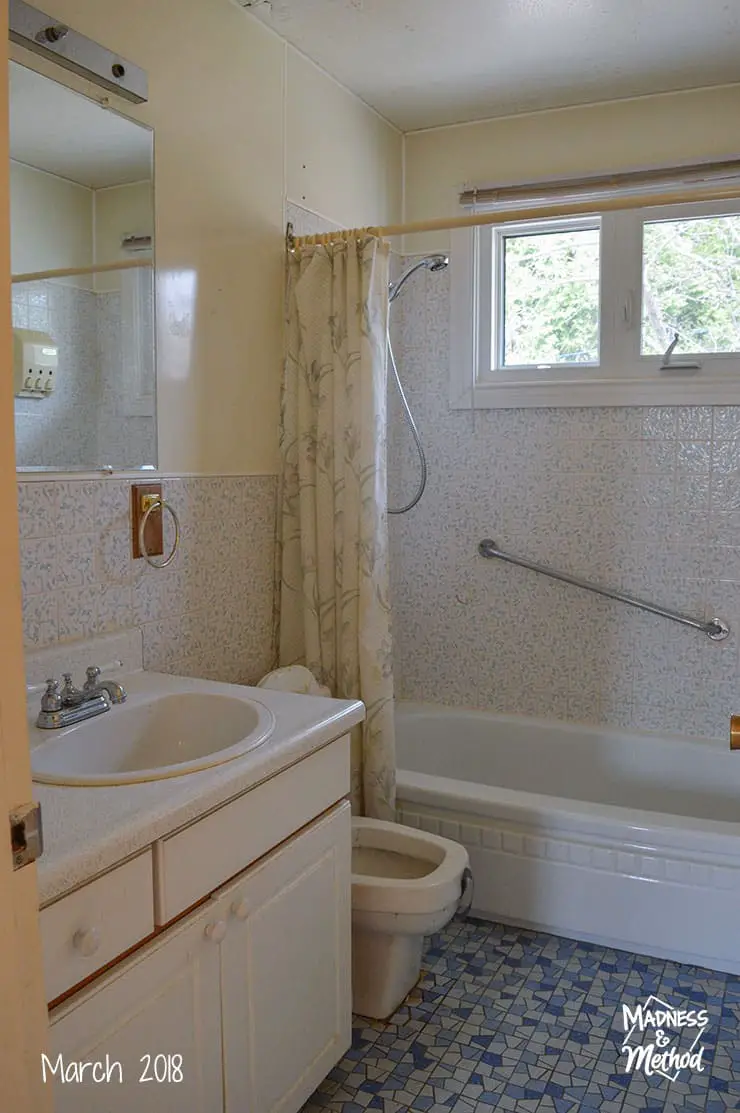
Essentially, this is what the bathroom looked like in 2018. It’s a 5×8 size, so perfect for the vanity, toilet, tub situation. I did patch over and paint the blue tiled floors, mostly because there were tiles missing and we didn’t want to renovate too much up here.
(I did add frosted glass film to the window – better for privacy!).
Bathroom Before
Then, we rented it for a few years to our first tenant. Just over a year ago, we got new tenants, and while I cleaned and touched up paint in most of the upstairs, I didn’t pay too much attention to the bathroom.
Cue a few months later, and I noticed in the laundry room (below this bathroom) that were was water pooling on the floor. I thought it was a laundry issue, until one time I saw it literally pouring down from the ceiling. The bedroom in the apartment (this one here) had a wall in the closet that was also getting water damage.
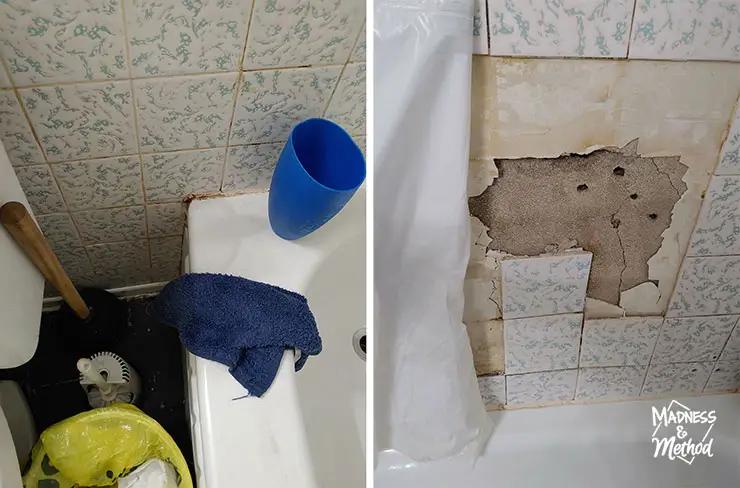
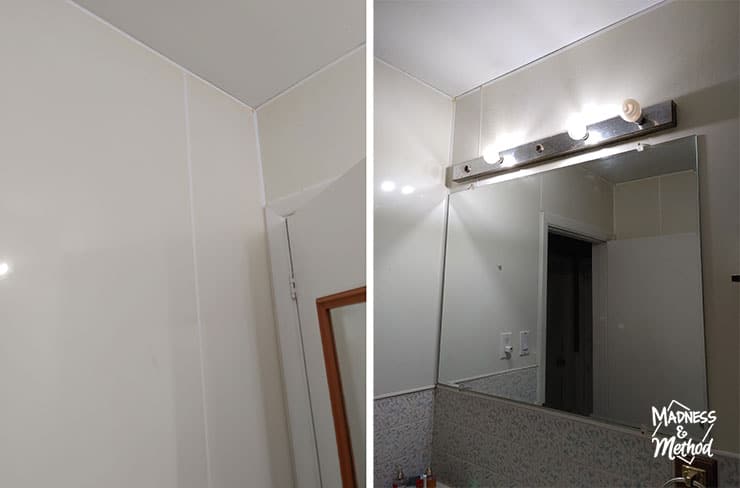
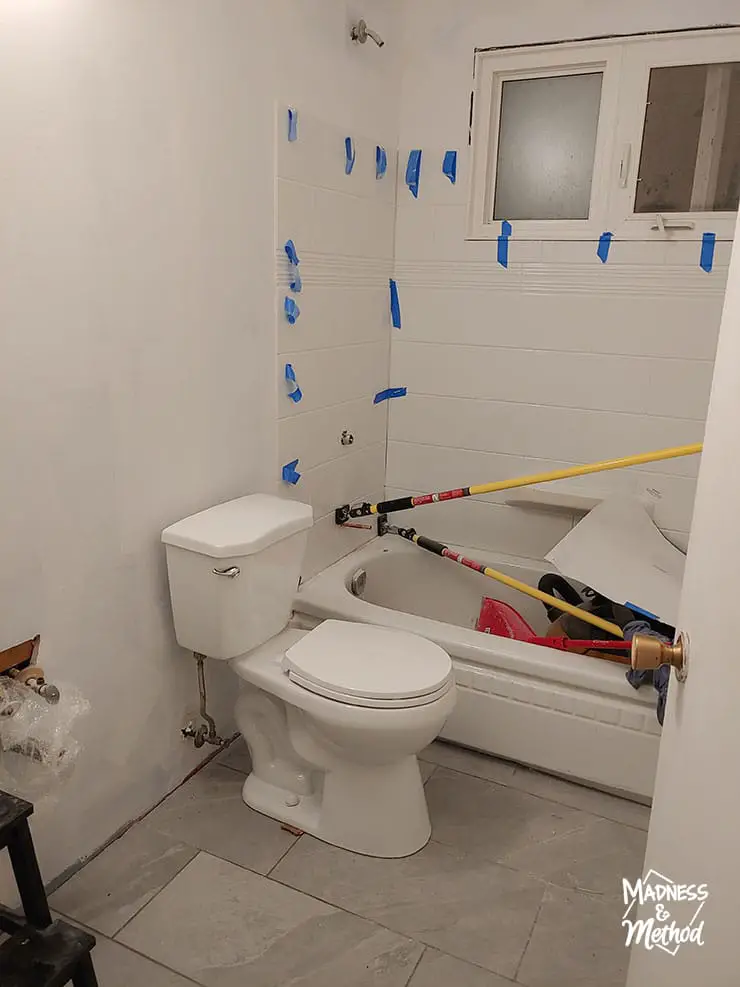
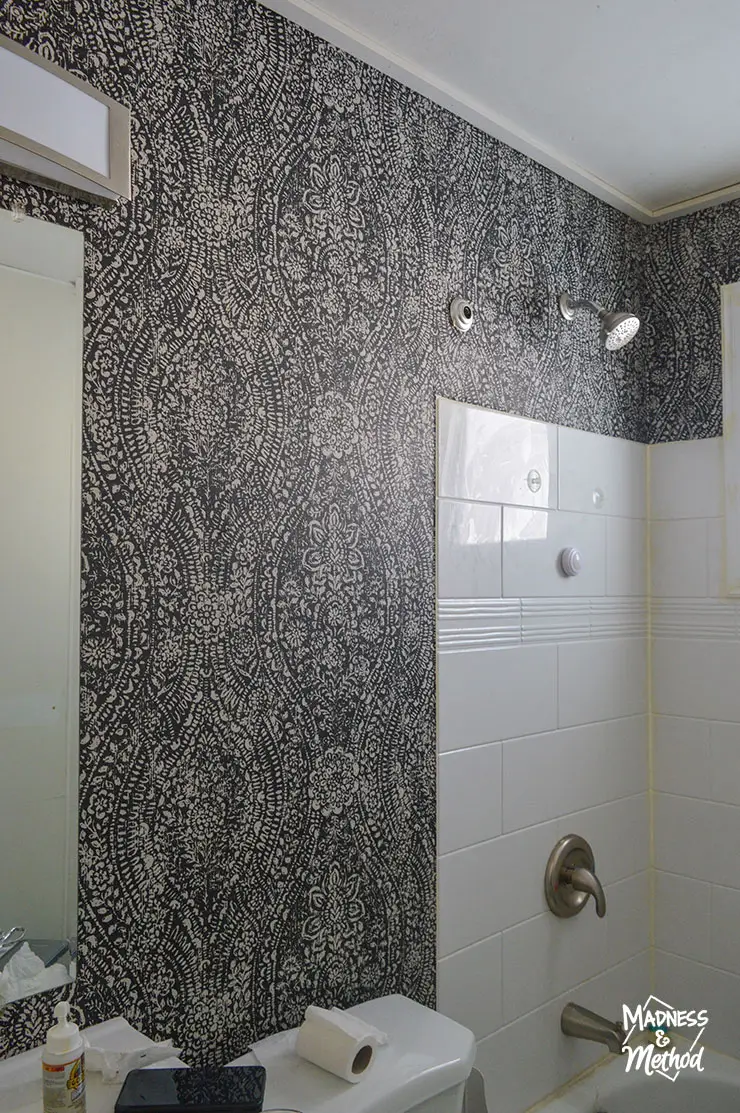
We had a plumber come in because I thought it was the pipes in the wall – but he did a test with the sprayer. The bathroom leaked whenever water hit the walls. The grab bar had also broken off, damaging a bunch of tiles (you can see the bag taped over the hole above). He silicone’d around the faucet and anywhere that there were gaps, but it was a temporary solution.
I think that was around May of last year, and we needed to address this bathroom asap. We called our insurance company, I measured and photographed everything, and planned for a renovation.
The problem was that we still had our tenants, and it was the busy summer season of our basement rental! Luckily, there was an open week at the start of July, so we blocked it off and got to work.
(Oh, and you can see in the photos above that most of the walls in the bathroom were these plastic panels. We wanted to leave them in place and only replace the shower area and wall behind the vanity/toilet).
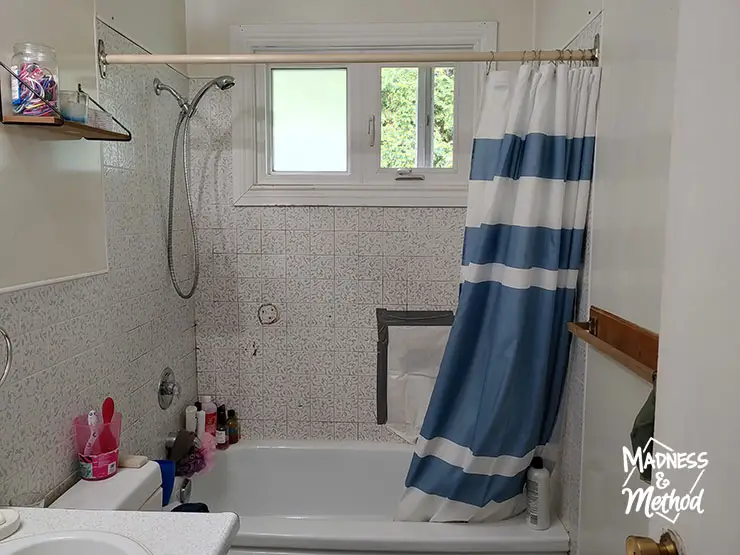
Water-Damaged Bathroom Demo
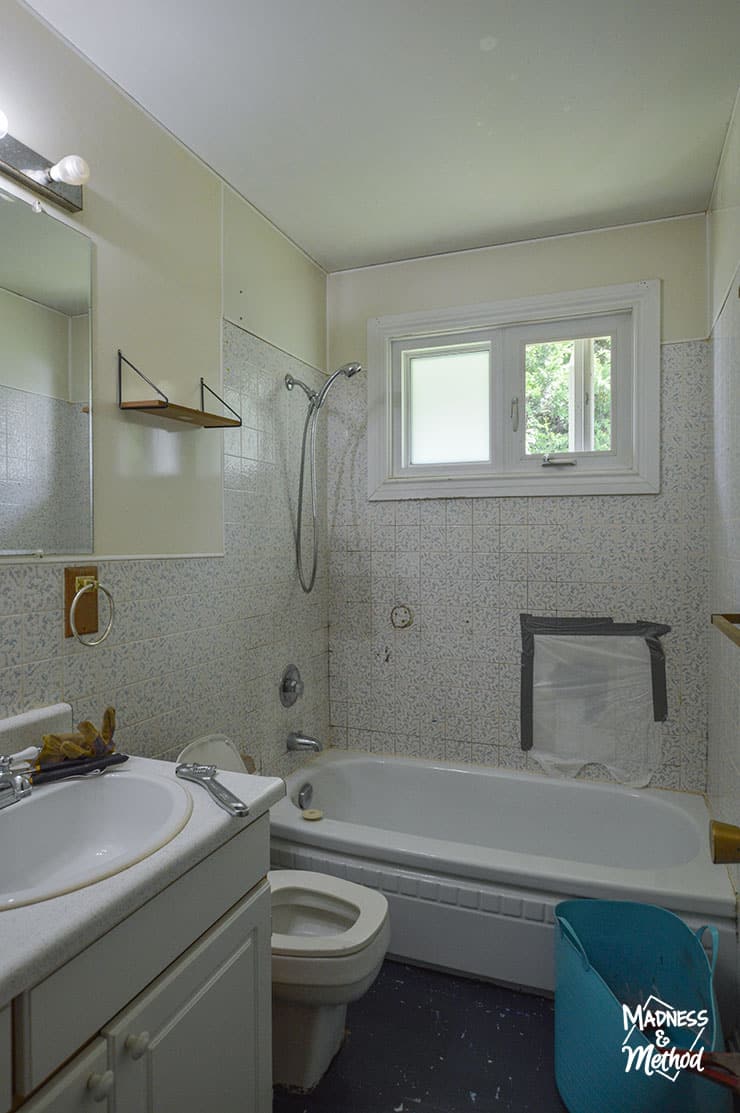
The photo above shows the bathroom before we started our demolition. We only had one week to take everything out and rebuild (well, Sunday to Friday).
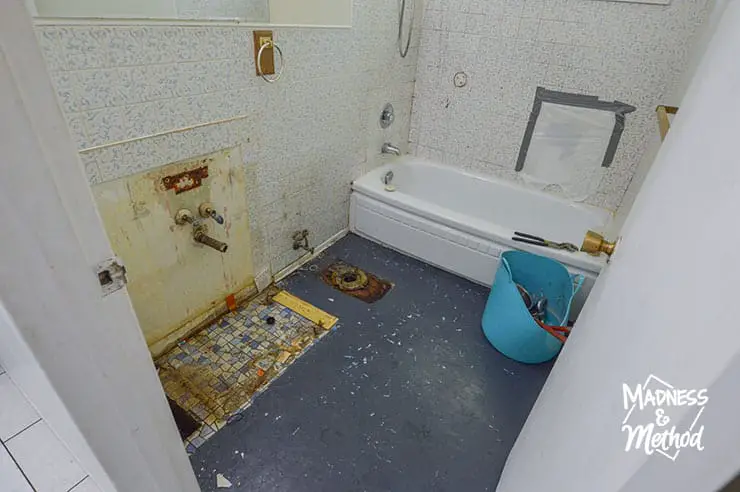
The photo above shows the floor tiles and how the paint fared after 5 years (by comparison, my brother’s bathroom still looks great). I scheduled Sunday and Monday for demo, Tuesday for adding the fan and having the plumbers come in, Wednesday for walls and floors, Thursday for shower walls, and Friday for everything else.

Ya, the water damage was bad! We also worried that maybe the window was leaking – but everything below it (aka the sill) was still dry. The corners of the room were also reinforced with metal mesh, and that was a pain to take out. We set out a dehumidifier to dry everything too.

The main area that was leaking (not including behind the shower tiles) was in the corner between the tub and toilet. At one point the toilet had leaked and they replaced that section of subfloor, but most here was the original planks. Aka cracks/gaps where lots of water could get in!
Bathroom Remodel Rebuild
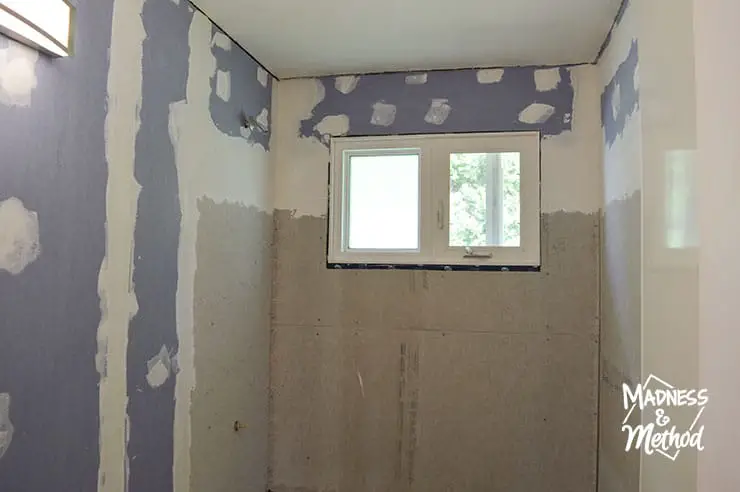
We replaced all of the wet/mouldy insulation, vapour barrier and put new water-type drywall behind the vanity/toilet. For the shower, we added extra waterproofing with cement board – even though it wasn’t necessary (we were doing an insert that could be installed over drywall).

For an added measure, I also used Red Gard on those sections too. We kept the original tub, since it was easier than removing it (and finding something that would fit!). The damaged/missing subfloor under the toilet was also replaced, and I painted that too.

On Wednesday night, I got the tiles on the floor in. The plan was to eventually redo the hallway floors (and kitchen too), so I planned my location based on that. They are similar tiles to the ones we did in the entry (and that I wanted to match but they were discontinued).
On Thursday, we installed the tub surround walls (and grouted the floors). Oh, and primed everything. This was our first time installing a tub surround, but essentially you just cut the walls to size, and glue them on. (There are screw-in ones, but those usually get attached directly to studs, are thicker, and wouldn’t have accommodated the window).
And the toilet got installed too! Our tenants stayed in the house during the renos and used the basement bathroom, but it was obviously tricky for them.
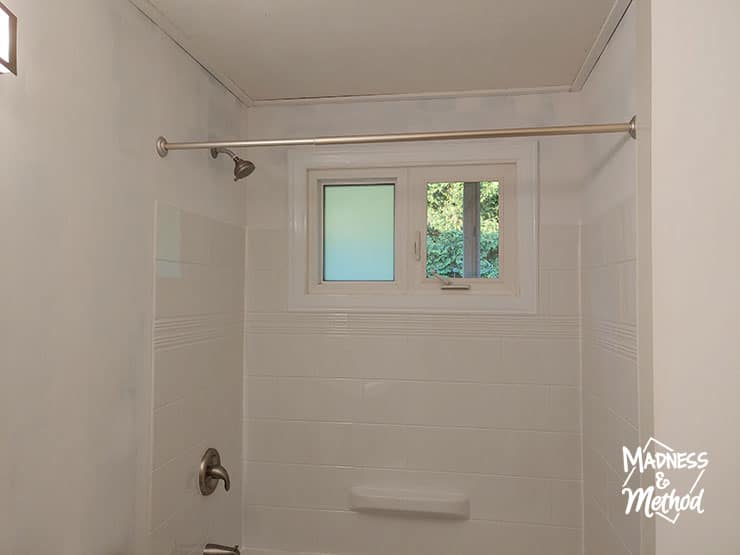
The next day I siliconed all the creases/gaps, added trim around the window, and started finishing everything!
Water-Damaged Bathroom Repair
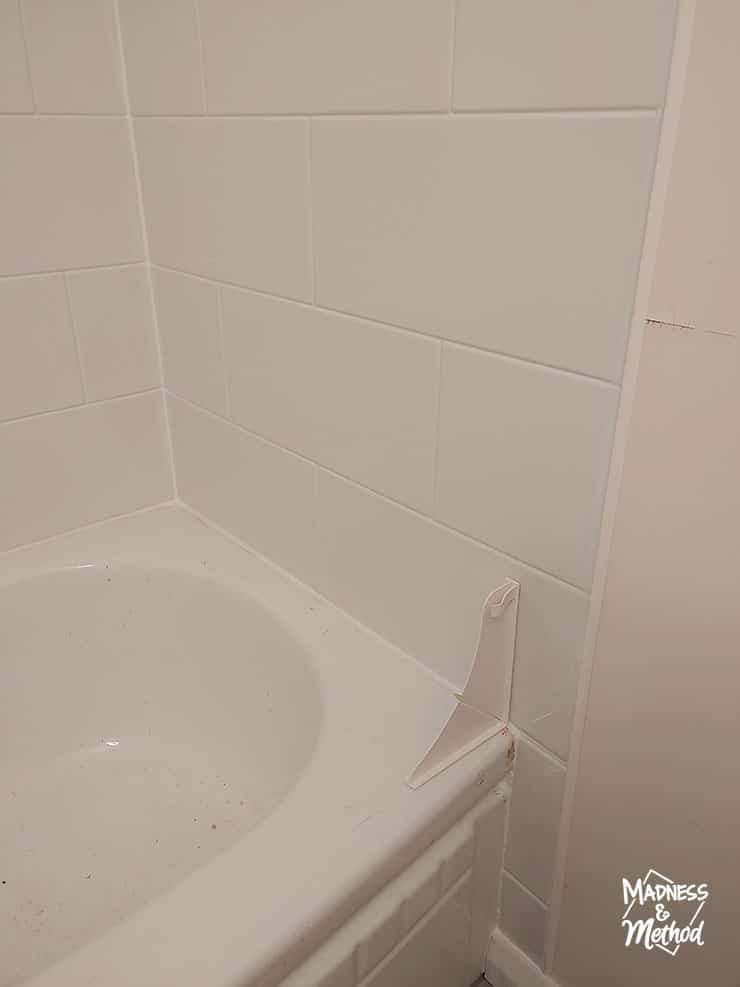
I also added these little corner blockers to stop the water from spilling out. Notice how nice and white the silicone is? Ya, it has since yellowed :(

This bathroom looked bright and white and new after just a week. It was a HARD week though! (Like working late nights and spending almost all our time there).
It was liveable, waterproofed and working. I mean, there were a lot of setbacks the last day (the toilet leaked, the sink leaked, the shower faucet exploded a few days later too!). But after all that, everything was okay and we didn’t get any water in the basement, and no more leaks upstairs.
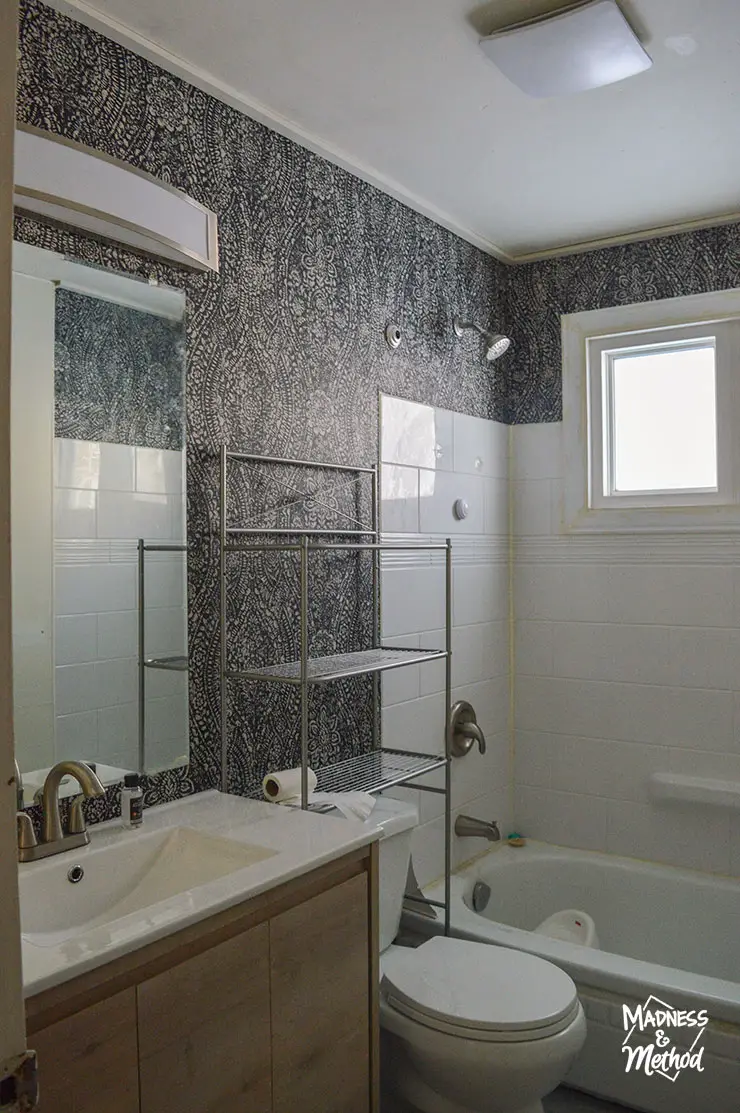
But it wasn’t completely finished. You can see in the photo above that the side wall was still bumpy from the tiles we took off.

And the walls were just primed once or twice – so not fancy looking at all!
Everyone needed a break from this water-damaged bathroom renovation, and I finally decided what I’d do to the walls a few months later. It took until now (February) to make the time to go back and finish them.
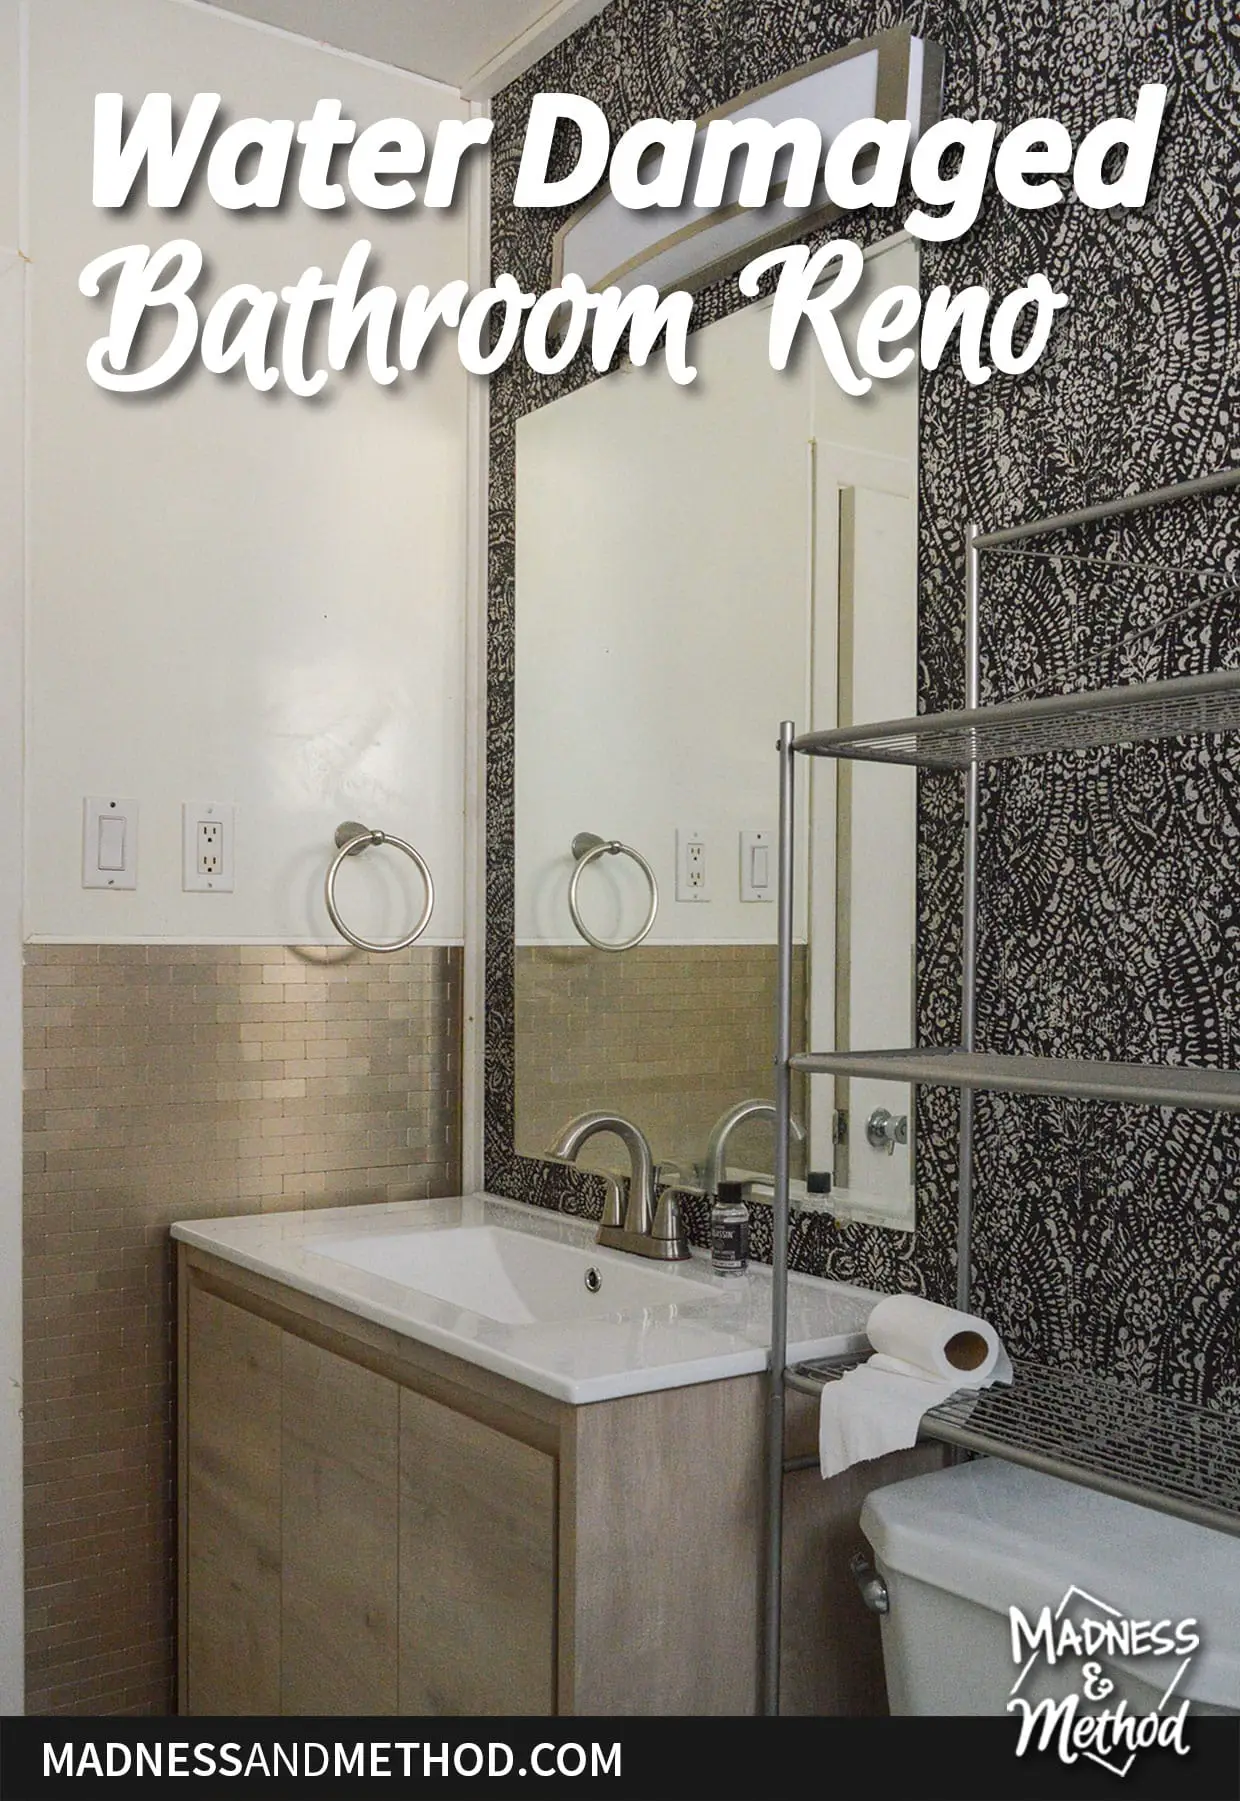
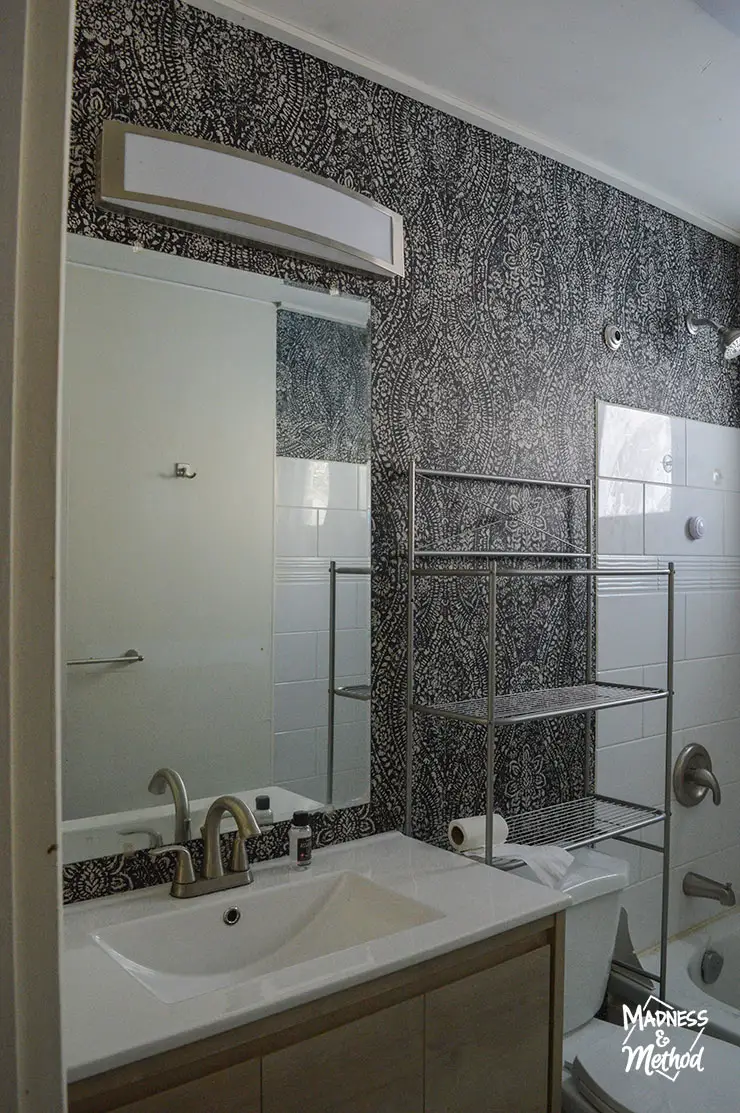
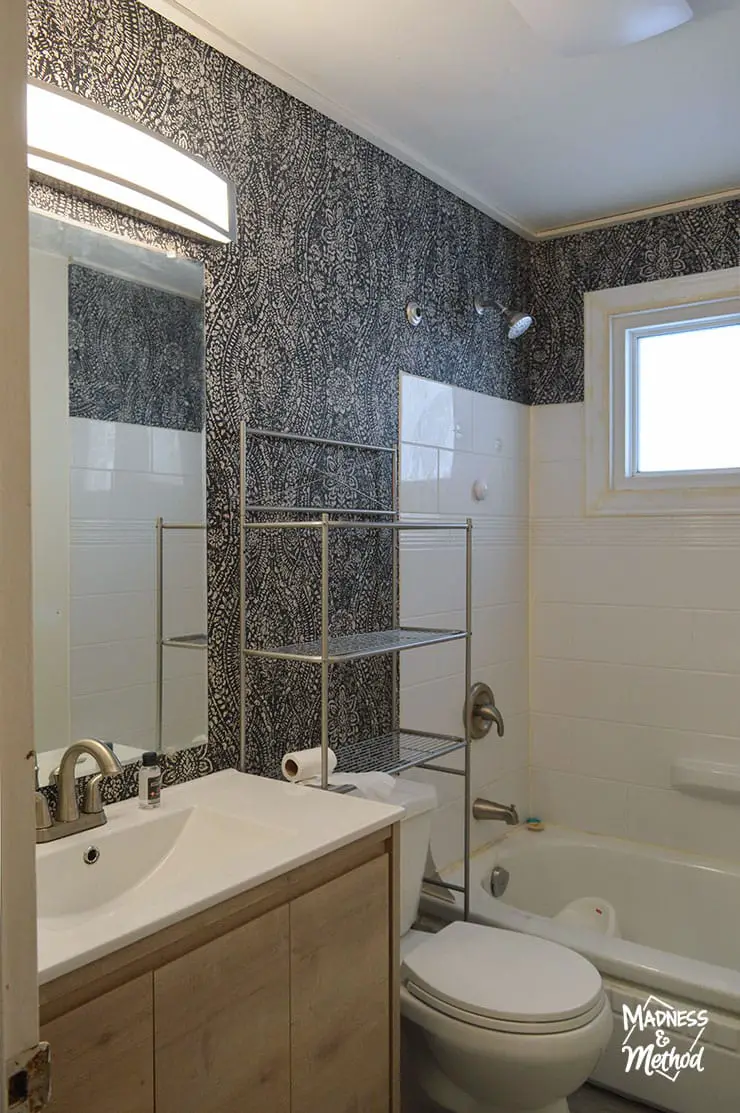
Bathroom After!
The biggest change was adding wallpaper! I knew I wanted to do a black floral, but didn’t want it to be too girly. I also researched different wallpapers for bathrooms specifically. I didn’t want a paper backing that could potentially absorb water and fall off. So a vinyl peel-and-stick wallpaper was the key!
And, I assembled a behind-the-toilet shelf for extra storage. (I quickly mentioned it, but we added the exhaust fan during the main reno – key to removing extra moisture!).
The peel-and-stick wallpaper should be super easy to wipe down too, and water should just bead away and not absorb.

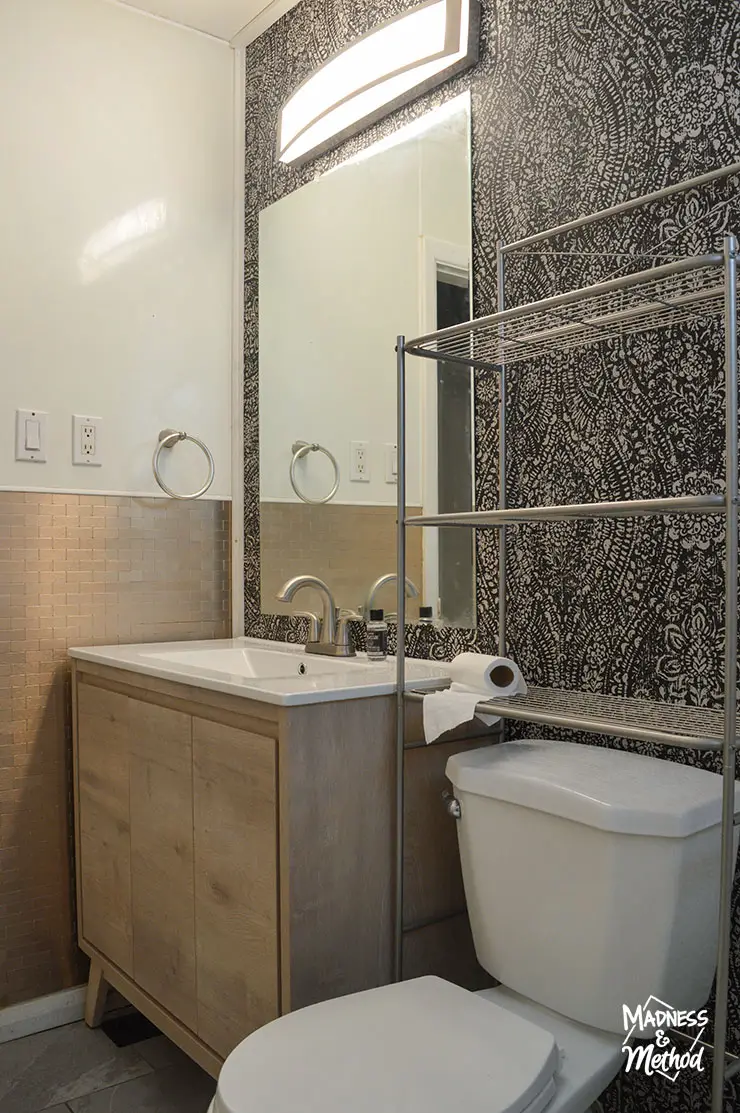
For the side splash, I used peel-and-stick metal tiles (that match the basement bathroom). I knew I would use them, but just ran out of time before. They fit perfectly in the space next to the old plastic-sheet walls.

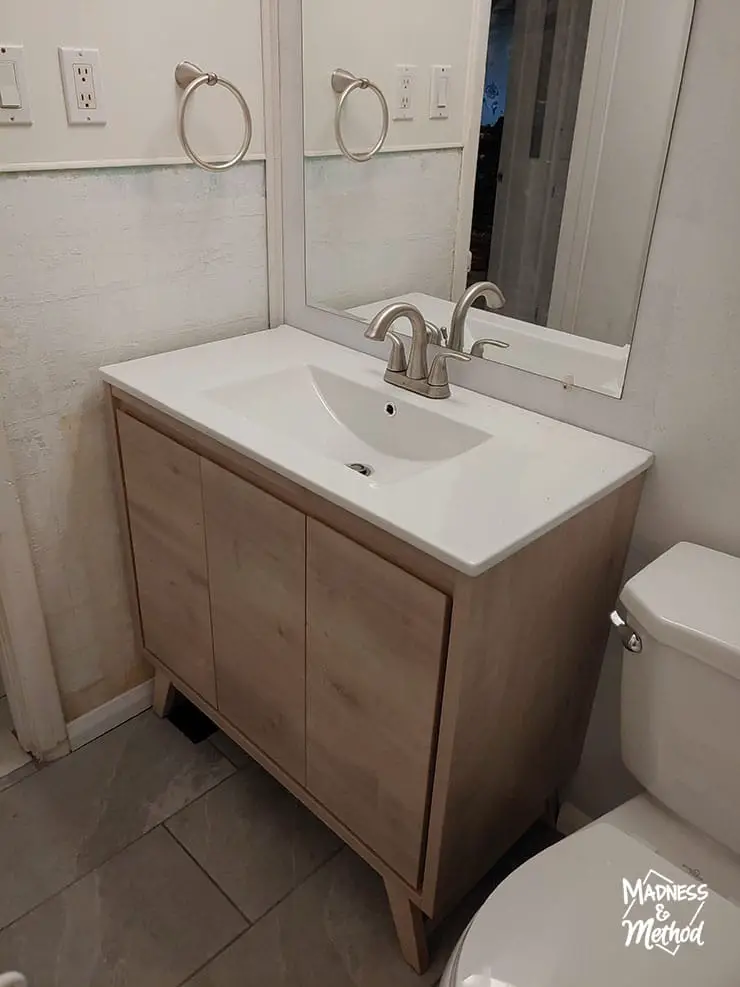
And no, there is no toilet paper installed yet, and I only realized this after looking at the photos, ha. I didn’t want to install it on our new vanity, but think that’s the best spot.
Speaking of the vanity, I specifically chose one with an open bottom since there is a vent under there. It was literally just a hole in the ground before (without a grate) with a hole cut in the old vanity, ha.
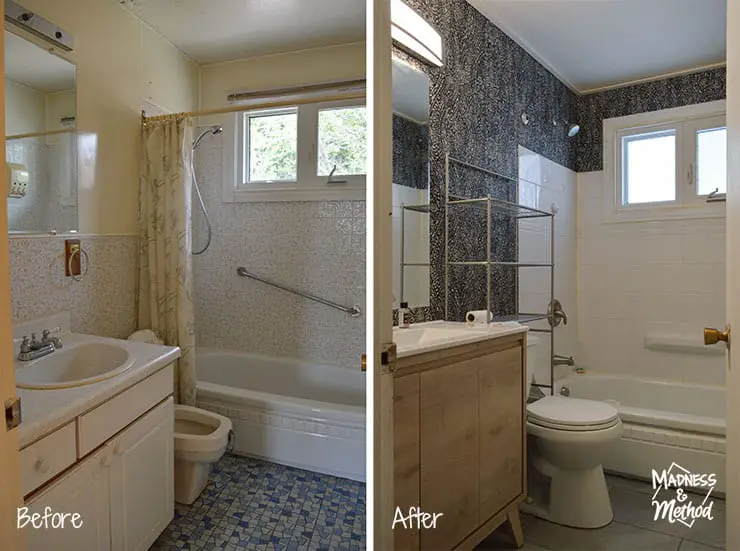
Check out that before and after! It’s the same tub and window, but everything else has changed. Oh, and the mirror is the same, we just flipped it the other way.
Bathroom Sources
There is a curtain rod (and more stuff that needs to be filled in) but it was cleared out before I added my wallpaper.
Oh, and a cheating hack I did during the main reno was adding skinny trim along the ceiling and wall edge. That way, I didn’t have to deal with patching the edges and then repainting the ceiling.

And the new LED light was certainly an upgrade from the last one :)

Honestly, I really hope our tenants enjoy this bathroom! We also had to replace the drywall in the basement laundry room. I hired that out during the week of extreme renos, ha. The drywall was also repaired on the bedroom side, but I still have to replace the baseboards (and possibly some floor pieces?). There was same water damage from the window wells flooding last Spring too (the cause has been fixed!) so lots of baseboards need our attention.
Related Posts
Oh, and similar to how I’ve done in the past, I also stuck random wallpaper sections together to save pieces. The dark, random-esque patterns lends itself well to that :)

No Comments