
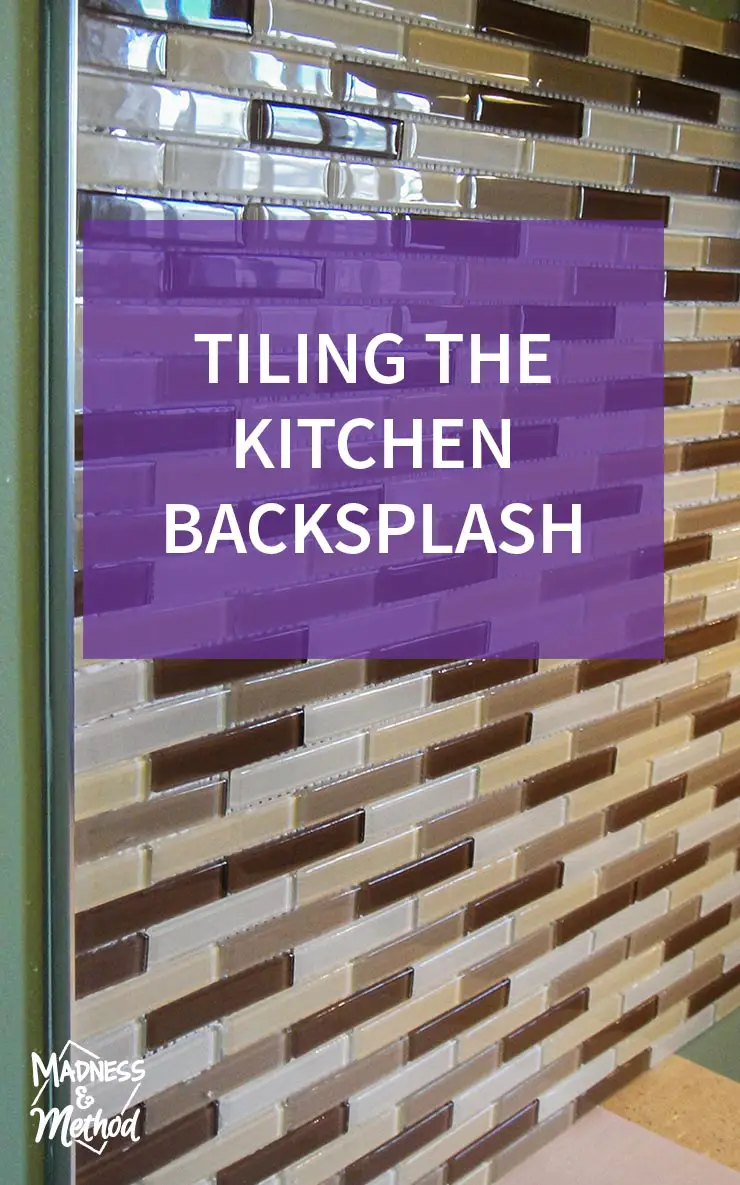
In the same weekend that we installed the cabinet handles and mounted the doors and drawers, we also tiled the backsplash. Although the first two tasks were pretty quick, the backsplash actually took up a lot of time because it’s such tedious work. Thankfully, like some of the other kitchen projects, I had some helpers to boss around direct to get this project done quicker. I think they were doing something else in the kitchen remodel concurrently, so were able to come in and help me when I needed it (thanks!). Let’s get this backsplash going!
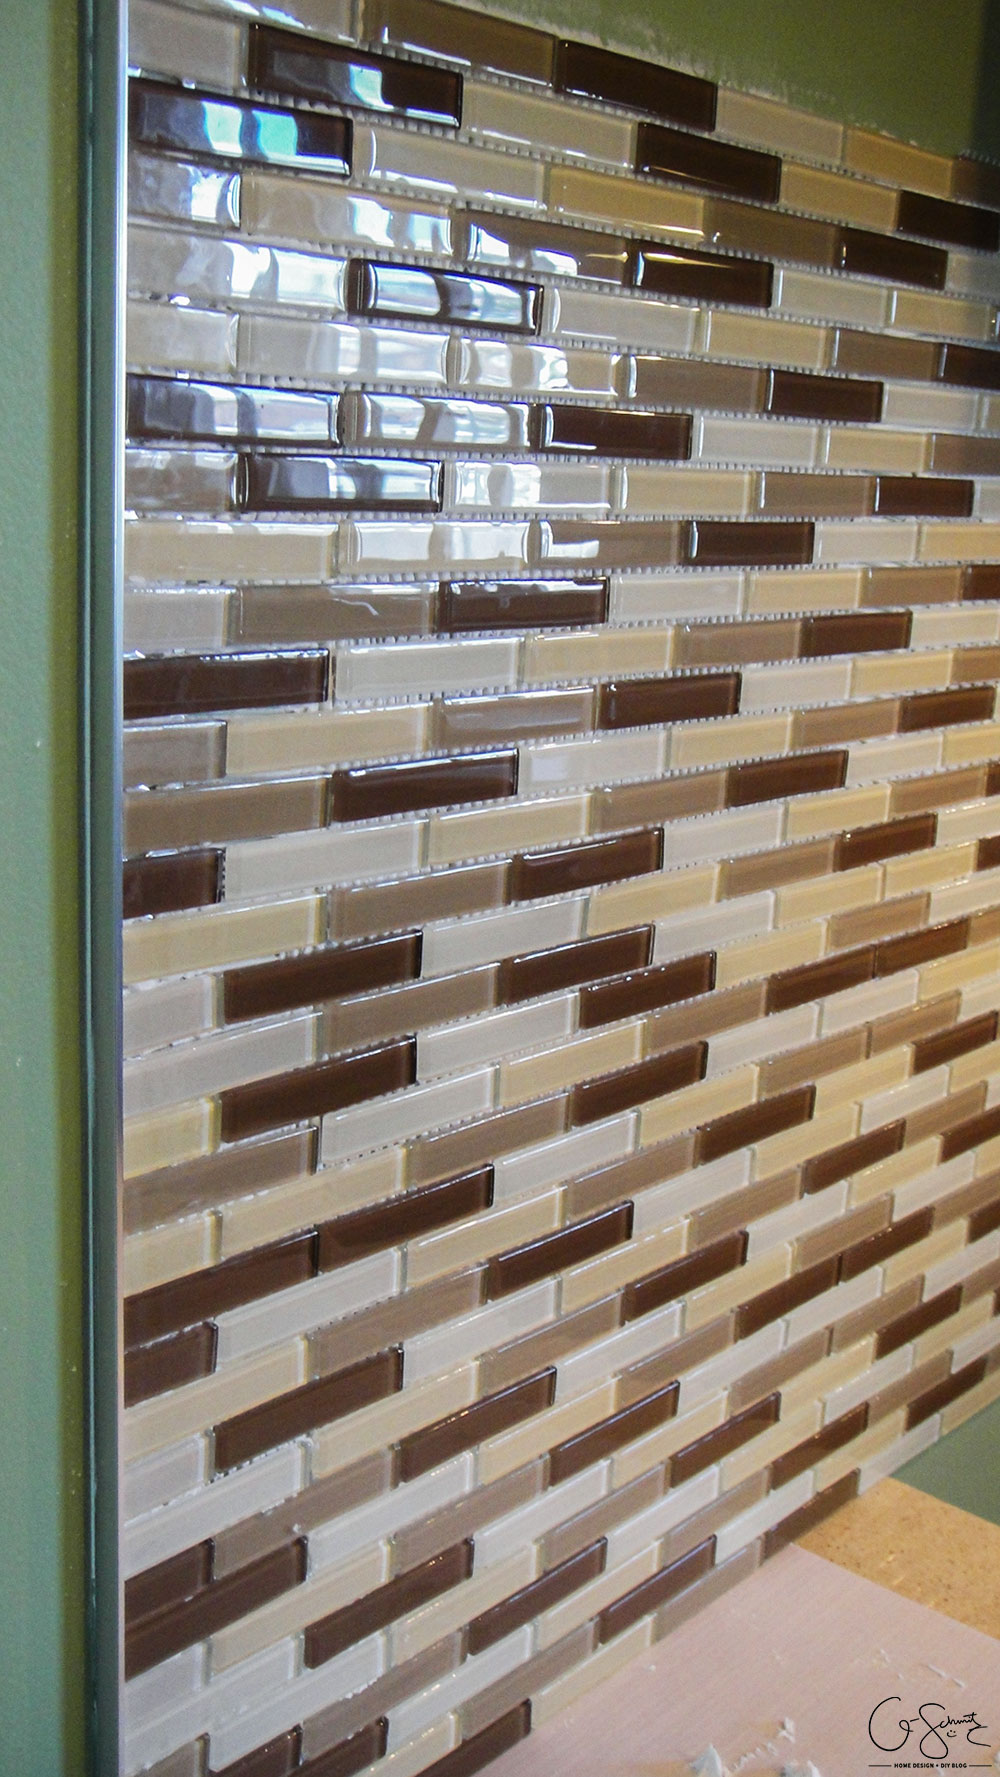
When I wrote about tiling the kitchen floors, I wrote that it’s always best to lay out your tiles ahead of time to determine the best pattern. For the backsplash, the pattern itself didn’t really matter since there was a variety of colours per sheet, but I did lay out the tiles to see how many I would need per wall, where I would need to cut them, etc. During our kitchen renovation, I had started reading home décor and DIY blogs and had remembered a really great post on Young House Love about offsetting sheets of tiles so the seams would be better hidden. I used this method to layout the backsplash and I think it worked well!
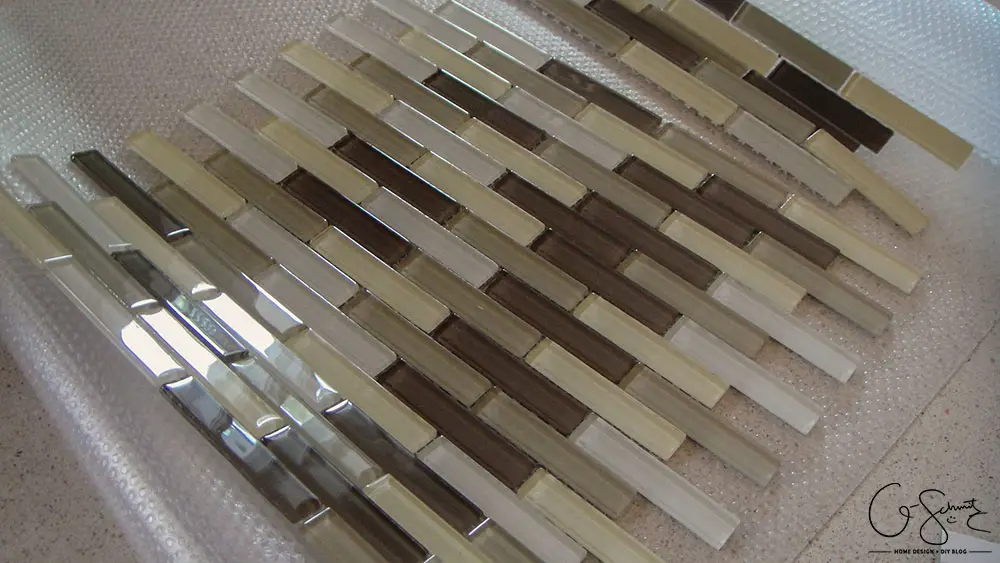
Like I mentioned, opening up your tile boxes and going through them ahead of time is useful so you can catch and deal with any pattern irregularities (before you stick your tiles on the wall and scream because there’s something wrong!). Anyways, for some reason one of the sheets had a weird line up of all dark tiles, which really stood out.
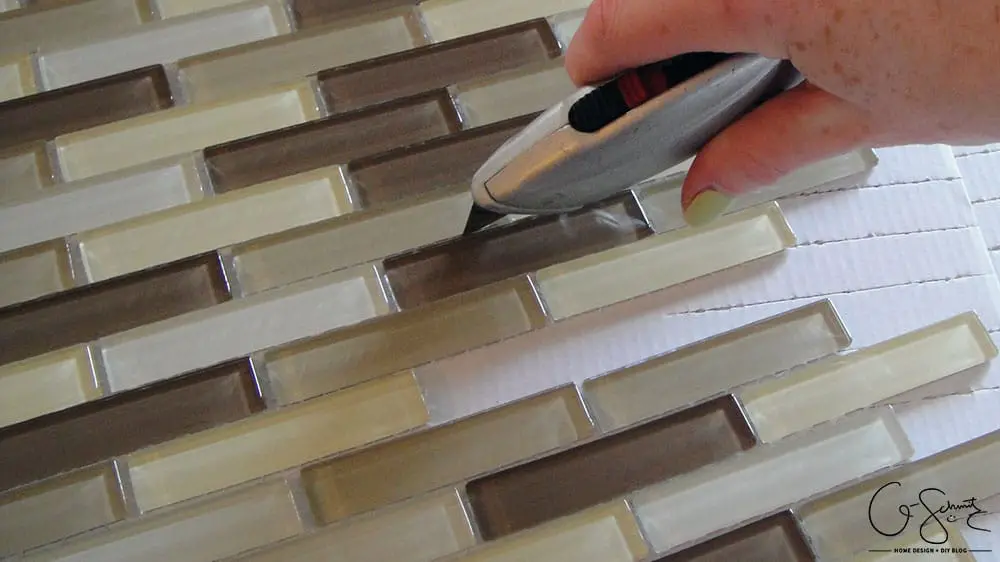
Rather than toss the sheet aside, I decided to cut the backing and remove the section that had the most brown tiles.
I then simply turned the sheet over and either ripped out the tiles that were stuck, or cut the backing along the short edge. I used this method on a couple of sheets, and if I was able to keep a good size chunk of tiles still together, I left them that way and put them aside for any small spots that needed to be filled.
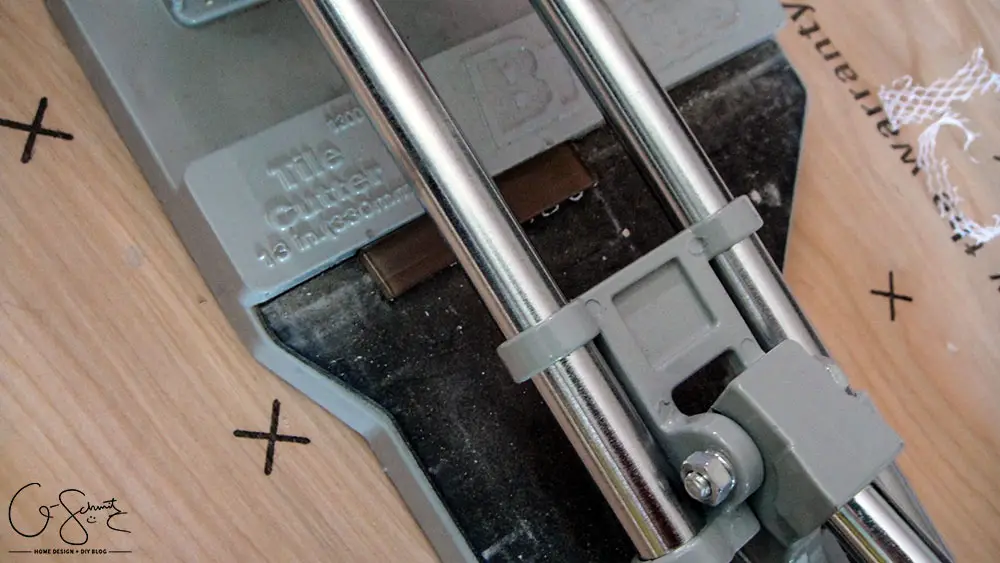
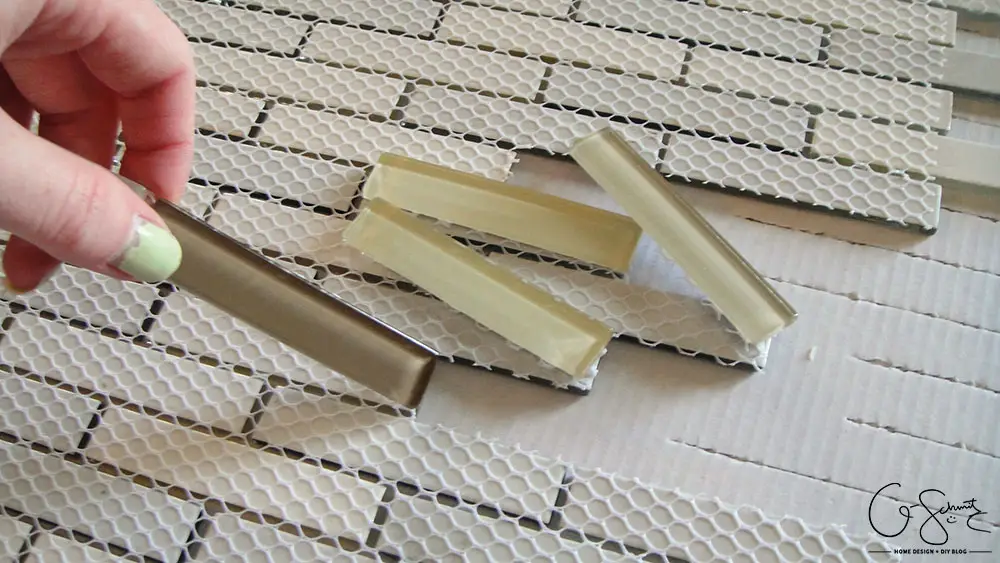
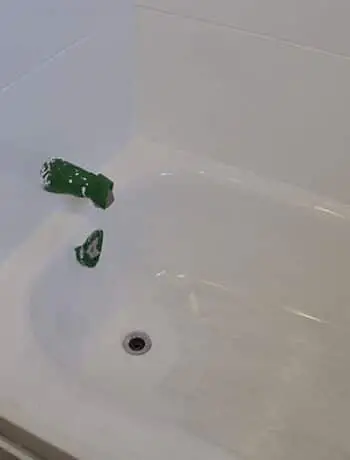
I knew that there would be a lot of half tiles that needed to be cut for the edges of the walls. I had my handy helpers start cutting all the individual tiles that I had taken out with our tile scorer, aptly named “Brutus”. And yes, we did in fact refer to Brutus as a person.
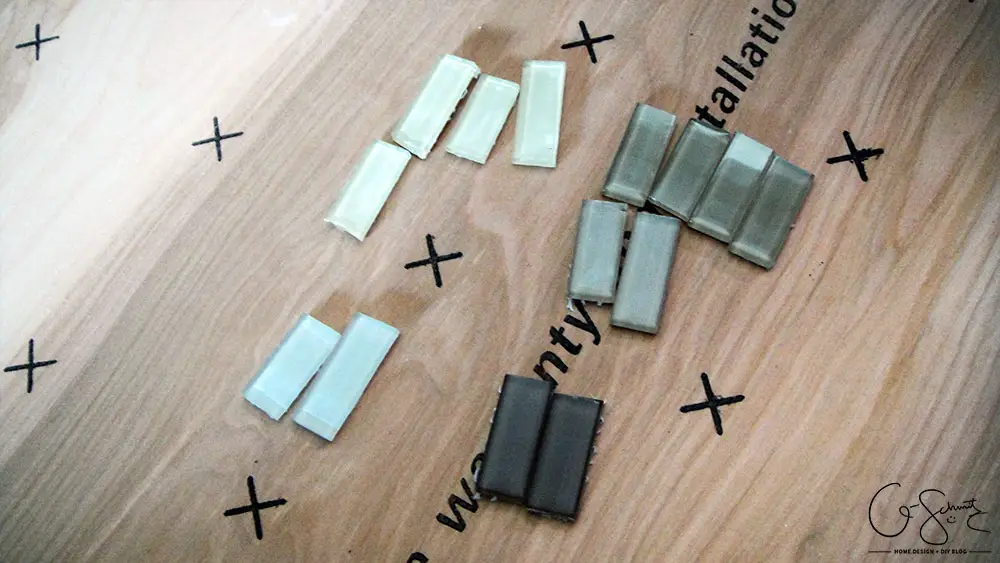
I made sure to organize the half cuts by colour (and later by length) and had them set in a little section throughout the backsplash-ing process. Whenever I needed to fill in a little section, it was easy to go to this pre-made pile and grab what I needed (rather than scramble and try and cut things as we went).
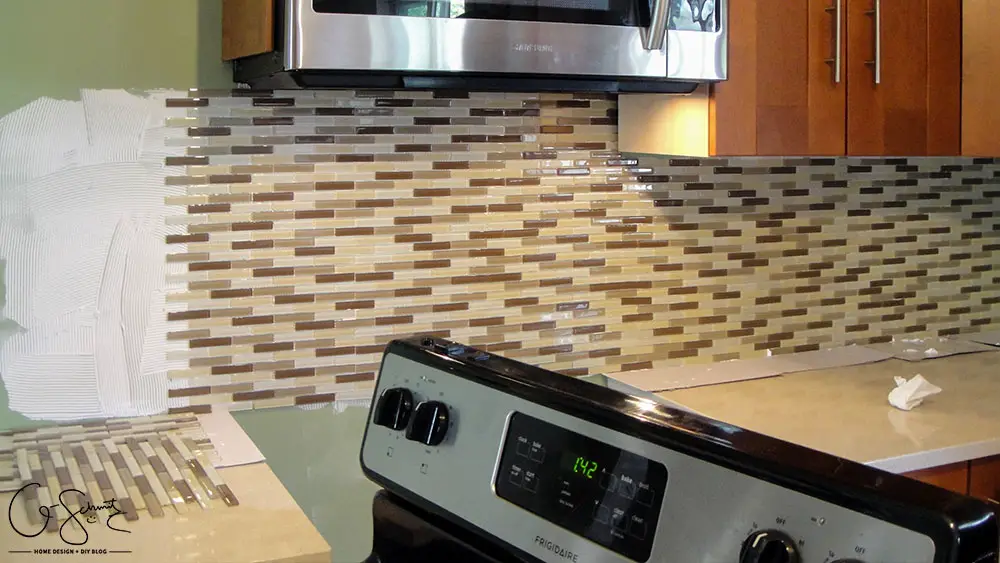
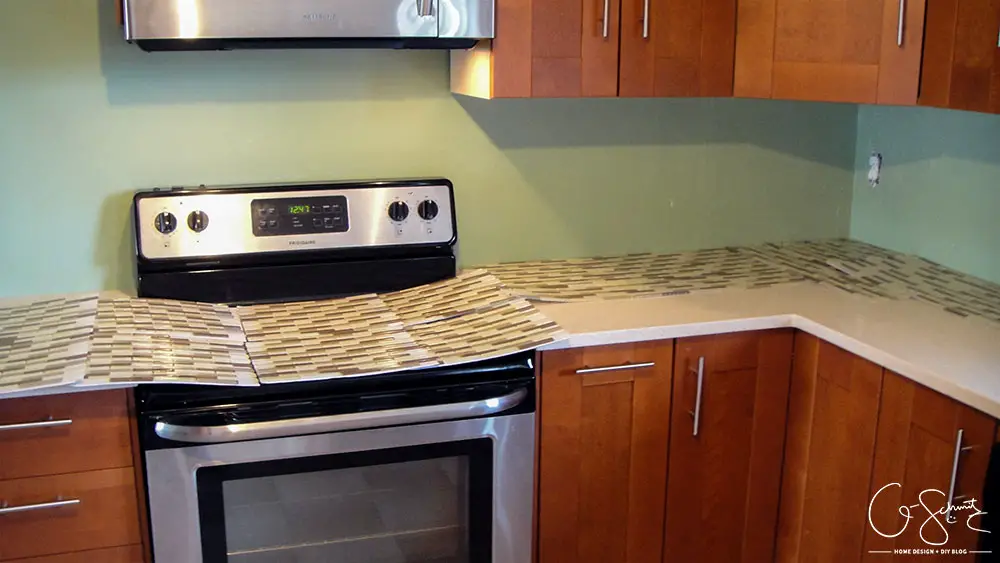
Tiling a backsplash is tedious work! It took over an hour just to do this wall (the West wall, btw). Notice how I used the cardboard pieces (that came with the tiles) as both a spacer between the counter and tiles AND as a “drop cloth” to pick up any goops that I dropped? Genius, I would say!
Anyways, back to the tiling. This was the first project I had tiled where I decided to use edging. The Husband picked out a nice metal option, and all you need to do is stick it into the thinset behind the tiles, and then back-butter the tiles that overlap it. It was a bit trickier to grout, since you had to squish the grout into it, but it was definitely worth it because I gave a nice smooth and finished look to the edges. (I only did the sides though, I’m not sure how you would do a nice corner section if you were doing the sides and the top).
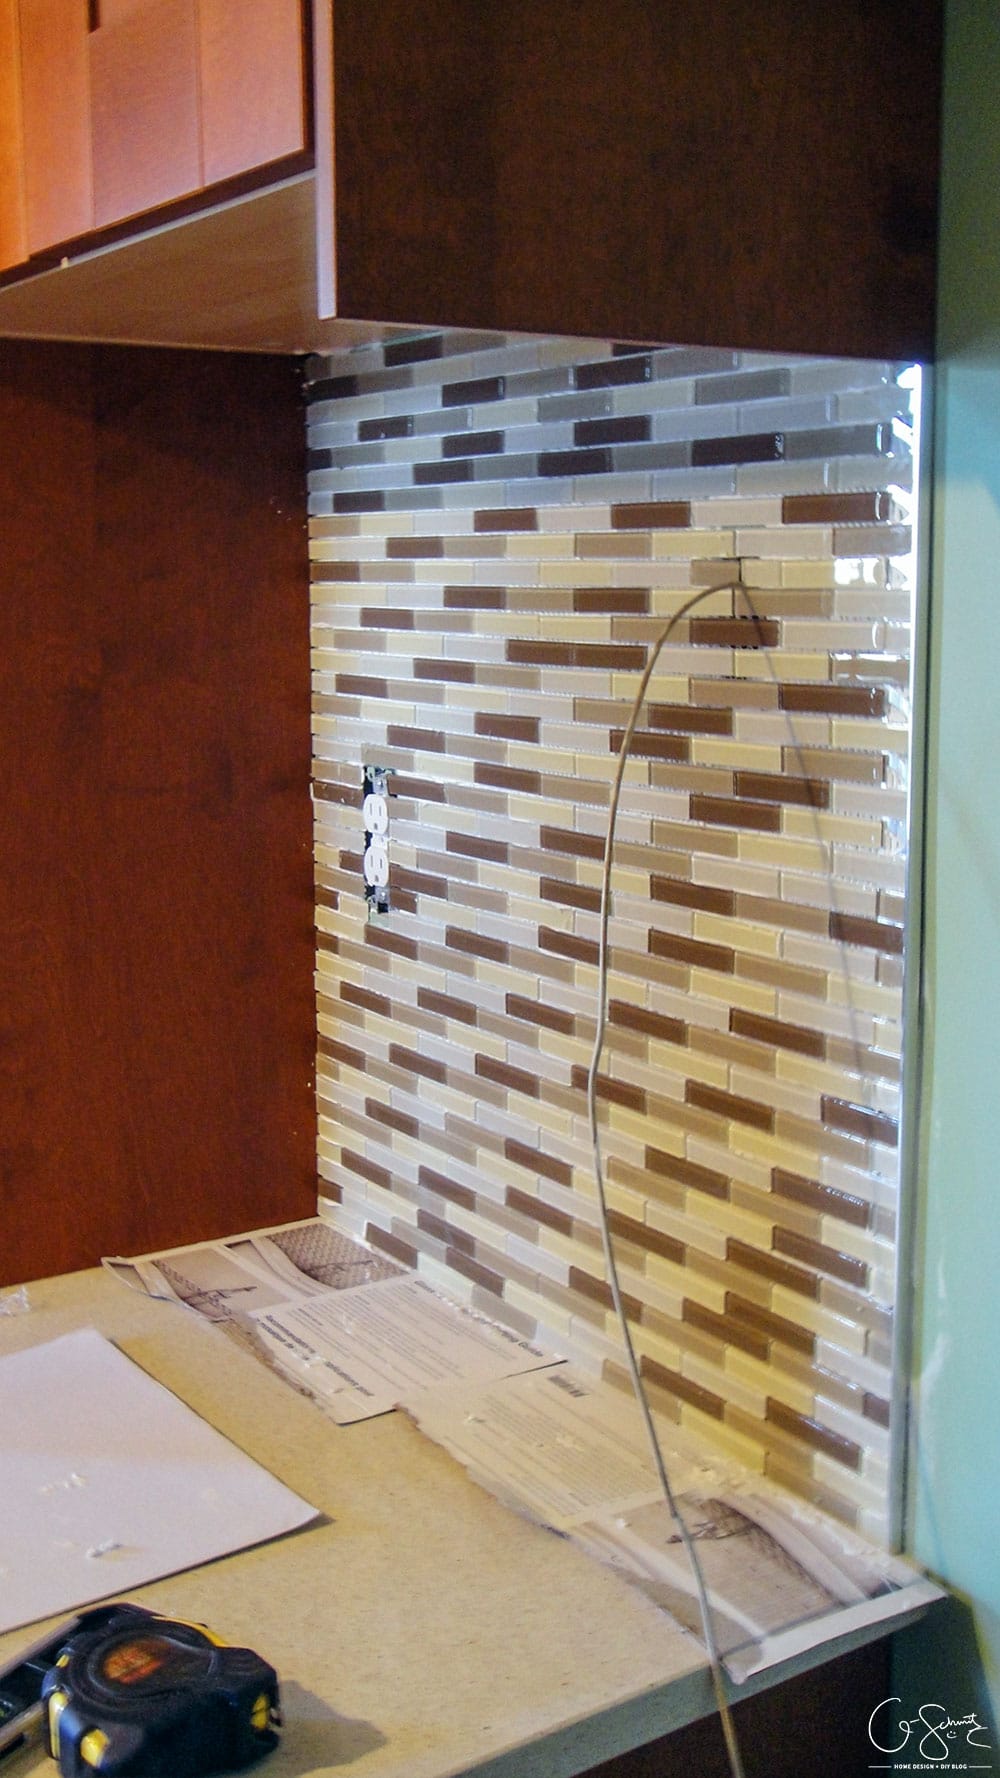
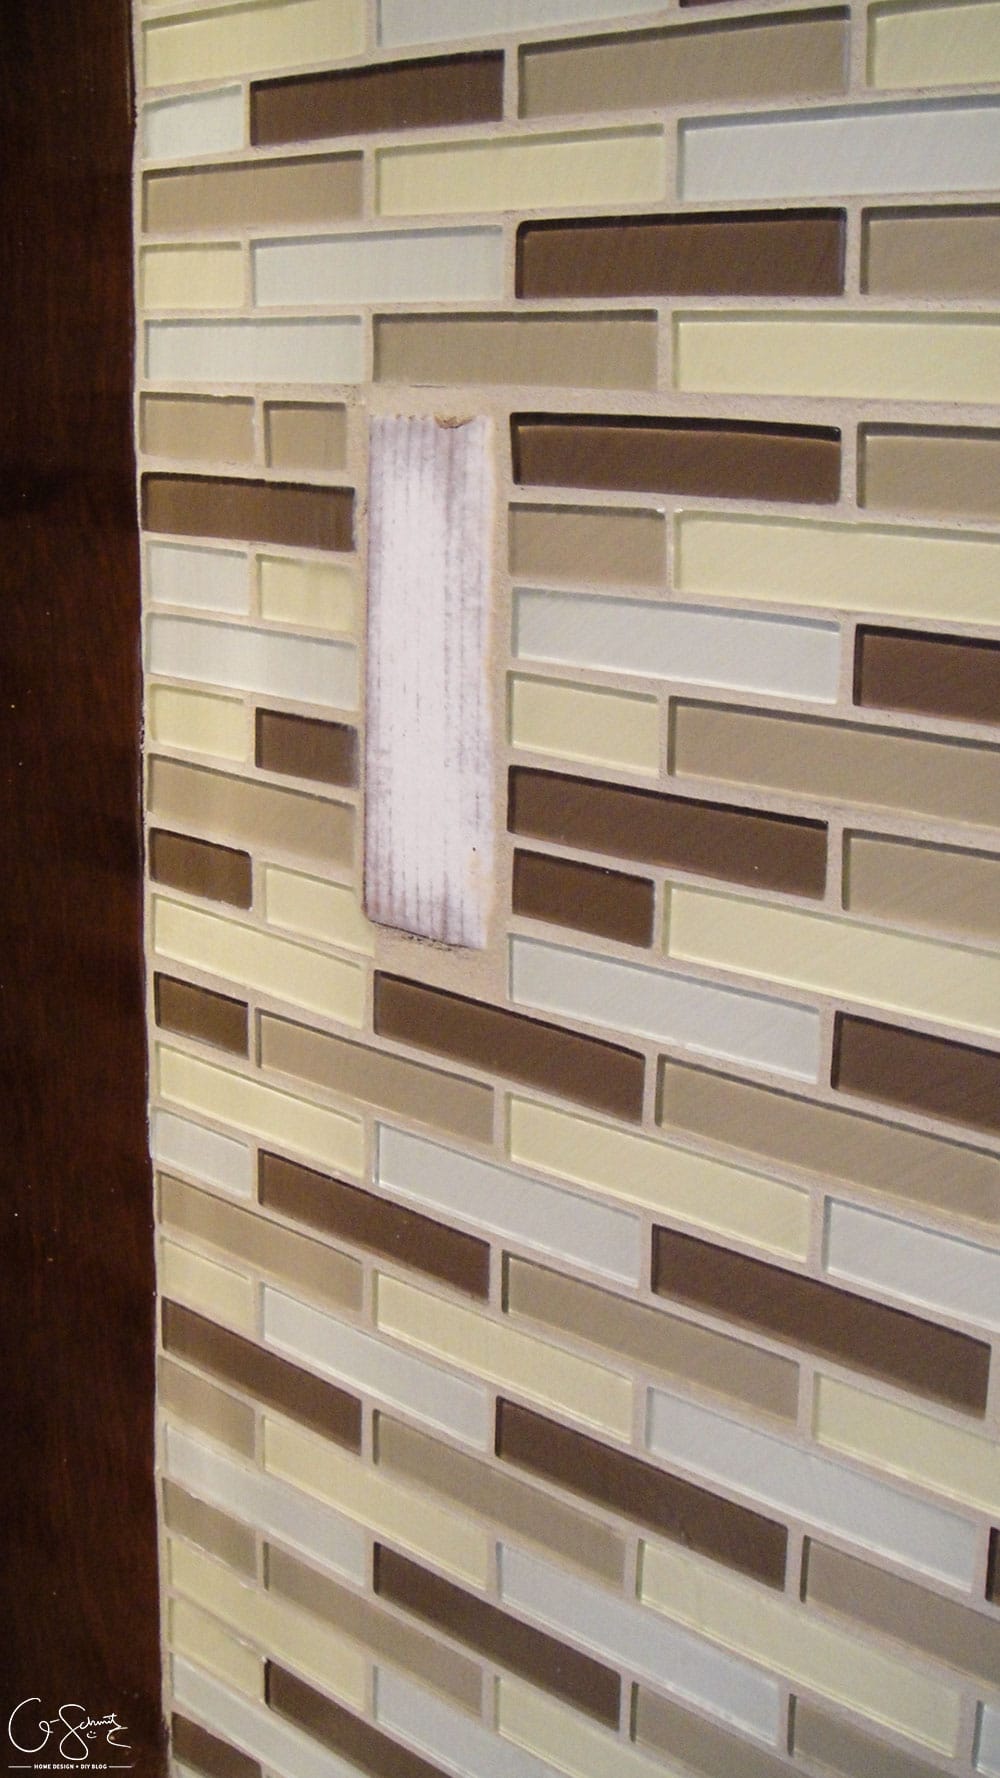
The image above gives a bit of a better view onto the installation of the edge piece. Notice how you can see some of the bright silver poking through where we haven’t put in the half tiles yet? I wasn’t originally planning on even tiling this little wall section (it’s where we were planning on putting our coffee station, to the right of the pantry, on the South wall) but the Husband convinced me otherwise (mainly because he didn’t like the green wall colour and wanted to cover up as much as possible).
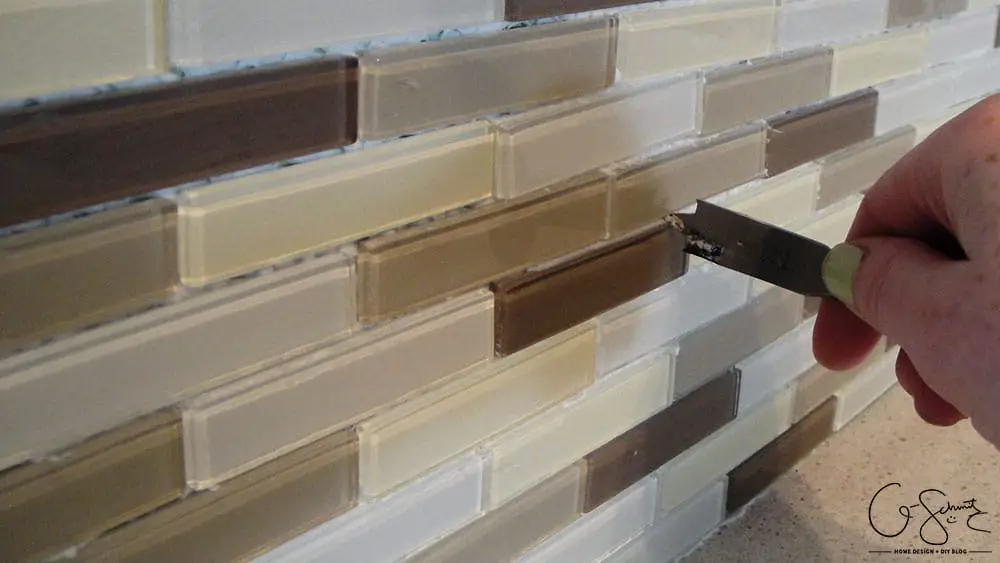
Once all our tiles were in, and before the thinset had a chance to harden completely, I went through all the cracks to remove any built up spots. Yes, I did use a drill bit for this, but I couldn’t find anything else that was solid and skinny enough to help push the excess thinset out.
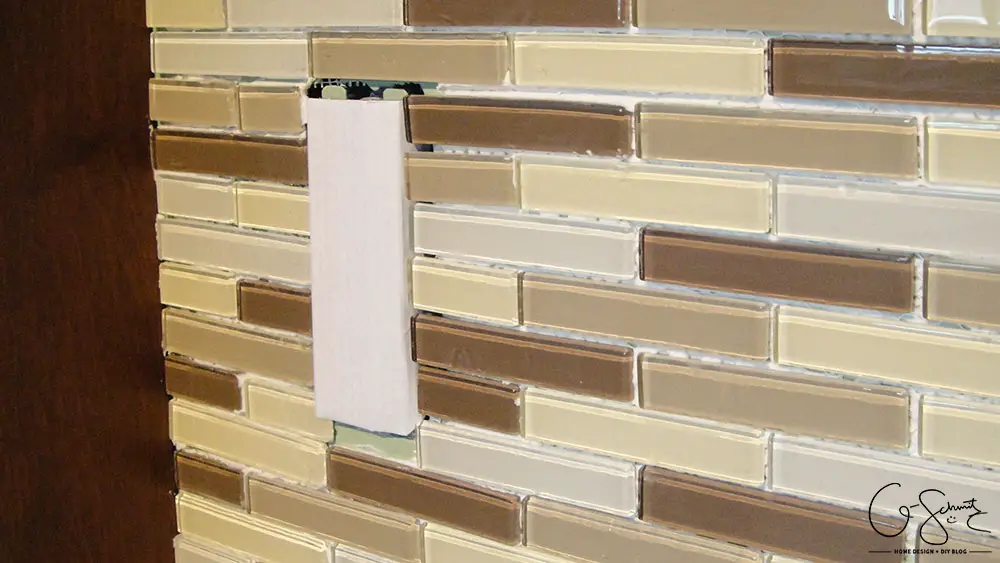
The last step before I started grouting was to cover all the electrical outlets. I came up with a handy little cap made out of cardboard (yes, the same cardboard that came with the tiles, I am so thrifty!) and squished it into place. I’m not quite sure how professionals cover the electrical outlets when they are grouting (maybe they don’t and just go willy nilly?!) but I did NOT want to take the chance of having grout getting lodged into the holes.
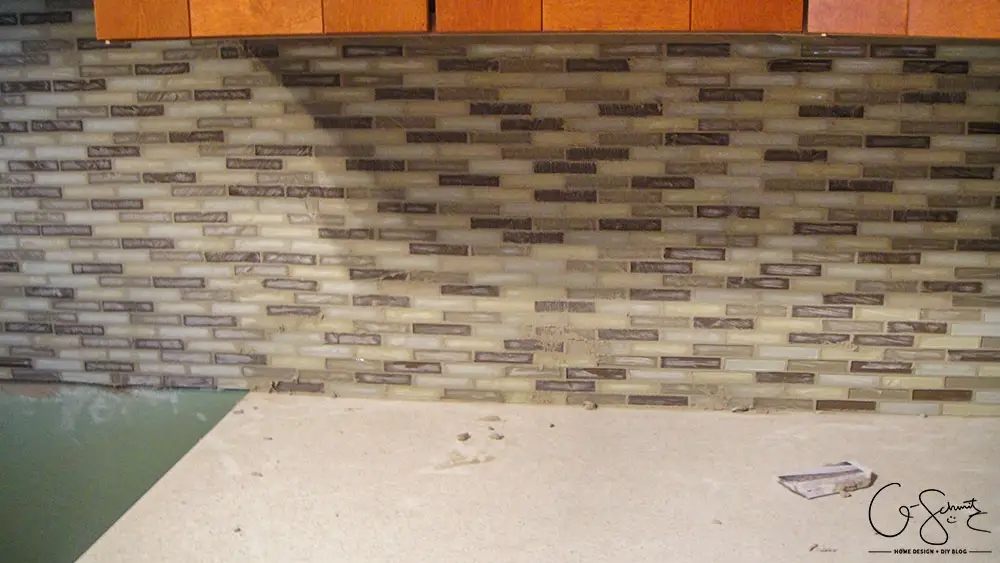
I believe I was finally able to grout one night sometime during the week after we put the tiles up. No one was home and I was able to go crazy and make whatever mess I wanted to! Yes grouting is messy, but don’t worry I didn’t leave the kitchen that way! To grout, you need a large period of time to make sure you can go back every few hours to wipe away the film left on the tiles (and counter, and cabinets, and walls!).
My little outlet covers worked just as I hoped they would, and before the grout had completely hardened I pulled off the cardboard pieces. I think all in all it took at least 6 hours so put the tiles in place, and less than two hours to grout and clean the tiles (minus the waiting time in between drying and setting). Thank goodness I had my helpers on the tiling day because it would have definitely taken me at least another two-three hours if I had to measure and cut all the little pieces myself.
Tiling the backsplash was the last “major” kitchen renovation step, and over the next couple of weeks I’ll be tackling/discussing much smaller and quicker projects (or at least more aesthetic oriented projects). Please come back and visit every week… and the big reveal will be coming soon!
No Comments