
Do you have a dingy looking tub or tiled wall enclosure? Our tub and tiles were in good enough shape, I just didn’t like the orange walls and weird stripe pattern. SO I did what many other DIYers do, and bought some tile and tub epoxy. I thought it was going to be a weekend project, but we just completed the second round, and spoiler: I ran out of paint! If only I would have known how many coats were needed for painting bathroom tiles…
– Note: This post contains affiliate links. See more information about affiliates here. –
In case you need to catch up, I’m completing a bathroom makeover as part of the Fall One Room Challenge. It’s a 6-week challenge, and we’re just getting into the third week. Check out the white and rainbow bathroom plans to see where we’re headed, and the floor removal post from last week. (Aka the only big demo we did in the room).
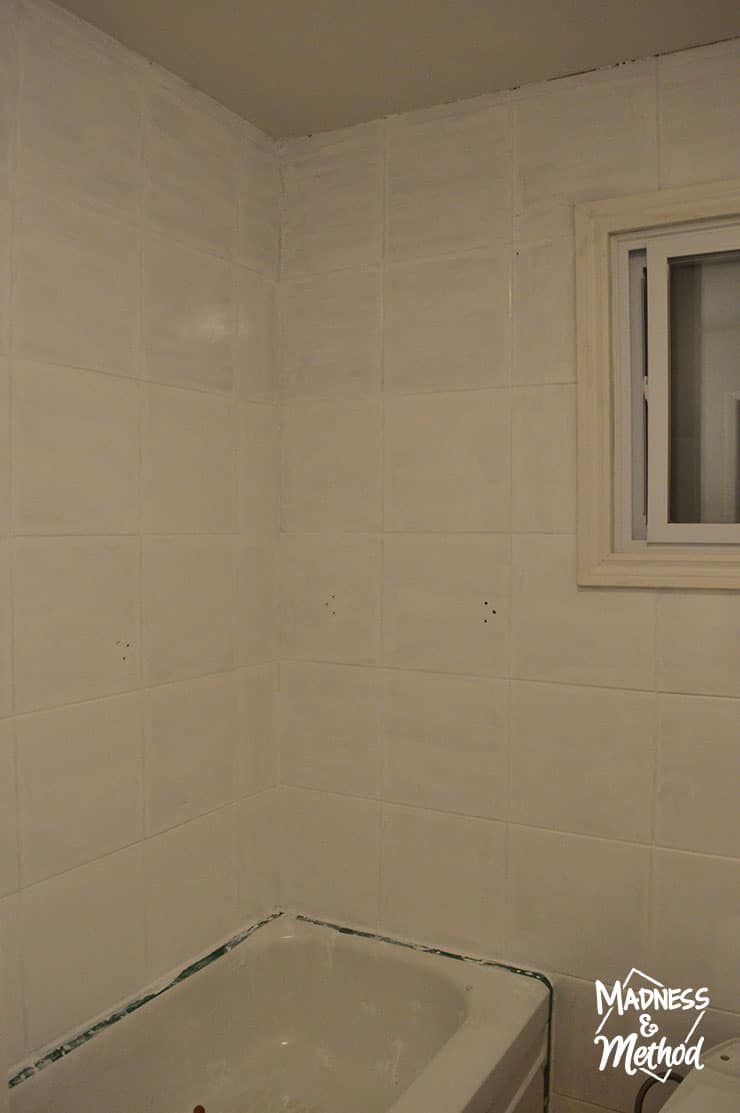
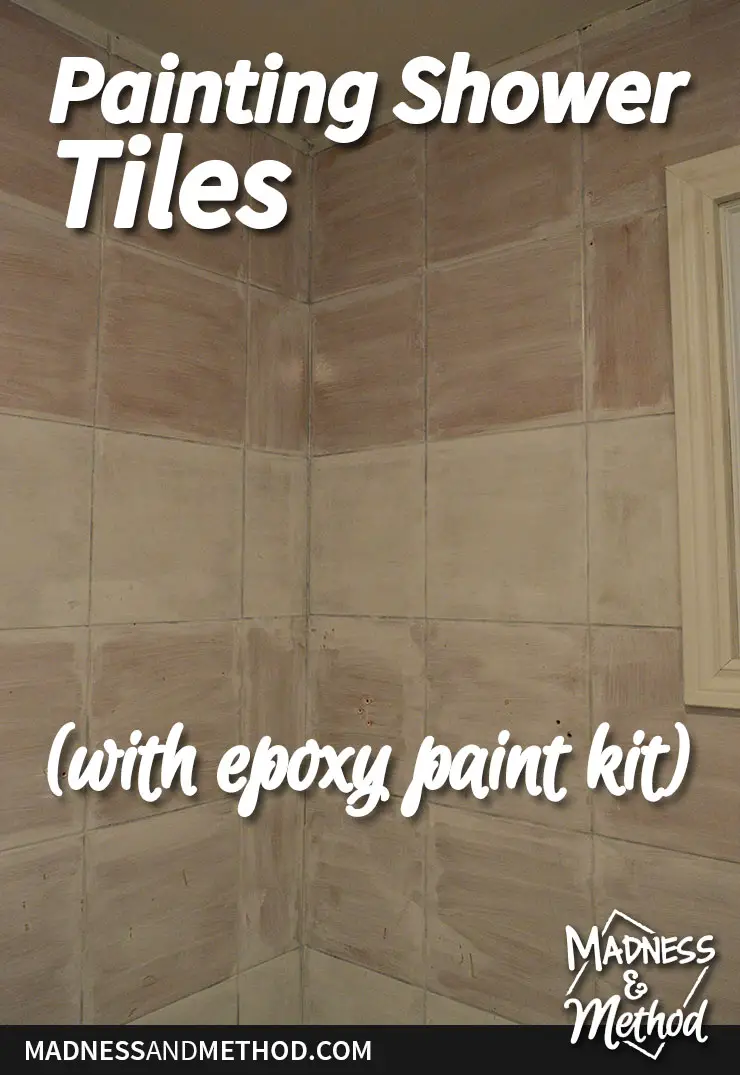
Before I get too much about painting our shower tiles, let me remind you what we were working with:
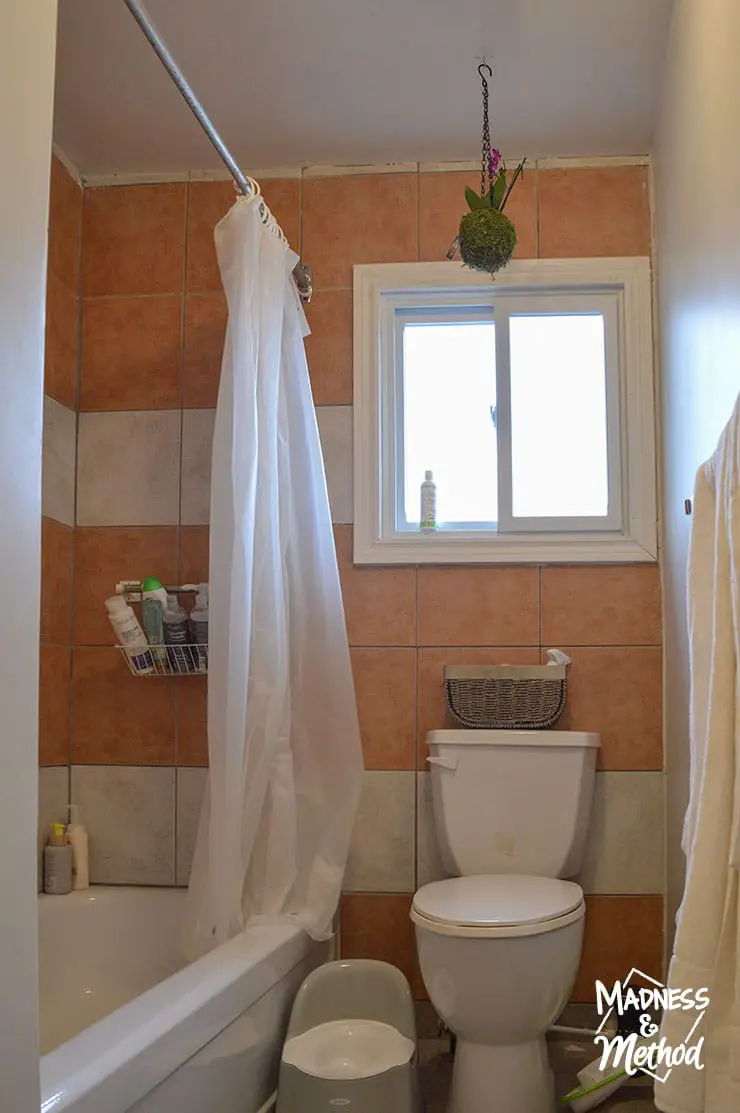
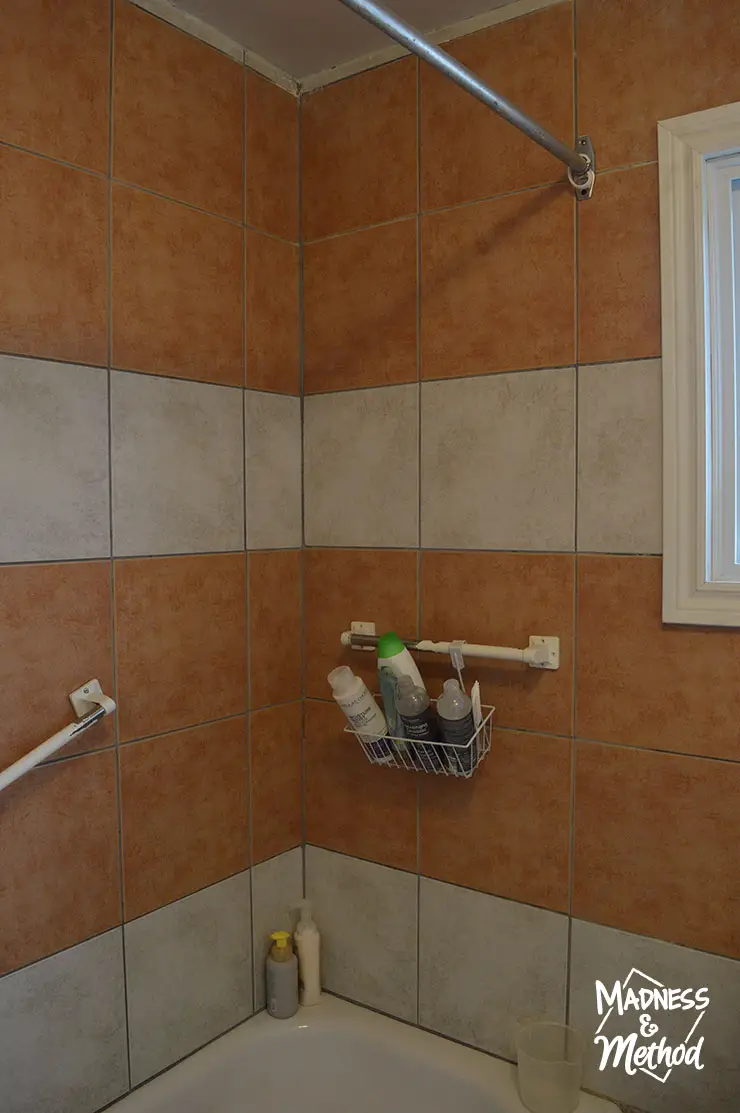
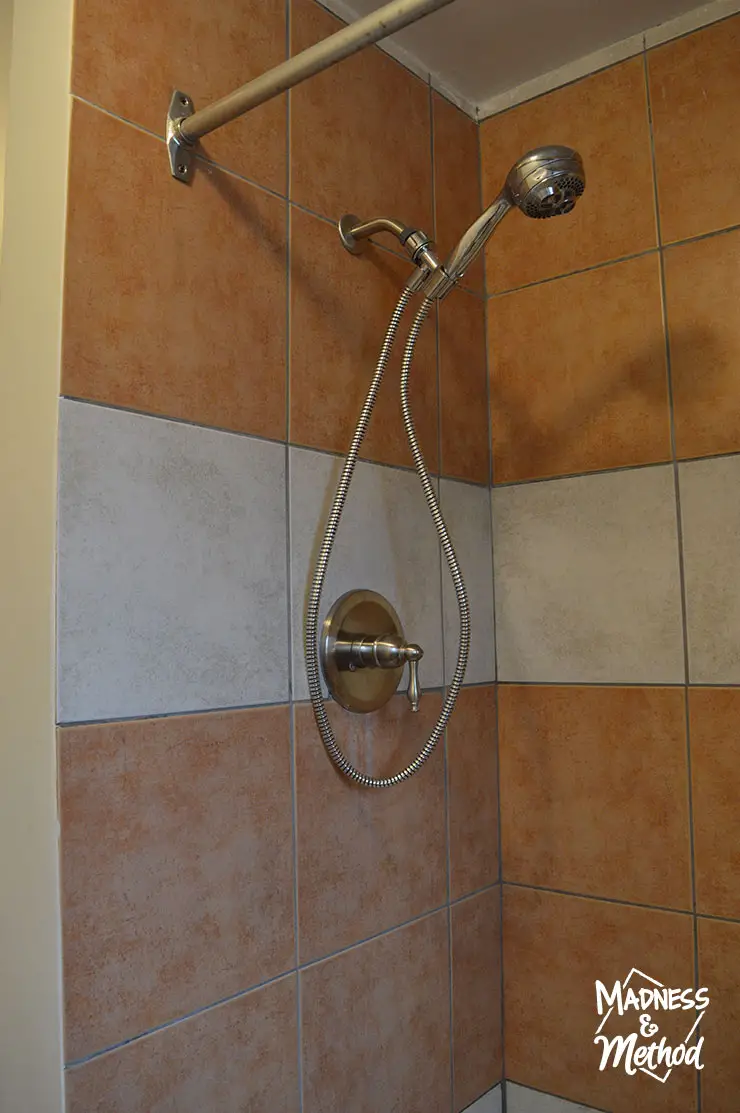
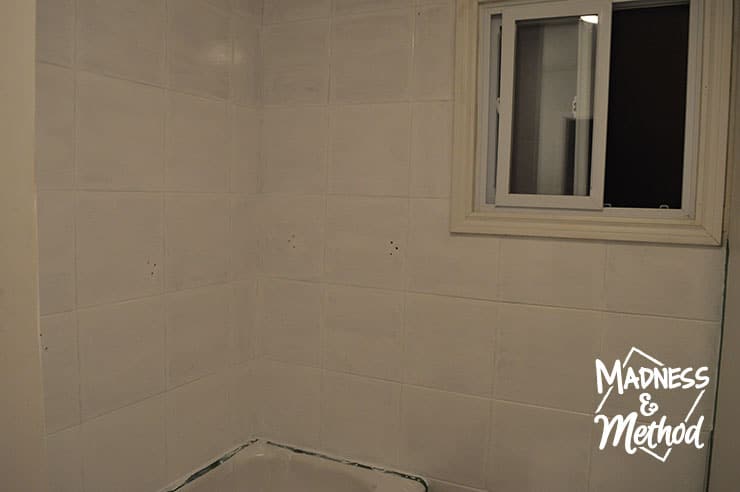
The walls of our tub enclosure were tiled with 13×13 orange tiles. There were also two stripes of off-white tiles for some sort of fun pattern.
(When we got the quote to replace our floors, the guy said he swears he remembered someone buying these last couple of tile boxes on clearance in like 1992 or something.)
Why Paint the Tiles?
Either way, we knew it would be a huge hassle to remove the tiles and retile the shower. They looked to be in okay condition, and I had seen plenty of people paint tiles. No big deal (I thought).
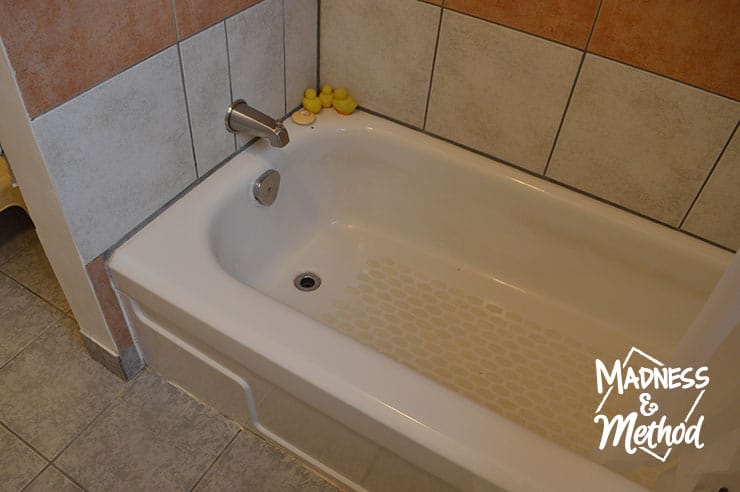
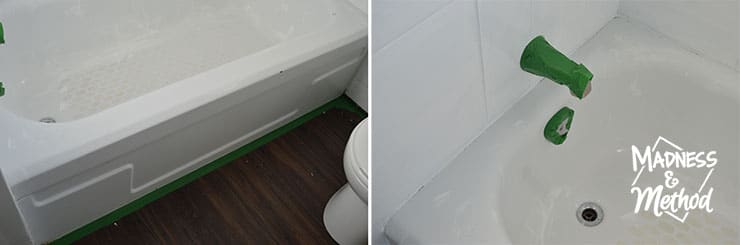
Our tub was most likely original to the house (a mid-70s raised ranch) and it was also in okay condition. It needed a good wash, and there were a couple of dings on the coating near the toilet area.
Obviously, had we removed the tiles, we would have had to also re-plumb new fixtures too. We have experience doing all of these DIYs (see our first bathroom renovation here and our latest here). BUT I was looking for a quicker, easier, and cheaper project this time around.
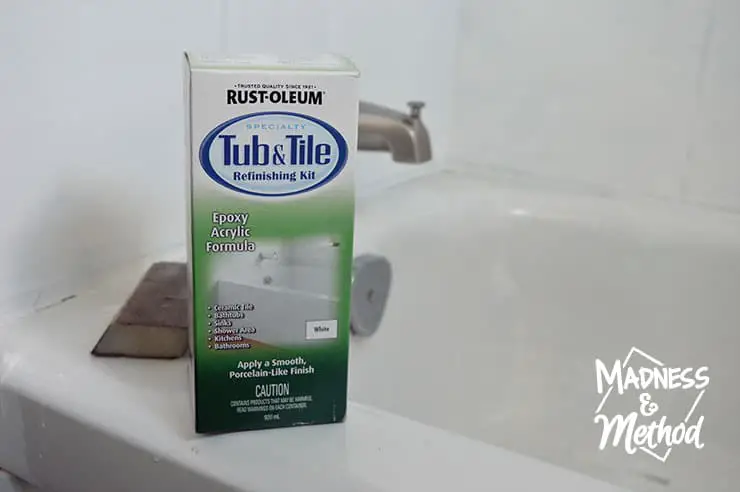
Enter the Rustoleum Tub & Tile refinishing kit, probably the most well-known product for painting tub and tiles (I’ve also seen this kit and this kit).
I go into detail about each step below, but here’s a quick little recap if you don’t plan on reading everything:
Painting Bathroom Tiles Recap
After writing this post, I realized that I talked a LOT, but you might not need all the in-depth details. Hopefully, this section is quick and to the point!
Materials You May Need:
- Rustoleum Tub & Tile Etching Cream
- Rustoleum Tub & Tile Refinishing Kit (mine was gloss white)
- Paintbrush, tray, tape, sanding block/paper, rags, gloves, mask, exhaust fan, ladder, etc.
- Xylene for washing (I just threw my brushes out)
Now, I can’t stress this enough – READ YOUR PRODUCT INSTRUCTIONS. The kit that I have seems to be different than other ones I’ve read about. I don’t know if it’s a “new and improved” version, or if there is a variety because I’m in Canada, whatever.
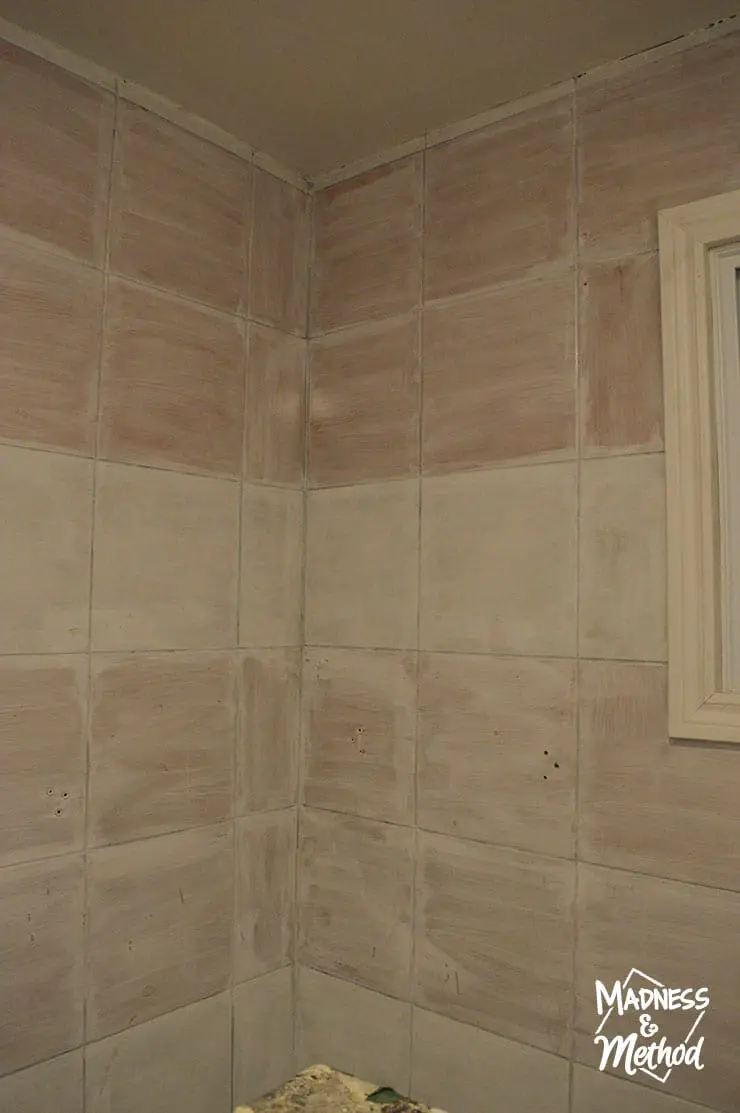
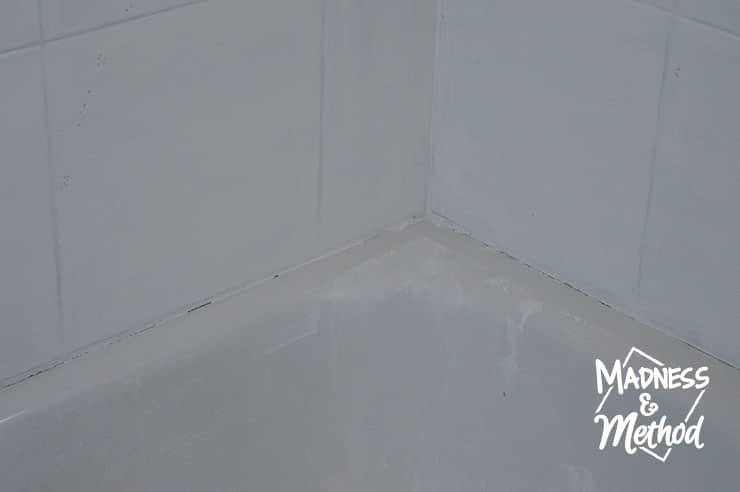
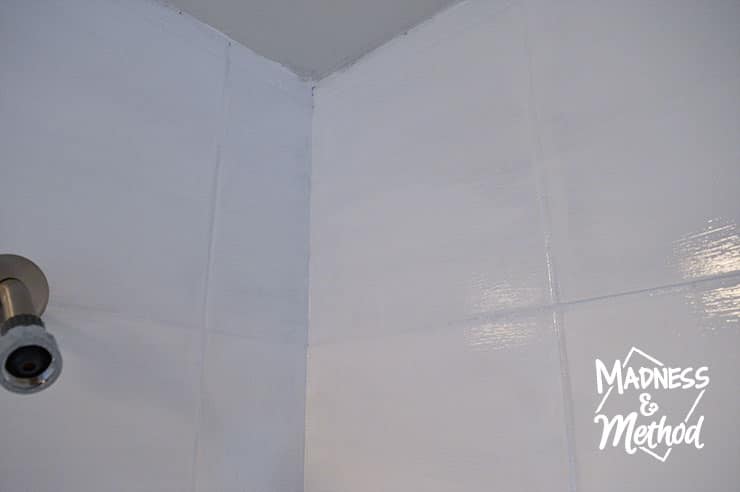
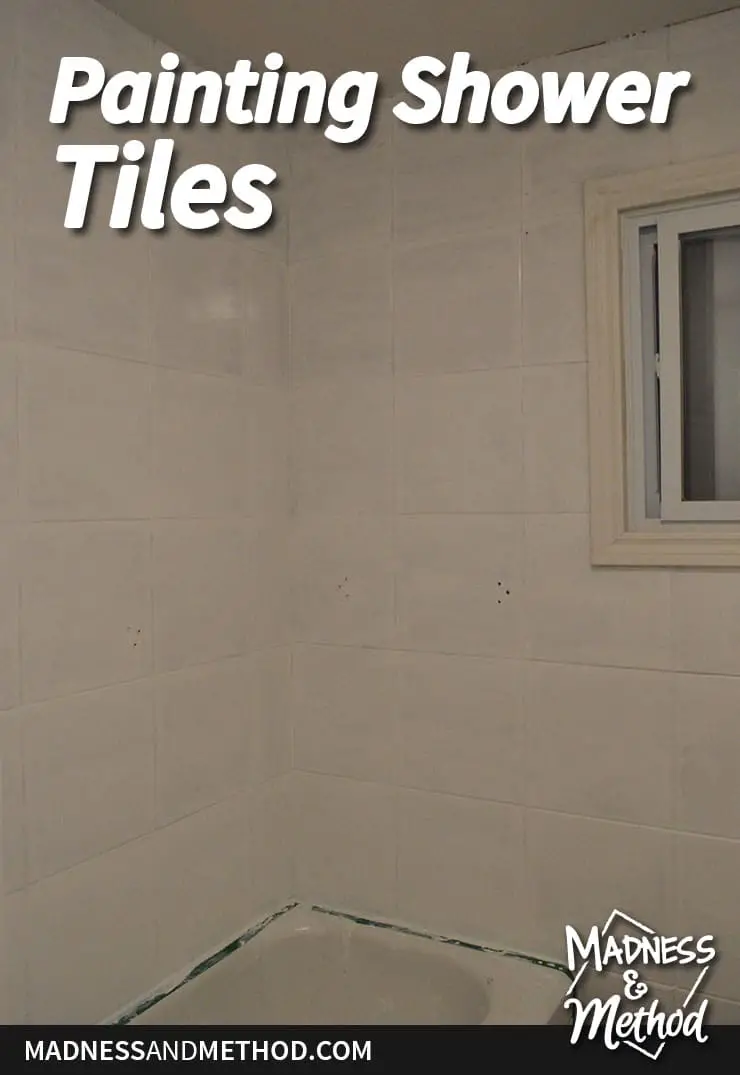
This animation shows the same corner before, after the first coat, and after the second coat
My Tub and Tile kit was in a little box with two equal-sized pints that get mixed together.
Here is a rundown of what I did/learned/read about the process:
- If you use the etching cream, you need to WASH it off thoroughly (or sand to scuff up your surface)
- Mix both paints together equally, paint right away
- Second coat to be applied between 2-6 hours (I found that it took about 3.5-4 to not feel tacky)
- Need to use a brush or a sprayer
- COVER YOUR FLOORS (the paint is very liquidy at first)
- Yes, it’s super smelly (every tutorial mentions this). I found it really bad the first time, but maybe I was used to it the second week?
- YOU MAY NEED MORE THAN 2 COATS!
- Mixed paint is only good for approx 10 hours
- Need to wait 3 days to use the area again
- Have Xylene to wash your brushes/mess, or toss them out (in a pinch I used nail polish remover aka acetone to get some off the floor)
Prepping the Bathroom Tiles for Paint
I also bought the accompanying etching cream to prepare the tiles (rather than sand them). Unfortunately, the instructions on the etching cream aren’t entirely accurate, and I ran into my first snag.
The wording says “ready in 4-5 minutes”, so I thought that’s how quick it would be to start painting. As in, paint on the etching, wait a few minutes, then start painting.
No no no!
You need to “rinse well with water to remove the etching residue” – a little fact only written on the instructions for the epoxy. Thank goodness I’m a dedicated instruction reader because I can imagine skipping that step would have caused many issues.
The lilac goop (aka etching cream) was SO hard to wash out. Like, multiple rounds of wiping/washing and drying with a rag. I even used the mop and bucket because it was much quicker than trying to wash it all by hand.
So just a warning if you use the etching cream – you need to wash it off, and it will take a lot longer than anticipated.
Anyways, the plan was to prep the tiles, paint the first coat, wait 2 hours, then paint the final coat. This was the Friday afternoon of Canadian Thanksgiving (two weeks ago). The Husband and the kids had already left for the grandparent’s house, and I figured that I’d be there around 9 ish.
(Spoiler: it was closer to 1am…)
Painting Bathroom Tiles (First + Second Coat)
Prepping the tiles and cleaning the etching cream took about 2 hours longer than I had planned. I didn’t even start painting until around 7:30pm, and it took over an hour to hand brush all the tiles.
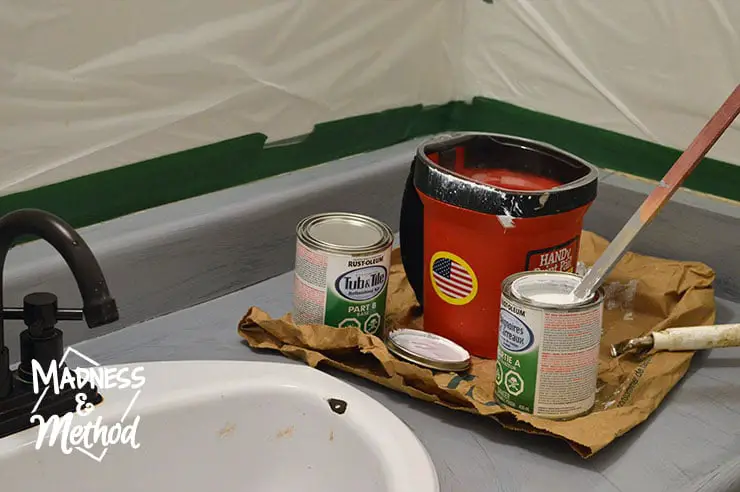
I didn’t have any issues mixing the epoxy kit, as I just dumped both (stirred) cans together. There was no waiting required, but the paint was SUPER liquidy. Like water. Aka messy.
Once it went on the tiles, it hardened/gummed up a bit, but the surrounding areas had a lot of drips. At first, I was getting down the ladder and wiping all the drips in the tub, but eventually, I gave up.
I started from the top down, with the thought that I would need to place my hand on the walls to balance myself. That way, I wouldn’t touch wet tiles, and this worked really well for the first coat.
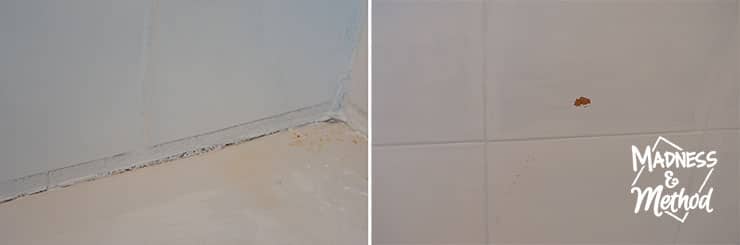
I just had a couple of areas where the paint didn’t adhere nicely. Clearly, it was some sort of soapy residue – but I don’t know how it didn’t come off before (remember, I did the etching and MULTIPLE rounds of wiping the walls).
Now, I should specify that my kit says that you should NOT roll the paint. Hence all the hand-brushing and streaks. My kit also said that the next coat can be applied in 2-6 hours. (I mention both of these because I’ve seen other online tutorials that say to recoat after one hour and/or videos that show rolling).

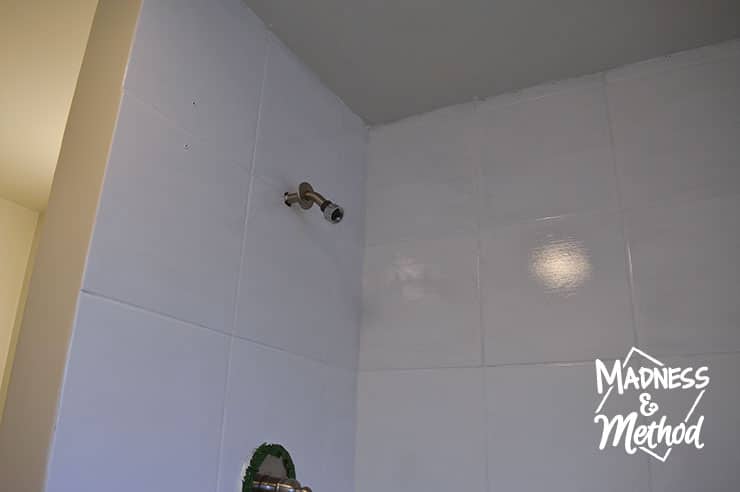
I finished the first coat of paint around 8:30-9pm. It took about 3 hours from then for the top sections to dry somewhat (aka not tacky when I lightly pressed the surface). This was way past my bedtime, but I had to do the second coat since I already mixed the paint. Thankfully, the second coat covered a lot more (it was a bit thicker by this point too).
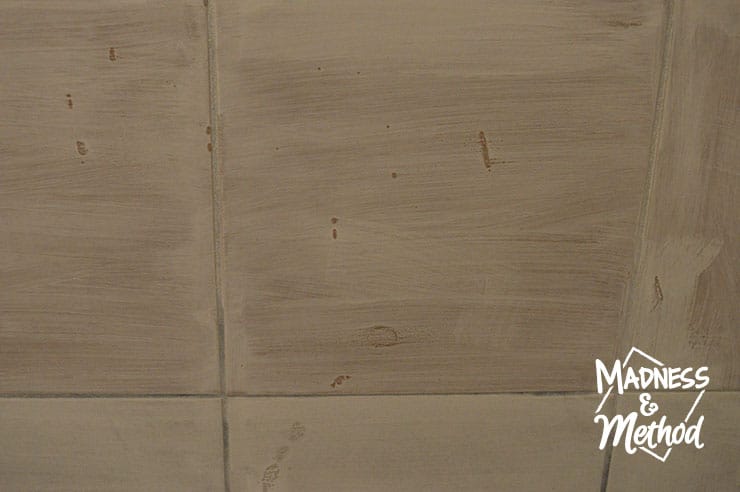
But unfortunately, there were still a lot of brush marks…
I had left the window open all weekend, had the bathroom exhaust running, and brought in another fan. Either way, we were gone all weekend for Thanksgiving – and you’re supposed to keep the area free from water for 3 days.
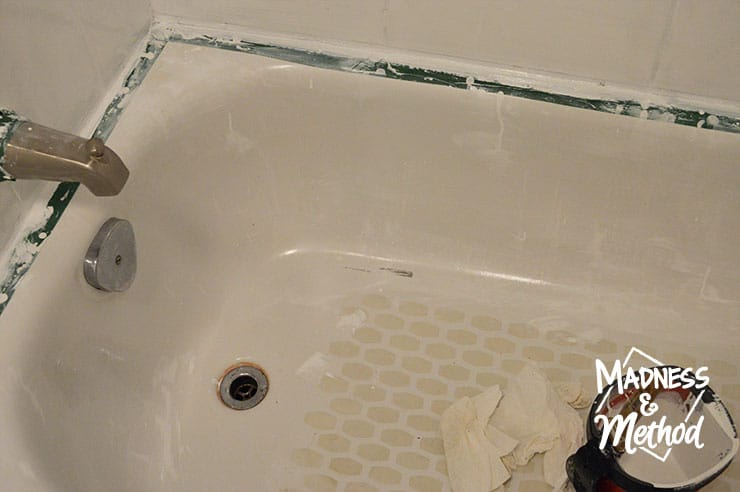
I figured another coat was all that was needed, and I also had to paint the tub now because of all my mess. No problem, I had bought two kits (thinking that one kit would cover one coat).
We returned on Monday, and there was no smell leftover. I scored the painter’s tape with a utility knife and peeled it up carefully. Doing this, I could smell the paint again, but there didn’t seem to be any wet spots under the tape.
Round 2: Painting the Tiles (and Tub)
The (original) plan was to silicone caulk around the edges where the tiles meet the tub. That way, any missed areas would have been covered – but it seemed to be okay.
For the spots that didn’t get painted well (those weird areas I assume were soapy), I just scraped them with my fingernail and tried to remove any loose paint. Luckily, only a few of the bad spots came up, and the paint around seemed to adhere really well to the tiles!
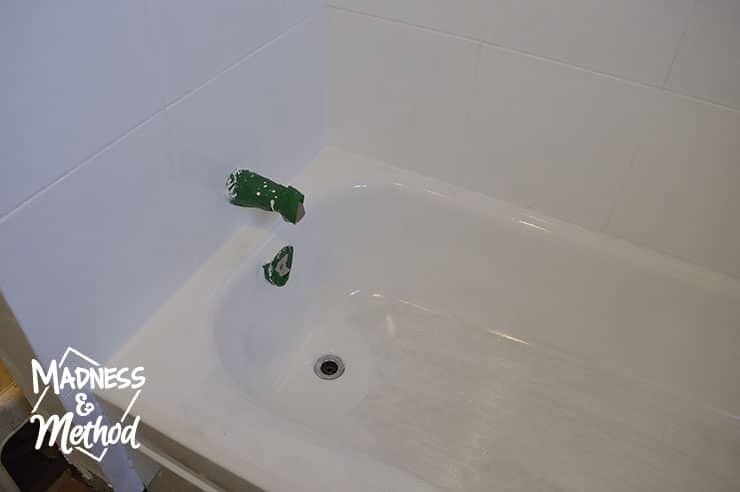
I didn’t want to hook up the shower fixtures again, but the Husband did take a bath in there. We were able to book another weekend away (this time, at our nearby apartment), and once again, I got to work prepping the tub.
This time, I made sure to use the etching cream earlier in the day (only on the tub), and I was prepared for all the washing. I then re-taped the fixtures and along the floor. And, lots of cardboard was set up on the ground, because I was ready for super liquidy paint this time. As per the instructions, I also lightly sanded the painted shower tiles, then removed the dust.
I hoped to only have to do another coat of the tiles, followed with 2 in the tub. Unfortunately, it was still very streaky after the third coat :(
And for this second coat, I had to do some creative acrobatics to try and reach the top tiles. I didn’t want to stand on the tub (that I had just painted and was slightly tacky). It took just as long for the paint to set up this time, but I was mentally prepared.
Unfortunately, I ran out of paint and couldn’t finish the tub :(
Where We Are Now
And, on top of that, the tiles are still streaky! All the walls need another coat, but the top two rows are especially bad (I think because the paint was most liquidy then?).
Problem 1: I don’t have any more paint (I bought it at Home Depot which is a 2-hour drive, one-way).
Problem 2: They also don’t have any paint in stock
Problem 3: I can’t find any Rustoleum Tub & Tile paint near me (I tried all the stores that could possibly carry it)
So I could either:
A) find it elsewhere in the province (slim pickings!)
B) order it online (either on Amazon or Walmart, both for more money AND worse, over a month out), or
C) switch brands and hope that they would work well together… (maybe this kit or this kit?)
Oh, and magically find another weekend to do the paint. We Airbnb our apartment, so that’s not always guaranteed (luckily, we’re getting into a slow season).
Was painting the bathroom tiles worth it? I think so, but I’ll let you know once they’re done-done (and if they last). I do like the super-glossy finish of the epoxy, and I can imagine that it will be easy to clean AND reflect the light around better. It was certainly cheaper than replacing all the tiles, and although the time to paint sucks (aka having to leave the house to avoid the fumes), it was probably easier to do it in spurts this way. (Compared to tiling which would have been a full week).
Oh, and I think I’m going to try rolling the paint to see if that helps mitigate the streaks…
I will let you know!
About the One Room Challenge
Alas, our project continues! Visit the One Room Challenge website to follow all the linking participants and featured designers.

Follow our Rainbow Bathroom Progress
Tasks Completed this Week
- Finished priming the counters
- Spray painted the bathroom counters
- Third/fourth coats on shower tiles, and painted tub 1.5 times
Tasks Started/Ongoing
- Patching/touch-ups on counters
- Removed vanity knobs and prepped for paint (that’s the plan today)
- Will paint vanity tomorrow?
Hope this post on painting bathroom tiles was helpful! I am going to stop focusing on the shower walls for now and get everything else going/done. The painted counters are super close to being finished, so look forward to a video post on that next week!
I’m planning on painting the vanity this week too, and probably cutting all my trim pieces? Finally, sanding and priming/painting the walls? Who knows! My original goal was to get everything done by the end of this month, and we have just about 10 days left!
Obviously, this doesn’t take into account the painted tiles anymore… oh well :(

No Comments