
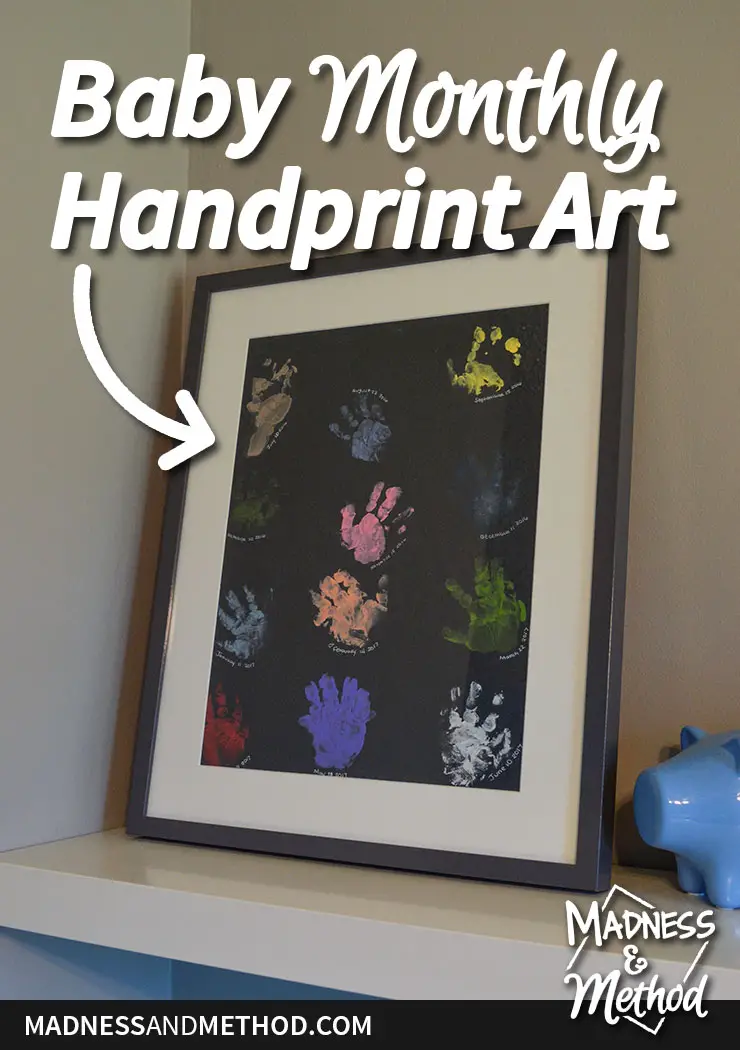
Are you currently pregnant and/or know someone who is? Maybe you’ve recently had a little bundle of joy, and would love to commemorate the baby’s growth somehow? For our mister (who recently turned one) I did this custom baby handprint art each month, and I’ve love to share the project with you! (Along with some tips and warnings of course!).
– Note: This post contains affiliate links. See more information about affiliates here. –
If you caught the mister’s 1-year birthday post, you might have noticed that we took a photo every 2 months for his baby book. We always took the photo in the same spot each time, and we certainly could have done the same thing (once a month) to chart his monthly growth.
But then I would have had to print the photos and mount them, and that just didn’t seem as special to me.
Now, I should have remembered from the handprint mould fiasco (using this kit) that it is SUPER HARD to get your baby to hold their hand steady… so heed my warning and maybe do baby footprint art instead?
Nevertheless, I think I got the technique down, so most of them turned out okay :)
Although, after the first print (which looks like a foot), the Husband refused to help and thought this whole idea was ridiculous…
Why do we need to do this every month he said? Umm, because I’m a momma and this is what we do :)
Besides, once you see them all together (or even just get a few good ones), you’ll see that the handprints really look great together! (Ha, all the “screw-ups” will be funny stories in the future anyways!).
Baby Handprint Art DIY Tips
- Choose a frame size ahead of time (make sure it’s large enough to fit 12 prints)
- Prep your background (and choose a paper colour)
- Choose paint colour(s) AHEAD OF TIME
- Prep baby and do a print each month!
1. Frame Considerations
After doing a bit of guess-timations, I thought that I would need about 4″ x 4″ of space for each handprint. There would be 12 in total, and I knew I wanted my handprint art to be portrait orientation (so 3 across and 4 down). That would mean my surface area would need to be about 12″ x 16″, which is a standard size!
(You could probably get away with 3″ x 3″ for each print, but you wouldn’t have that much space in between, if any.)
2. Background Paper
I ended up deciding to get a black frame with a white matte (this is the Ikea Ribba 41×51 frame I got) and I wanted it to be the size of the canvas we have in the nursery. To match, I decided on a black background, purchased a piece of Bristol board and cut it to the size of the frame. I also drew some light lines with a pencil that would mark where the matte would cover, and sort of marked the edges into a grid for the handprints.
3. Handprint Colours
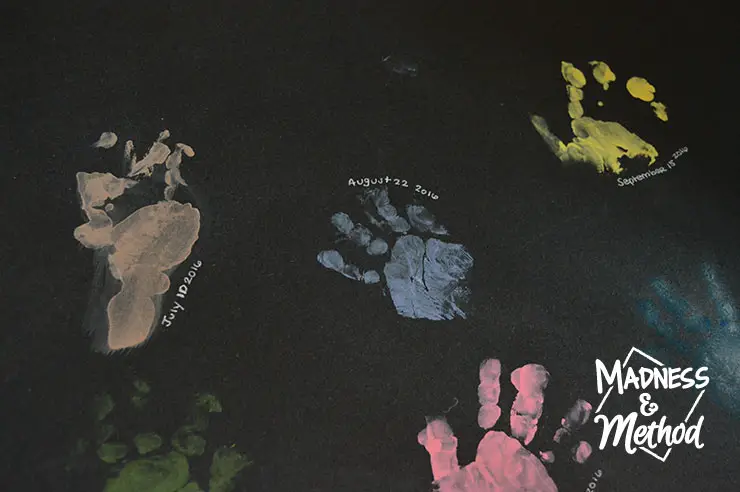
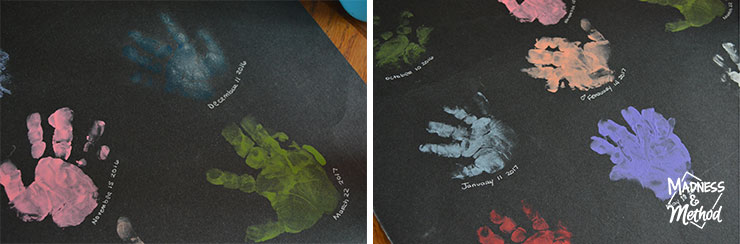
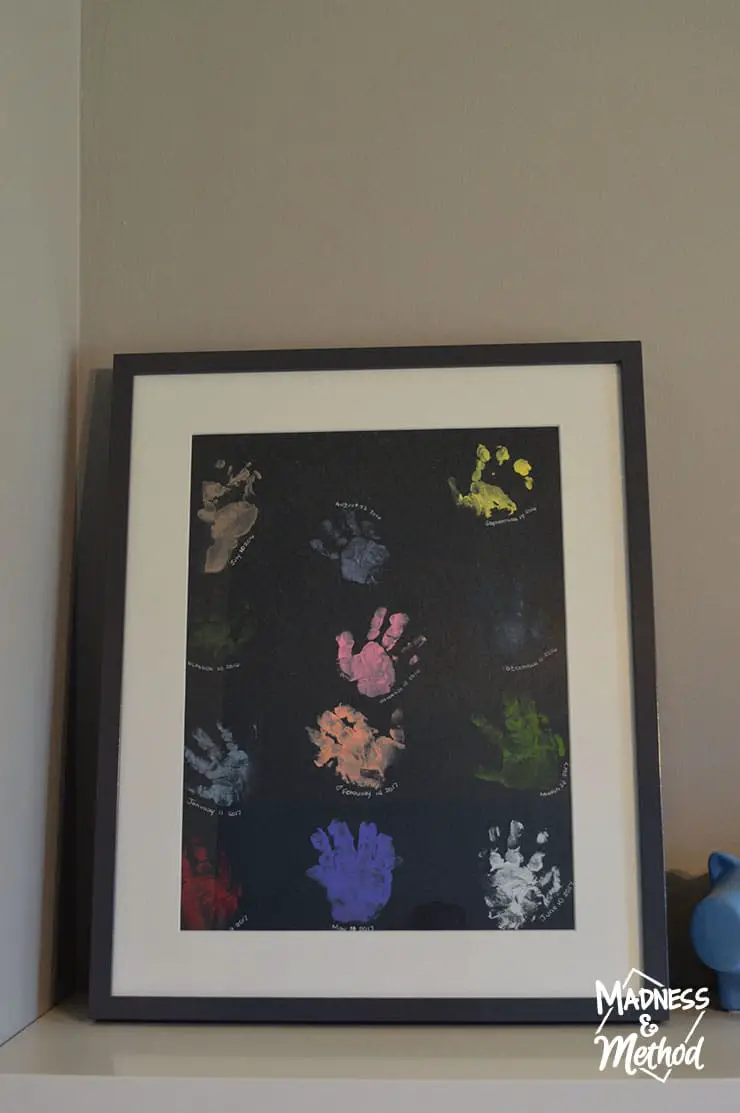
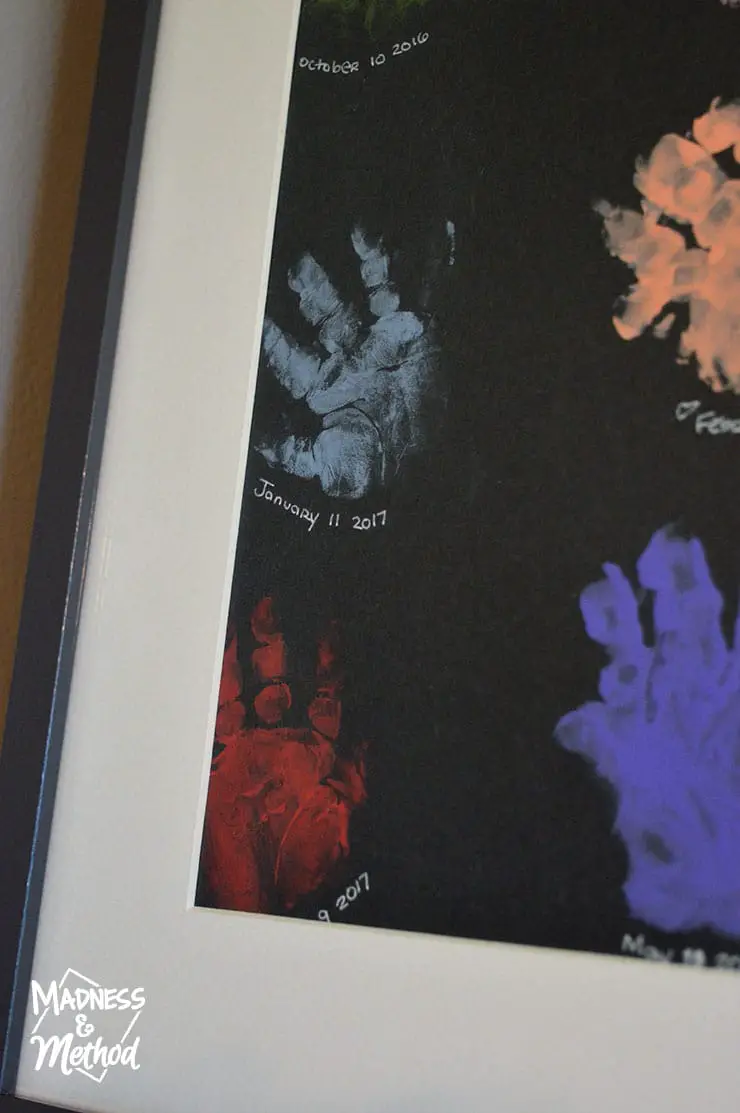
You may have noticed that Zachary’s handprints are all different colours, some brighter than others? Well, if I could have changed anything, it would have been to choose colours ahead of time. As in, not right when we did each print. Because of the black background, some of the darker colours didn’t show up well (and one I even tried lightening afterwards, which is why December looks fuzzy…). I tried to do a variety, but it was hard to pick contrasting colours that we hadn’t used before (can’t have too many yellows, or reds, etc.).
Decided (and potentially test out) each colour before you have baby’s hand all covered in paint! Maybe all white paint? Or shades of gray? Or just shades of blue? Whatever!
4. Doing a handprint!
After a few missteps, I found that the best technique was to have a baby wear no clothes (or at least nothing nice) and have plenty of wipes and paper towels handy. I would squirt a small drop of paint in his hand and rub it around with my fingers. Make sure there isn’t too much paint (but enough so it doesn’t dry right away). I tried brushing it on (too hard to get it to spread) and dipping his hand in a plate of paint (WAY too much paint!), and found this way to be the easiest.
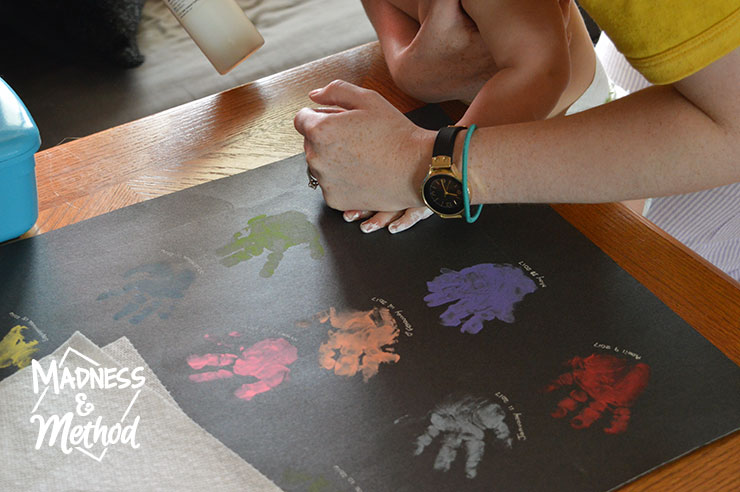
From there, I would bring his hand (and usually whole body) to the paper where the next handprint goes. I would press it down, then try and squish all the fingers individually. Sometimes we would “lose” a finger because there wasn’t any pressure, and if you wanted you could probably try that one again. (Wait for the paint to dry, wash baby’s hand completely, then re-apply paint to just the one finger).
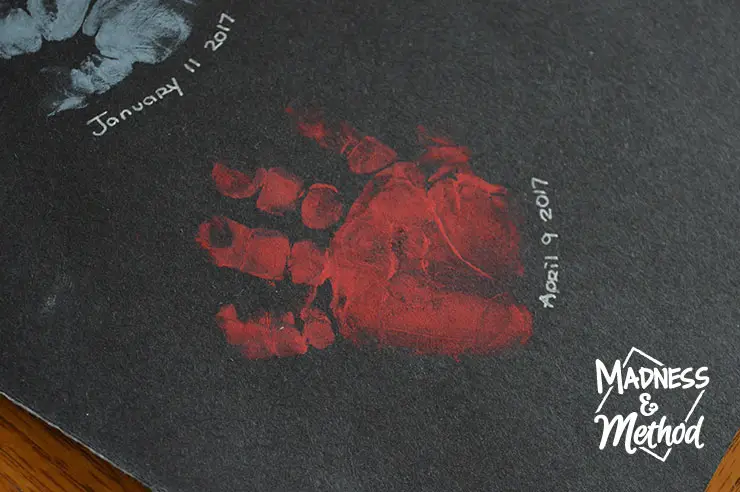
I would write the date underneath the handprint using a white gel pen, and we tried to do a print on the same day each month (but weren’t super strict as you can see). We also alternated between left and right hand, but you could keep it all the same if you wanted.
In the younger months, it was harder to get a handprint shape (you really have to form baby’s hand yourself), but later on it was harder to get baby to sit still and not play in the paint! We also tried to do the prints right before bath time, so if there was any leftover paint it would get washed away.
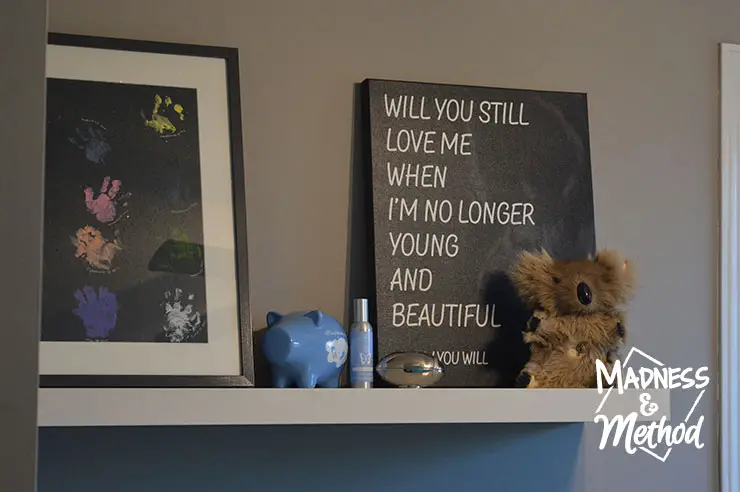
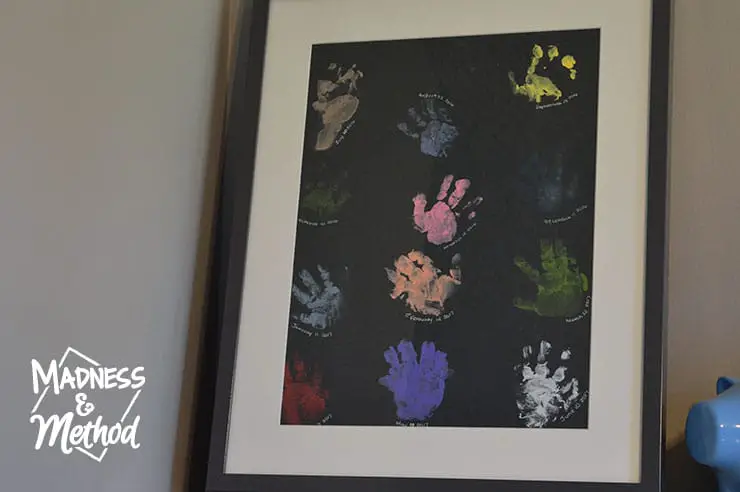
Finally, after what seems like the longest wait for art (ha!) I was able to put the poster in the frame and put it on the shelf in the nursery.
I actually had the unwrapped frame sitting there for a while, so it’s fun to see it filled up with colourful handprints :)
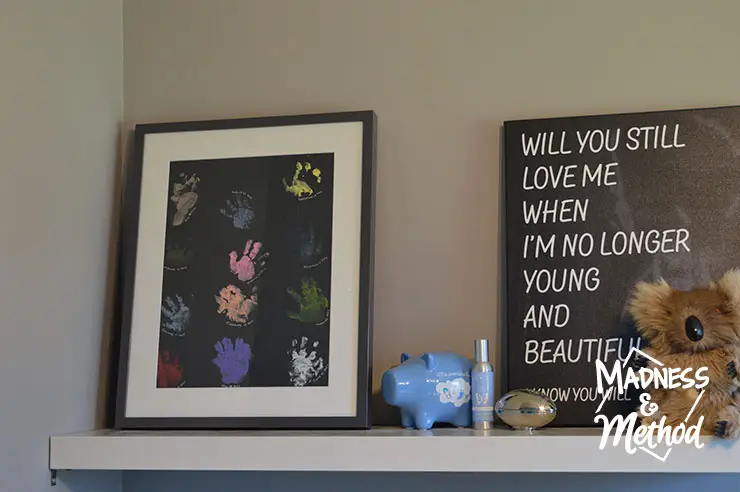
Although, I noticed right away that the frame is just a teensy bit bigger than the canvas (so I might make a quick frame for that so they are the same size).
Even with all my careful planning, I still ended up with handprints that were covered by the matte! I could always take it out, but for now I’m keeping it like it is. I think in the future, I would mark a little X or dot where the center of each of my grid lines were, and then it would just get covered with the paint (and they would all be more centered).
I really wish I would have thought about the colours ahead of time (and maybe chose to do feet prints!) so it would have looked more cohesive. I’m planning on having more babies, and I’ll definitely want to continue this baby handprint art tradition… but wouldn’t it look weird if none of the other children’s art matched? Like, why is there only one that’s all rainbow-y ha! Or why are the other ones all feet?
It’s definitely not something you can go back and fix, so I hope you listened to my tips and warnings if you’re planning on doing something similar :)
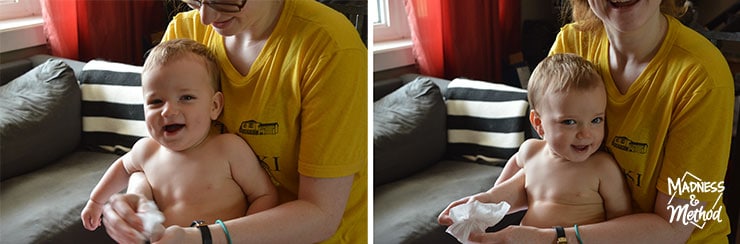
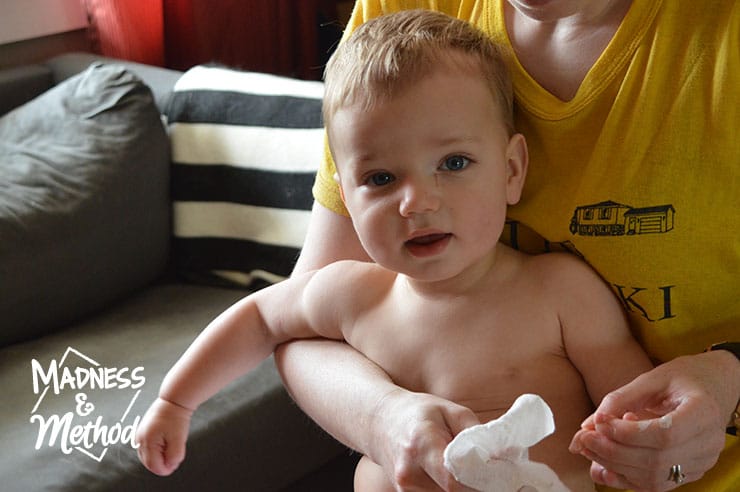
Oh, and here’s some more cute pictures of the little man (and me in my bright yellow pj shirt)!

No Comments