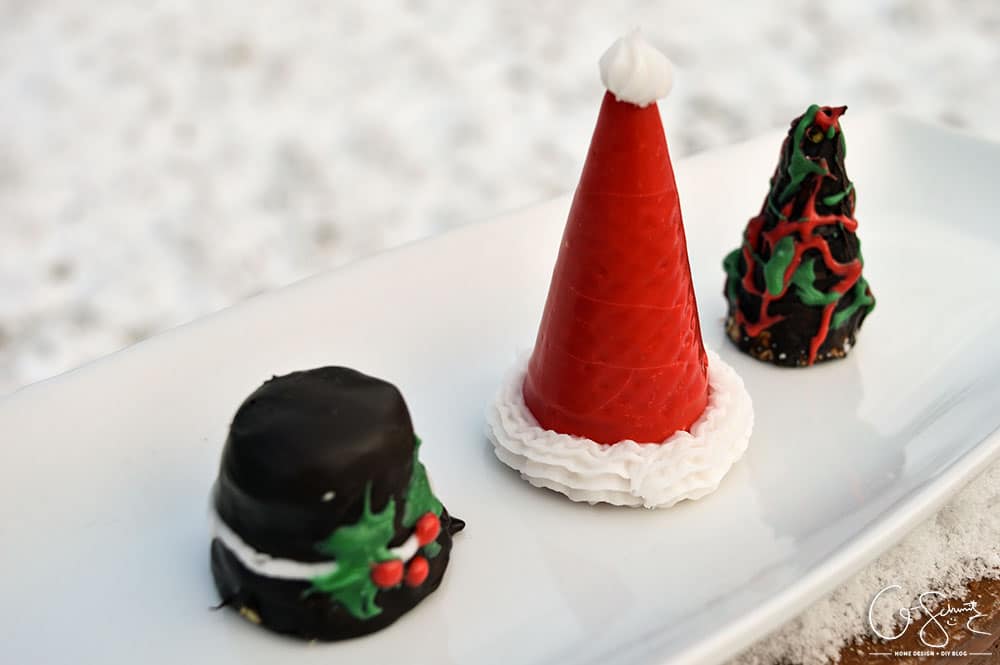
I thought of this cute little dessert project the other day and I knew I just had to make them to share with you. Have any mini (or regular sized) ice cream cones around? Why not put them to use this holiday season to make some ice cream cone Santa hats (and snowman hats, and Christmas trees!). Let me show you how!
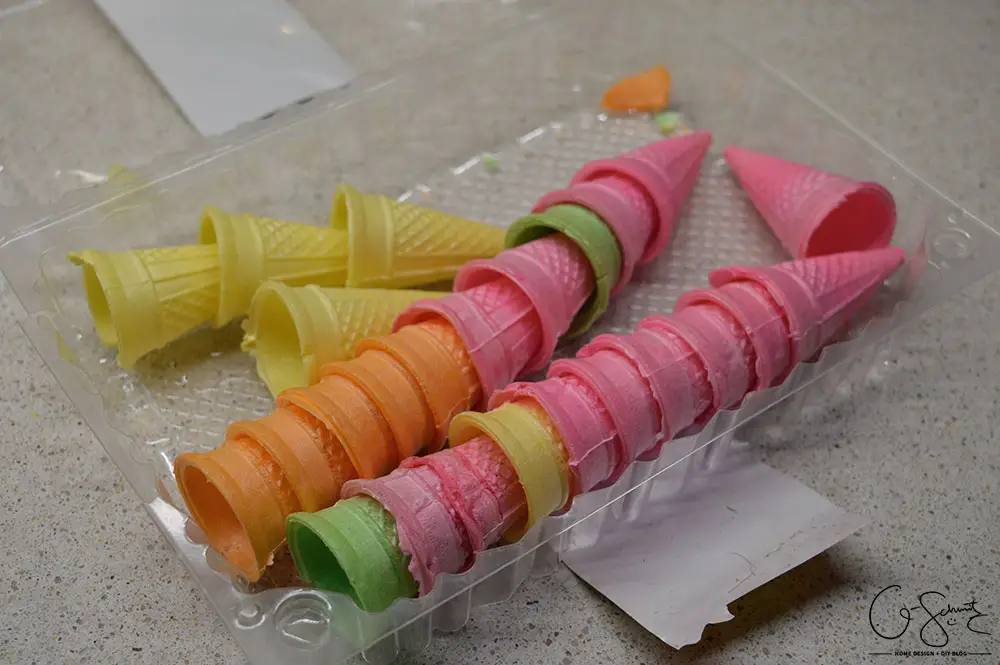
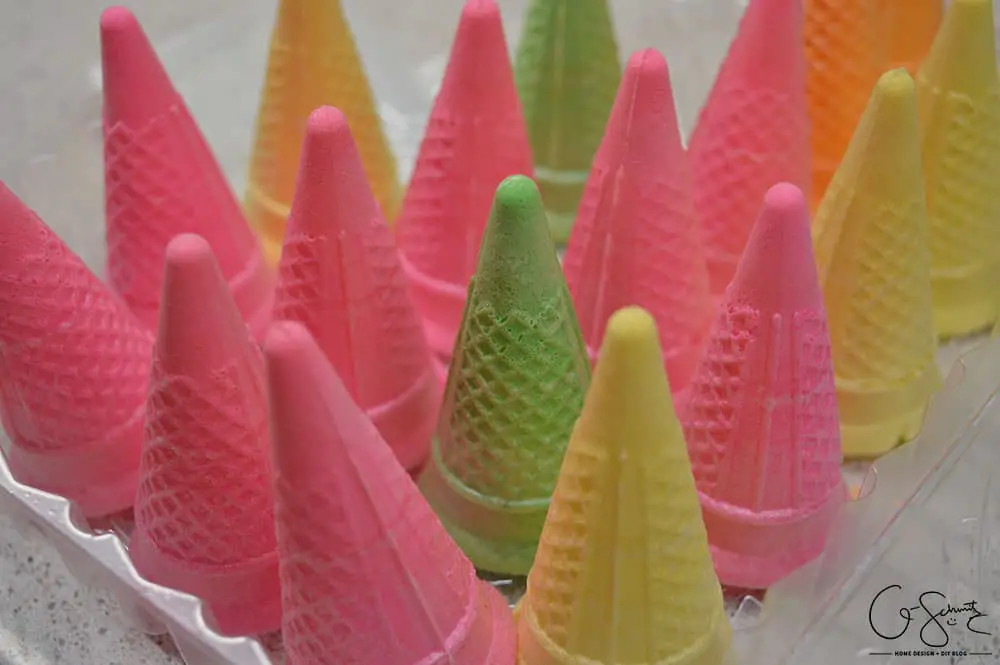
This project was a brilliant idea I came up with (in the shower no less) as a way to clean up a baking drawer. I had visited the in-laws the other day and noticed there were these cute little mini ice cream cones in there. A few days later I figured out what I would use them for, and I called the Husband and had him bring them to me.
Needless to say, he was very confused as to why I had to have them (and he didn’t even know they were there in the first place, my goodness!).
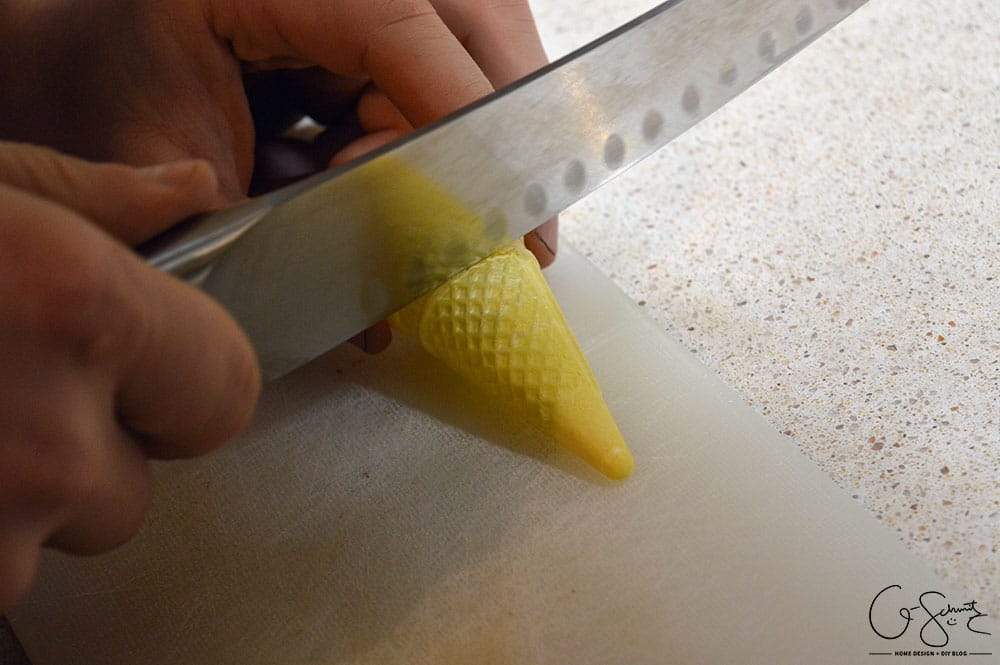
At the time, I couldn’t remember exactly how they were shaped so I thought that I could cut them in half, using the top part to make Santa hats, and the bottom section to make snowman (or snowlady) hats.
I went to the store and bought the following ingredients:
- Red melting chocolate wafers
- Dark chocolate melting wafers
- 2 green melting chocolate wafers
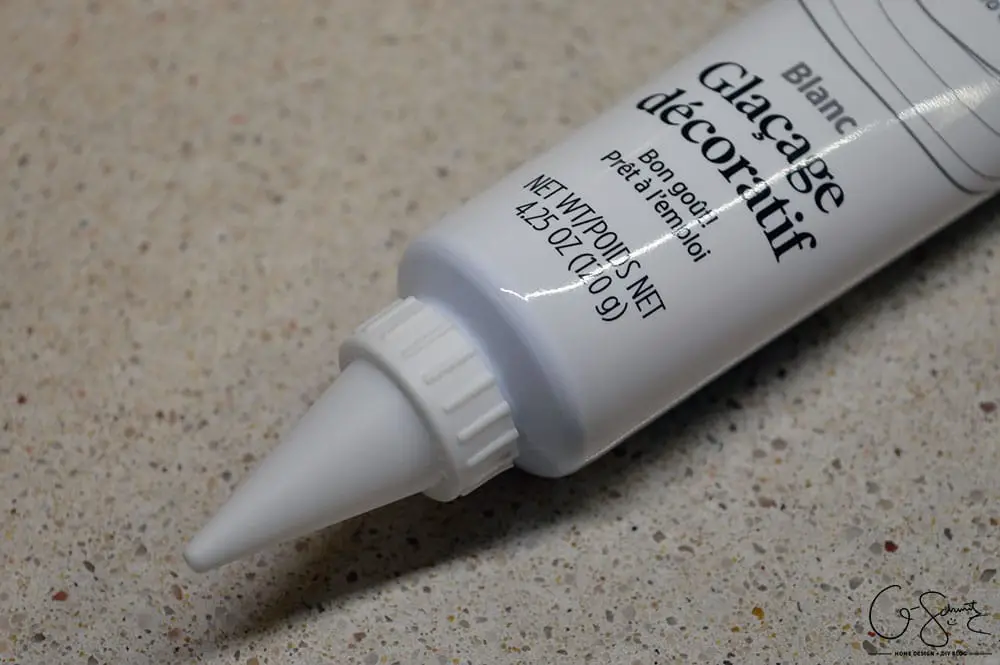
- A white icing tube
Once I saw them, they were more cone-shaped than I had envisioned, but I made the Husband carefully cut a few for me anyways.
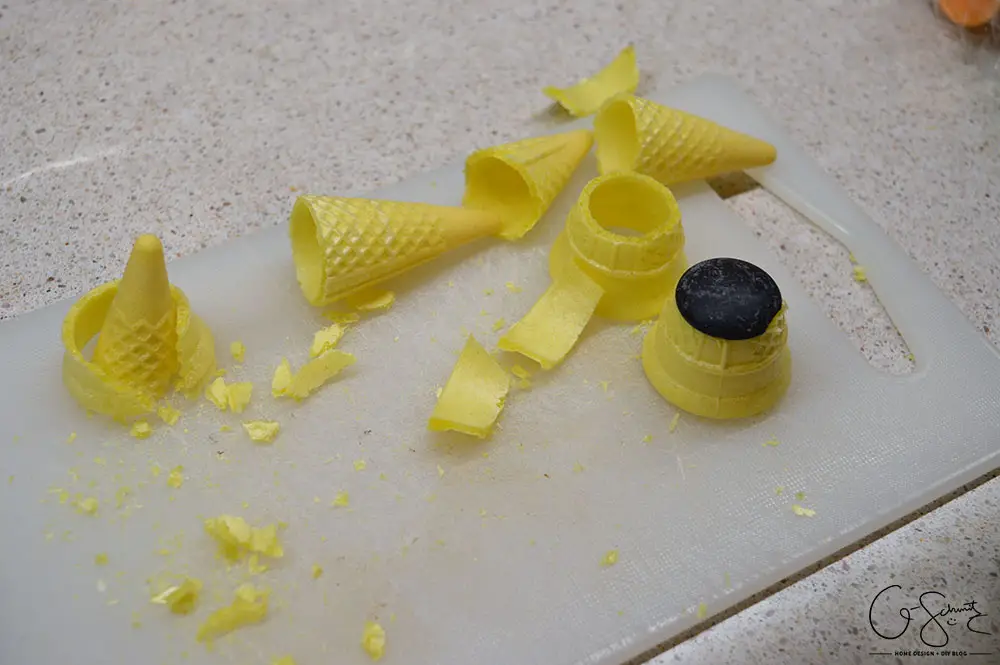
We cut a few and I measured the exact part where a dark chocolate wafer would fit across (for the top of the snowman hat), then cut a few more.
The Husband got bored and I figured it would just be easier to leave most of them in their original cone shape for the Santa hats.
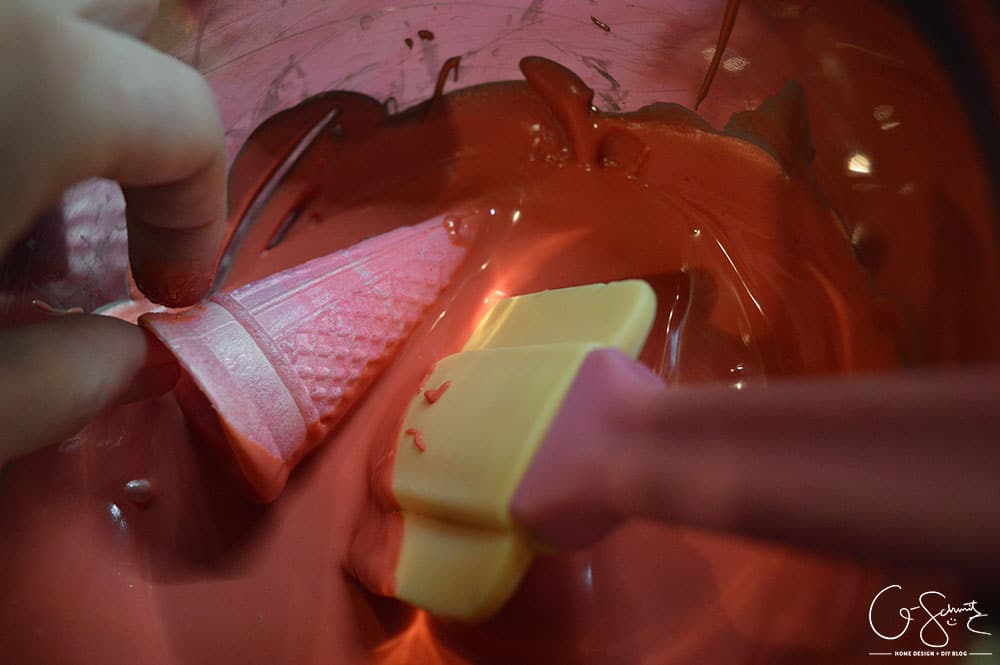
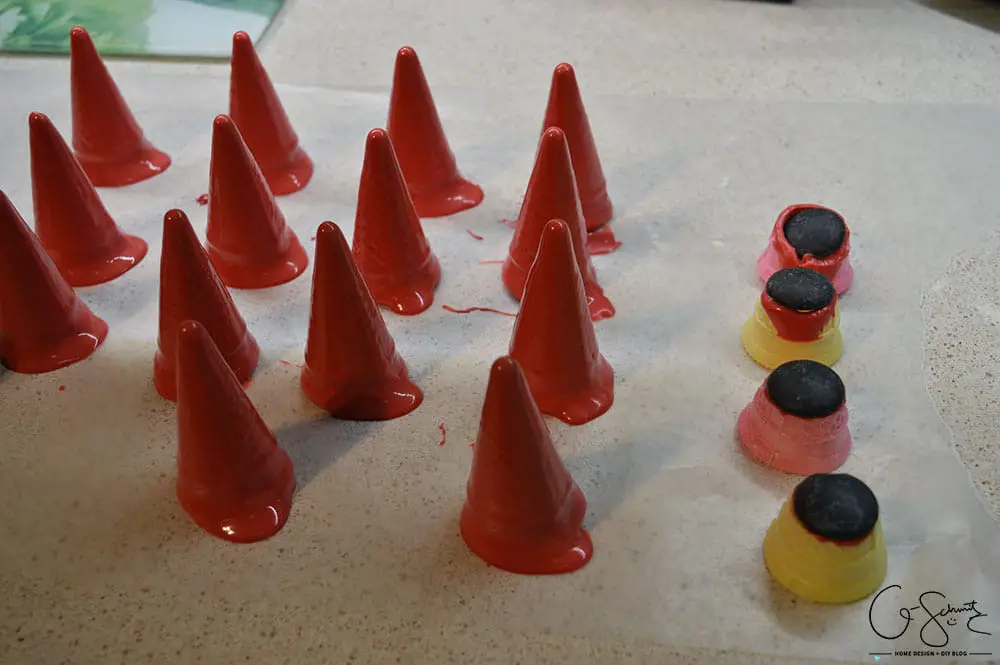
Since I would be doing most of them in red, I used a double boiling method to melt my red wafers. Then I dunked the ice cream cones in and twirled them around until they were covered.
For the snowman hats, I used a bit of the red melted chocolate to stick the little un-melted chocolate wafer on the top. I placed everything aside on a sheet of wax paper and let them cool.
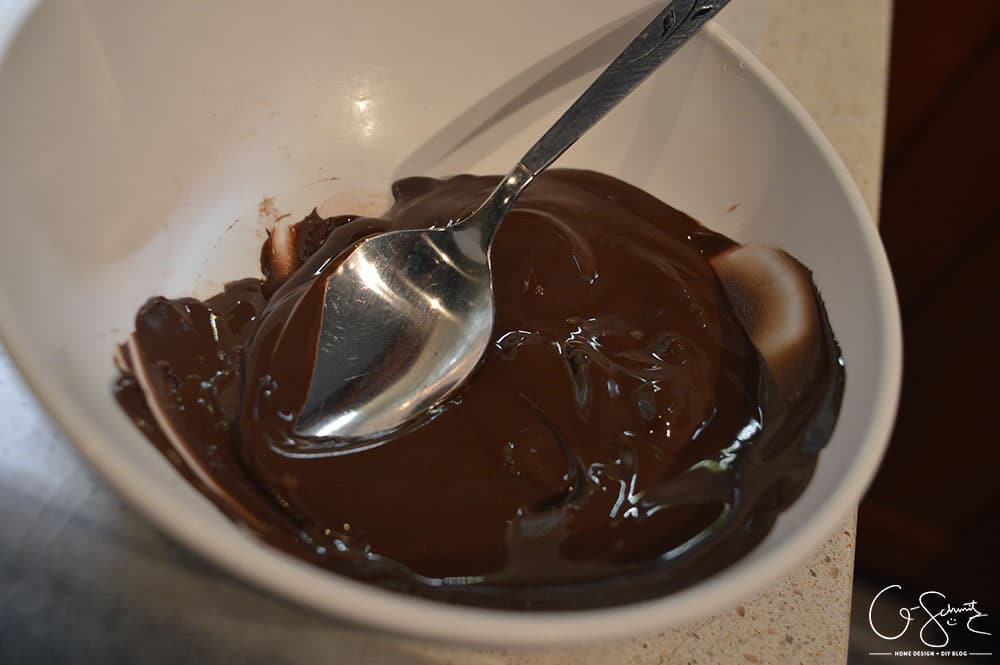
I wasn’t going to use as much dark chocolate (and my bowl with the red was still dirty) so I used a microwave to melt the brown ones.
DIY TIP: If you’re using a microwave to melt chocolate, put them in for 30 seconds, take out and stir, then another 15-30 seconds, then stir, then another 15-30, and stir (etc.) until they are all melted. If you don’t stir them, (and just look at them), they will most likely look the exact same EVEN THOUGH they could be already soft. (When I was younger I burnt some chocolate chips in the microwave because they stay the same shape… and I also burnt the bowl they were in… melted plastic does NOT smell good!).
Anyways, I dipped the little hats into the dark chocolate (and the little cone nubbins cut-offs too) and put them aside to cool.
Once the dark chocolate had set, I prepped my white icing pack and added a skinny tip (you could always make your own icing; I just don’t have any piping bags so this was more convenient!).
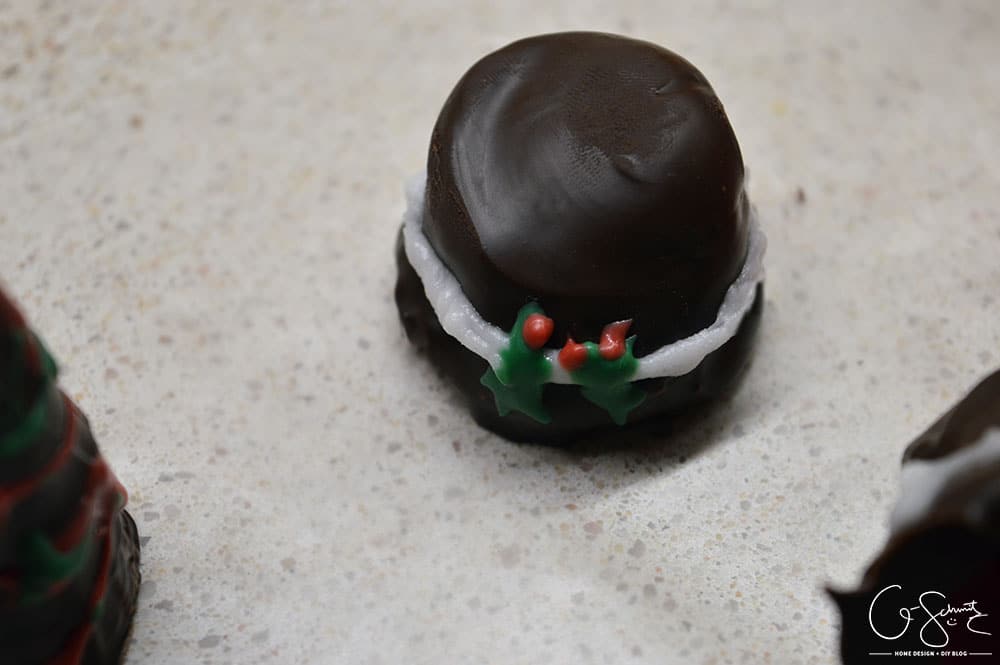
I traced a little loop around the hats, and then melted my 2 green wafers (seriously, I only had 2 – and I used a shot glass to melt them in).
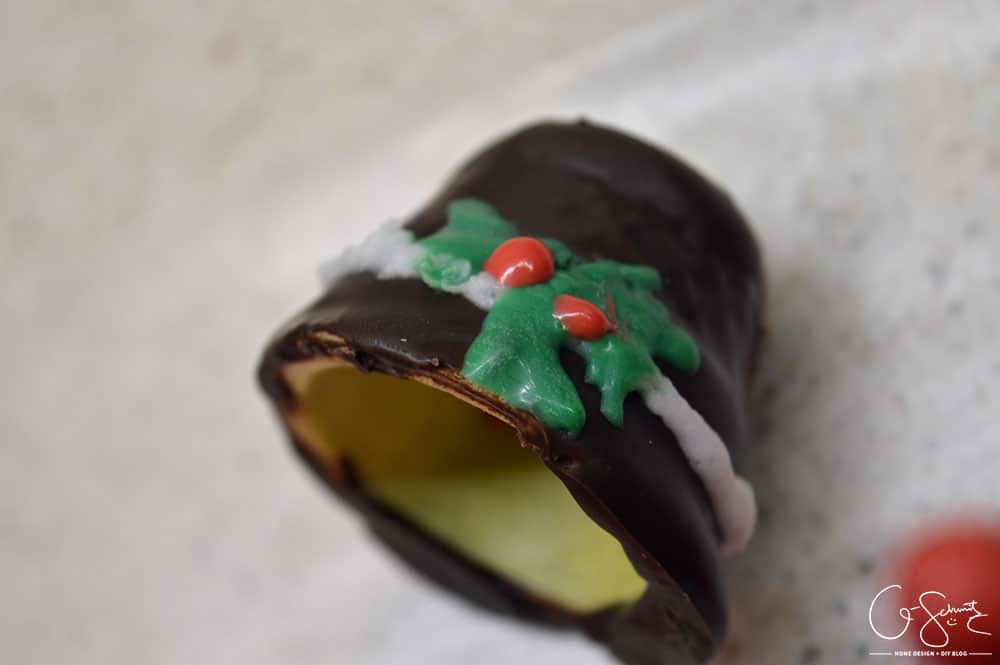
I only needed 2 because I was planning on drawing little boughs of holly to the hats, and I didn’t need an excessive amount of green to do it. I used a toothpick and carefully drew out the shape, then added some red icing dots on top.
They weren’t all perfect (this one was a little “wild” because the Husband thought he could start eating my Santa hats at this point even though they were not done!). It’s hard to chase someone out of the kitchen while you’re trying to do precise decorating!
Oh – I should also mention that I couldn’t hold the hats for too long or the dark chocolate would start to melt from my fingers, so maybe try and fashion yourself a little hat stand to better hold them?
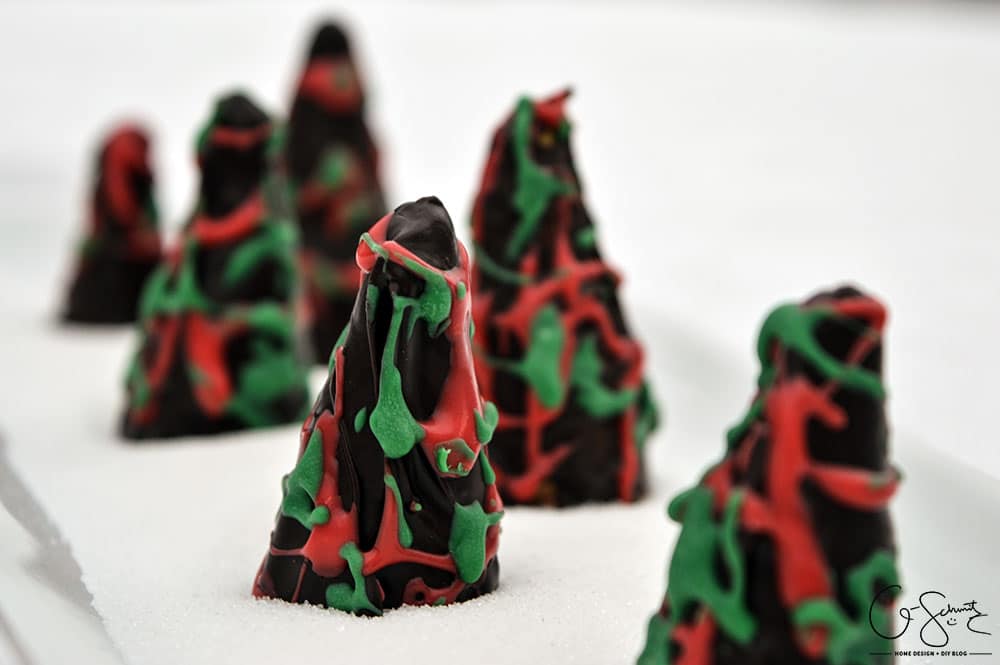
I was originally just going to do more mini ice cream cone Santa hats for the cut-off nubbins, but decided to do Christmas trees instead. It would have made more sense to do a green base and then decorate after, but like I mentioned I had a limited amount of green.
BUT then I thought it would have been even more amazing if I had those little ball sprinkles, and even one star sprinkle for the top. Just letting you know in case you decide to make trees and want to decorate them all fancy and realistic instead. Heck, you could even use the full size cones to do the trees, the possibilities are endless!
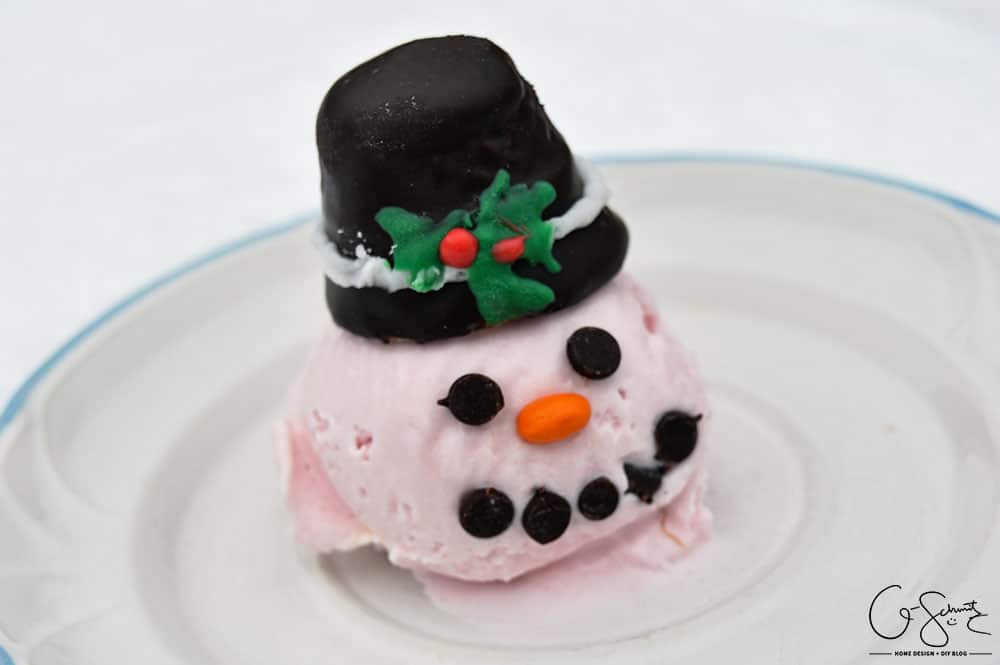
I thought to myself, what better way to show off the snowman hats then to put them on a ball of ice cream! I used mini chocolate chips for the eyes and mouth, and a sideways orange Reeses piece for the carrot nose. Of course, you would most likely use vanilla (or another white) ice cream, but all I had was strawberry!
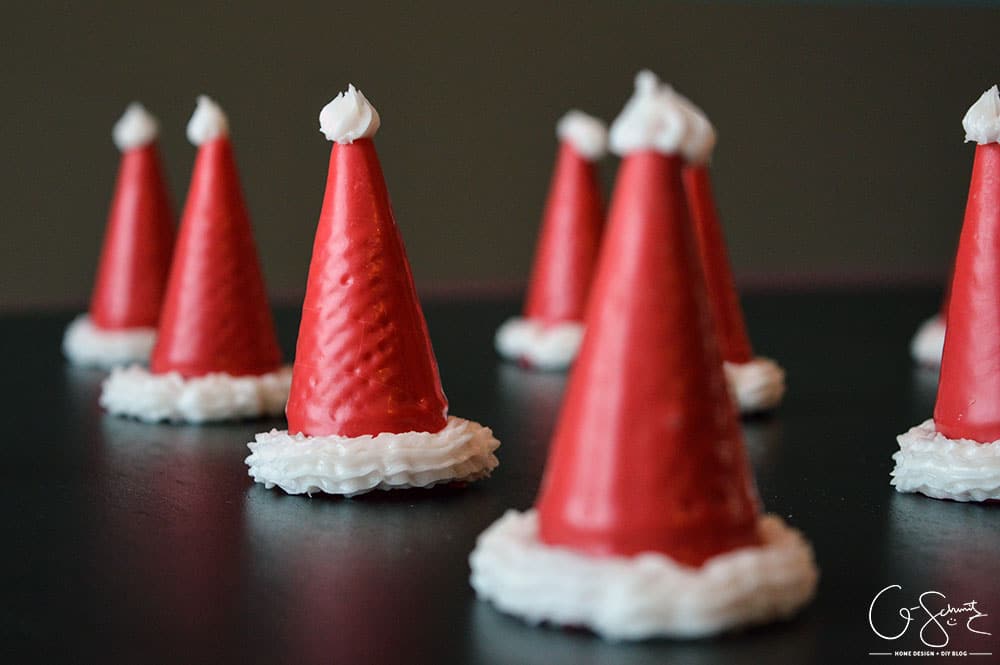
And finally, for the Santa hats I changed the icing tip to a fancier one and did a swirl pattern along the bottom. I also did a little icing “plop” on the top (can you tell by my technical terms that I am not a trained baker haha!?) but you could have also stuck a mini marshmallow on top instead.
My one pack of icing worked perfectly for 15 mini ice cream cone Santa hats, but if you’re planning on making a whole package (or using full sized cones) you will definitely need to get more.
So now I’ve completed an entirely custom holiday baking project and it didn’t take too long at all. With unused mini ice cream cones and less than 10$ of supplies (plus I still have lots of dark chocolate wafers and some red ones leftover) I made these cute little decorative hats and trees. I’m not sure how long they’ll last with the abominable Husband walking about, but I am quite pleased with myself :)
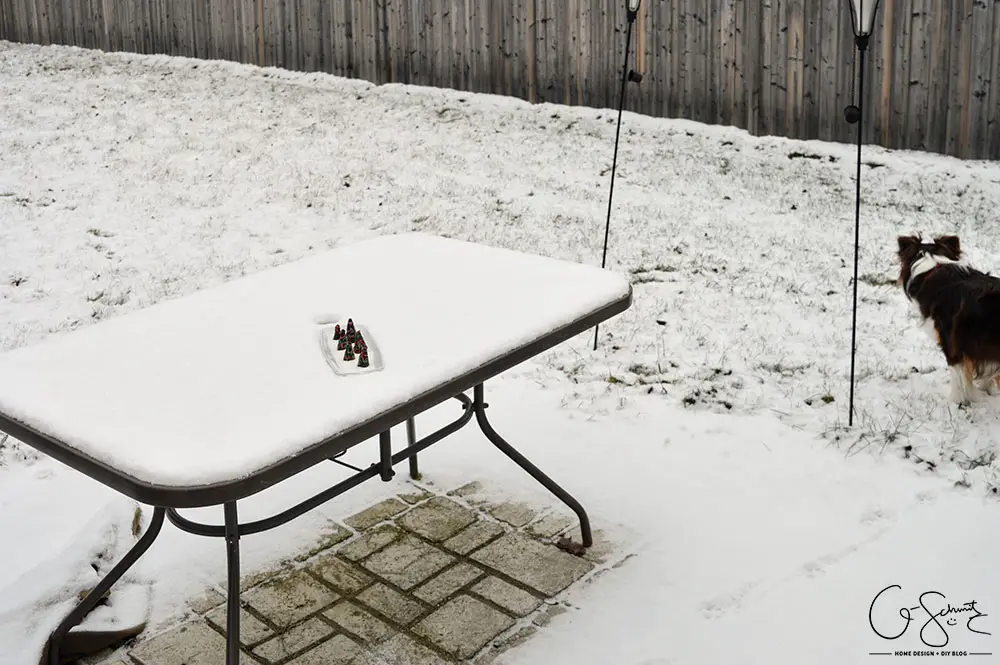
Haha, and here’s a behind-the-scenes photo of me taking the pictures! We finally got some snow yesterday and Tootsie thought I was going to play with her. Silly puppy, don’t you know Momma has to take lots of pictures first? (Oh I placed the trees on a bed of white sugar if you were wondering :) – and yes, I did play with her once I was done!).
Less than a week until Christmas!


2 Comments
Louise aka Mommy
December 19, 2015 at 1:38 pmVery pretty! The comment about the piping got me wondering what I did with Grandmaman’s cake decorating stuff. I thought I had given it to you but maybe it is still in the front closet
Nicole
December 20, 2015 at 9:09 amThanks