
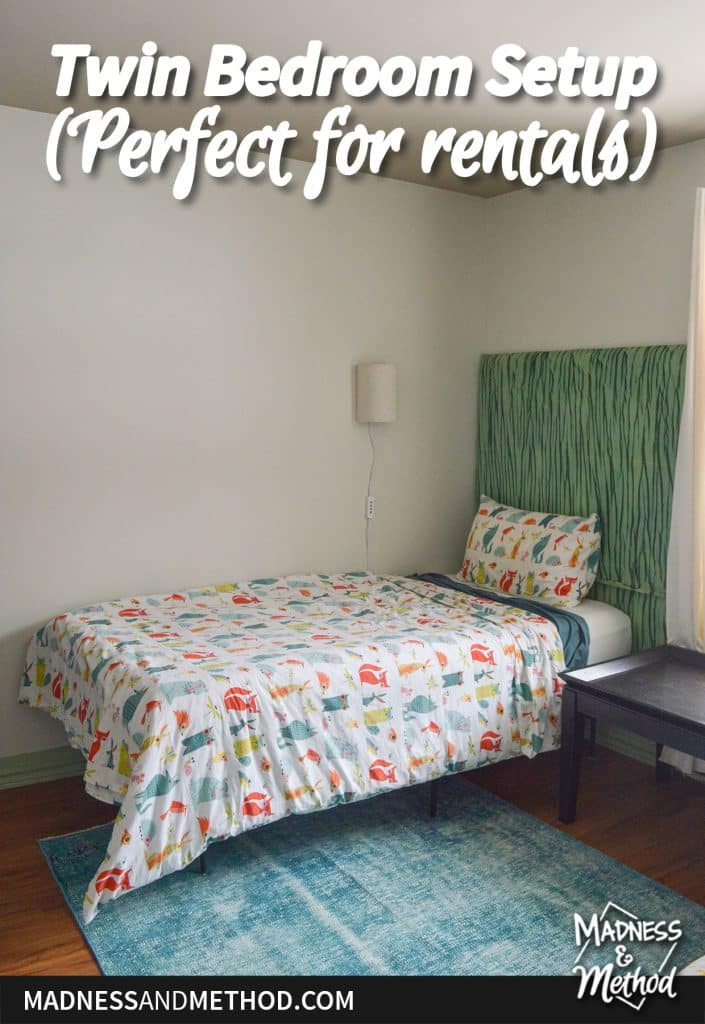
I love a bedroom with two twin beds side by side. I don’t know if it’s because I didn’t have that growing up (who did!?), but two matching beds next to each other looks so right! For our newest rental camp remodel, I was able to rework the layout of one of the rooms to get the perfect twin bedroom setup.
– Note: This post contains affiliate links. See more information about affiliates here. –
I know most people think about twin beds for kids only. But these are actually twin XL beds – so they’re a bit bigger (half the size of a King). Twin beds set up in a rental is a great scenario for adult guests who don’t want to share. (Think: guys on a fishing weekend).
Of course, the beds could always be pushed together if people want to share. But I like the option of having them separate.
Before I share the photos of the bedroom, let’s take a look back at how the space was set up when we got the house:
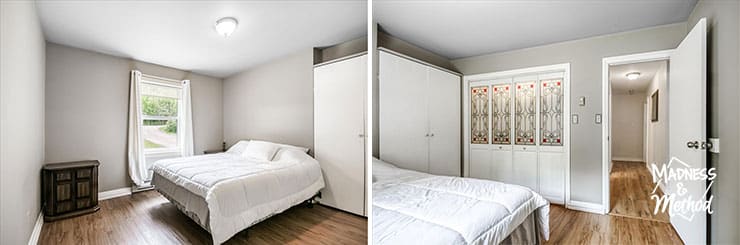
This bedroom had a queen bed on the side wall, two nightstands, a built-in cabinet situation, and a large closet. I envisioned using that cabinet to store all our linens (thing bedding, extra pillows, etc.) But when I opened it, I realized it was only like 8″ deep!
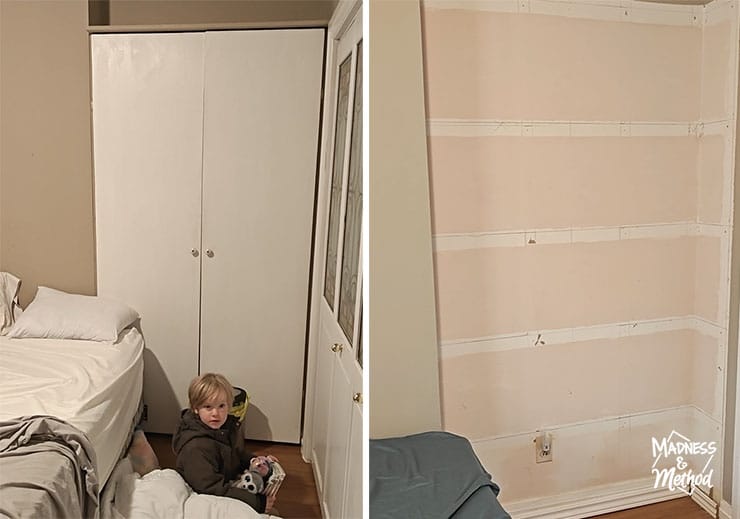
Ripping out the cabinet was one of the first projects we did! While the idea was good, it wasn’t very useful for real storage. I would much rather have the space with the option to move the bed however we wanted. (Did you notice that the bed used to be in front of the cabinet? You couldn’t even open the left door all the way.

We also swapped out the sheer blinds for some blackouts. Then moved the queen bed out (to the hotel room!), brought two XL twins in, and added some lights. Plus all the wall patching, priming and painting.
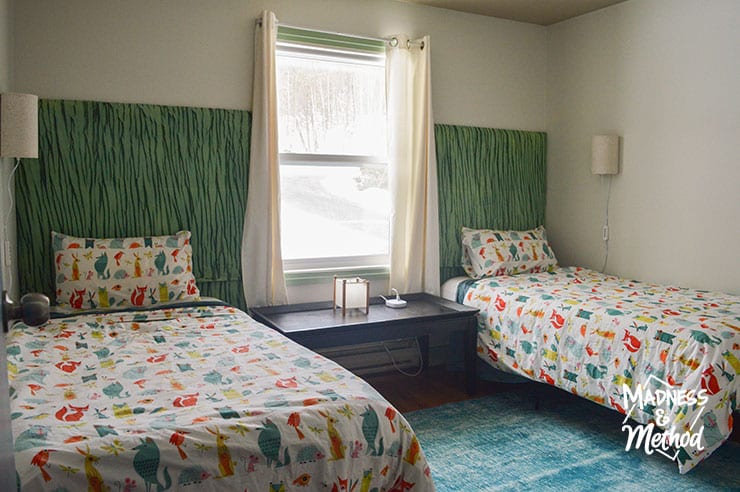
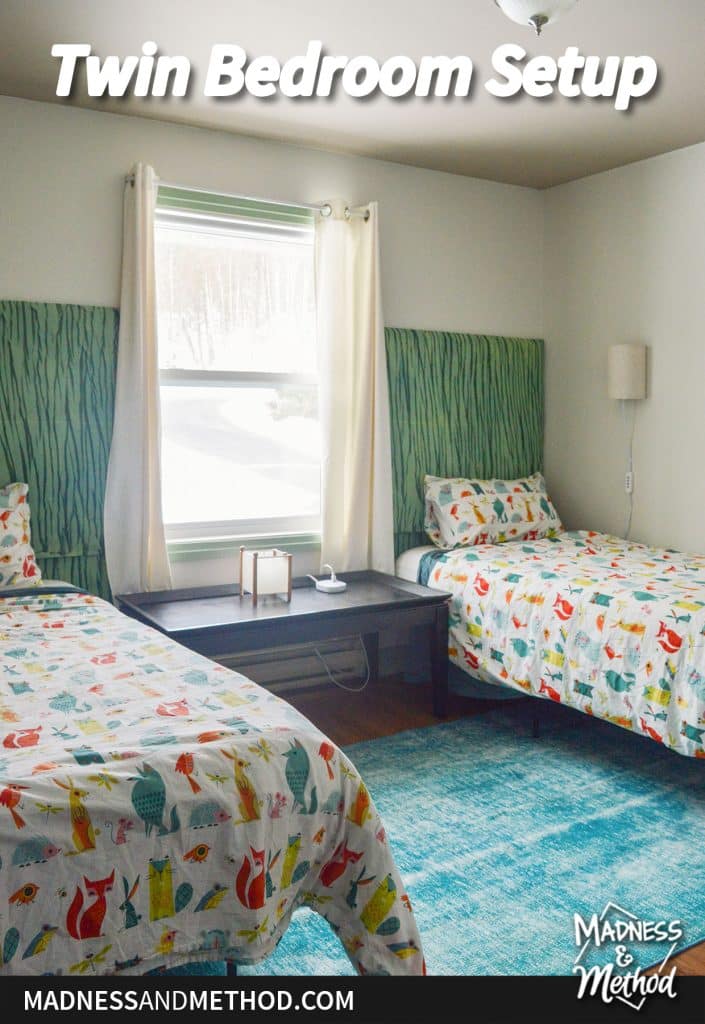
Oh yes! And built some custom headboards similar to these but attached to the wall. (I would have preferred a solid pattern fabric, but alas this is what Zachary chose).
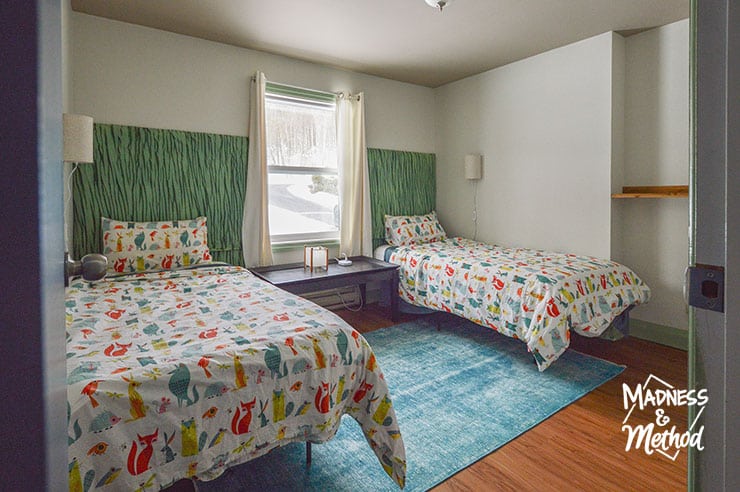
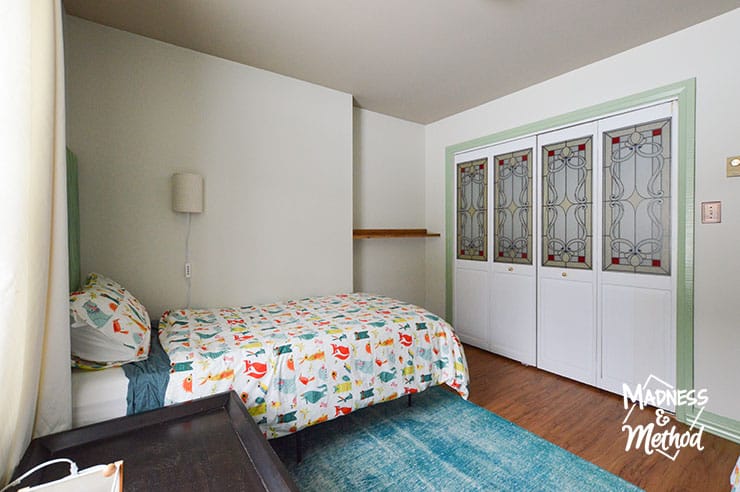
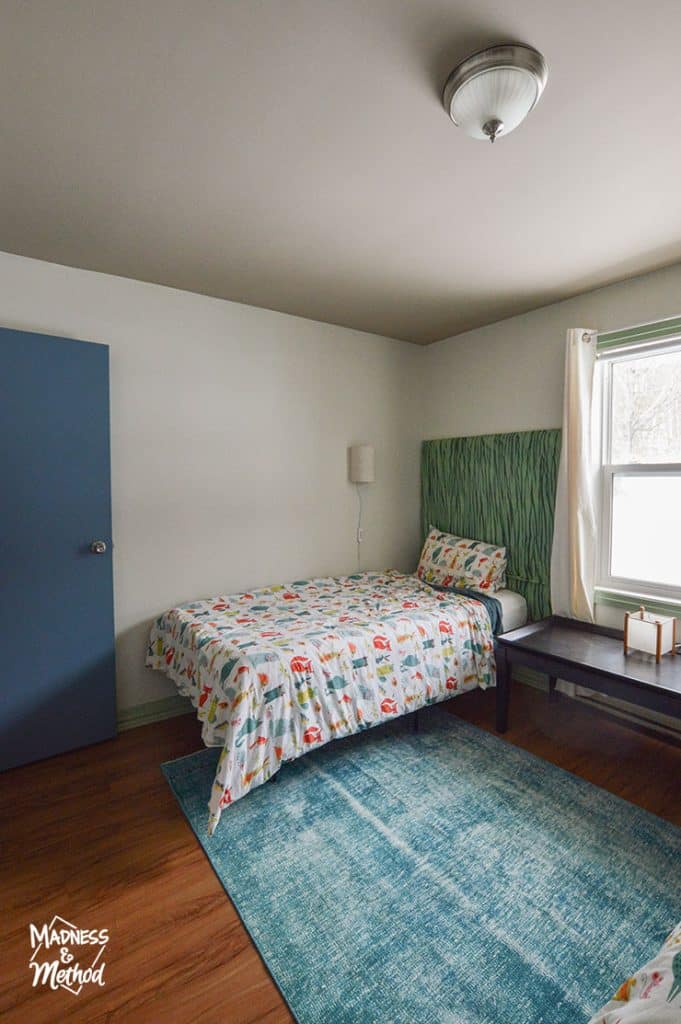
The bedroom is about 11.5 feet x 10, so a decent sized space. But honestly, the fact that the area next to the window was almost the perfect size for two twin beds really clinched this layout lol.
I put a coffee table in between the beds to act as a long nightstand. And the area where the cabinet used to be now has a floating wood shelf.
Floating Shelf Details
I don’t think I have shelf build details, but it’s the same process as the ones I made for our rental apartment.
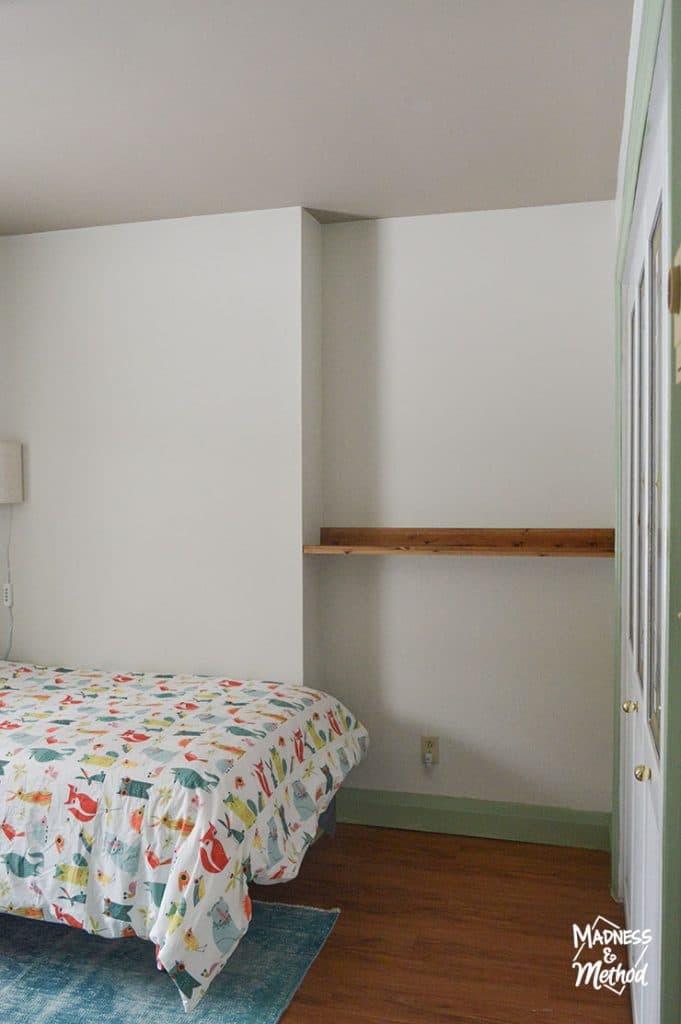
The bottom area would be a great spot for people to put their luggage/stuff. For now we just have a nightlight plugged in.
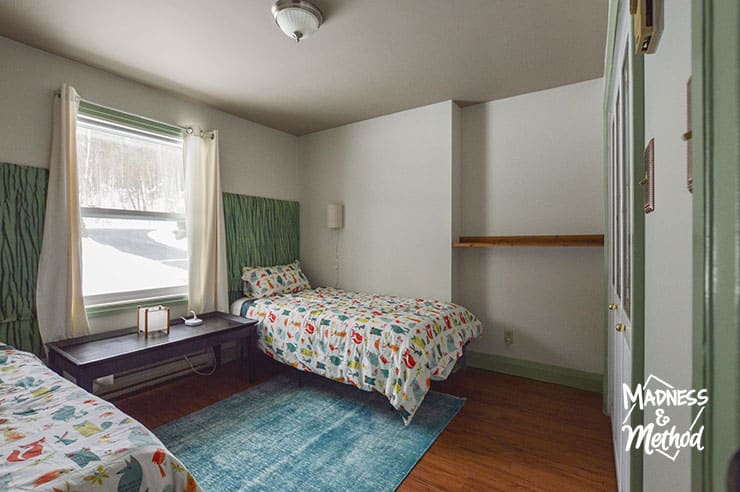
The closet is large in this room (with little built-in shelves and a hanging rack), so there’s plenty of space either way.
I picked up a random assortment of second-hand mirrors and kept thinking I needed another one to lean on this shelf. Then the Husband said I was crazy and the oval one would fit perfectly on the wall. We still need to figure out how to hang it sideways, ha.
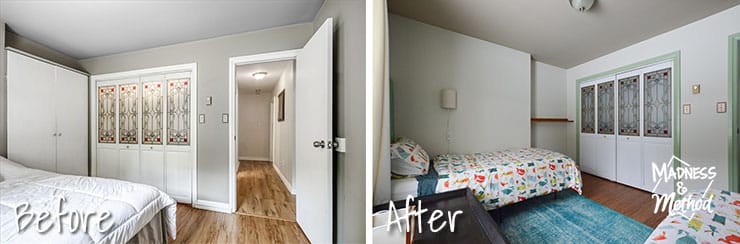
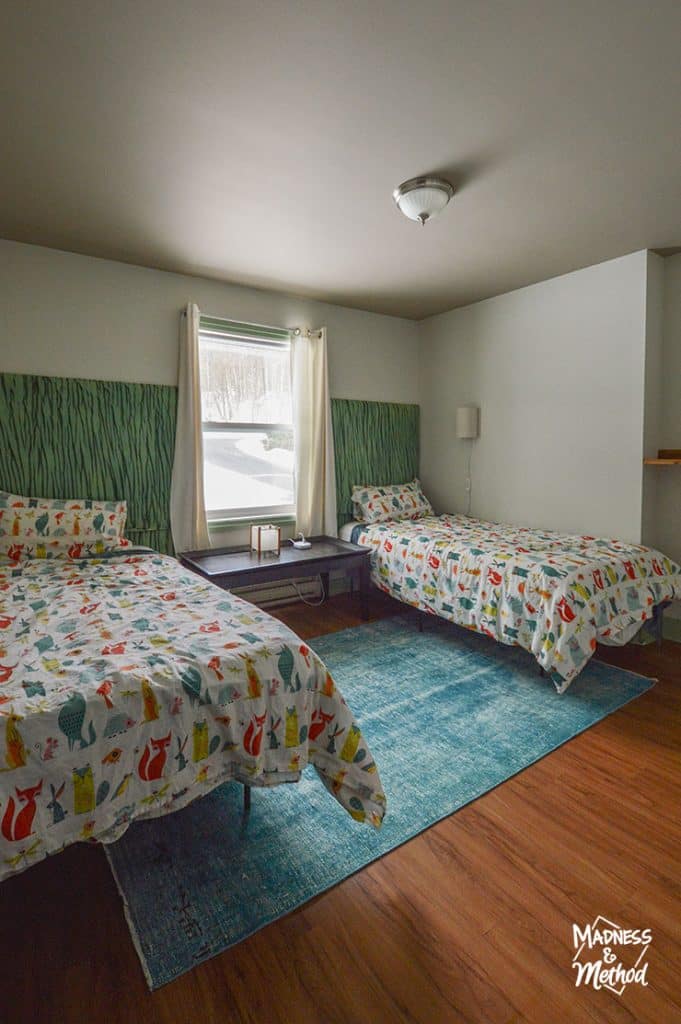
And here’s a similar before/after comparison. My wide-angle lens wasn’t facing the exact same way as the original photo – but know that the cabinet we took out is the same size as the niche. Also, the walls were a medium beige/brown, but I painted them a much lighter colour (leaving the ceiling original). In the before photo the walls look lighter than they were (and the ceiling looks almost white).
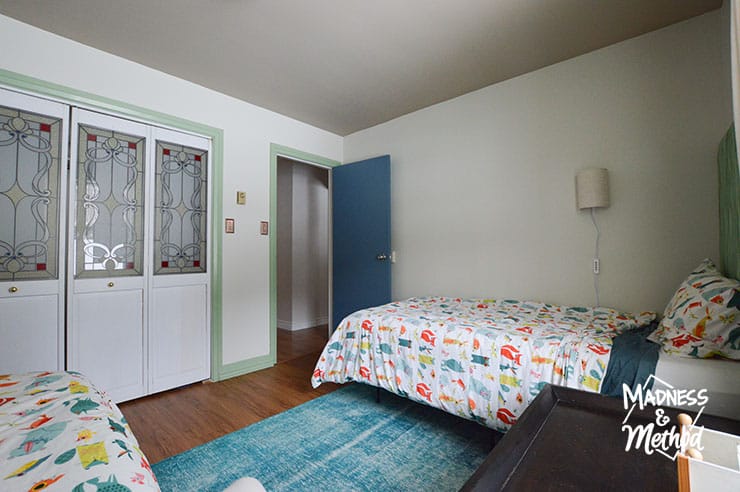
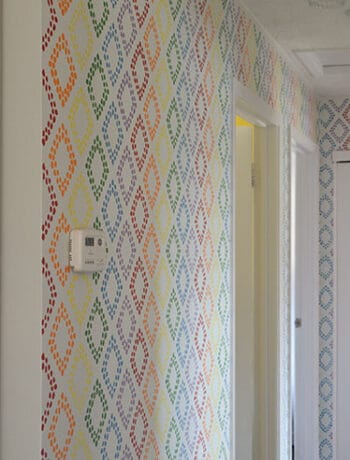
The photo above shows the light wall colour vs. darker ceiling a bit better. I did the same thing in the dining room – which saves me the work of painting the ceiling :) But also adds a nice feature too. All the trim was painted a fun green, and all the regular doors were painted blue to match the kitchen cabinets.
And the cool teal rug? Élise picked it out for me on Etsy and I thought it would be a great addition to the room.
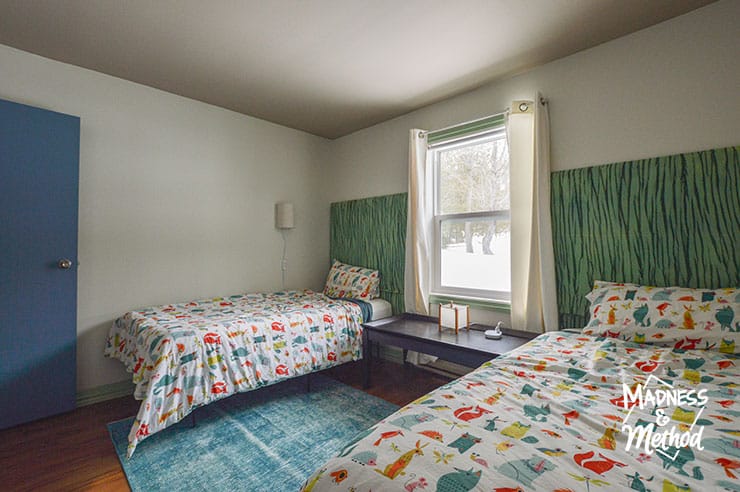
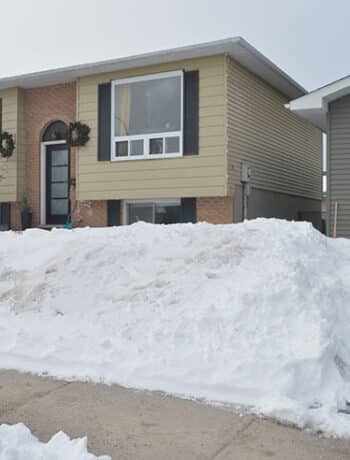
The current bedding is Ikea (a duvet cover we had and I ordered an extra one). But I also have a more subtle grey/white stripe that’s less kid-forward. And yes, I did take these photos last week, and yes, that is still plenty of snow outside.
These wall-mount sconces are perfect for this twin bedroom setup too. Each person is able to control their own light, and they are dimmable too.
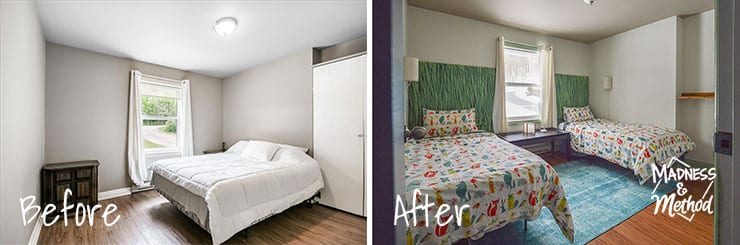
Here’s another before and after look at the room. Remember that the ceiling is the exact same colour. Other than wall paint and furniture, the big change we made was taking out that storage cabinet.
Fun fact: we reused the wood from the doors to make our dining room bench, ha. I will be sharing that project soon (really hoping to have a new dining table by then!)
There’s one more bedroom at the camp I haven’t shared yet (3 total) – but we really didn’t do much to that room other than move/add furniture. TBD if I have a full blog post for that. I do want to share the dining room and the kitchen renovation. So stay tuned for that!
Room Sources
- Wall-Mount Sconces
- Wall Colour: BM November Rain
- Bedding Ikea

No Comments