
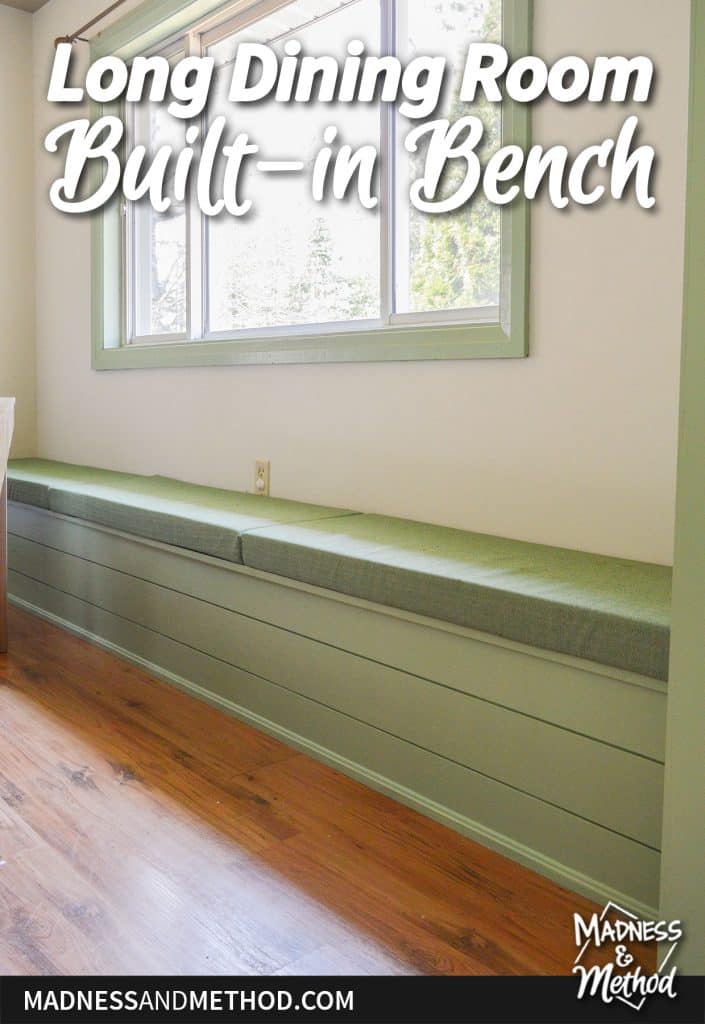
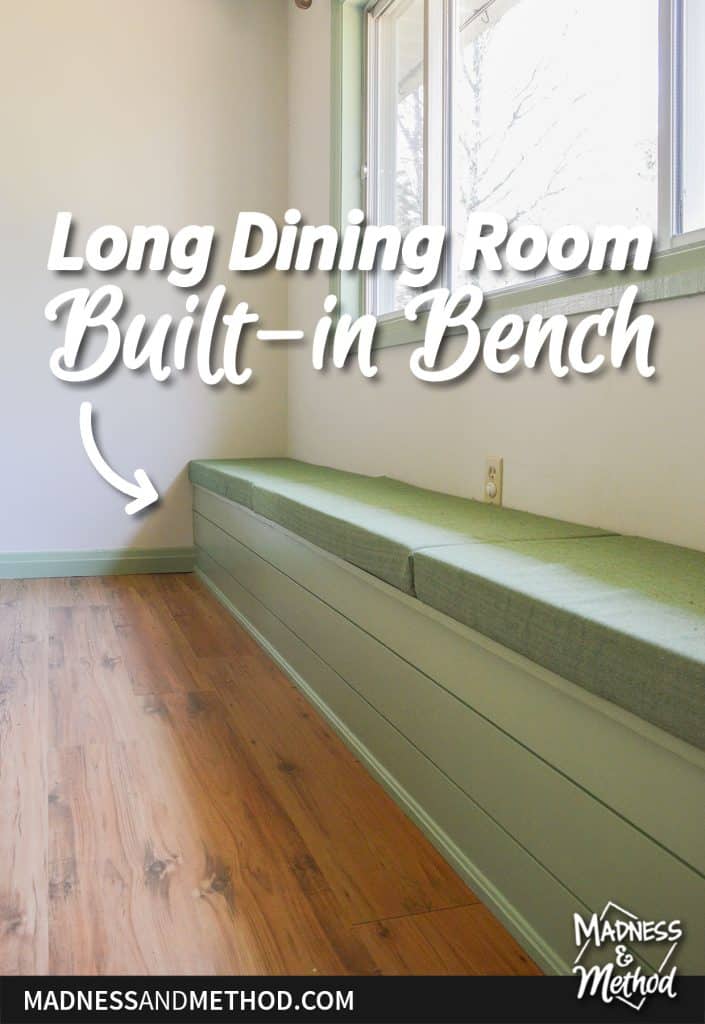
I’m sharing a fun and functional project we worked on at our camp renovation! While I was going to post some photos of the completed dining room space, I realized I forgot to write about the DIY bench we built. If you’re searching for information on how to make a long dining room built-in bench, or just want to see how we did it – keep on reading :)
– Note: This post contains affiliate links. See more information about affiliates here. –
I love a dining room bench! Not only was adding a built-in bench a fun feature to include for our Airbnb, but it also served a purpose to hide a weird floor situation we had.
Here are some photos of that the dining room looked like sans bench.
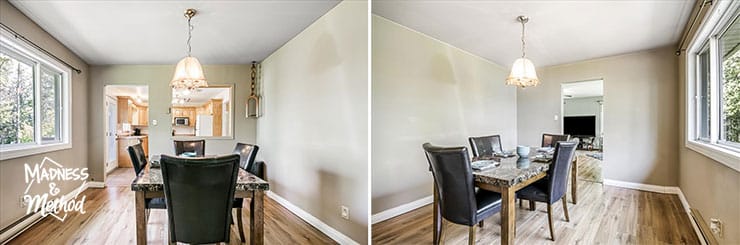
It was a pass through space in between the kitchen and living room, with a nice big window facing the backyard. Can you see the little ramp on the ground under the window? This house is a slab construction (ie: no basement), and everything was built on concrete. But for some reason there was a raised section around all the exterior walls. (Footings?) In this room, it meant there was an angled part – like a ramp
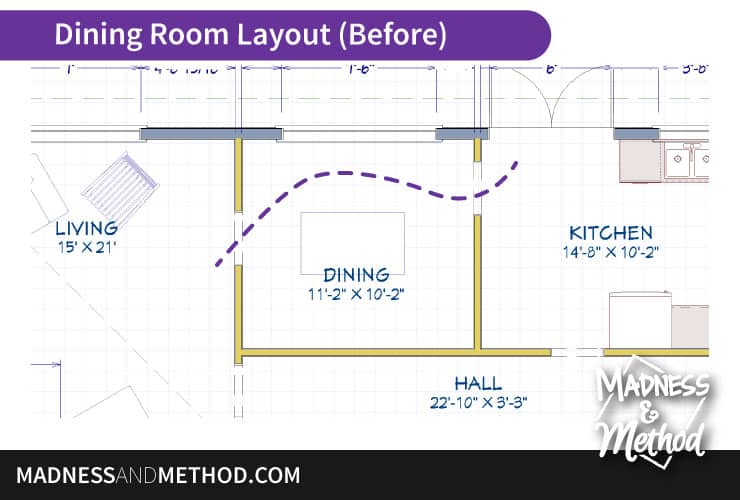
To access the dining room, you could enter the small doorway from the kitchen, or living room. To walk through, you had to kind of go around the table/chairs.

There was also a pass-through “window” on the kitchen side, and I knew I wanted to open that whole wall up. (Here is a quick YouTube video showing that project).
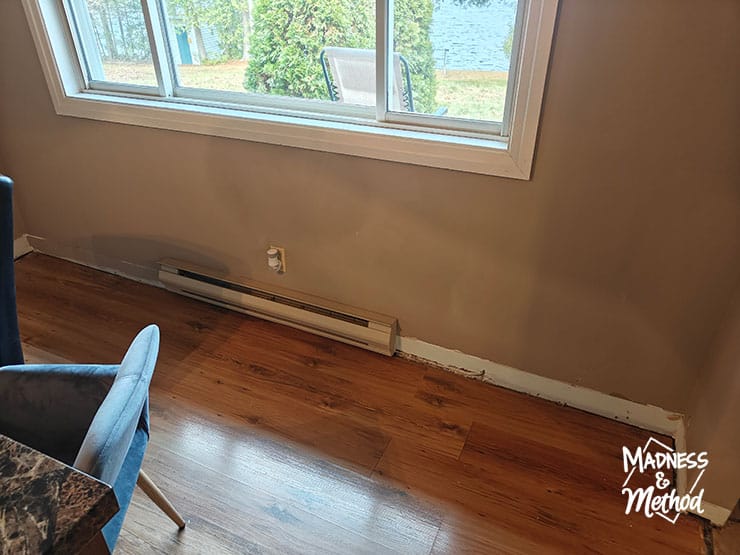
In order to make a built-in dining bench under the window, we had to remove the baseboards, remove the baseboard heater, and move the outlet up a bit.
Built-in Dining Bench Construction
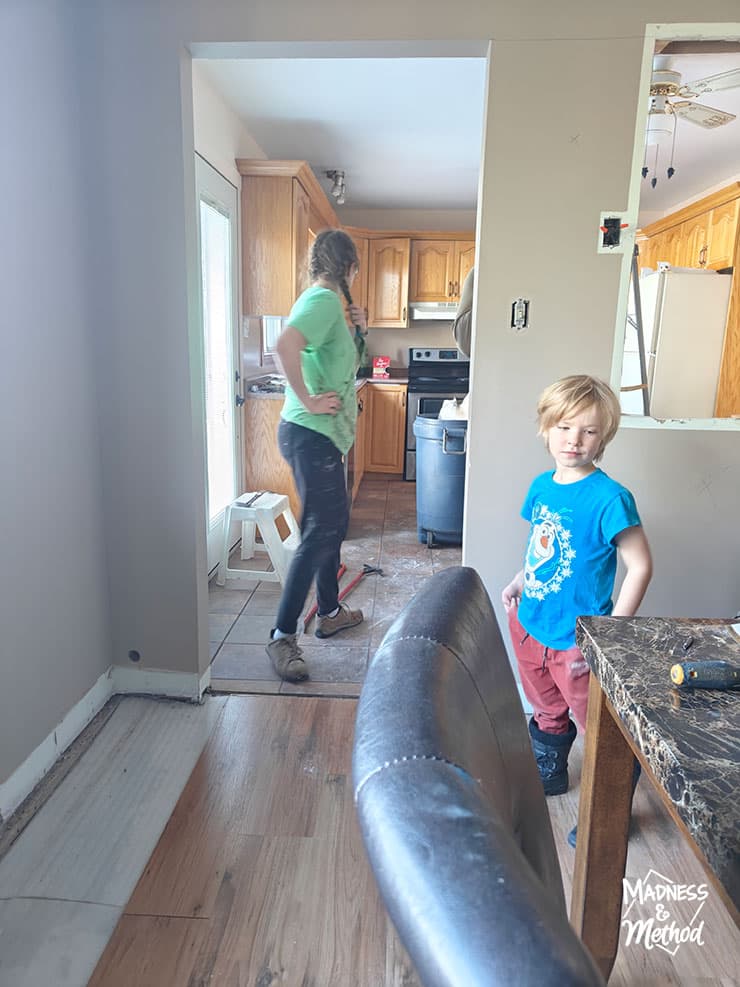
I don’t have any details of us removing the floor section, but here’s a random photo from our wall demo time, ha. We saved the pieces of floor to patch one area in the main/hotel bedroom – so it made sense to take them out. Also, if we ever change the floors in the future, it’s better to have the built-in bench separate.
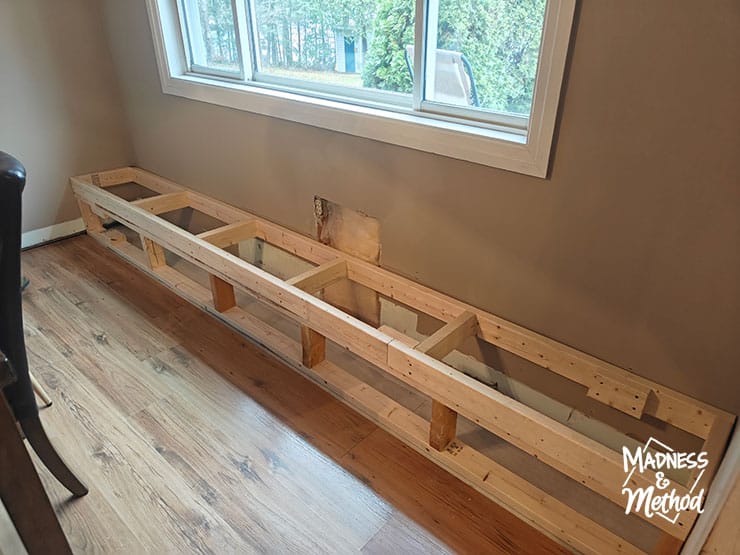
We built the frame of the built-in bench using 2x4s. Here’s a good post about building a DIY bench with storage that is similar. Aka, that’s what I sent the Husband when I was describing how I wanted our bench to be made. (By comparison, we have more of a “floating” bench at our house.)
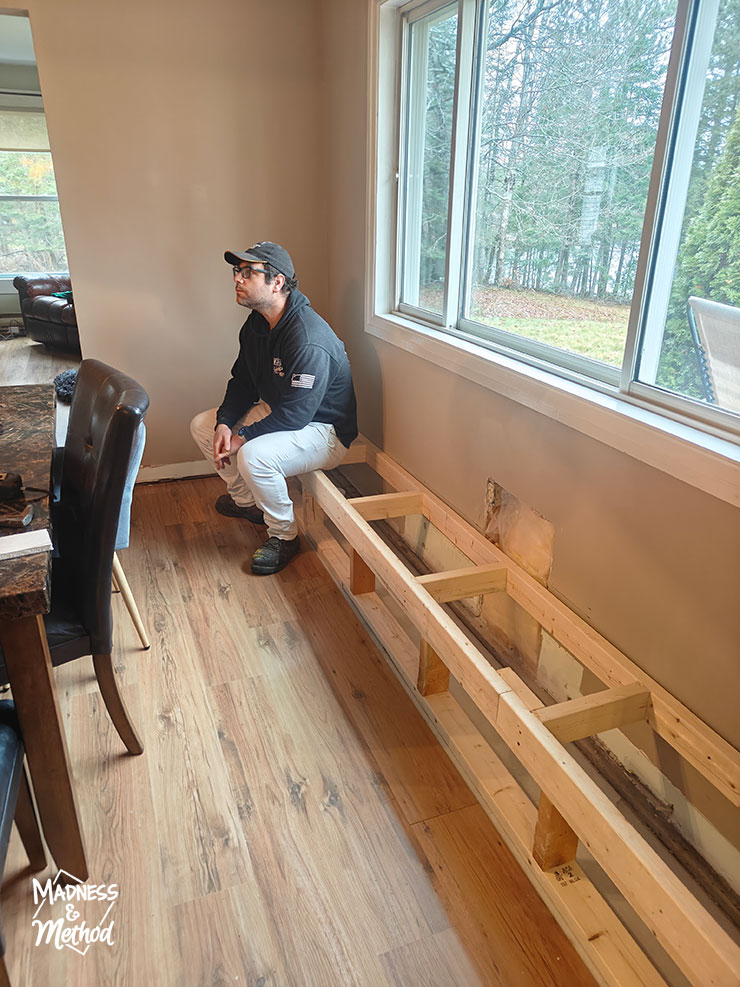
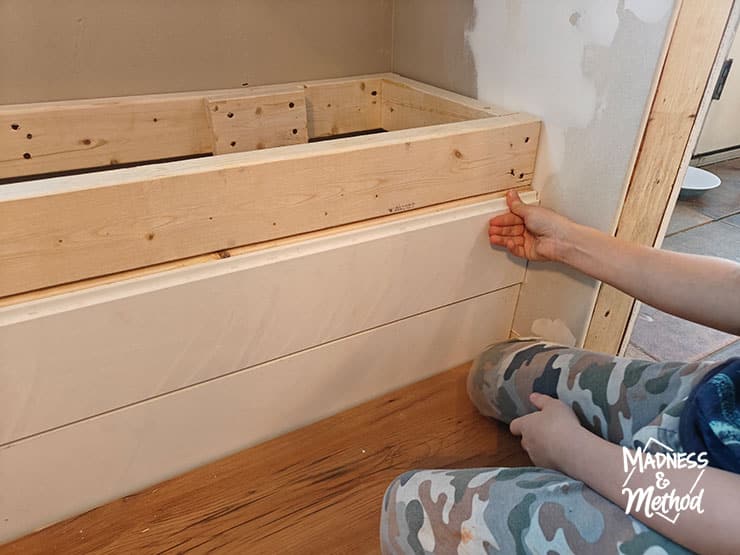
In case you can’t tell from the photo, we made two framed sections for the bench. The top horizontal section is screwed into the wall studs. And then there is a front vertical section screwed into that. This built-in bench is around 11′ long from wall to wall, and we built the frame 15″ high. Standard dining chairs are 18″ tall, and I knew we’d be adding a 3/4″ wood top, and a cushioned seat.
To cover the front of the bench, we cut and nailed in pieces of shiplap trim. They come in 8′ lengths, so I cut and staggered the pieces so the seams would be randomly placed.
Finishing the Built-in Dining Bench
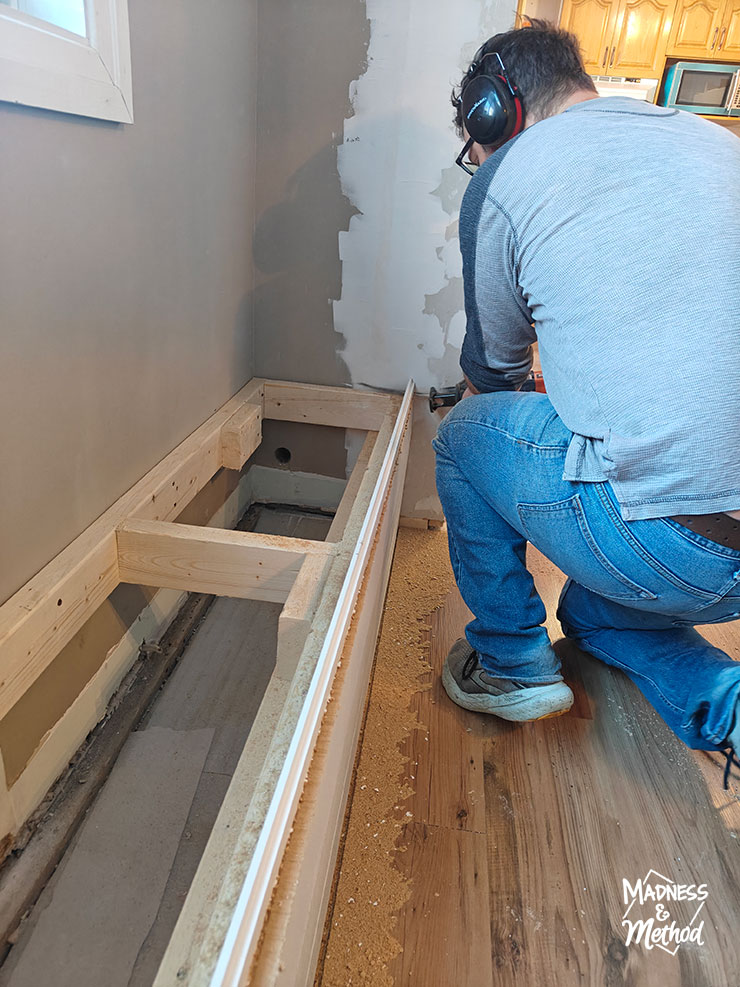
Since the height of our bench is not perfect with the three pieces of shiplap, we had to cut it down. Rather than rip the pieces ahead of time (we don’t have a table saw) – the Husband ran the reciprocating saw along the edge. The cut through the MDF is not nice looking – but it didn’t matter to us since the top would cover this up.

At some point, I also patched the drywall where we moved the outlet. The photo above shows what the bench looks like without the top.
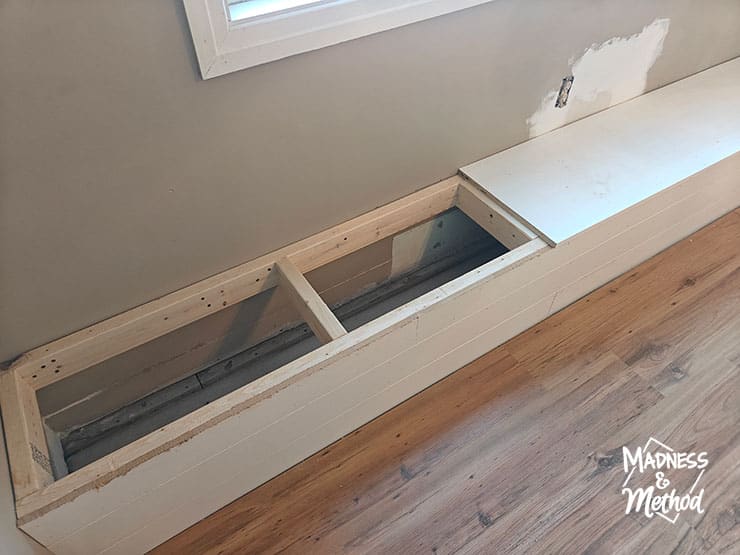
Fun fact: the 3/4 wood from the top is made from the doors of the bedroom storage cabinet we took out! We cut the length so that the edges would line up on one of the framing cross members. Then, screwed it down into place.
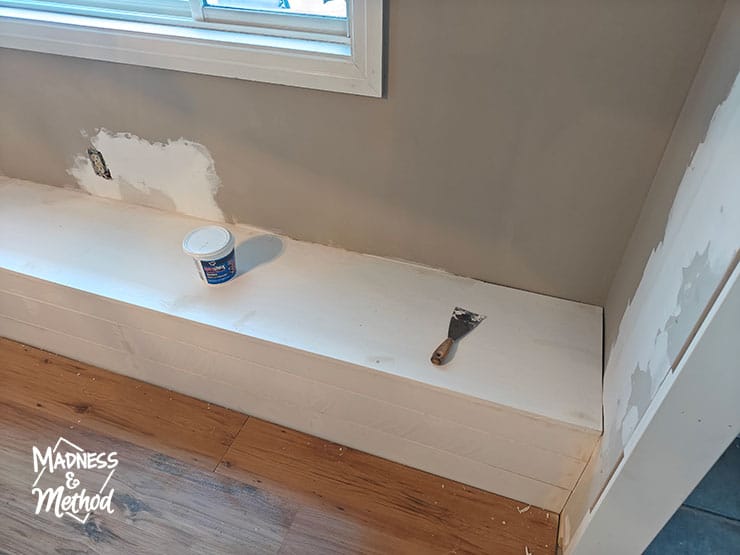
Finally, I patched the screw holes, the gaps along the back, and all the little nail holes. Then I caulked any edges and installed the baseboards that we had taken out. We also added a small piece of trim along the bottom of the bench to cover the small gap.

Then the dining room sat like this for a bit until I figured out what colour to paint the bench :). Oh yes, we also installed a new light fixture with cords that we could hang where we wanted. Since we were moving the dining table towards the bench, we didn’t want people to hit their heads on the old light, ha.
Dining Bench Reveal
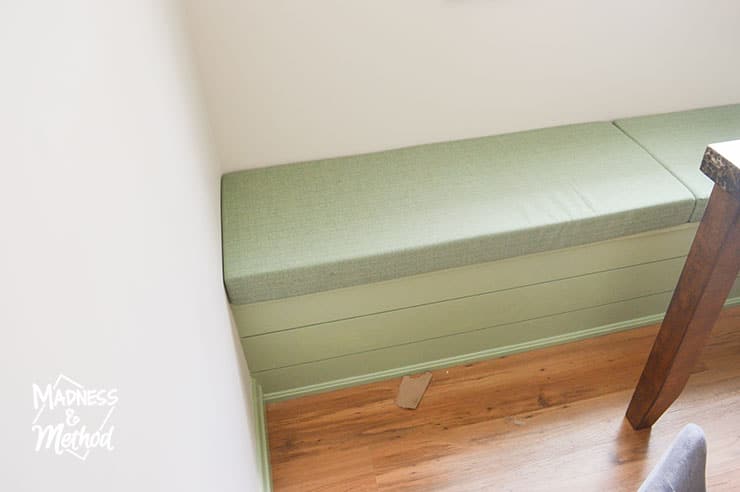
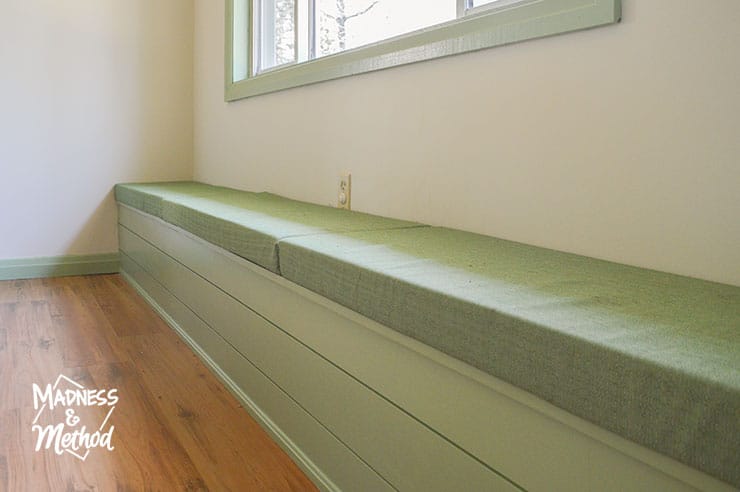
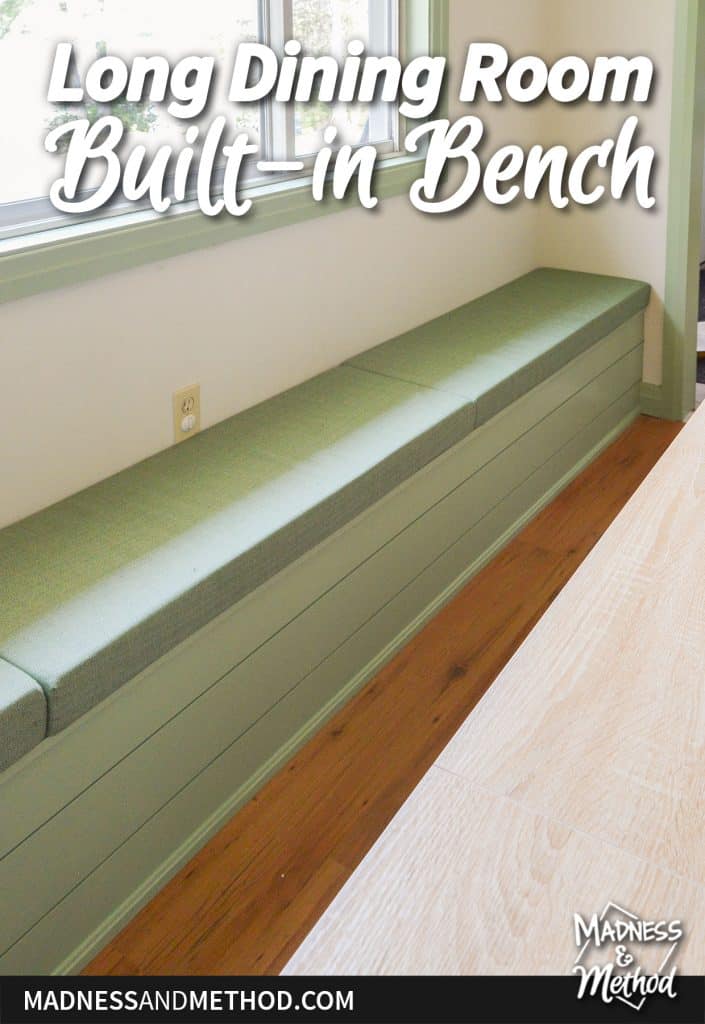
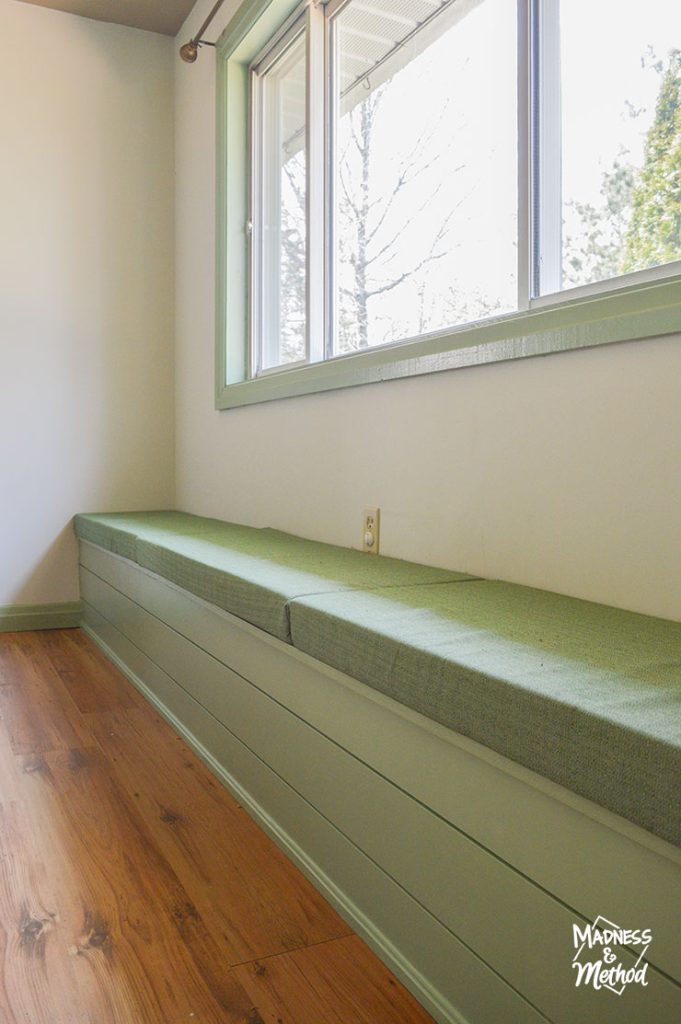
In the end, I decided to paint the bench to match the trim throughout the house.
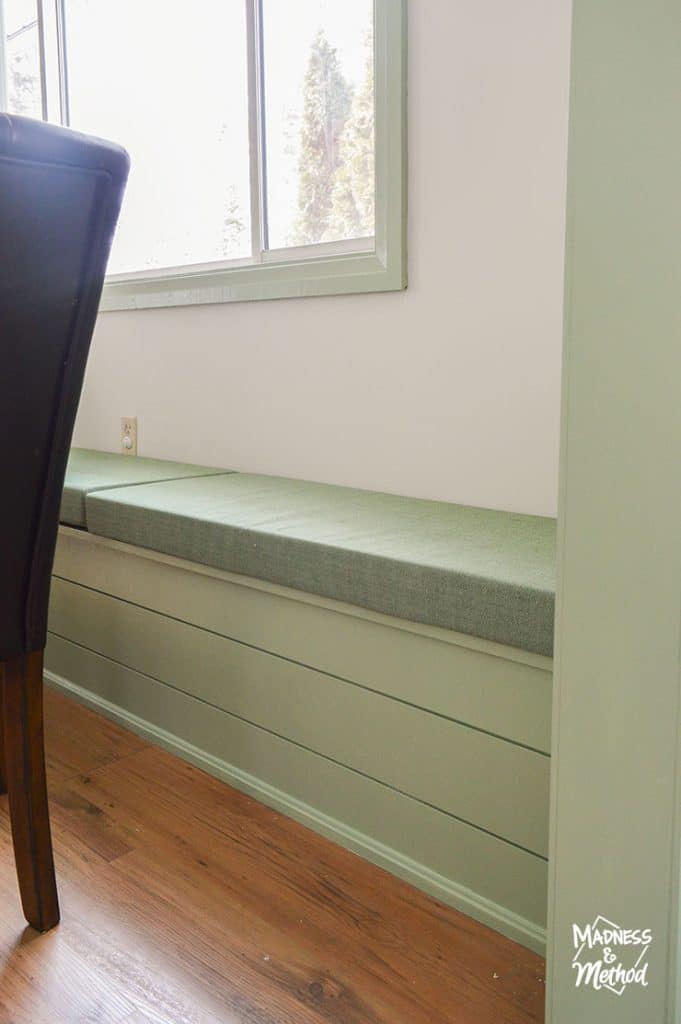
The green colour is called Seedling (by Benjamin Moore) and it almost matches the cushion colour perfectly.
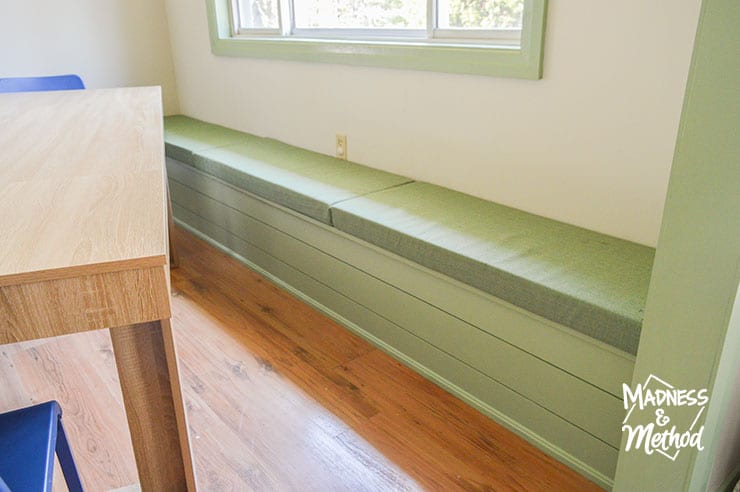
Through Amazon, I had custom 3″ cushions made for this bench. Since the bench was so long, it was impossible to get one cushion that big. Rather than do two cushions with a seam in the middle, I went with three. I believe it’s the AX Olefin Outdoor Waterproof fabric in Light Green.
The other colours I debated painting this bench were beige to match the walls (November Rain). Or blue to match our doors/kitchen (Schooner). But once I received the cushions, I figured the green was close enough and it would be a great choice.
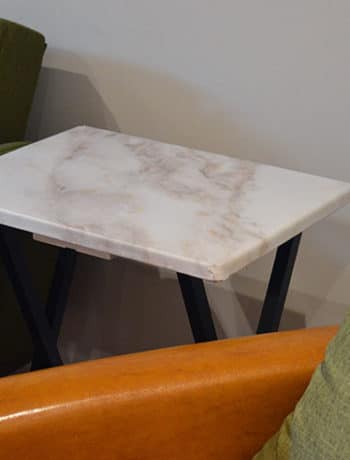
Also, did you peep the sneak peeks of the dining room chairs in the photos above!? Got some fun blue ones :) I’ll share the rest of the dining room reveal photos next time – and I promise there will be sneak peeks of the kitchen in those too, ha. In the meantime, I’ll try and get some more videos edited and uploaded to YouTube about that project.
🛍️ Shop This Room
- Custom Bench Cushions
- Dining Room Light
- Paint Colours: November Rain (Walls), Seedling (Green Bench + Trim)
I hope you enjoyed reading about our long dining room built-in bench project! Hopefully people love sitting here during meals, or even to complete a puzzle or play games :)
Make sure to come back soon to see more camp renovation projects!


No Comments