
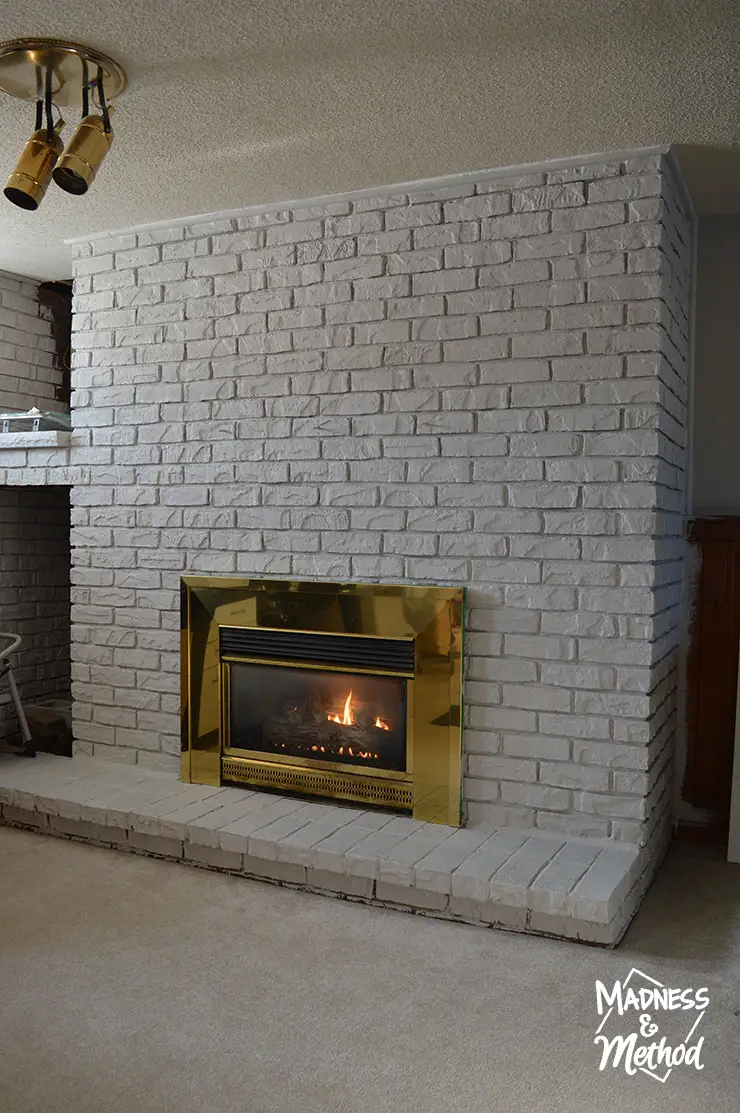
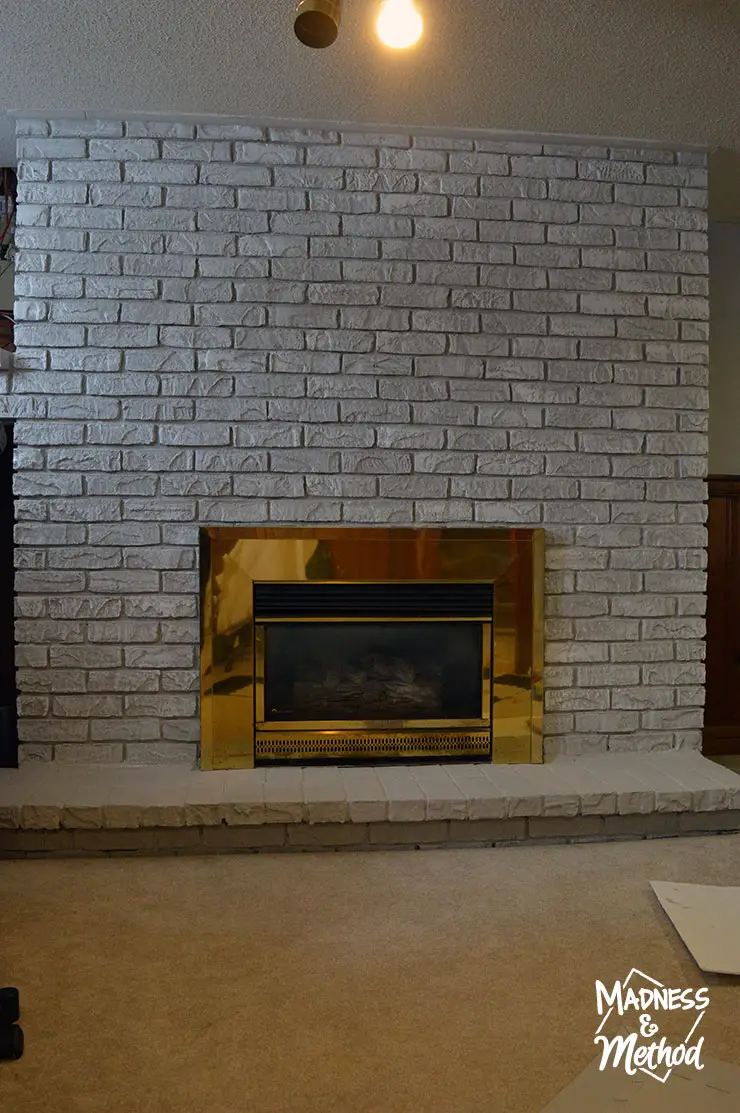
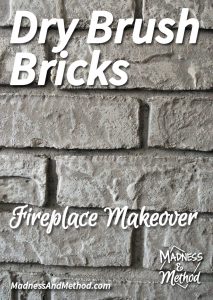
I really like how our painted fireplace turned out! It’s so much brighter than it was before, and by choosing a neutral gray, I will have more options to decorate it too :) I decided to dry brush the bricks, and I feel like it adds an extra dimension rather than just having them painted one colour. Let me show you what I mean…
Last week I explained how we fixed the broken bricks along the hearth, but otherwise, the rest of the bricks remained untouched.
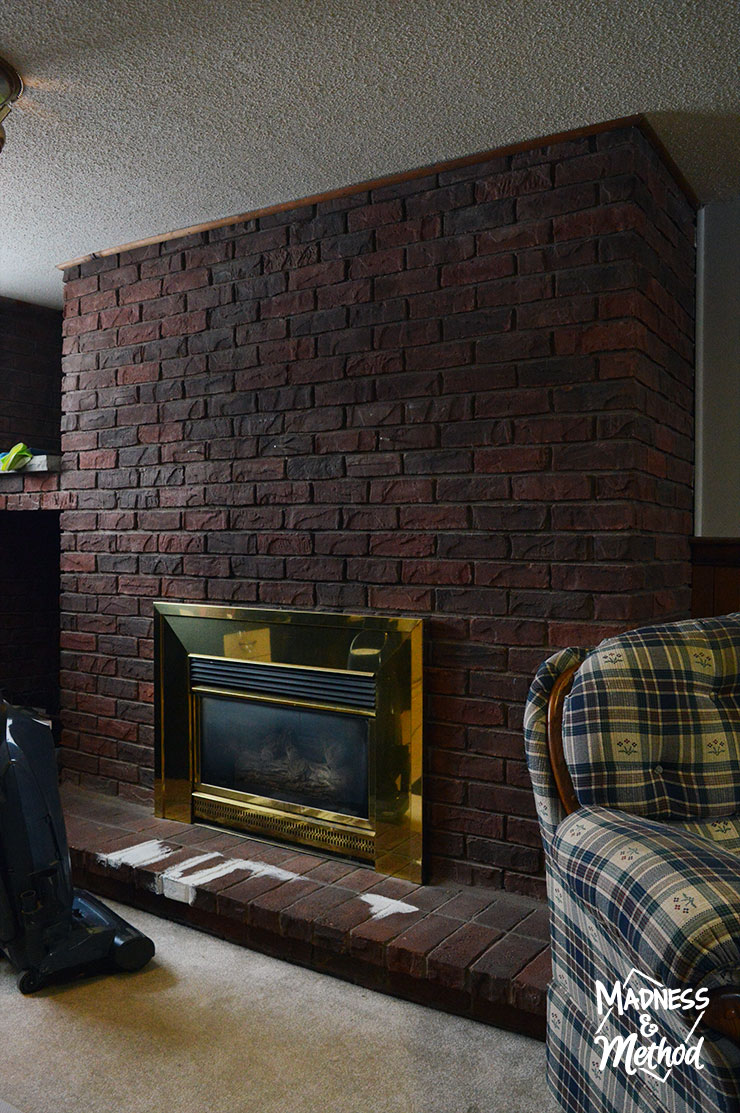
I was able to remove the mantel on my own (there were just a few nuts I had to unscrew), and gave everything a good vacuuming. There are clearly a lot of nooks and crannies on bricks, so don’t skip this step!
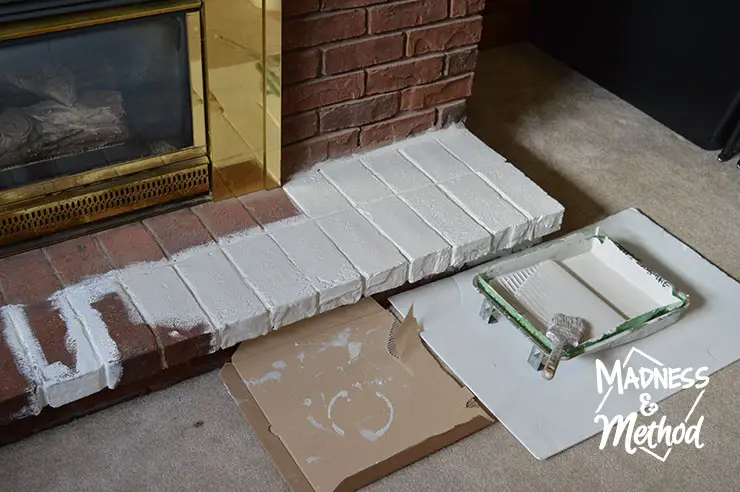
Anyways, I started by painting the hearth first – using the same light gray as our basement walls, and the Husband’s industrial office. I did all the painting during the mister’s naps, so I wanted to start where he would be closest to reaching.
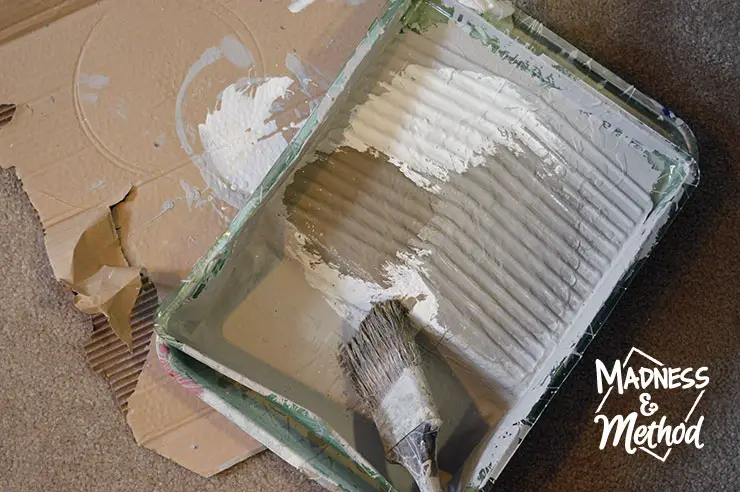
TIP: If you’re painting bricks, you might want to use an old/cheap brush. There will be lots of squishing the paint into tiny places, and the bristles will get all out-of-whack.
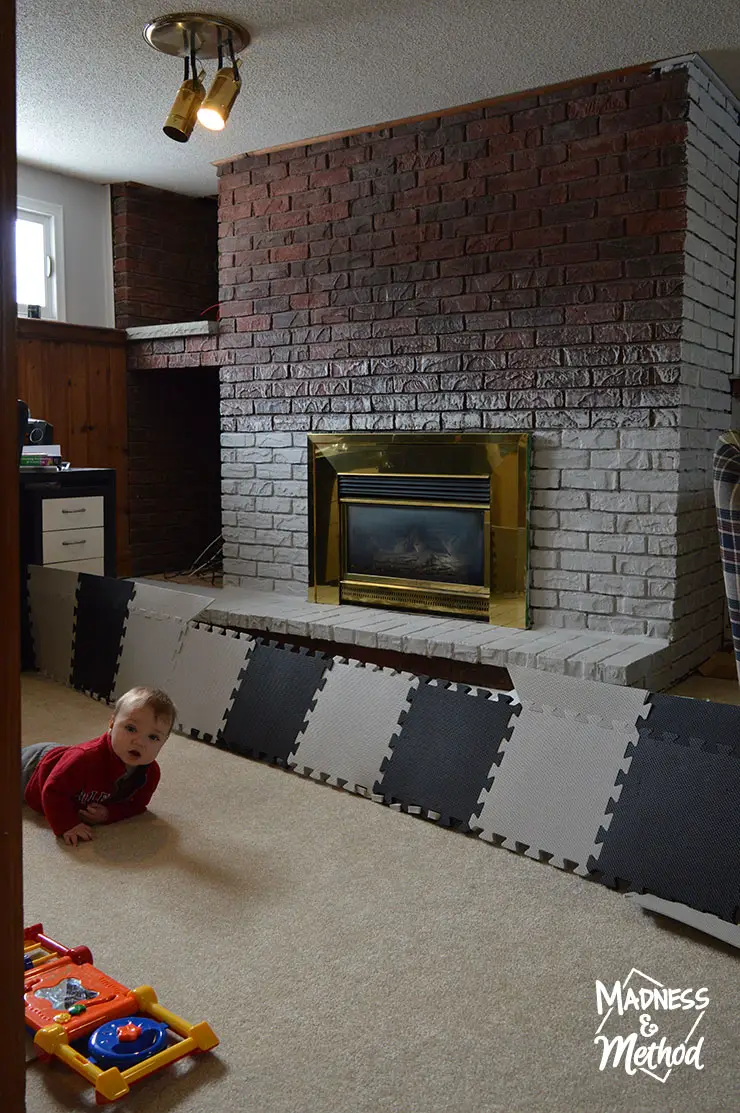
Check out my super strong wall haha!
After an hour or two, I was only able to get the bottom section done, and the right side (minus all the cracks). It actually takes a very long time, and I’d say the whole project took me ten hours, split over a few days.
When I had done my test whitewashing on the panelling and bricks last year, I had also done a small dry brushed area (it was my favourite option back then too!). When I was nearing the end of my painting on the actual fireplace bricks, I randomly did the same technique to clean off my brush.
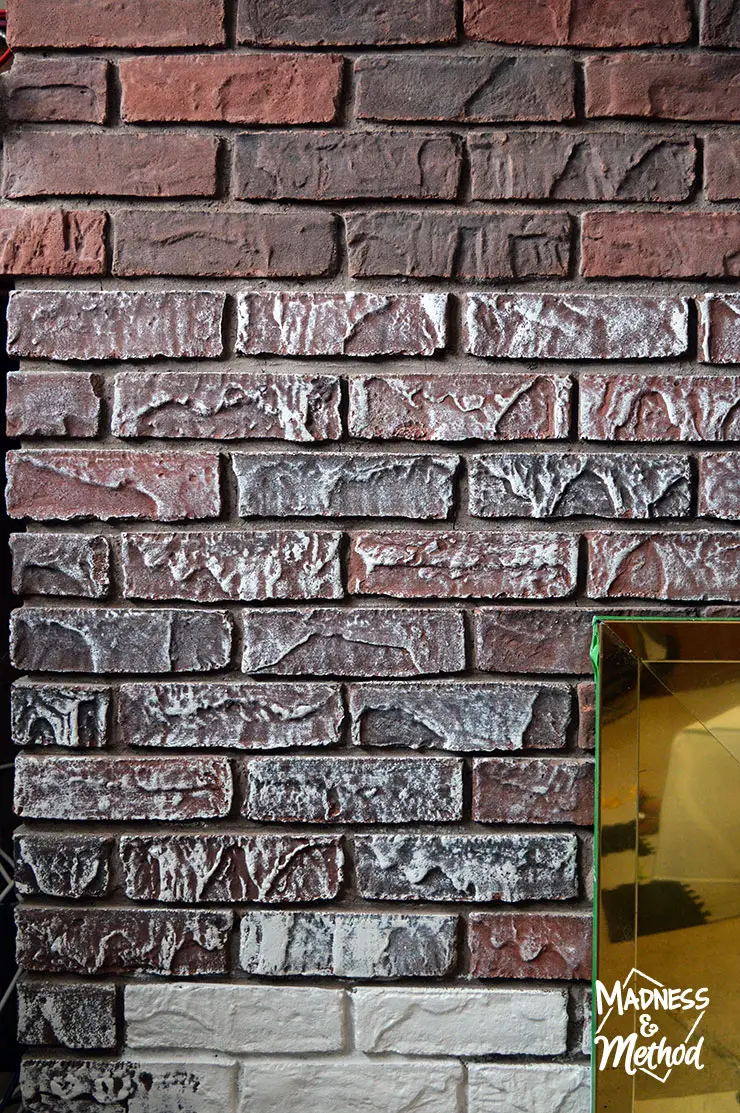
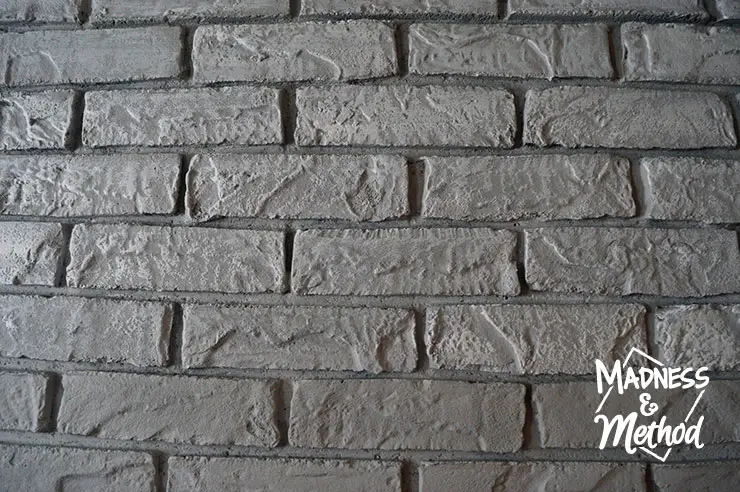
Basically, dry brushing involves rubbing your (lightly paint-covered) brush over the ridges and bumps on the bricks. It highlights all the different raised sections, and it’s kind of like a flocked Christmas tree, with the white parts just “kissing” the ends. (That’s how I think of it at least!).
I really liked the ombré (gradient/fade) look, so I was thinking I might try and replicate that with paint. The next day I went in with a smaller brush and started filling in all the cracks. (Notice the large seam on the right side in between the brick area and the wall… I would later be filling that in with caulking).
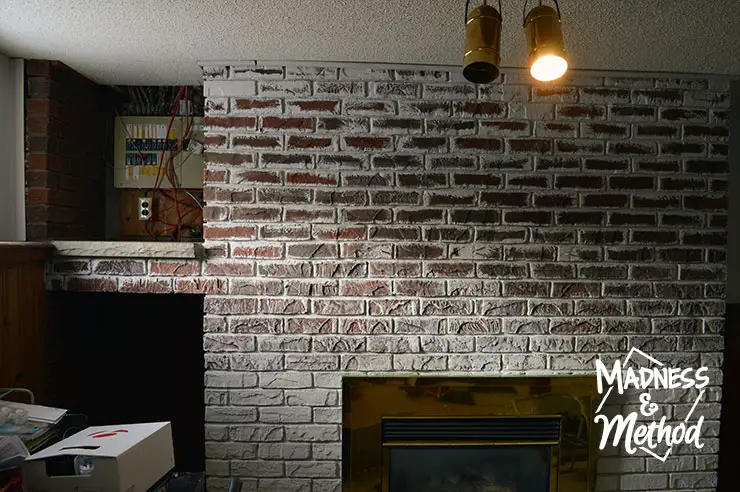
Another few hours went by, and I had all the cracks filled. See that super dark hole on the left side? Ya, I didn’t want to paint in there at all and made the Husband do it :)
While he painted in the dark bottom hole, I filled in the seams with caulking (and later painted it all gray to blend in). We just used regular paint, but I know you can buy masonry paint if you wanted (not sure what the difference is, this one covered with one coat just fine!).

Once everything was painted gray and had a chance to dry, I took out a small pail of white paint and got to work dry brushing the bricks. All you need is an area to wipe off your excess paint (in my case, the dried up paint tray liner).
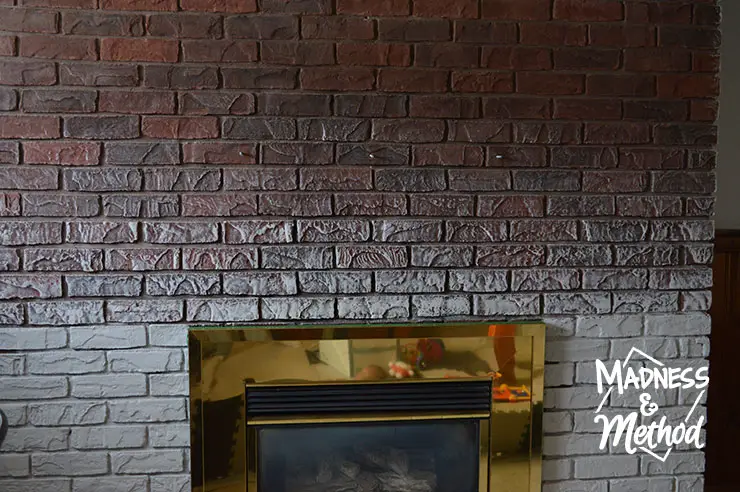
The bottom two rows are just gray
At first I was worried that the light gray was too similar in colour to the white, but once I had the paint on, I could see that there was just enough contrast to make the edges stand out. I only went across the bricks one time, and you can certainly do a few passes if you wanted more white.
Everything was looking real good, and thankfully the dry brushing only took a fraction of the time!
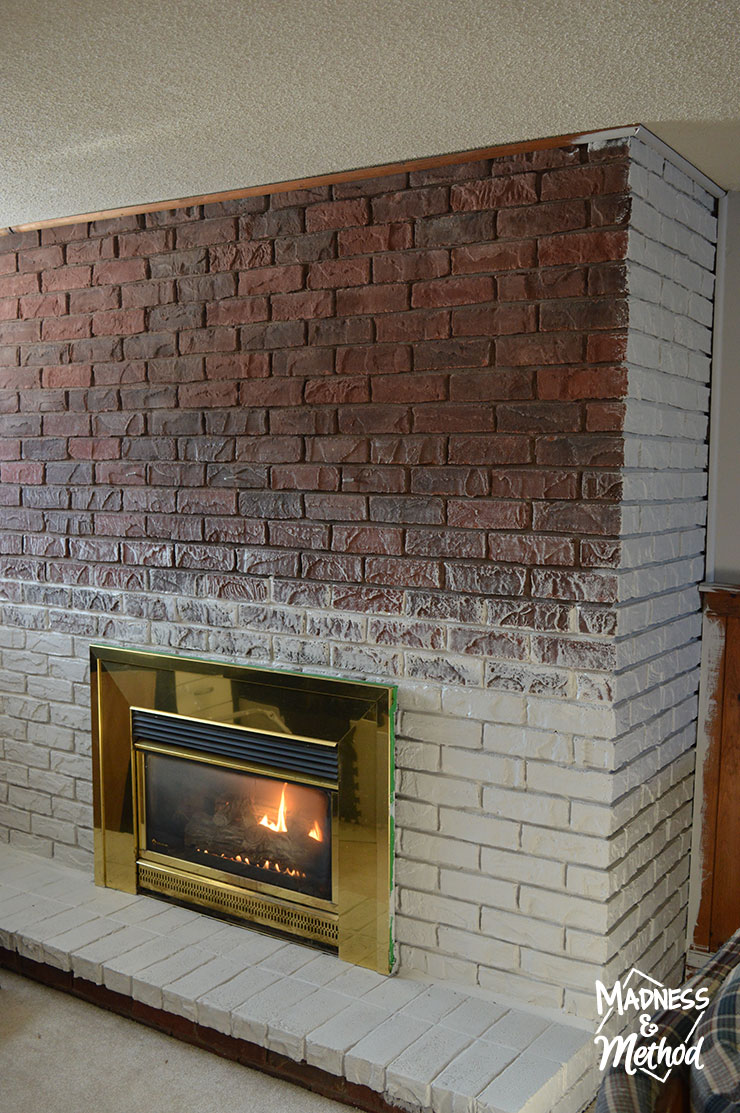
I was still convinced that the ombré look was the way to go – so I took out the gray that was a shade or so darker (from the upstairs bedrooms) and dry brushed a test area. There wasn’t enough contrast, so I took out an even darker gray (the main taupe throughout the house) and tried that one too!
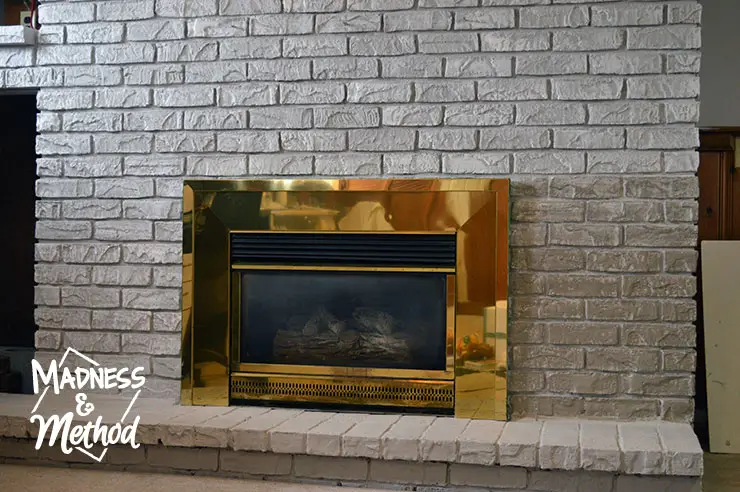
See the area to the right of the brass fireplace insert? Ya, it just looked dirty to me, and wasn’t giving me that cool ombré look I was going for. (On another note, I tried searching for inspiration pictures of ombré fireplace bricks… and couldn’t find any!).
Once it was dry, I just had to paint it the light gray again and do another coat of the dry brushing to get it to match the rest of the bricks.
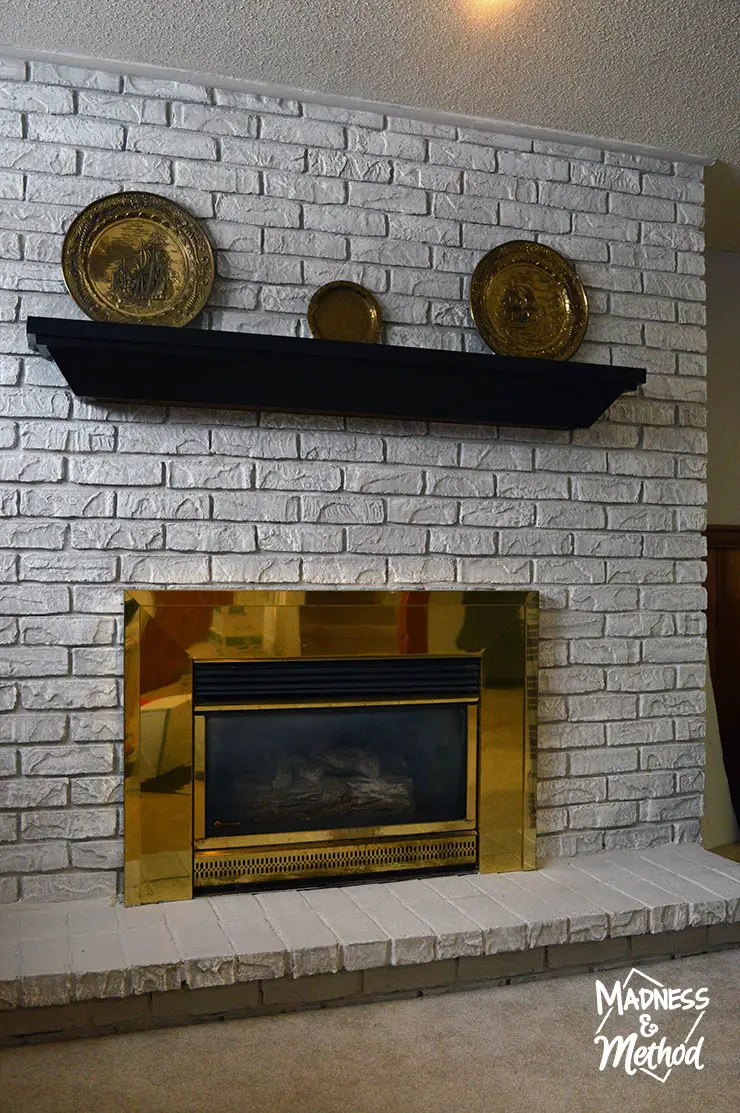
I also painted the mantel in the same high-gloss black as our basement bathroom door, and had the Husband help me install it back in place. He commented about the brass fireplace insert needing to be changed too (who knew he was cared about the design that much haha!) but I mentioned that I wanted to keep it to match the brass plates I had.
(It also matches the brass light fixture, but I’m planning on having the Husband replace that soon!)
And, just because I love me some time-lapse animations, I did this one showing the progress of the fireplace makeover! The fireplace looks very different in a lot of different lighting setups, but I’m really happy with the dry brush bricks, because it looks good in all of them :)
Have you ever dry brushed anything? I was worried that it would be difficult, but because I painted the bricks, if ever I made a mistake I could just paint over it and try again. Obviously if you want to dry brush the natural bricks (like the image on the left), you don’t have that luxury.
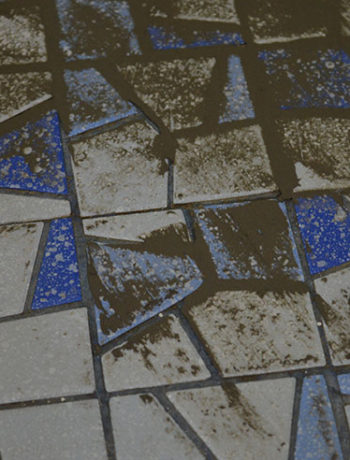
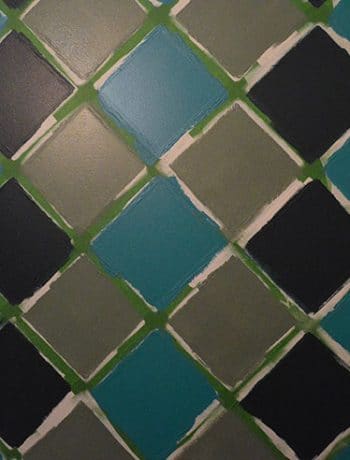
Some people think that dry brushing is the same as whitewashing… but they are two different techniques! Whitewashing involves diluting the paint and/or wiping it off once applied. You can see what whitewashing looks like compared to dry brushing in my original test post.
I think that if I ever do a similar project in the future, I would totally dry brush bricks again! In fact, wouldn’t it be super neat if you had a matte black fireplace with metallic gold dry brushed on top? I think so at least… anyone want me to come over and test it out :)


10 Comments
Louise aka Mommy
January 31, 2017 at 8:12 pmI keep looking at my fireplace. I have no texture on my brick but was thinking of painting the brick various colors in the same pattern they are now. I have the black fireplace front to go with the black mantel and fireplace tools/grates
Nicole
February 1, 2017 at 2:03 pmYou could do with an ombré look :) Or whitewash it, and that way all the colours would still be apparent. OR RAINBOW!
Ariel
February 3, 2017 at 8:50 amlooks like it turned-out well!
Nicole
February 3, 2017 at 10:35 pmYa – I like the new look :)
Maria Brittis
February 6, 2017 at 10:51 amI love the transformation to white brick, it looks so good. The last process look like it came out well. Good Job
Maria
Nicole
February 7, 2017 at 10:37 amThanks Maria, it’s really brightened everything up down here!
Rachel
February 6, 2017 at 12:31 pmThat is so nice! I agree, the last ombre wasn’t working but it was a neat idea. I wish I had a brick fireplace in our home.
Nicole
February 7, 2017 at 10:38 amThanks Rachel, the fireplace is a nice feature in the winter for sure :)
Jenn
July 19, 2018 at 7:17 amHi! It looks great! I’m a little late on this thread but was wondering what gray and white paint colors you used. Thanks!
Nicole
July 19, 2018 at 3:00 pmNo worries Jenn :) The white is an off-the-shelf white and the light gray is the same colour as our basement walls. It’s Rona’s Lime, which is a Canadian-store brand; and is a light, neutral gray.