
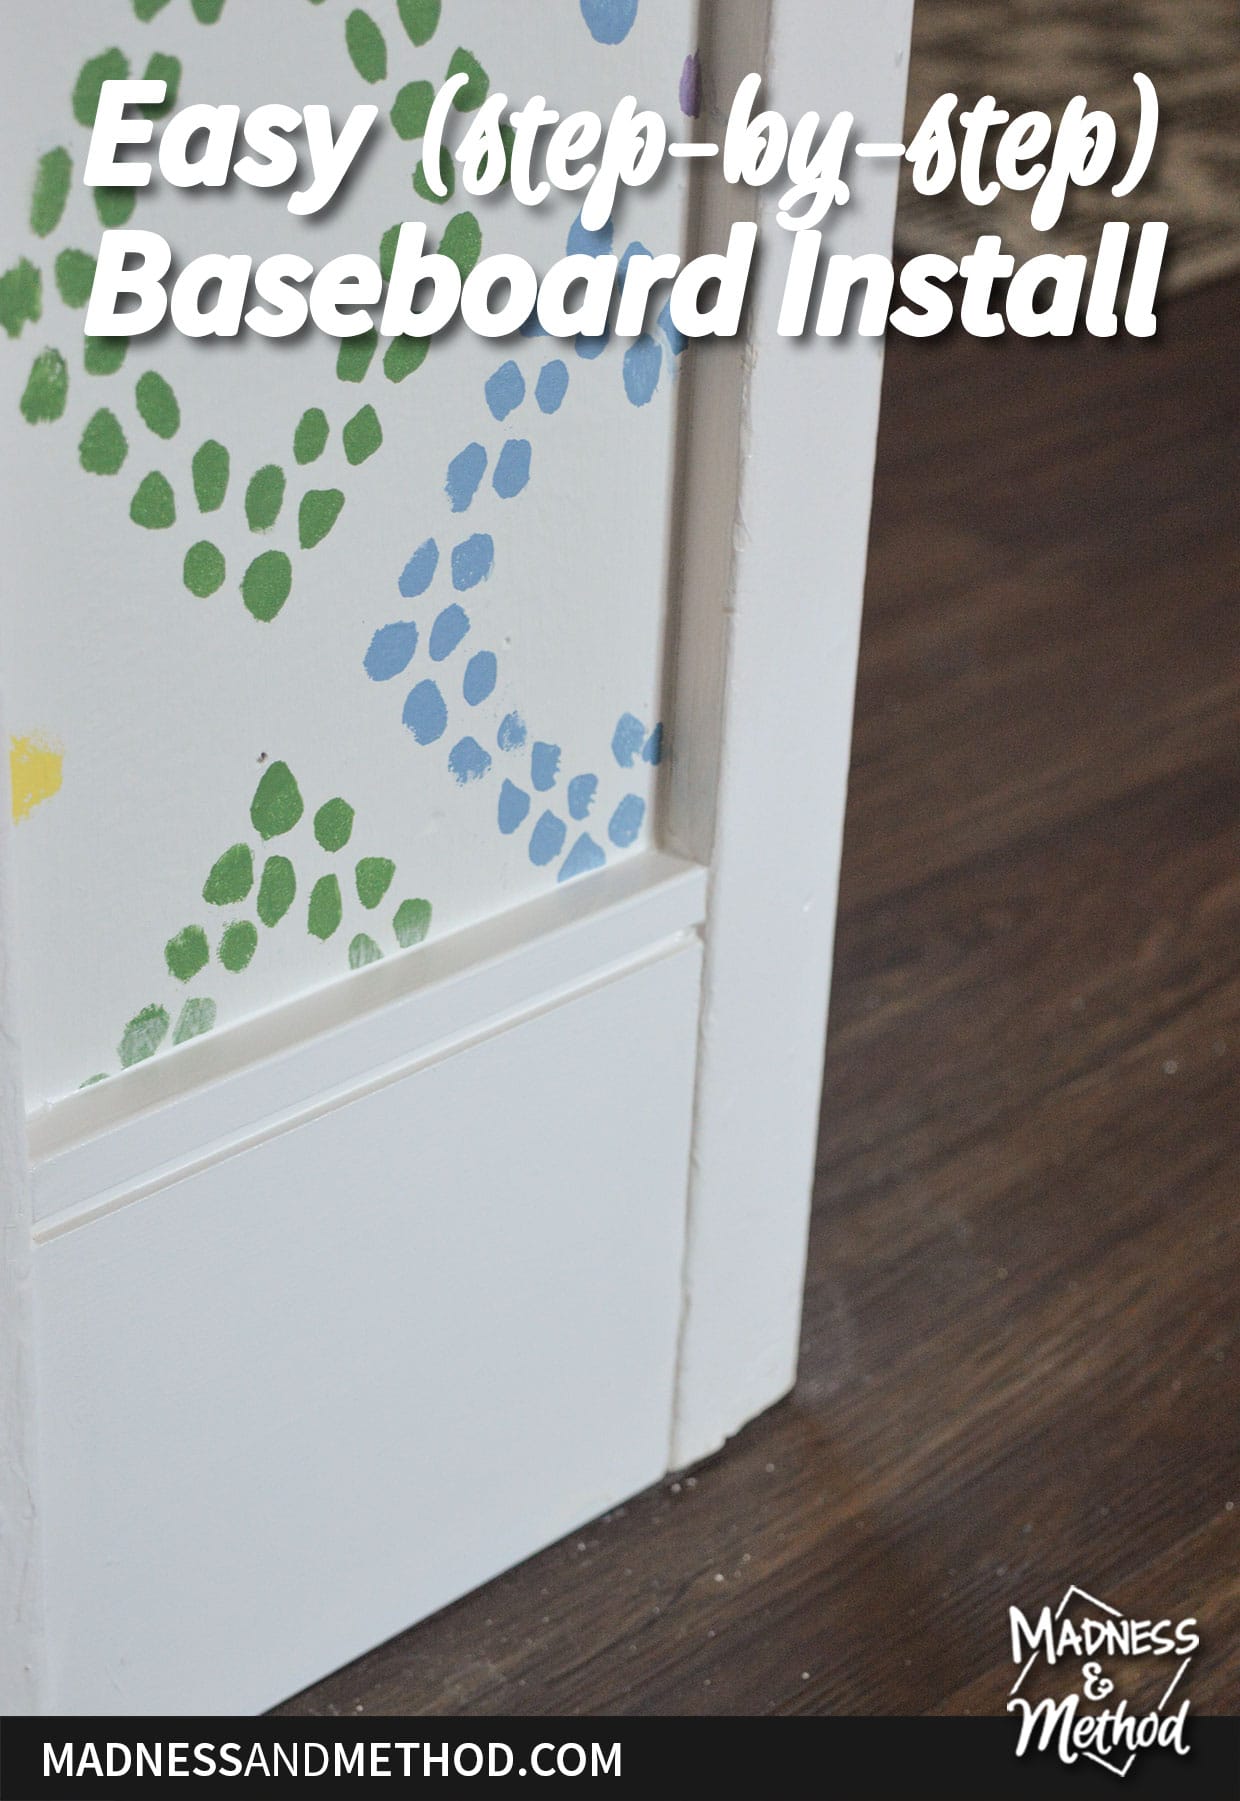
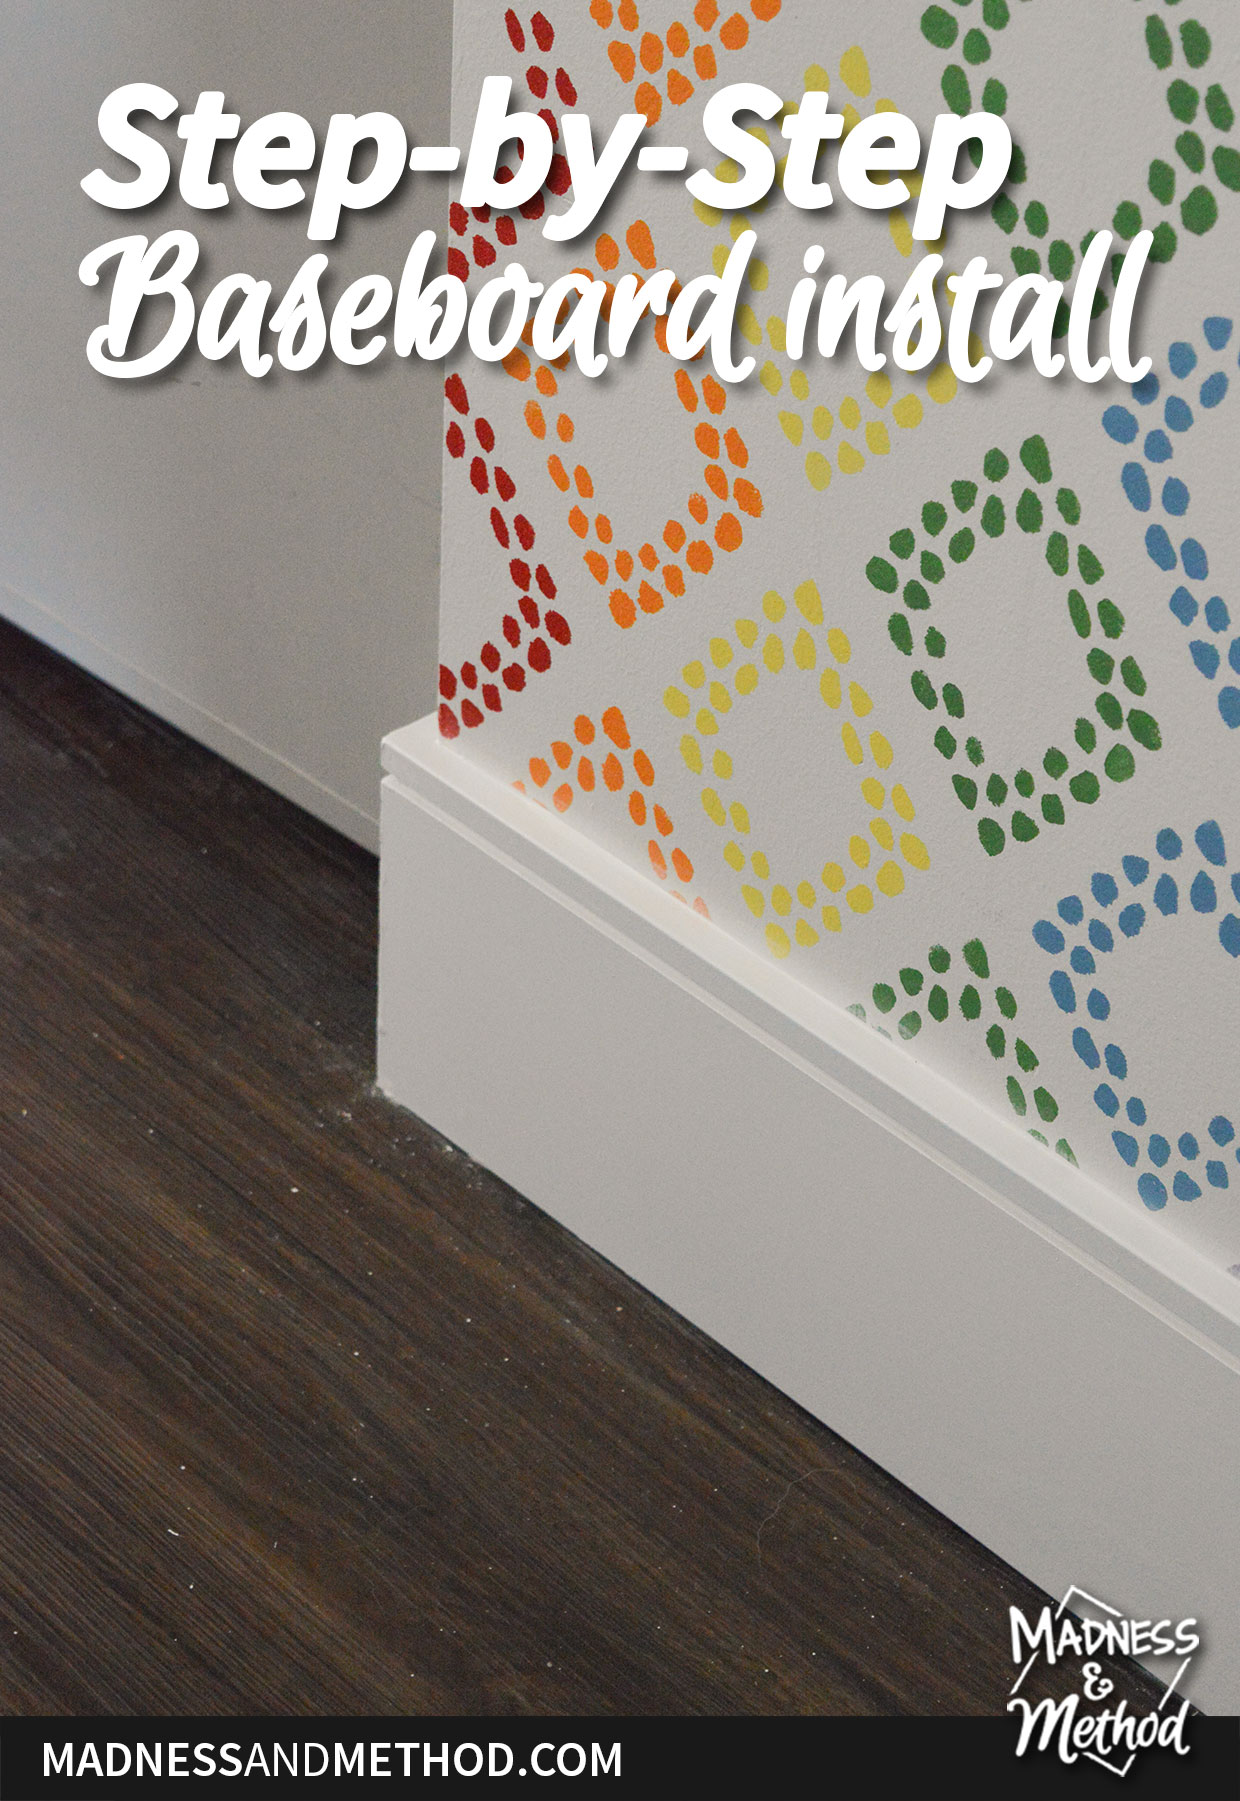
We’re pretty much at the end of our hallway renovation, but I have a few projects left to share. First up, is my easy step-by-step baseboard install method! If you’re a beginner trim installer, I’m going through all the different steps when installing baseboard trim. I’ve definitely learnt a LOT over the last few years as a DIY-er, so hopefully, you can learn some things from me too :)
As a reminder, I’m working on our upstairs raised ranch hallway as part of the Spring 2022 One Room Challenge. We’re in the 6th week (of the extended 8-week timeline) so we are close to the end!
Catch up with my hallway project: before photos and plans in week 1, repairing the textured ceiling in week 2, painting sliding closet doors in week 3, mixing paint at home in week 4, and last week was our broom closet organization.
While the bulk of the baseboard installation tutorial is recorded on video (and embedded below), I do have some tips/extra info to share here! Oh, and make sure to check out my related post on how to finish trim and this one about planning wall treatments.
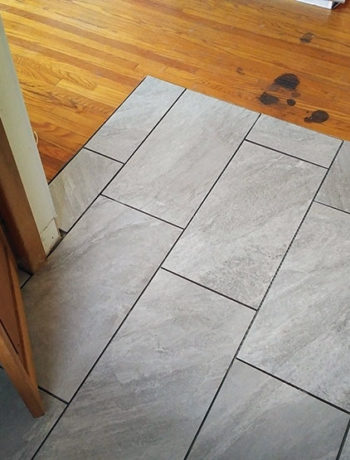
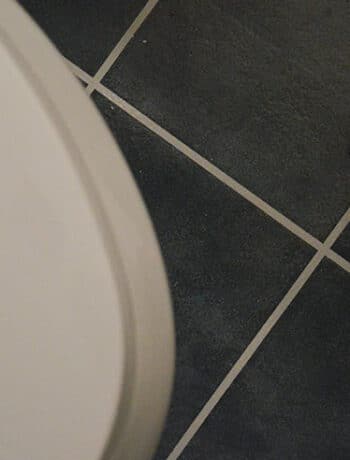
First up, some photos of our hallway without the baseboards. I was working on the stencils (and finished them) before the baseboards were installed, so you’ll see the walls change a bit, ha.
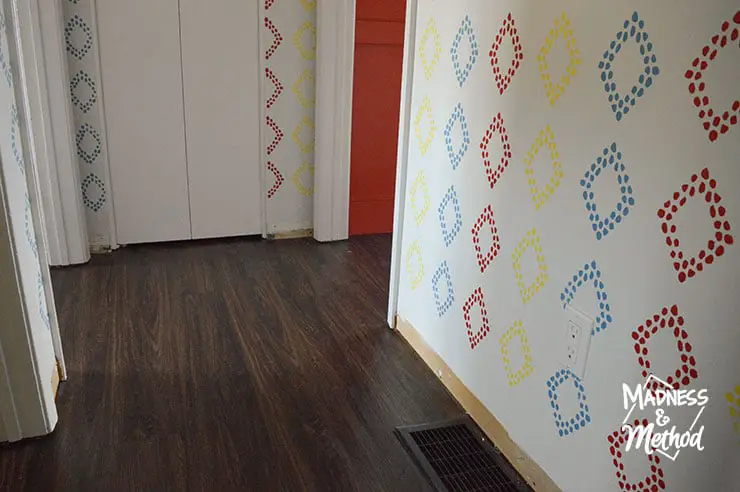
When we bought our home, the sellers had removed all the flooring (I think it was carpet?) and painted the subfloor. We installed a dark vinyl plank before moving in, and our old baseboards were floating a bit high. They were also a small height, maybe 3″ max. I’ve been replacing them as we complete different rooms.
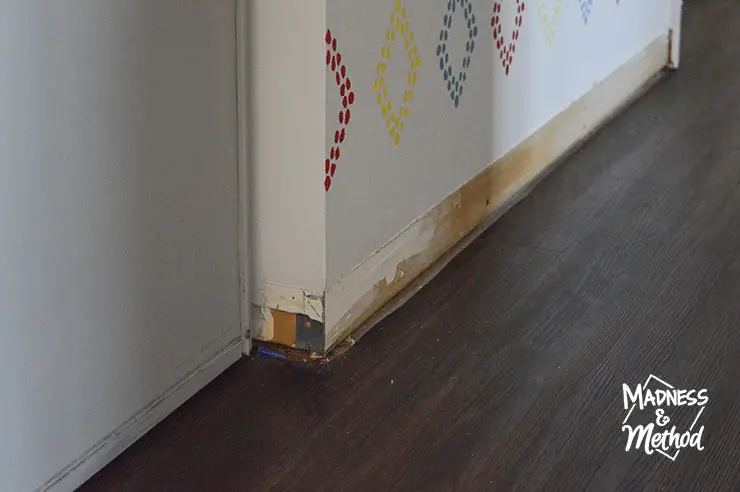
For the sliding closet doors, the baseboards stopped right where the doors went. On the inside part (the left side of the closet), there was a little gap that held the doors. (I show what I mean in the video, but essentially, I wanted to repeat the same thing).
Baseboard Measuring/Cutting Tips
I like to measure all my walls and then cut all my baseboards at once. For the most part, I’m going into the garage (where my mitre saw is set up) and then bringing everything in. I definitely wouldn’t want to walk back and forth to cut each board. If I was working in a messier area, I might bring my saw inside and cut as I go. BUT in the video, I talk about measuring everything, creating a diagram, and then cutting your baseboards.
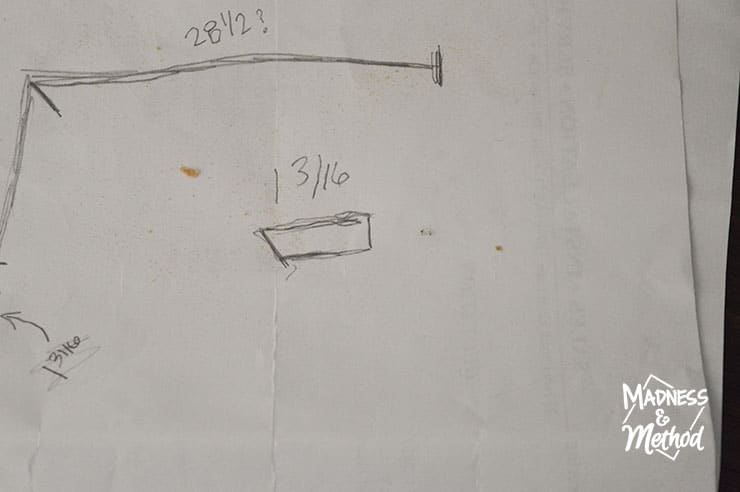
The photo above shows two different ways that you might draw out your diagram. One way is to draw your walls like a top view, and then put the angles that you need to cut your boards. Or, you can draw each board individually (again a top view).
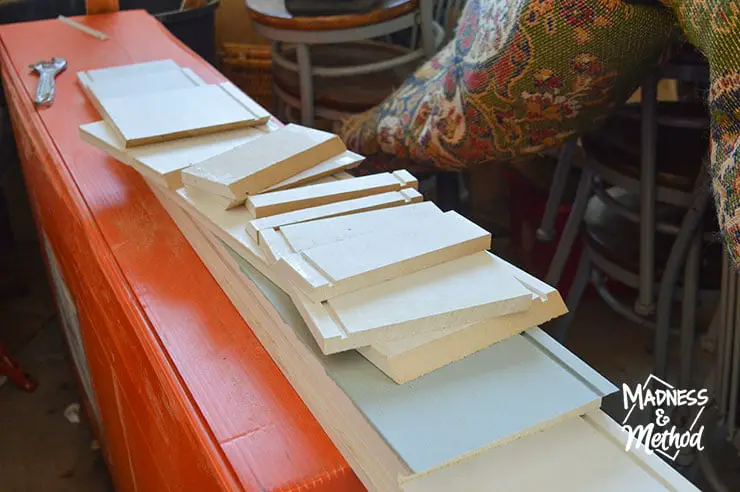
From there, bring your measurements with you, and cut all your pieces. Because I was working in the hallway with a lot of doors, I had a LOT of pieces to do. A lot of little pieces!
No matter what, you want to test fit your boards before you start nailing them in.
Quick Baseboard Installation Recap
- Remove any old baseboards
- Make sure casings (ie: vertical door trim) are installed first
- Draw a diagram of your room including the angles to cut
- Measure the walls where the baseboards will go, put them on the diagram
- Cut your baseboards with a mitre saw (or mitre box if they are small pieces)
- Test fit your pieces, adjust if needed
- Pre-paint the baseboards and wait to dry
- Mark the studs with pieces of tape
- Using a brad nailer and the proper length nails, go into the studs
- Watch my YouTube video for all those details!
Baseboard Finishing Tips
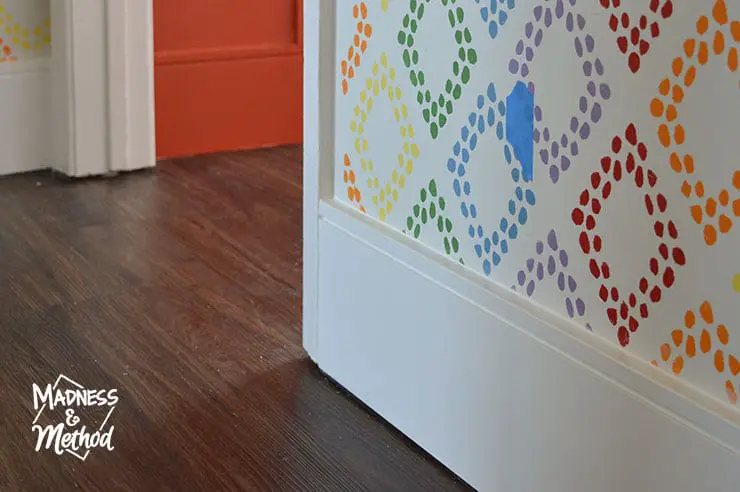
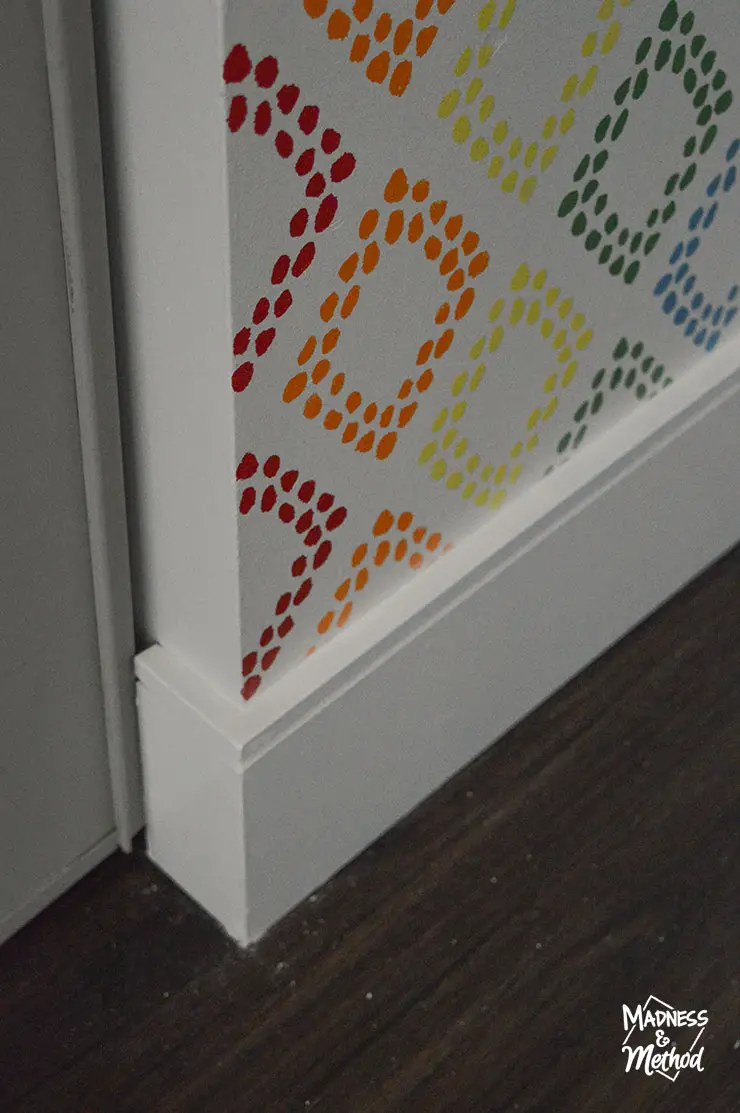
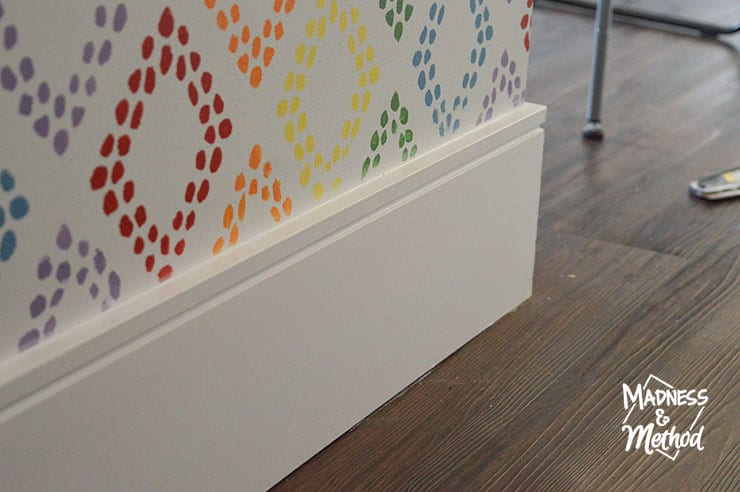
I realize that this looks like all the same colour… but I swear the front wall (on the left side) is blue! I wanted to show this photo because I painted the baseboard blue to match. In this house, I’m painting the baseboards the same colours as the walls.
Except that the hallway is a white baseboard with an off-white wall (Paper White… if you remember the debacle here). But yes, I didn’t want a white baseboard on the blue wall side – even though that’s probably more “normal”.
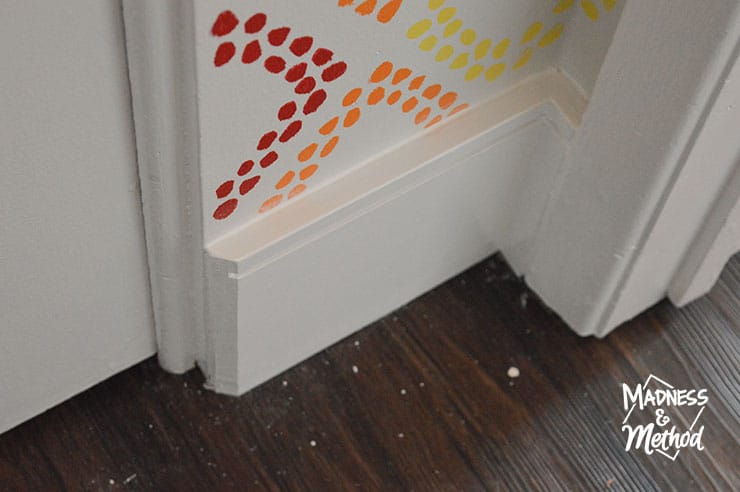
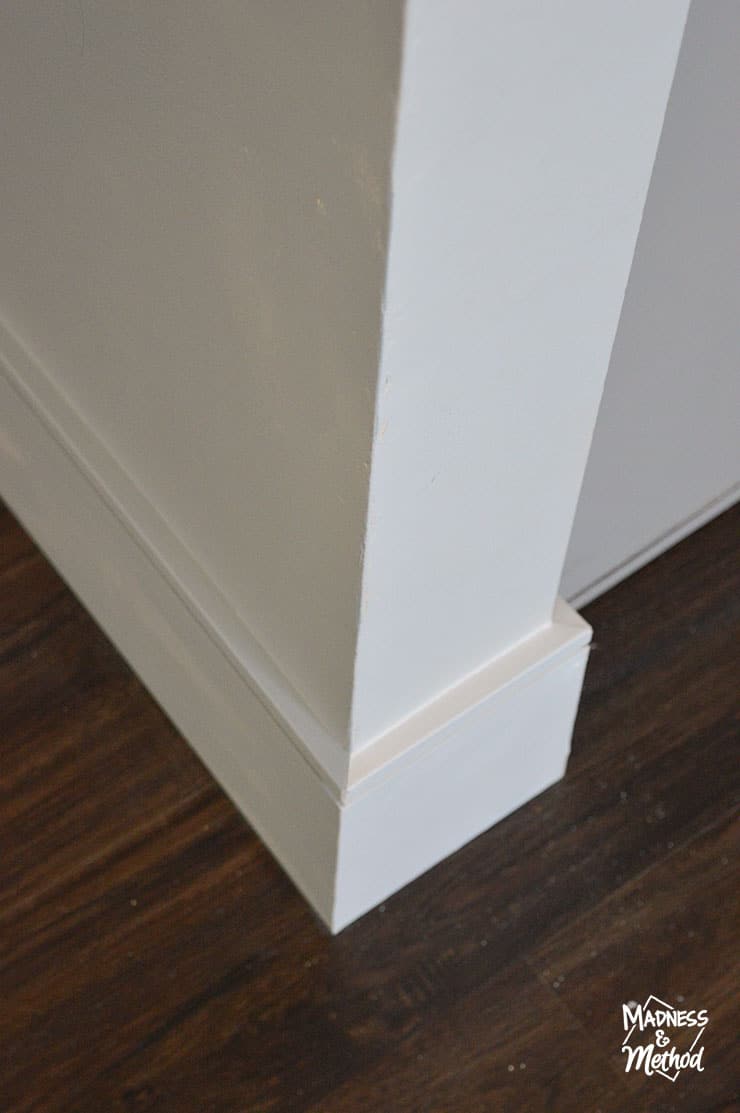
Another thing that I didn’t really explain in the video is the return that I did near our linen closet. There is a bi-fold door there, and a simple 1/4 round trim to hold them in (instead of a traditional door casing). Because our baseboards wouldn’t be ending into the casing (aka butting in tight with a straight cut), I did a half 45º cut.
To do this, I cut the end with a straight cut. Once I knew it was the correct length, I simply held my baseboard out a bit more, then cut the front piece off at an angle. I did the same thing here, and it’s probably the easiest way to do a baseboard return that isn’t blunt.
For the closet doors, I didn’t do a fancy return, and it looks fine! (Do a quick search on “baseboard returns” to see the different styles you can cut).
And yes, I did finish the stencil ha! So I’m trying not to give too much away. Come back next week for more details on how I painted that :)
(Although, I could probably do touch-ups to the stencil forever).
Quick Baseboard Finishing Tips
- Fill in the nail holes with spackle (I’ve also used wood filler or drywall mud in the past)
- When it’s dry, sand it smooth
- Clean the dust, then caulk the top edges and inside corners
- If you are doing wood-stained baseboards, use wood filler in the correct colour. Do not use white caulk!
- Paint the caulk and spackle to match the baseboards!
- Check out the video below for the project breakdown :)
Step-by-Step Baseboard Install Video
Watch the baseboard installation video on YouTube here if the player above isn’t working.
Definitely check out the video for all the baseboard installation tips! I go into everything in SUPER detail, whereas this post has some extra tips that I might have missed. Plus, check out the quick tips on installation and finishing (just above the video) if you missed them.
About the One Room Challenge
Visit the One Room Challenge blog to see all the projects this round. There are just two weeks left and I can’t wait to check out all the reveals!

Follow my hallway makeover:
Hallway Makeover Plans (Week 1)
Textured Ceiling Repair (Week 2)
Painting Sliding Closet Doors (Week 3)
Mix Paint at Home (Week 4)
Broom Closet Organization (Week 5)
Step-by-Step Baseboard Install (this week!)
Next week I’m going to talk about our rainbow stencil… and then it’s the reveal!
The last couple of things I was working on concurrently as you can see. I wanted to get the bulk of the stencil done before I installed the baseboards since it was much easier to work with them off. Oh, and I am going on vacation, so I really needed to get everything done before then, ha.
But yes, let me know if you have any questions about installing baseboards! I have a related post about finishing trim, but we did that way before we even had a mitre saw (and nail gun I think). My skills have definitely improved since then, so I hope this step-by-step tutorial comes in handy.


2 Comments
Annette Leroux
May 10, 2022 at 7:33 pmthanks for the tip, I never thought of brad nailing to the studs. I’m upgrading the baseboards in the utility room and will make sure I find the studs first before I get going on this project.
tante Annette
Nicole
May 11, 2022 at 10:57 amGreat! Usually, there’s a horizontal board along the bottom, but if your baseboards are taller than normal, it’s easier to go into the vertical studs :)