
Have you ever dropped something heavy onto your ceramic tiled floors causing a dent or crack? Maybe you have some floor tiles that shifted over the seasonal temperature changes and there’s a crack in a few along the walls. Did you know that you can take out and replace a cracked tile to create a seamless look? We had a couple of broken ceramic tiles in our main bathroom, and this is how we replaced them…
– Note: This post contains affiliate links. See more information about affiliates here. –
Now, before you start to remove your tile(s) – you’ll definitely want to make sure you have an extra one from the original tile installation. We always buy a few more than we need because you never know if you’ll need to replace a broken tile, or even buy more to redo another room in your house.
Materials / Tools Required
- Spare tile(s)
- Grout removal tool (or consider an electric grout remover)
- Chisel, hammer and/or flat crowbar
- Cleaning supplies (shop vacuum, broom and dustpan)
- Safety gear (glasses, gloves)
- Thinset
- Grout to match (optional: grout caulking)
- Optional: Floor patch and applicator
How to Replace a Cracked Tile
When we renovated our main floor bathroom soon after we moved in, there was always an issue with the tiles right in front of the tub.
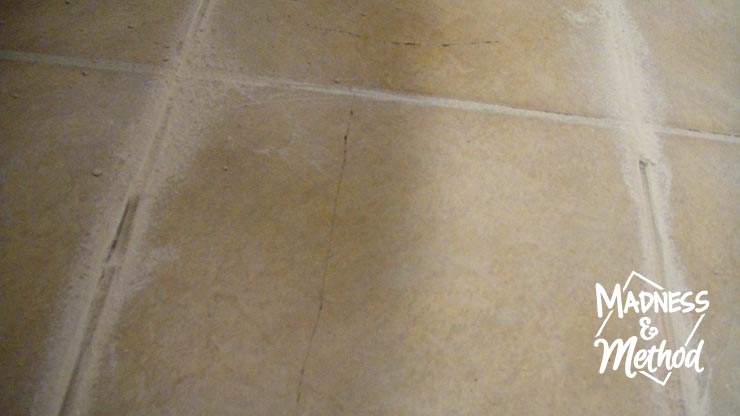
Before I grouted the floors, these same tiles cracked (so I replaced them then) but then they cracked again soon after grouting!
The first step in replacing cracked tiles will definitely be removing the grout. The grout is the strength of the tile, so you’ll need to carefully file it away using a grout removal tool.
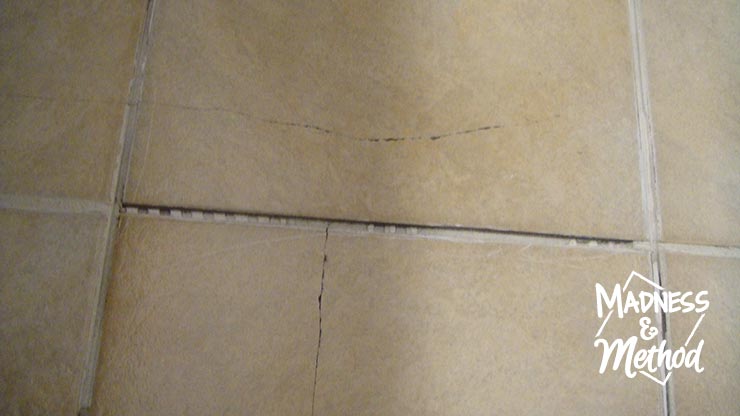
You’re going to remove as much as the grout surrounding the cracked tile as possible. We had two cracked tiles (and a third, but it’s half under the vanity), so we filed a while. I just stumbled on this electric grout remover, which would definitely have been handy!
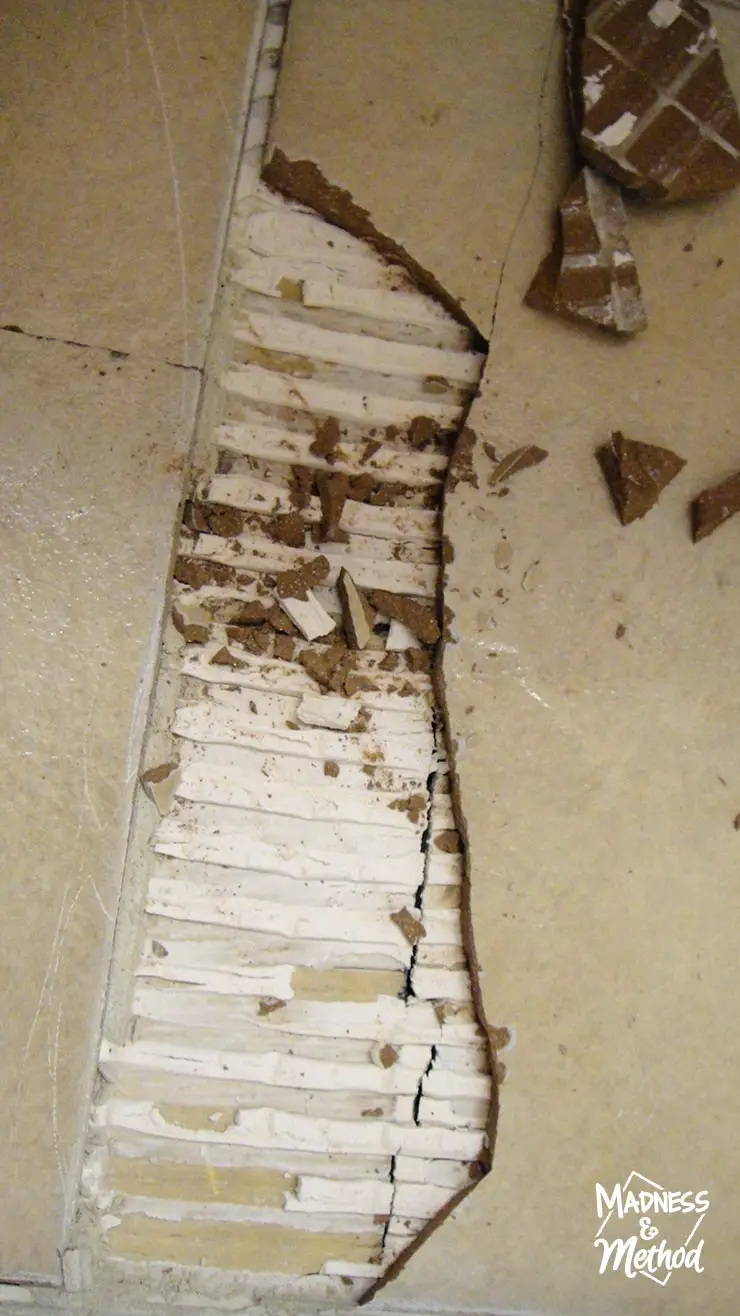
Once all the grout around the cracked tile is removed, you’ll need to chip it away! It will most likely come up in pieces, so if you were hoping to save it for some reason, I’m not sure of a way to remove tiles without damaging them. To protect the surrounding tiles, you can cover them with a towel or piece of cardboard – just make sure not to use them as a pry area for your tools.
It’s going to be a messy process, and chipped tiles are very sharp! Make sure to protect your skin and eyes because broken pieces will be flying everywhere (you can also move your bath mats haha!).
Hopefully you can now determine the cause of the cracks. If it was from a one-time incident (ie: dropping something heavy), you can most likely skip the next couple of steps. However if you have a crack across multiple tiles (or a recurring crack, like in our case) you’ll definitely need to figure out the problem and fix that!
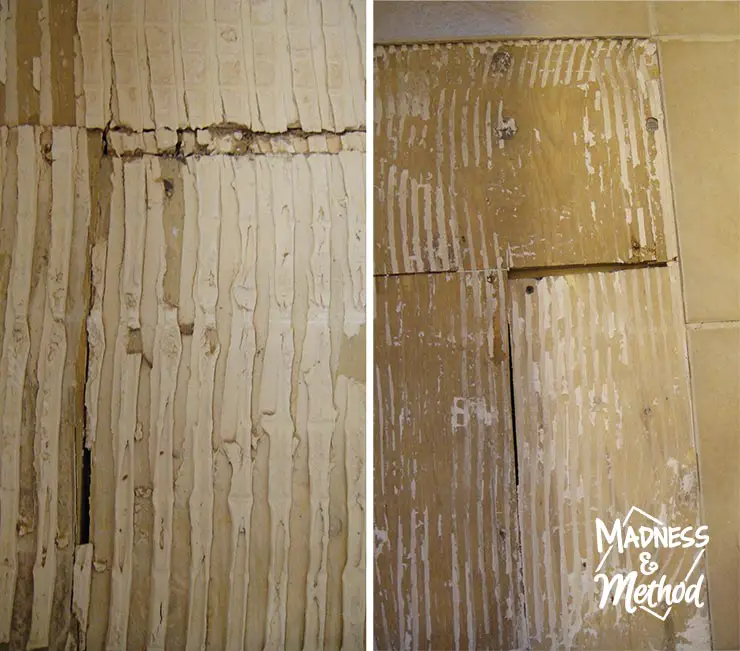
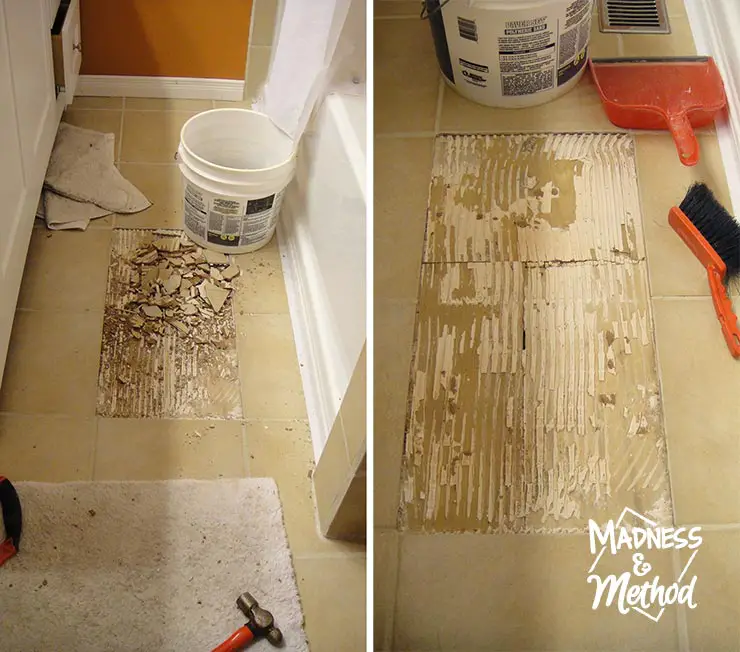
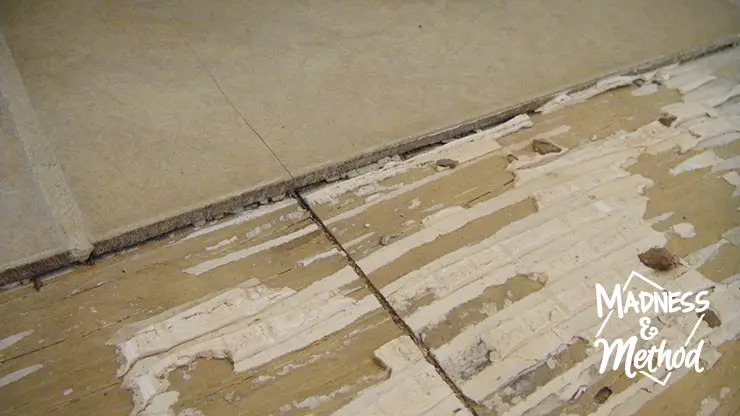
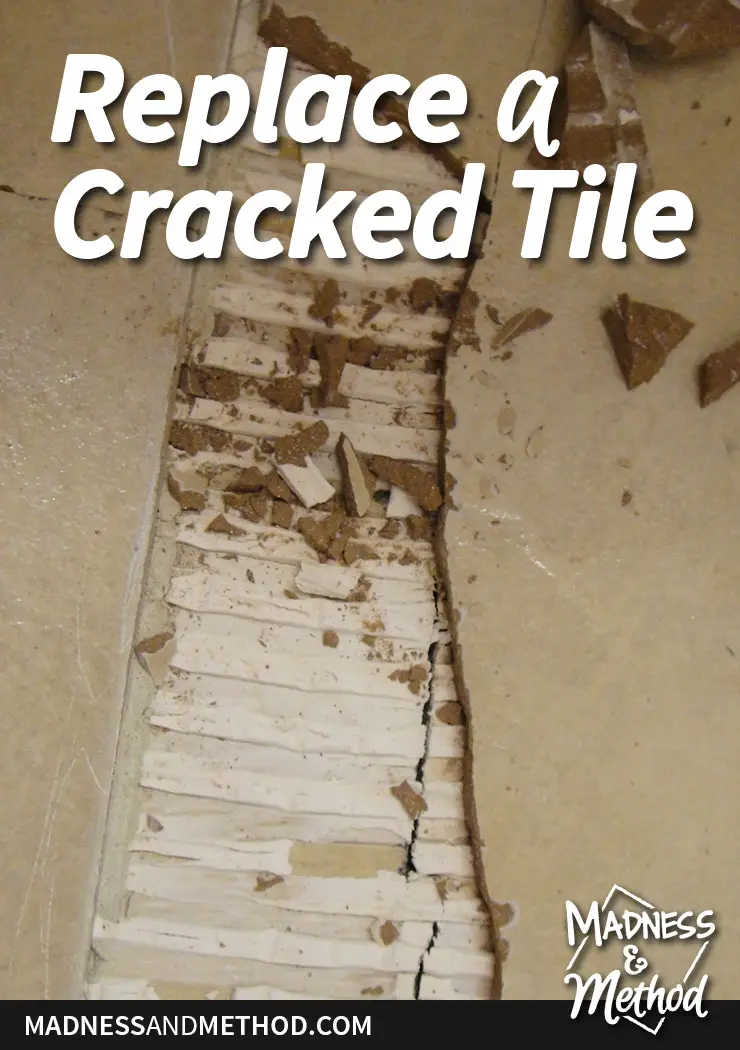
You’ll also need to remove all the dried thinset before you can re-tile the area. Having the tiles removed and the area cleaned, I knew exactly why our tiles kept cracking! When we renovated the bathroom, we had to cut out a piece of the old subfloor because it had become very saturated with water and had started to rot.
Unfortunately the tiles had been placed over the two different sections of subfloor (and there was also a huge gap!). Normally, if you notice that you have a natural separation in your flooring (or maybe even an expansion joint in your concrete), you want to try and line up that joint with the grout, and not the middle of a tile!
(This is all stuff I had known, but I think we were in too much of a hurry to finish this renovation that I completely overlooked it).
Optional: Fixing the Subfloor
If, like me, you have a similar non-perfect subfloor, you can apply a “quick fix” and hopefully that will solve your issues (rather than rip out your entire floor and start from scratch).
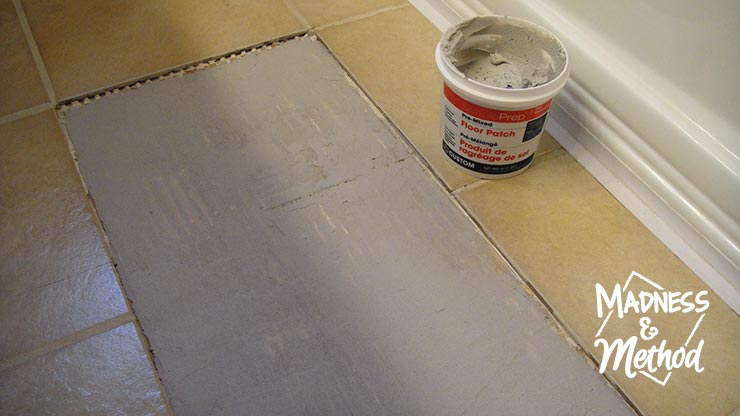
I headed out to the hardware store and picked up this handy little floor patch mix. I smoothed it thinly across the entire area using a regular putty knife and waited for it to dry the appropriate time. I did go back and do the large crack again, just so the full surface was even.
Finally, I added two new tiles and did something a little crazy…
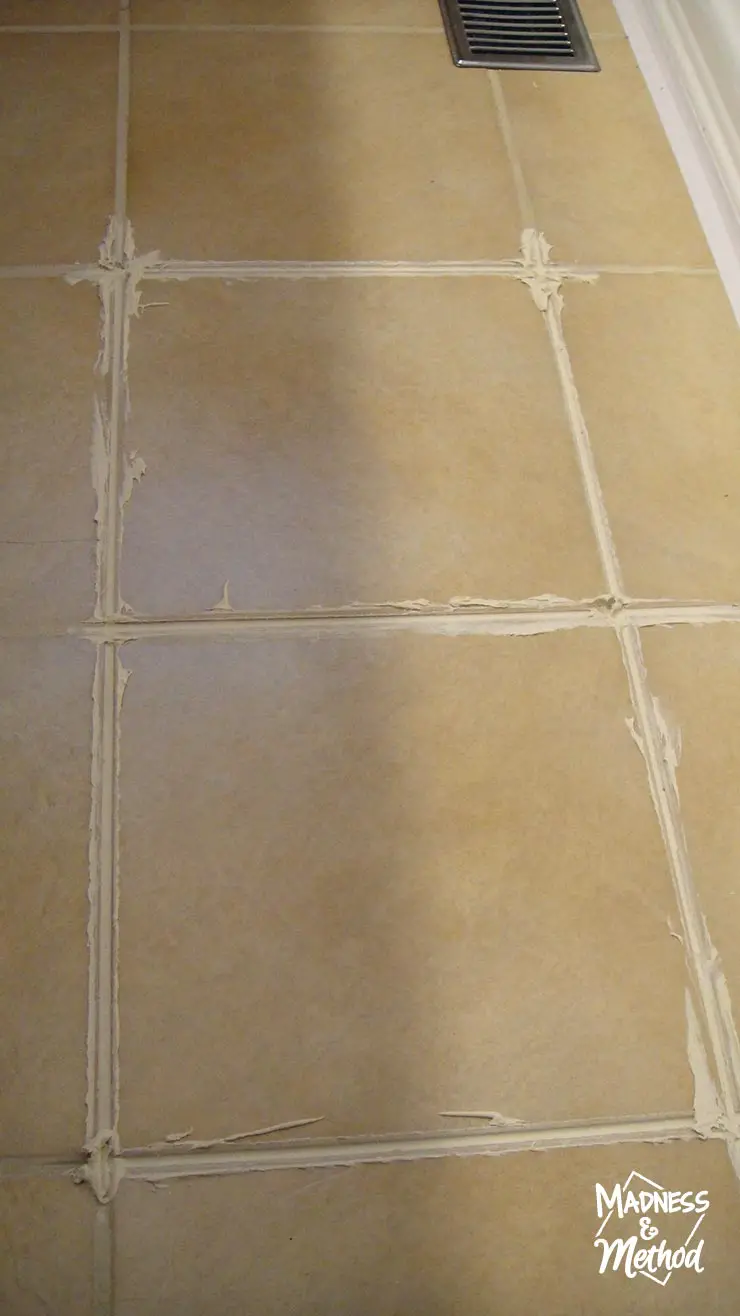
Rather than completely re-grout the cracks with normal grout (which you can totally do, and it’s recommended you do!), I filled in about 1/3 of the base with the grout caulking instead. Once that dried, I simply filled in the rest of the gaps with normal grout that matched the rest of our floors.
My theory was that the grout caulk is more flexible than normal caulk, and if there was any more shifting, it would take a bit of the burden first.
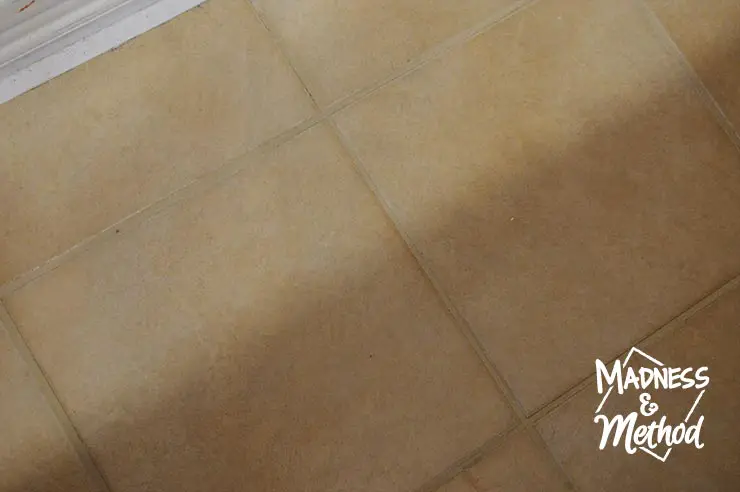
I JUST took this photo and everything still looks good :) We do still have the one cracked tile half-under the vanity (you can see the crack near the bottom center of this image). But I’ll be leaving that as-is!
Can I share a secret!? It’s been over 3 years since I replaced these broken tiles and we haven’t had any cracks since!!! I’m pretty sure fixing the subfloor was the real reason, and I’m happy I took the time to figure out the issue and properly address it instead of just replacing the cracked tile on a regular basis.
As part of my post-Haven blog cleanup, I’ve been going through my old posts to try and optimize the content, fix broken links and maybe spice up the images (if possible). A few years ago we completely renovated our kitchen, which included installing tile floors. Even though I consider myself to be a good tile installer, something went wrong and those tiles have been cracked ever since. While I’d love to replace them all individually like I showed here, I think I may have to resort to replacing the entire floor (there are more that are cracked than whole). It’s definitely not something the Husband thinks we should tackle, so we’ll see what ends up happening…
I hope this tutorial on how to replace a cracked tile was helpful, and hopefully you don’t have too many tiles to fix in your home! Honestly, one of the reasons I love tiles so much is BECAUSE it is possible to replace one if there’s a defect, as you can create a seamless transition. (Conversely, we patched some laminate floors in our closet and we were never able to get it to line back up perfectly with the original floors).
Let me know if you have any questions – I’d be happy to discuss tiles all day :)


No Comments