
We’re continuing with the shared kids’ bedroom and this past week I finished a couple of bottleneck projects. Things don’t look too different in here, but the bulk of the work is done (I think!?). This week I’m going to chat about the kids’ custom closet nook and a few of the other things we crossed off the list.
– Note: This post contains affiliate links. See more information about affiliates here. –
Not sure what I’m talking about? Well, to get you up to speed, I’m making over our oldest 2’s bedroom as a guest in the Spring One Room Challenge. It’s my 9th time participating, and we’re pretty much recreating our main bedroom from last year. This off-white room will become a BOLD space very shortly, so stay tuned :)
So far, Zachary has liked having accessible shelves to store his toys. Well, there’s a lot of junk too, but that will hopefully be gone as we continue working on the space.
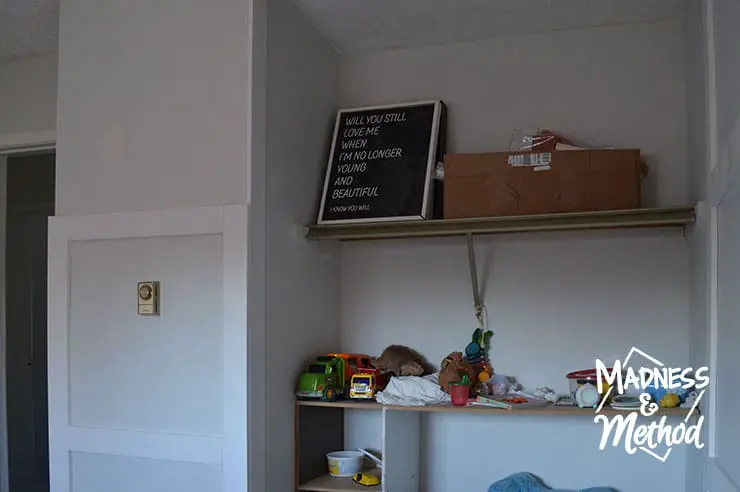
I’ve had the closet nook installed since the second week of our project. So make sure to check out that post for more of the construction details. AND read the first post all about the design of the room if you missed it. But before we get to that, let’s look at some of the things that held us up.
To-Do List Items Completed:
- Fixed the window drywall/trim situation
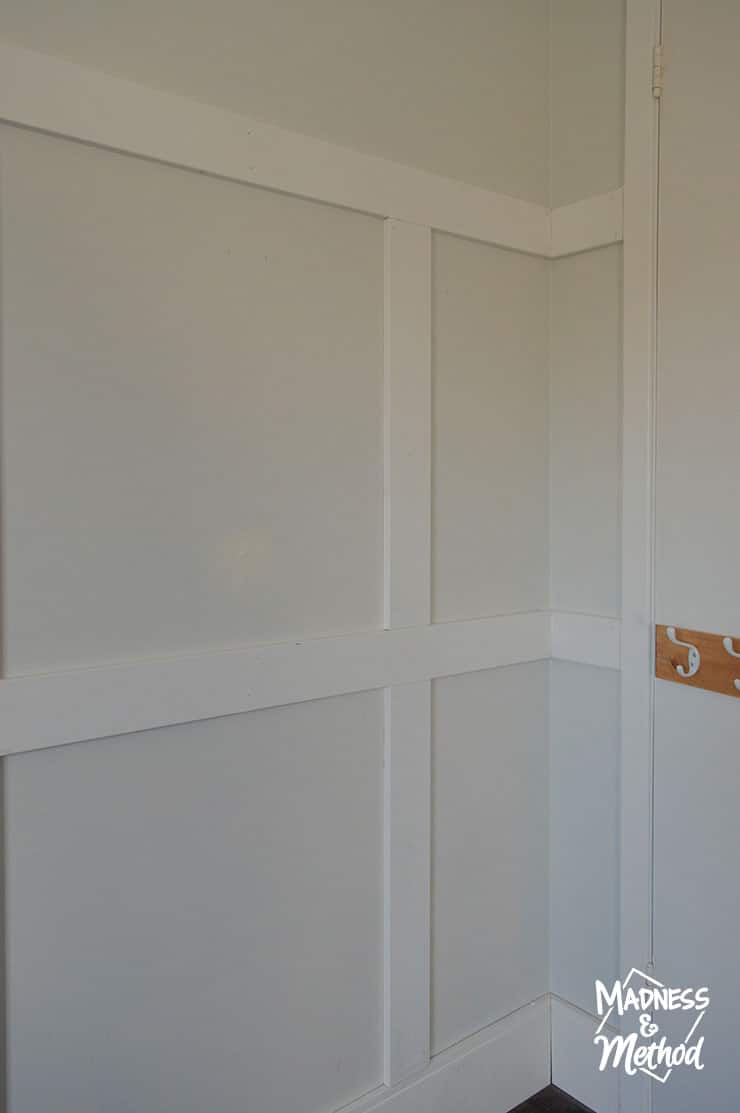
- Finished installing all the wainscoting trim
- Caulked/patched/sanded/primed joints
- Painted ceiling edges and closet track white
Fixing the Window
To recap, there was exposed drywall all along the bottom of the window. (And the window was mouldy, but I think that’s a separate humidity issue). My initial idea was to just install the trim, then add a cover piece (like a thin hardboard) to cover the exposed part.
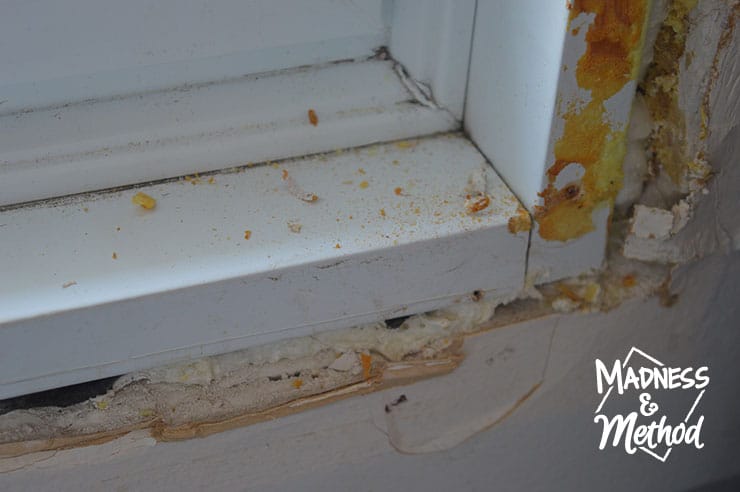
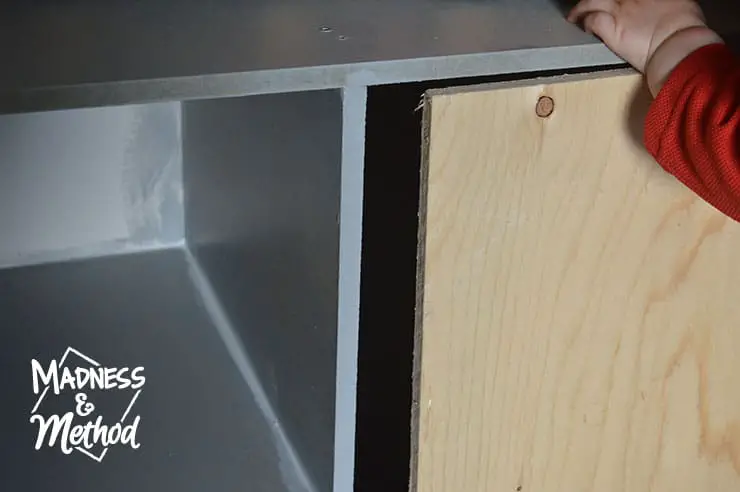
The Husband suggested making/getting an aluminium cap to cover the drywall. Similar to what they do on the outside parts of windows. We had someone come in this past weekend with a metal bender (and to fix some of our siding), but they had a different idea…
Essentially, we cut the drywall that was even with the window, removed the screws and the expansion foam, and then repositioned the whole window so that it was properly lined up. It did involve cutting a small part of our siding outside, but everything’s been resolved now.
(I should note that whoever replaced the windows in the house did a weird/poor job, but this was the worst one).
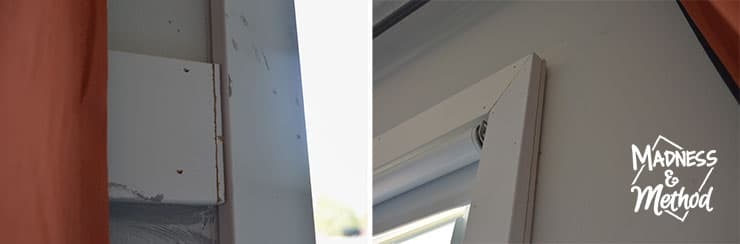
I did have a couple of things to fix when I added the casings. On the one side, I had guessed the location of the wainscoting trim, so had to add a little sliver to fill the gap. And, for the window casing, there was a gap along the top right corner. I just put a little piece of lattice behind to fill the gap and caulked the rest.
Once I had the casing in (which should have been the first thing I did before adding the wainscoting), I attached the little pieces I needed. Then, everything was patched and caulked to match.

Check out the old window casing situation on the left, and what it looks like now on the right. It still needs to be patched a bit and painted, so it will look even better. But, we’re already at like 90% improvement. (I also sprayed some mould remover, and cleaned it, so we’ll see how it fares).
Work on the Wainscoting
If you remember from last week, I had most of the wainscoting installed and ready for finishing:
I was a day late on my tasks last week, but we’re all caught up again. Well, I mostly try to do at least one thing a day from Monday-Thursday, then use the weekends for catching up OR starting new tasks. So I only had things booked for the start of the week. Does that make sense?
Anyways, one of the things I did work on was painting the edges of the ceiling and the closet track.
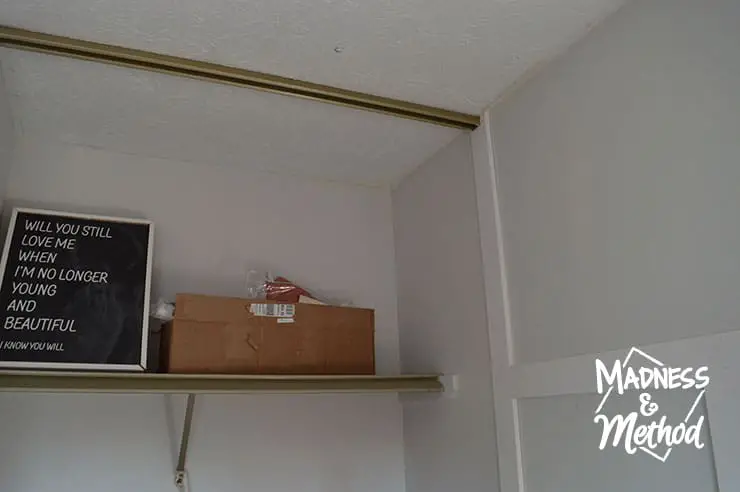
Whoever painted the house before we moved in went a little wild along all the ceiling edges. So there’s usually either the wall paint that went up there or the old ceiling paint colour (yellow?) that didn’t get covered up.
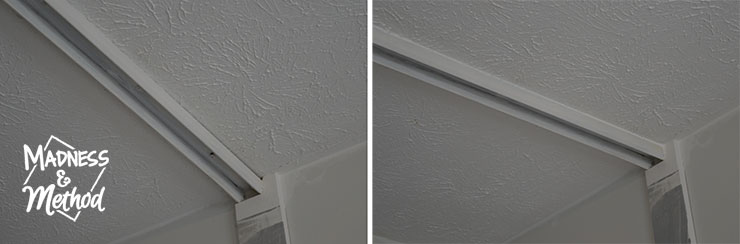
I am also keeping the closet door track up, but I wanted to paint it white so that it would blend in more. The seam has been caulked too, so now it looks so much better! I think I have another coat of paint to do, but again, big improvement.
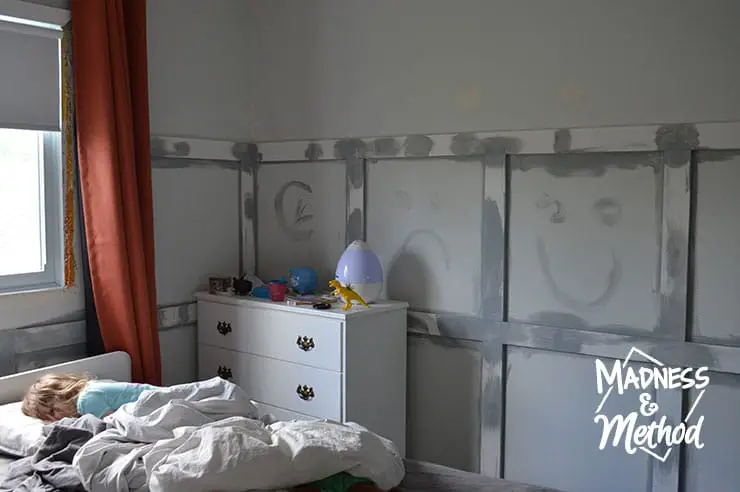
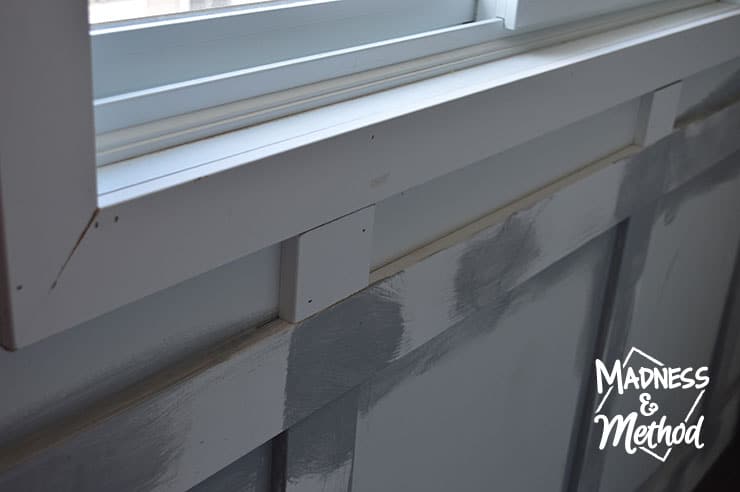
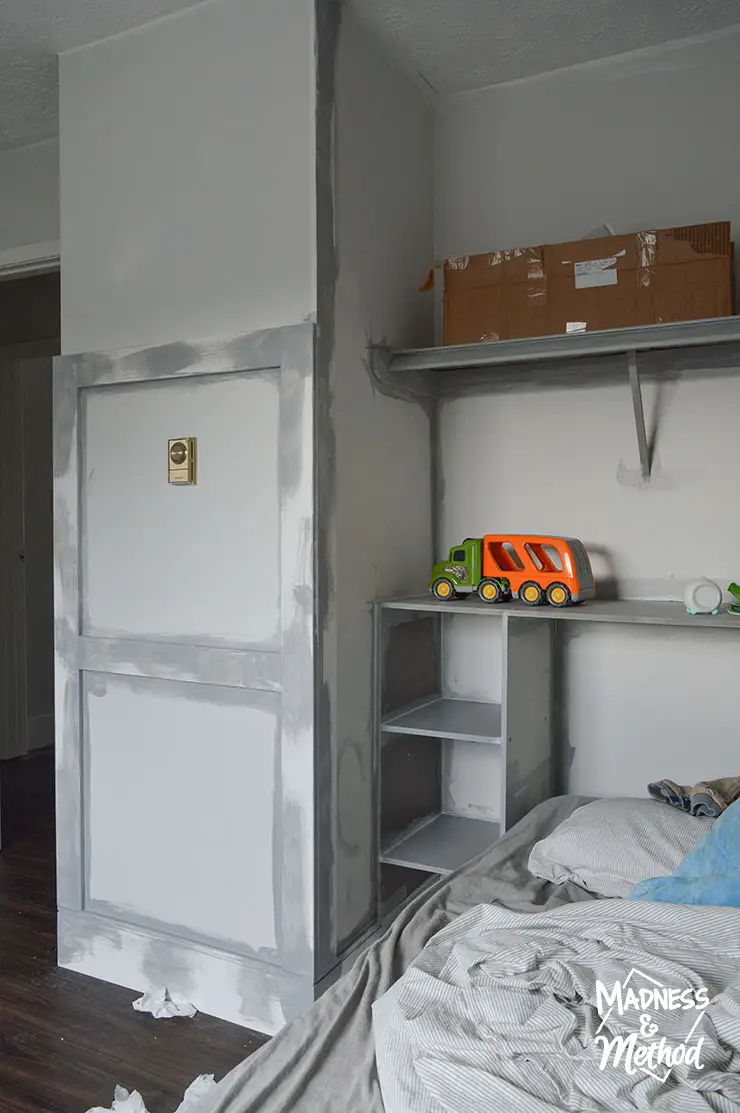
Not sure if you caught glimpses in the other photos, but I primed all the joints along the wainscoting. And added some faces as per Élise’s request. (She’s in the photo above pretending to sleep).
And included some random letters/notes for later. The “C” means that I forgot (or needed to add) caulk. I had only patched and sanded the joints once, but I found it hard to see how it looked when it was all white-on-white.
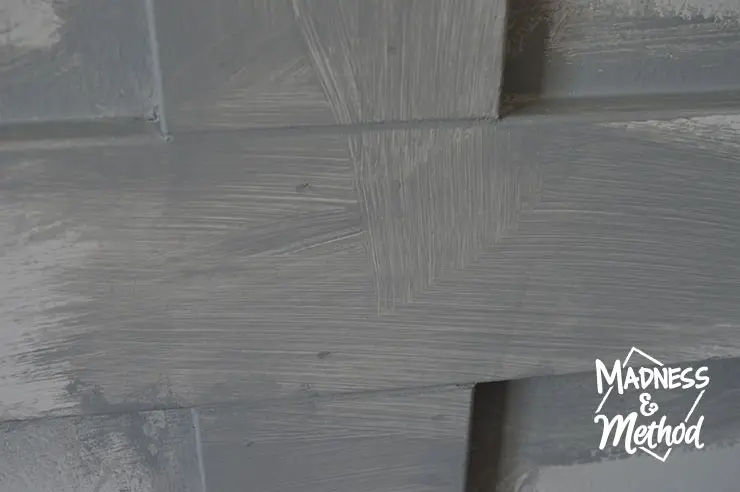
The grey primer helped me see the seams that needed to be touched up, and I went in this morning and took take of that. I should only have to do the two coats… but we shall see. I’m still not sure if I’ll use the grey primer everywhere again, or just on the joints, or switch it up to white… who knows!
(Can you tell that I still have not bought my paint yet… fingers crossed stores open soon!).
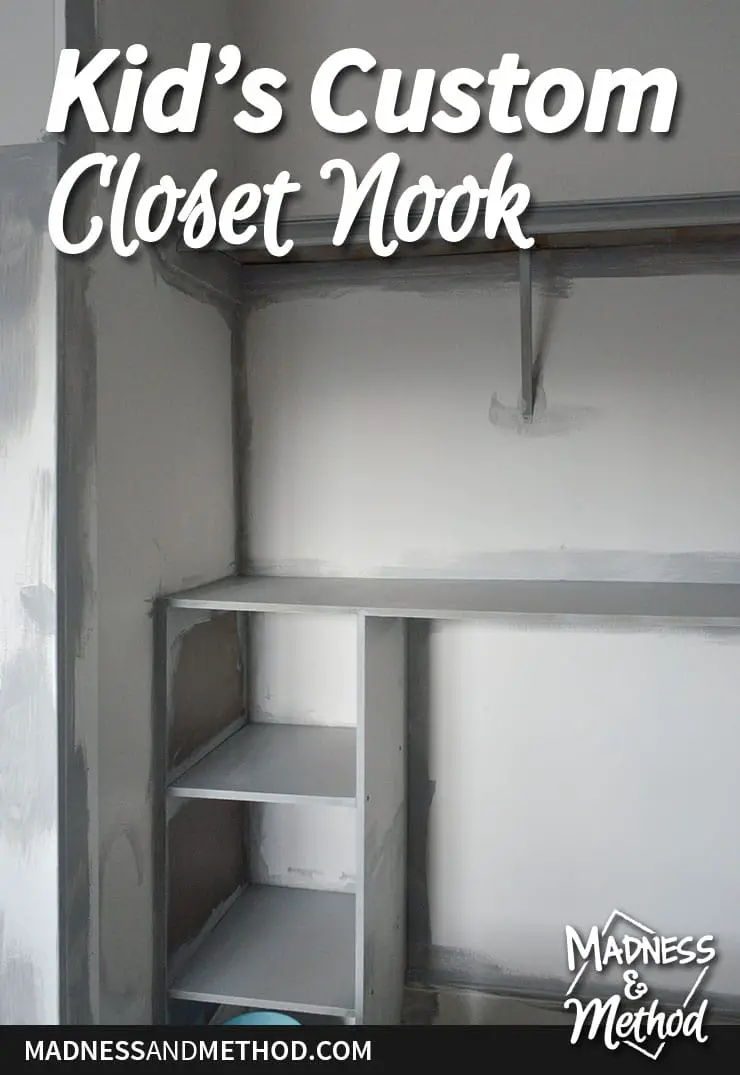
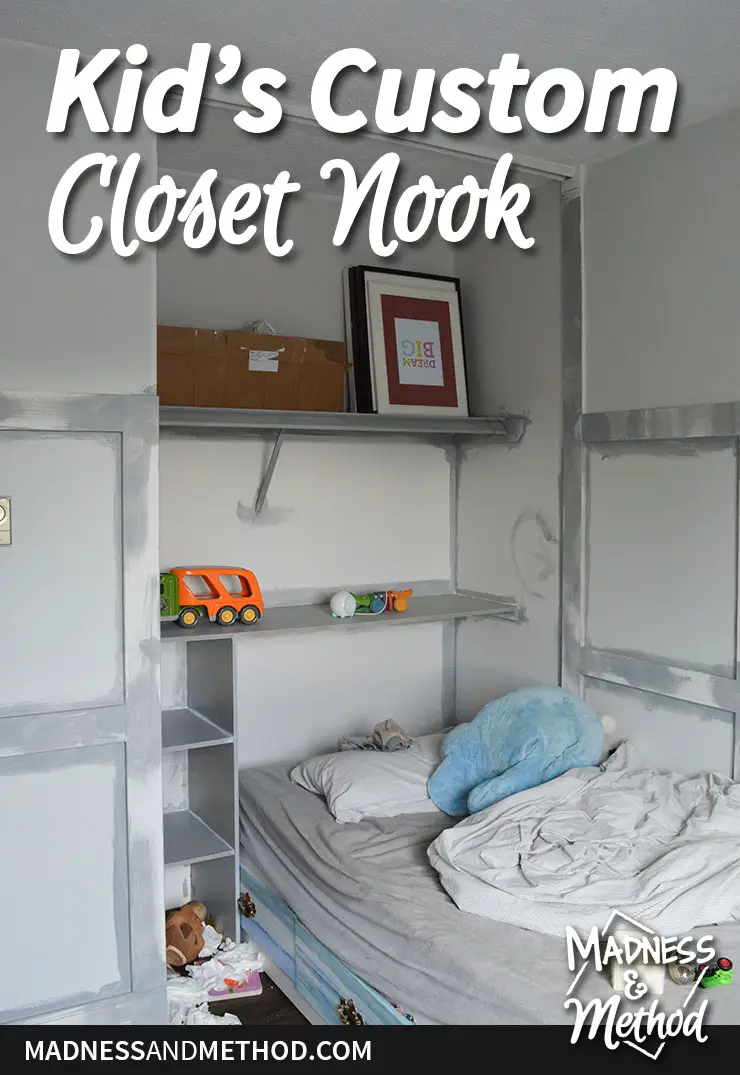
Kids’ Custom Closet Nook
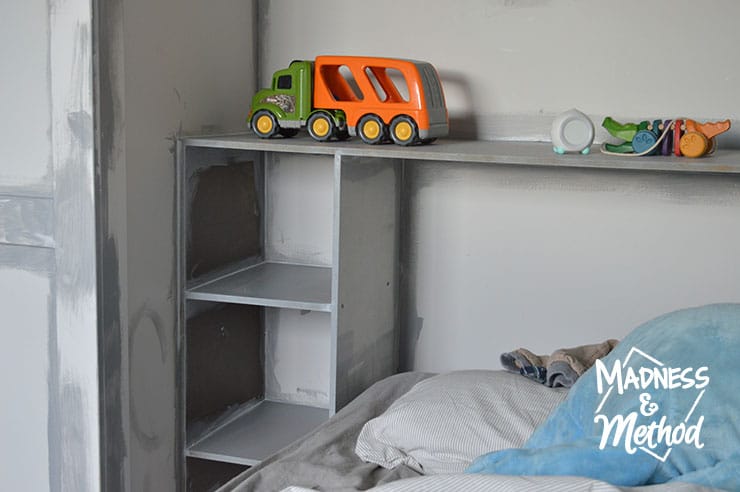
Alright, let’s chat a bit more about the built-in closet shelves.
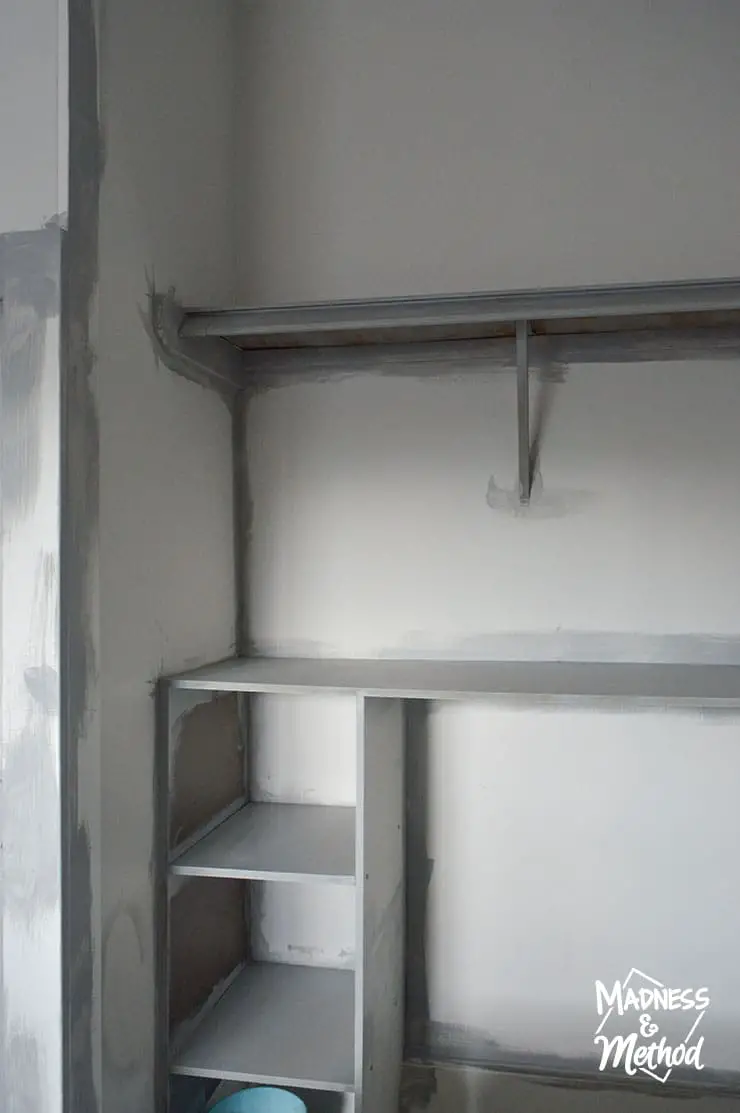
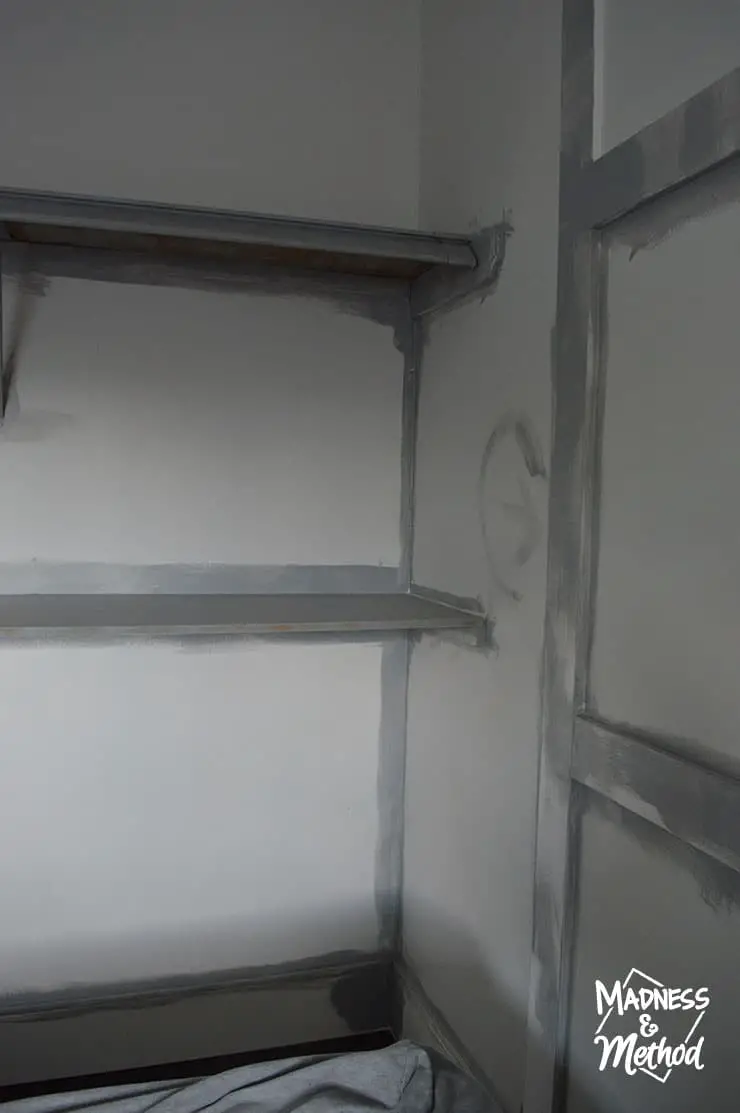
Remember to check out the second week’s post to see the construction. Essentially, I used a bunch of random wood pieces I had in the garage to build these shelves. While I was priming the moulding, I gave everything in here a coat of paint too. Including the original shelf and hanger rod at the top.
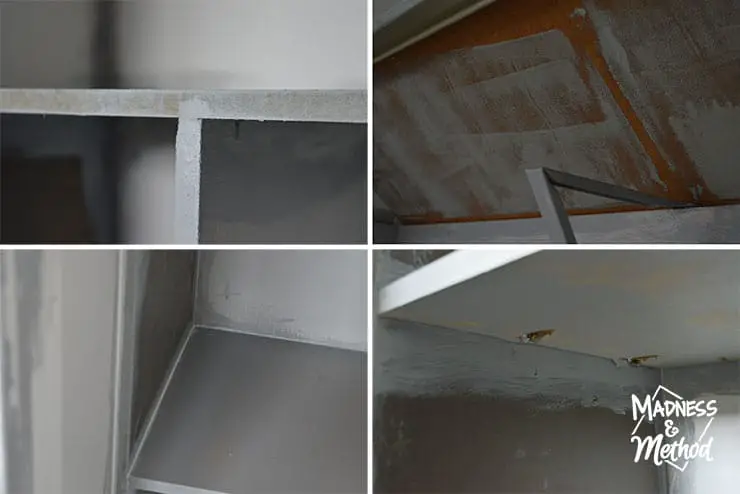
For the cut MDF edges, I added some patch today to smooth it out since it was still bumpy. The top shelf was primed in place but I will take it down to paint it properly after. I also caulked the seams, but the construction isn’t super perfect. There was some tearing/pulling when I installed my pocket screws, and I did leave all the other screws visible in case we need to take the shelves out in the future.
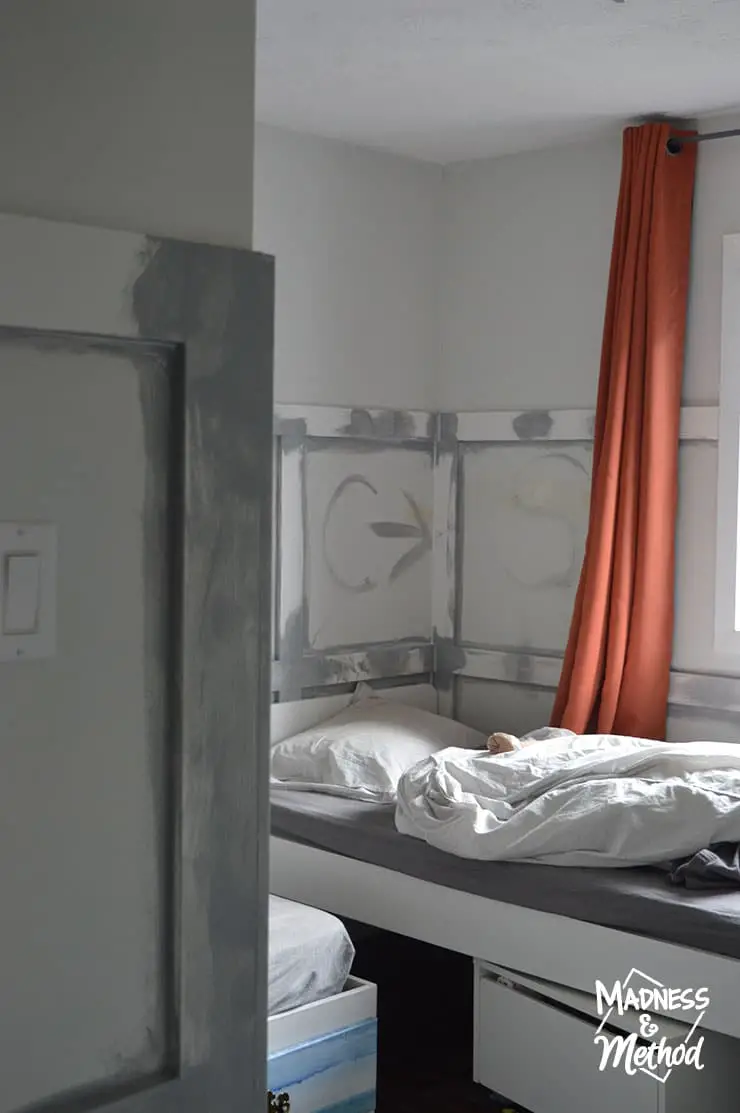
But I figure that any future owners could still use it as regular closet storage. Just imagine a hanging rod in the small cubby (where Zachary’s bed/head goes).
For our purposes, there will be a headboard that blocks the hole (and wraps a bit around the side). Here are the two youngest ones modelling how the shelf works… ha! Zachary has a captain’s bed, so we can’t push it all the way in or he won’t be able to access the last drawer. I’d also worry about hitting his head at night but would have built it higher if we went with that option.
I’m impatiently waiting for all my headboard materials but figured I’d do a test fit now just to see how it works together. I noticed that there is a gap along the side, so I think I’ll need to add a piece of moulding to the closet shelf to block it. I definitely don’t want any random toys falling back there, because I won’t be moving the bed every time that happens!
For now, we’ve just pushed the bed back as far as we can. I caved and bought some foam for the headboard online, but still need to get the batting and fabric in person. Hopefully.
I think that I’ll get the wallpaper installed by next week, and do the last little touch-ups to the wainscotting. Then we’ll definitely be in the waiting game for the stores to reopen.
About the One Room Challenge
We’re just at the halfway point and there are a LOT of great projects happening. Check out all the other linking participants (and 20 featured guests!) on the One Room Challenge website. Again, here are the posts to follow my project if you missed anything:
- Shared Kids’ Room Before
- Quickly Draw & Scale a Room
- Wall Treatments: Wood vs. MDF
- Kids Custom Closet Nook (this week!)

Oh, and I have no idea what I’ll be doing with the artwork that the kids had in the room. (Aka their handprints and ultrasound photos). I’m waiting to see what everything will look like with the walls painted and wallpaper up, so they might stay in the closet. Or possibly move to another room?
What do you think? Any suggestions?
Fingers crossed we can get things done soon :)


No Comments