

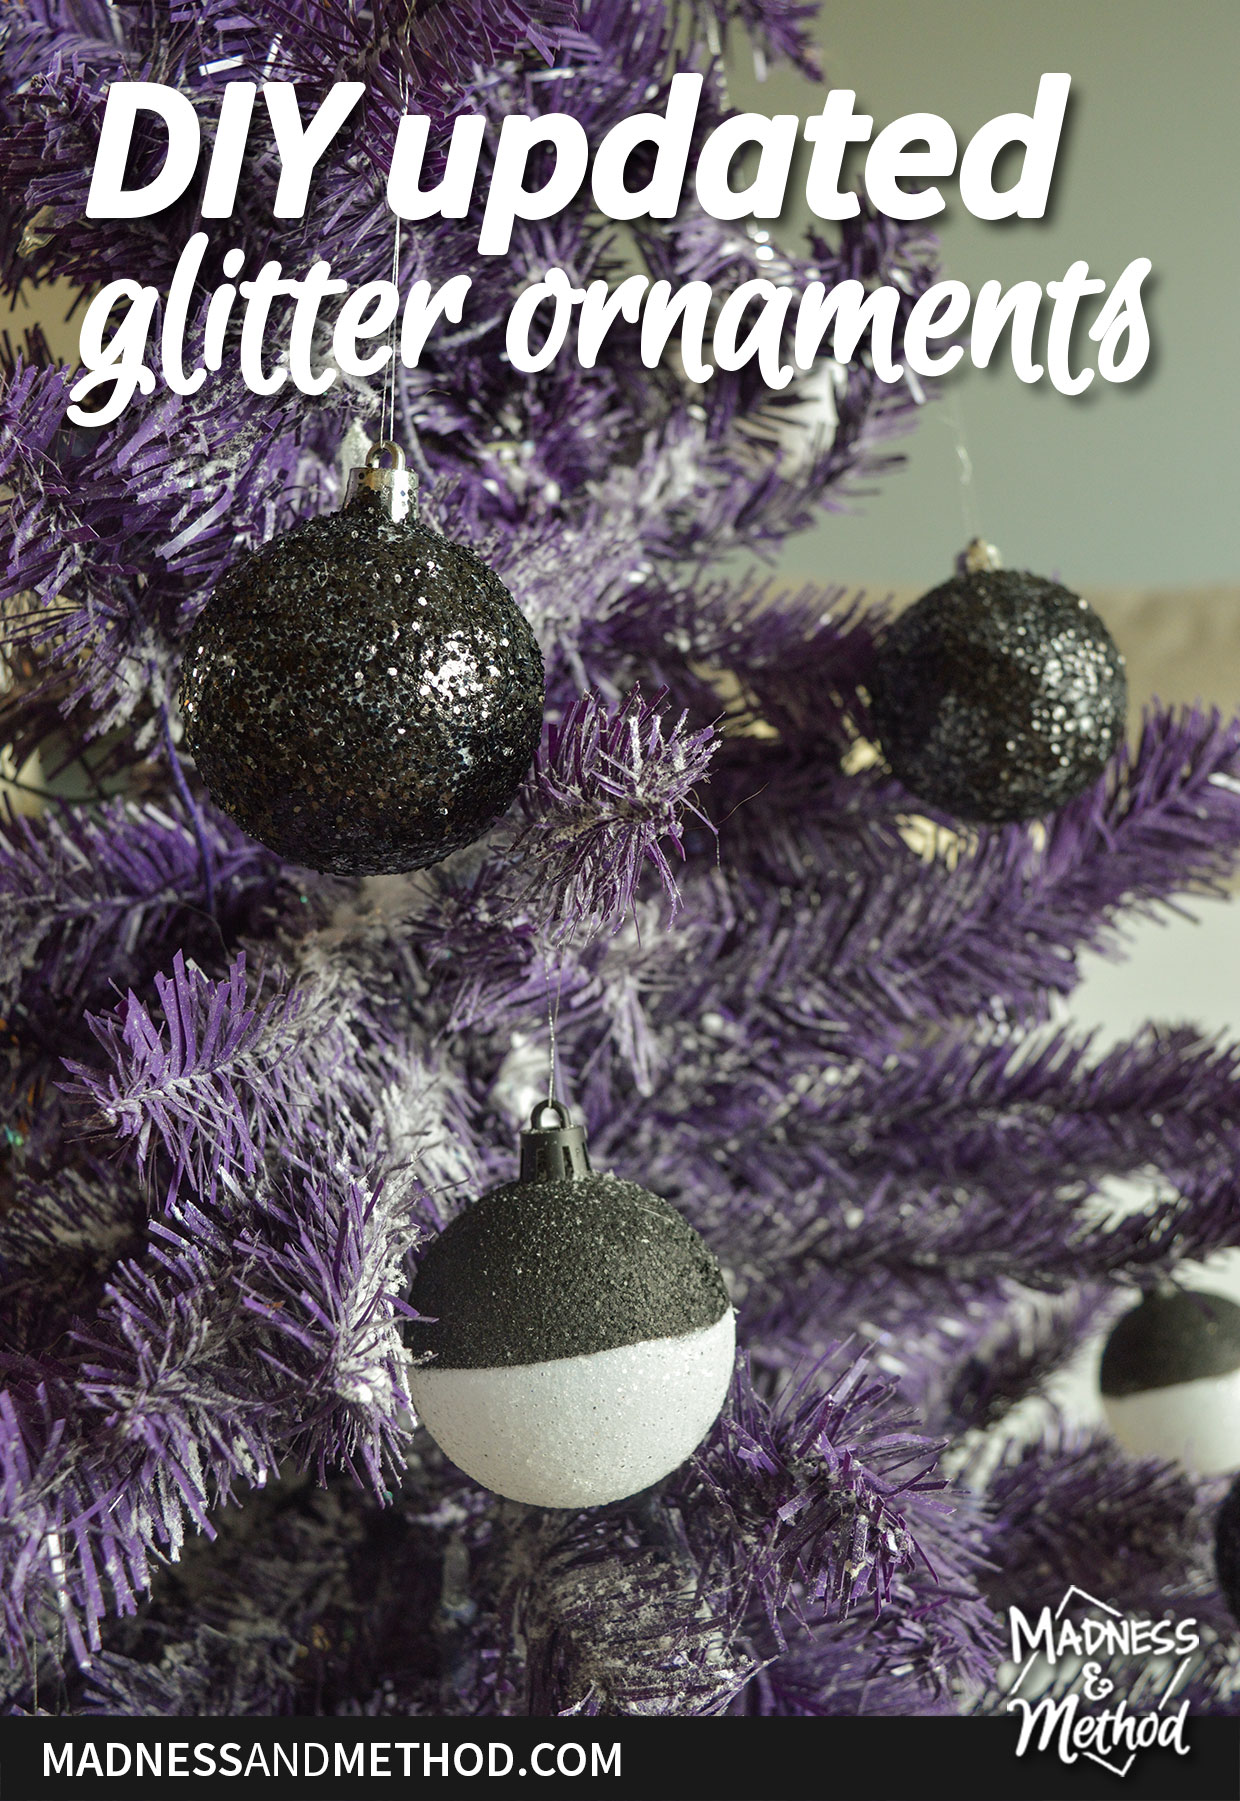
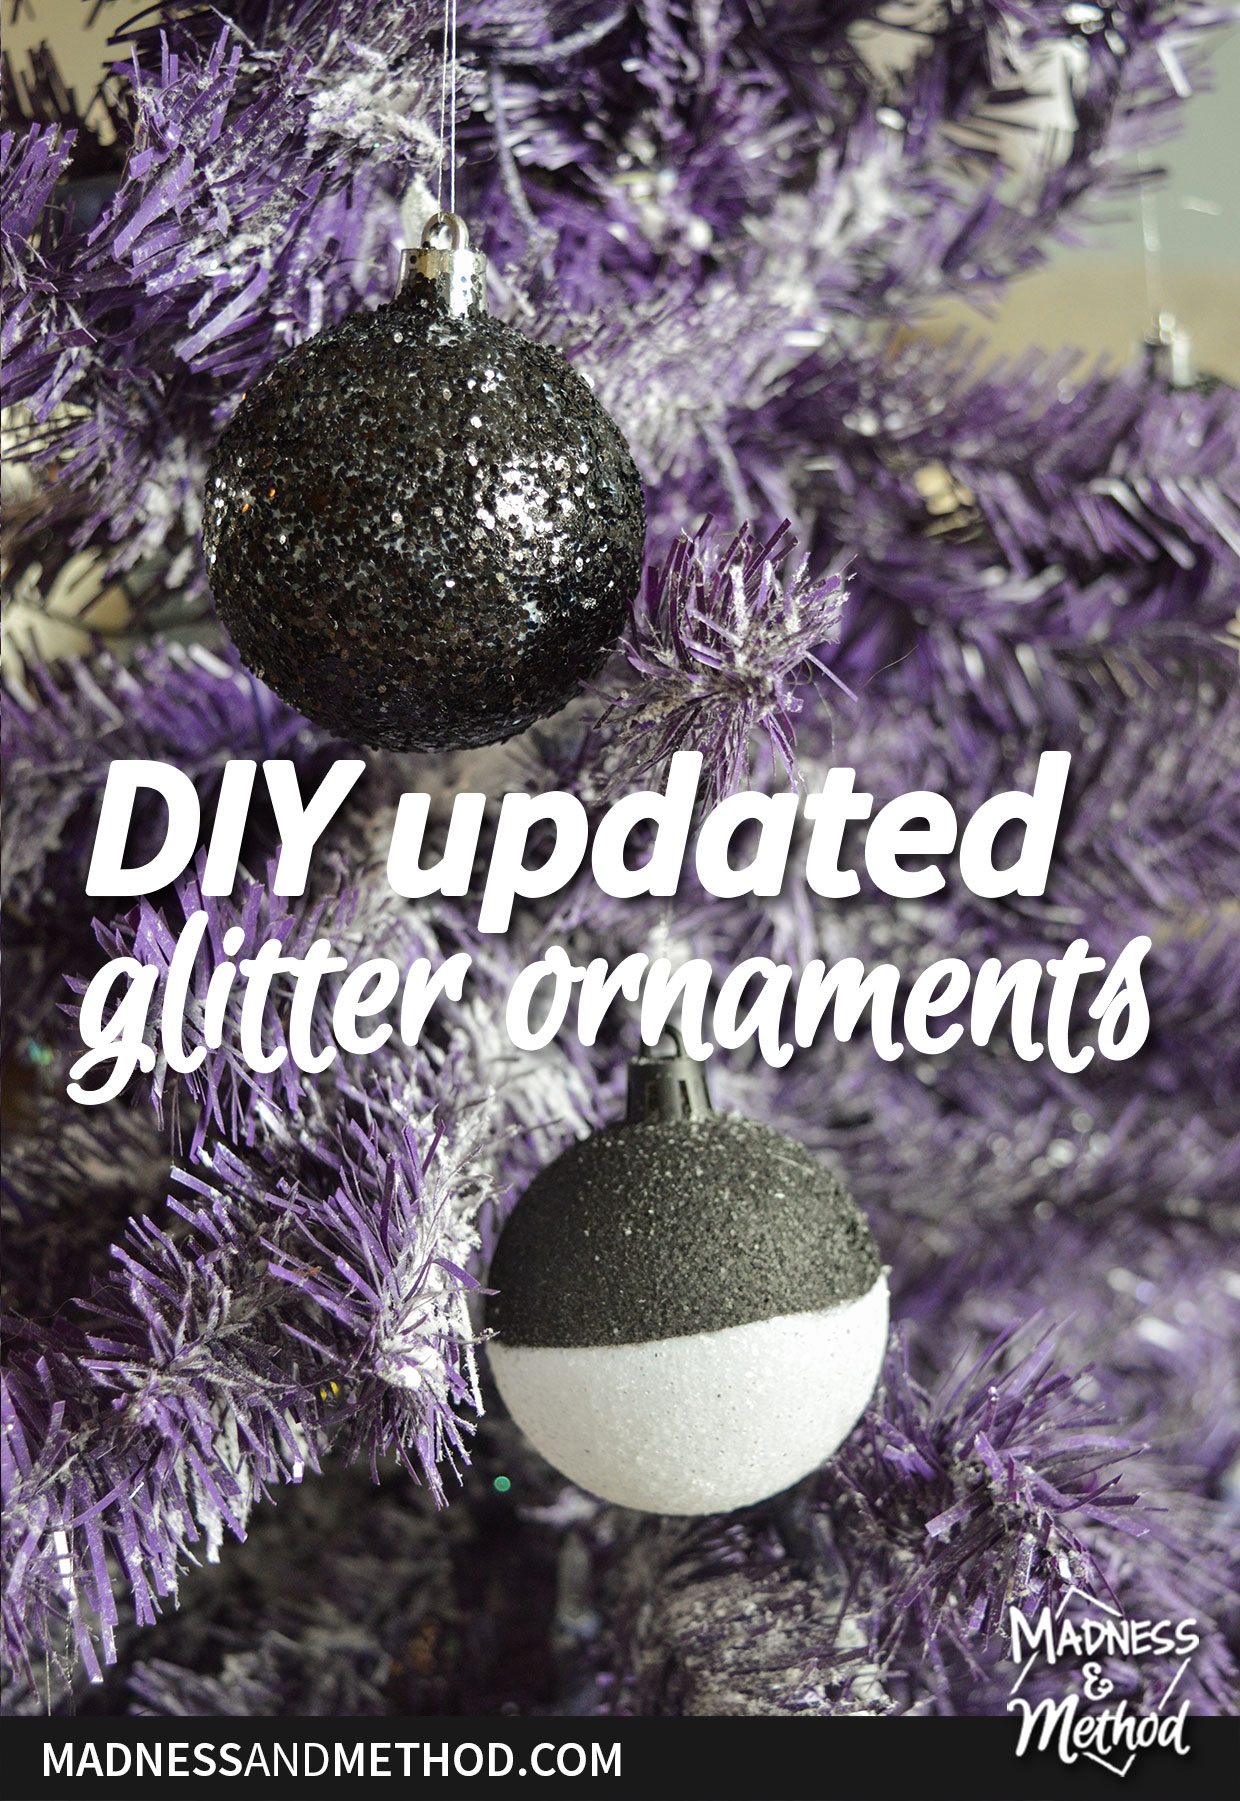
It’s Christmas in July and I have a super fun project today! Not only are these DIY updated glitter ornaments super easy, but it’s also a cost-effective project too. Rather than spend money and time trying to find ornaments in the colours that you like… make them yourself! This is the perfect solution to refresh your Christmas ball ornaments and get the look you want.
– Note: This post contains affiliate links. See more information about affiliates here. –
As I mentioned, I’m showcasing a couple of different ways to update glitter ornaments. Do you have a set of Christmas balls in the colours you don’t want? Do you have a bunch of mismatched ornaments? Or maybe, you’re just looking for a way to save a bit of money on your Christmas decor… this is the DIY project for you!
Where to Find (Cheap) Christmas Balls
First, you might be wondering where you can get super cheap Christmas ornaments. A few places I’ve gotten my ornaments include second-hand stores, dollar stores, end-of-season sales and hand-me-downs. You can also check out local yard sales, online resale sites and pre-and off-season merchants.
Or, you can simply reuse the ornaments you already have (if you no longer like the colour!)
DIY Glitter Ornaments Project Supplies
- Christmas ball ornaments (these are similar)
- White craft glue (mixed 50/50 water optional)
- Artist paint brush
- Glitter in the colour you want
- Containers or plates
- Optional: clear spray paint, glitter glue
Half-Painted Glitter Ornament Supplies
- Painter’s tape
- Coat hangers
- Spray paint
Last year, I purchased this 50-count white ornament set on sale for 15$. That’s about 30 cents per ball – so pretty good.
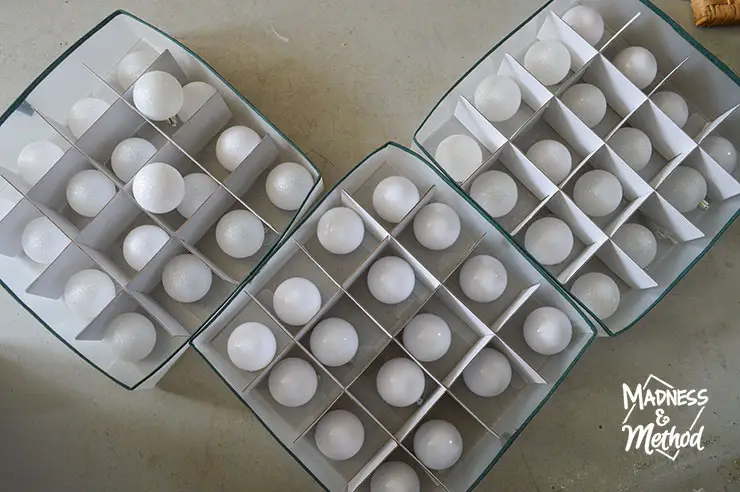
This ornament storage case is so good!
My plan was to do some sort of DIY to make a black and white tree theme. I’m glad I’m doing it now instead of rushing at Christmas time :)
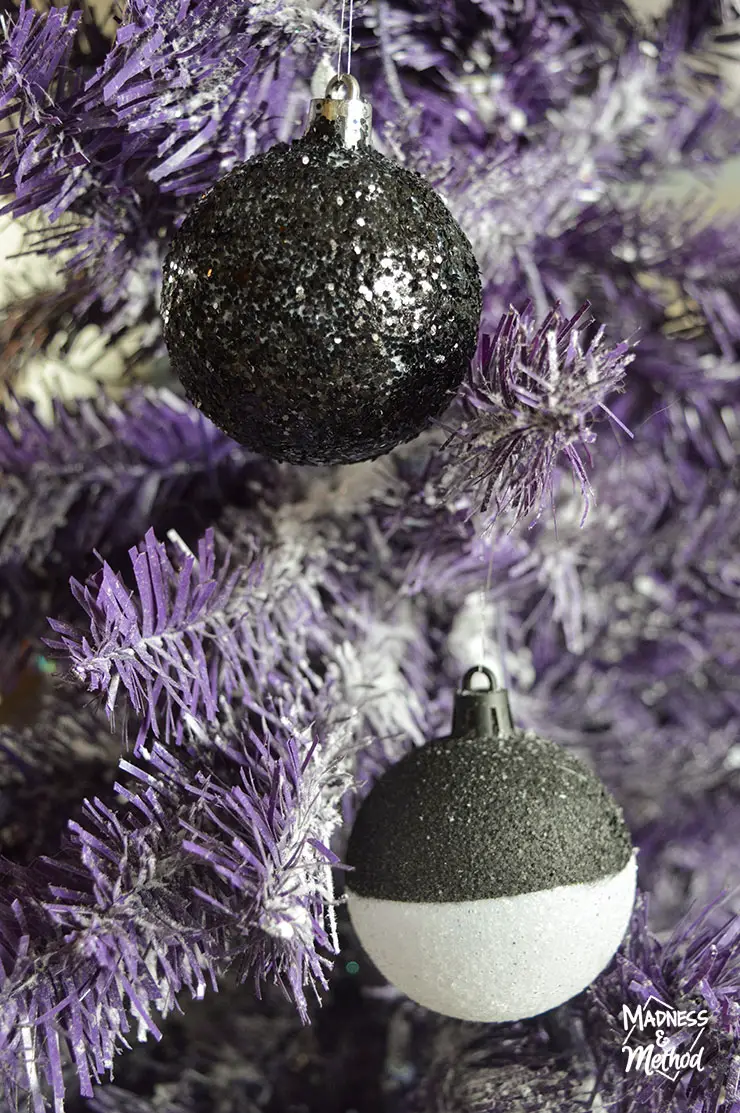
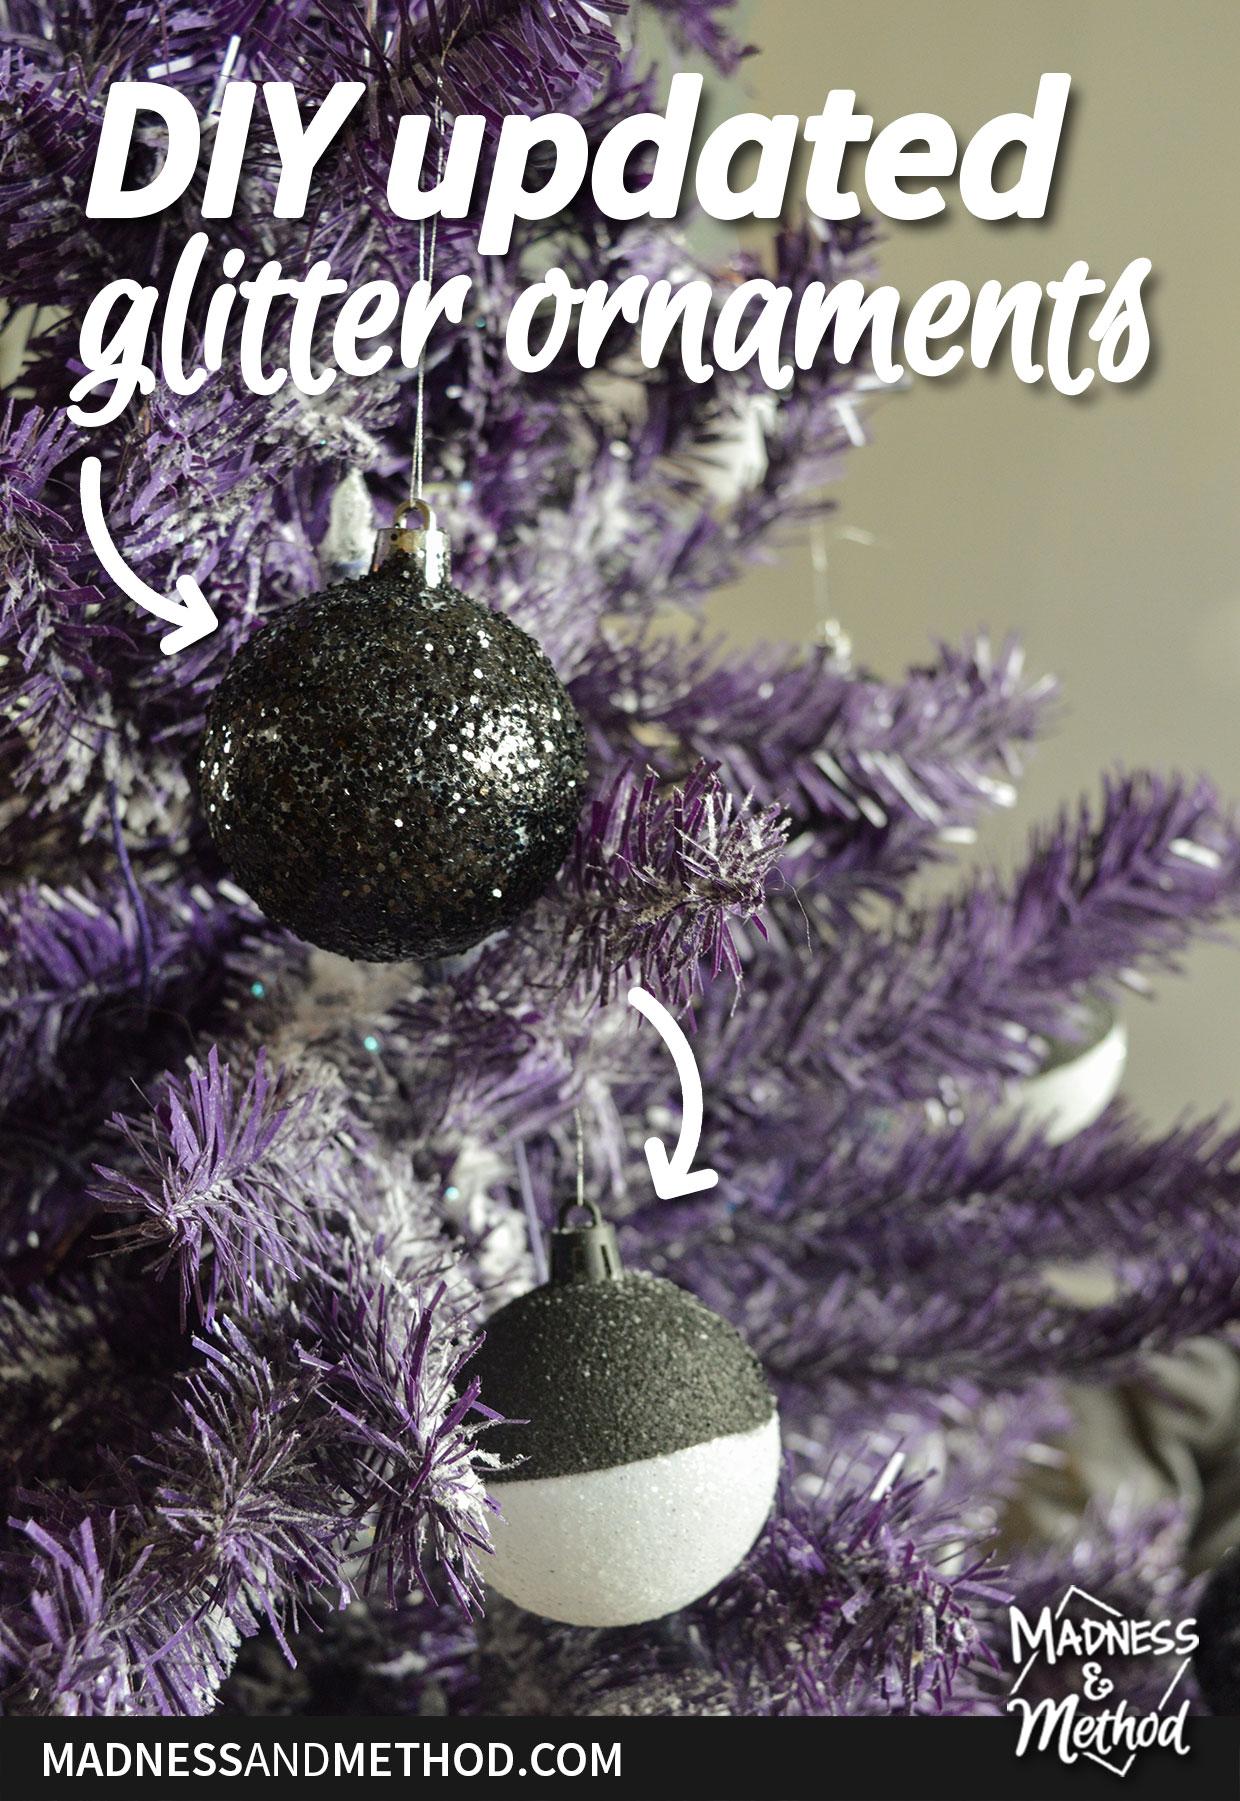
My 50-count ornaments included 20 plain white balls and 30 white glitter balls. I’m leaving 10 of each un-touched, and today I did two different DIY updated glitter ornaments.
Full Glitter Ornament Update
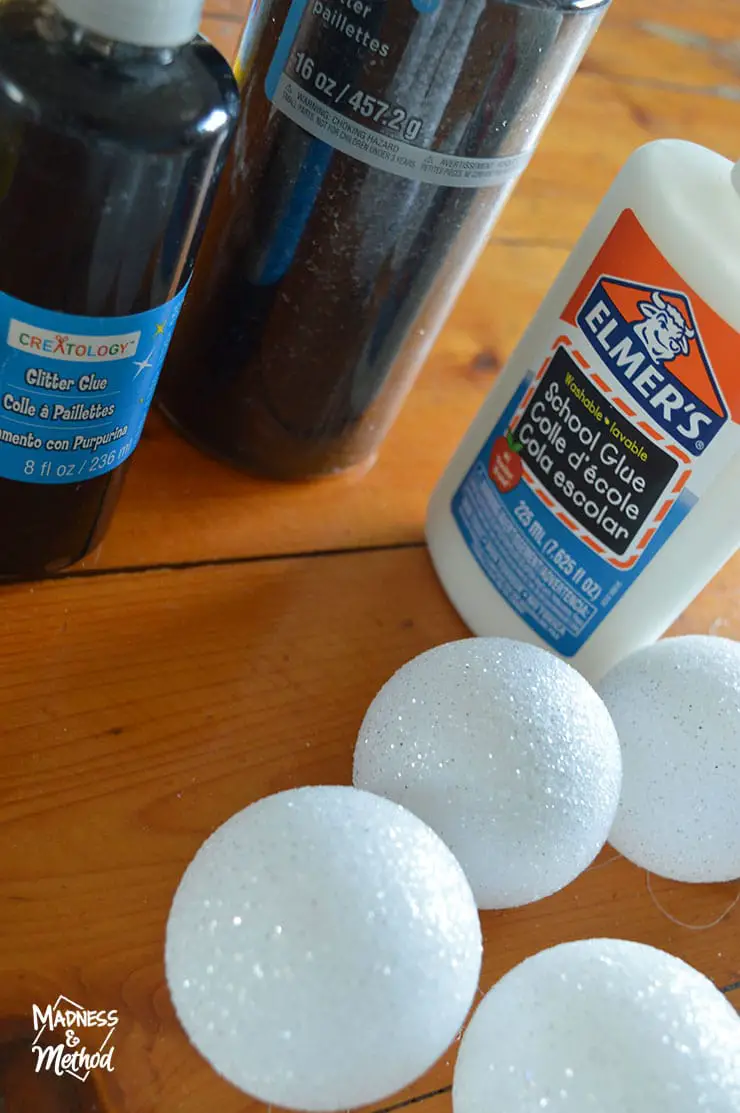
For the full glitter balls, I gathered 10 of the white balls and my supplies: white craft glue, black glitter and glitter glue. I wanted to see how the glitter glue fared compared to the messy glitter (spoiler: it wasn’t the same).
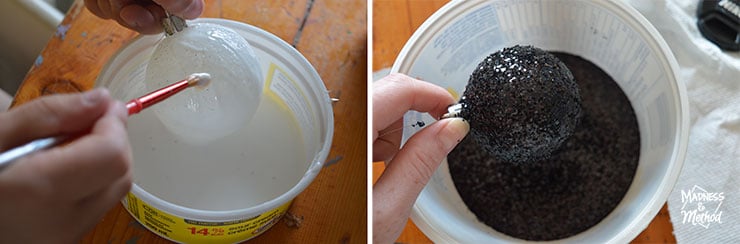
The kids helped me with these next steps (although it was messier with them involved, ha). Essentially, I mixed a 50/50 white glue and water ratio and dipped/painted the glue on the balls. (I probably could have done without the water, but it did make it a bit easier to brush on everywhere).
Holding the wet ball over another container, we sprinkled black glitter all over.
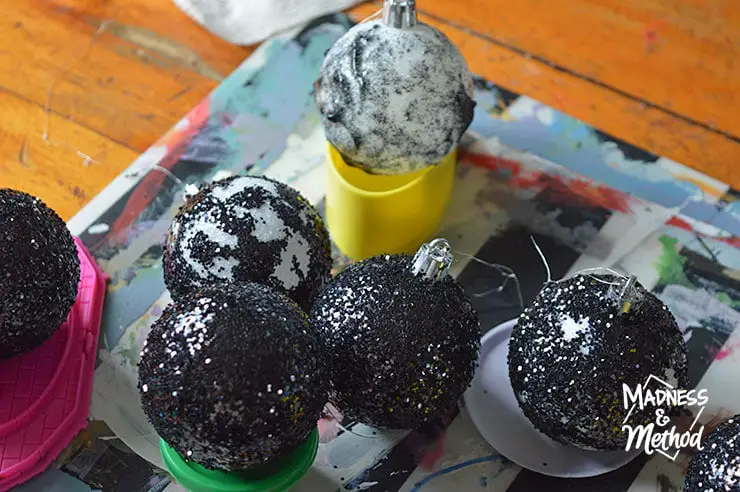
Then, we put the balls aside and waited for them to dry. You can see we had to touch up some spots again where there was no glue. (The one in the back was the glitter glue test piece – not as opaque).
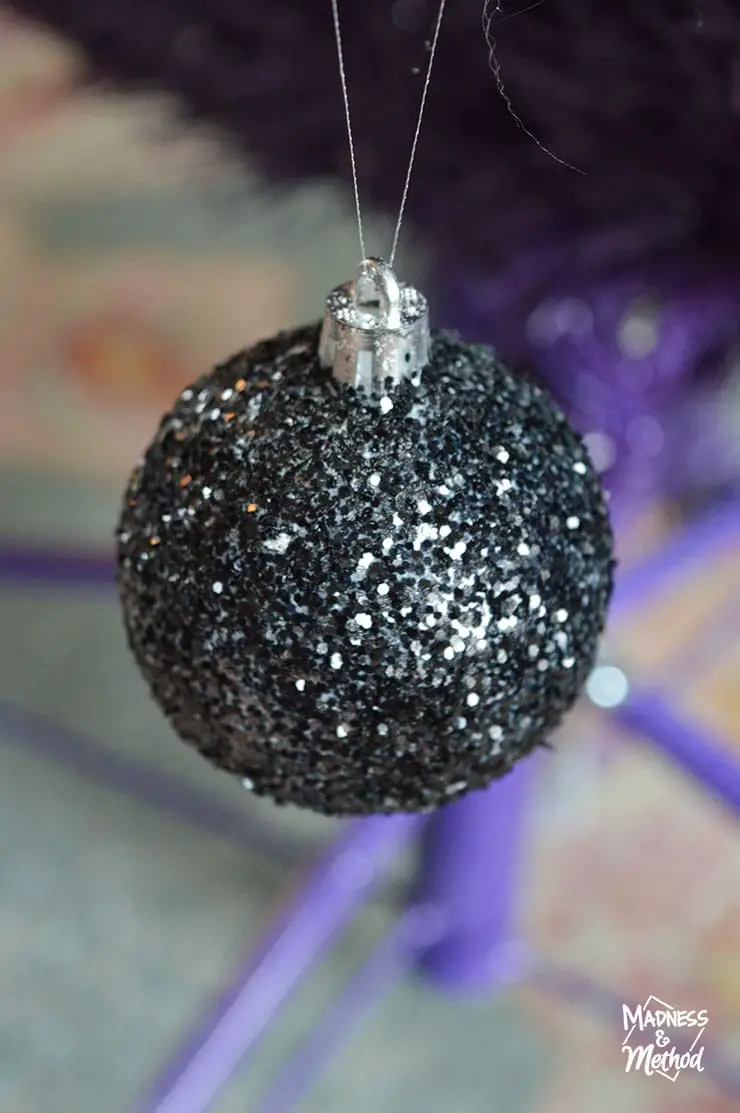
Once they were fully coated and dry, I taped them onto clothes hangers and gave them two coats of clear gloss spray paint. I found that one coat was not enough to contain the glitter mess. Additionally, you can paint on a coat of craft glue to seal them in really nicely. Although, the glitter may dampen a bit.
DIY Christmas Ornaments With Spray Paint
For the next set of 10 balls, I wanted something black AND white.
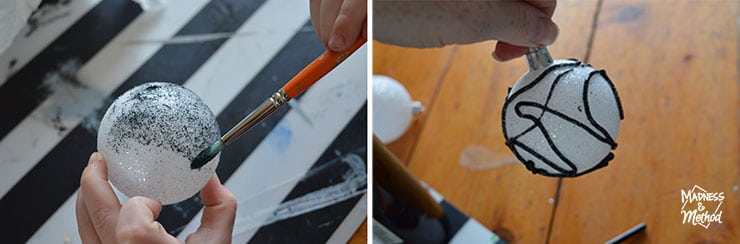
The photo above on the left shows what the painted-on glitter glue looked like. That could have been a possible style (if you’re going for that!). On the right, is a ball with glitter glue randomly squeezed everywhere. This was also a really cool look – but I’m not sure how it would have dried (ie: if the glue stayed bumped out, or flattened).
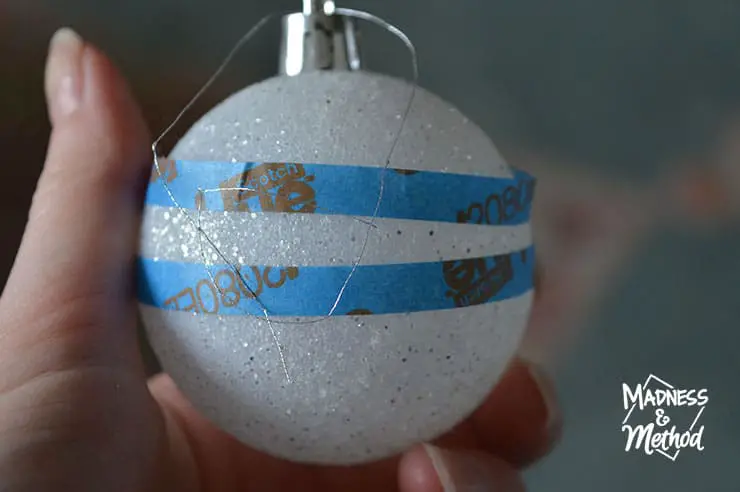
I really wanted to do black and white striped balls – but my thin tape was NOT sticking to the glitter balls. (Maybe the non-glitter kind would have worked?)
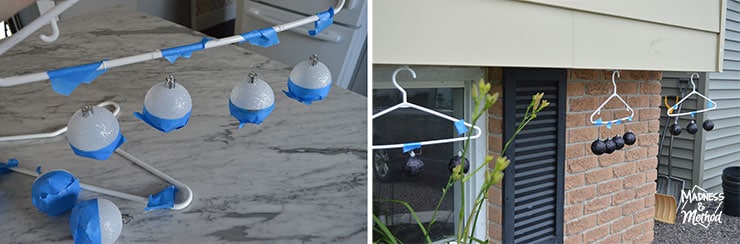
In the end, I just taped the bottom half of the ball ornaments and stuck them to clothes hangers. Then I took some black spray paint and gave them a nice coat. (I used our still-up Christmas light hooks to hang them outside, ha). Note that the balls on the right were the black glitter balls after their clear coat.
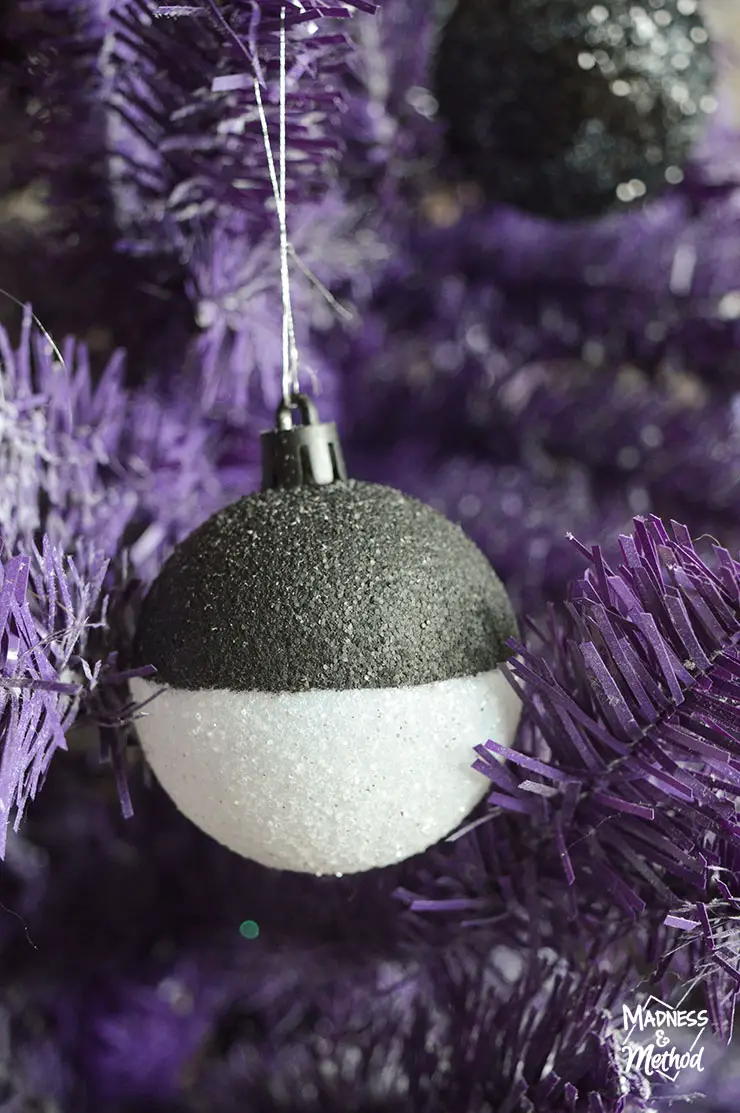
And there is the half-spray-painted Christmas ball ornament. I wasn’t sure if I would like the glitter painted, but it’s actually super cool. If you painted them with grey or beige paints, they’d look like stone!
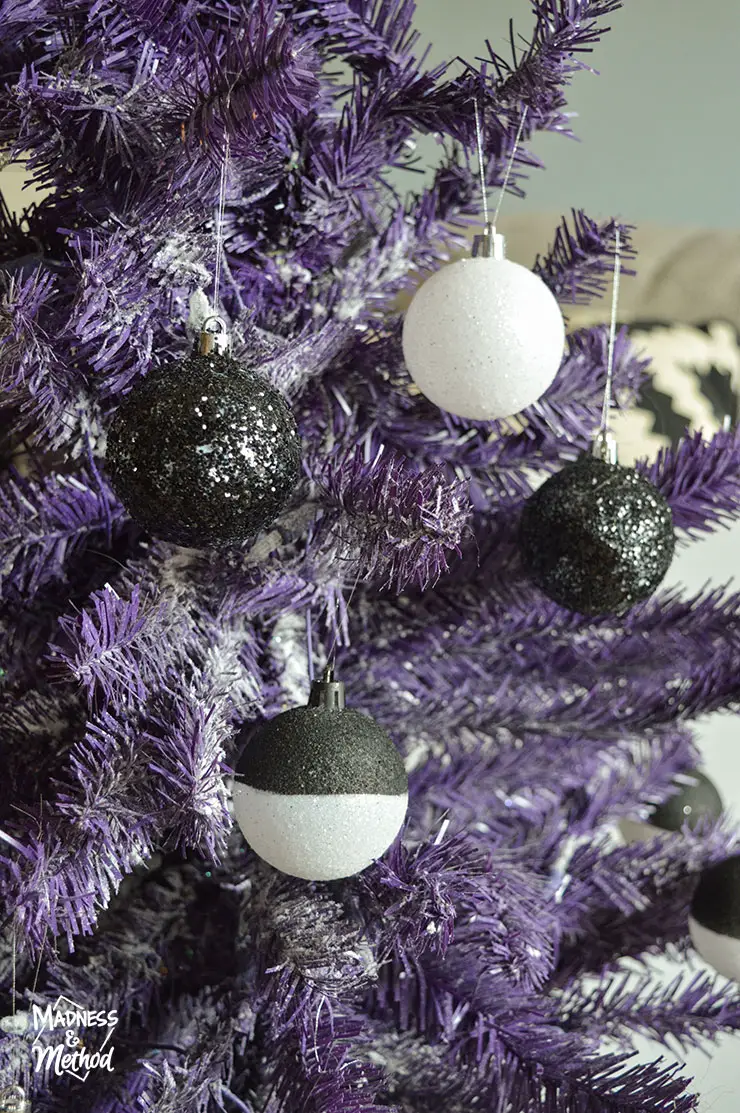
Once again, I took some white glitter Christmas balls and made my own DIY updates! Next week I’ll be sharing another tutorial for updated ornaments, so come check it out. (I also have to do said project… but I’m super excited about it!).
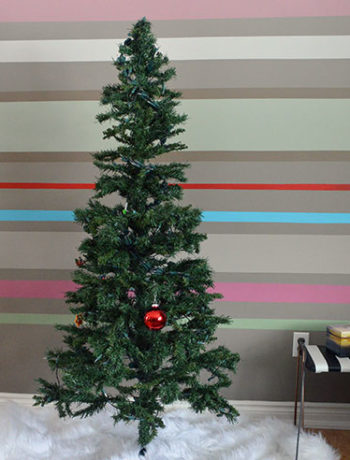
Hahaha, the kids were super confused about why I took out a part of the tree and started decorating it :)
But at least now I know that I should clear coat my recently flocked tree. There was a lot of flocking powder that fell, so hopefully, I will get to that project outside when it’s still warm. (But maybe in the garage so the neighbours don’t think I’m crazy, ha).
I hope you enjoyed these DIY updated glitter ornaments! While I used Christmas balls, you can certainly use any shape or ornament available. Heck, I’ve even glittered my wedding vases (and shoes!).
And, feel free to update the look how you want. How cool would it be if you dipped the bottom of the balls in the glue, then into the glitter!? It would kinda be a combo look between these two. Or, what about other colour combinations!?
The possibilities are endless!
Related Projects

No Comments