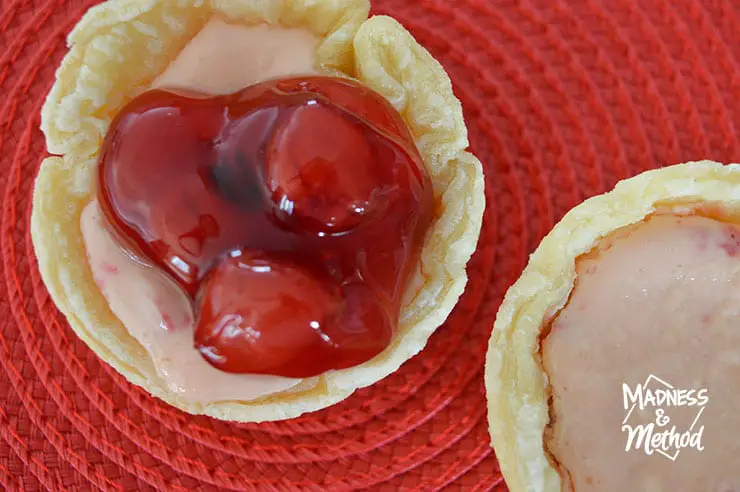
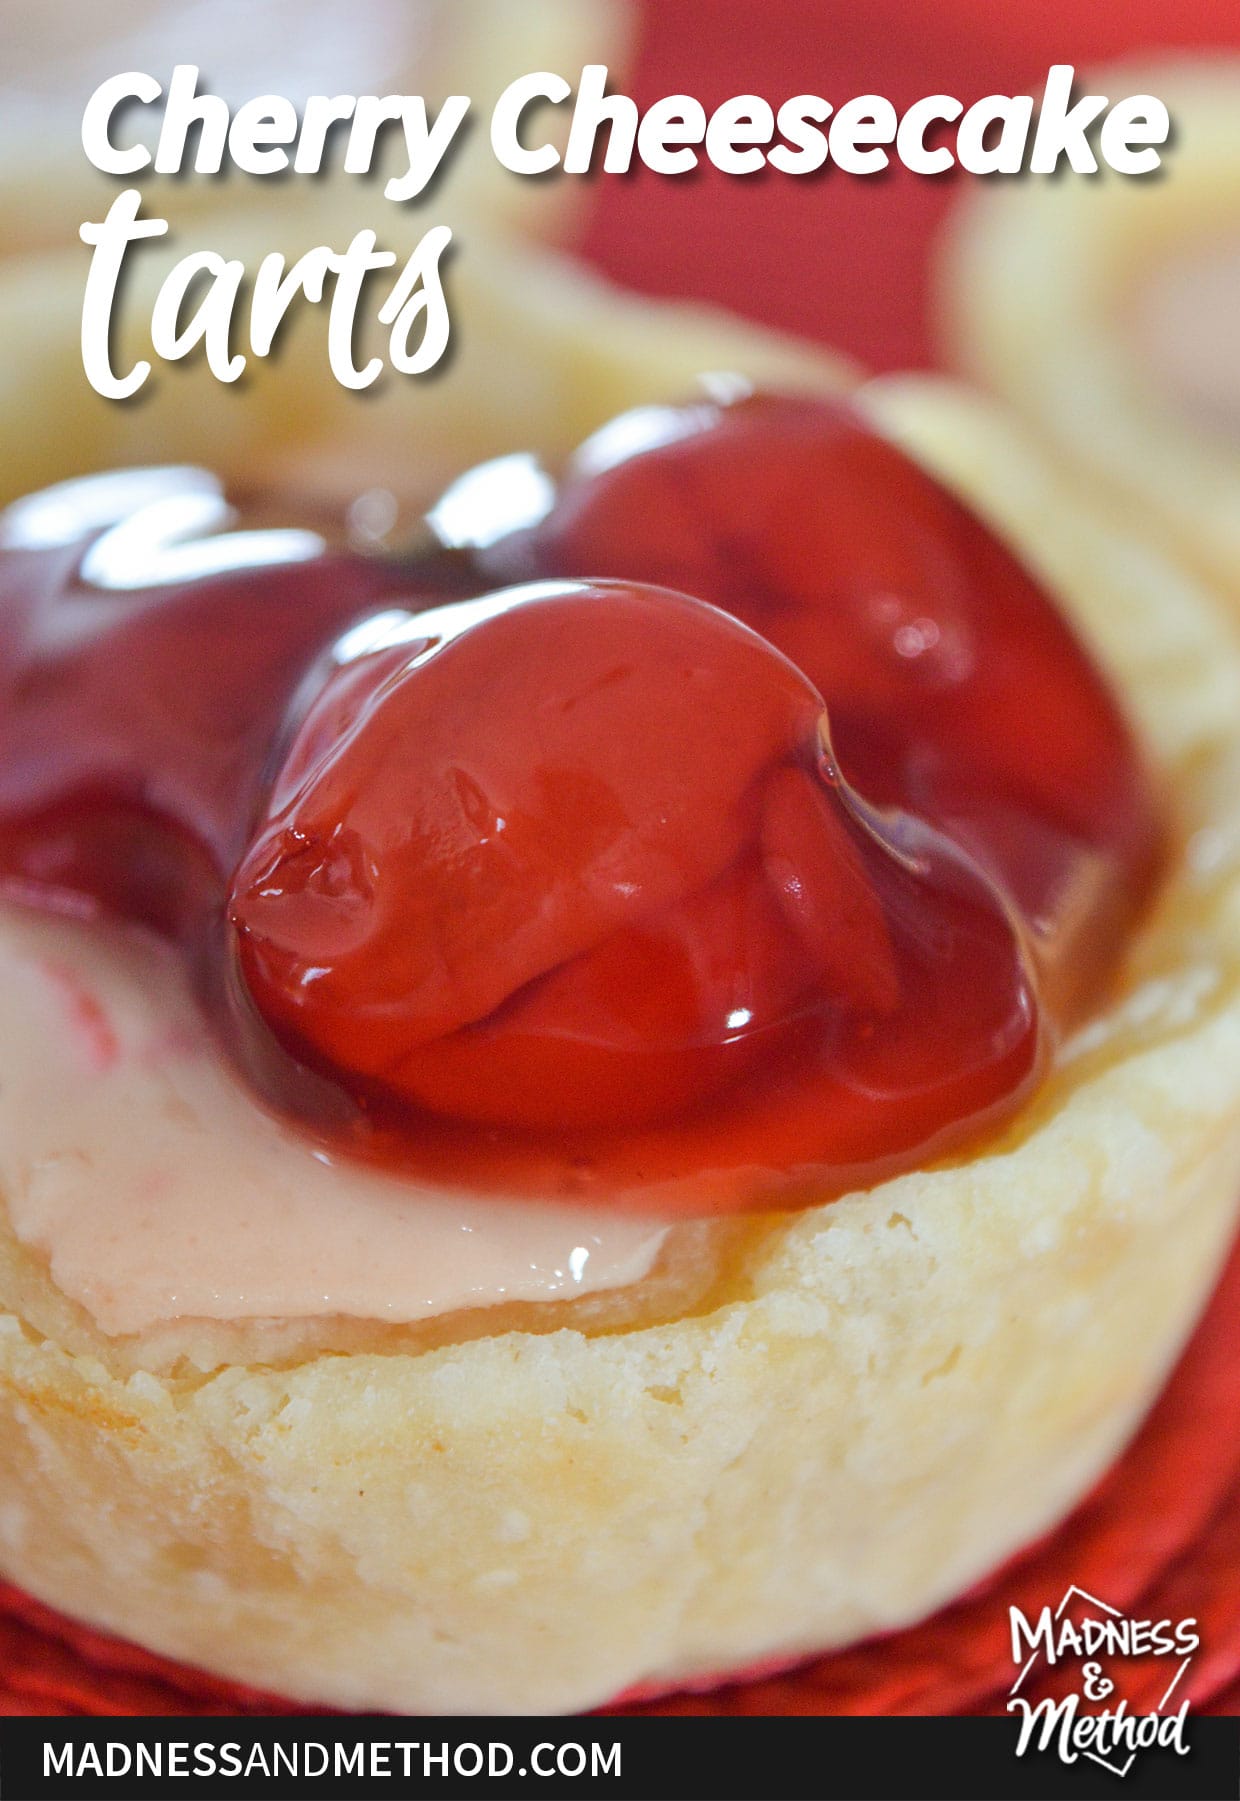
Looking for a fun little dessert that looks super fancy, but is easy to make!? These cherry cheesecake tarts taste really good, and you can add as much additional cherry pie filling as you want! Me, I like them as-is, but considering I made this dessert for the Husband, he was the real one to please. Read on for more details on how to make them… and find out what he thinks :)
I was originally looking to combine some of the Husband’s favourite desserts: cherry cheesecake and butter tarts. Kind of like a handheld mini cheesecake!
You know the saying: you are your own worst critic? Well, you’ve never had to deal with the Husband and his cherry cheesecake! If I don’t make it exactly like he’s used to, I never hear the end of it. And the way he likes it? With Eagle Brand condensed milk (I’m pretty sure just the recipe on the can actually).
Either way, I decided to be bold and make him a dessert inspired by his favourite… but these cherry cheesecake tarts are just a bit different so he wouldn’t be too upset about my creative freedom…
This post was originally written January 28, 2017. It has been refreshed with new information and tips, and republished February 4, 2022.
Yes, I really do add the cherry pie filling to the batter! You can leave the full sized cherries, or smash them up as much as you can/want with your mixer. It depends if you prefer the larger pieces or smaller ones.
Dough Notes
For my original batch, I made a dough using whole wheat flour. I had a lot of difficulty, most likely because of the thicker flour (and inexperience?). If you’re making these at home – please use your own recipe for dough OR buy the pre-made doughs to save a bit of time :)
I’ve since worked on my own pie dough recipe, but I had some butter tart dough in the freezer already so I used that this time.
I also did a few options using muffin liners instead of a dough/crust. They did come out a bit sticky if I pulled them off too early, but were more set after being in the fridge overnight. There was also a bit more sinking, but that could be a good thing if you want to add a lot of cherry pie filling afterwards.
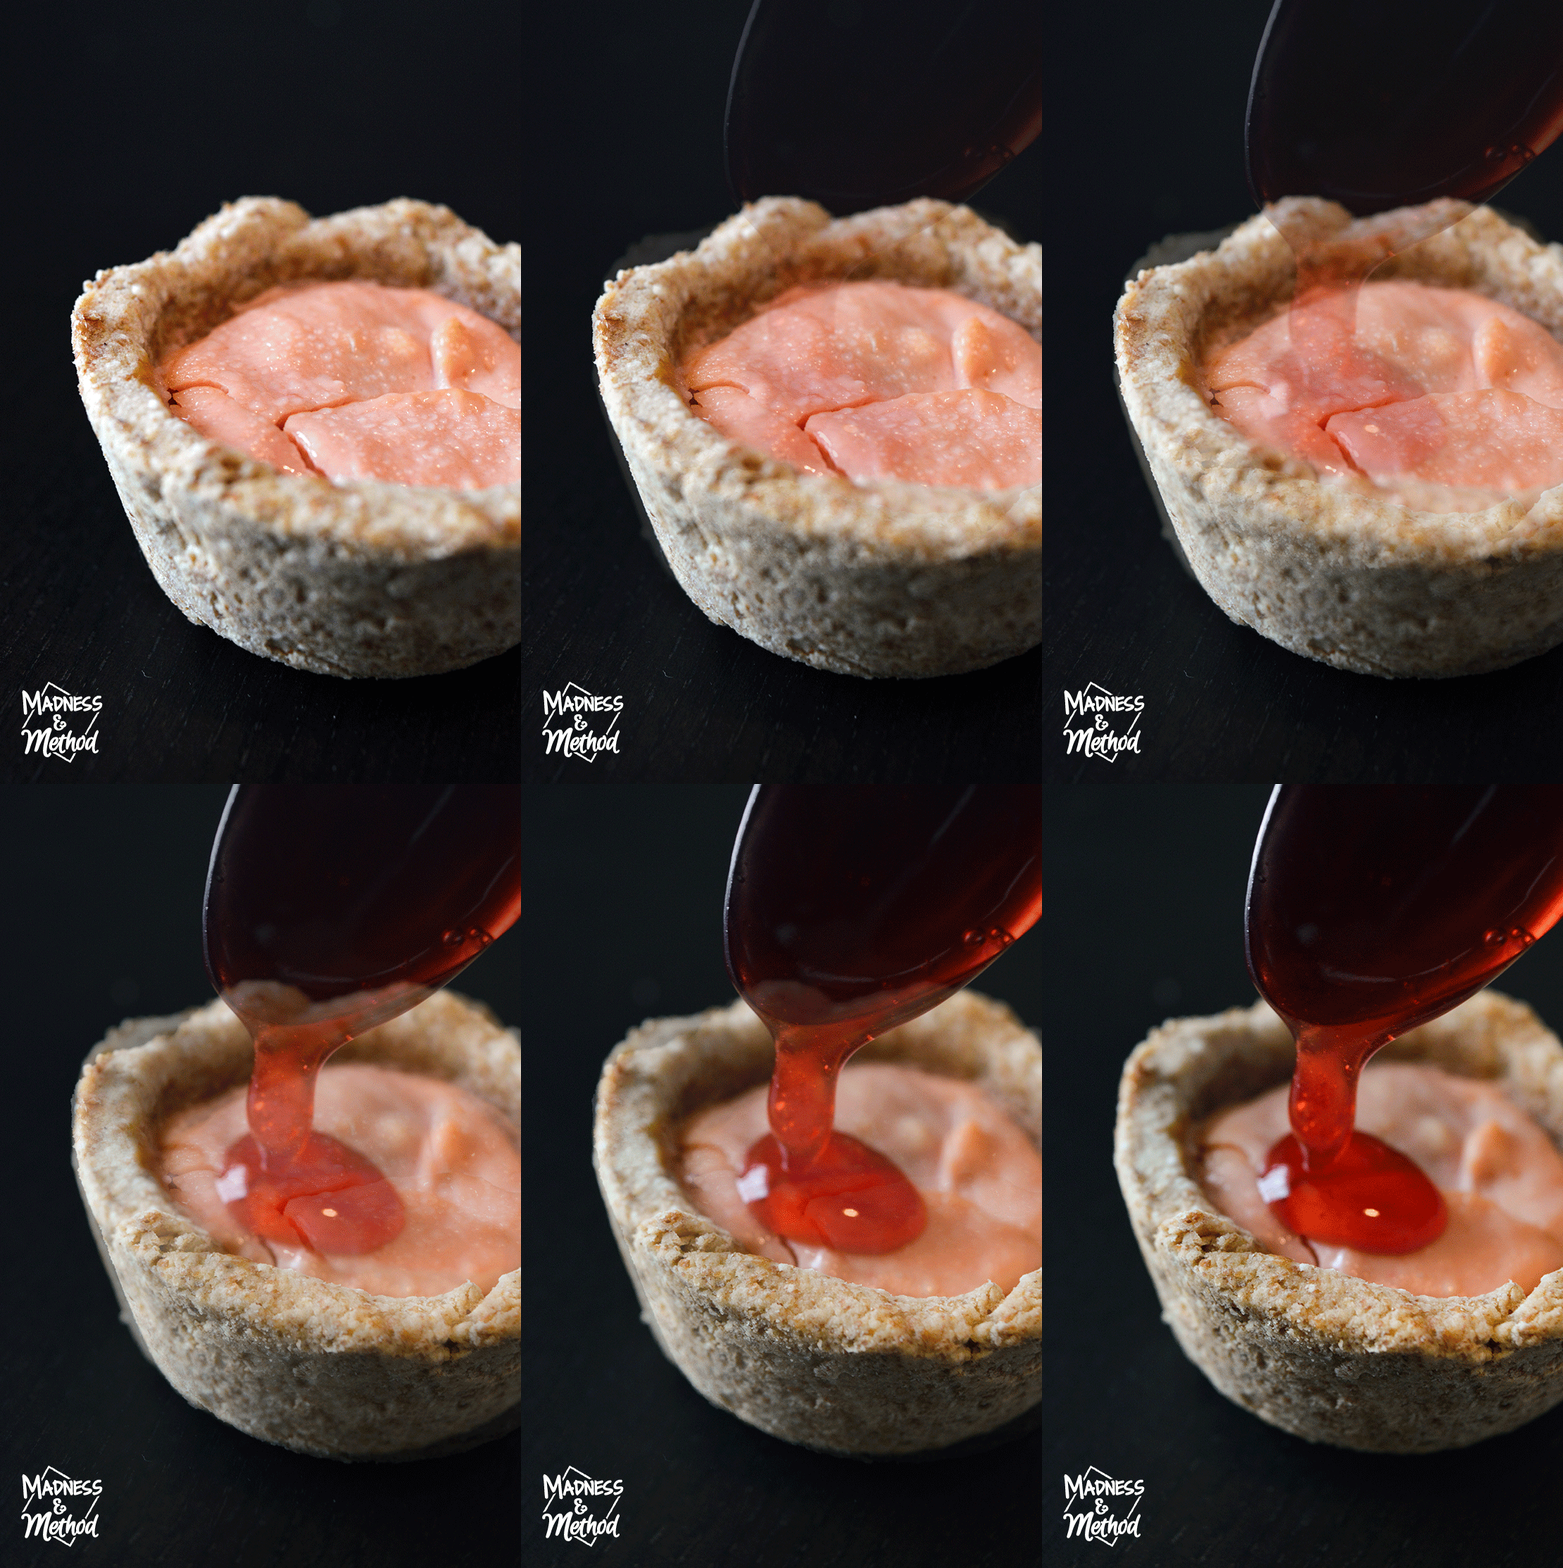
I tried to get some good shots of me pouring the cherry pie filling into the tart, but it was a bit difficult so I made this sort-of fake timelapse animation instead! Noticed the cracked cheesecake? I think I overbaked my first batch…
Prepping the Dough
Whether you’re using homemade or pre-made dough, you’ll want to roll it out to about 1/8-1/4″ thick. (The pre-made doughs are usually a good thickness). Use a 4″ round cookie cutter and put the small rounds into the muffin tins.
I also sprayed my tins with oil so that they wouldn’t stick, but I’m not sure if it was necessary.
Baking Cheecake Tarts
Put the cherry cheesecake tarts in the 350ºF pre-heated oven for 25 minutes. They’ll be ready if the tops look fully set, but have a little jiggle to them. If you’re unsure, you can stick in a thermometer to check(should be 150ºF).
My cheesecakes puffed up a lot at this point too! They looked like they were going to explode out of the tart shells, but went back down after a few minutes.
From there, you can let the cheesecakes cool in the pan. After they aren’t too warm to handle, transfer them to the refrigerator to chill for at least 2-3 hours.
Reminder: for the cheesecakes in the muffin liners, chilling overnight was best to reduce the mess/leftovers.
Cherry Cheesecake Tarts
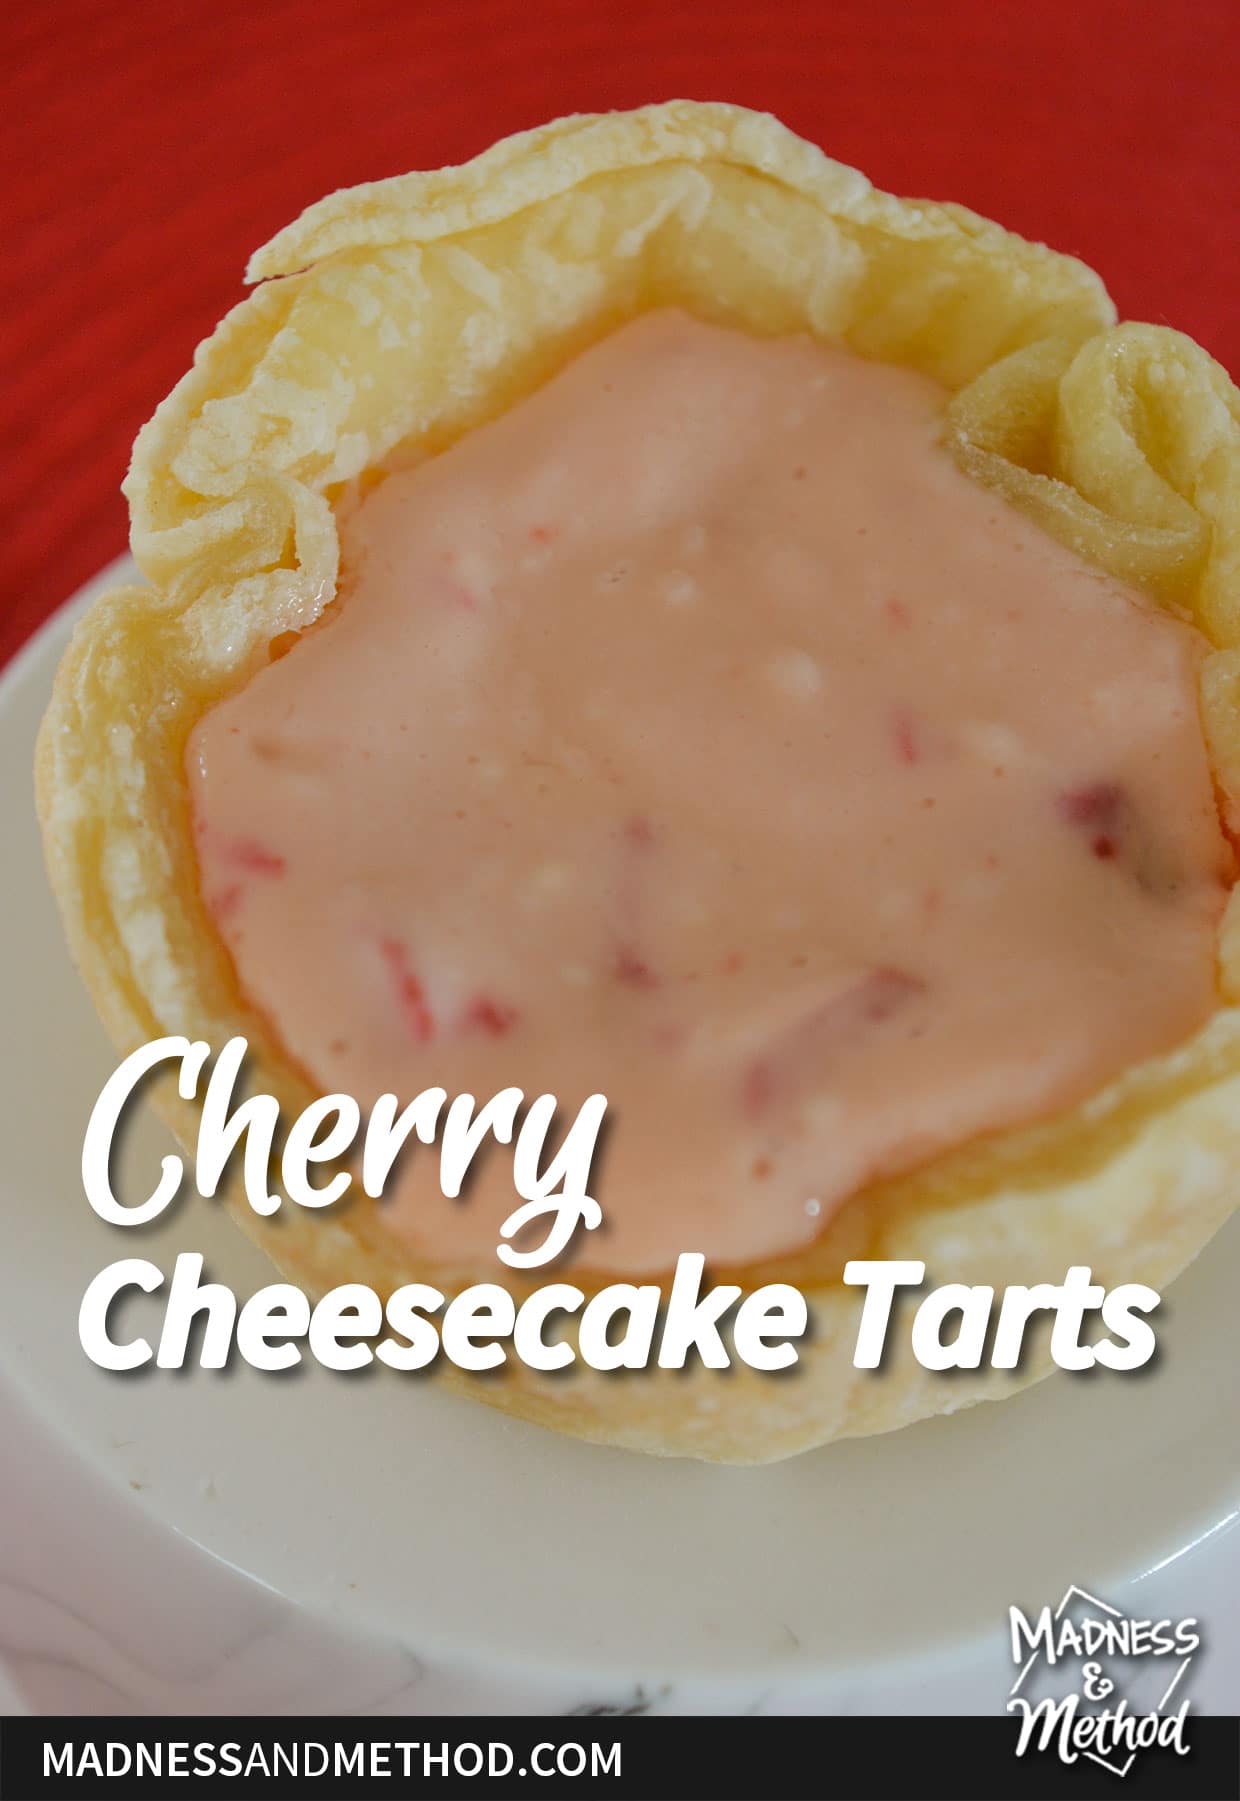
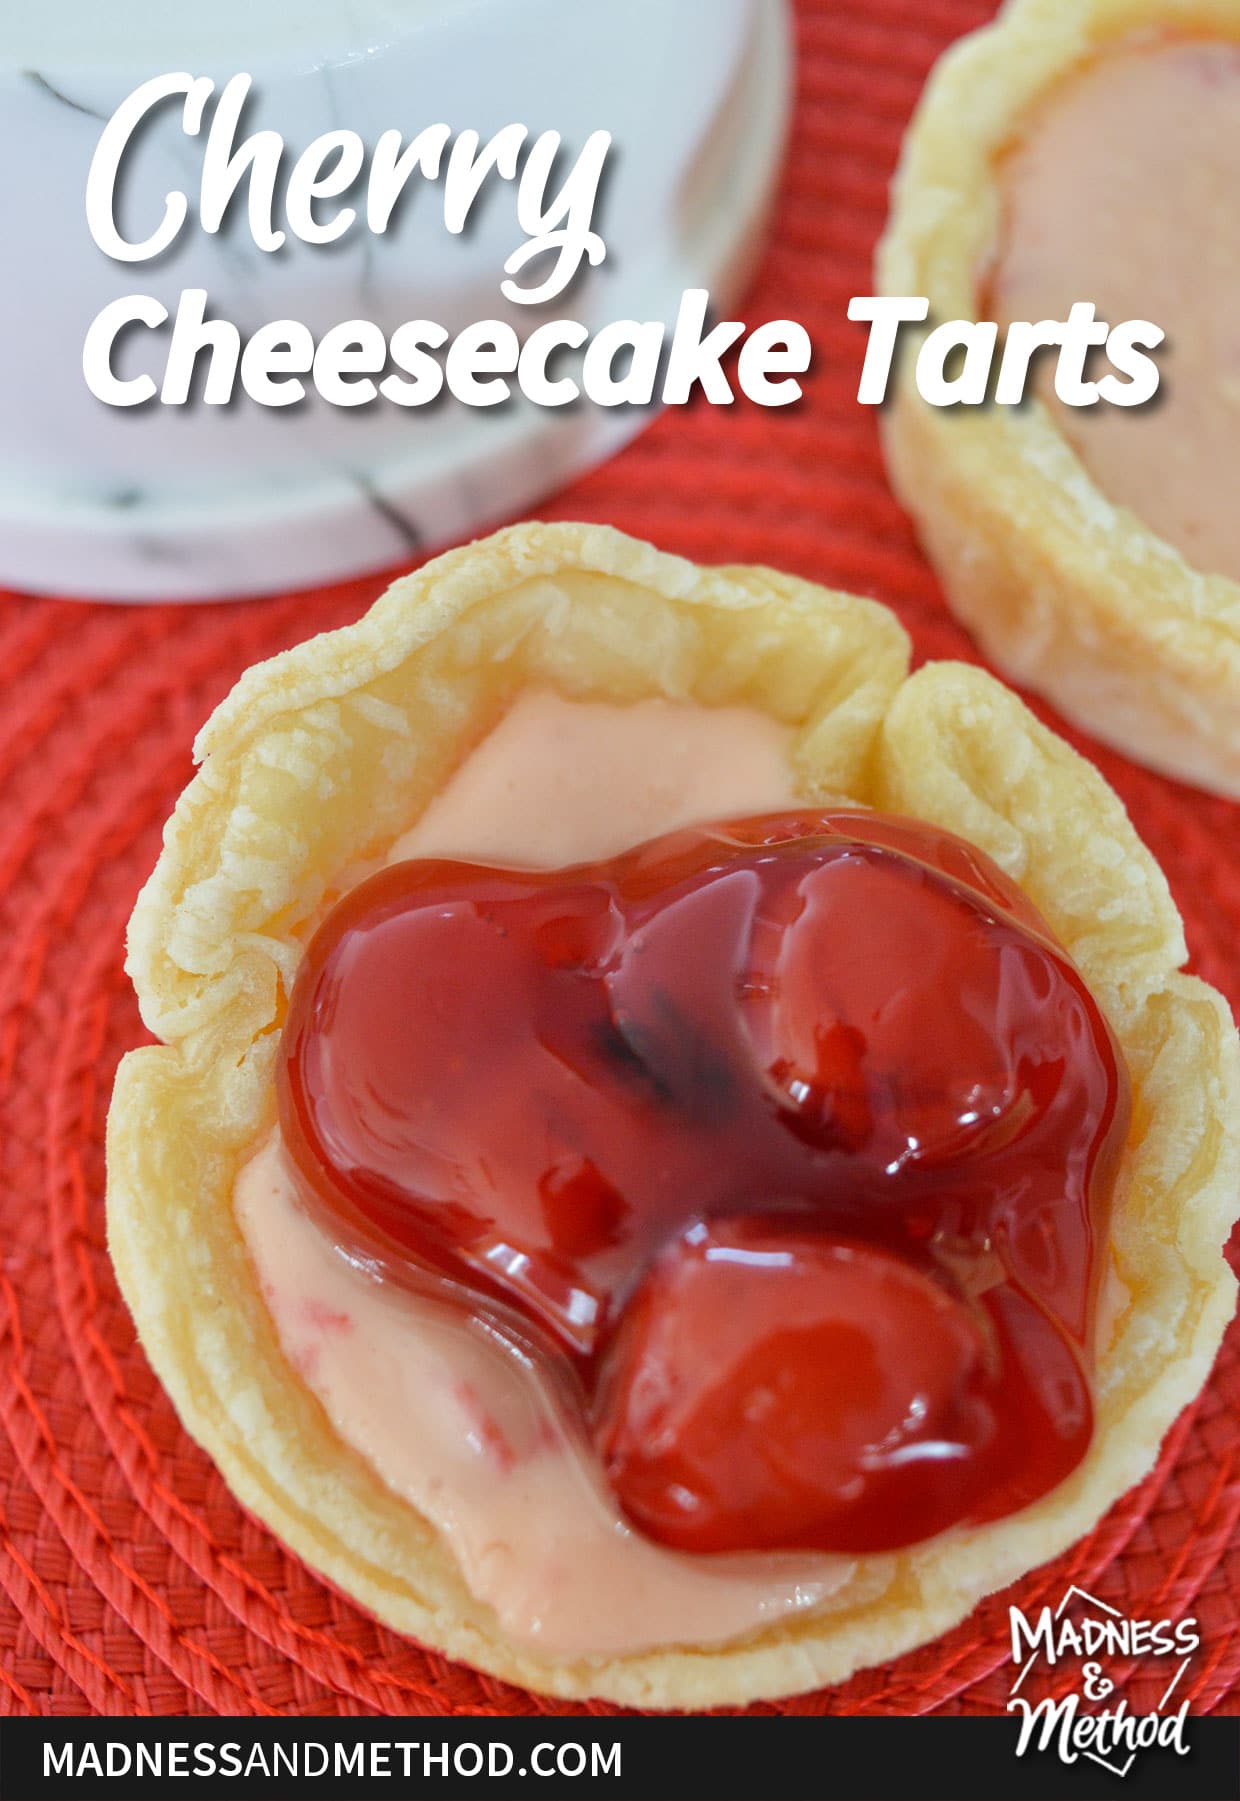
Delicious handheld cheesecakes with cherries inside (and on top!). These cherry cheesecake tarts are the perfect light and fresh dessert.
Ingredients
- Pie dough/pre-made crusts
- 2 packages (250g each) of softened cream cheese
- 2 eggs
- 1 tsp of vanilla extract
- 1 can of sweetened condensed milk, 300ml
- 1 can of cherry pie filling, 540ml (divided)
Instructions
Preheat oven to 350°
Prepare pie dough/crusts by lining each spot in a muffin pan with a 4" round
Beat cream cheese until soft and fluffy
Add eggs, vanilla and condensed milk - mix again
Pour half a can of cherry pie filling (about one cup) and mix again
Scoop cheesecake batter into prepared muffin pan crusts (I used an ice cream scoop, approx.
Bake for 25-30 minutes, until the cheesecake is set
Cool for a few minutes on the counter, then store/cool in the refrigerator
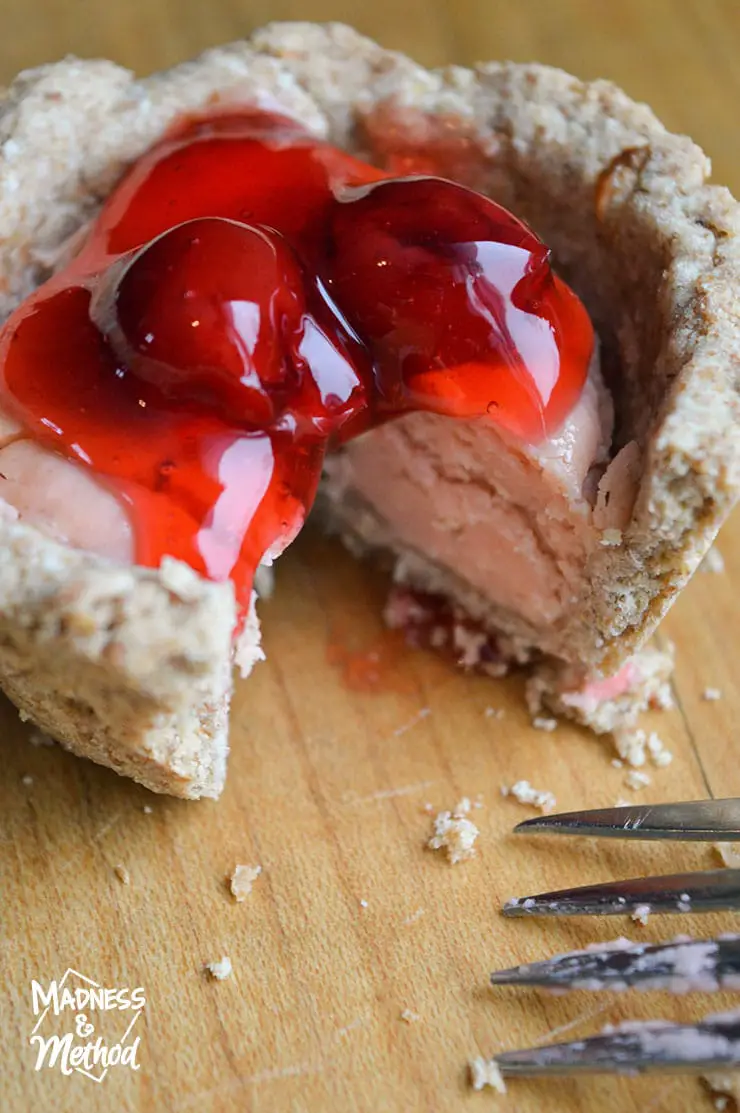
Optional: once chilled, add a spoonful of cherry pie filling and enjoy!
Notes
See blog post for pie crust details Recipe can be halved to make 12 cherry cheesecake tarts
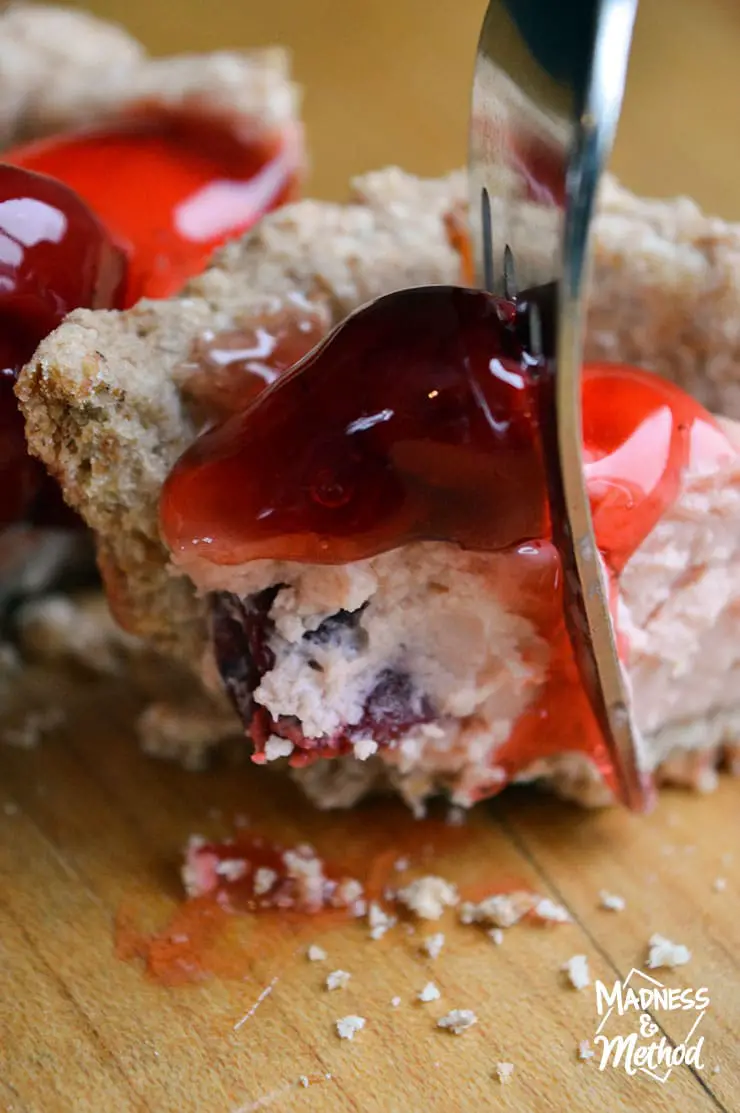
So what does the Husband think of these cherry cheesecake tarts? He loves them!
Again, I found that the cheesecake really expanded at the end, but once I removed them from the oven, they settled back down to a normal height. I like how they aren’t right at the top, so there is still room for extra pie filling, or even a dollop of whipped cream or two :)
This recipe could be adapted for other fruits too! Think: canned peaches, pineapples, oranges… (with most of the liquid removed of course).
Oh, and I already did a pumpkin pie cheesecake recipe… because that’s my favourite combo :)



2 Comments
Louise aka Mommy
January 28, 2017 at 3:22 pmPie dough has shortening usually so it doesn’t get hard when chilled. Meme’s recipe has shortening and butter and is truly no fail. If you wanted something more cookie like you could try the sugar cookie recipe and maybe pre cook the crust
Nicole
February 1, 2017 at 2:01 pmI did find some recipes with shortening, I guess I could have used margarine too…