
The day is here, the time is now! I can finally share all the great photos from our DIY kitchen renovation. In reality, there are so many pictures to go through, I could have separated this post into a few different ones, but oh well! Prepare yourselves for some eye candy :) (At least I think so!)
Okay, but first a little recap of what the kitchen looked like before shall we? Here is how the West wall used to be:
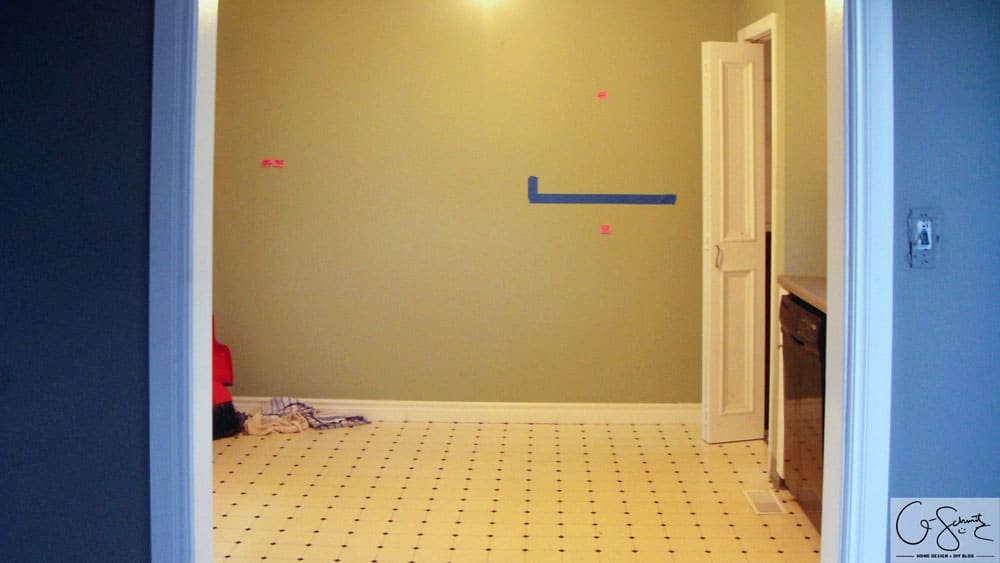
Photo First Appeared in Deciding to Renovate the Kitchen…
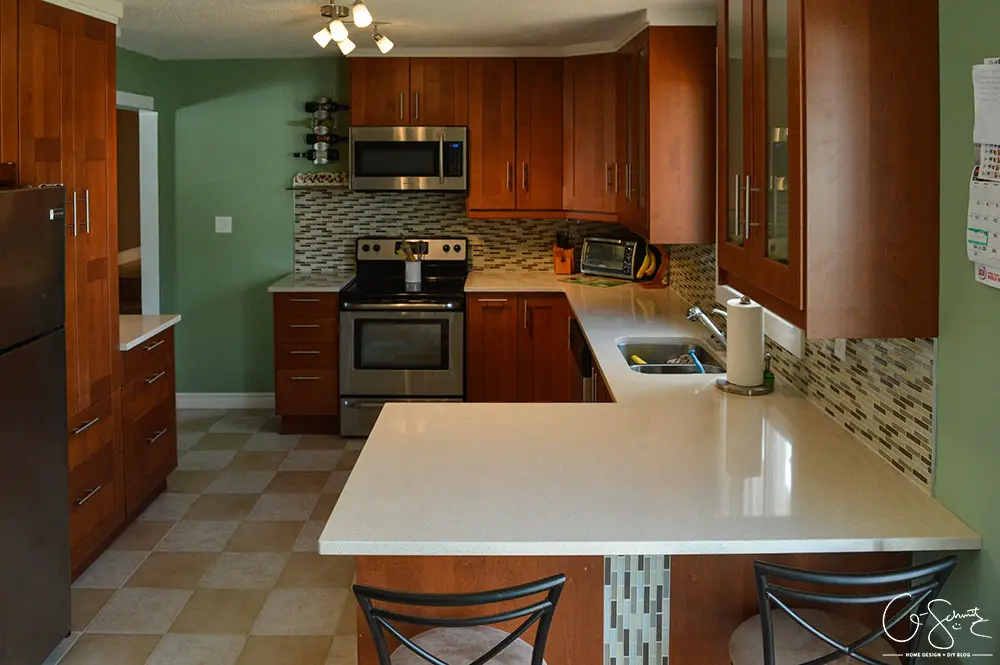
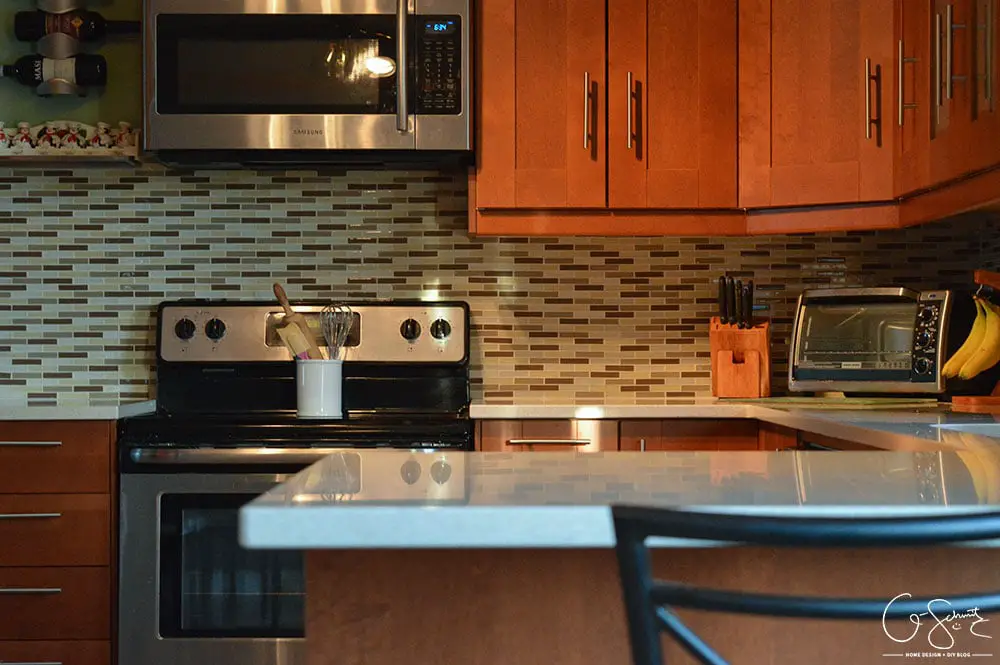
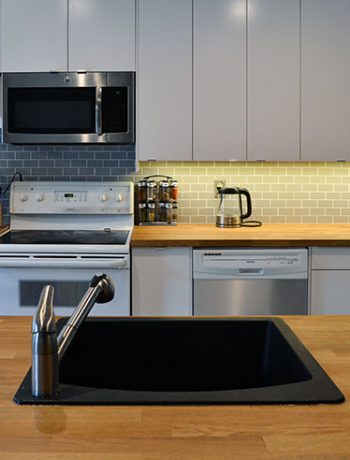
And here it is today!


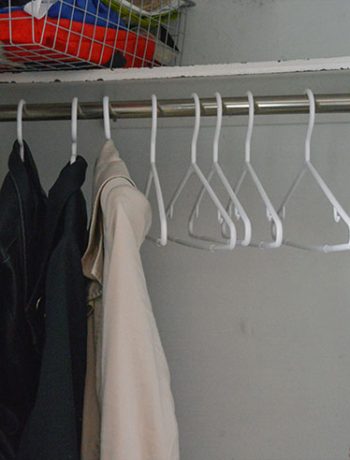
Remember the North-West corner where the pantry was?
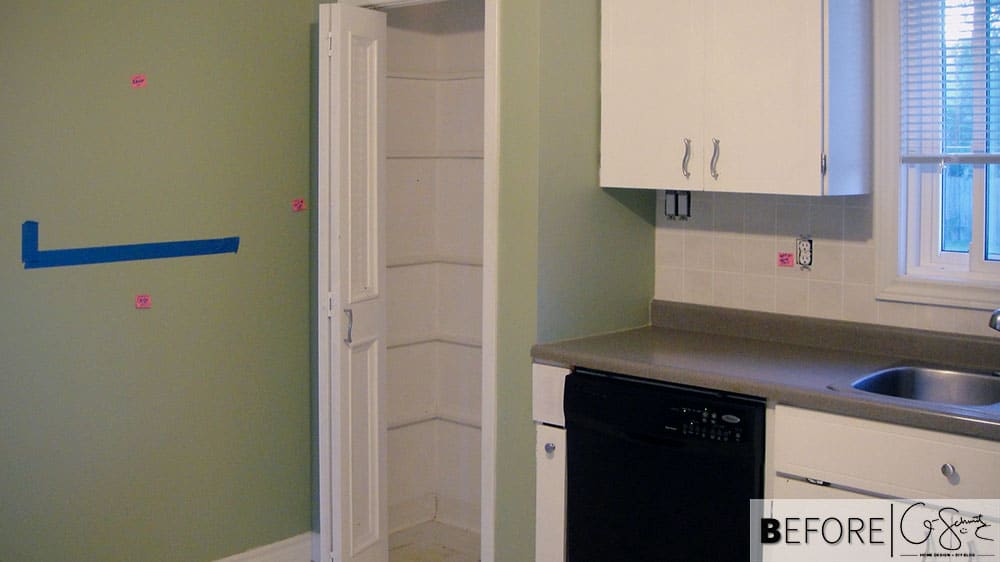
Photo First Appeared in Kitchen Demolition
Here’s that same section, with a little animation showing the main light on and off (and Tootsie just watching her crazy Momma take pictures).
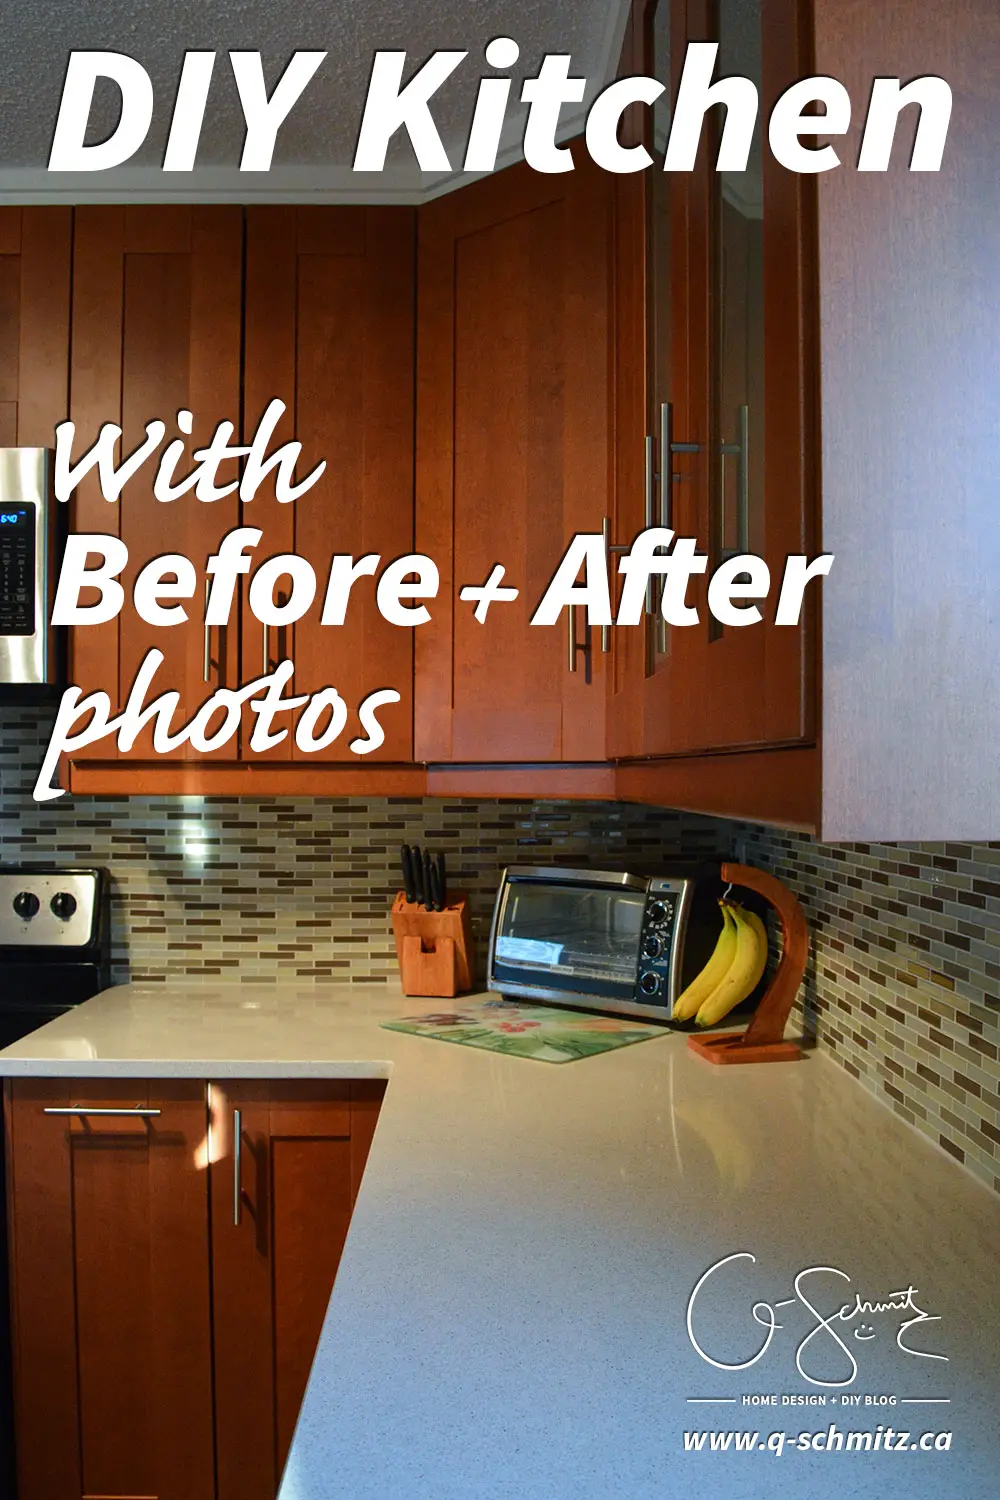
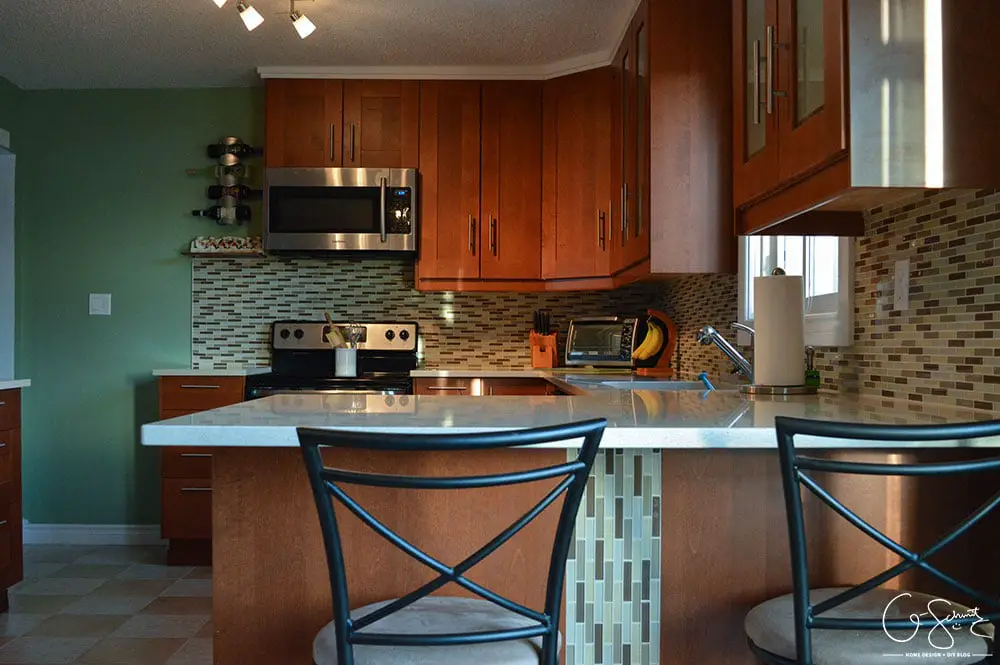
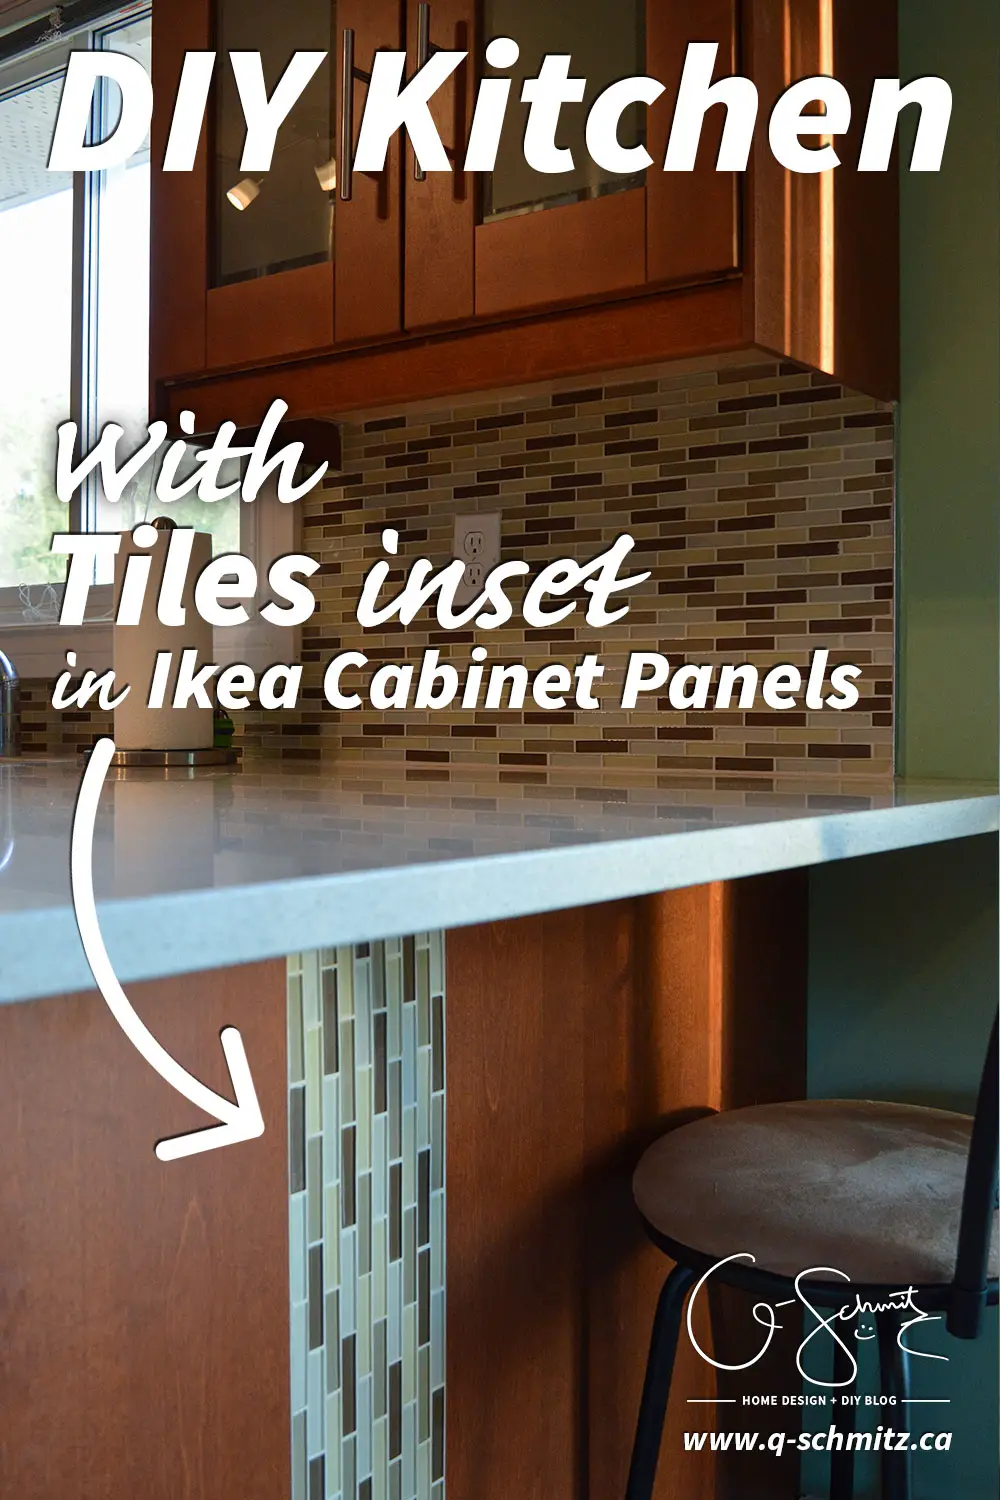
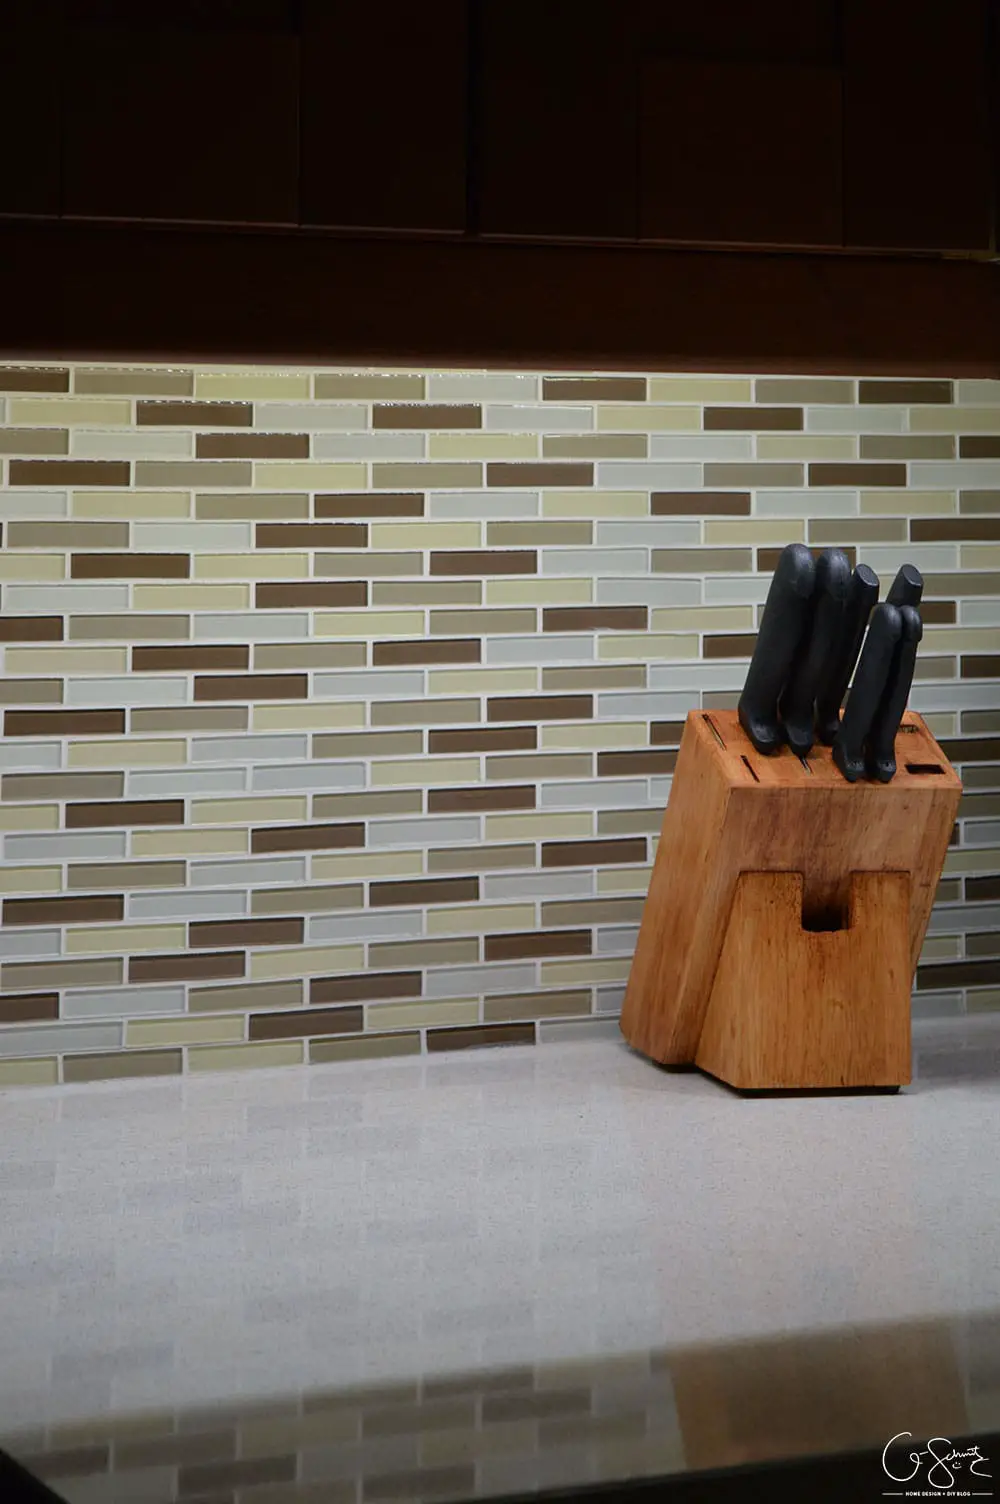
From there, we move on to a great feature I added – inset tiles in our peninsula.
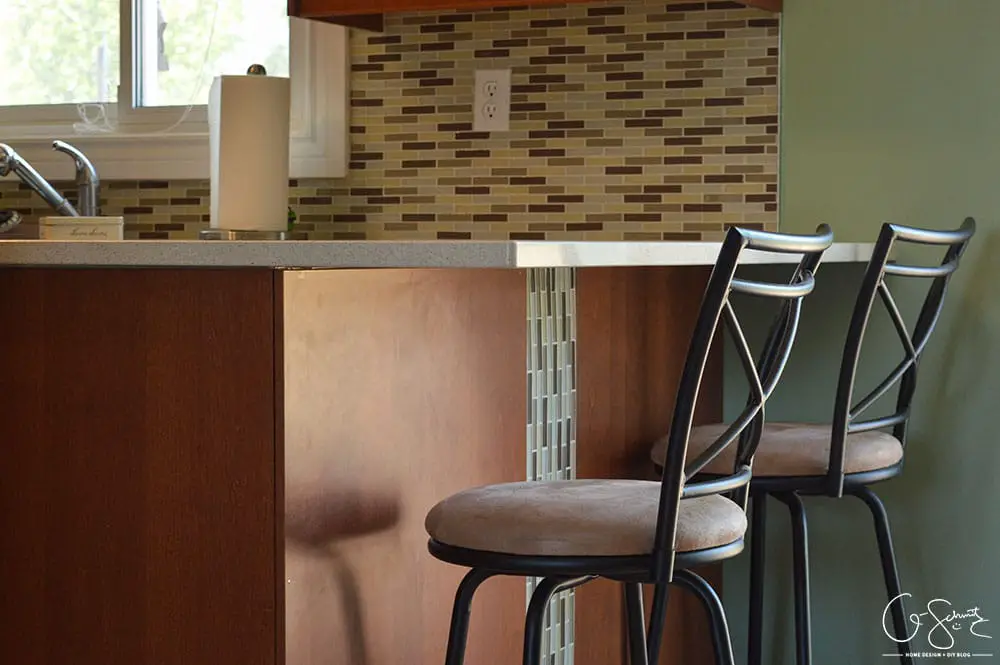

We installed the Ikea panels on the back of the peninsula, but unfortunately they only come in one size. Two panels weren’t enough to cover the entire back section here, and I didn’t want to cut a third panel and try and fit it in (which would have looked weird, I think). My solution was to run our backsplash tiles down vertically, which would create a nice focal point. We did have to buy a small piece of wood/board to beef up the back a bit. This ensured that the tiles would be the same level as the panels, and I think it turned out great!
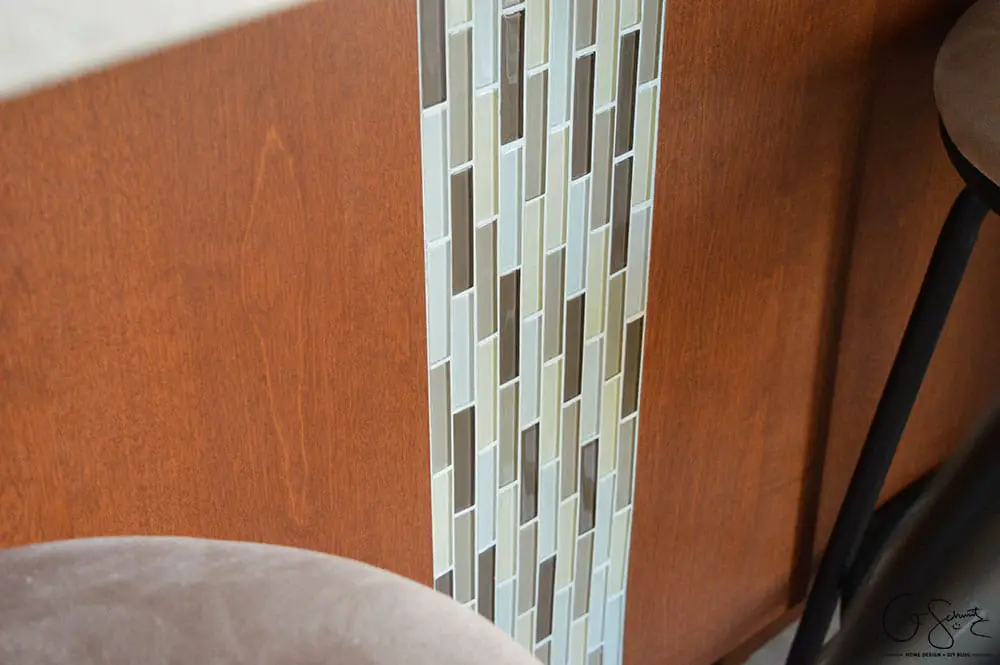
This little tiled section is visible from our dining and living rooms.
Remember what that area used to look like during the renovations? (Before the remodel, just imagine a wall with an opening!)

Photo First Appeared in Installing Ikea Base Cabinets
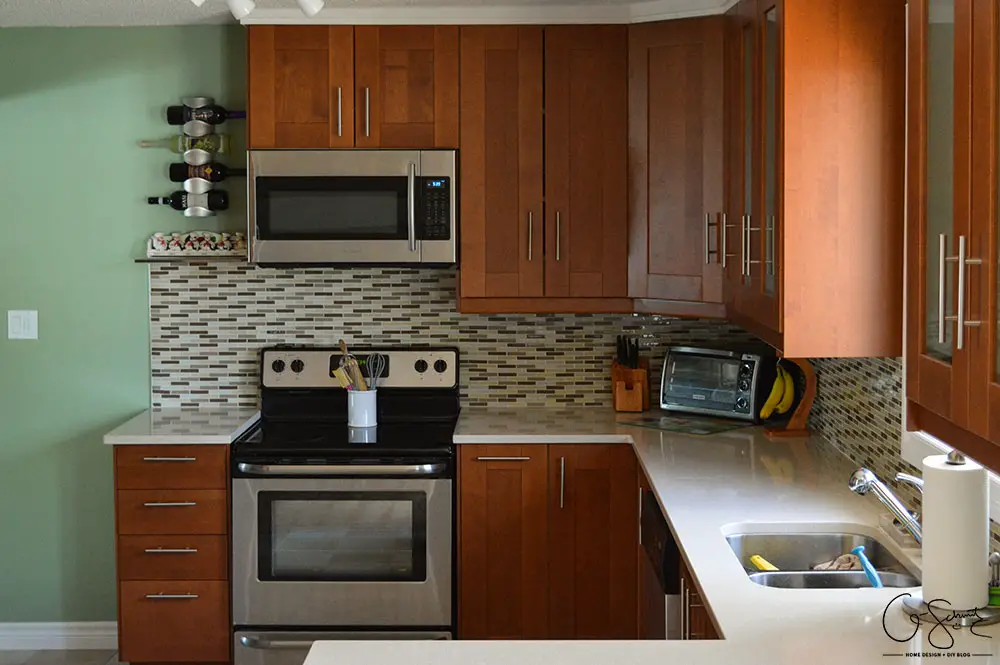
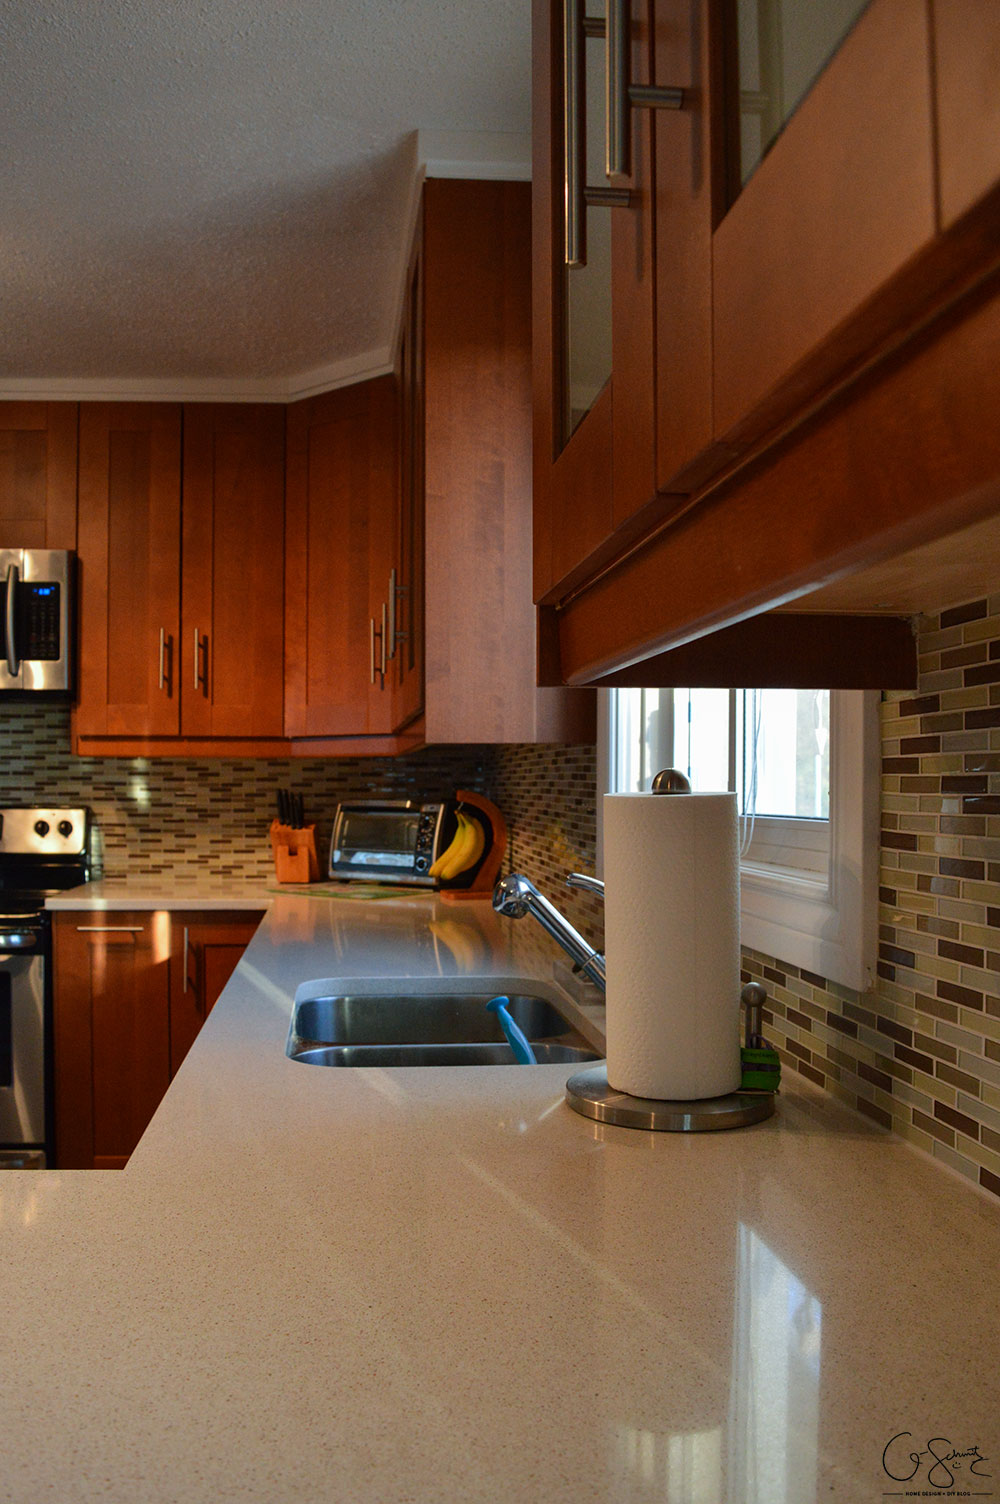
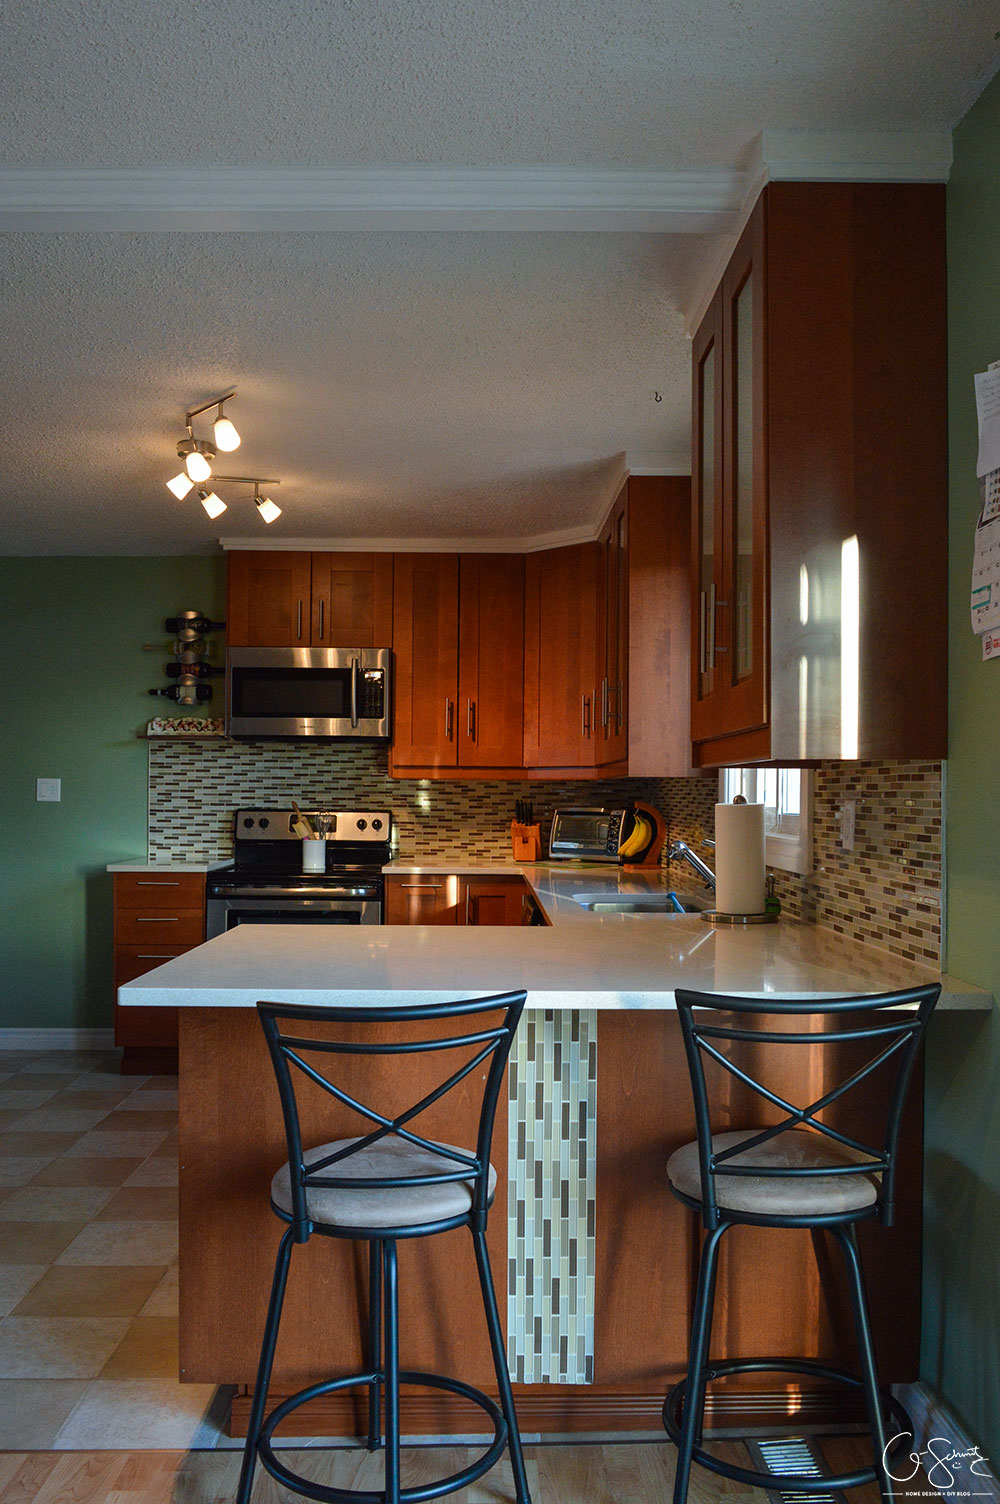
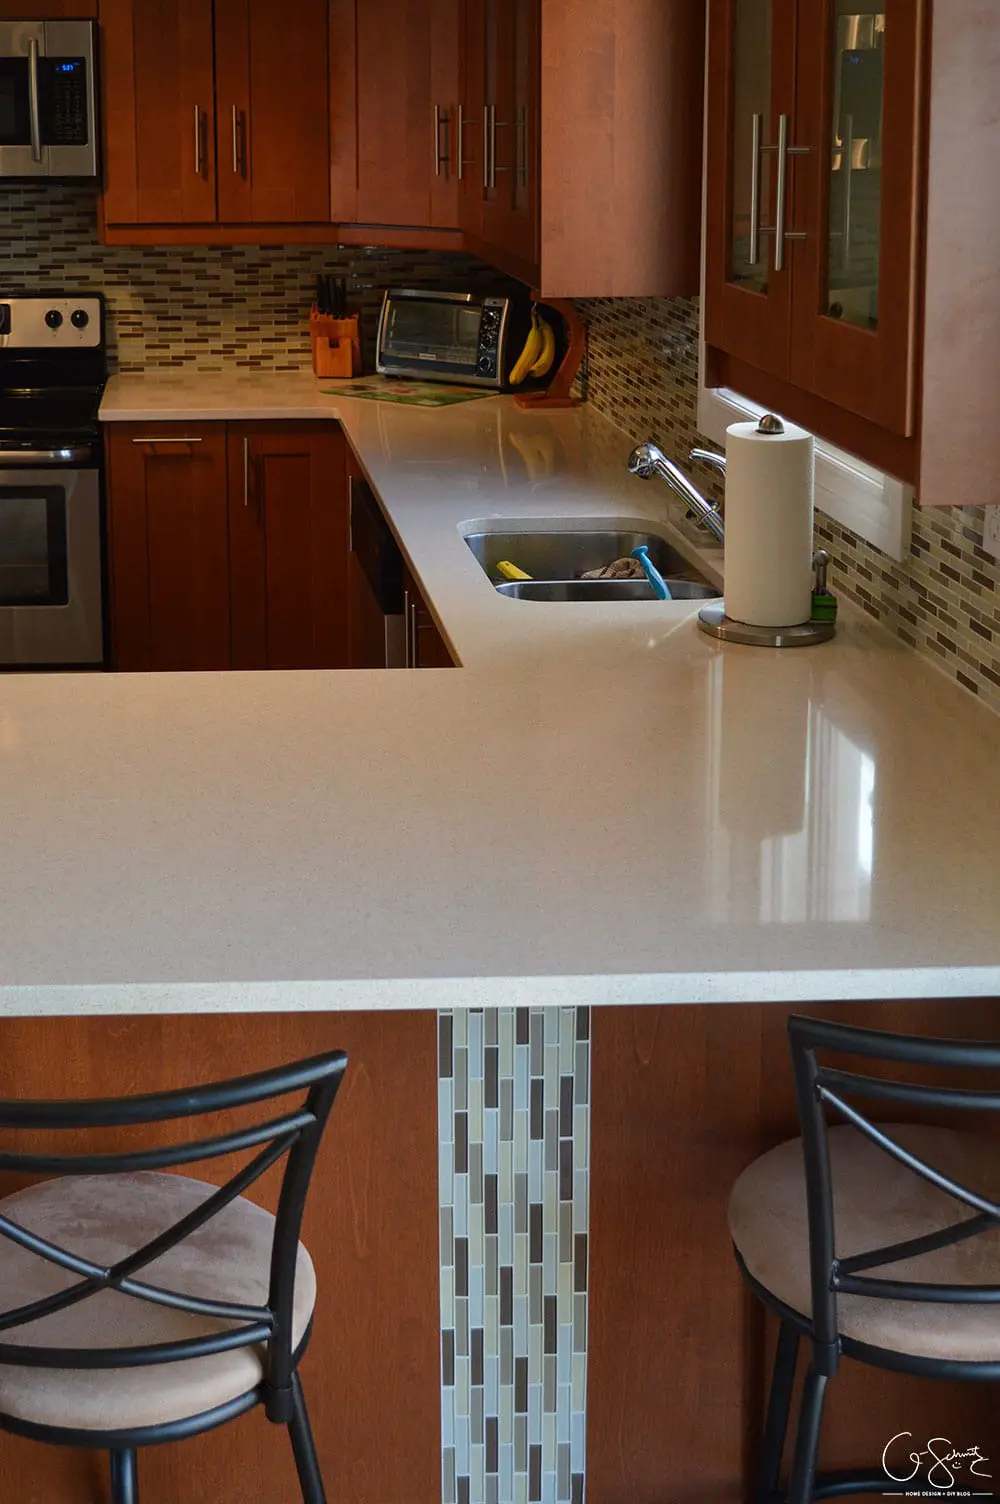
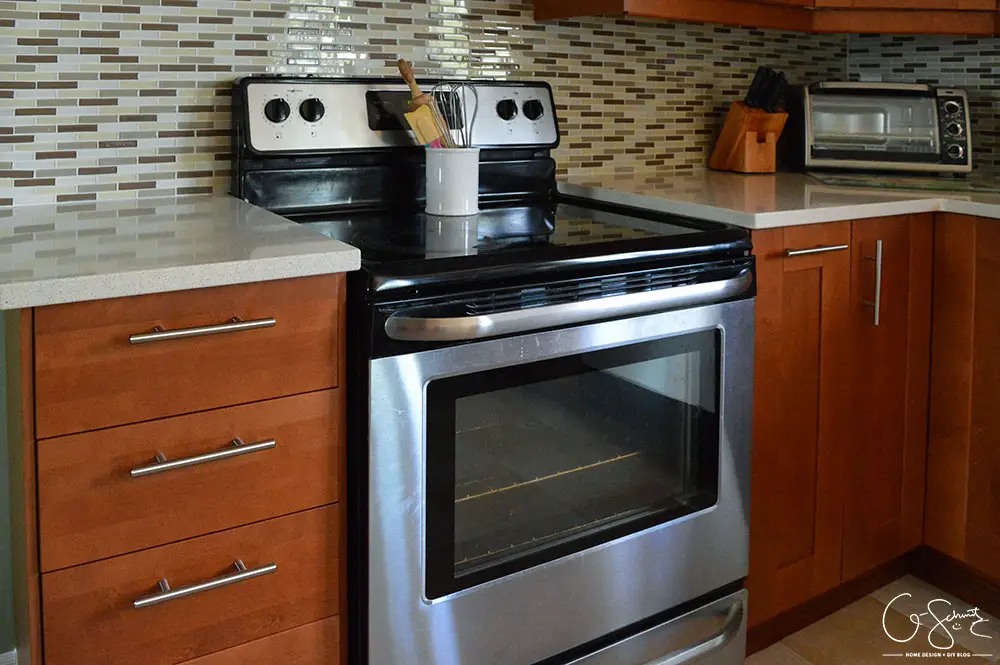
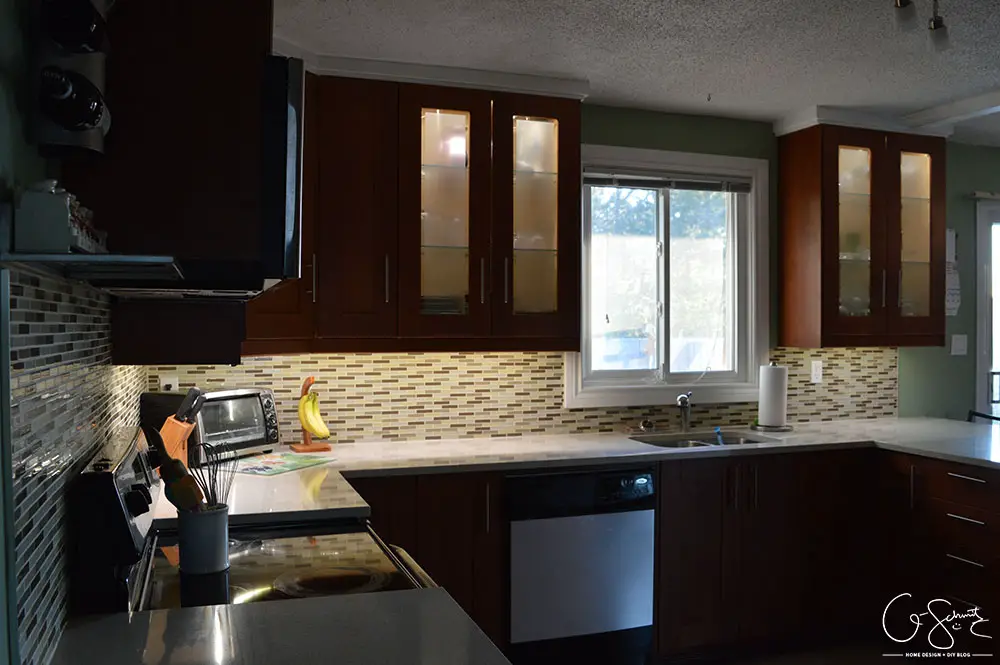
This view is from the corner of the living room, looking north to the wall with the sink. Here is what it looks like close-up:
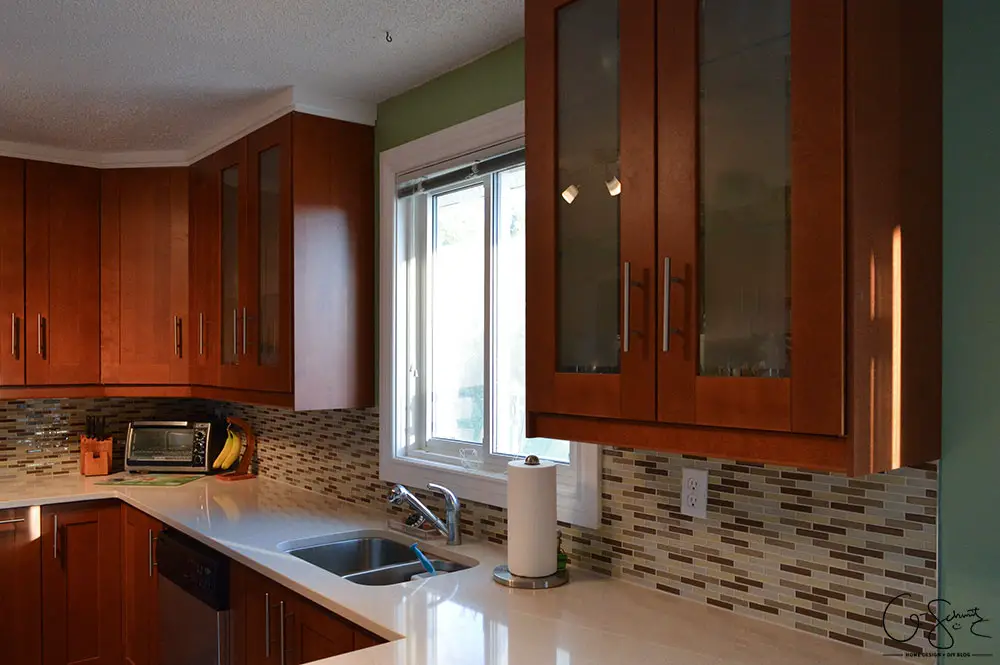
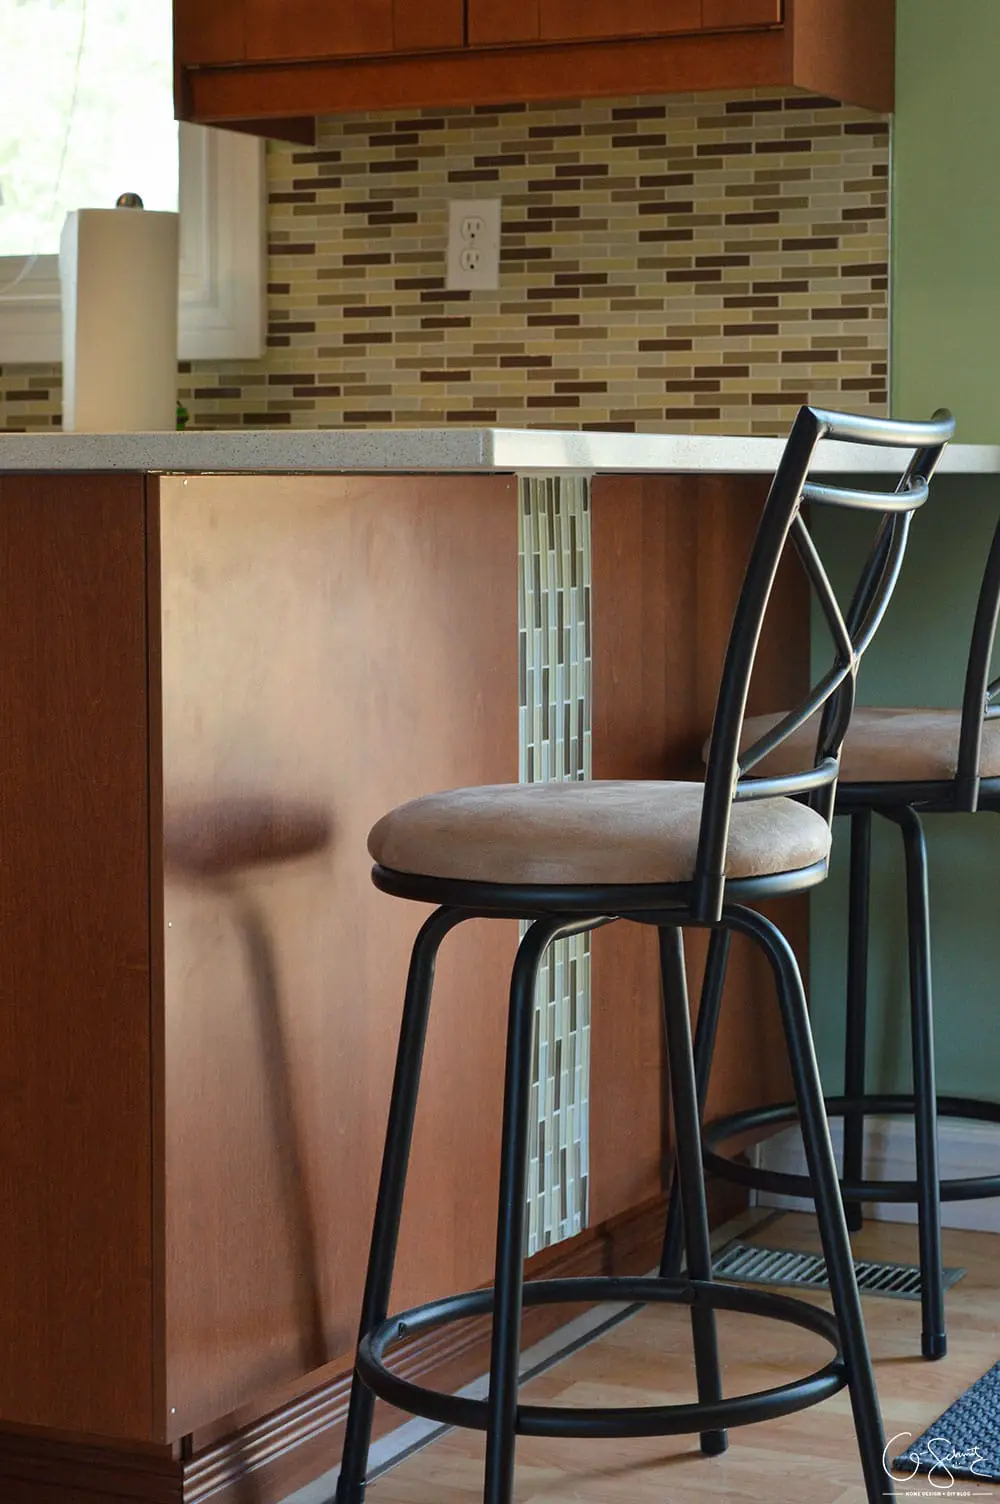
And here is from the main entrance into the kitchen:
And this is what that same wall looked like before we started the renovations:
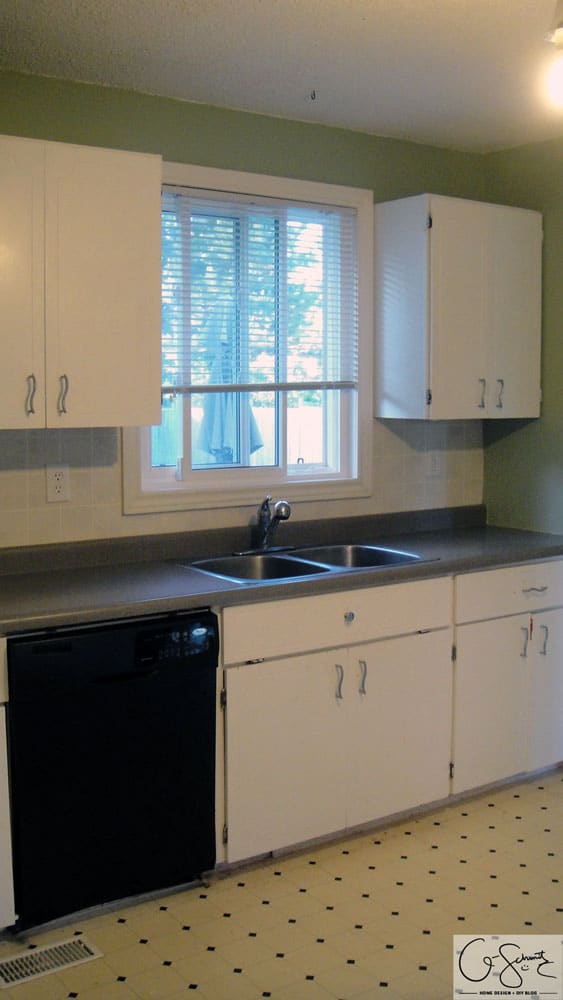
Photo First Appeared in Deciding to Renovate the Kitchen…
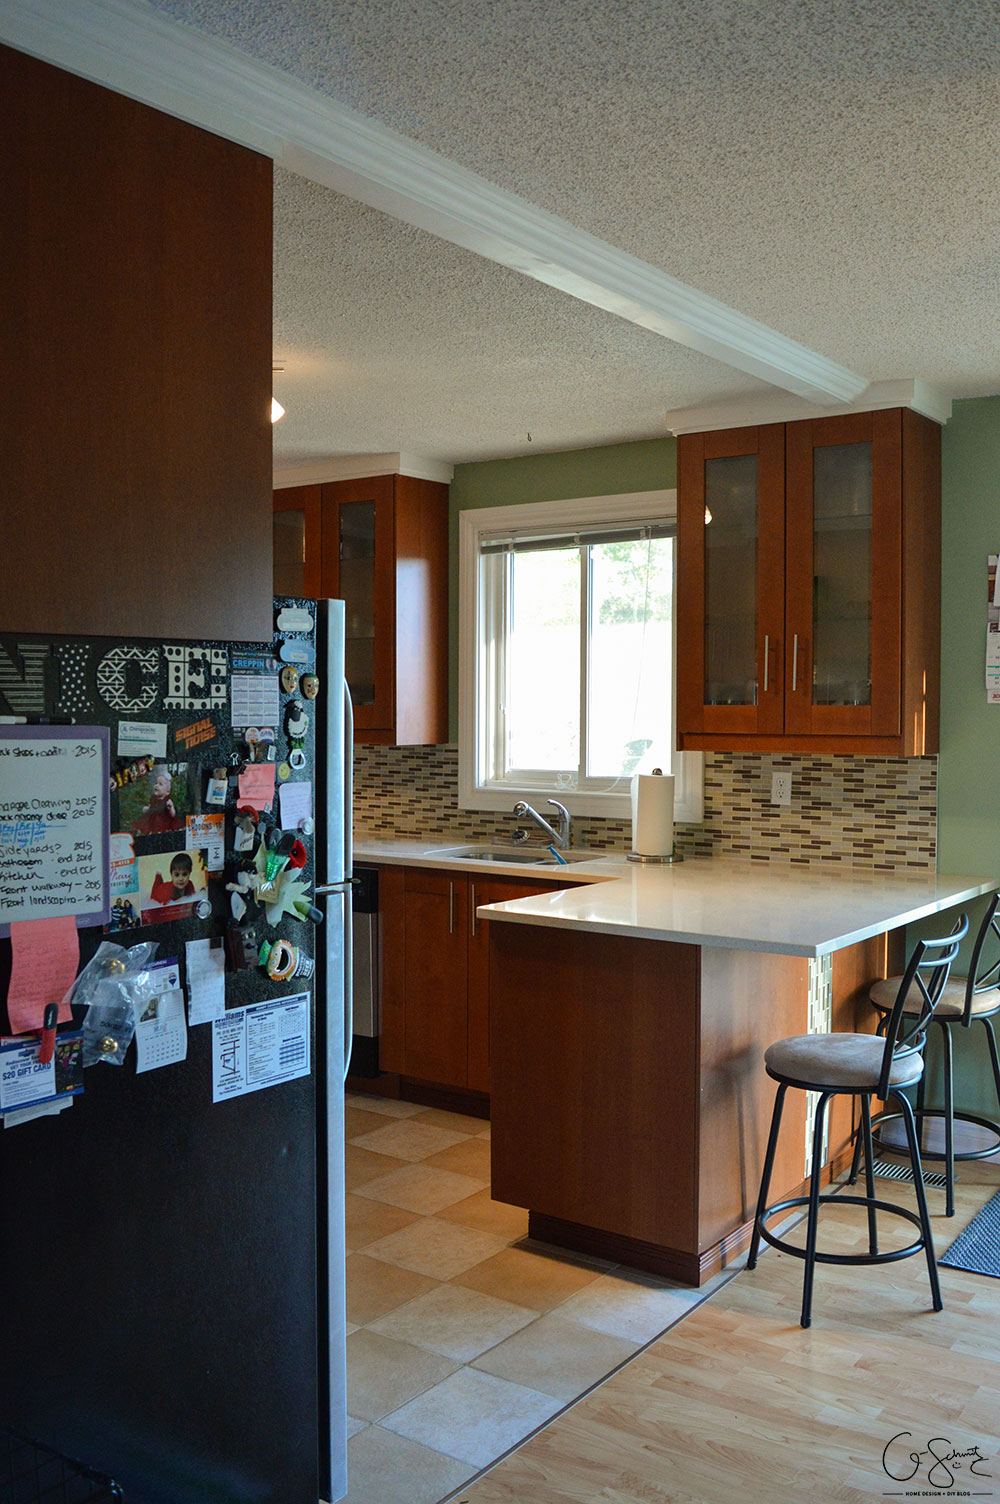
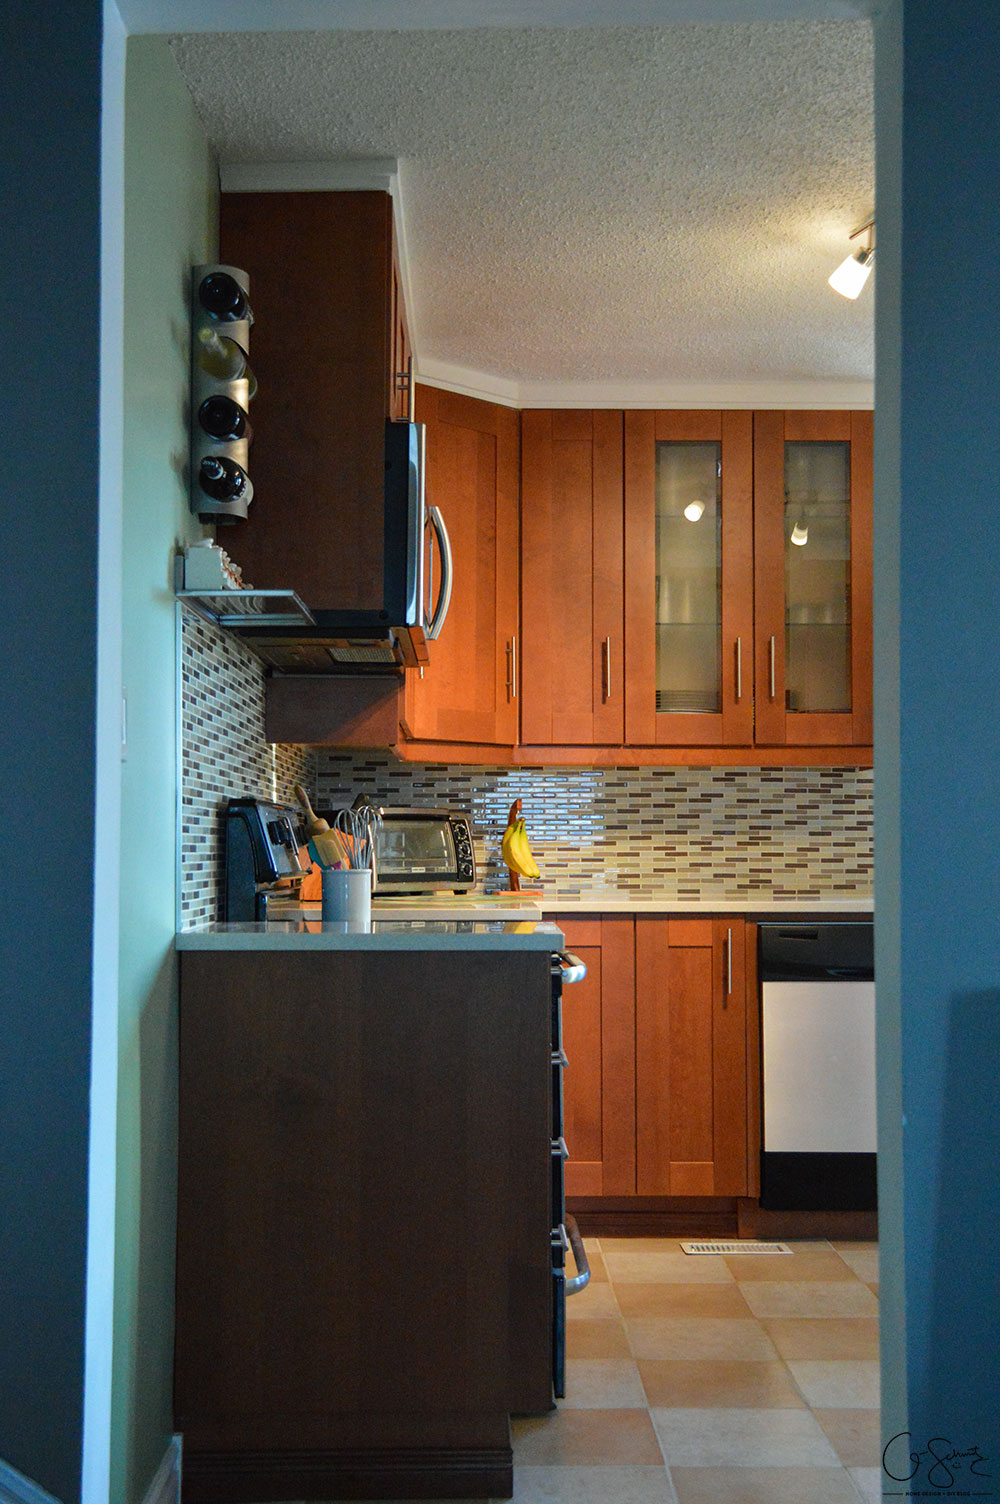
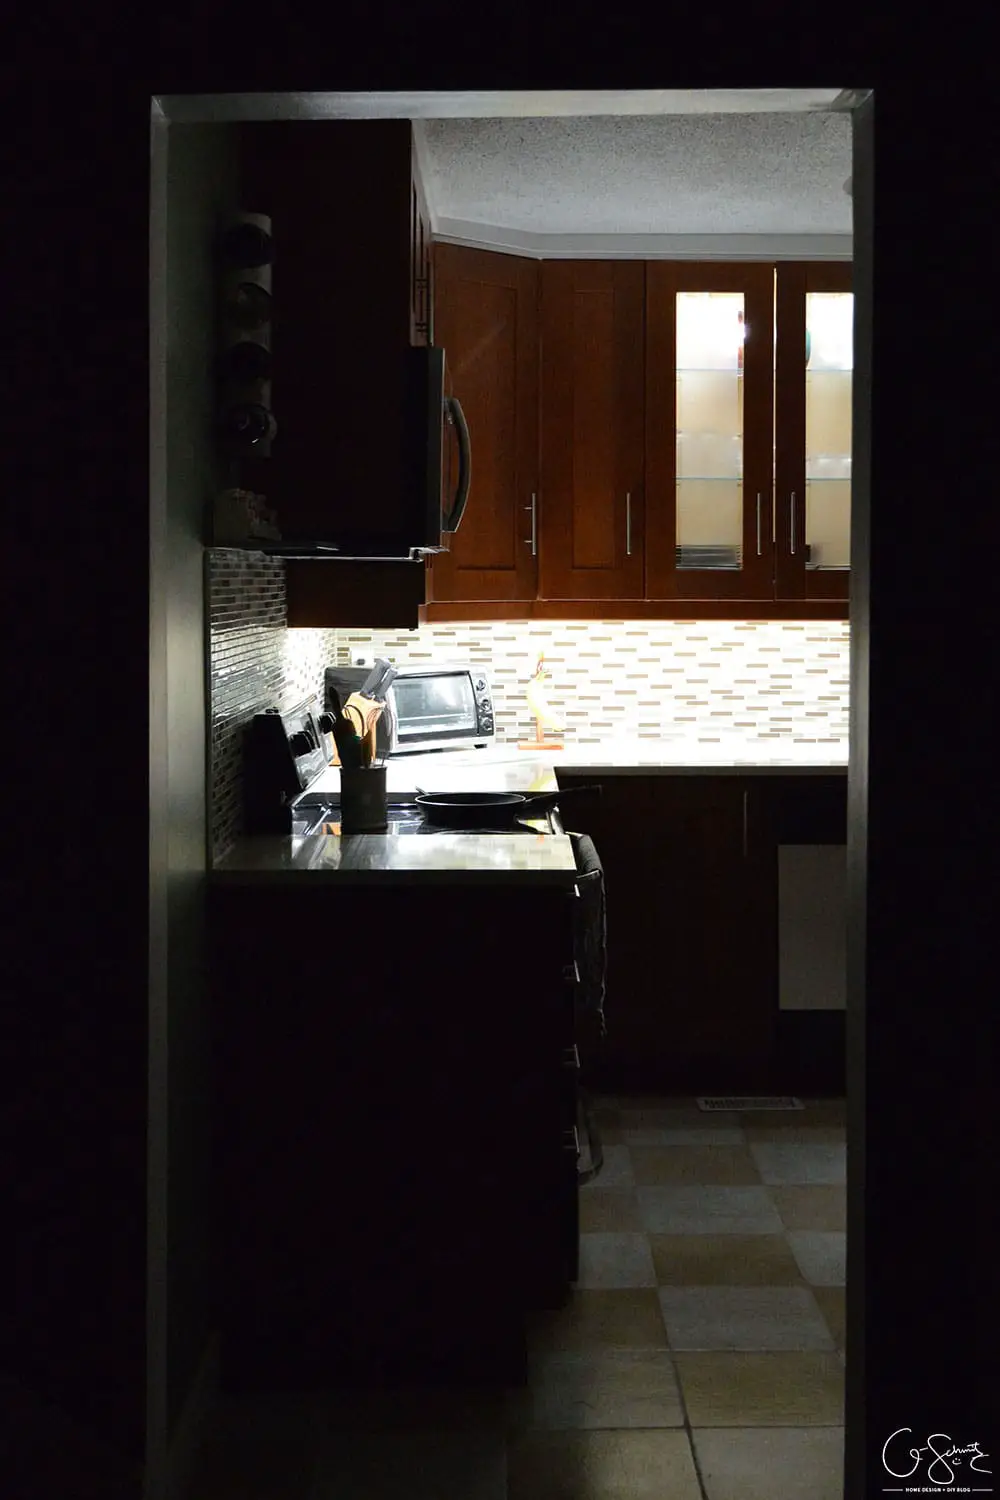
And remember the view into the kitchen from the entrance to the house? Staring north at a blank wall on the left, into the pantry.
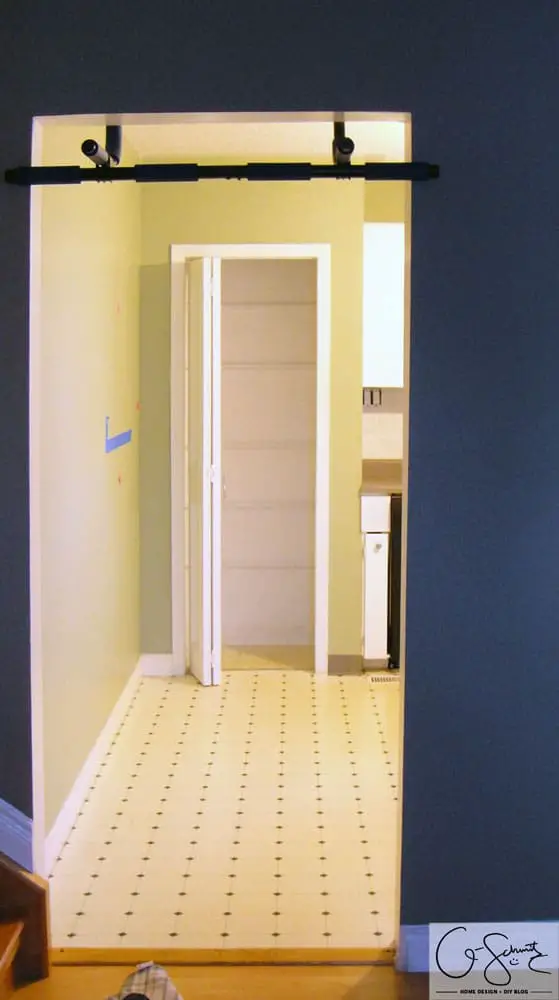
Photo First Appeared in Deciding to Renovate the Kitchen…
Here’s that same view, but now with updated sight lines looking at the new cabinets :)
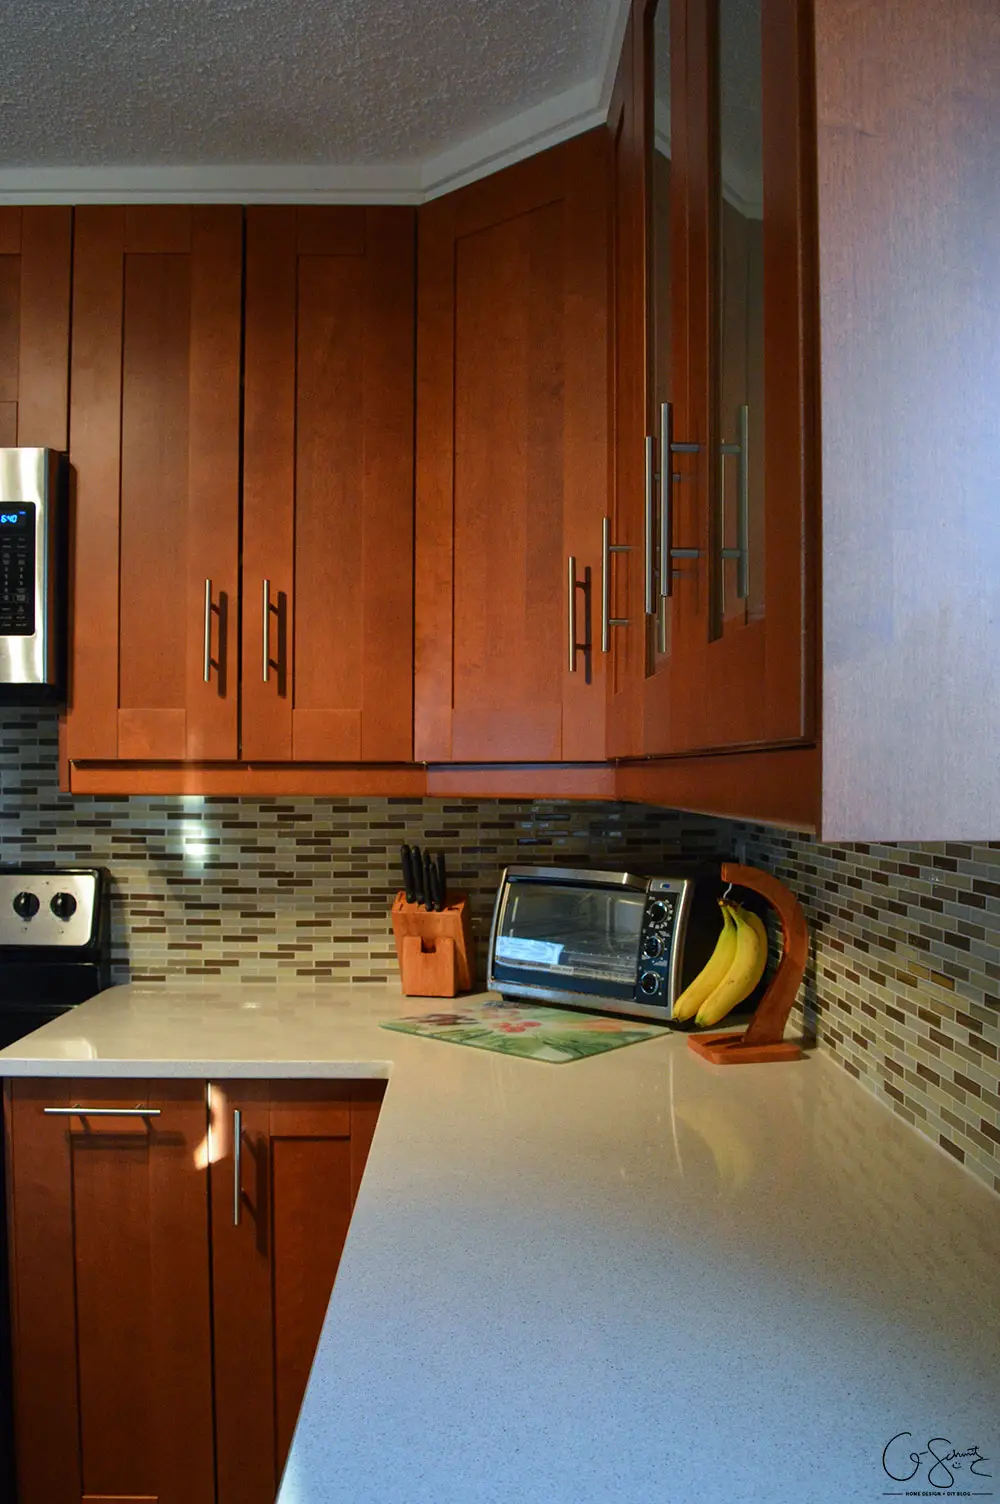
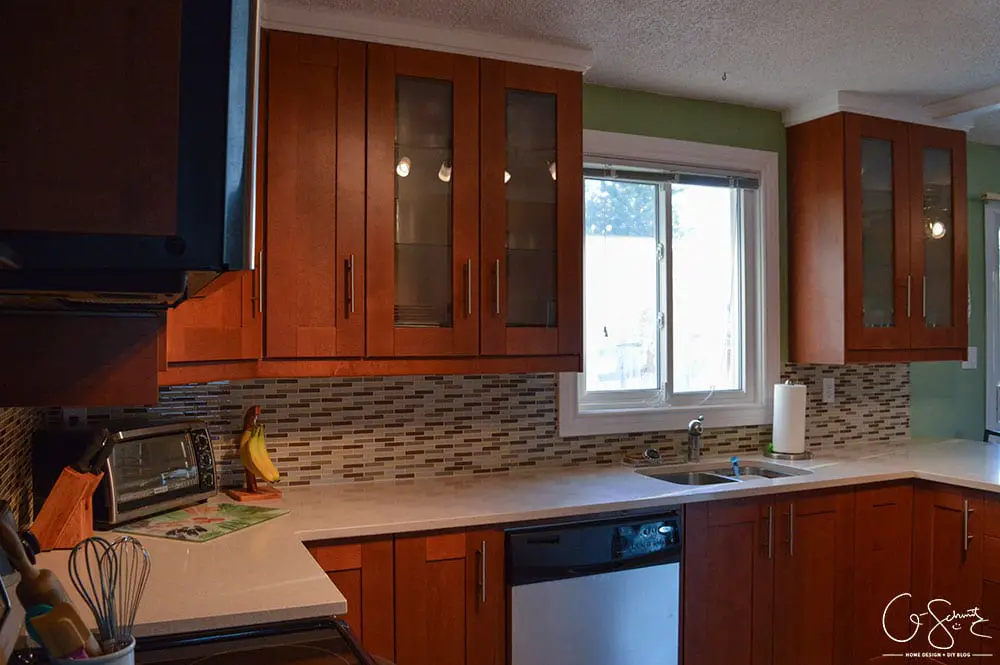
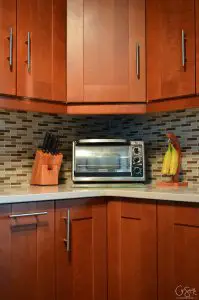
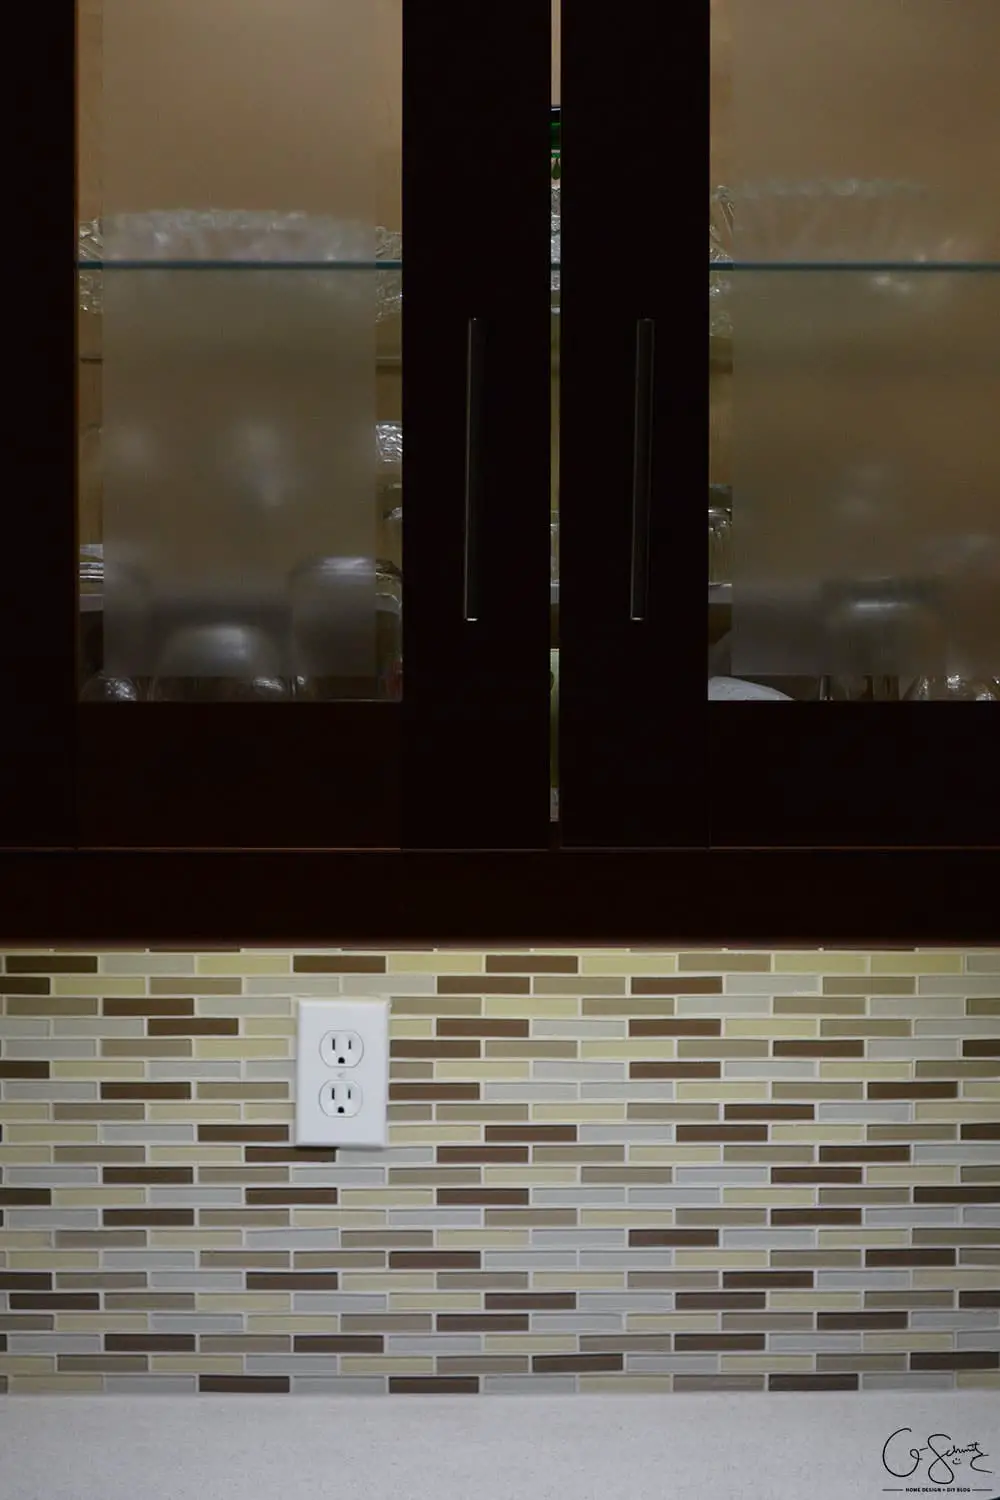
Speaking of cabinets, here are some great close-up details!
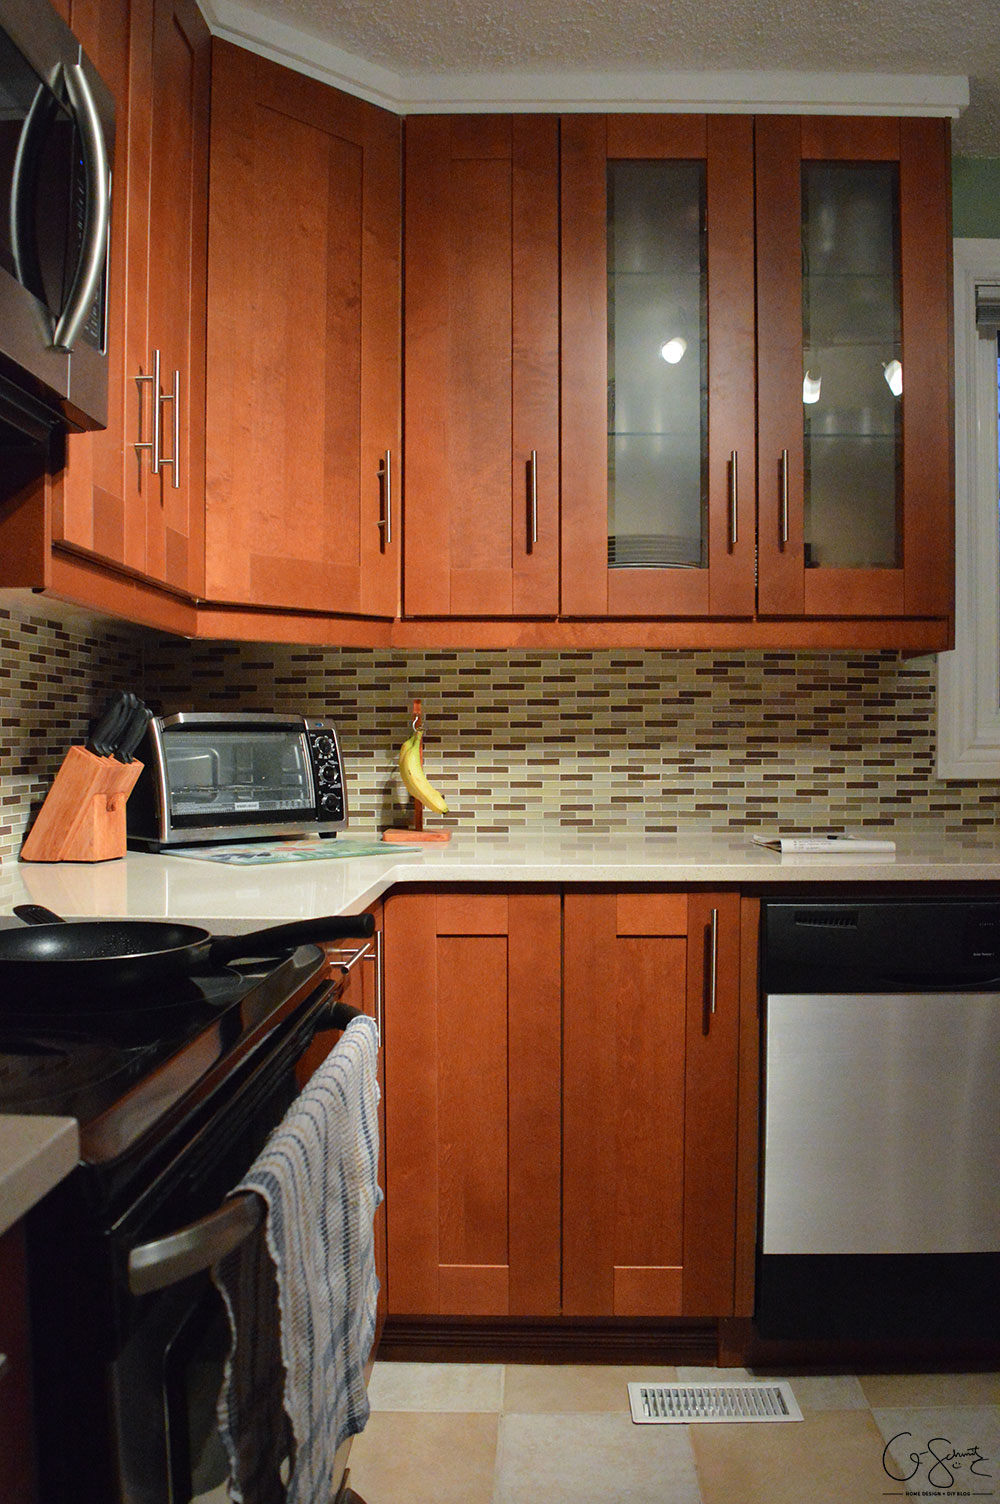
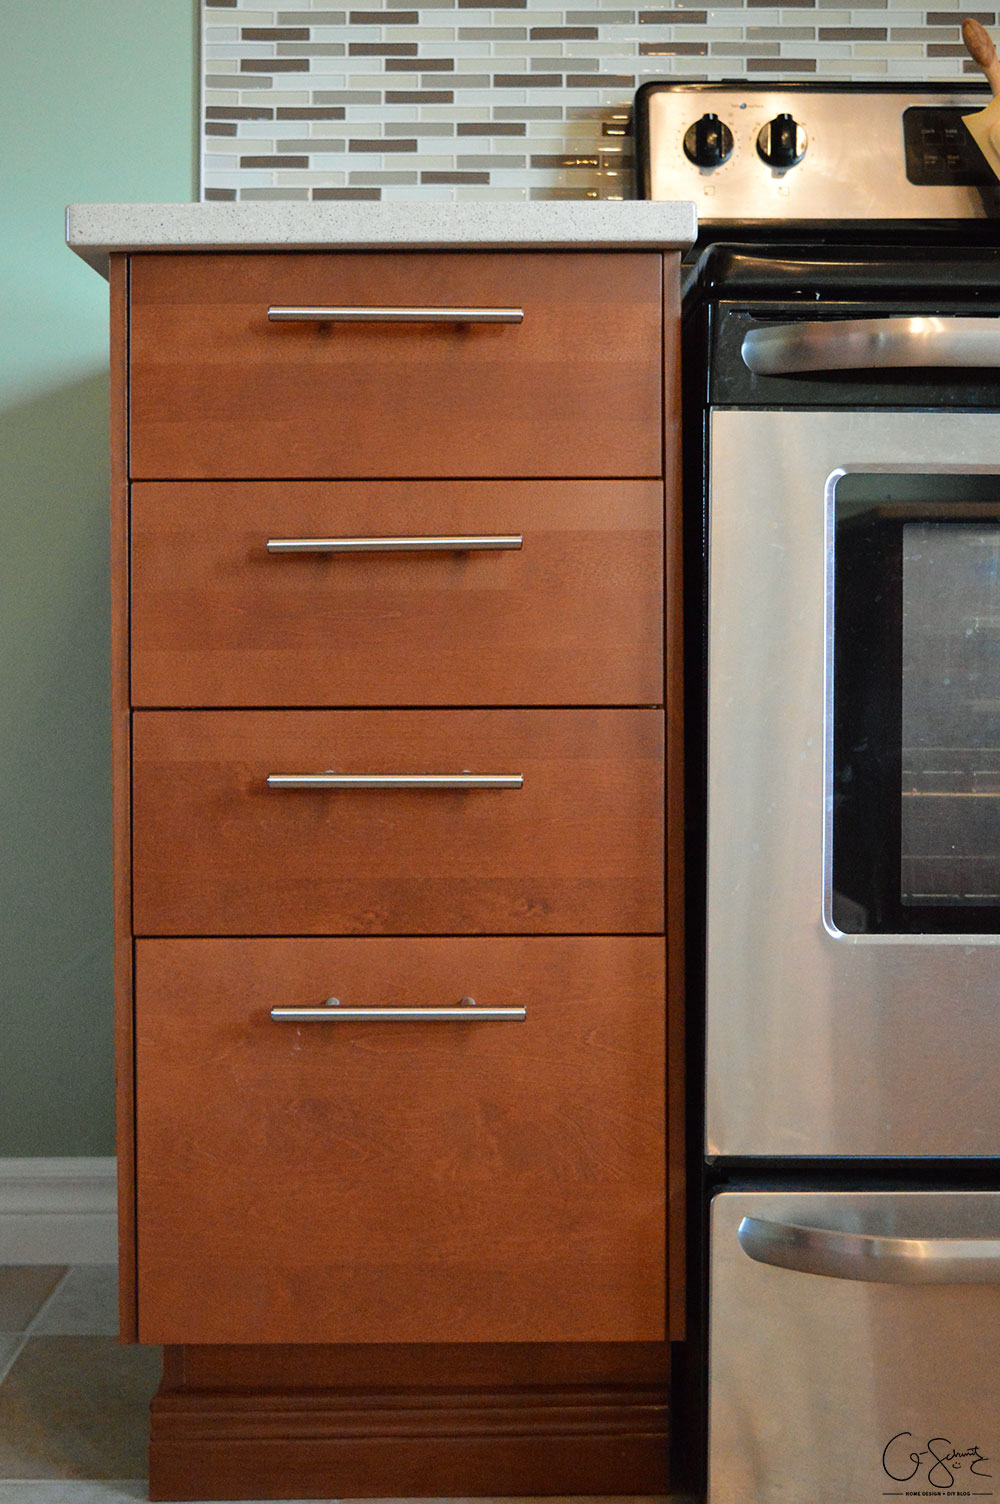
This is the corner, showing the difference between having the overhead/main light on, and off.
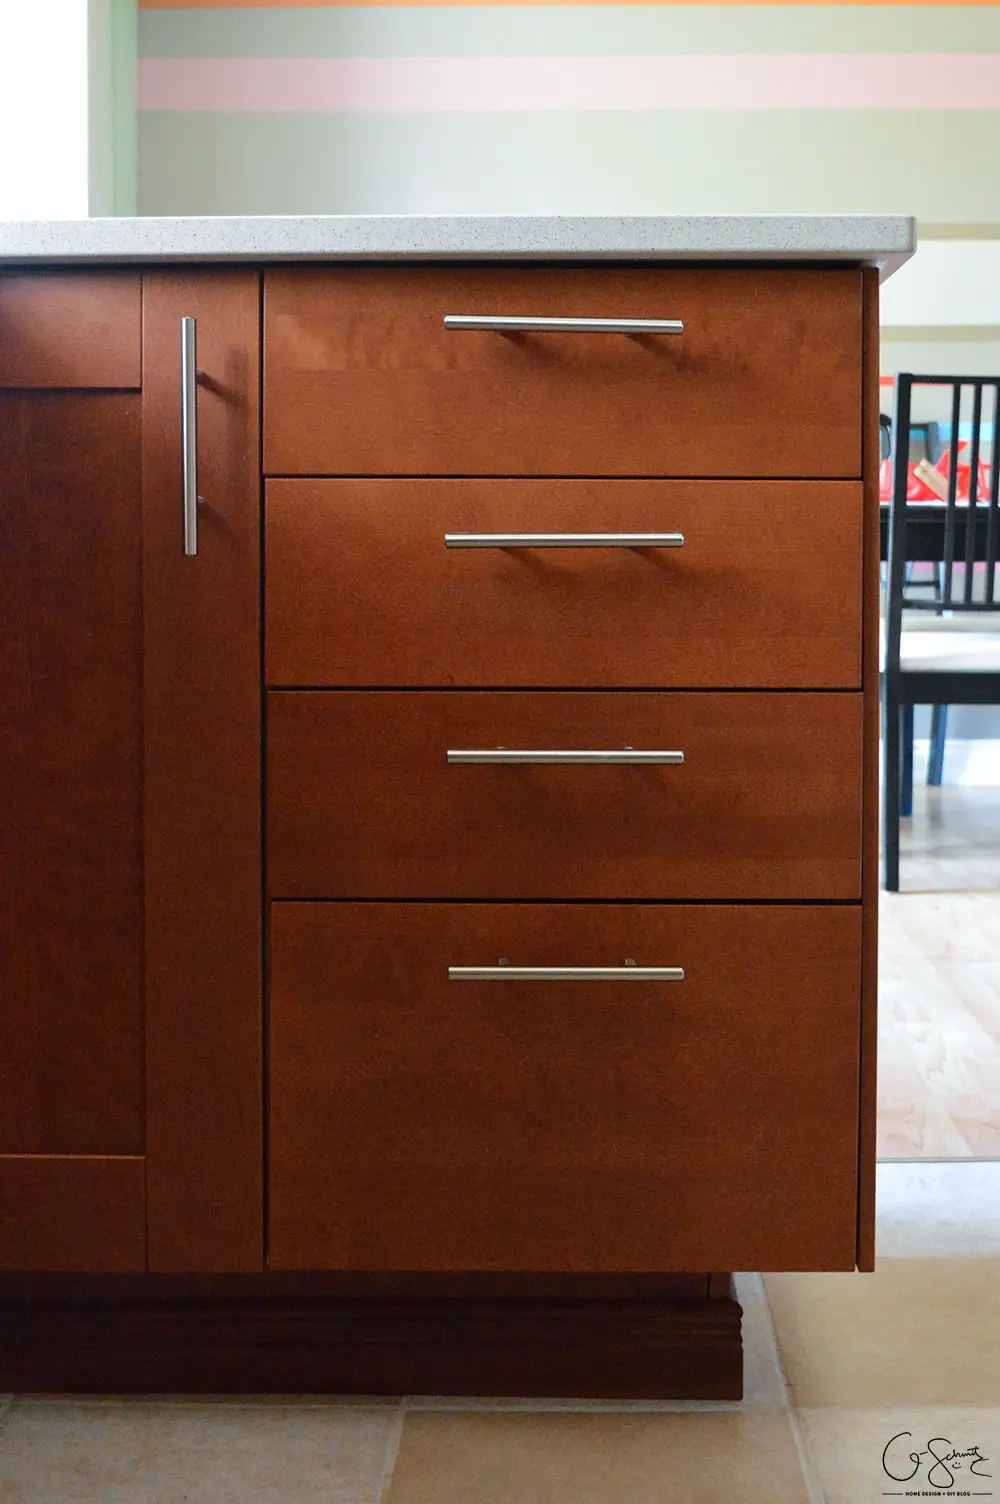
And here is what the cabinet looks like from the other side of the peninsula!

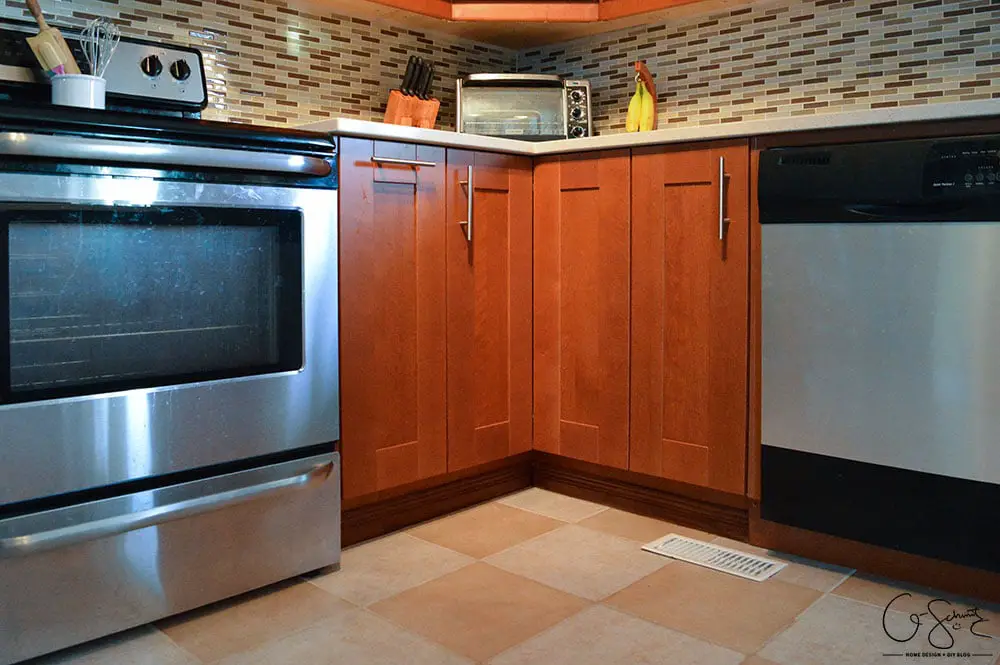
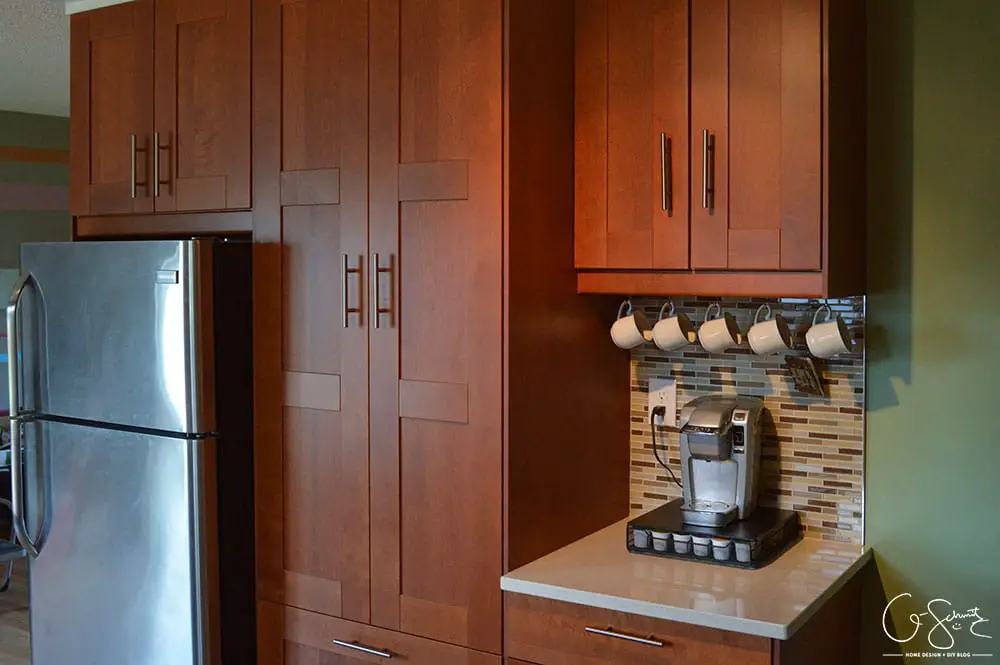
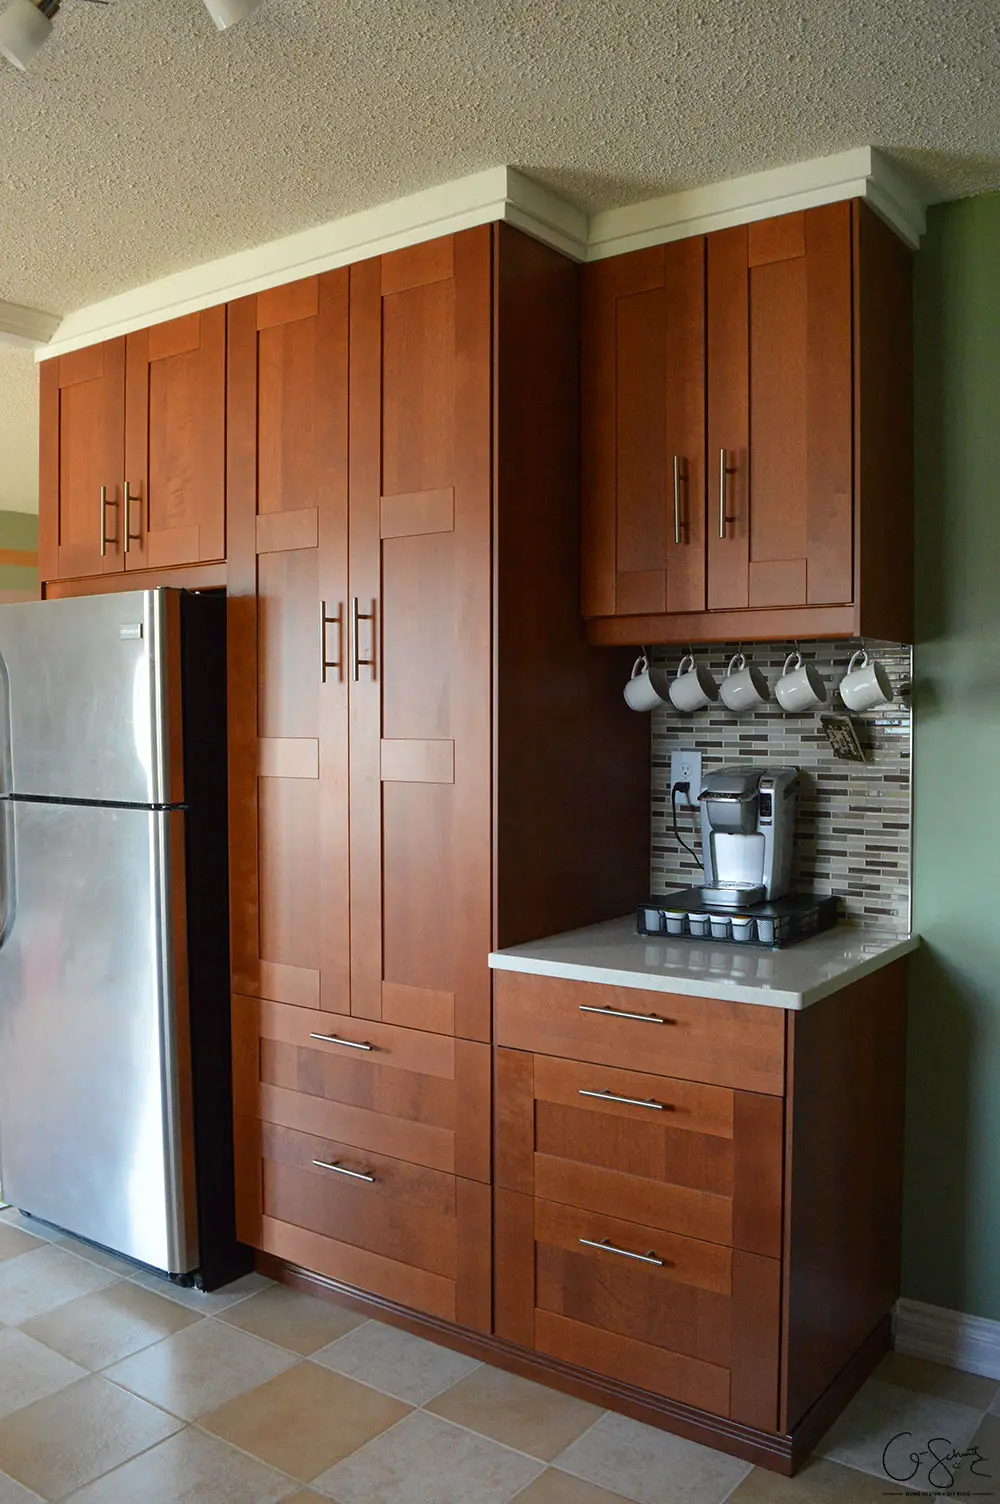
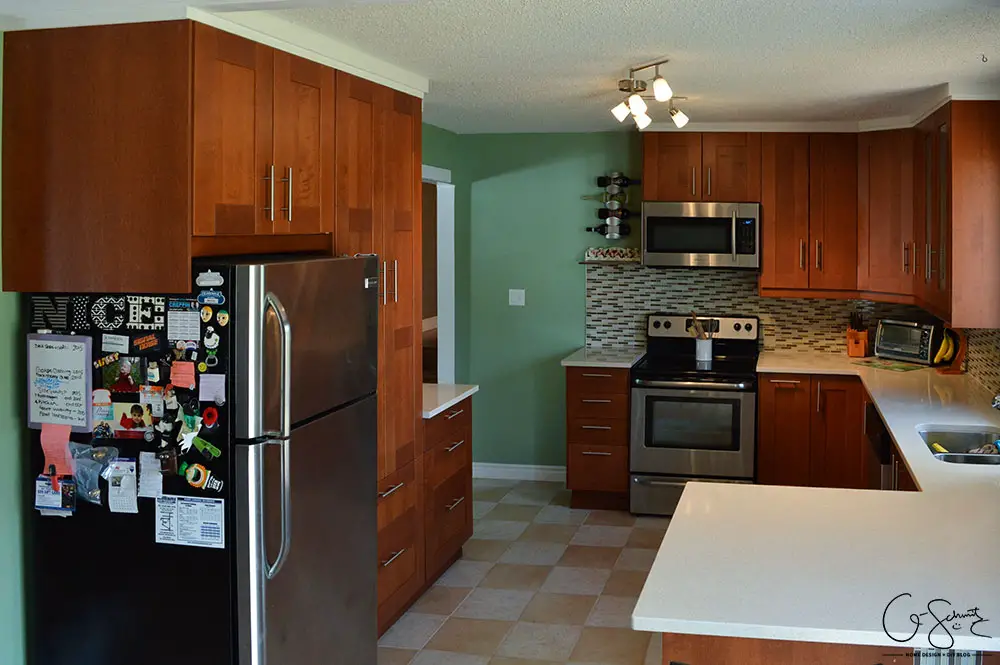
Can you guess where this cabinet close-up (see the image below) comes from?
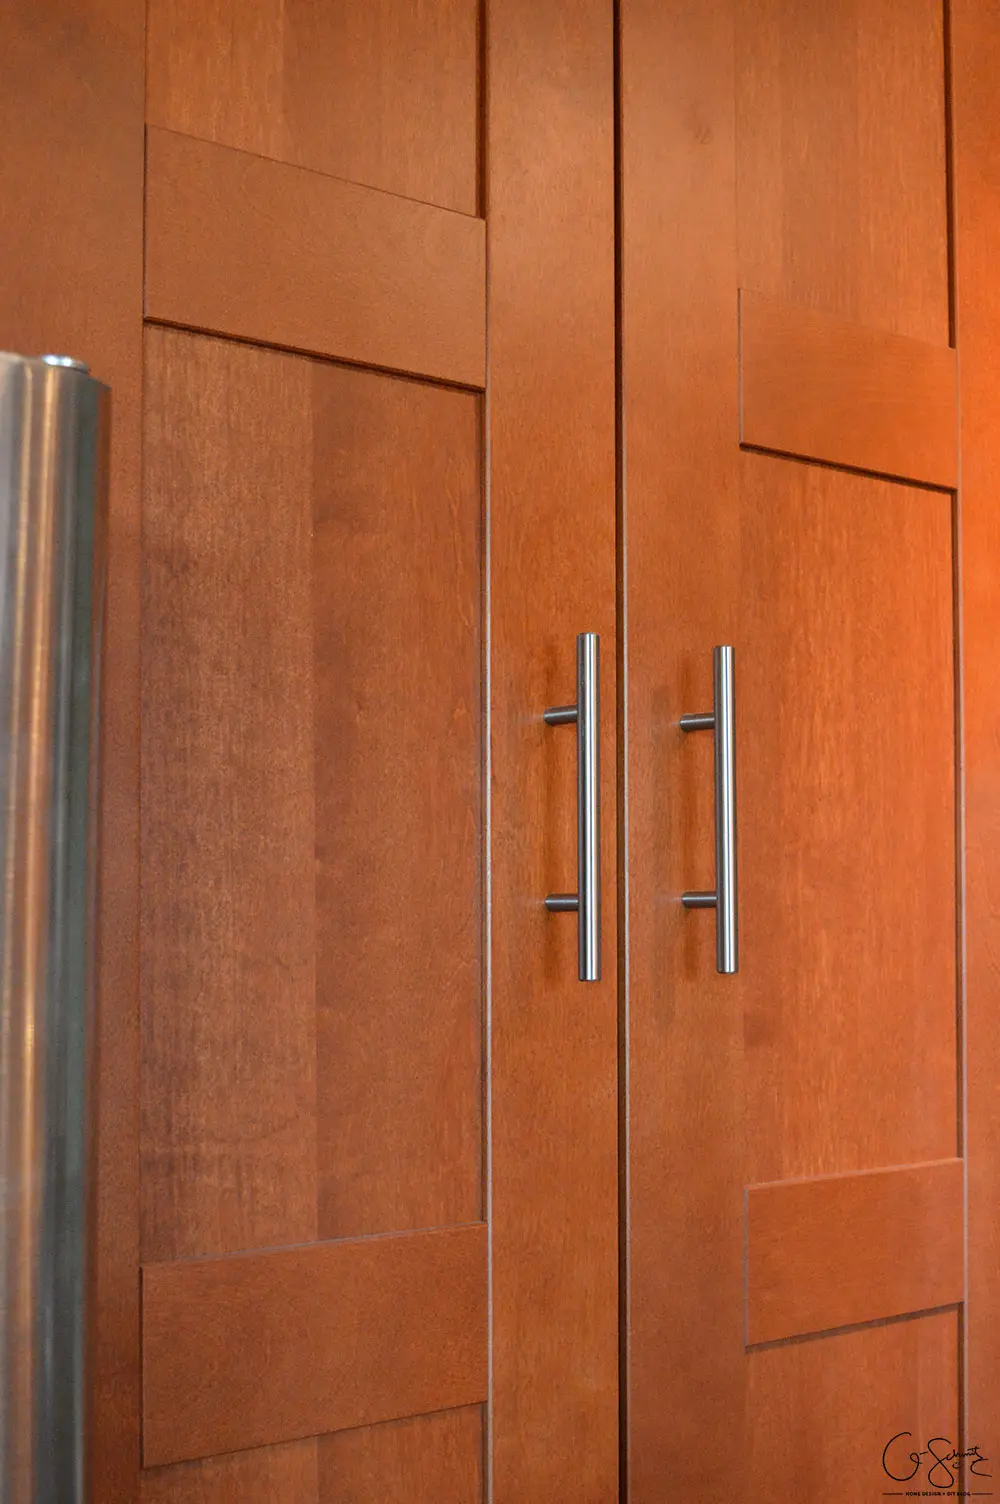
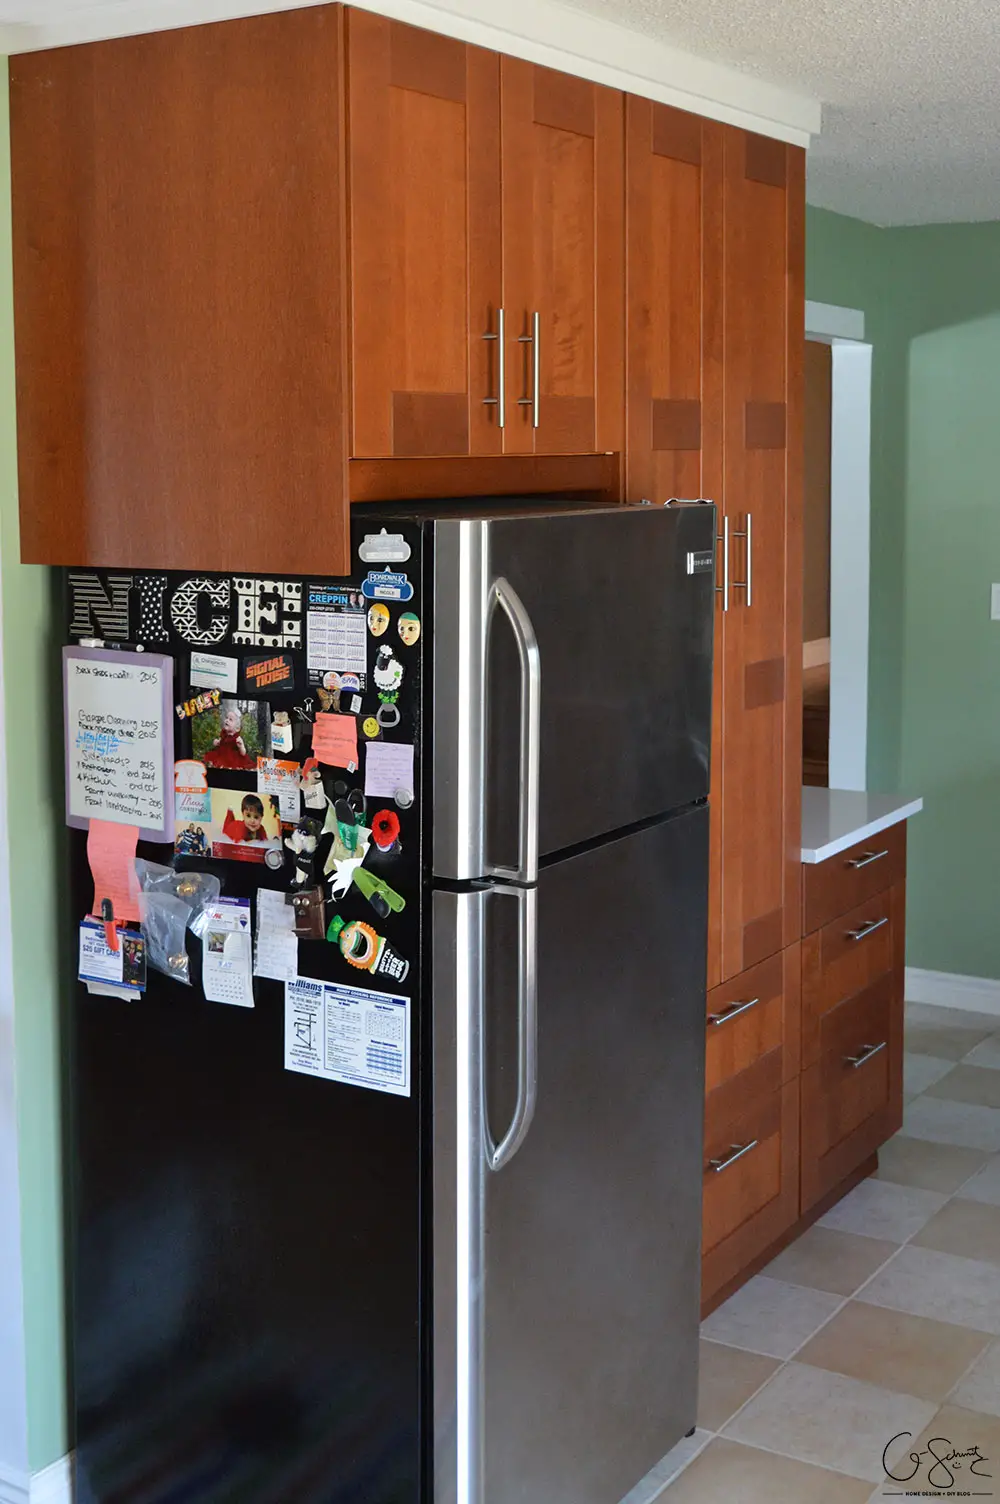
It’s our new pantry on the south wall!
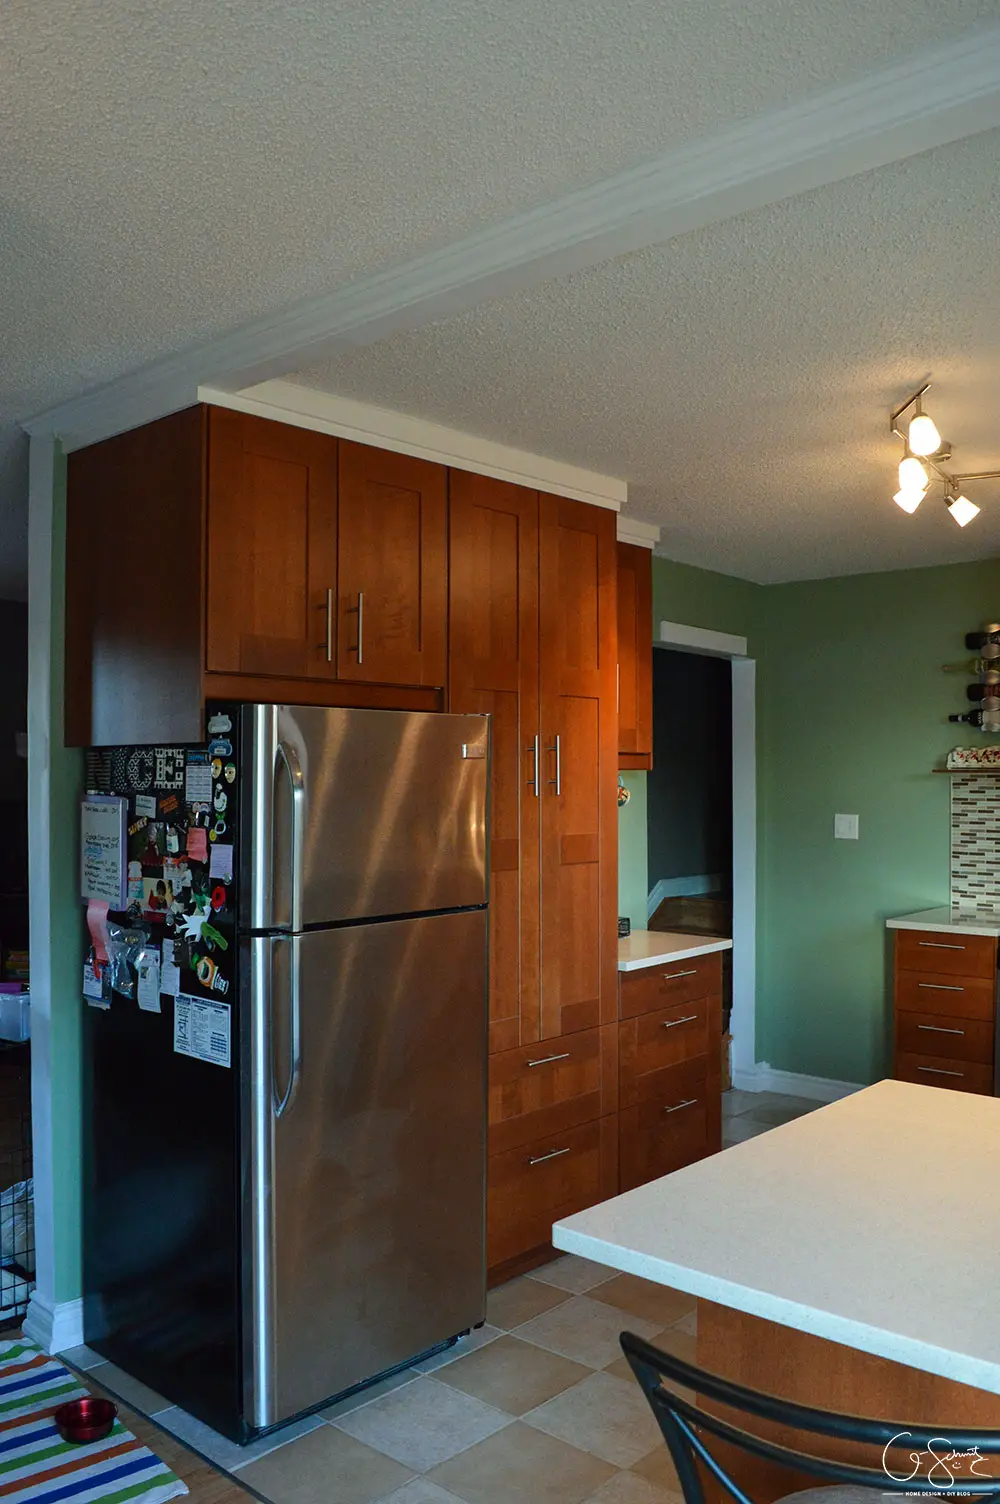
Although we did leave the fridge in the exact same spot, removing that wall made this whole area look much larger.
Flashback to what this wall used to look like before the renovation started:
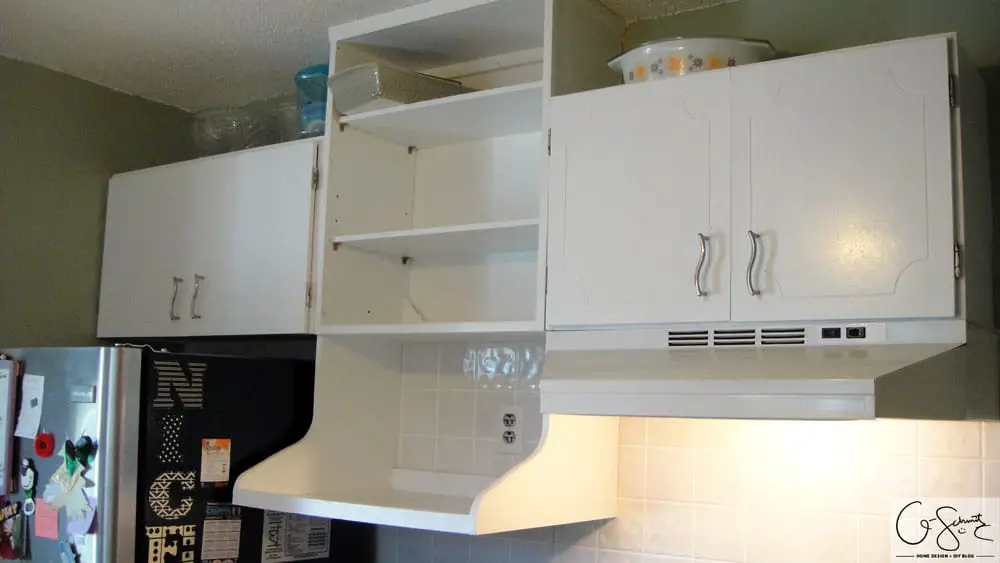
Photo First Appeared in Deciding to Renovate the Kitchen…
And how it looked during different phases of the renovation process:
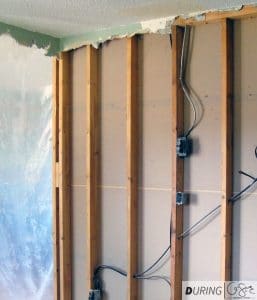
Photo First Appeared in Kitchen Demolition

Photo First Appeared in Patch, Prime, Paint …
Yep, sure turned out great!
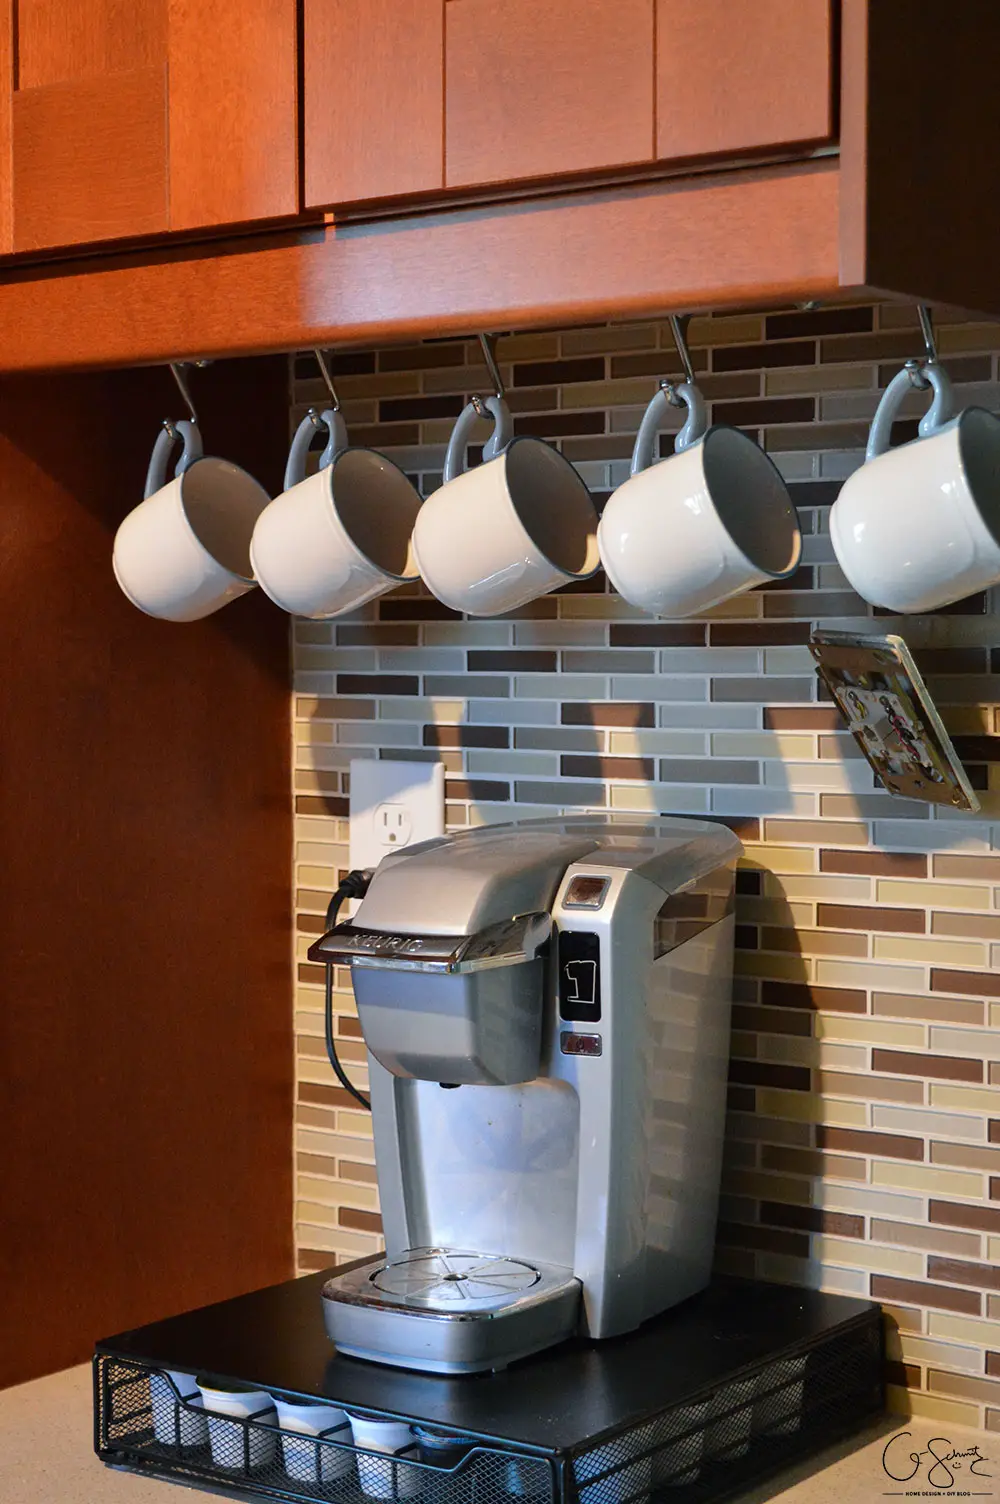
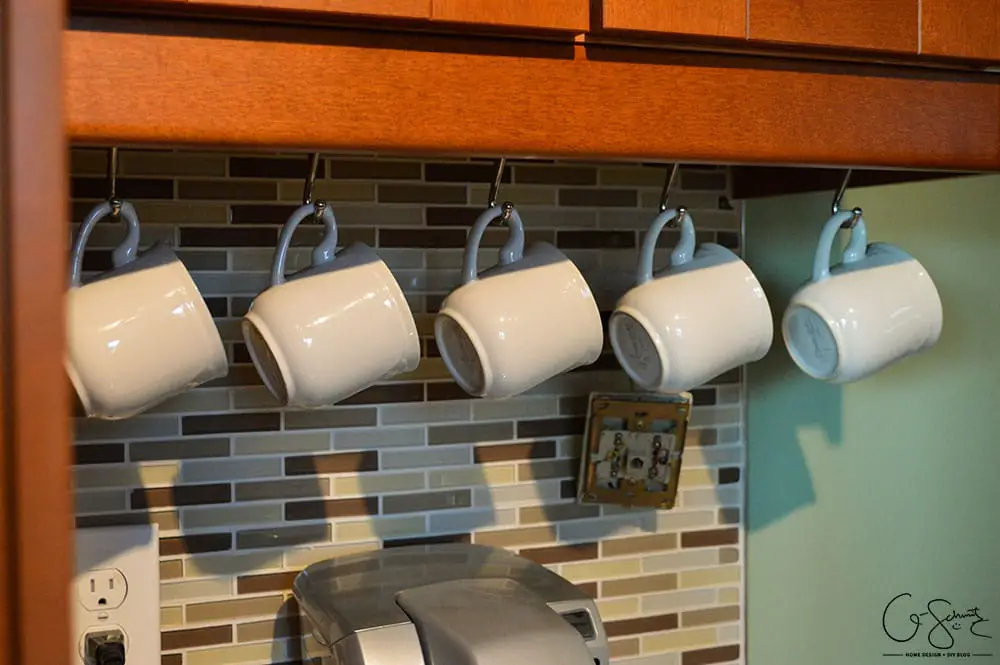
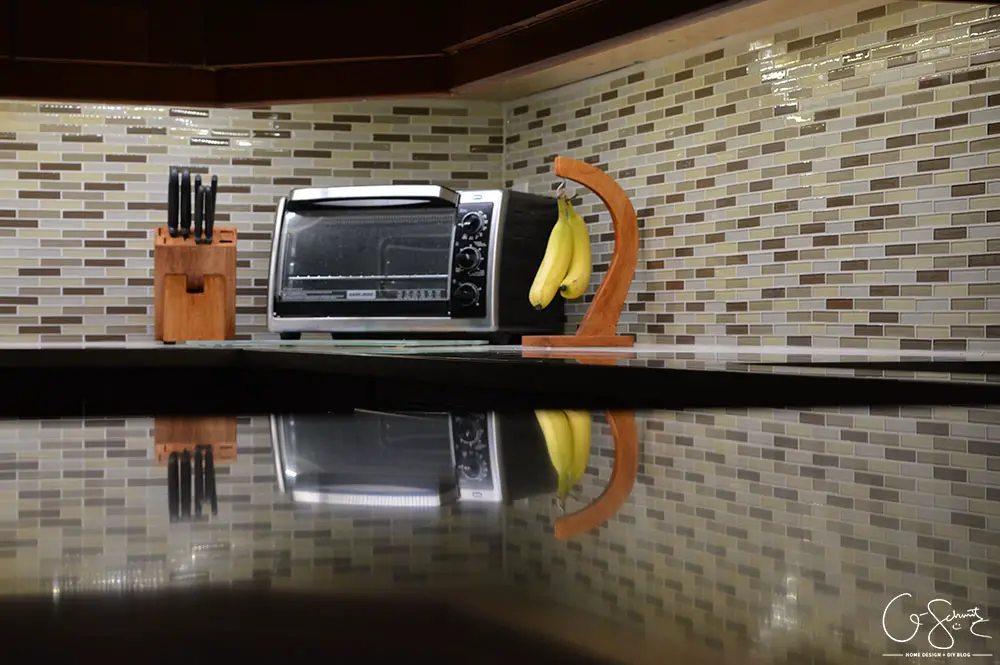
We incorporated a little “coffee corner” where the oven used to be.
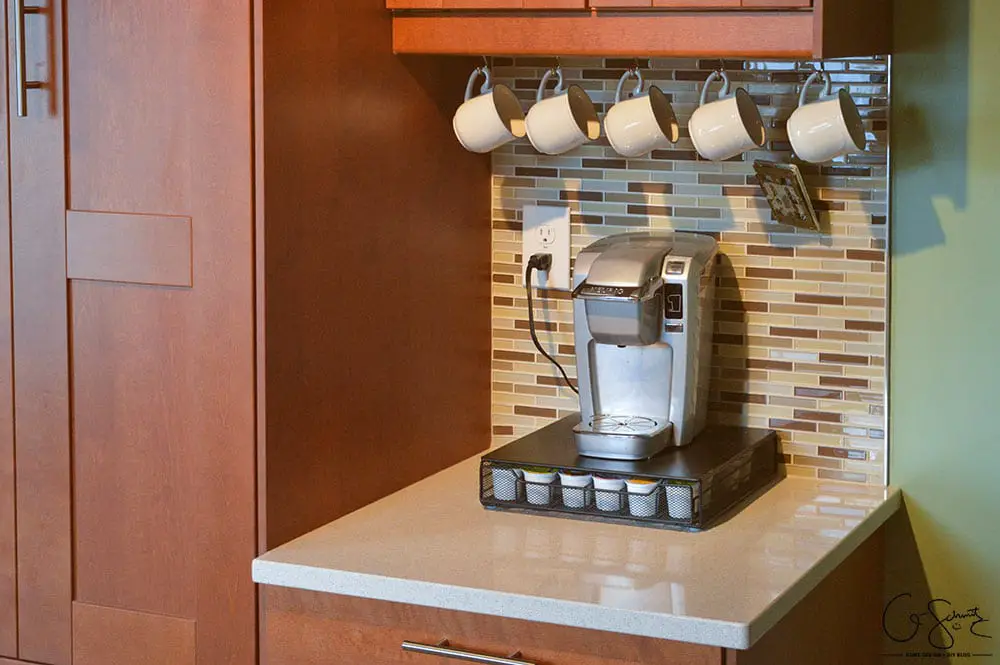
We just need to hook the phone up to this wall, and we’re pretty much done the renovation (the jack is that hanging electrical looking thing).

Our DIY kitchen sure did turn out great (not trying to toot my own horn or anything!).
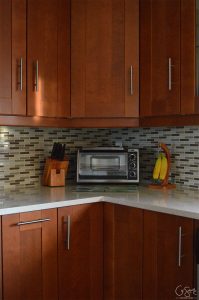
But did you know we also added something else to make it extra fancy?
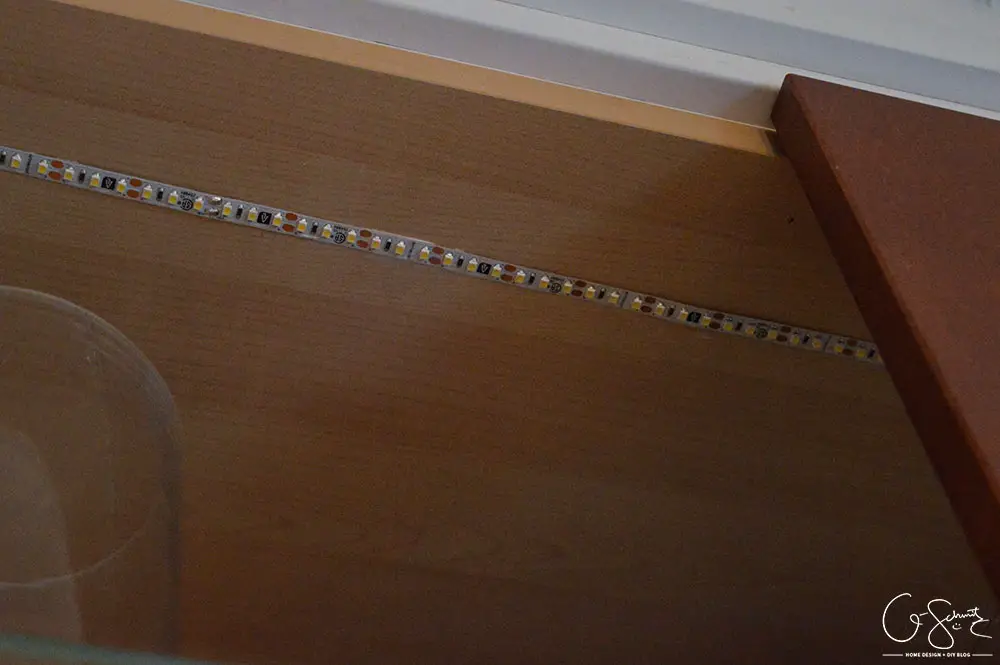
For those who don’t know, the photo above shows an LED light strip. We put them underneath the main sections of our wall cabinets, and at the top of the two cabinets with glass doors.
It helps illuminate the countertops even better in the daytime, plus adds a cool effect at night (and we installed a dimmer too!).

So that’s it, over 50 photos showing the various details of our DIY kitchen renovation. I’d love to tell you we’re 100% done, but there is the whole issue of the phone jack not being installed – I’m hoping the Husband will read this and finish up that task :)
What do you think? Have you read all the Kitchen posts and gotten inspired to tackle your kitchen too? Or maybe there are a few tips and tricks that you can use for other projects? I’d love to hear your thoughts in the comments!
5 Comments
Joceline Trudel
May 27, 2015 at 6:40 amVery beautiful and well thought out! :)
Nicole
May 27, 2015 at 5:59 pmThank you!
Laurienne Gagnier
May 27, 2015 at 6:27 pmIt looks great Nicole! I will have to have you come do my kitchen! You know, someday when I have a house of my own ;)
Nicole
May 28, 2015 at 5:55 amThanks, and I’ll have to take you up on that one day!
Green With Decor – Pretty green paint colors for every room in the house
March 17, 2016 at 8:54 am[…] by Q-Schmitz Home Design + DIY (Paint color is Lichen from Rona’s Eco […]