
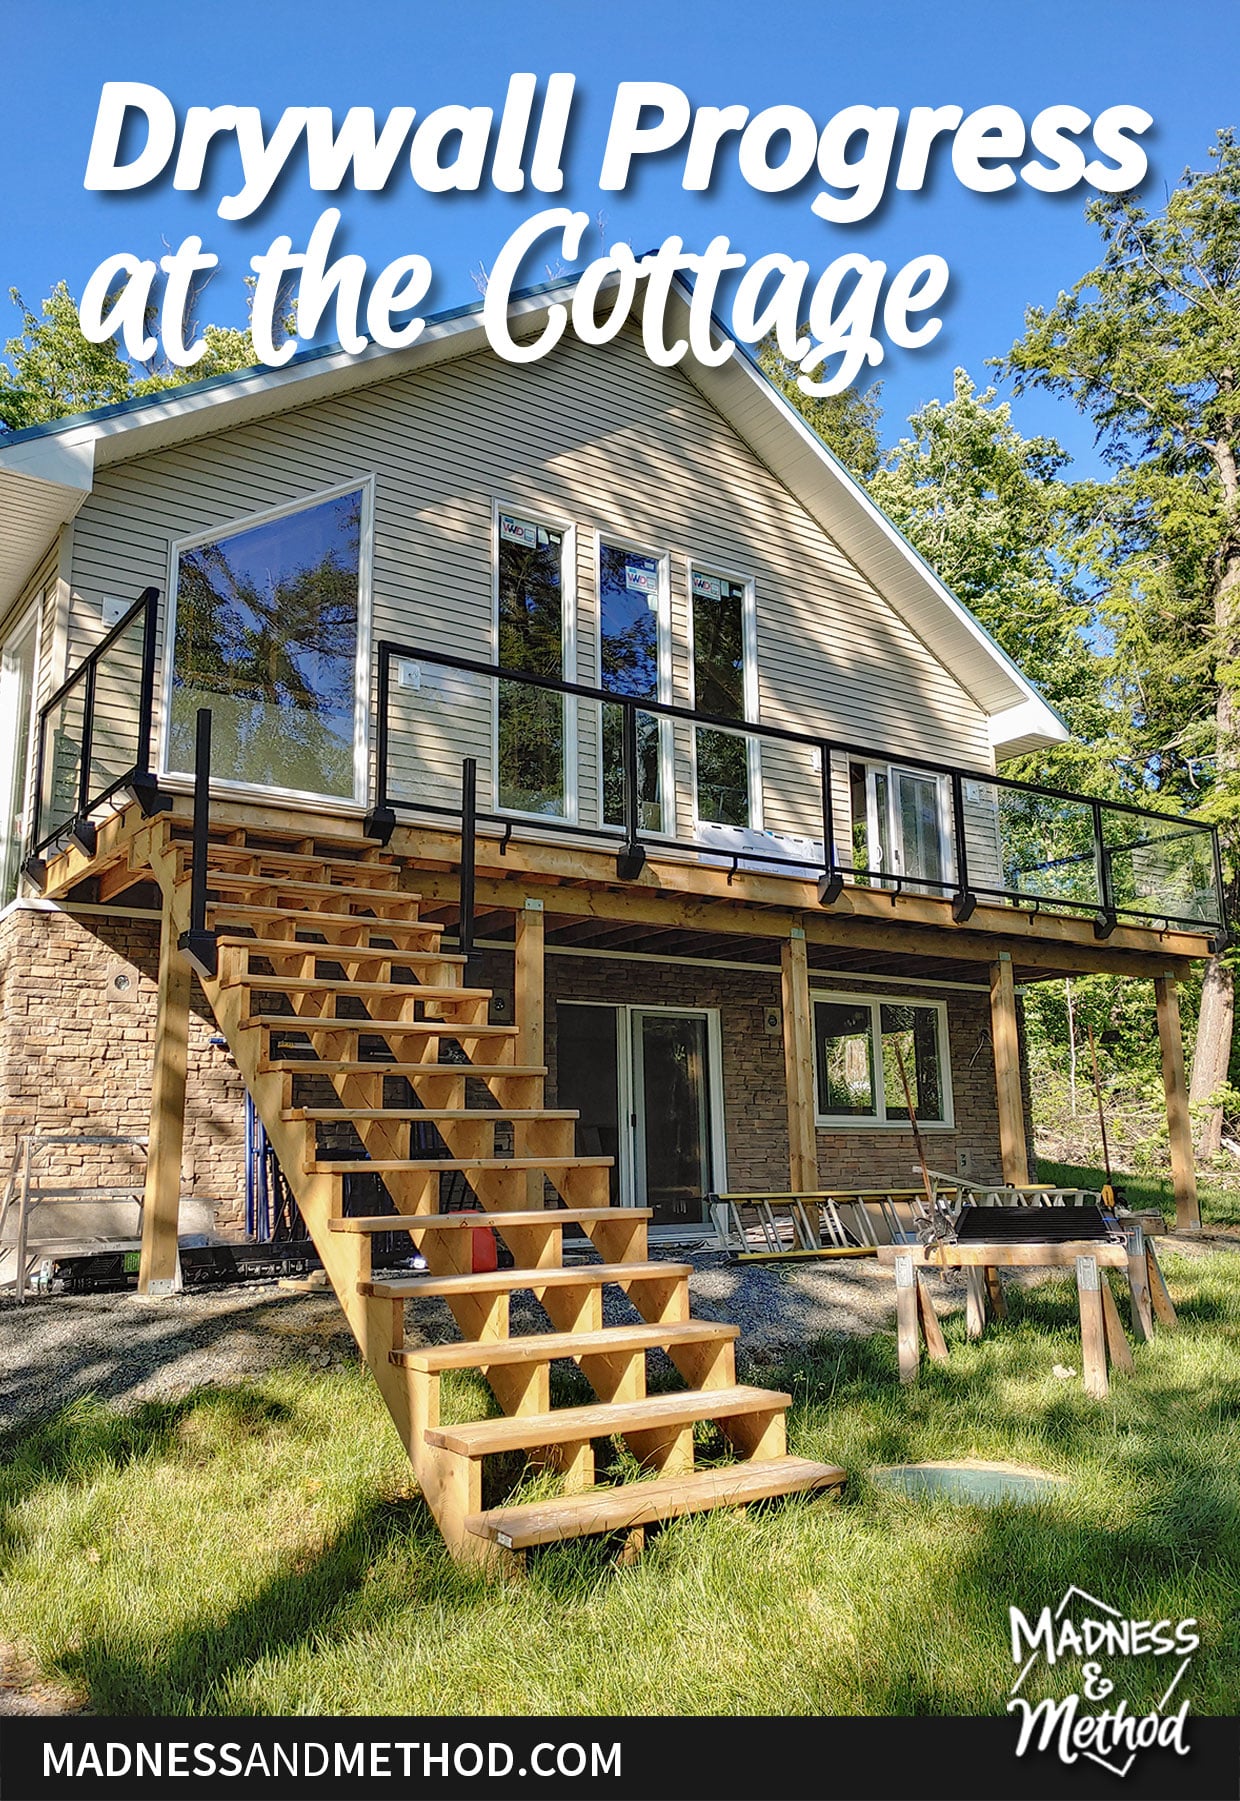
It’s been a hot minute since I’ve shared any cottage updates (just under 2 months actually). Honestly, I thought we’d be a little farther along than this, but it’s getting there. Nevertheless, here are some photos of the drywall progress at the cottage! Oh, and an updated list of what we have left to do :) (Spoiler: a lot ha)
As a reminder, we bought some property in Winter/Spring last year (2021). We poured the foundation (and I shared the floorplans) as soon as we could, and then started framing (and thinking of interior finishes). It mostly sat untouched for the winter months (we get cold and snow here!) so not much happened for a bit. In my last update, in early June of this year, I chatted a bit about the timeline and what still needed to get done.
For the most part, we’ve been building the cottage “ourselves”. I say that in quotes because it’s not just me and the Husband. We’ve had extensive help from his dad, his coworker/ex-carpenter/friend and other friends/family that we’ve roped into helping for a bit.
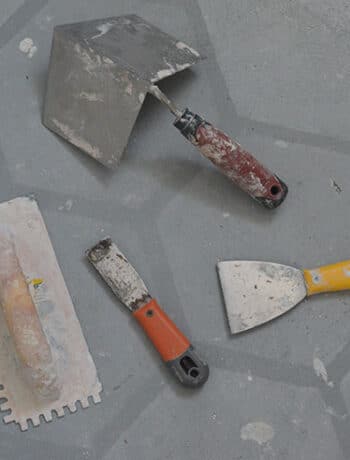
We hired out the concrete slab pour, the big three (electrical, plumbing and HVAC), drywall (includes mudding and painting) and soon-to-be flooring installation. Once the walls and floors are done, that’s when I go in and finish everything! I have gotten a head start on a couple of items, but you’ll see that in the photos :)
Drywall Progress Upstairs
I’ll go through the upstairs as you walk in the front door first. With the drywall up, it’s a lot easier to see the shape of the rooms in photos :)
First up, we have our big closet almost centre in the space. We’ll have our laundry machines in there, and some storage shelves. Above we have a storage “hole” where I’ll probably put seasonal things.
The first room to the right is one of the bedrooms. It has a pocket door that leads to the big bathroom, a full-sized closet, and vaulted/pine ceilings.
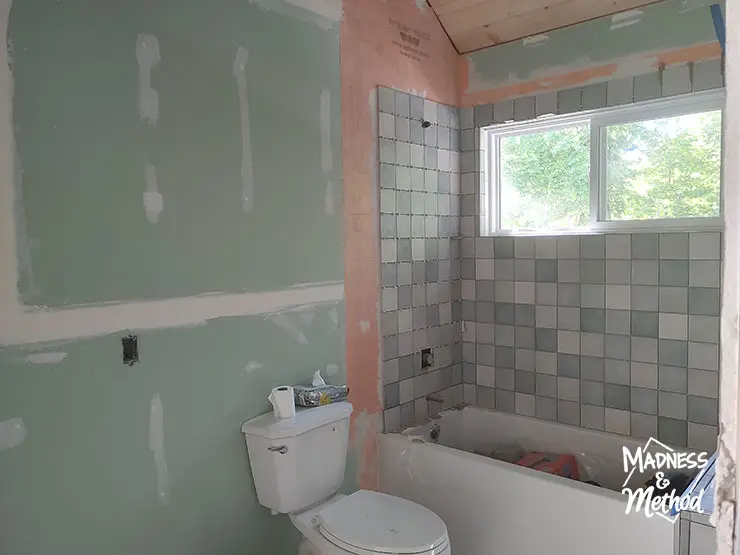
I spent a lot of time tiling the bathroom last weekend – and I’m about 70% done. There will be a 48″ vanity to the left of the toilet, and again, the ceilings are tongue and groove pine.
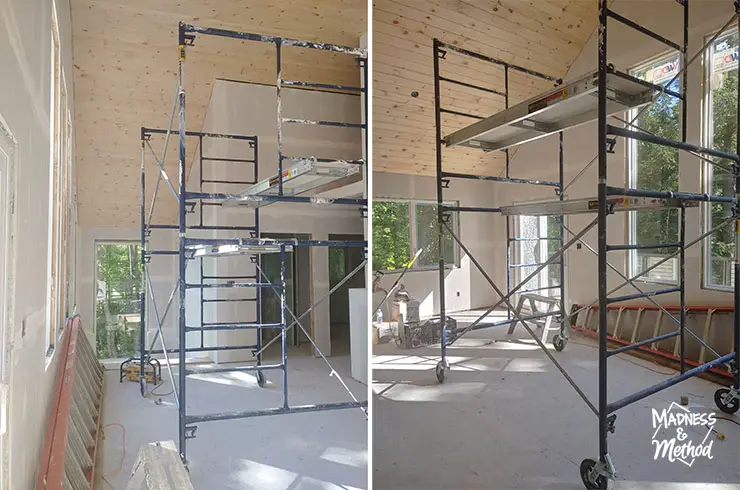
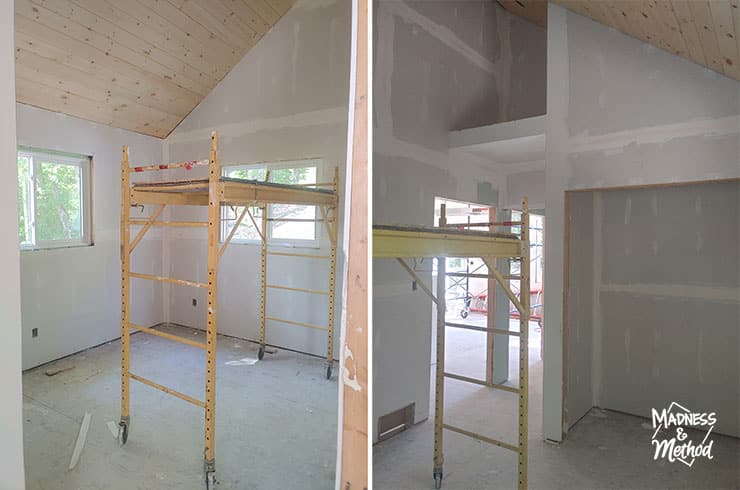
From there, we have the living/dining room area. It’s not a huge space, but the tall vaulted ceilings really make it look big. On the left, is the view from the sliding doors to the staircase and bathroom. In the photo on the right, it’s the view from the bathroom to the sliding doors/dining room.
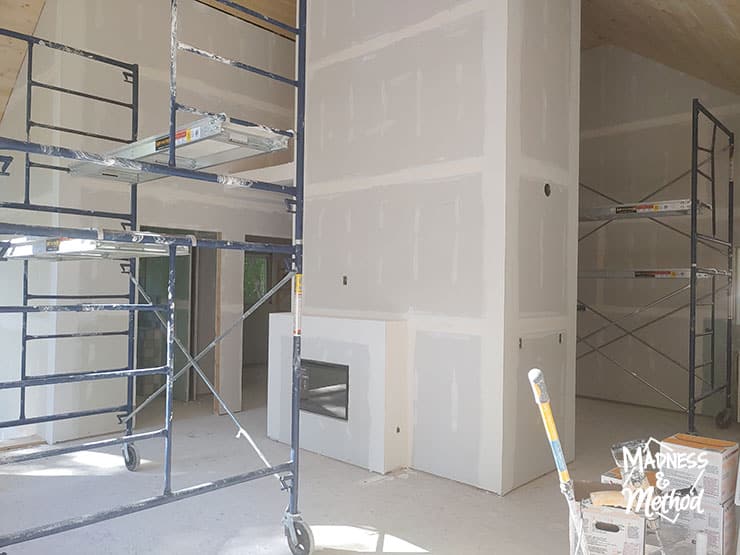
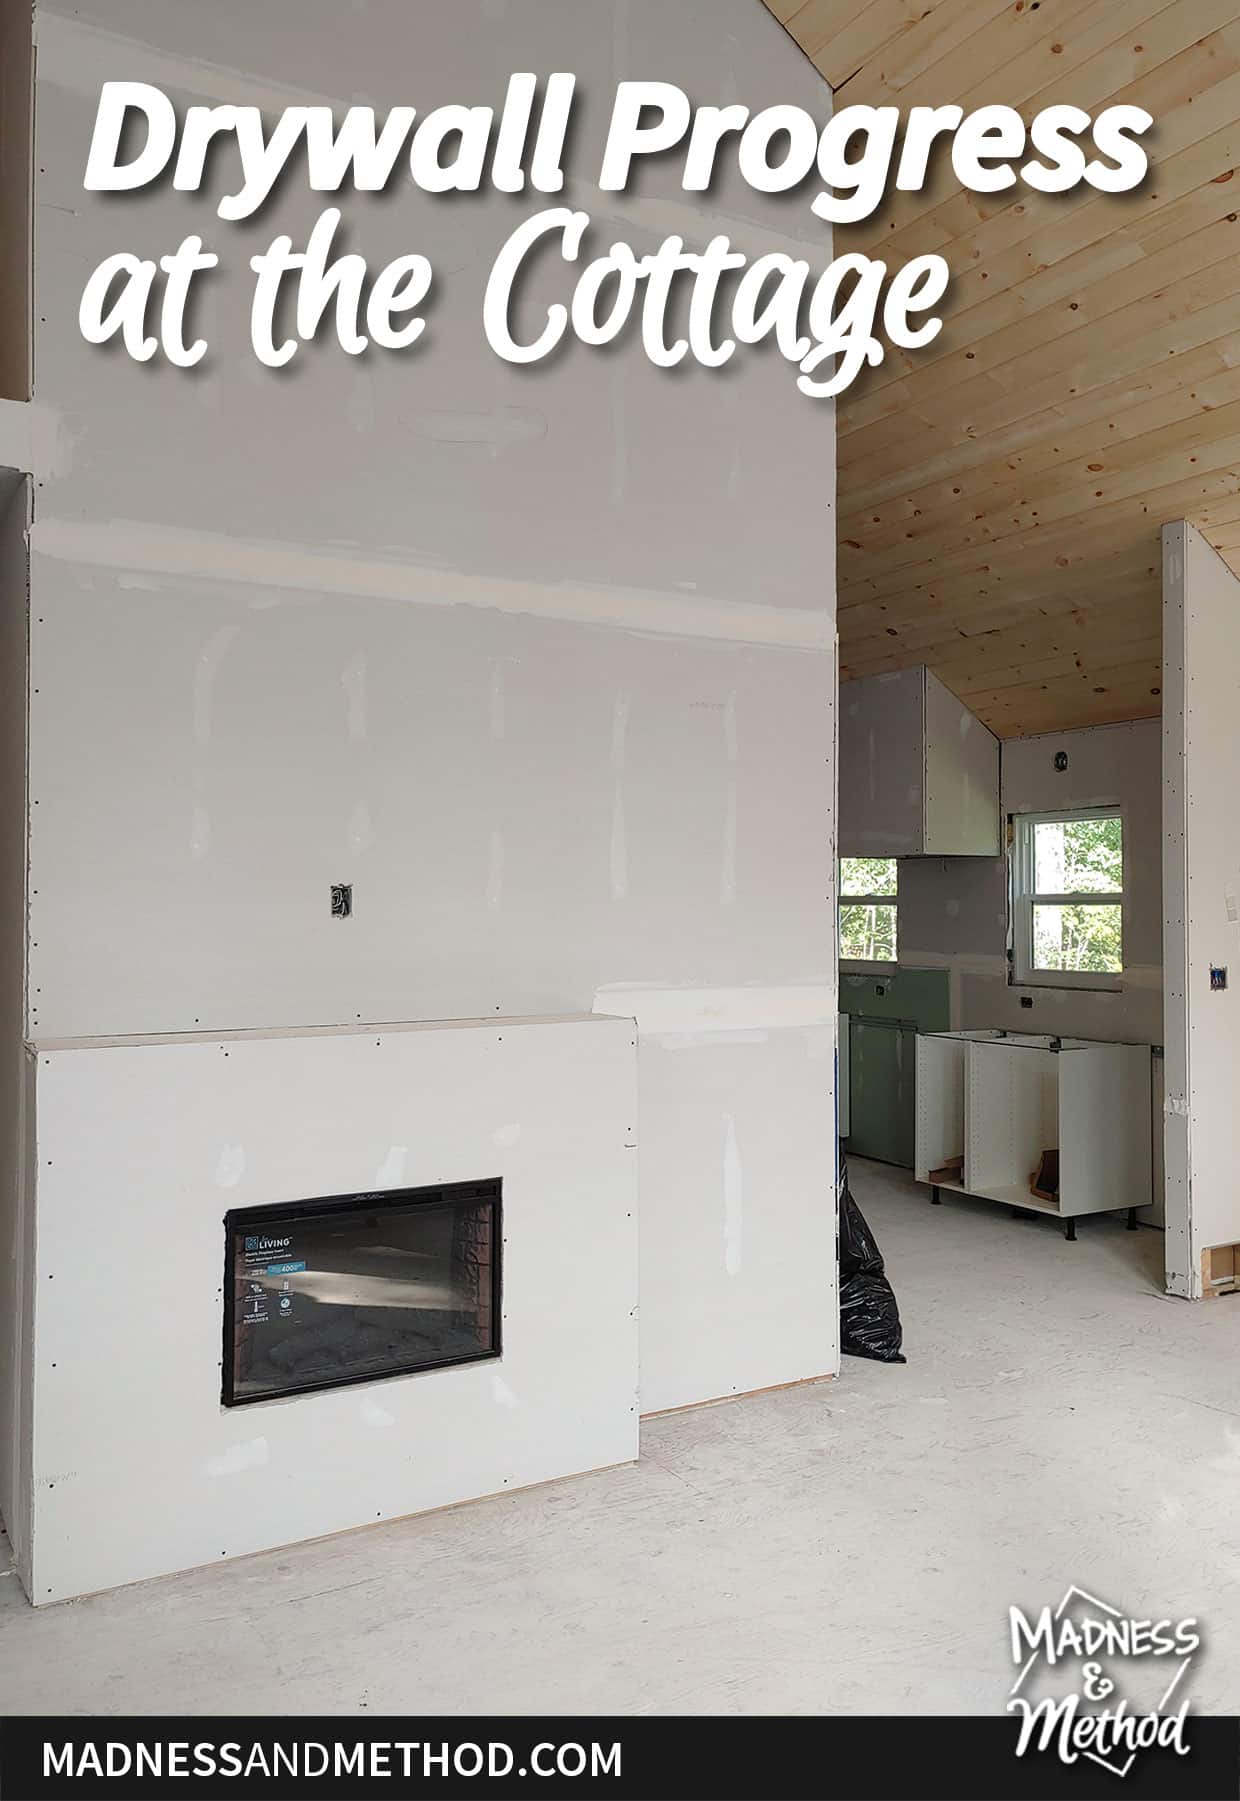
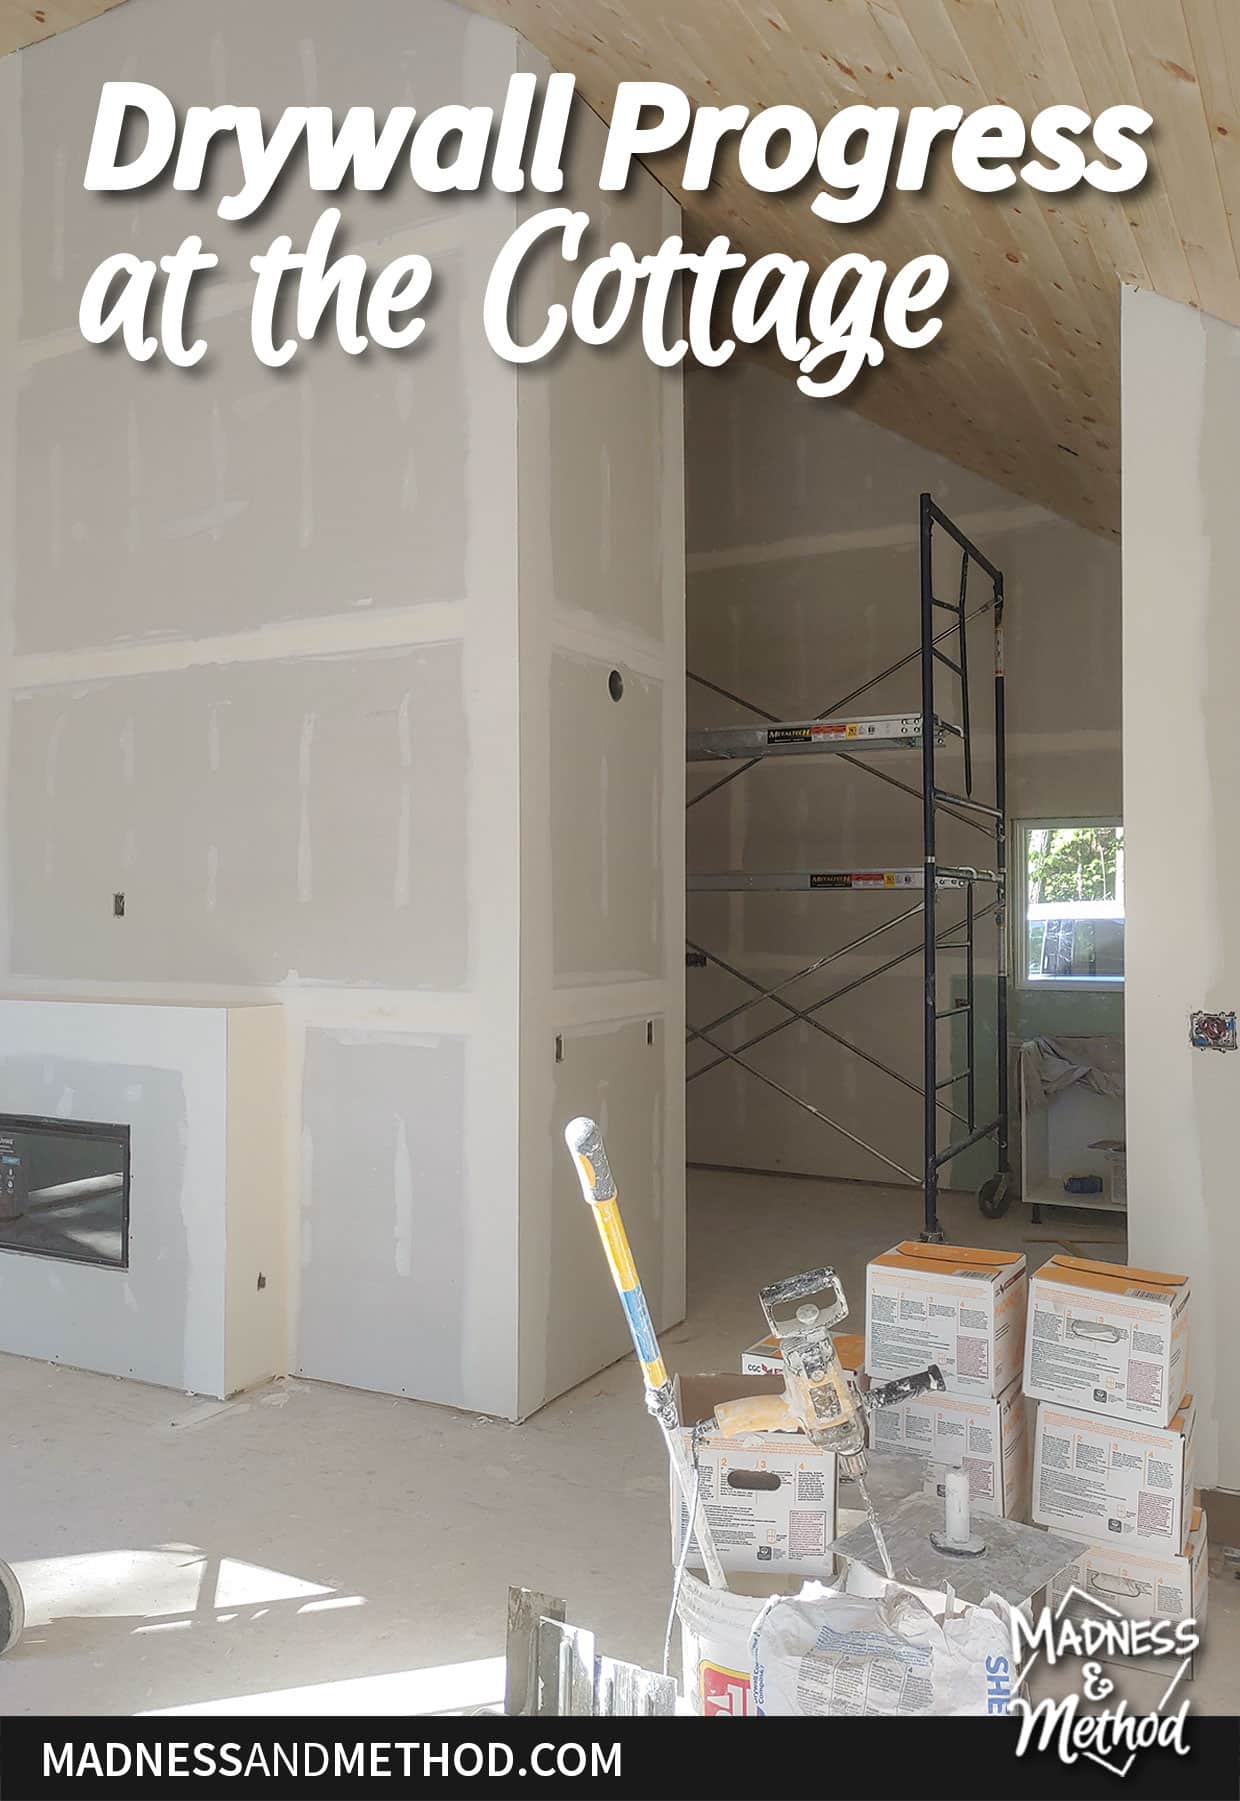
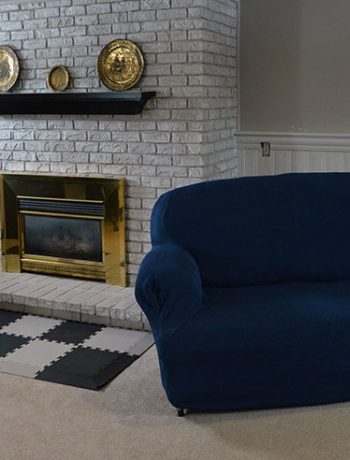
Pivoting ever so slightly at the sliding doors, we can see the fireplace wall. Reminder, the laundry room is on the opposite side of that wall, and we’ll have some cabinets to the right of the fireplace.
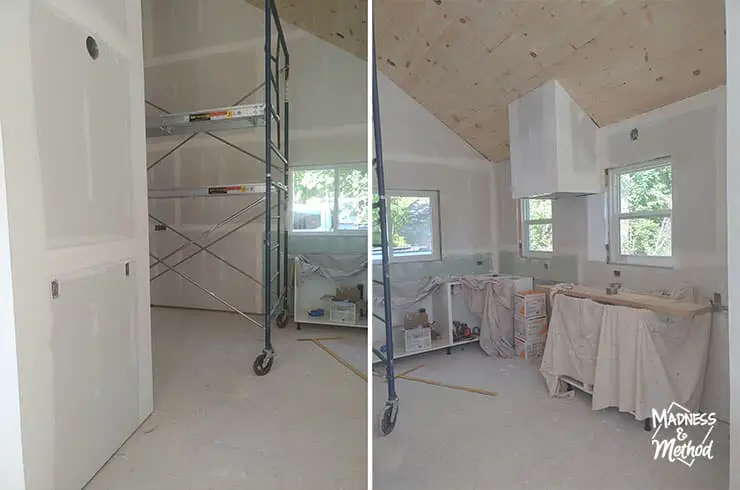
The kitchen is the final space room upstairs, and we have some of our base cabinets in. Drywall was supposed to be done by now, but I installed some cabinets either way (save me time later!). I did realize that one of my cabinets was a bit too small, so that has been ordered.
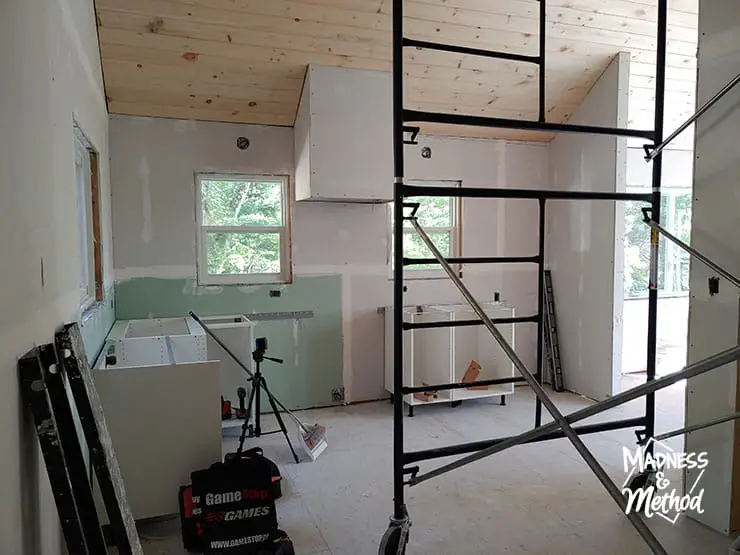
And this is the view of the kitchen from the entry. The photo above is from last week though, so that’s why there is less drywall mud up (and no cloths covering the cabinets).
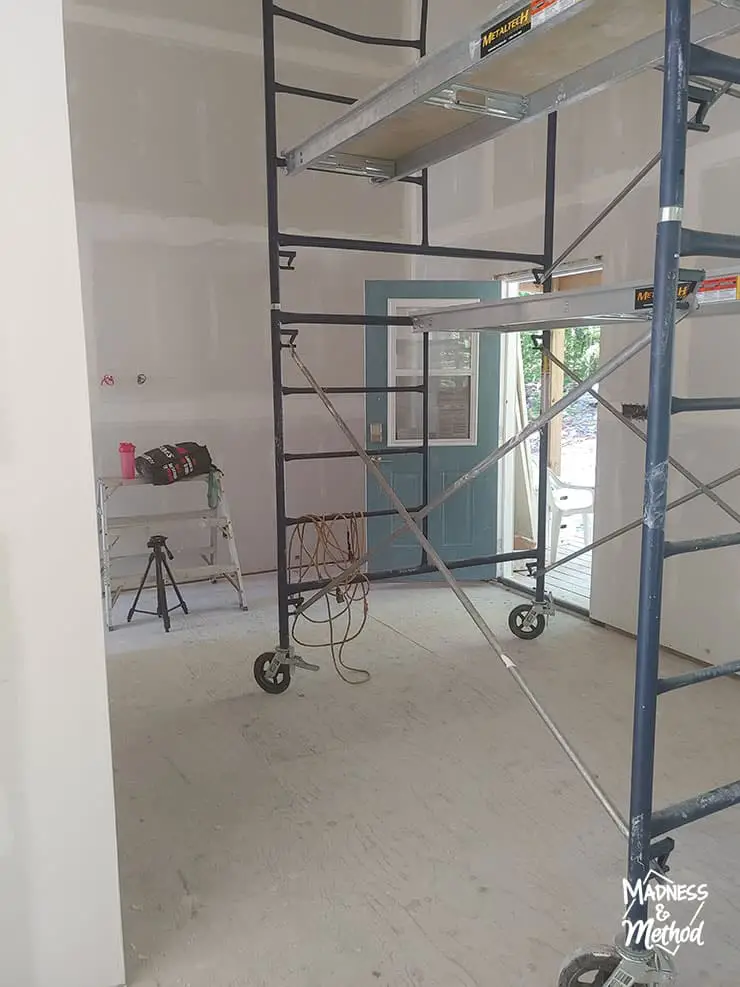
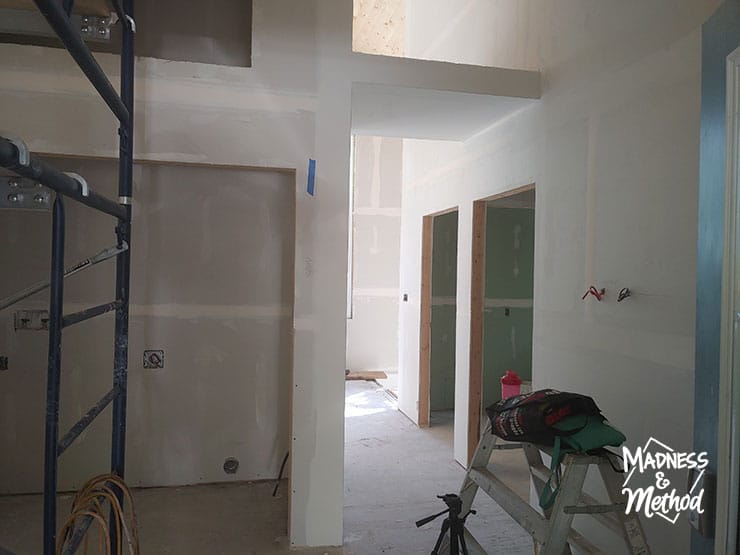
Back to the present time, this is the view of the entry from the kitchen. There is a big space here, and I’m thinking of doing a little “mudroom bench” near the door.
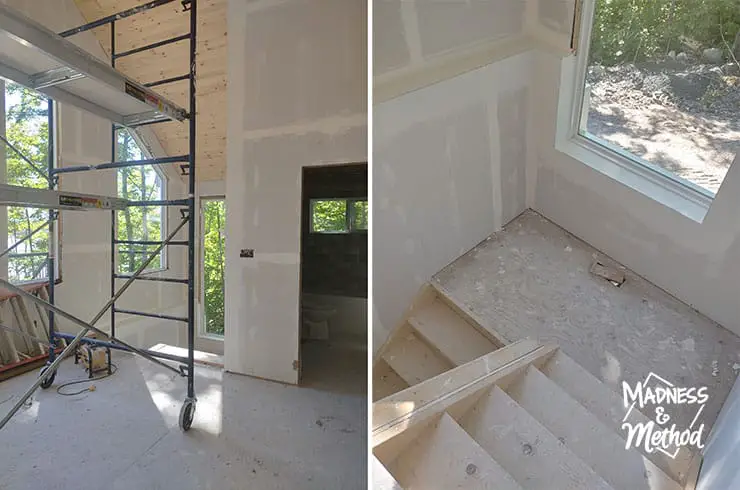
Now, let’s take the split staircase down into the basement!
Drywall Progress Downstairs
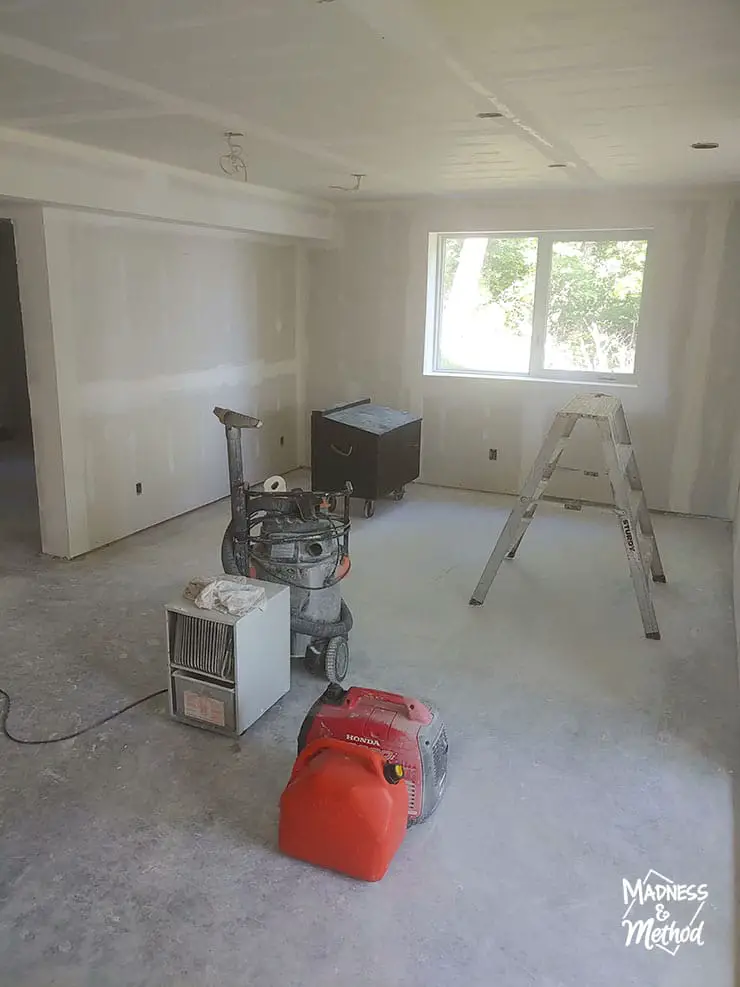
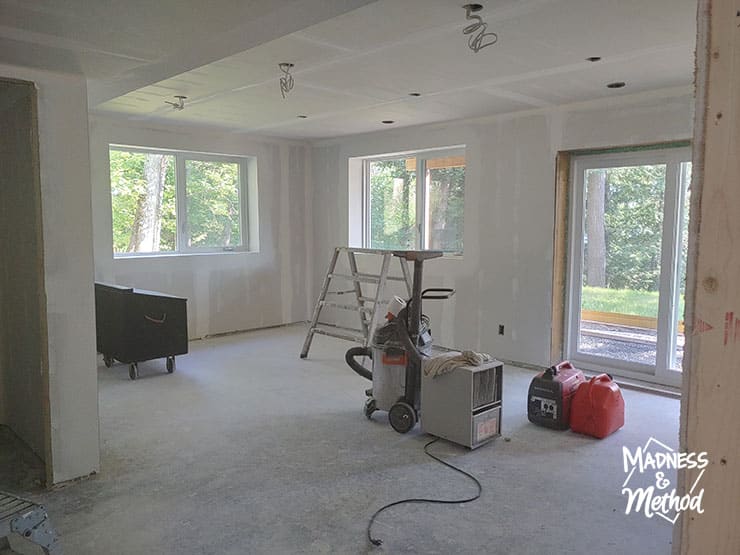
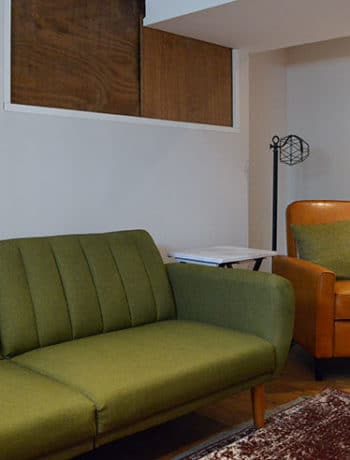
The first room you walk into will be the basement living room. I picture a big sectional here (that doubles as a bed). The living room down here is a bit larger, so I imagine it will be a great lounge/game space.
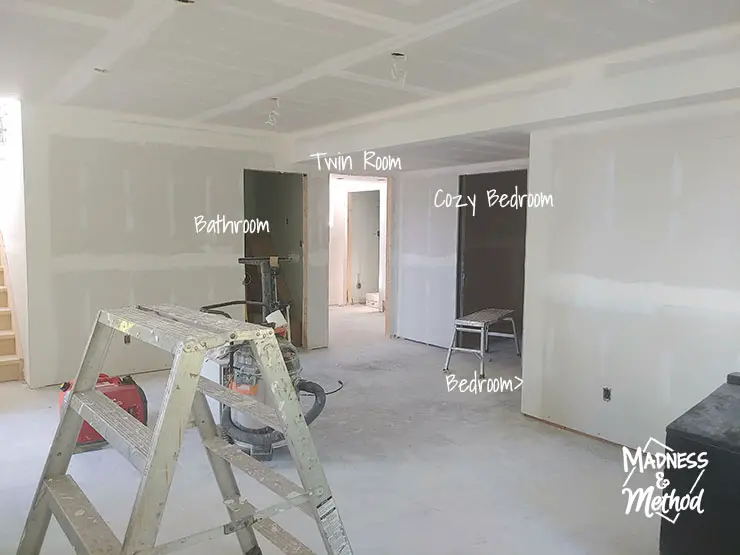
Standing in the opposite corner, I labelled the photo above to help out with the rooms. A few months ago, we realized we couldn’t fit all our utilities (aka the furnace) in the utility room I had planned. We were supposed to have an open nook, but we’ve since closed it in and I called it the “cozy bedroom”. Aka tiny ha.
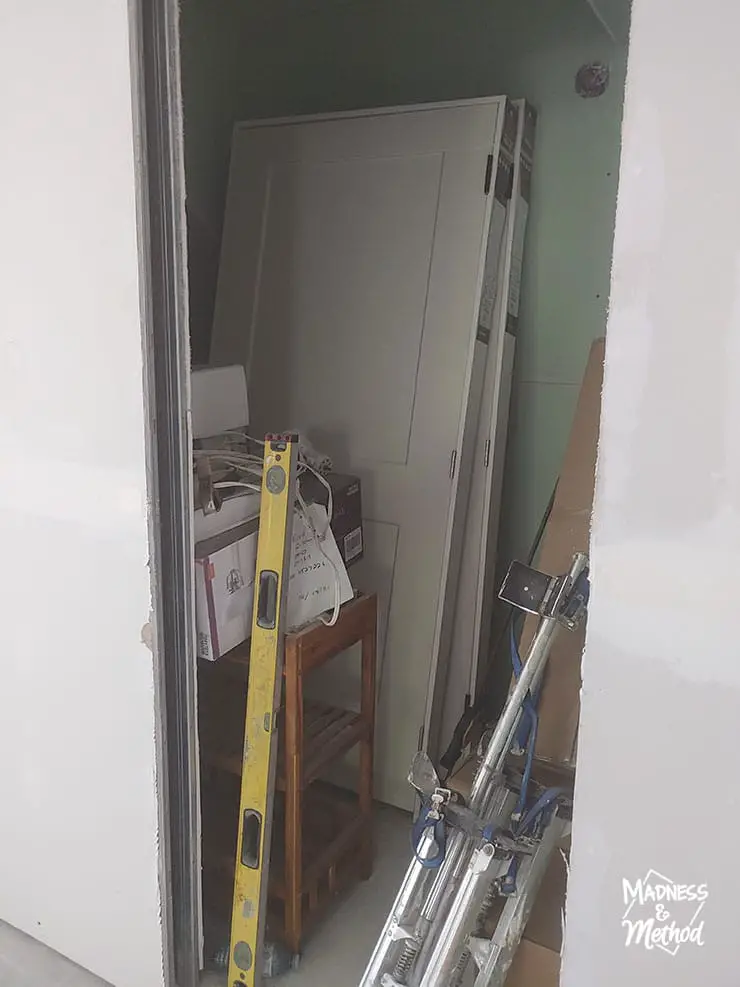
We’ve been using the basement bathroom as storage for our doors (and other things). Honestly, this isn’t the first time I’ve ordered doors way too early, but in my defence, I thought we would be done sooner!
Here’s the newly created “twin bedroom” that was once supposed to be a normal size. (All three bedrooms were all the same size). Now, we have a small furnace room to the right, and the original utility room still on the left. I’m going to put the twin beds that I had planned for the nook in here, and yes, they will block the doors.
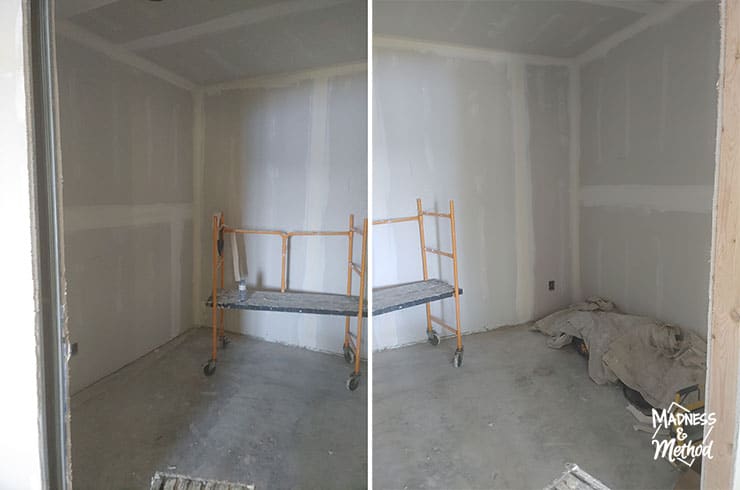
It’s funny that I took two photos of this bedroom, because it’s such a small space, ha. There will be room for a Queen bed and two nightstands, but not much walking around space. No windows either, so this will be very cave-y :)
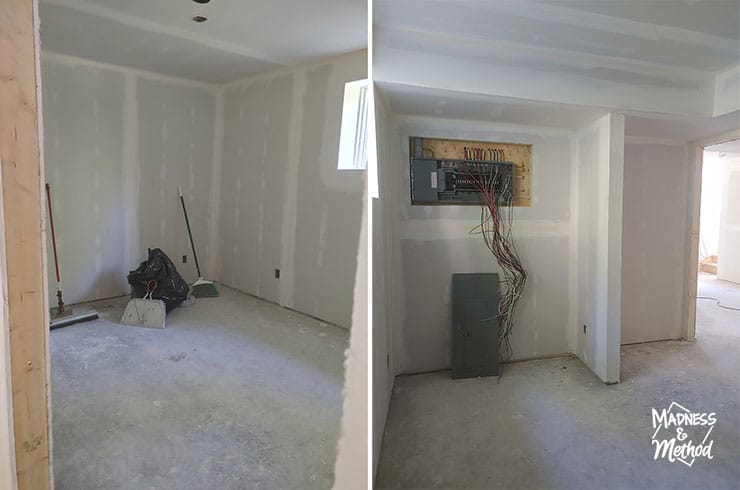
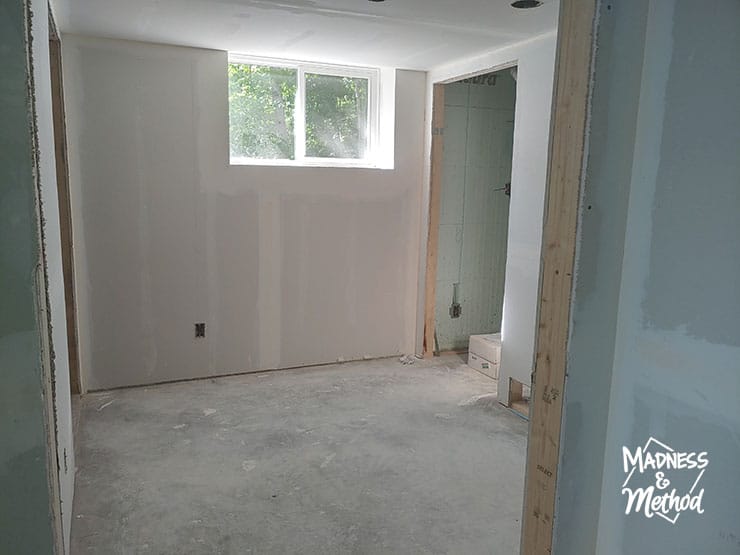
Here’s the only original bedroom in the basement, ha. Well, we did have to move the electrical panel in there – but we built out the wall so it will be hidden by a photo.
Finally, here’s the view back into the living room (from the bathroom/twin bed area). There’s a big sliding door that leads outside, and I imagine it will be used often!
Outdoors & Other Updates
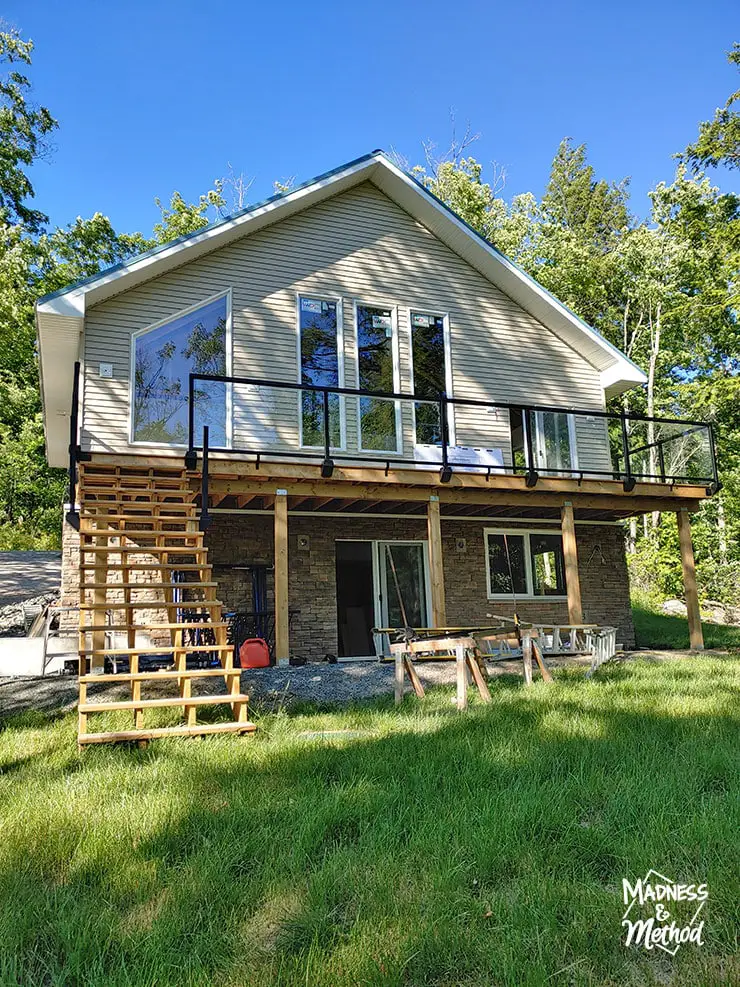
Speaking of which, here’s what it looks like from the outside. The photo above is from a few weeks ago, so we’ve installed a bit more railings down the stairs. (Or should I say, the Husband struggled with that while I was tiling, ha).
A reminder from way back when – I originally planned for another triangle window above the door to match the other side. But I ordered the wrong size window and didn’t want to pay (and wait months) for it to come in.

In other outdoor news, we had our propane tank delivered, but we’re still waiting to hook it up. We need the hydro for that, AND apparently, it is coming soon. We’ve also done some dredging at the water to make a beach area (it was very weedy) so I am thankful our permits came in on time. (Well, one I applied for a year ago, ha).
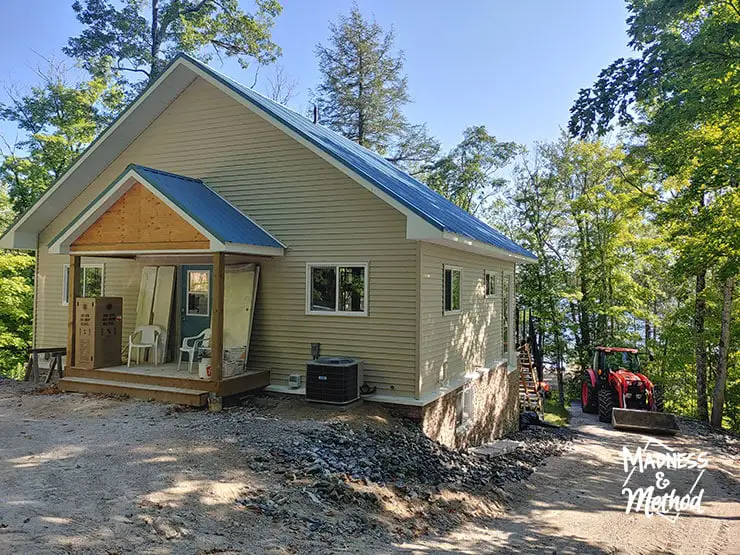
In the front, we have our little porch area (with more doors). I want to add some tongue and groove to the face of the gable, but it’s been pushed down the priority list.
Here’s a high-level list of the to-dos:
- Finish drywall/painting (drywallers)
- Clear coat pine ceiling
- Prep for floors (then have installers put them in)
- Finish front porch
- Install light fixtures/outlets/switches (electrician)
- Finish outdoor railings
- Install rest of tiles, grout upstairs bathroom
- Build/install vanity (+ new toilet)
- Finish building and installing kitchen
- Appliances (plus BBQ)
- Paint and install all the doors
- Install door hardware
- Hydro/propane hooked up and working (others)
- All trim painted and installed (baseboards, casings, etc)
- Staircase steps + handrail
- Basement bathroom
- Bring in furniture/accessories
- Cabinet near the fireplace
- Window treatments/decor
- Laundry room
- Painted murals in bedrooms
- TV/internet
The drywall and painting should be done this week. Well, they have to be done since our floor installers are coming next week! I’d like to finish the tiling and get the upstairs bathroom set up, and the kitchen will be the next big item on the list. The Husband is hosting a boys’ weekend at the end of August, so we have a mad rush to get things liveable by then! (They tried to schedule it for the start of August, but as you can see, not too much is completed).
In the next few weeks, I’ll share a more in-depth look at each of the different rooms/spaces in the cottage. Most will be the planning and design direction, so stay tuned for that :)
Hopefully, things will come together and I can share completed rooms – but we shall see!

No Comments