
For our kitchen renovation, the bulk of the work was completed over the summer, and it was those pesky “nice to haves” that seemed to take forever to finish! Once the functional elements were done and we could move all our stuff back in, the aesthetic updates dragged on. In the end, we knew it would be easiest to hire a contractor to handle these tasks: things like adding crown moulding to cover a bulkhead, installing the cabinet caps, and fixing minor issues we couldn’t tackle on our own (or just didn’t want to). Read on to see how hiring a professional (for some stuff) made our DIY kitchen that much better!
Pro Help 1: Cabinet Toe-Kicks
While the Husband (and some friends) were able to install the Ikea baseboards/toe kicks to the cabinets themselves (they’re snap on!), there was one spot (on the cabinet to the left of the oven) where you could see a gap between the cabinet and the baseboard. This was because our kitchen is not level, and the baseboard just wasn’t tall enough to reach the bottom of the cabinet at this section. To fix this, our contractors raised all the Ikea baseboard panels and added a secondary layer of trim, painting them in a similar colour.
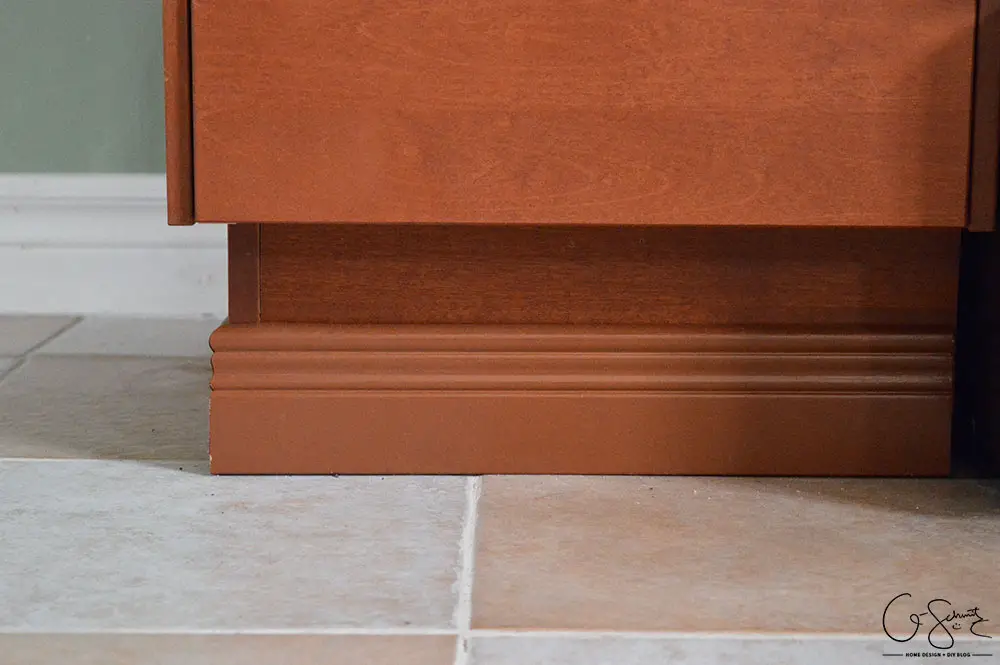
But to me, it was just screaming “brown paint” rather than actually matching the Ikea cabinet colour (which is Adel Medium Brown in the Akurum line, if anyone was wondering).
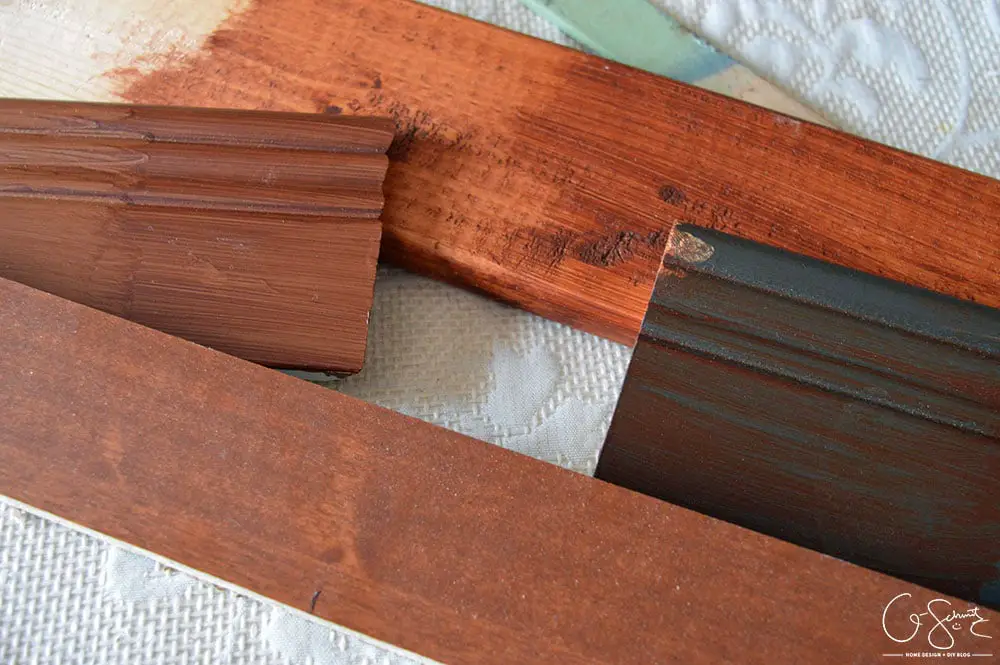
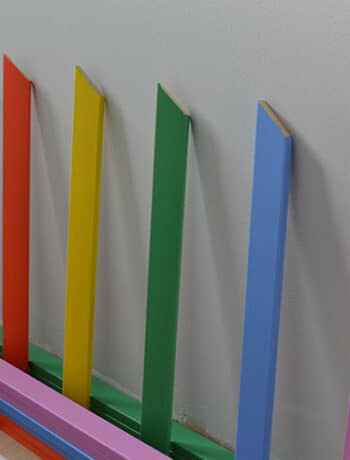
Before they painted and installed all these trim pieces, I had tested a few samples with some stain, to see if I could get anything to match the Ikea cabinets (my test piece is the bottom one in the photo above). I realized that if I used the same gel stains from when I stained our kitchen accessories, that I could mirror the look of wood and closely match the Ikea cabinet colour (when it was applied on top of the brown paint).
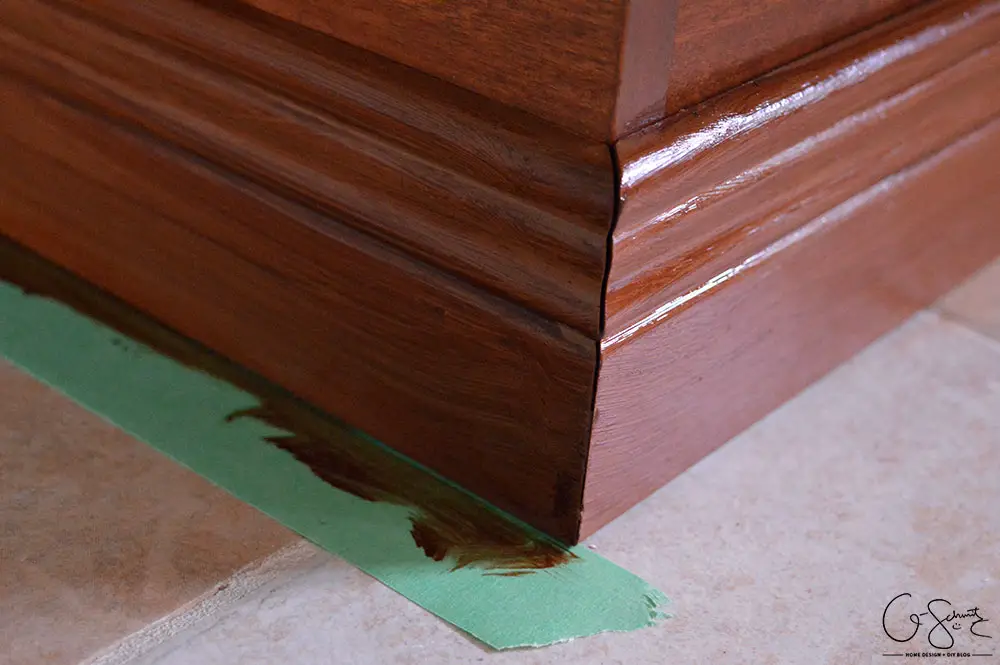
I taped off the bottom of the baseboards where they met the tiled floors, and I brushed on my gel stain trying to get nice, even lines (again, to mimic the look of a wood grain).
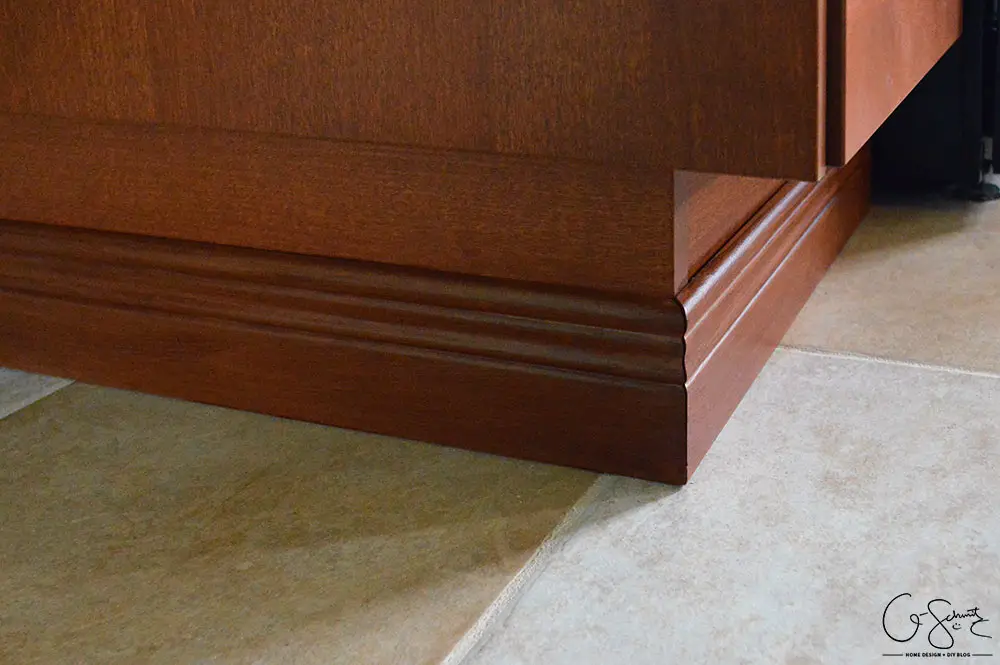
I removed the tape and let the stain dry completely without wiping it off, and I think it turned out great!
Pro Help 2: Closing off the Dishwasher
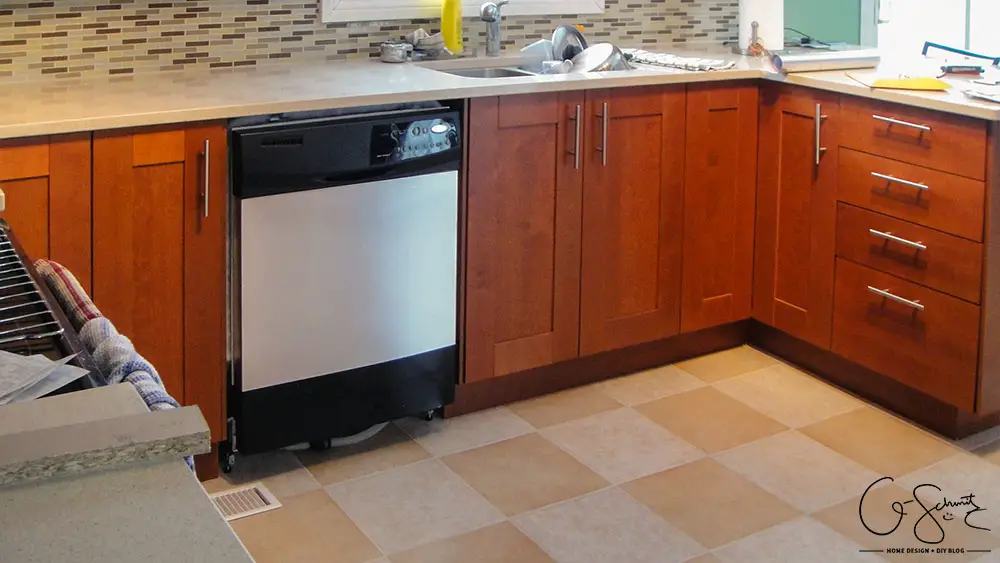
Photo First Appeared on Sneaky Stainless Steel Dishwasher
Remember the post I wrote about the DIY stainless steel dishwasher update? Notice how you can see the open gaps along the sides and bottom of our dishwasher? Not cool, but the Husband and I definitely didn’t know how we were supposed to close that off and make it look like part of the cabinets. We’re actually not even sure if should have installed dishwasher tighter in to the cabinets in the first place.

Either way, our contractor built a frame to close off the sides, and made a base panel at the bottom that is still accessible if you want to move the dishwasher. Much better than a gaping hole that we left!
Pro Help 3: Crown Moulding Between Rooms
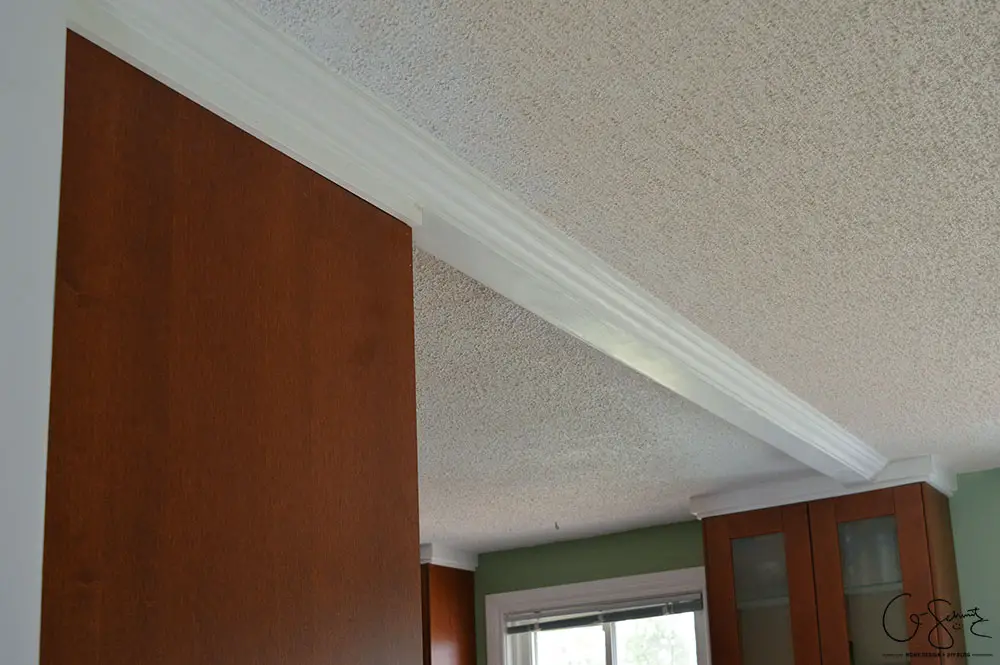
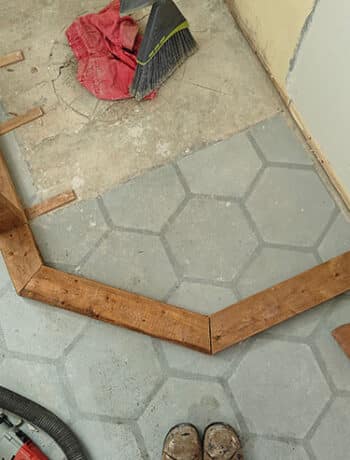
When we tore down the former wall that separated the dining room and kitchen, there was a piece of 2×4 that was left over.
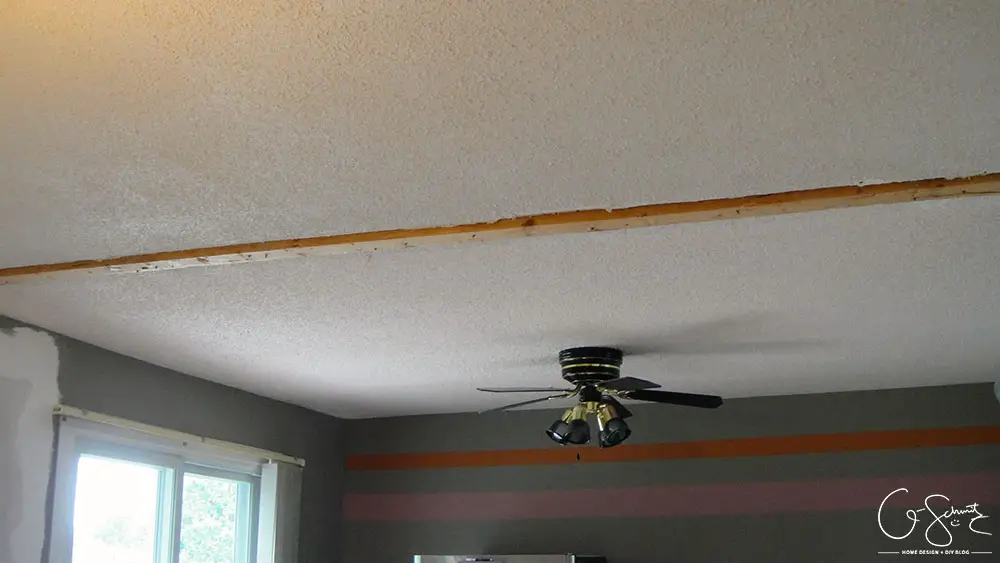
It was anchored into the ceiling from the attic down, and there was no easy way to remove it without tearing into the ceiling drywall. I also didn’t want to have to cover up and patch such a long skinny space (or the entire ceiling), so I suggested we just cap it off with a nice crown moulding trim piece.
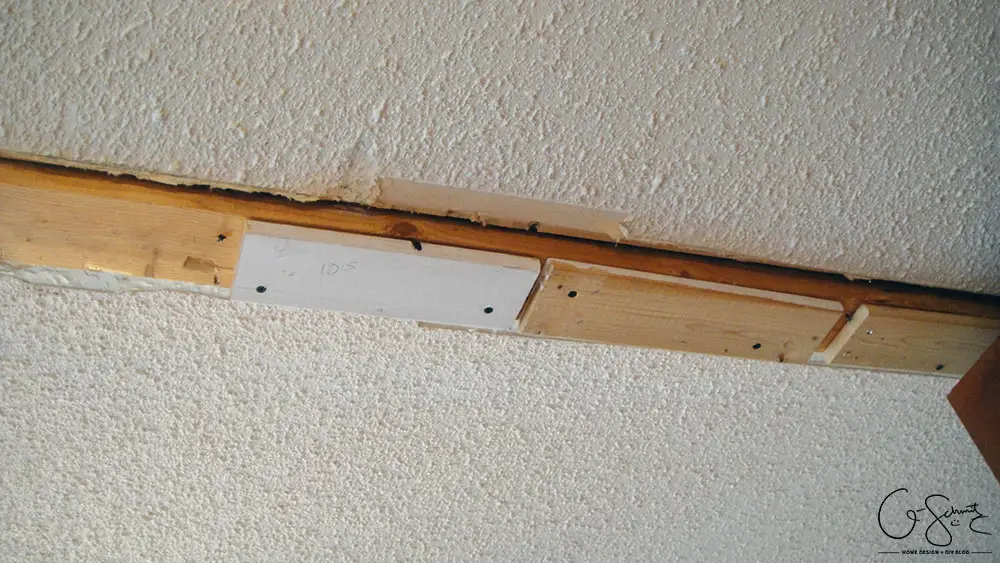
There were a lot of nails sticking down out of the piece of wood and the Husband grinded them down as shortly as he could get them, but they were still there! I then had the idea to measure out little pieces of wood to act as a buffer space to go past the nails, and I placed them between the nails and secured them in. We then measured and installed a nice 1″ thick piece of flat trim, and could then use these sections of wood to nail into.
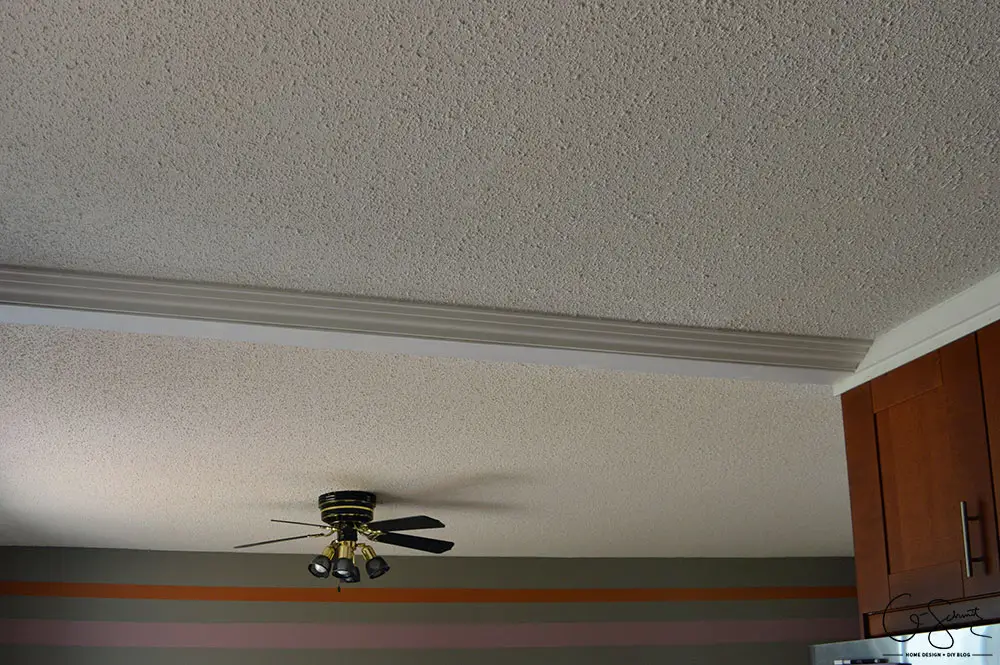
We had never installed crown moulding before, and noticed that this section would also be going through some of the cabinet caps (that we KNEW we wanted a contractor to install since day 1 of our reno). Anyways, the professionals were able to use the flat piece (see it on the bottom of the crown) and build their side angles off of that.
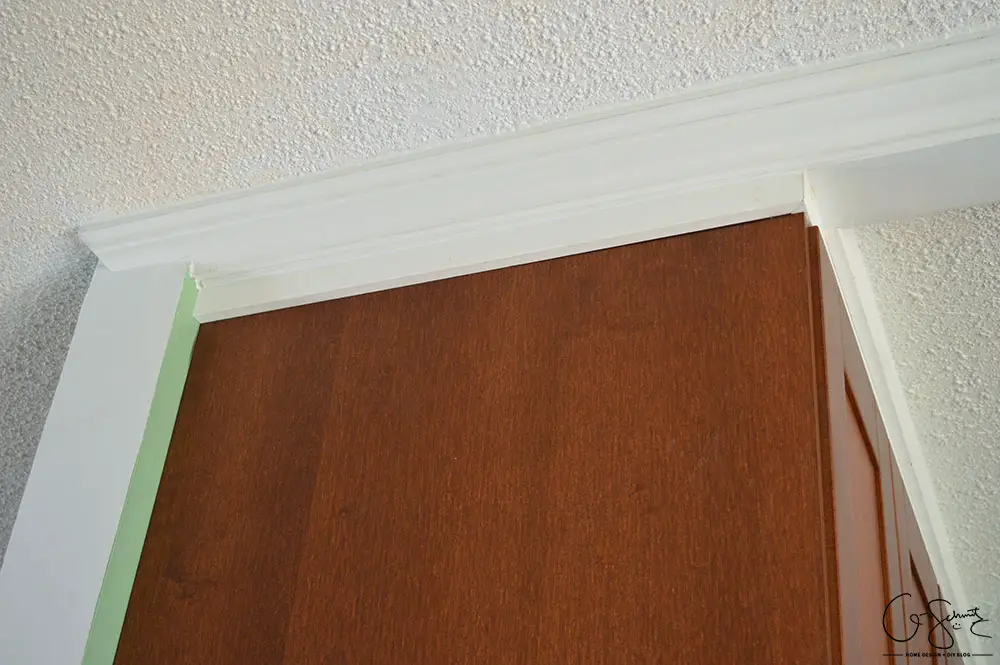
As mentioned, the trickiest part of this crown moulding section was that it went right through the top area of the cabinets.
Pro Help 4: Cabinet Crowns
Crown moulding on cabinets, or what I like to call “cabinet caps”, are by far the best addition to any kitchen to really give it that professional finished look. If you have the capacity to do this yourself and are confident in your abilities, by all means – tackle this as a DIY project.
For us, the un-level-ness of our kitchen was going to add another layer of difficulty that we really wanted to avoid. In some places there was more than a 2″ difference between the tops of the cabinets and the ceiling (and no, it’s not because we installed our cabinets incorrectly, we made sure they were very level!).
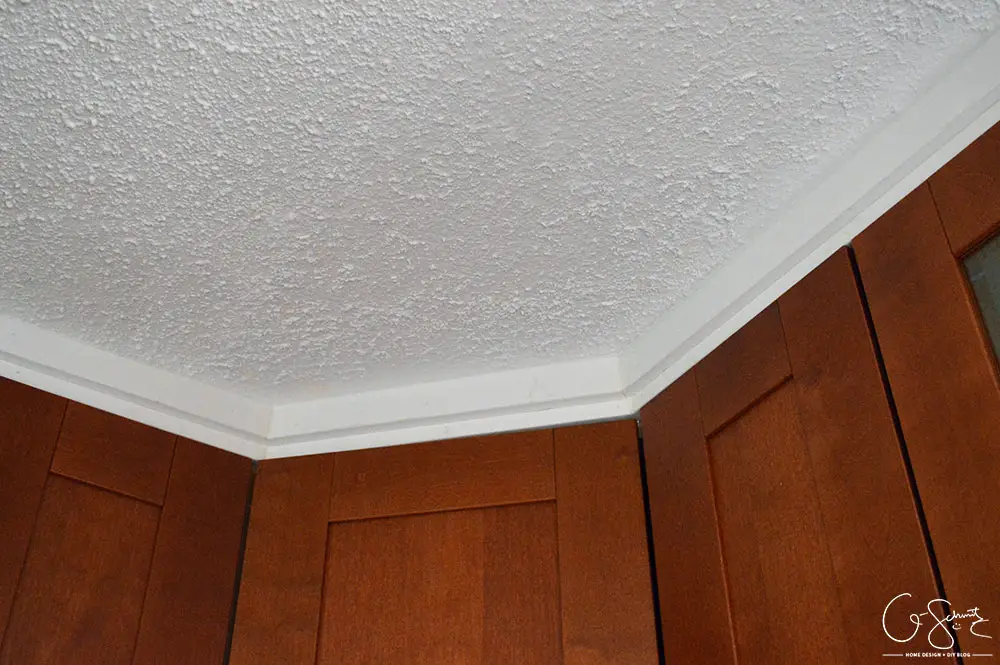
Remember my post about patching a popcorn ceiling? See how great the end result is once you cap off the tops of the cabinets!? You can’t even tell that there was once a pantry here! Now, our contractor did suggest painting the cabinet caps/crowns to match the wood (I would probably use the same method as #1 above), but I’m not sure if I would 100% like that. Because of the large difference in height at some points, the darker colour might really emphasize the imperfections.
I also like that the caps are really plain (ie: flat piece of wood) compared to normal trim with a wavy profile, I definitely am a simple kind of person. But anyways, for now we will leave the caps white, and maybe in the future we might update them to something else, any suggestions?
I don’t know about you, but I sure am glad that we brought a professional in to do these last little bits. If it would have been left up to the Husband (or me too I guess), I think we might have eventually got around to finishing this… but more likely would have been in another year! Hiring a pro might cost more than tackling it yourself, but if you’re not an expert in something it’s always a good idea to get the help when you need it.
How about you? Are there any areas in your house that you wouldn’t tackle as a DIY project and would only leave up to the pros? Share your thoughts in the comments!
PS: Next week is the big kitchen renovation reveal, so make sure to come back and visit!
No Comments