
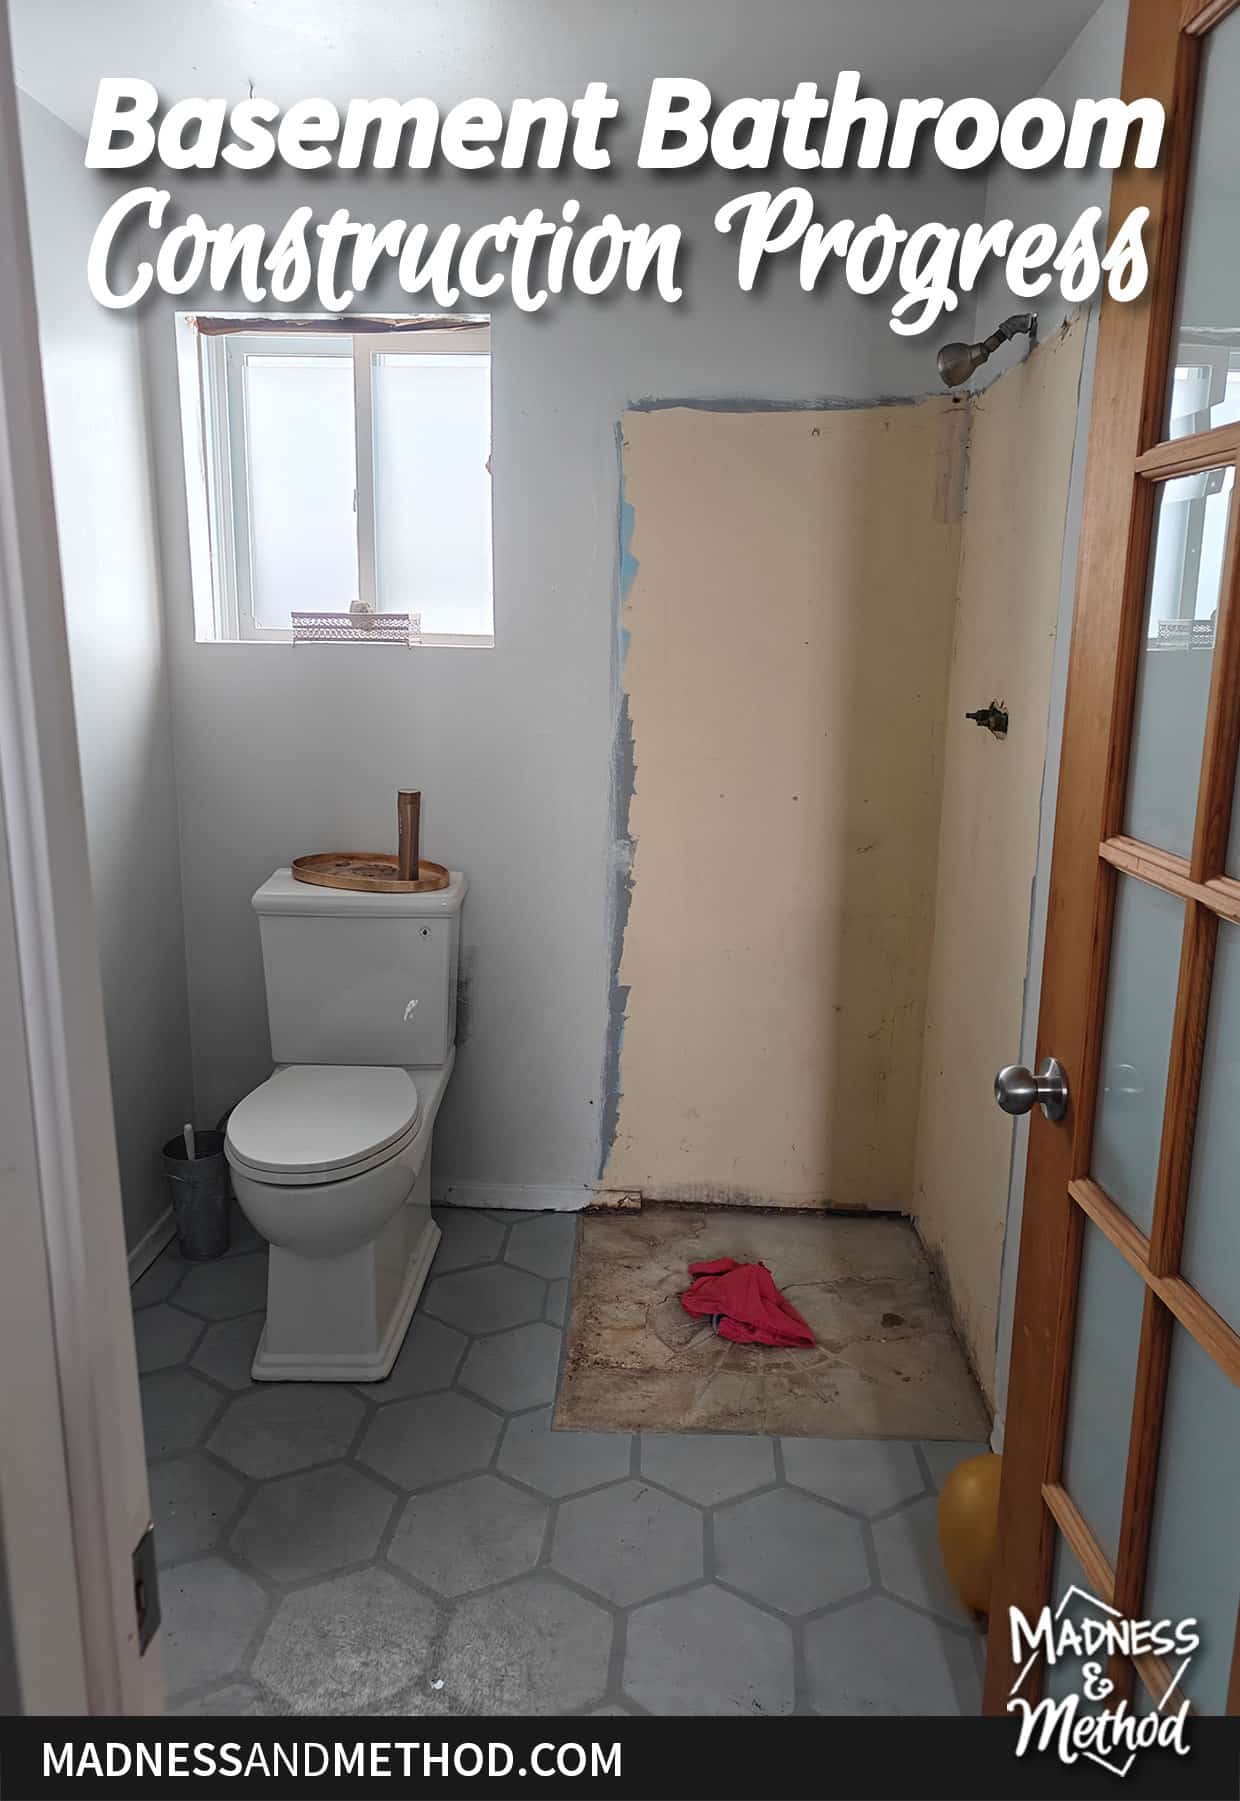
Whew, do I have the update for you! I wish I could say that we were done with this bathroom renovation, but unfortunately that is not the case. We are pretty far along though, and fingers crossed everything will be wrapped up in two weeks. Either way, I figured it was a good time to give you a big basement bathroom construction progress update!
Today’s update comes with not one, not two, but threeeeeeee Youtube videos. Basically, I’ve been working and filming things and finally got around to you know, editing and posting them.
If you want to jump to those directly, you can watch our window reframing, the discussion on the shower framing, and how I waterproofed everything. (Or read below and watch when you get to them).
Alrighty, so one of the very first things we did (besides ripping out the old shower stall) was addressing our weird window framing.
Fixing Framing Around Window
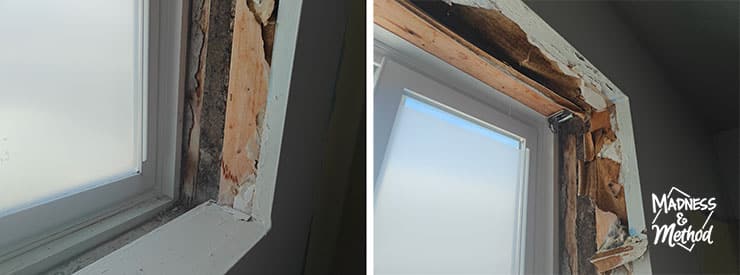
Because this is a basement, all the exterior walls are made out of concrete. (Yes, even though this side of the house is above the ground). There is also a second interior framed wall where all the insulation is, and for some reason, the two holes didn’t match up. For the past five years we’ve lived here, it’s essentially been an ugly exposed framing/cobwebby/mucky situation.
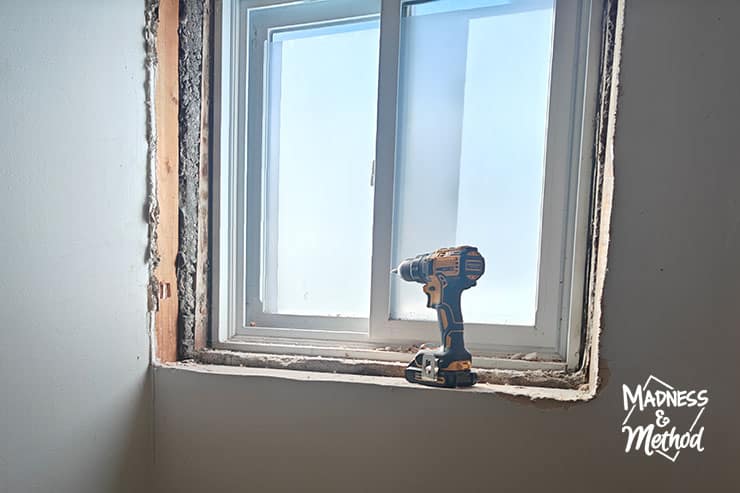
The Husband was able to rip out the drywall and a stud or two to get the framing closer to even. The concrete still didn’t line up perfectly, so we added some spacers before installing the drywall.
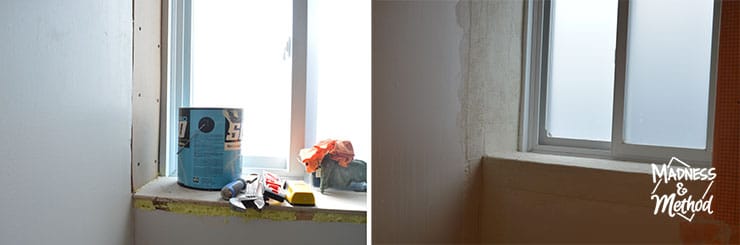
At first, he did install drywall on the left wall but I did NOT like how it stuck out more than the existing interior wall. I wanted it to be all lined up perfectly (no little bumps) so I took out the piece of drywall and used an 1/8″ hardiboard instead. From there, we used spray foam to fill in the gaps (and limit the cold air). On the right side (near the shower) my waterproofing membrane covered the edge.
If the video player above isn’t working, you can watch it directly on YouTube here.
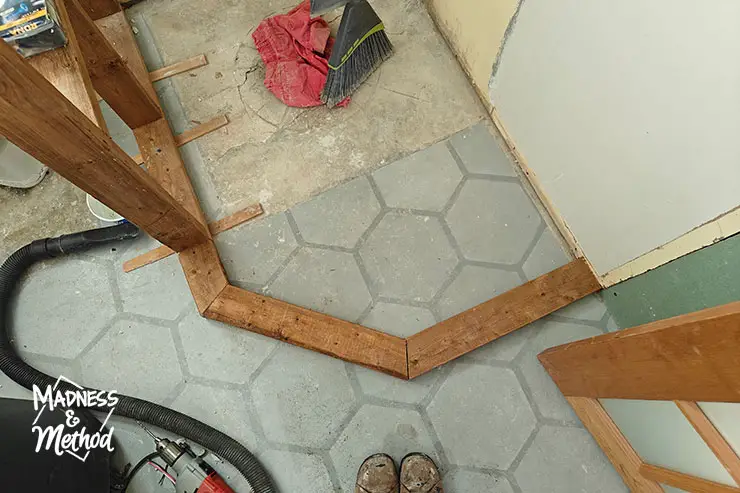
Creating a Custom Shower
For the shower stall, I planned out a perfect little half wall. It measures 32″ wide by 40″ tall, and was designed to take advantage of the sheet of cement board sizes I had. I also wanted to create a few storage niches (one in the shower and one out of the shower).
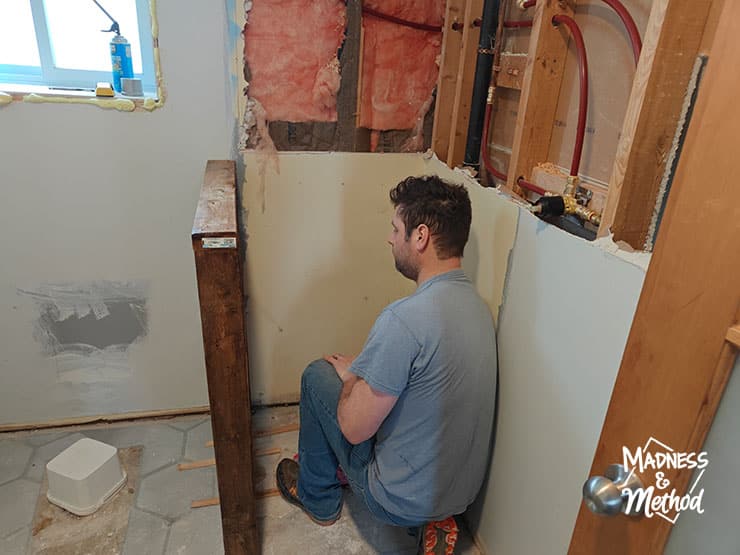
For the placement, ideally it would be attached to a stud along the wall (in addition to being screwed into the concrete). At first, we went for the same width as the old shower (32″), but the Husband said it was way too tight.
Once the wall was levelled and secured, I continued working on the shape of the shower. While I originally wanted a rounded corner, it would have been way too tricky to figure out all the angles. (And by that I mean, more work than what the design payout would have been). We could have also cut the rounded part using a piece of plywood, but this was quickest.
From there, came the tedious task of measuring, cutting and installing all the cement board. I had a random piece of cement board leftover and we got a fresh one, and I worked out all the math to maximize my cuts. (Seriously, I think there’s like a 2″ x 2″ piece leftover).
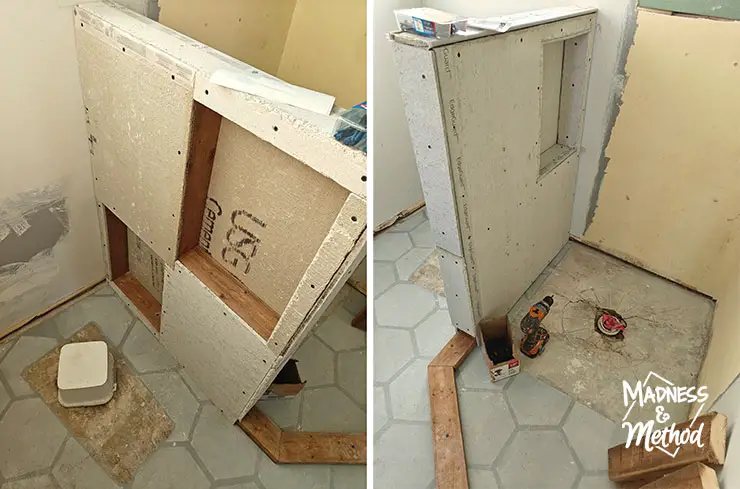
Technically, there are still some exposed wood frame pieces – but since it’s not in the shower (ie wet) zone, I figured it was okay. Everything will be microcemented and will all look the same in the end.

(I did cement board the shower curb too, ha). Oh, when I did our last custom shower, I microcemented right on the pressure treated wood.
The video above shows some more behind-the-scenes of framing our custom shower. Including the why/where we chose to put the niches in. If you can’t see the video player, watch it on YouTube here.
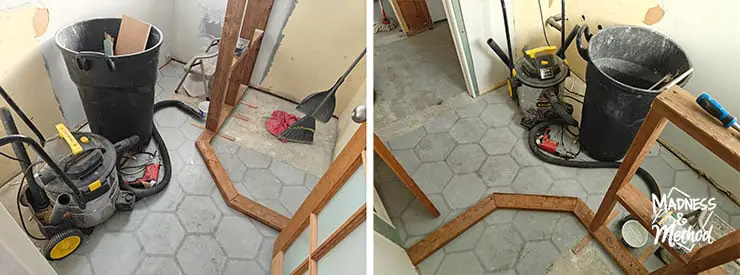
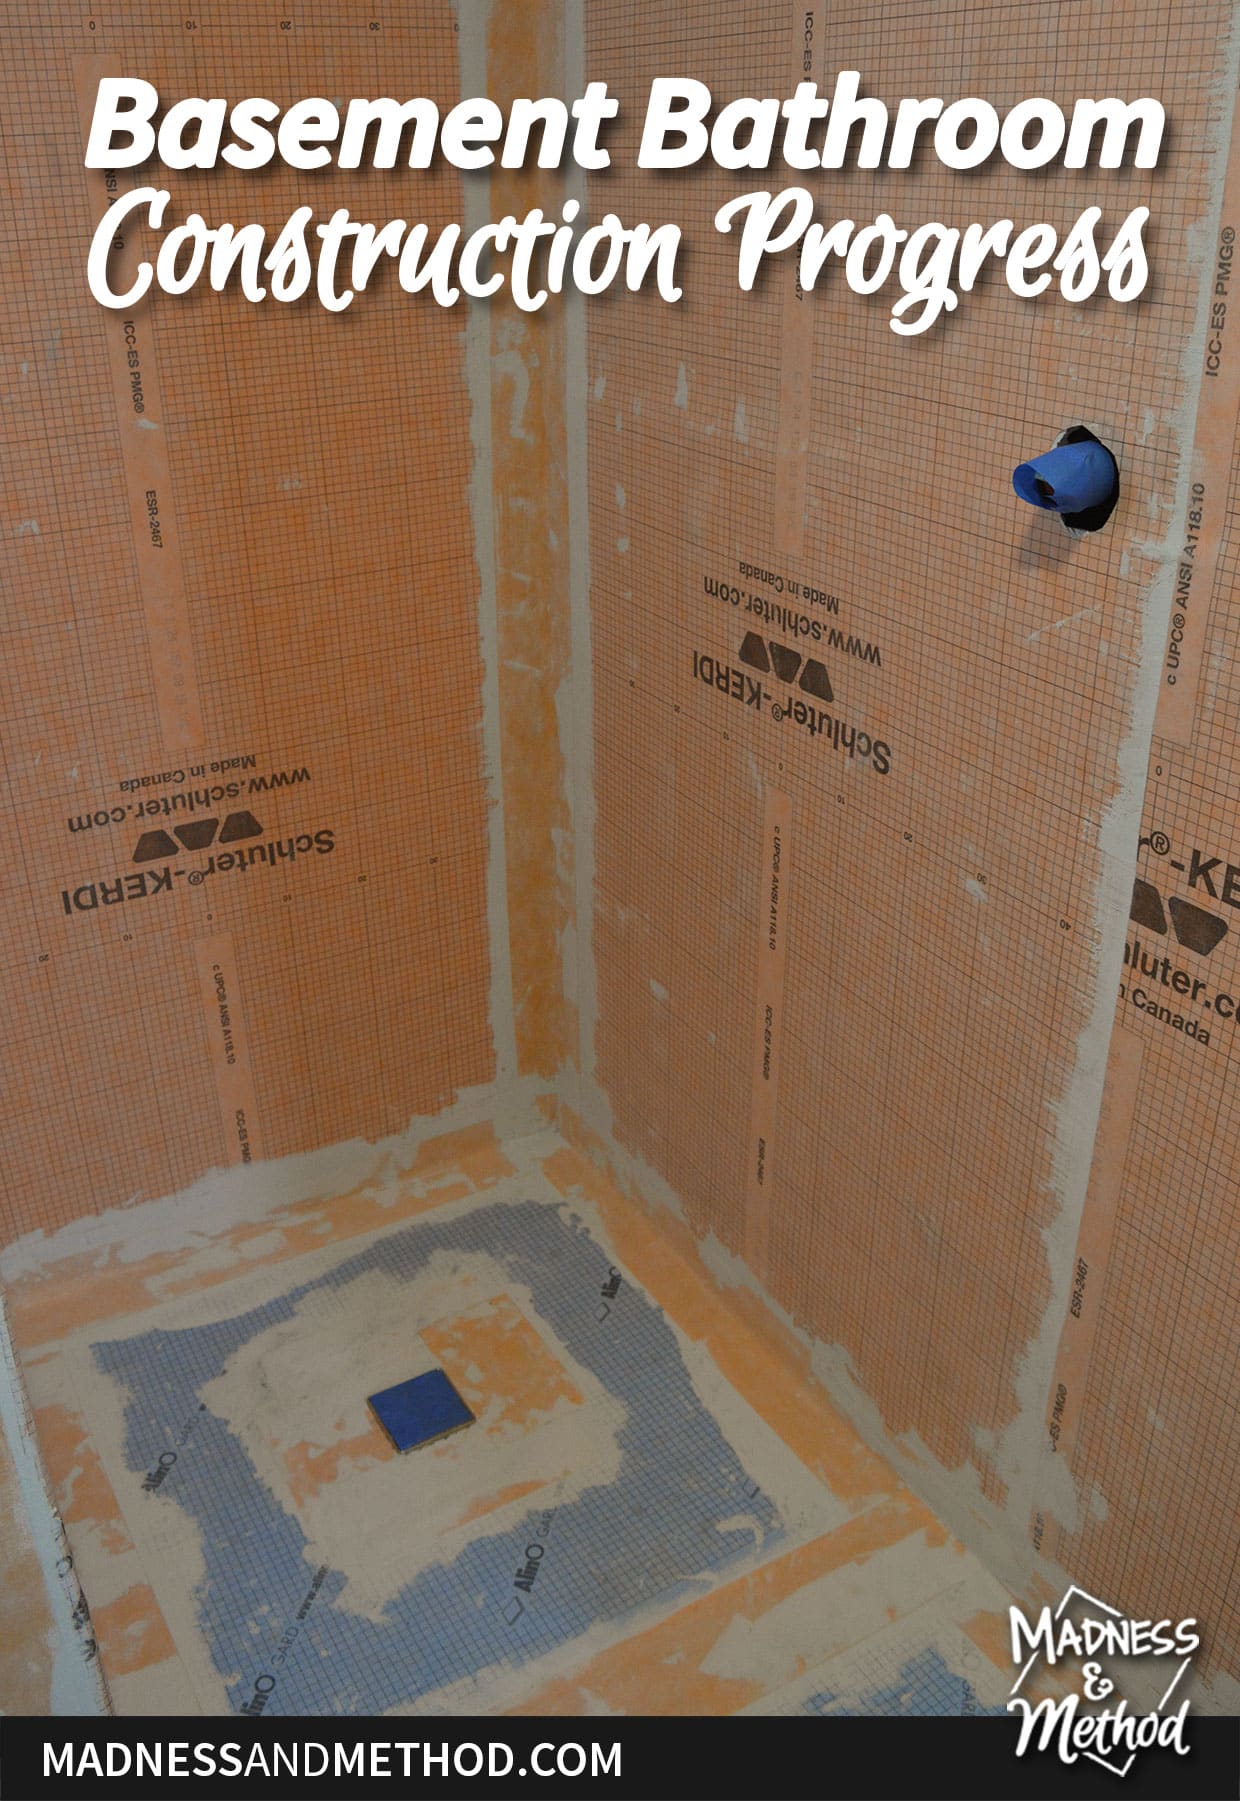
Waterproofing Our Shower Area
I can’t remember how often I’ve used the Schluter Kerdi waterproofing membrane. So I don’t go into many how-to details in the video I made.
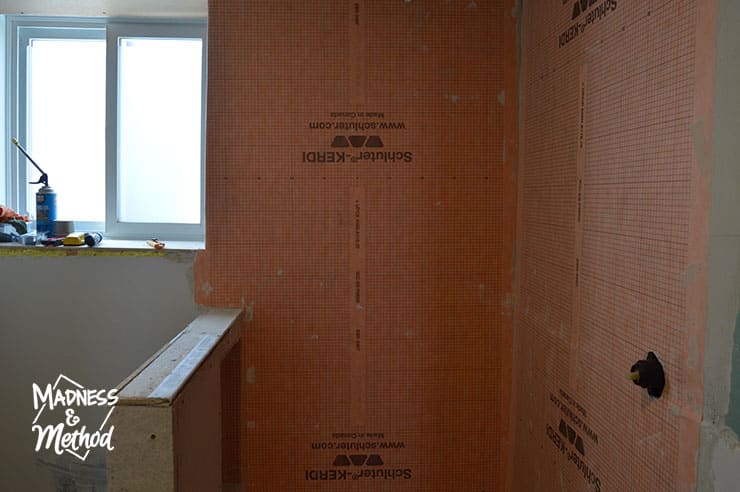
Honestly, it’s probably way more comprehensive to actually watch the brand videos if you want to install the same system. Either way, I do go into detail on how to install the shower drain.
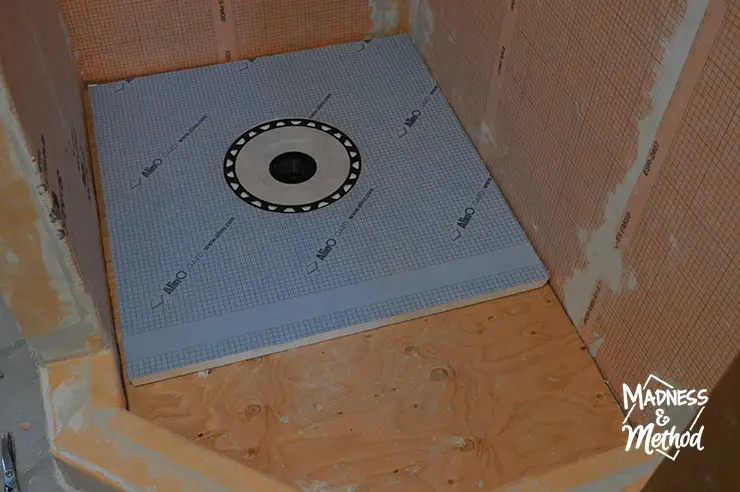
For the shower pan base, I bought a different brand because it came in a 36×60 size with an offset drain hole. On the computer, I mapped out the location of our drain and the walls, then drew the shower pan sizes on top to figure out which one to buy. I knew I could cut the shower pan down to fit – but I couldn’t compromise on the drain location.
Oh, and we had to install a 3/8 plywood as well because there was a random pipe in the way of our Kerdi drain. We couldn’t go any lower, so we had to go up a bit.
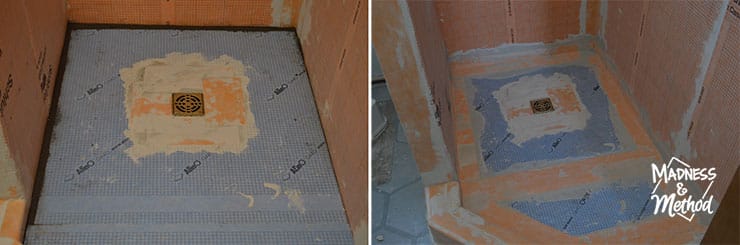
In the end, I still cut the pan too small (d’oh!) and had to do the edges with a dry packed mortar. The Husband would like everyone to know that the piece he cut (the small angled portion) was almost perfect.
The video above shows the problem pipe and how it was placed. It doesn’t make sense and was definitely not something we wanted to figure out. Can’t see the video player directly above? Watch it on YouTube here.
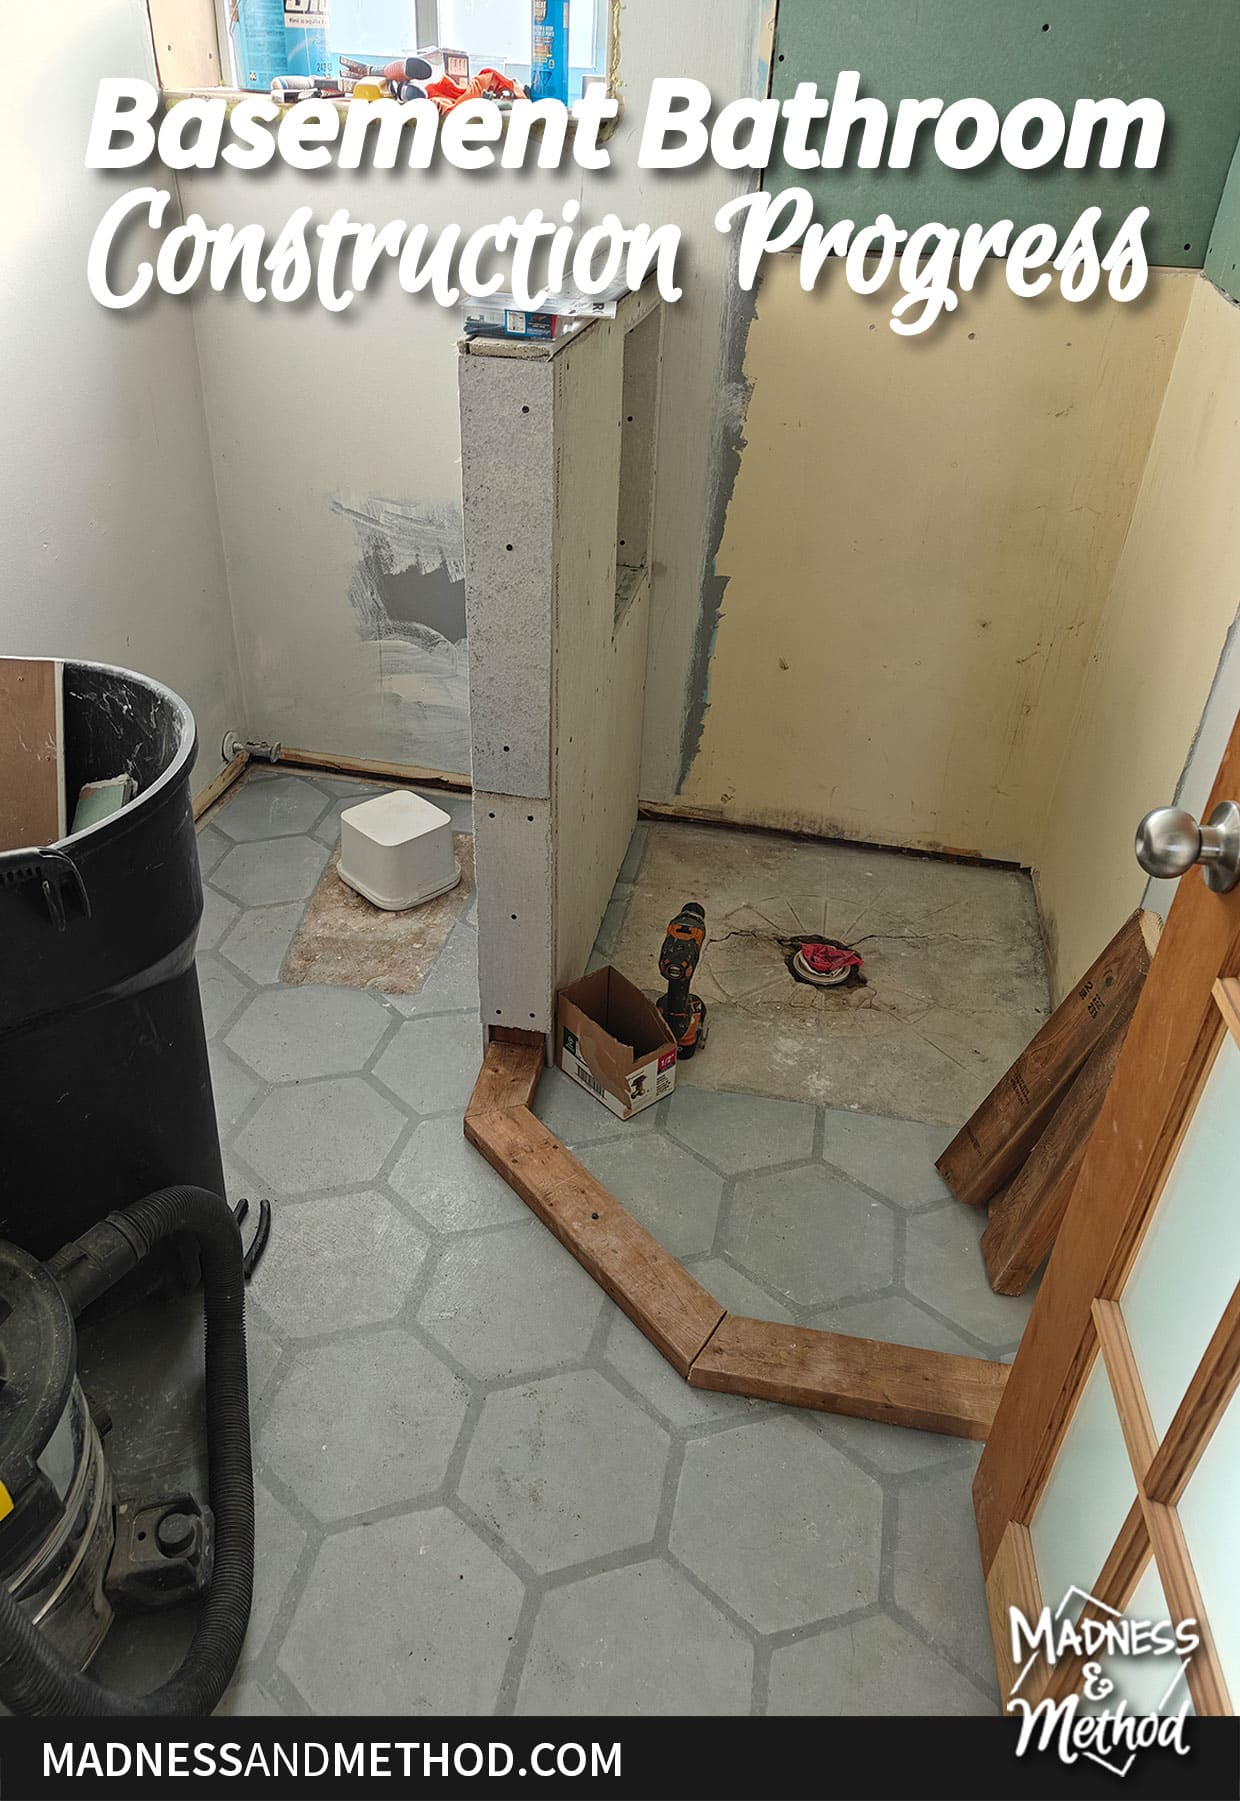
Bathroom Progress (Now)
So where are we now?
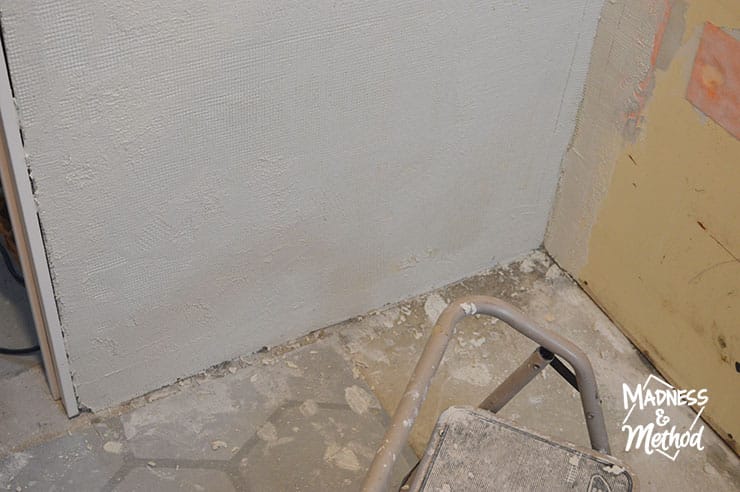
I’ve done the first step in the microcement process by installing the base layer and fibreglass mesh. This isn’t my first rodeo with microcement in a bathroom, but I’ll be honest when I tell you that I did NOT use the mesh everywhere. Mostly because I didn’t have enough of the FLEX cement and cannot order more.
Fingers crossed just using the FINISH works!
As I mentioned earlier, we have about two weeks left to finish this bathroom. Our hard deadline is right before our daughter’s birthday (Easter weekend this year!) when my parents come to stay with us. This bathroom is right next to the guest bedroom and they definitely need a working toilet, ha.
Which means I need to:
- Finish the microcement walls and shower (a couple coats, plus sanding and sealing)
- Tile the floors
- Install the vanity/toilet/plumbing/shower rod
Eek, our list is never-ending!
(Especially since I haven’t decided on the floors yet, whoops!)

No Comments