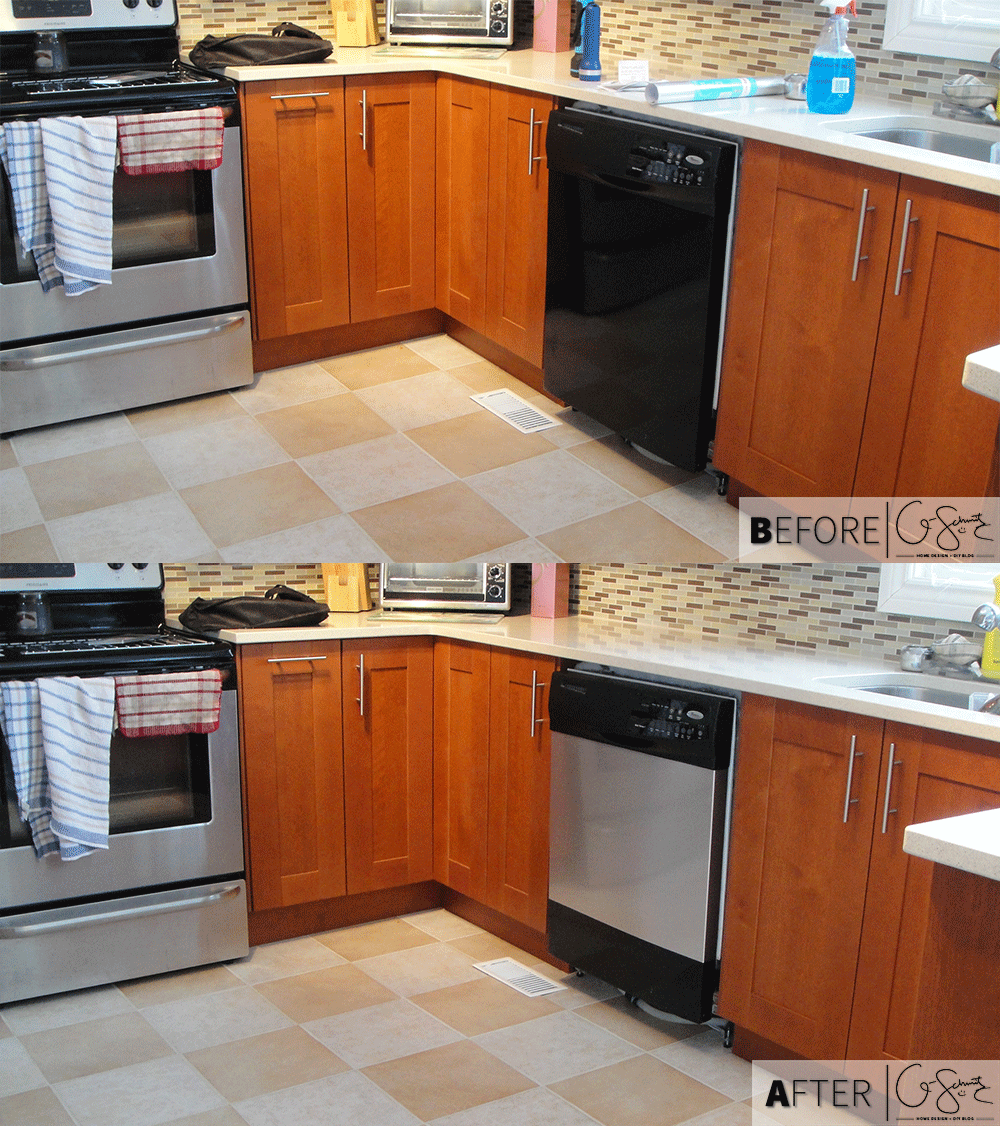
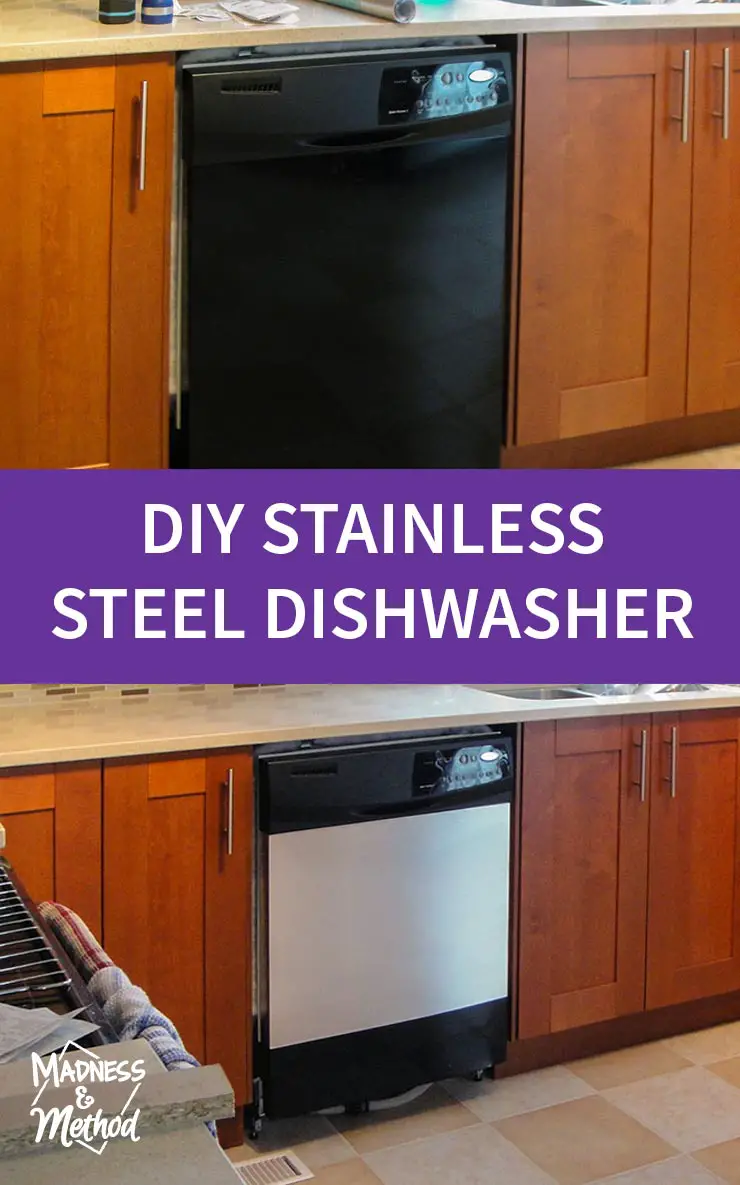
A bit of a disclaimer on this DIY project: I did not come up with this idea myself! The credit has to go to Julie Blanner’s post entitled DIY Stainless Steel Appliances, which I probably found via Pinterest or something. I can only hope that in 3 years from now, something I write about helps other home design DIYers. Check out my version of Julie’s DIY stainless steel dishwasher, which took less than 20 minutes to complete!
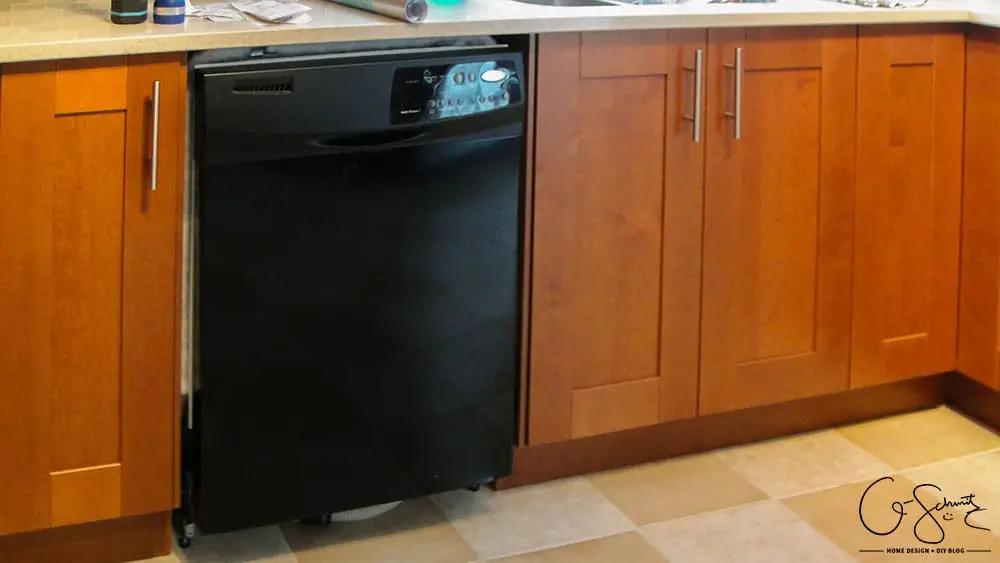
So we’re starting off with our plain black dishwasher you might remember from some posts such as: Deciding to Renovate the Kitchen and Installing Ikea Base Cabinets (a bit of a Simpson’s reference… if you caught that!). We decided to save money by keeping the dishwasher that came with the house (no sense spending money on something that works perfectly fine). I decided to update it/fancy it up using Julie’s idea, and yes, the Husband thought it was ridiculous…
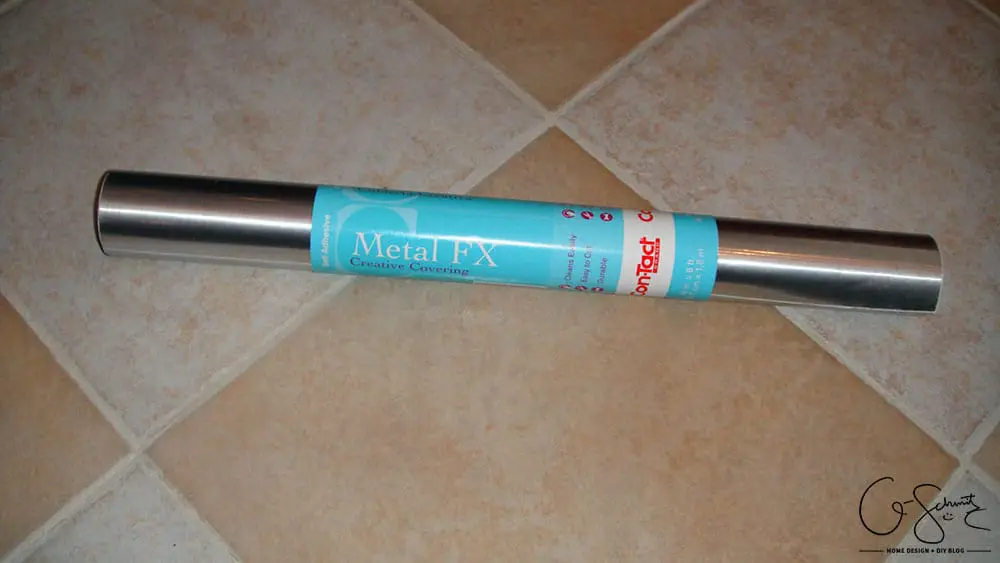
All you really need is some stainless steel contact paper, which is found near the wall paper section (we got ours at Home Depot). The original post mentioned the other following items/tools:
- Credit Card
- Razor blade
- Scissors
- Partner
- Patience
I think I just used scissors (not a razor blade) and I did have to do this project on my own… so it definitely required a lot of patience!
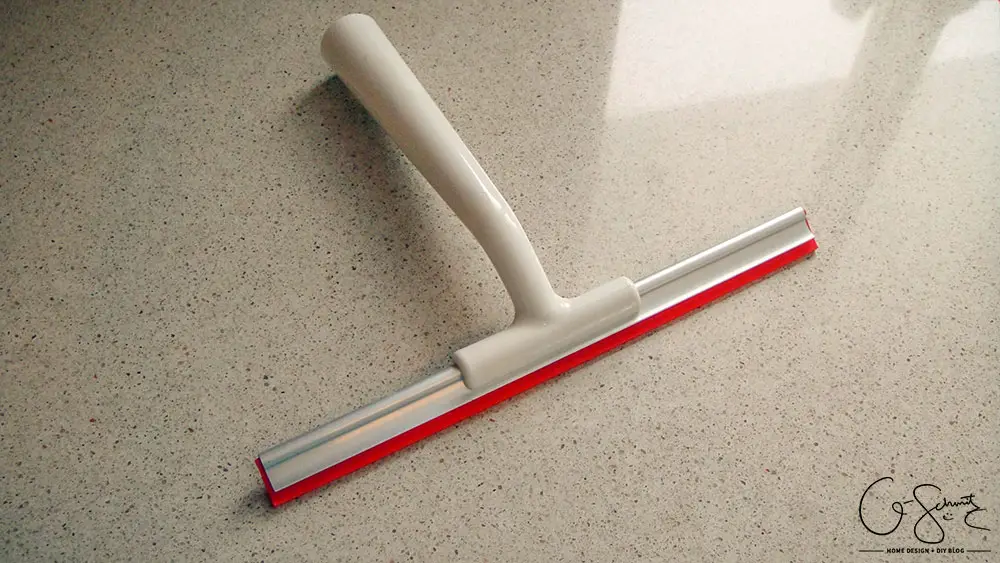
Instead of a credit card, I used my handy bathroom squeegee (which may have been the recommendation of the contact paper instruction sheet). I find that credit cards tend to snag the sticker surface rather than wipe it smoothly… and the squeegee surface area is much larger, which is way easier to work with!
Anyways, you basically cut the contact paper at the desired size (and add a bit of a buffer space) and then roll it out slowly and evenly onto your surface (in my case a dishwasher) while squeegee-ing out the lumps and bumps as you go. The whole process would have gone quicker had the Husband helped, but alas it was all me on this one! I did have to lift up the paper a few times to re-smooth it and make sure it was straight across.
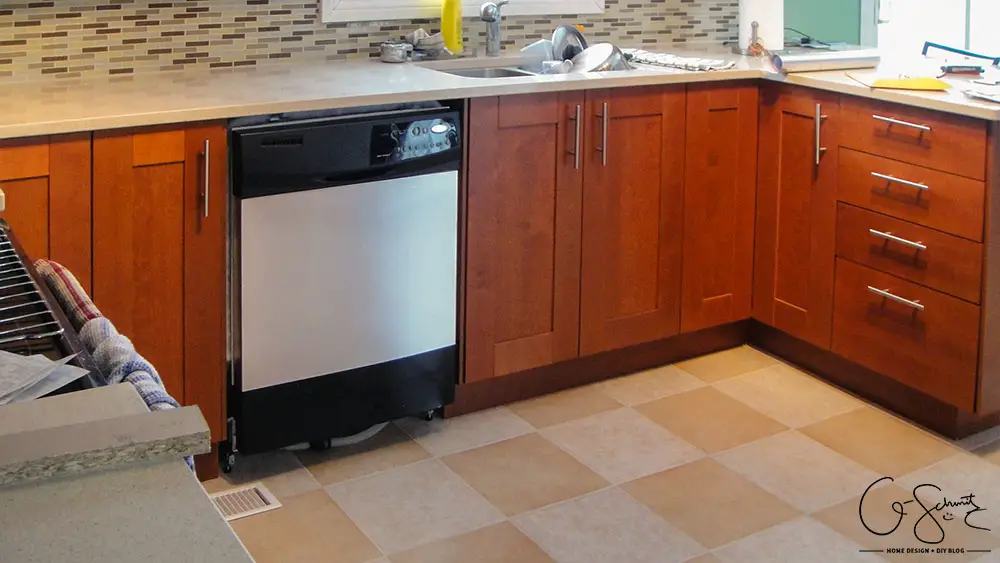
In the end, we now have a cool “stainless steel” dishwasher! Because the contact paper only came in 18″ lengths, I placed it on rolling right to left (rather than up to down). This did leave a black space at the bottom (and at the top where the buttons are) but there are a few dishwashers that have this style anyways. Besides, it matches our oven and fridge better too (which are also stainless steel with black accents).
We’ve had this on for a few months and there aren’t any bubbles or parts that are lifting off yet (and our doggie always licks the dishwasher for some reason). If we ever need to replace it, I still have half a roll of the original contact paper leftover; but it’s not a bad look for a project that costs less than 10$ and takes less than 20 minutes!
Update: 3 years later and still going strong! I also used the same look for my brother’s DIY kitchen renovation.
What do you think?
Was it worth the effort?
What are some other projects you could use this fancy stainless steel contact paper for?
I’d love to hear your thoughts and ideas in the comments!


3 Comments
Annette
April 21, 2015 at 11:55 pmgreat idea Nicole, looks great.
Nicole
April 22, 2015 at 10:58 amThanks, and you can’t really tell it’s fake!
Louise Quenneville (aka mommy)
April 26, 2015 at 1:14 pmIt looks very good up close too