
I need to get going on this bathroom! My goal was to get it finished before the end of November – and spoiler, that didn’t happen. It’s because I wanted to focus on cleaning/organizing the basement after, but I’ve pretty much been doing both concurrently. I finally scratched a big item off of the to-do list, so today I’m chatting all about the bathroom details and painting!
– Note: This post contains affiliate links. See more information about affiliates here. –
There’s only one week left until the end of the Fall One Room Challenge! If you didn’t know, I’m doing a white and rainbow bathroom. First, we removed the floors and installed a new toilet, then I started painting the bathroom shower tiles in week 3. Last week I chatted about our spray painted counters and today’s post is all about the rest of the painting!
It’s not that painting the walls (and ceiling), was hard… I just had other things to finish first. I knew I’d be mixing a custom colour, and I wanted to get the counters done before.
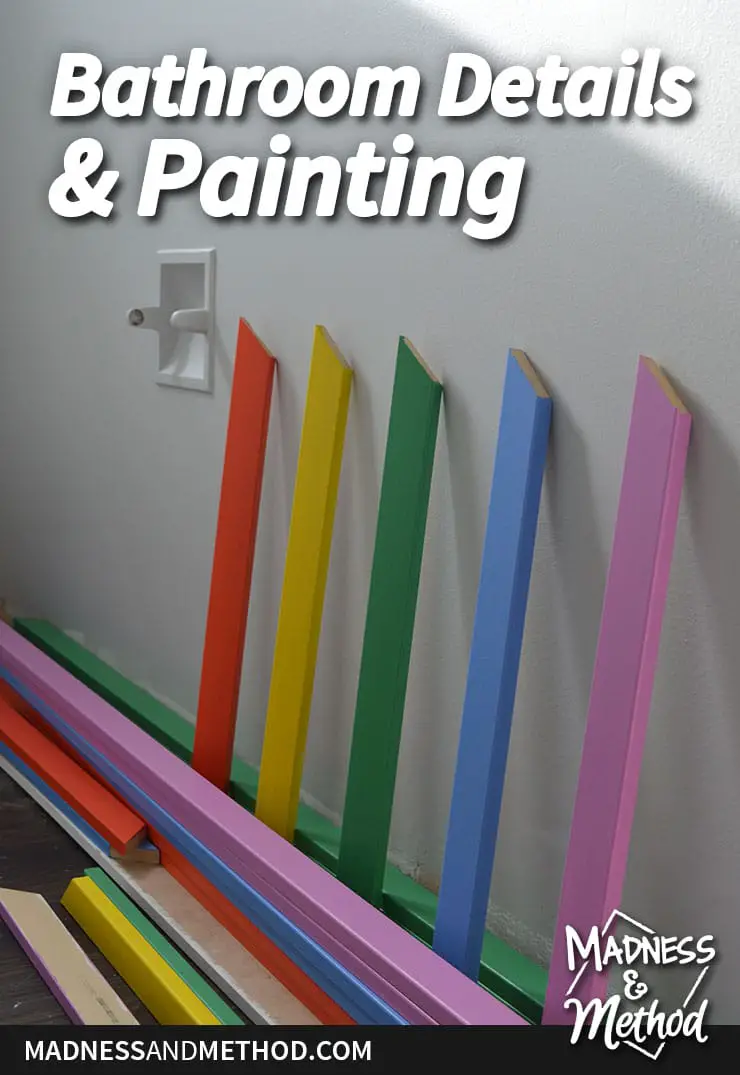
I mentioned last week that I had already painted my trim pieces… I just needed the walls painted before I could install them! If you missed the design plans in week 1, I’m planning on doing rainbow box moulding on our long wall. (There’s a graphic below that shows what I mean).
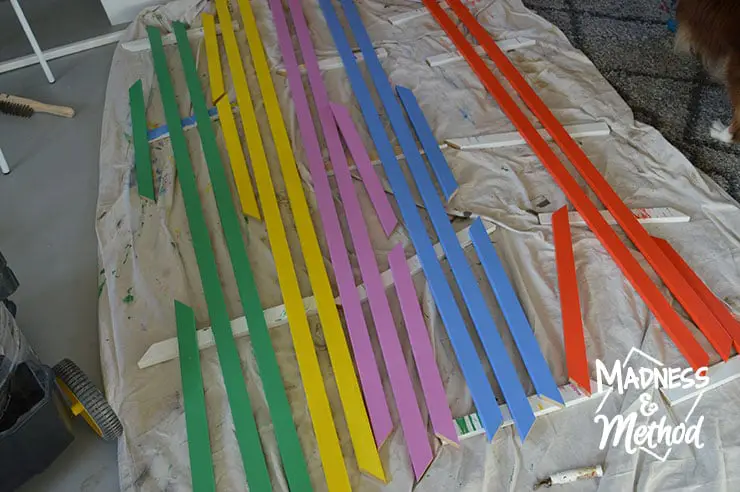
Here are the colours I bought (in little test pints):
Rainbow Colours:
- Red: Benjamin Moore’s Blazing Orange (Similar to Behr’s Pimento)
- Yellow: Benjamin Moore’s Baby Chick (Similar to Behr’s Bling Bling)
- Green: A lightened Benjamin Moore’s Green with Envy (Just slightly darker than Behr’s Lily Pads)
- Blue: Benjamin Moore’s Blue Lapis (Similar to Behr’s Integrity)
- Magenta: Benjamin Moore’s Lilac Pink (Similar to Behr’s Girls-Only)
I had originally chosen my colours on the computer while I was mocking up my design. Then, I chose similar colours with my Behr paint deck (swag from Haven I believe!). I wanted to colour-match them in-store, but I’ve had issues with finding Behr colours in the past AND they couldn’t match them in the pint-size anyways. So, I had to find similar paint colours using the swatches there.
Looking back at my moodboard, I’d say the red and yellow both need to be a tad orange-er, and the green a bit lighter. But, I was having a hard time with the green, because the colour I wanted didn’t exist on Benjamin Moore’s swatches (it was in between).
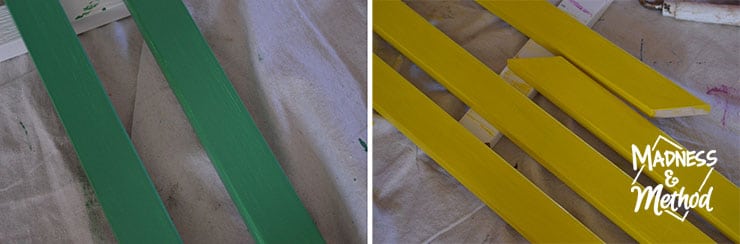
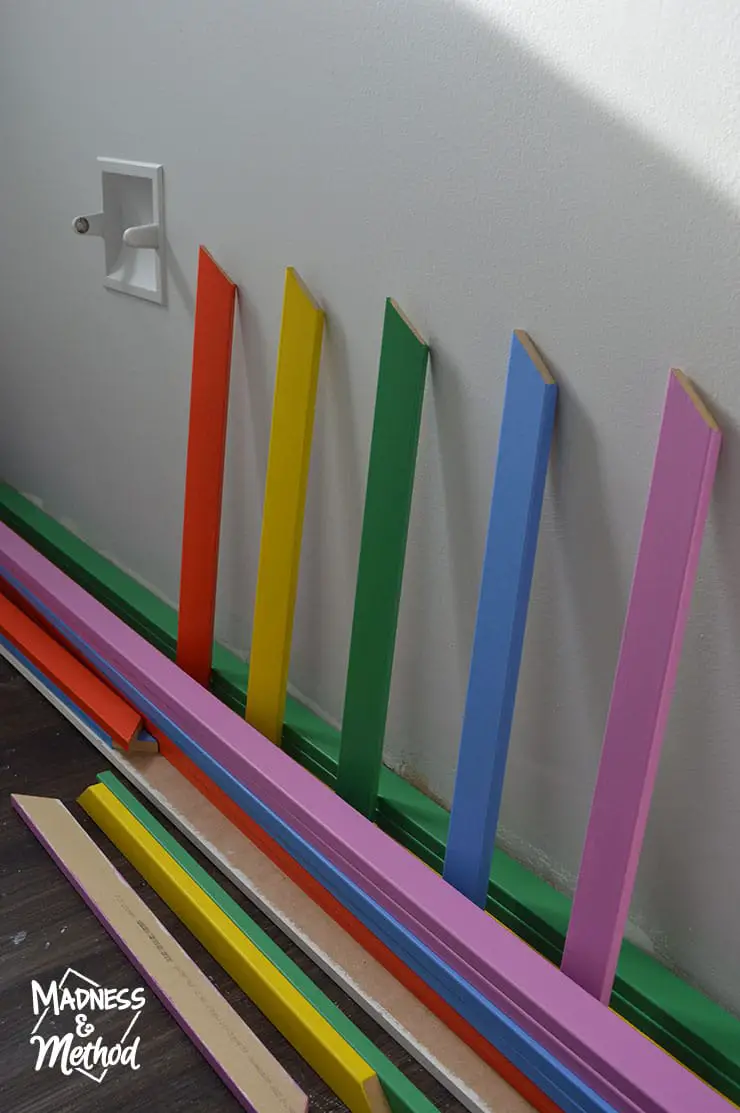
Our little Élise had decided to colour on my trim pieces… and wouldn’t you know it she chose the yellow one as her “paper”. I had to do another coat (then another). I also gave another coat to the green pieces, because they were looking a little scraggly too. Oh, and the yellow still needs like 500 coats I think, but I’ve given up until they’re up!
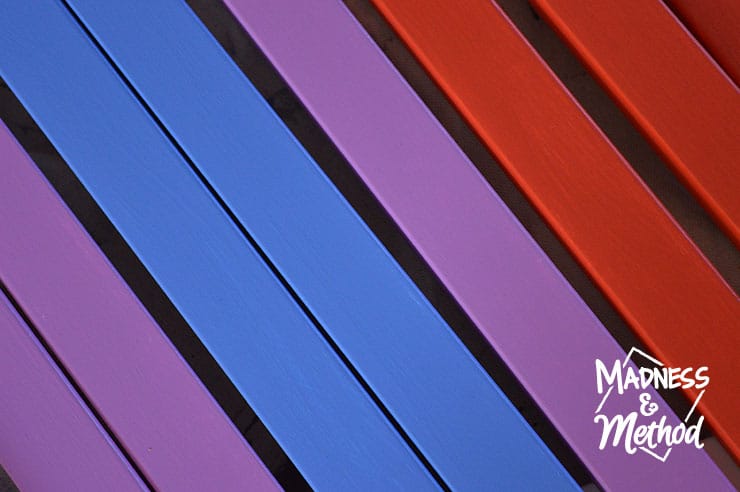
Most of the trim only required two coats, but I think I did a third on the red one too (the photo above is after 2 coats)?
Painting the Ceiling
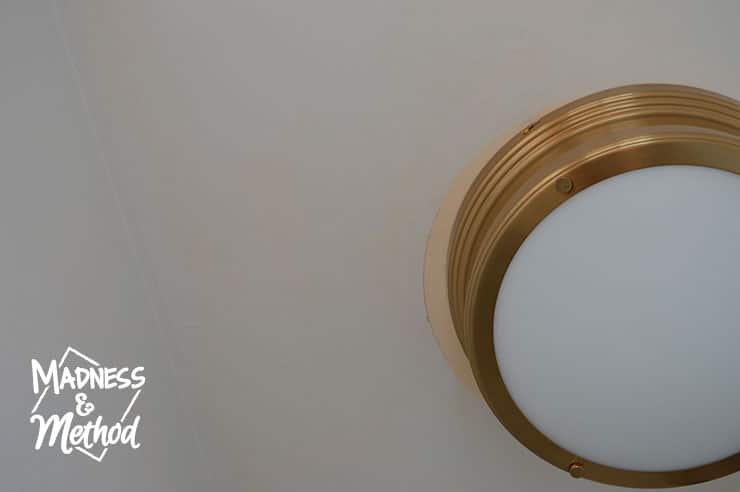
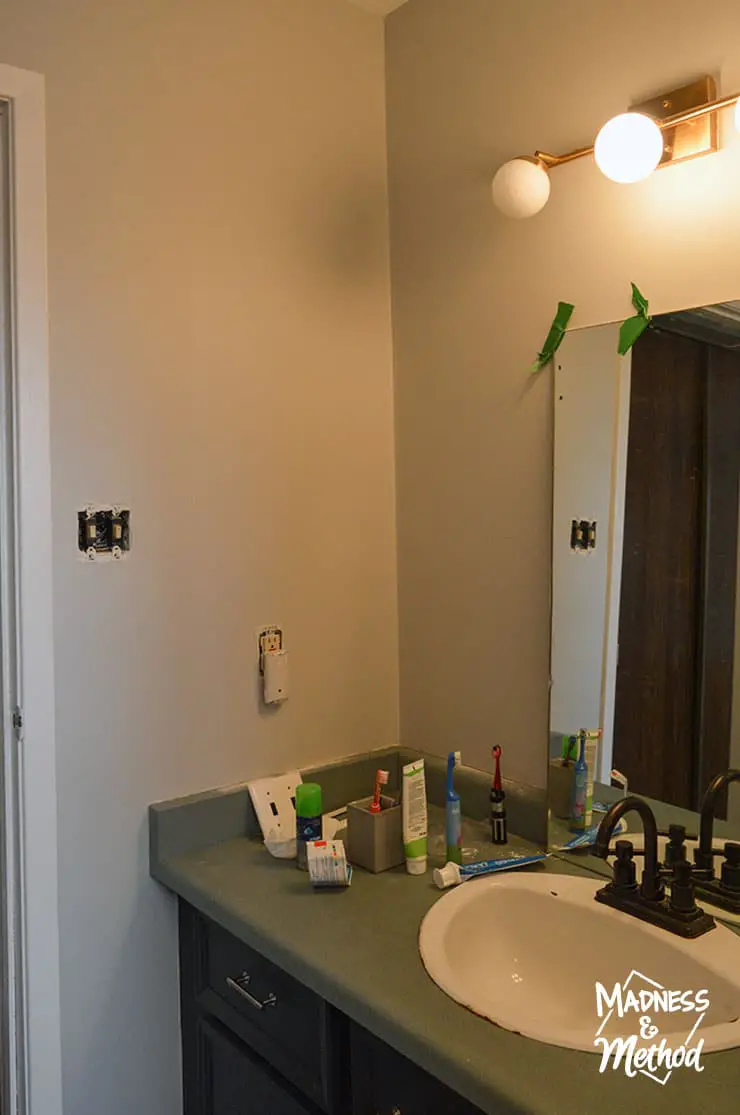
ANYWAYS! The main task for this Halloween weekend was painting the ceiling and walls. When we installed the new gold flush mount, there was a ring of the old ceiling paint that needed to be covered. The walls and ceiling were all painted the same colour, but I asked in Instagram Stories and more people voted for a white ceiling.
I just used some primer that the previous owner’s had left with the house. They wrote “kitchen and bath primer”, so I was hoping it was the same colour as before, but no dice. It took 3 coats to get it fully covered, and I also primed my sanded patches while I was at it.
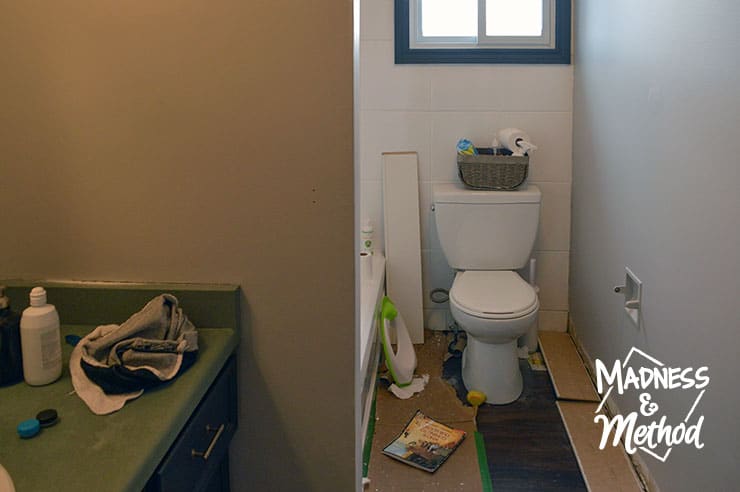
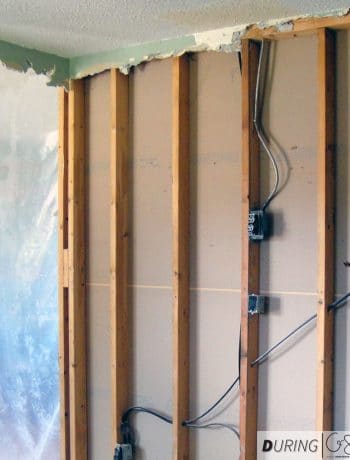
Here’s a reminder of how the bathroom used to look:
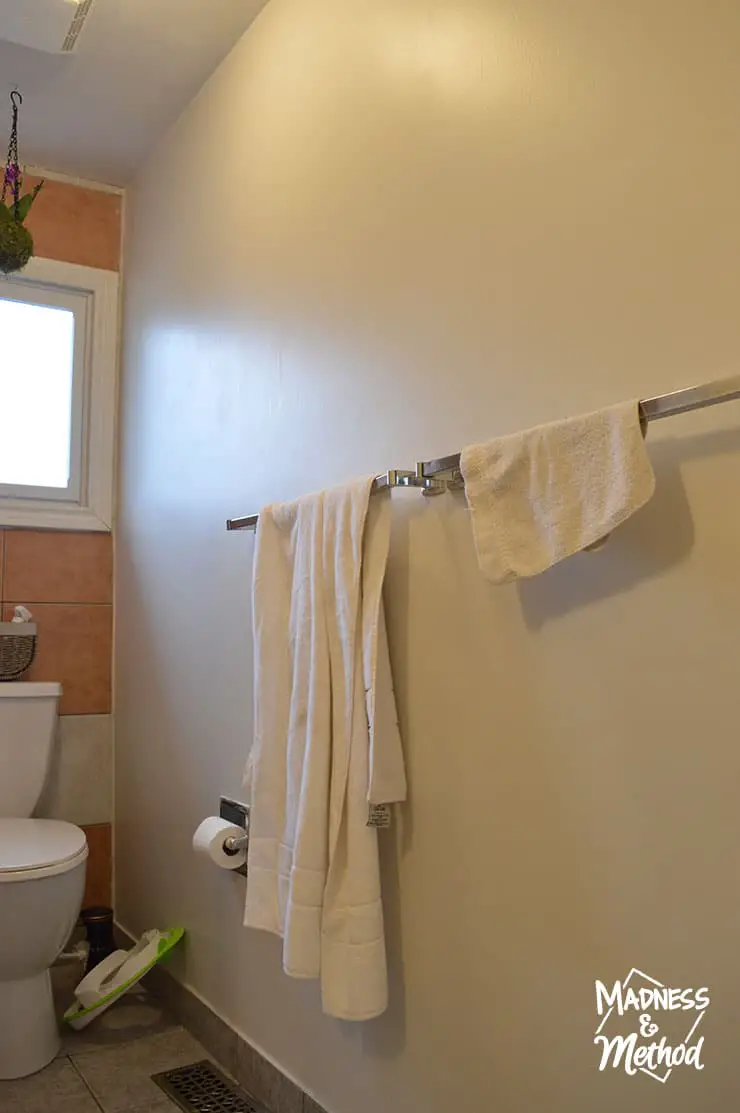
Bathroom Before
And that’s the long wall where I’ll be installing my trim treatment. See how the shower tiles go to that wall? I knew I didn’t want anything too close in colour between both the tiles (bright white) and the walls.
Nothing annoys me more than whites that don’t match!
With that in mind, I knew I wanted a bit of contrast and was aiming for a very light grey.
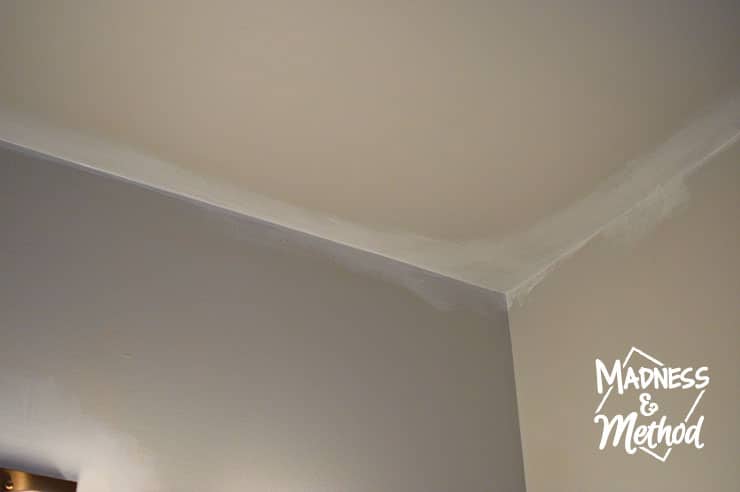
Painting the Walls
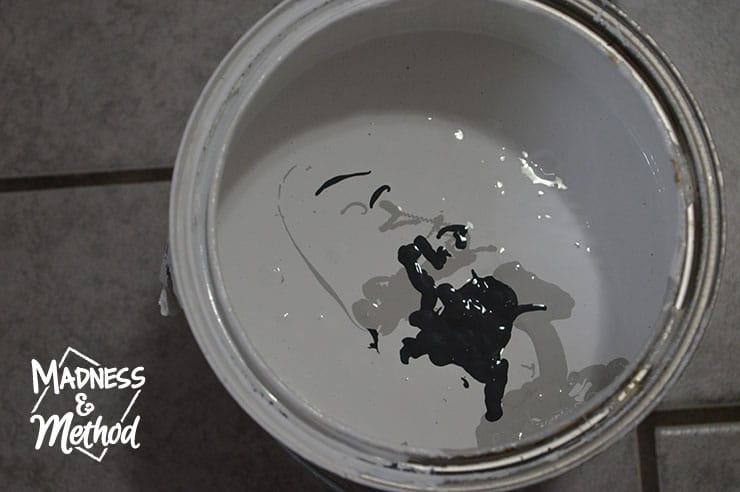
Using the exact same can of primer (I took a little bit out in case I needed to do touch-ups), I added some other random paints I had. I tend to hoard paints, but I left a lot behind when we moved from our last house. Aka, stuff that they might need if they want to do touch-ups. But, I still have a lot of paint to go through, and I knew I could mix something good enough.
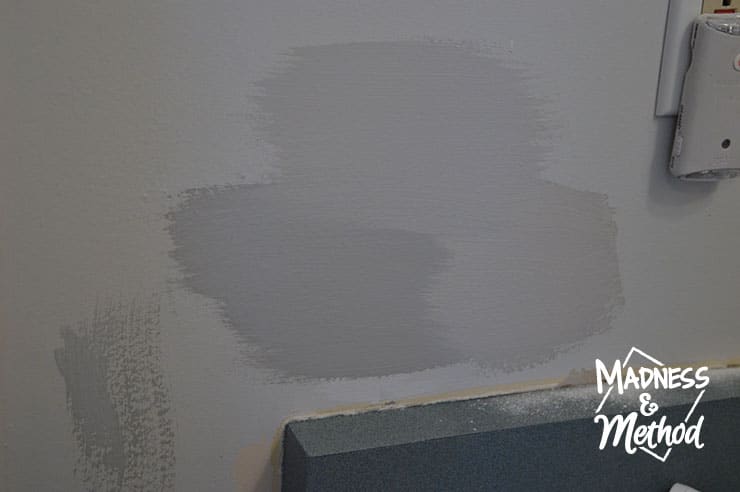
I also had a surprising amount of light grey paint left from when we painted the basement at the old house. The swatch on the bottom left was my custom mix, and the bottom right was the basement paint (Rona’s Lime). I mixed a bit into the gallon to fill it up, and it was a good compromise between the two (top swatch).
Although, it did dry darker (closer to the bottom left), and I forgot to account for that, ha!

Either way, I wasn’t too picky and continued on. Last time I mixed custom paint (for our One Room Challenge last year), I had to paint the room a few times before I got it right. I’m a serial paint-mixer though, and I think the trick is to not have something super specific in mind before you start. Or at least, make sure you don’t make too much paint, ha!
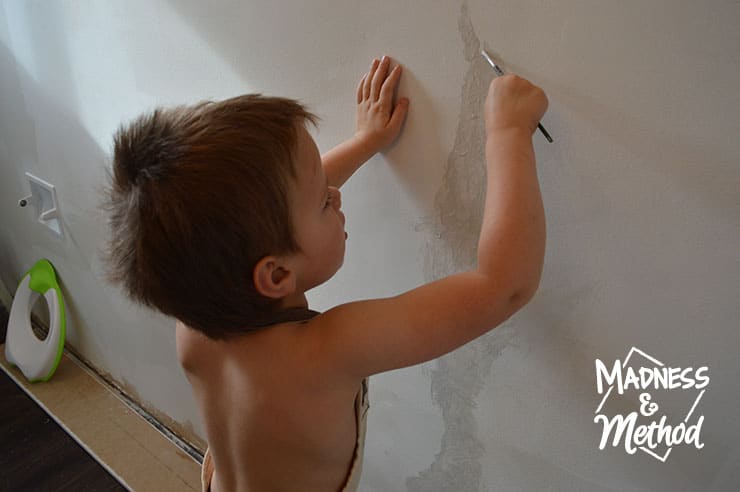
Little Zachary was very happy to help me paint! He surprisingly stayed with me for over an hour while I painted the room. He had a whole story about the things he was painting, and we made sure to roll over his spots so it didn’t dry with bumps.
Where We Are:
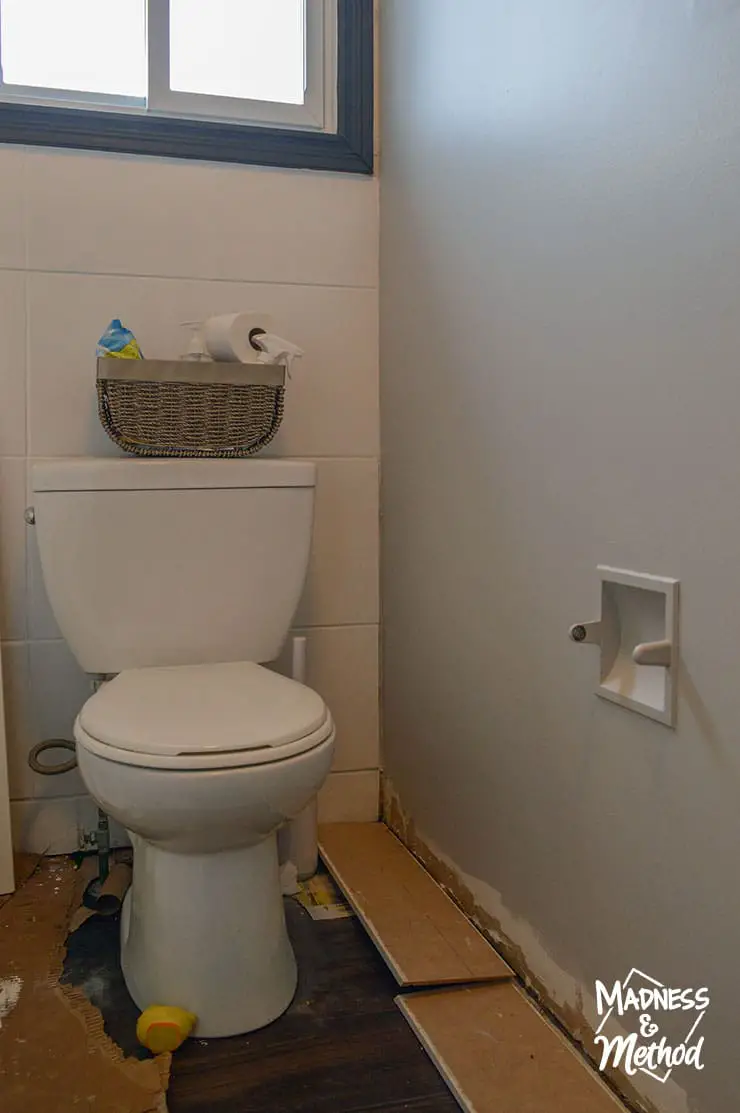
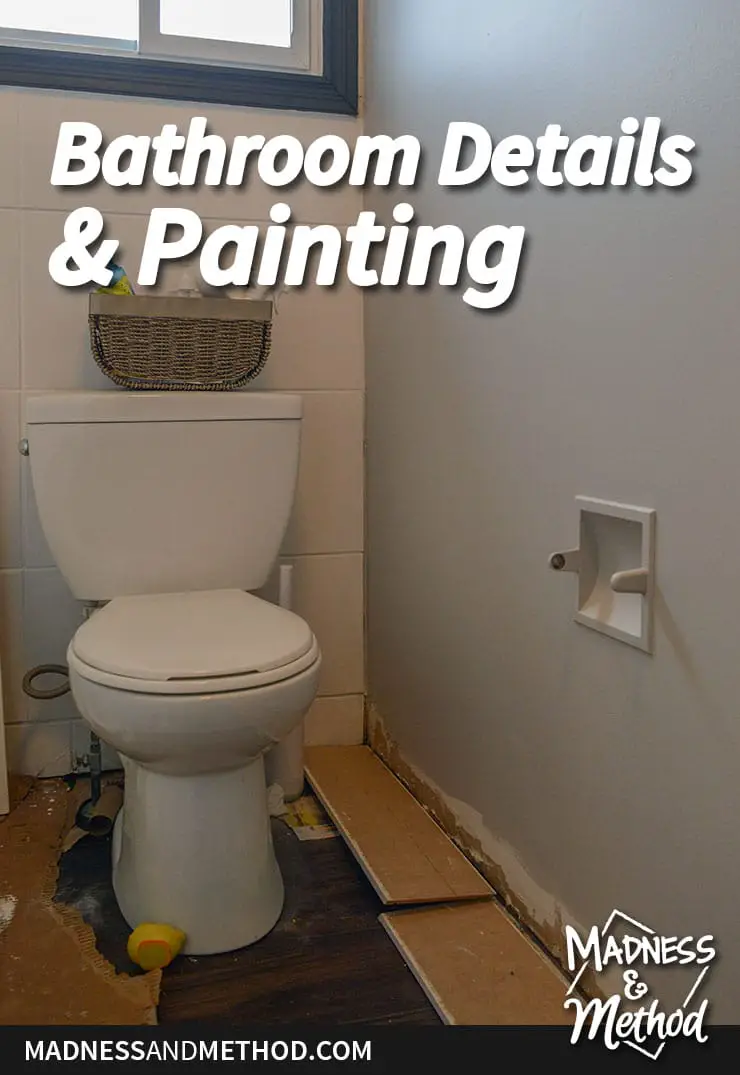
Oh, I also painted the chrome toilet paper holder so that it would blend into the wall more. AND I gave a coat of black paint to the window trim so that it would pop nicely against the white tiles. (Remember, if it’s not the same white, I hate it!). I’ll have to install a baseboard down there, so we’ll see how it ends up looking together…
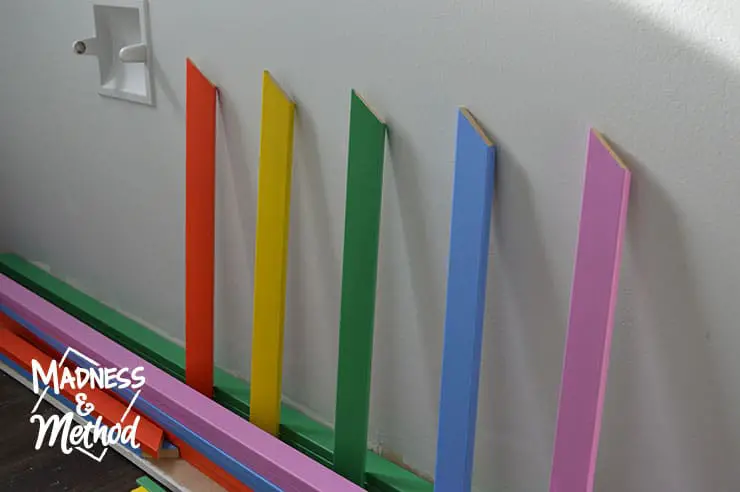
The rest of the room is still a hot mess, but without the hot part! I decided to leave all my cardboard up from when I painted the shower tiles the second time. Oh, and those are the baseboards on the right side – but they just need to be propped up and nailed in.
I just brought my rainbow trim pieces in the room to get ready for that. (Because the compressor is large and heavy and I’d only like it set up once).
Here’s a graphic to show how the rainbow box moulding is supposed to look:
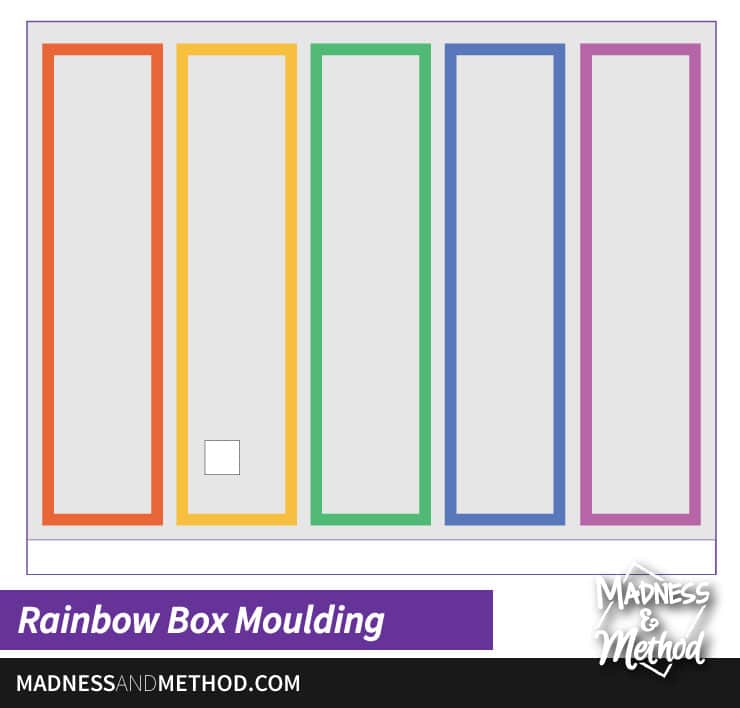
I think it will be really fun once it’s in :)
Where We’re Headed:
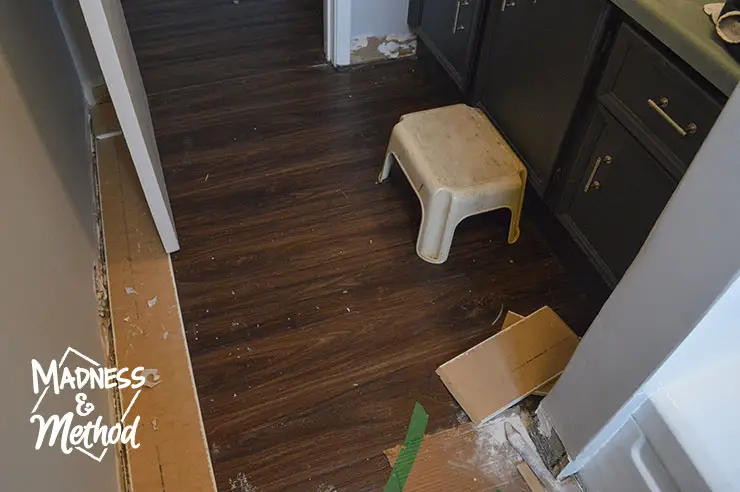
Flipping back around to the vanity, you can see a lot of the paint mess on the ground. I see a lot of scrubbing in the future…
Oh, and I decided how I’m going to paint my wall mural! In the first week, I asked for feedback on the type of rainbow wall treatment to do – and most people voted for something “geometric”. I think it will be a combination of that and handpainted, and I haven’t seen anything like it, so I’m really excited to get that done :)
I was actually ready to start today, but my camera battery died and I wanted to get a video. There will be a video recap of the whole project, so that would be a nice addition.
(Add screw in the bulb on the left from our new vanity light too).
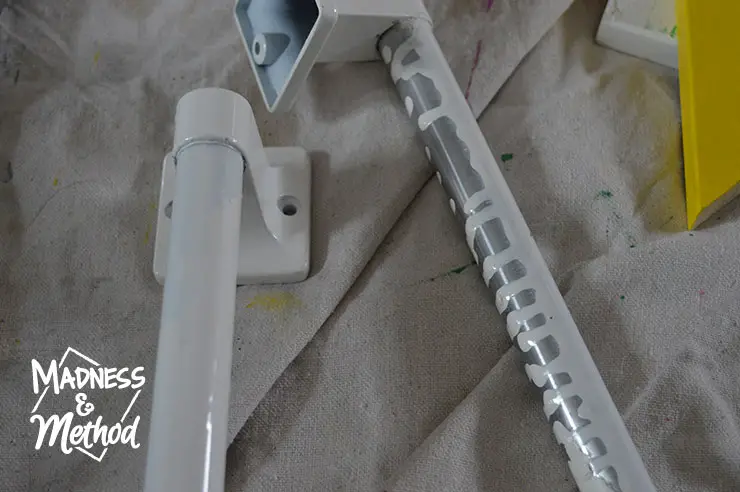
Oh, and can I mention this total fail? These are two shower bars that were in the shower. I took them out to paint, and we use one to hold a basket with our toiletries. My initial idea was to scrape off all the paint and have stainless steel bars (they were an off-white before). They were already flaking, but it took way too long and I wasn’t getting anywhere.
I sprayed some white epoxy spray paint, but it said no recoating, so I just painted it all at once. There was a lot of paint and I couldn’t move my pieces and obviously got a lot of goops.
You can’t see them from the front, but I might try and use a different white paint to cover the whole thing? Or sand it down and recoat it?
About the One Room Challenge
We’re getting so close to the end! Make sure to visit the One Room Challenge website to follow all the linking participants and featured designers.

Follow our Rainbow Bathroom Progress
- White & Rainbow Bathroom Plans (Week 1)
- Bathroom Floor Demo (Week 2)
- Painting Bathroom Tiles (Week 3)
- Spray Painting Bathroom Counters (Week 4)
Tasks Completed this Week
- Sanded and primed all the wall patches
- Painted the ceiling white
- Painted the walls light grey
- Recoated the rainbow trim pieces
- Spray painted the towel bars
- Painted the window casing
- Measured and cut all baseboard pieces
- Installed new towel hooks
Tasks Left to Finish
- Move towel bar to the door
- Install trim pieces, baseboards and vanity toe kick
- Paint wall mural
- Paint touchups
- Repair sink
- Install new light switches (just added this one for the Husband, ha!)
- Caulk stuff (like everything)
- Repaint Shower Tiles * (see below)
- Mirror install
- Shower bars + rod installed
- Cleaning and photos
Okay, let’s get this done!
I think I’m going to get the wall mural done first, then try and convince the Husband to bring the compressor up. I also told him I’d like the light switches swapped for decora ones, so he’s mildly cranky. (Especially because the rest of the bathroom, aka “my tasks” are nowhere near being complete).
I’m 50/50 on whether I can paint the shower tiles this weekend (it’s a whole leave-the-house-while-it-dries debacle) and what I do next depends on that. On one hand, I’ll have more time to get my photos and final details organized during the weekend. But on the other, it won’t be completely “done” and I don’t want to install the shower rod and bars to just take them down to paint…
And you know, plus I’d have to move my cardboard… ha!

No Comments