
Last week I showed off my brother’s budget bathroom renovation and I’m back today with another project we did in the room. Framing the mirror really helped make it look like it was a properly finished space but I did it a bit differently than other online tutorials. Instead of having the frame sit next to (or glued on top of) the mirror, we did a fully framed mirror DIY – so let me explain my method :)
– This is part of a sponsored project; interior finishing products provided by Metrie. Note: This post contains affiliate links. See more information about affiliates here. –
The mirror that was in the bathroom was a simple “builder grade” flat mirror.
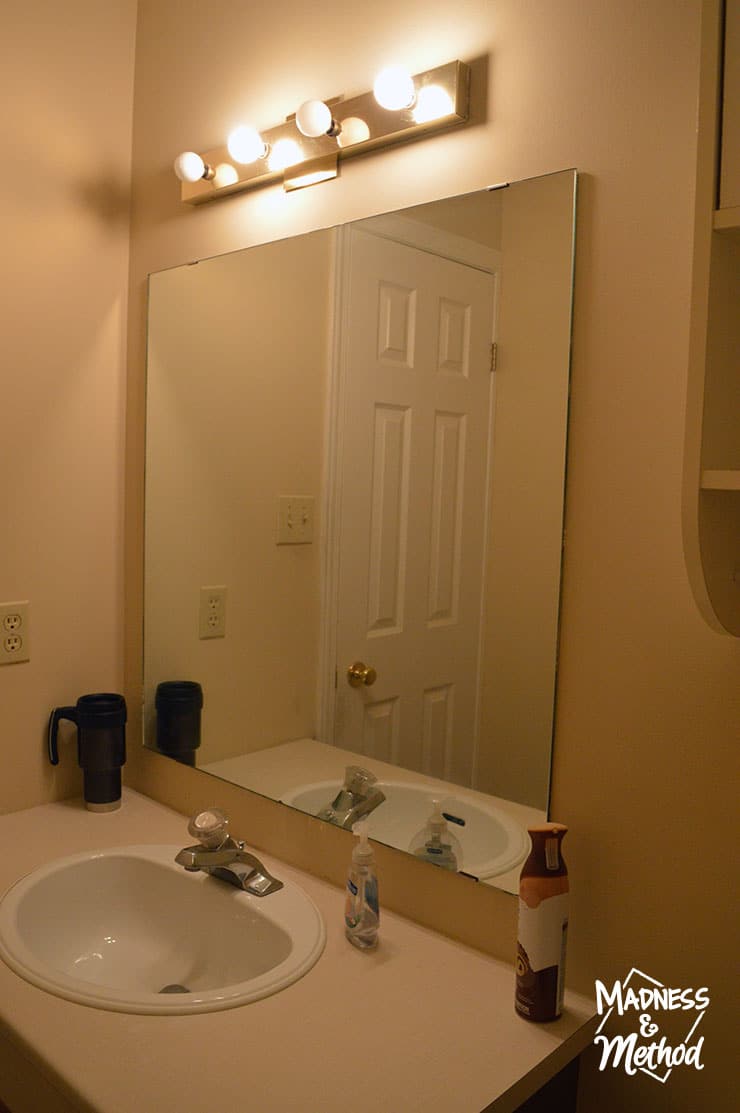
It was actually a square size (about 3′ x 3′) and was in fairly good condition.
Unfortunately, it was glued to the wall (which we found out after) so we decided to keep it in place while doing the rest of the updates.
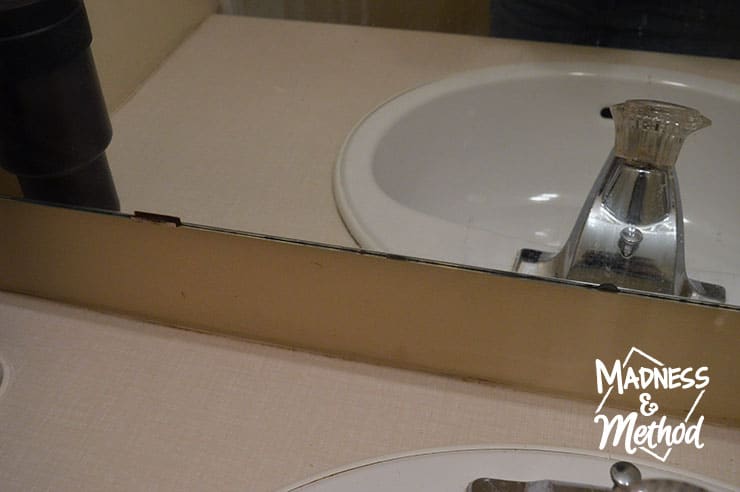
There were also little clips holding it in place, and thankfully they were pretty slim (so I knew my DIY frame would fit nicely on top). Otherwise I would have probably drilled little notches out of my frame to hide them.
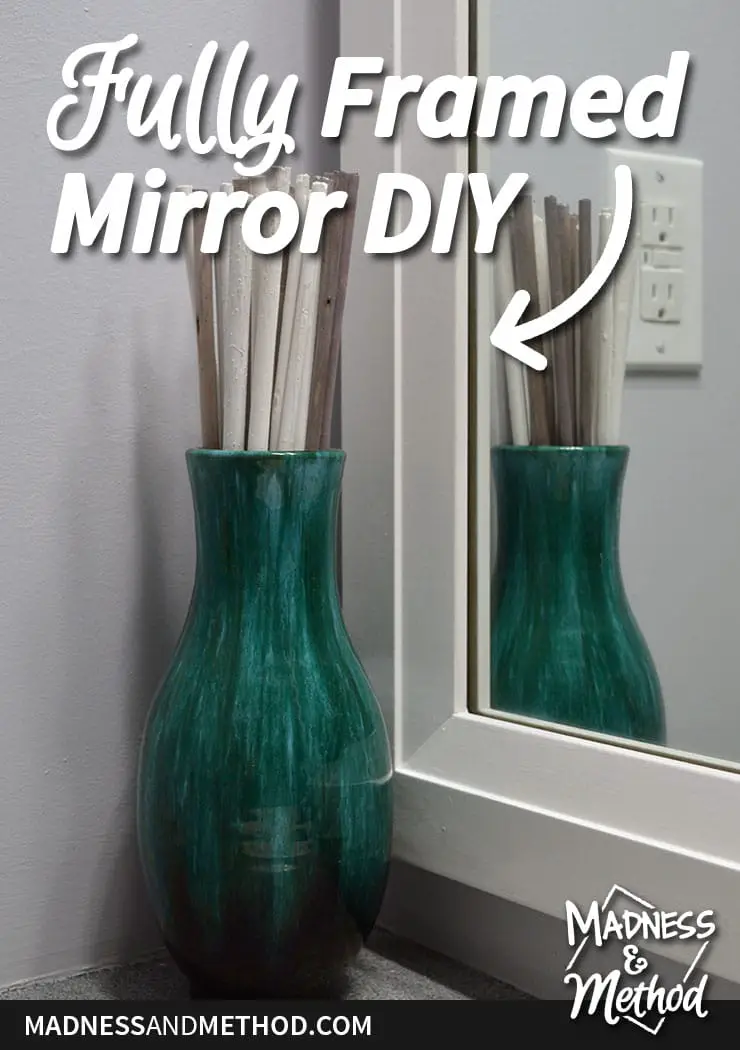
What is a “fully framed mirror”?
In case you don’t know what I mean when I say “fully framed mirror”, I’m hoping these photos better explain it:
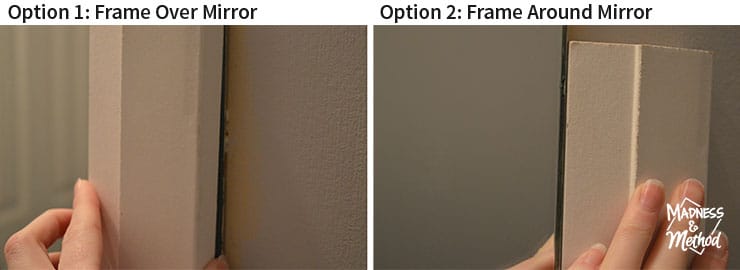
Other online tutorials don’t really explain where they attach their mirror frames, so I assumed they were either 1) glued on top of the mirror, or 2) attached to the wall, next to the mirror.
I didn’t want to glue the frame because they you would see the exposed mirror edge. And I didn’t want to just have the frame next to the mirror because you would still see the clips and “ugly” edges.
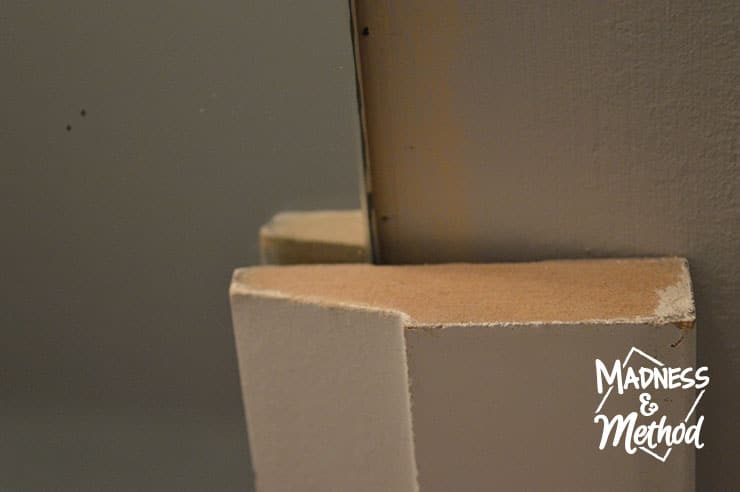
Basically I wanted my nice Metrie casing to cover a portion of the mirror edge – but I didn’t want to have it at a weird angle (sort of like the photo above).
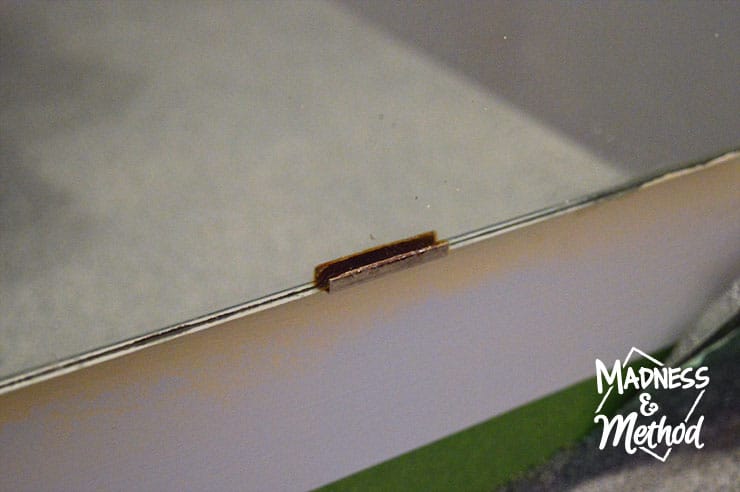
I decided to use a piece of lattice to match the height of the mirror and “build up” the back of the frame. That way the casing could sit flat across the mirror, but the space would be filled in: a fully framed mirror!
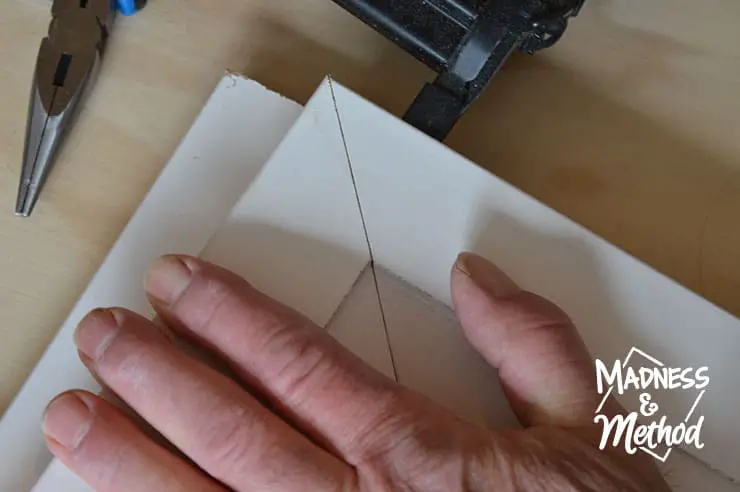
We first cut the pieces of lattice so that they would match a teensy bit bigger than the size of the mirror (ie: the inside mitered edge was just above 3′), then that determined the size to cut our casings.
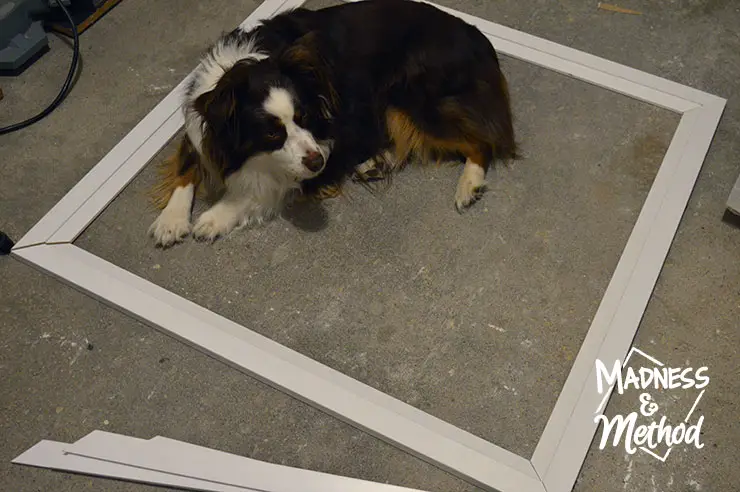
And apparently, once you make a frame on the floor – dogs will think that is where they are supposed to go…
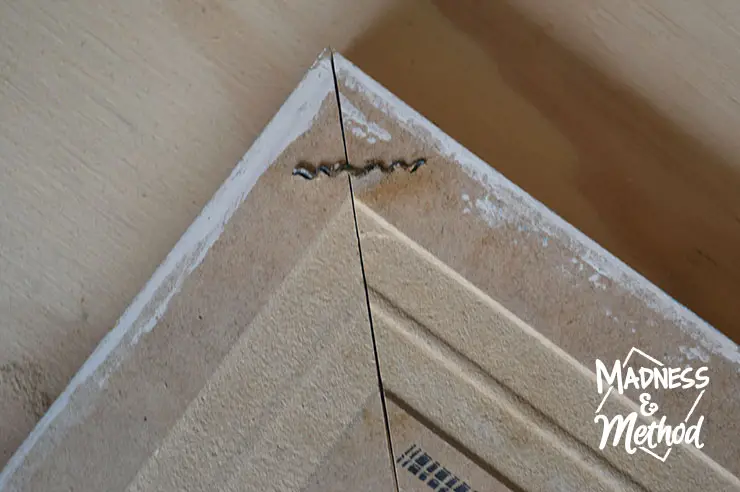
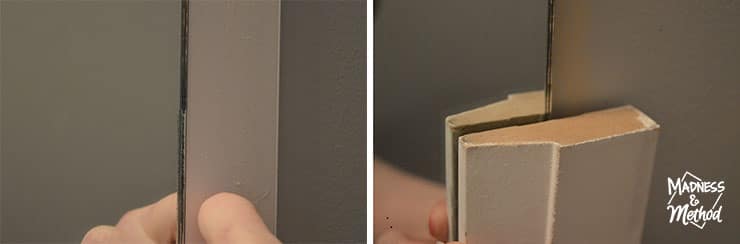
You can technically build the mirror in place (ie: attach all the individual pieces to the wall) or build it in a different location. We built ours out of the room, and first tried using the little frame swirly things (aka corrugated fasteners). I did NOT like using these, since you had to hammer them in place and I was worried the frame would get damaged. We only did one side like that… but it’s definitely an option.
I found it was just as easy to attach the edges of the frame together with a nail gun. It wasn’t as secure, but it was strong enough to keep the shape and allow us to move it into the room.
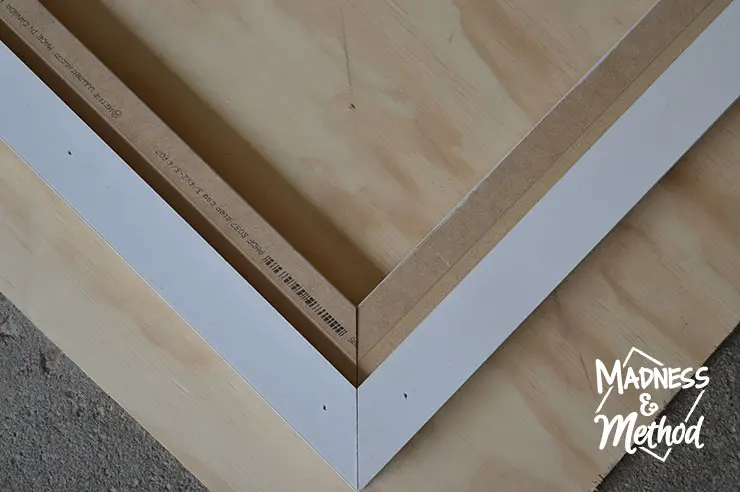
We nailed the pieces of lattice to the back with shorter nails, but again, you can build it however you like. Basically, that’s how the fully framed mirror looks (in case you didn’t understand the concept above). Technically, you can also do straight cuts on your lattice pieces (rather than doing a 45° miter), and that might even make it stronger if you’re just nailing it together.
We actually painted the mirror before we installed it (with Krylon’s Colour Master in Satin White) then nailed it into place.
Tip: Consider painting the back of the frame to match the front so that any reflections won’t show the bare wood.
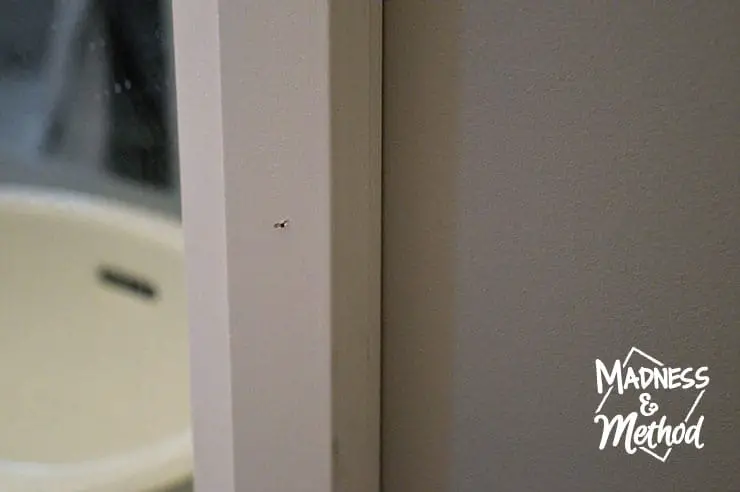
We filled and caulked all the holes and seams (the nail hole is right at the bottom of the image above if you were wondering) and now the fully framed mirror DIY is done :)
Just a reminder what it looks like in the completed bathroom:
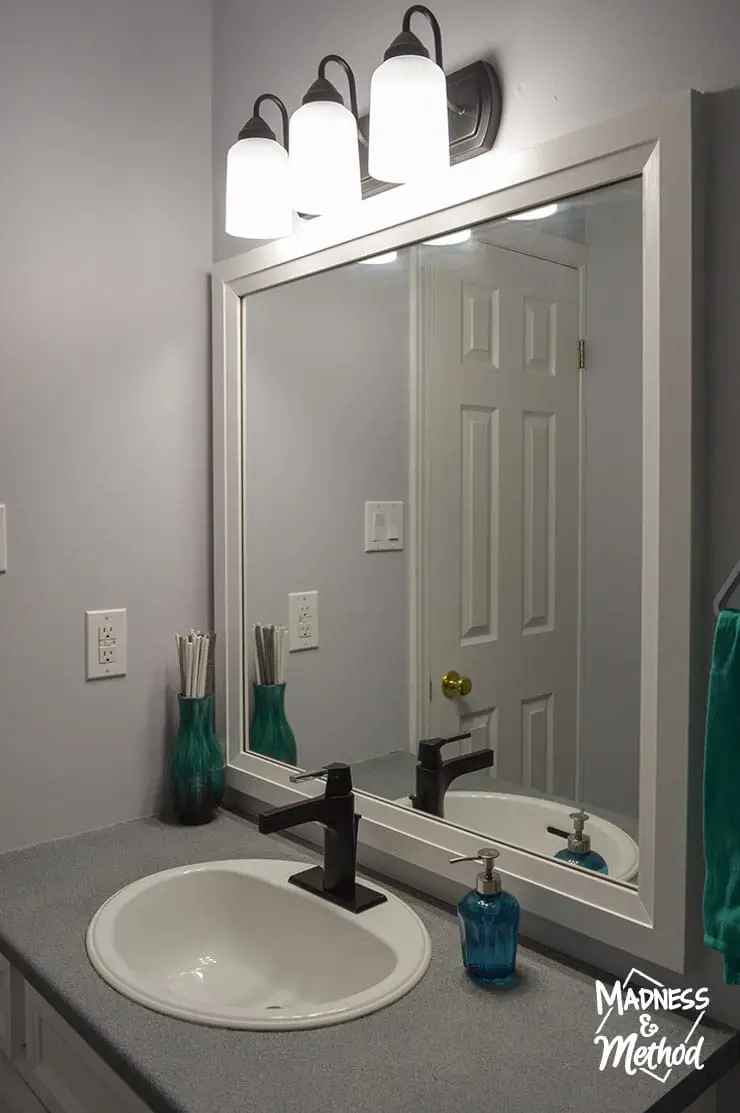
Photo First Appeared in Bro’s Budget Bathroom Reveal
Doesn’t it look better than the bare builder mirror!?
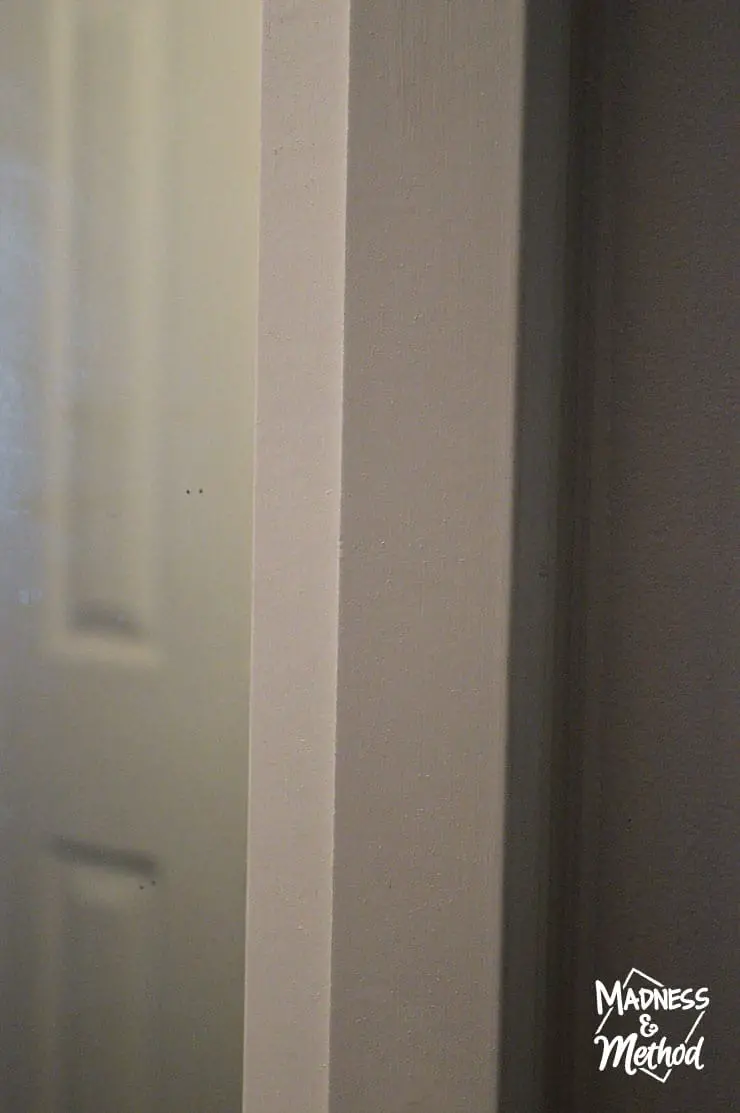
I didn’t caulk along the inside edge (where the casing meets the mirror), but you can certainly do that if you wanted. I’m just happy that my full frame now hides the edge of the mirror and the little clips too… and it looks so nice and finished along the wall!

This Project Has Been Sponsored By:
![]()
![]()
![]()
![]()


No Comments