
We’re coming to the halfway point of our six-week bedroom makeovers, and I’m slowly tackling all the projects so that we can finish on time. This week, I’ve got some marble pour nightstands to share… and have somewhat started on everything else. Let me show you the progress so far!
– Note: This post contains affiliate links. See more information about affiliates here. –
Just to recap, while we’re trying to finish ALL the rooms at our rental renovation, I decided to put special attention into the master bedroom for the Spring One Room Challenge. And, if that wasn’t hard enough, we’re also giving our main master bedroom a bit of a refresh for the challenge as well – so make sure to check out the design plans for both spaces in Week One.
Last week I did a painted and stained dresser makeover for the bedroom at the rental, and this week I’m back in the same room with these marble paint pour nightstands!
Nightstand Makeover
Okay, so let me introduce you to the candidates for the second paint pour I did, that I hinted about last time :)
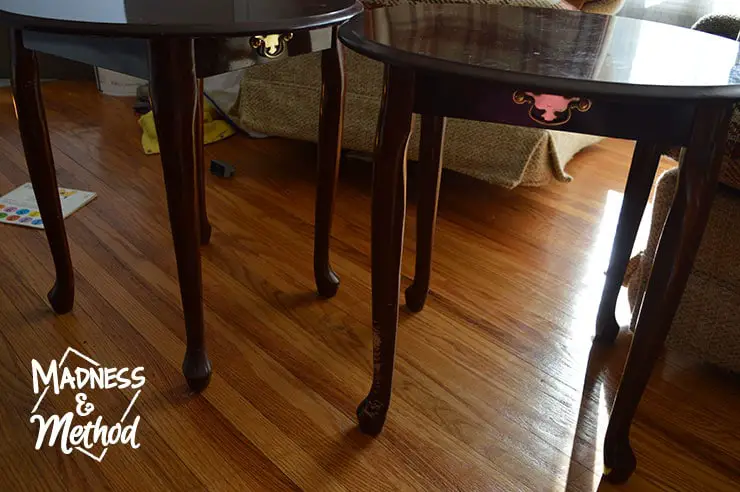
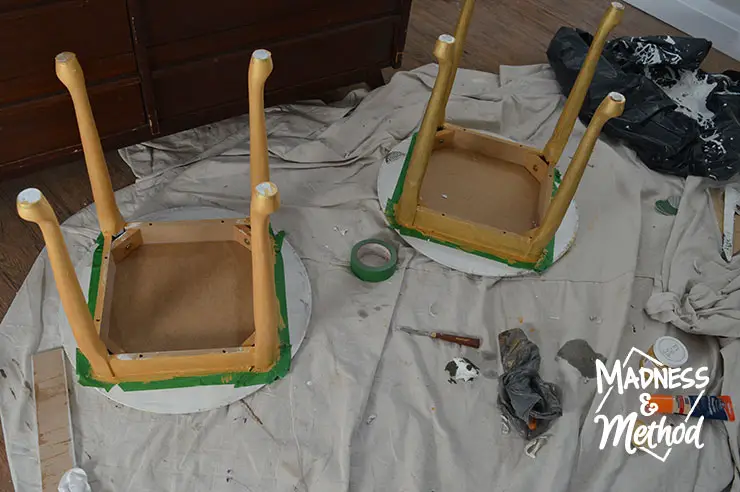
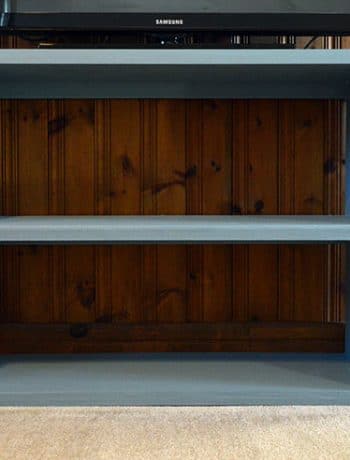
I had picked up two secondhand side tables that we’ve been using upstairs at the rental while we wait for the basement to be completed. Funny story, I actually bought them from two separate people but they matched so I had to do it!
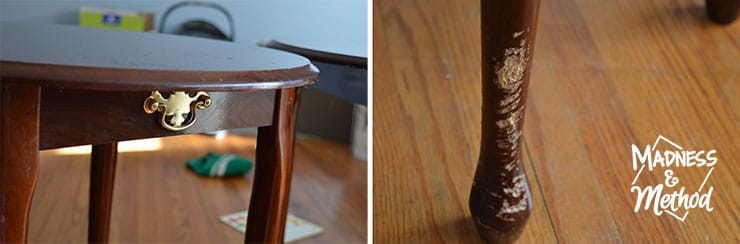
I knew I wanted to eventually give them a makeover (my original thought was yellow before I came up with the home’s colour scheme!) and was planning on taking off the weird non-useful hardware. There was also a bit of damage on one of the legs from the previous owner’s dog, so it was something else I wanted to patch up.
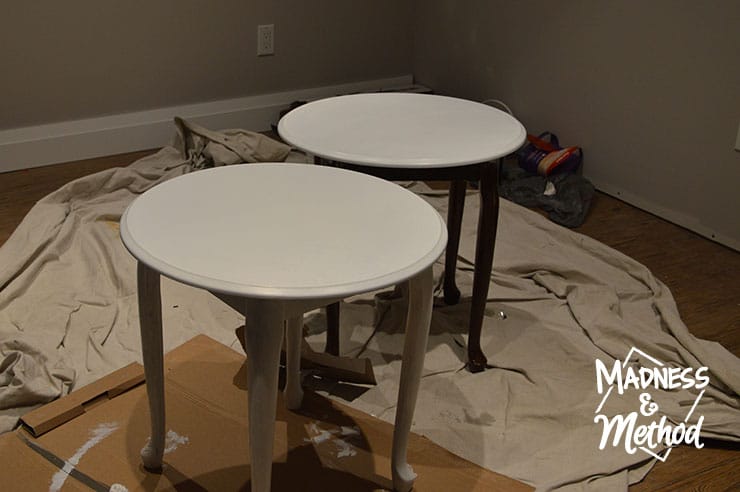
But then I did the marble paint pour for our dining table, and I knew I needed a bit of redemption after the failed-ish attempt. I already had these tables, so it was a no-brainer and a week or so ago I sanded them and painted the tops white to get a nice clean base. (Oh, and patched the hardware and dog chew marks!).
Planning your own marble-look paint pour? These are the supplies I used:
Paint Pour Products Needed
- Pouring Medium
- Acrylic Paints (Gold, Silver, Grey and Large White)
- Gold Paint for Legs
- Palette knife (and a stir stick)
- Plastic Cups and containers (+ screw to make a hole)
- Garbage bag + paint tarp for area
- Rags, paper towels, etc.
- Round wood tables (or another suitable canvas)
- Optional: Polycrylic or Epoxy Resin to seal/cover
Marble Pour + Video
Because it’s almost impossible to stop in the middle of doing a paint pour to take photos, I have the whole process recorded here:
Last time I did my paint pour, there were a lot of mistakes that I wanted to address. This time, I:
- Added more pouring medium (I think it was a 2:1 or 3:1 ratio – didn’t measure!)
- Did a blank/white liquid coat on the surface before I did the dirty pour
- Mixed fewer colours/paints (4 compared to 6 last time)
- Wiped the edges afterwards to eliminate dried drips
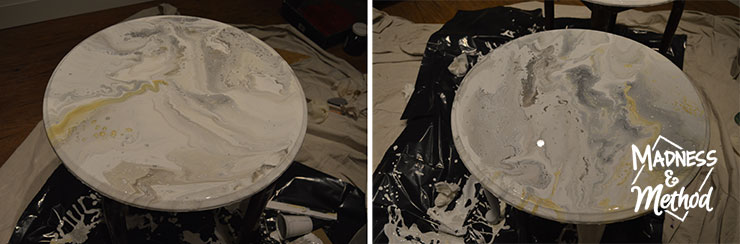
In total, the actual paint pour itself doesn’t take that long (I think it was around 30-40 minutes for the setup, the pour, remixing and pouring again, wiping, and clean up!).
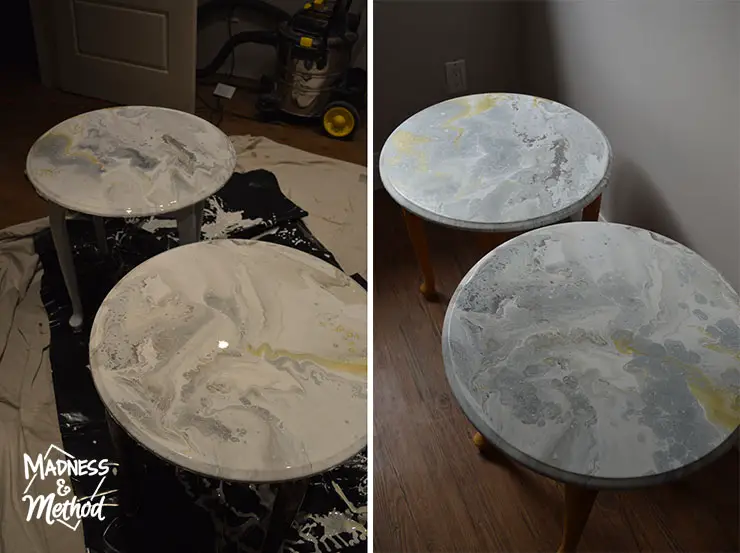
The dry time seemed a bit longer this time (since the ratio was a bit more liquidy); but I waited a few days before I turned the tables over and gave the bases a few coats of gold paint. I had painted one white before and kept one the dark/wood colour; and the white legs will need fewer coats of the gold paint to fully cover them.
Ready to see how they turned out?
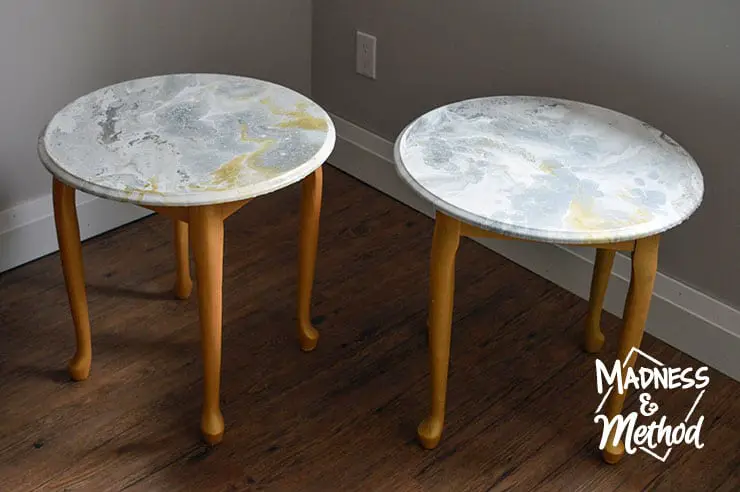
Marble Pour Nightstands
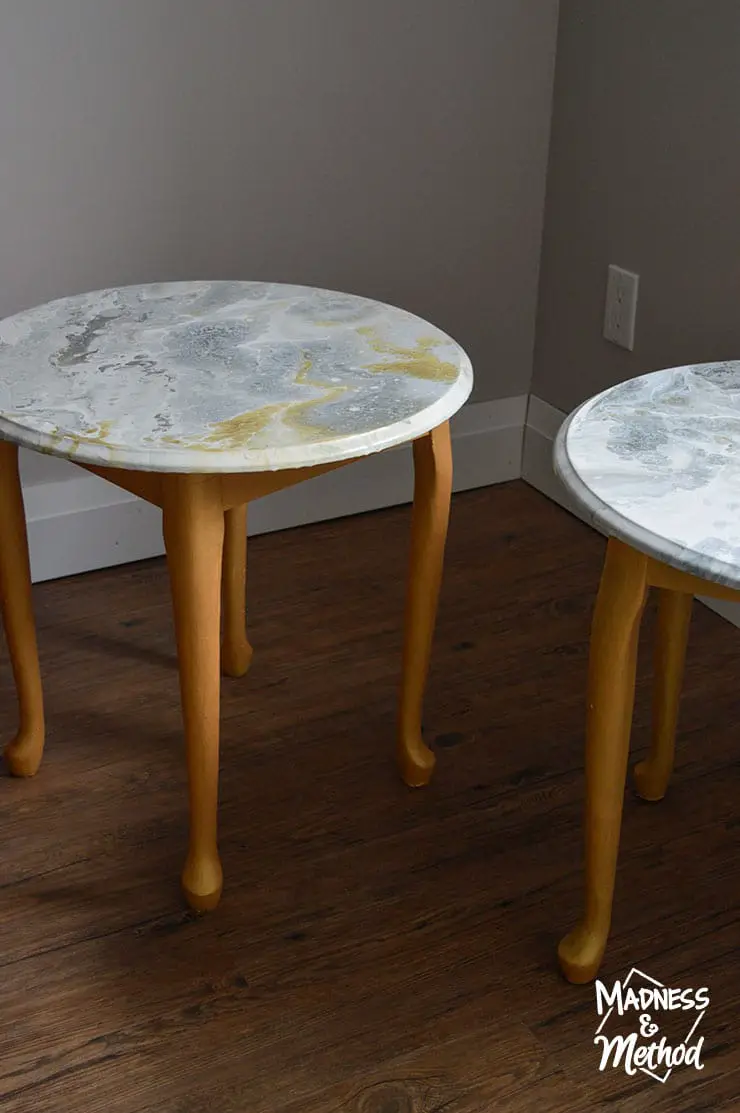
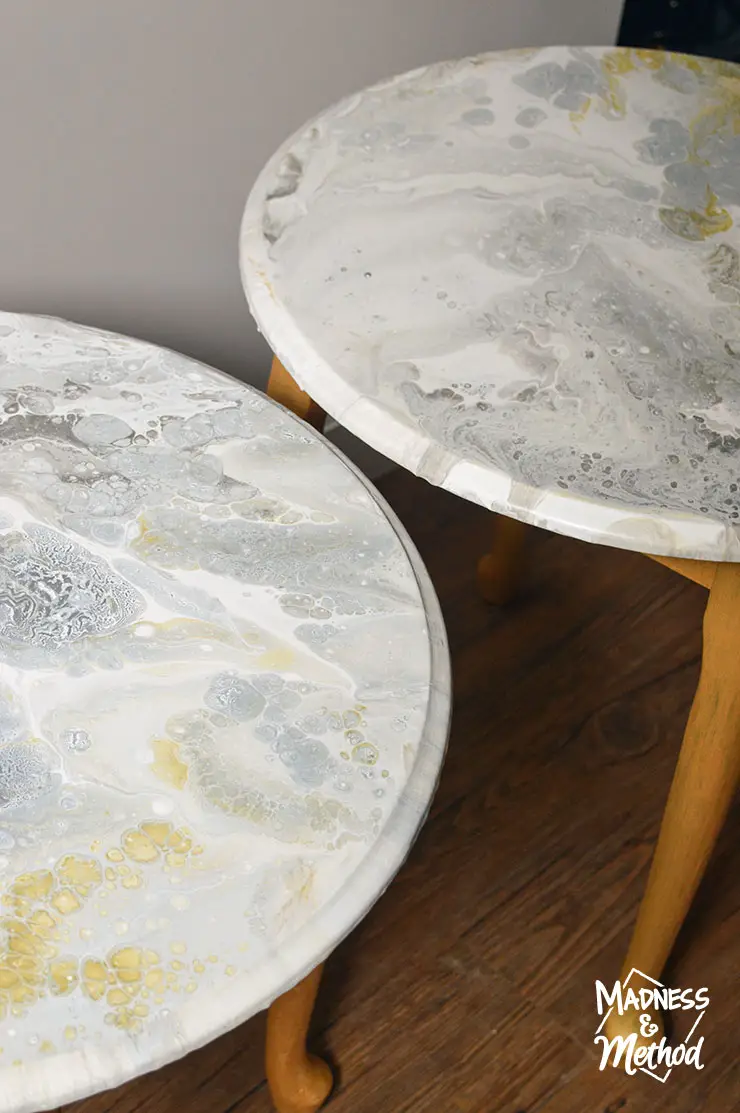
They’re so cute right!?
This time, the paint pour seemed to turn out completely differently…
For example, I felt like the gray came up a lot more while the paint dried. Or at least, maybe it just mixed in more compared to staying as separate as it was before?
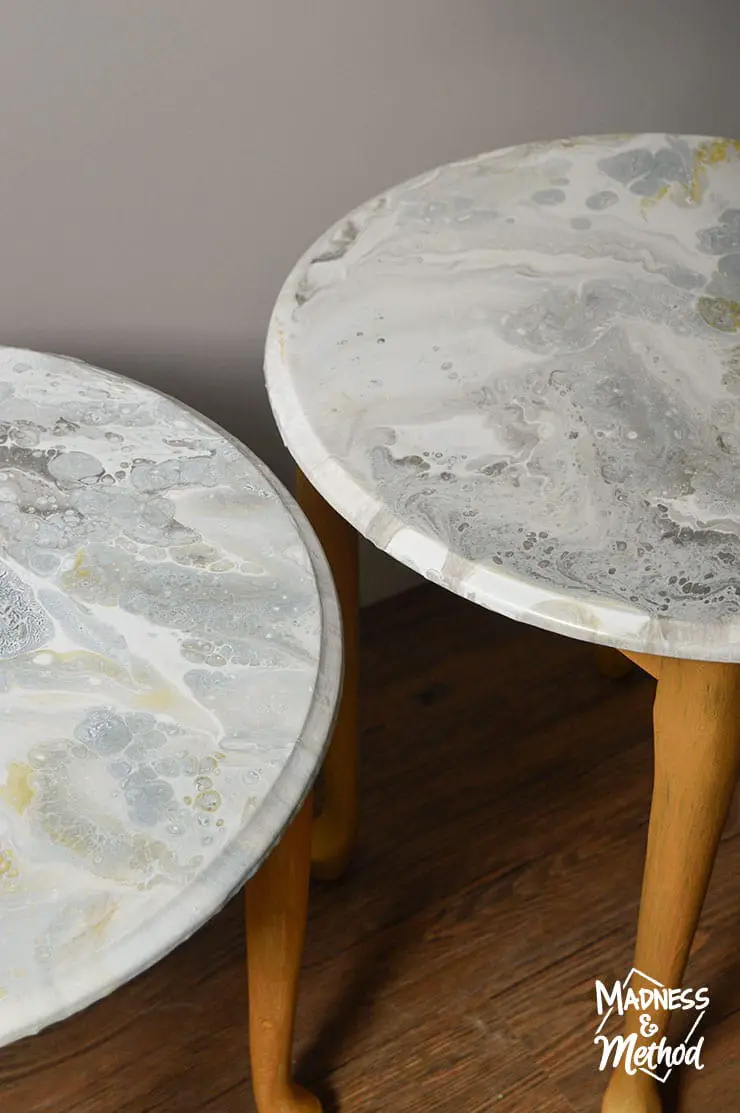
It’s not that I don’t like the grey as much, it’s just that I wish there was a teensier bit more white. I even quickly thought about whitewashing them, but I don’t want the table lighter… just less grey, you know?
I also found the look to be more galaxy-er than the first paint pour table I did. Kind of like the colours exploded together more – still very cool looking.
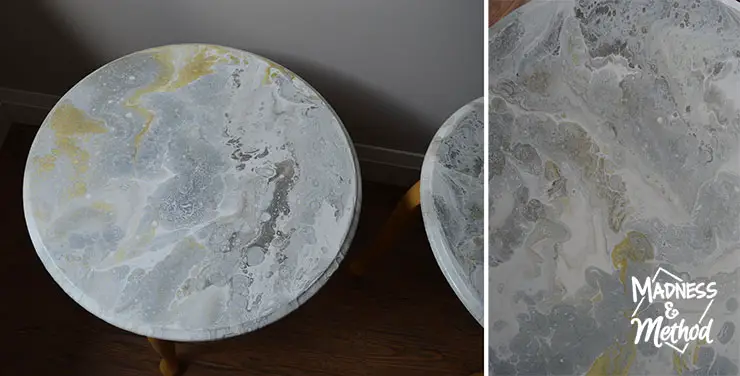
Either way, I really like the look of both nightstands, and I like that they’re both a bit different (I’m going to ask the Husband which one he’d prefer… but I know it’s probably going to be a big fat “I don’t care”, ha!).
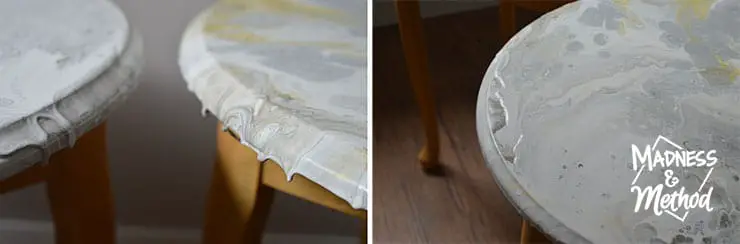
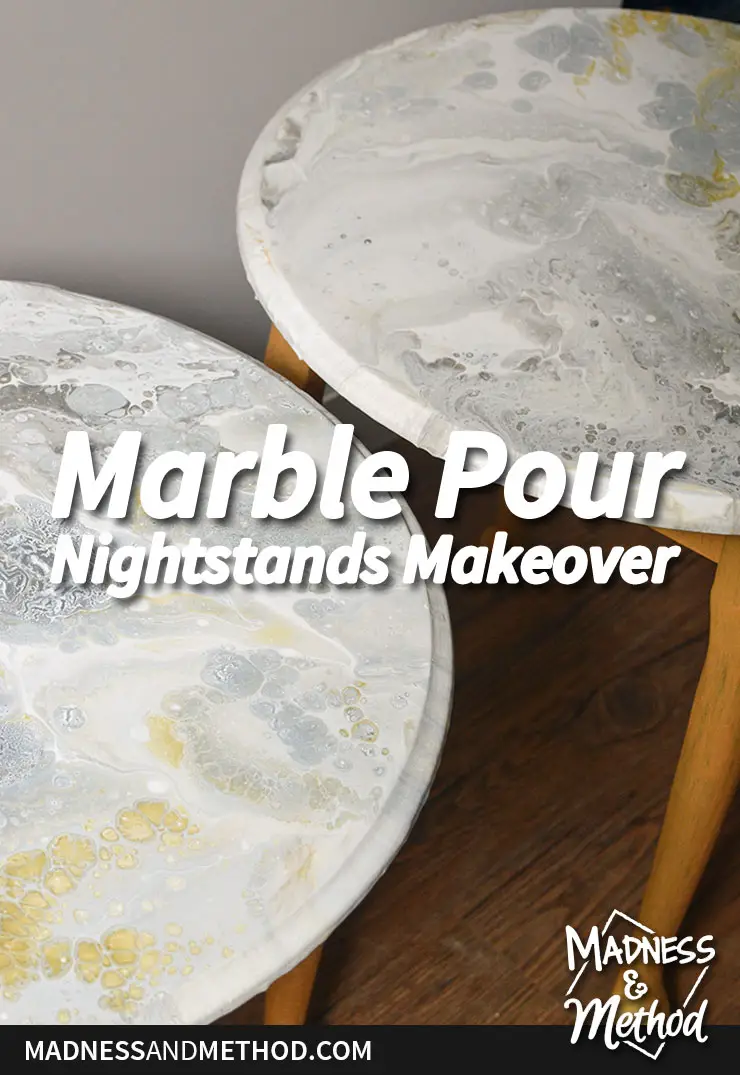
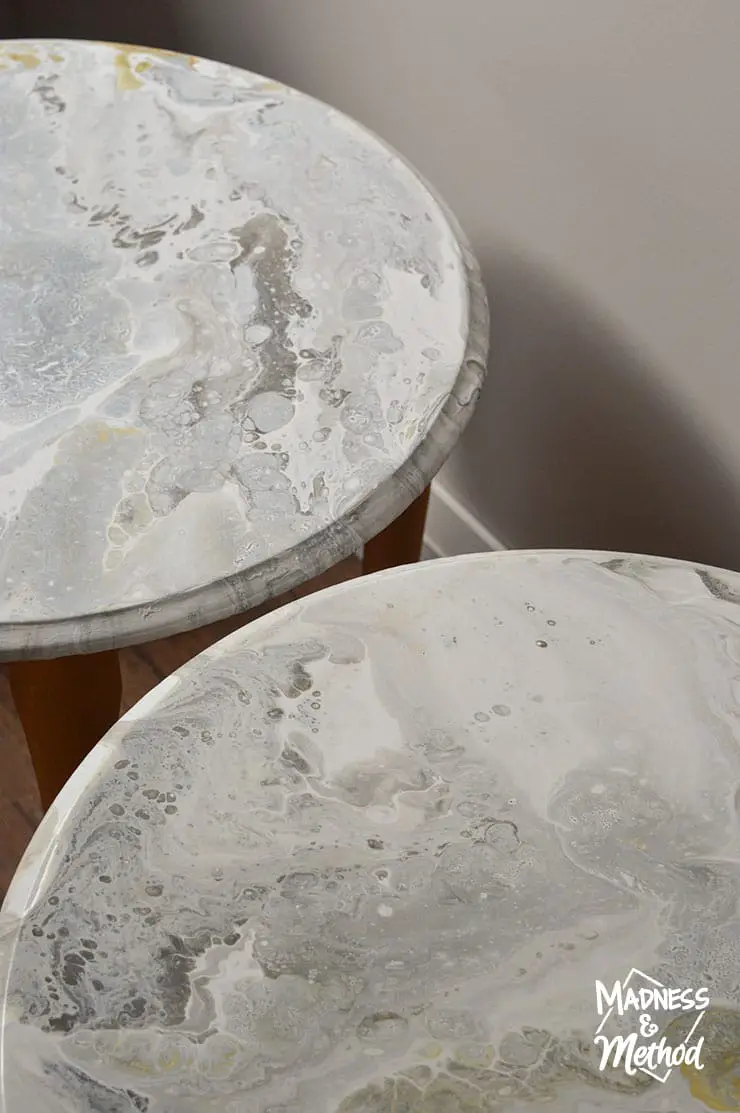
Compared to all the bit crazes and humongo drip areas I had on my first table, these just had a small area of drips (seriously, those are the only spots that it poured down too much!). And, there was only one big craze/dip on one of the tables – so I’m calling that a big win!
Which means that I’m going to skip the epoxy coating, and am hoping that a couple coats of polycrylic will be good enough (I still have to do that… and maybe one more coat of gold paint on the legs!).
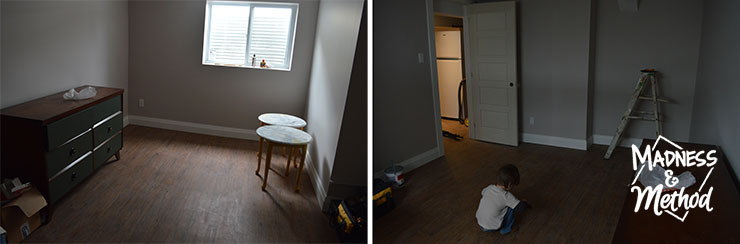
What’s left to do?
Hmmm… so it sort of seems like I’m rocking and rolling on getting projects done, but technically nothing has been completed 100%. Here’s a bit of a recap of what needs to be done for both bedrooms:
Bright Basement Bedroom To-Do List:
- Install casings + baseboards (+ paint them?) {done install, probably won’t patch/paint for a while}
- Paint door and add hardware {should be doing that this week}
- Paint/refinish the dresser {90% done, want to fix broken drawer AND add gold to the knobs}
- Build headboard {I bought the wood and foam, I need the batting, material/fabric and hardware… oh and to do the project}
- Paint nightstands {more gold paint, clear coat the tops, hopefully can finish that this week too}
- Bring everything into the room {and clear the rest of it out… technically bringing the stuff into this room means that we have our final inspection completed – but we can’t do that until we actually have the rest of the basement complete…}
Moody Master Makeover To-Do List
- De-clutter + reorganize stuff {sort of not really started this}
- Build headboard {again, have wood, need everything else… hoping I can do this headboard this weekend}
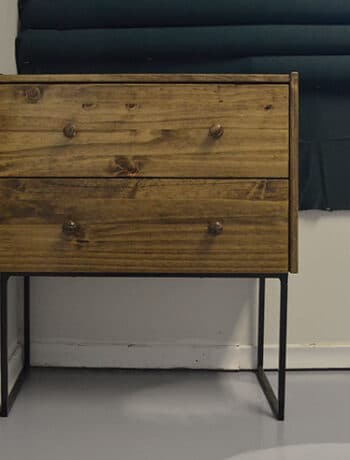
- Build two matching nightstands {I built the bases/outsides already! Just need to finalize the stain colour, and build the drawers… which is probably the hard part}
- Swap some furniture around {will do this weekend…}
- Address curtains? Add rug? Remove shelf? {Hopefully will figure all this out during the weekend… basically, we’ve just ignored this room since the first week, other than removing the Husband’s wardrobe and throwing all our stuff on the floor}
And here’s where we’re at for the rental renovation bedroom:
My immediate plan is to paint all the doors in the basement and install the hardware… because I have a sneaky suspicion that one or two of the casings might be a little too close to the knob plunger/tongue and I’d rather find out now than after I patch and caulk all the trim…
Because it’s Easter weekend in a few days (and we’re celebrating someone’s first birthday too!) we’ll be a bit busier with family stuff. BUT my parents will be down and that means I have extra babysitters AND project helpers (they love coming to visit me during One Room Challenge time, ha!). So I’m hoping I can devote a lot of my time to all the stuff in our main master bedroom since we’ll be there more… (finishing that room would be nice!).
Make sure to check out the One Room Challenge website to see all the projects being completed this round!

Week 1: Two Master Bedroom Makeovers | Week 2: Painted and Stained Dresser
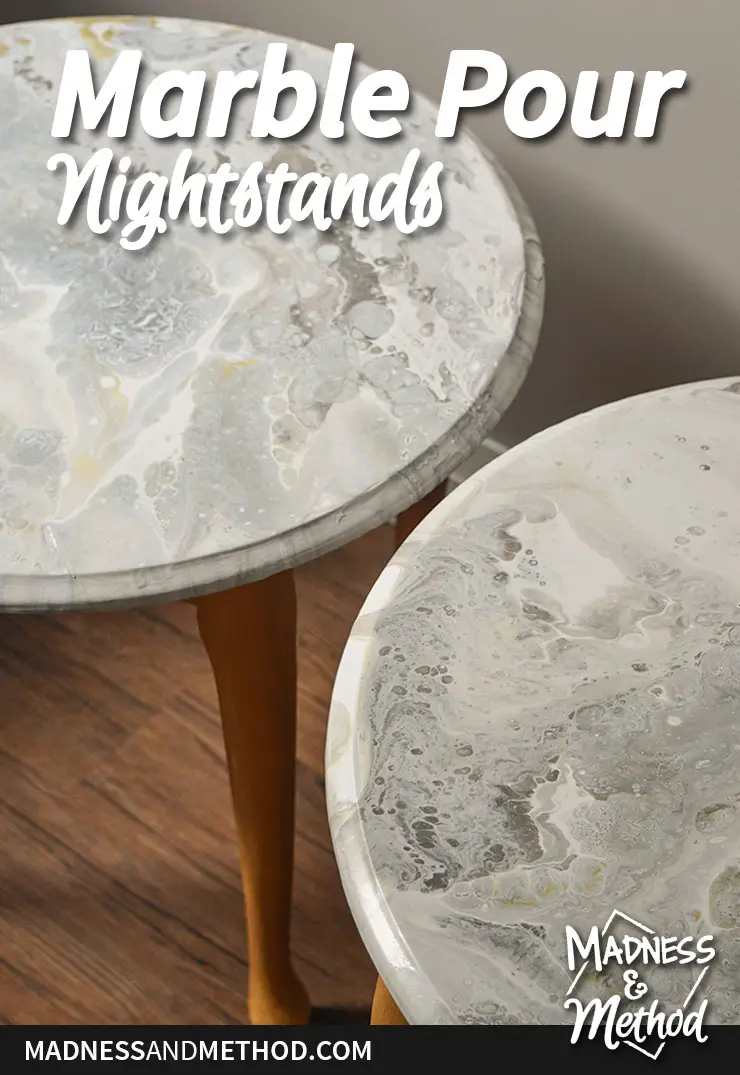
Feel free the Pin this marble pour nightstands project to Pinterest (and you can follow me there too!) to save it for later. Since I now have two paint pours under my belt, I’m totally an expert… but you know, can only do marble-look round tables… ha!
Let me know if you’re also doing the One Room Challenge this time around, and/or just comment if you had a question about the tables :)

No Comments