We’re sharing our second master bedroom that we completed as part of the Spring One Room Challenge! This is the bedroom that’s in the basement apartment at our rental renovation, and although it’s done – the rest of the basement still needs to be addressed 100%. But let’s check out the basement bedroom reveal for now!
Check out the Moody Master Bedroom we revealed this week too!
Even though we still can’t move down here yet, the Husband figured it would be best to bring our bedroom stuff down anyways :) Ha, actually I told him that I wanted to get my photos taken before the end of the weekend (so I could still make the One Room Challenge linkup) and he surprisingly obliged!
If you’ve never heard of the One Room Challenge before, let me give you a quick overview! A few years ago, Linda from Calling it Home decided to create a challenge for her blogging friends in order to motivate each other to renovate a room in 6 weeks. It’s since grown to a twice-yearly event, and hundreds of people participate each time.
This isn’t our first ORC rodeo, and it won’t be our last. Check out some of our past projects here:
- Basement Half-Bathroom Addition
- Bro’s Budget Bathroom Makeover
- Garage Makeover
- Kitchen Renovation (we didn’t finish… and are still working on it!)
Ready for a trip down memory lane to see the basement bedroom we renovated this season? Here was a little animation I shared in the first week of how far this room had come (in the almost year) leading up to the challenge:
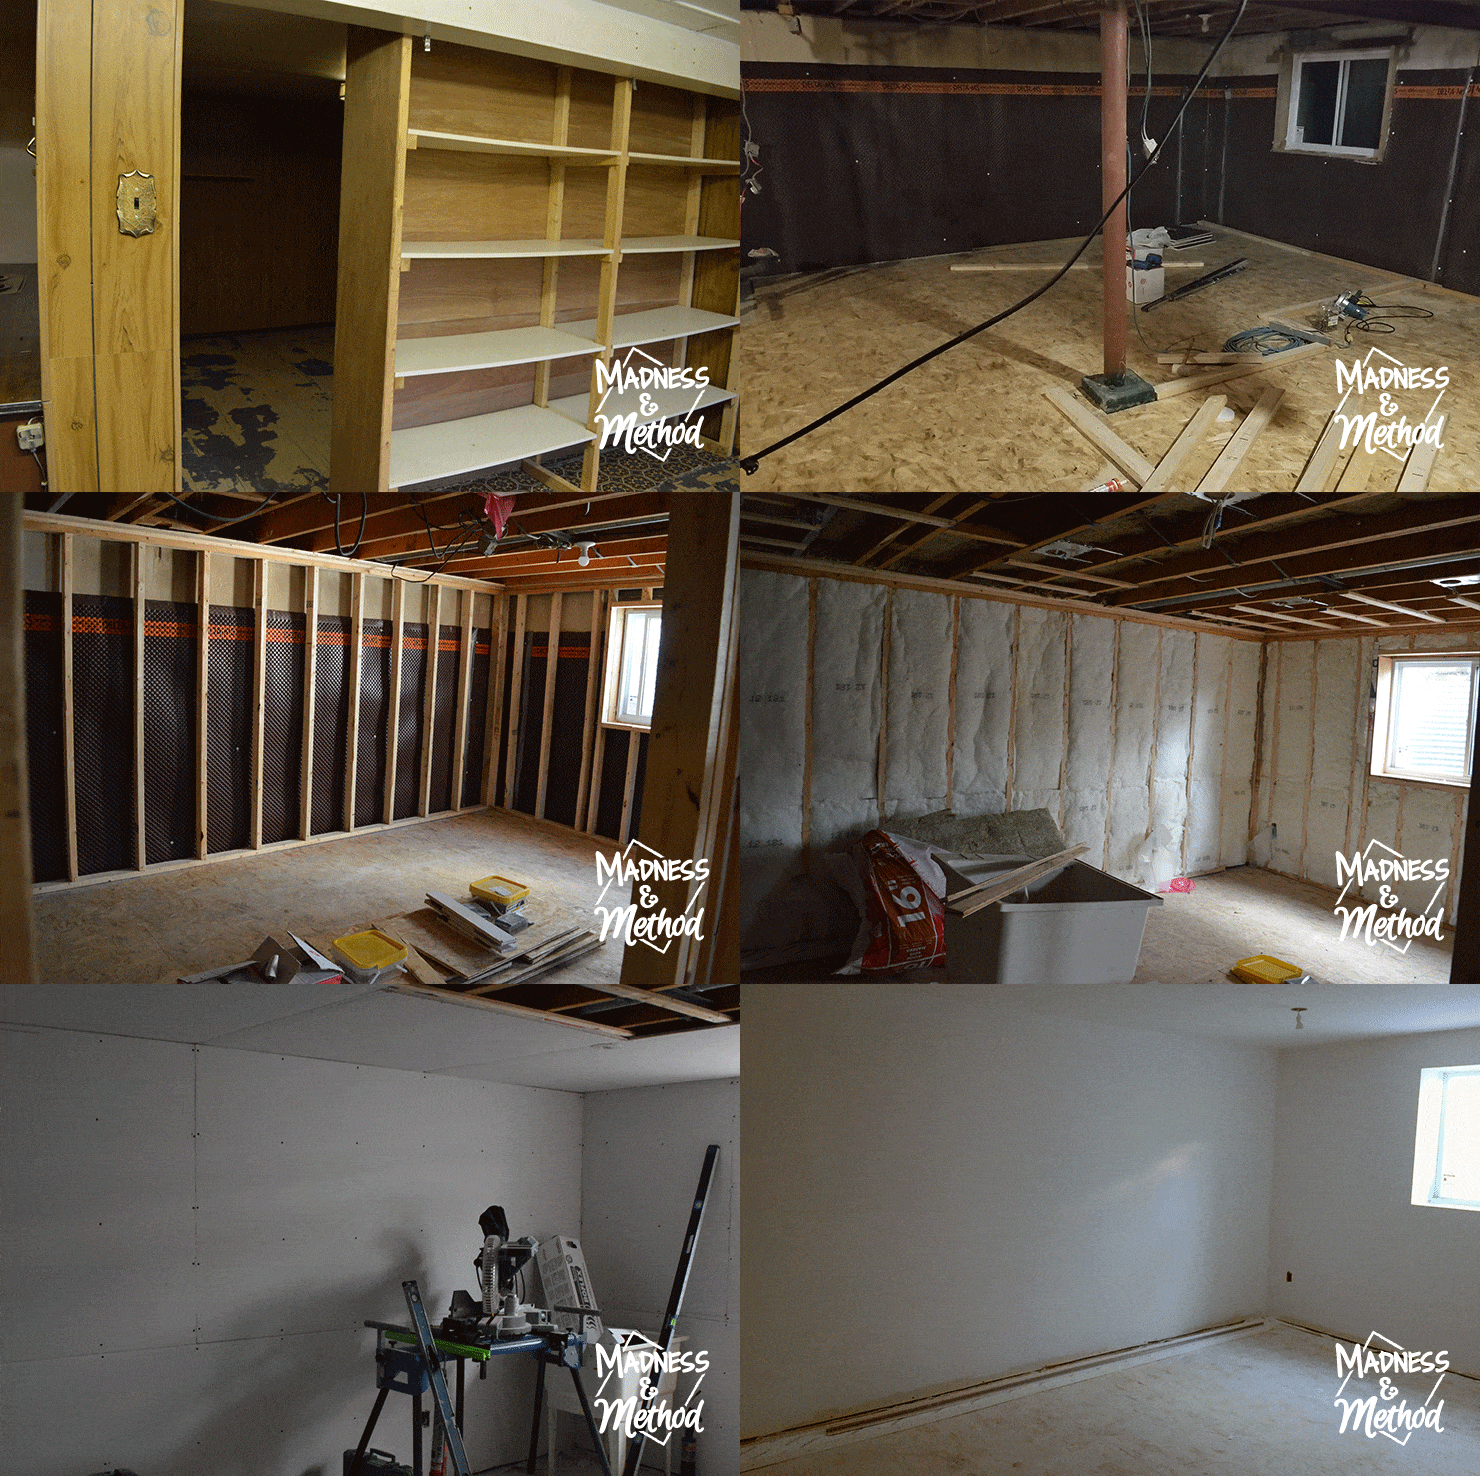
First Appeared in Two Master Bedroom Makeovers
Basically, we completely demo’d a bungalow basement to create a new apartment layout. We’ll be living in this new basement space part-time, renting the upstairs long-term and Airbnb-ing the basement when we’re not there. It’s the first space that’s pretty much done in the basement, but we’re super close to finishing the rest!
Basement Bedroom Renovation List
- Install casings + baseboards (+ paint them?)
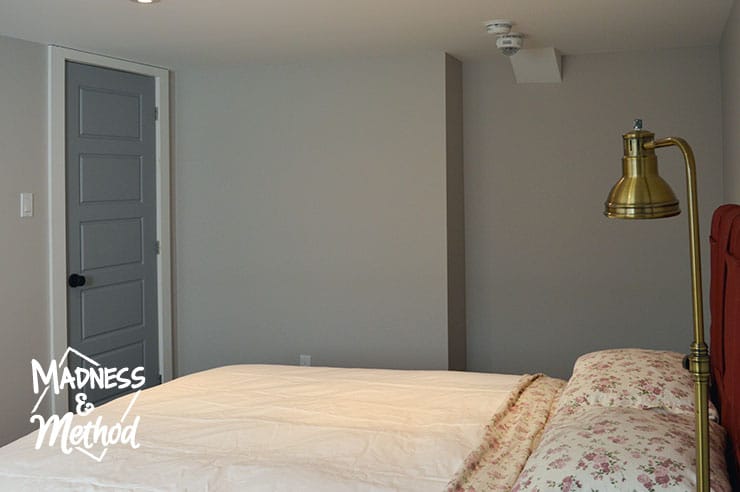
- Paint door and add hardware
- Paint/refinish the dresser
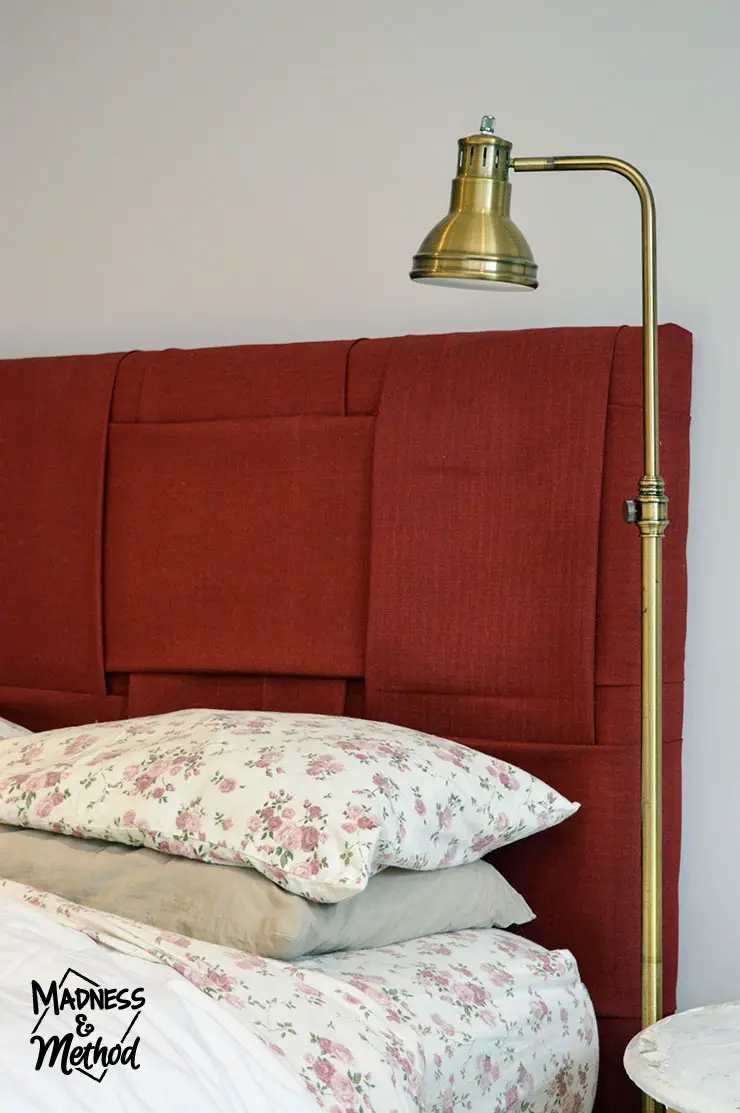
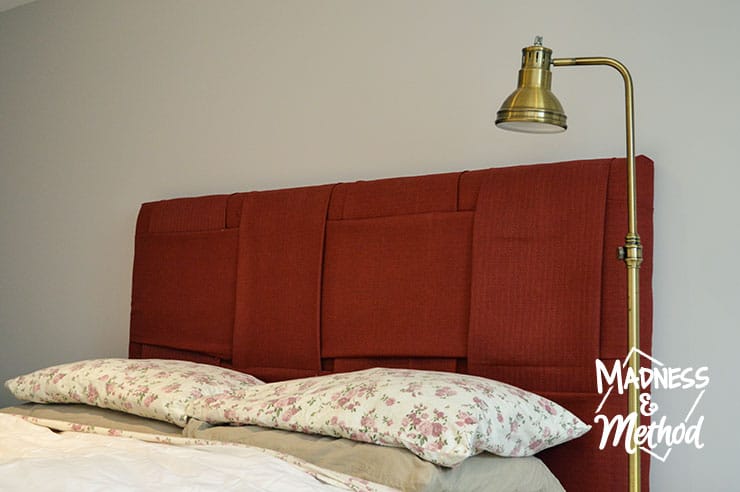
- Build headboard (tutorial coming soon!)
- Paint pour nightstands
- Bring everything into the room (almost all in last week)
- Install blinds (not done yet)
Ready to see how it looks now!?
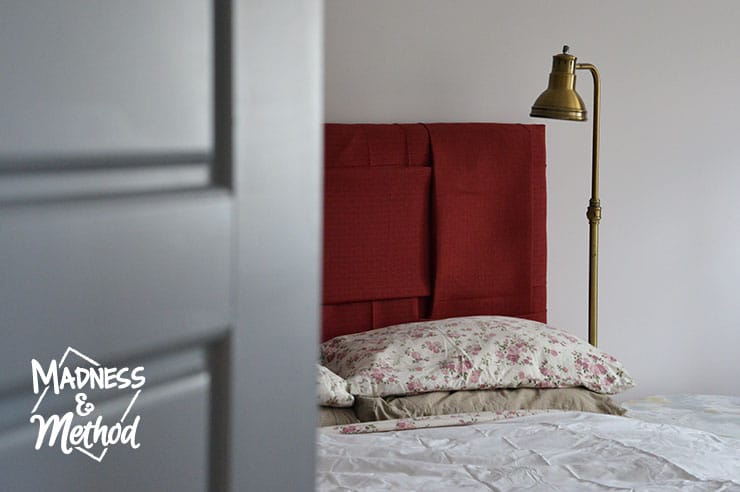
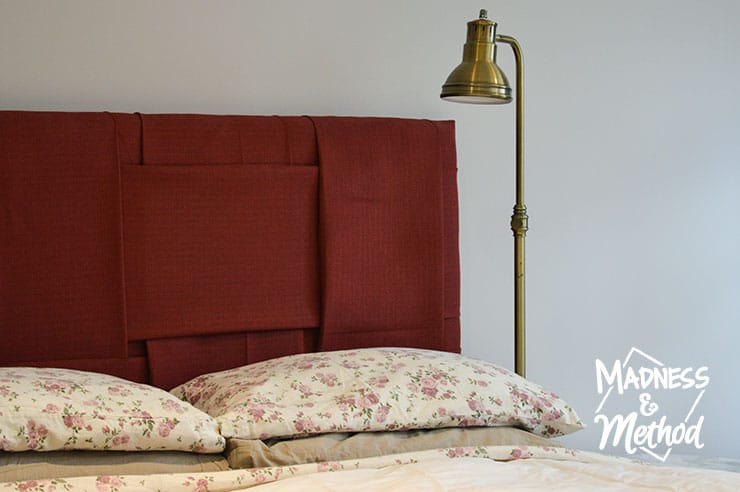
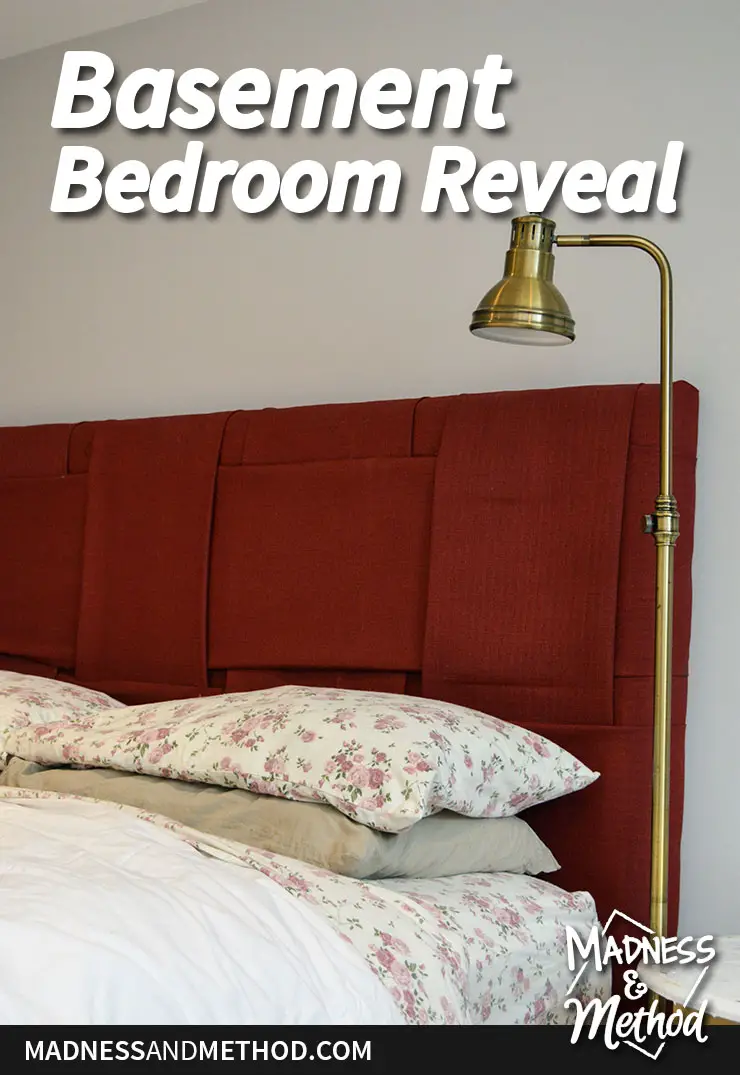
The biggest things we had to do this weekend (it was a mad rush, let me tell you!) was to make the headboard and bring the bed frame, mattress and box spring down.
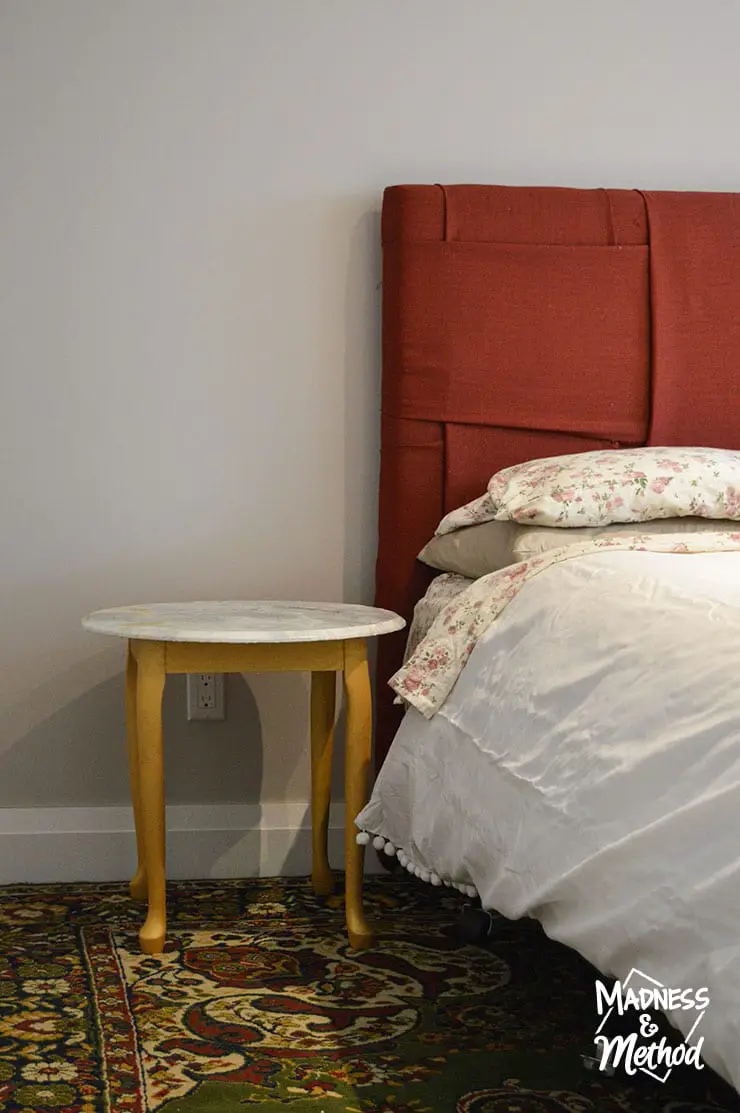
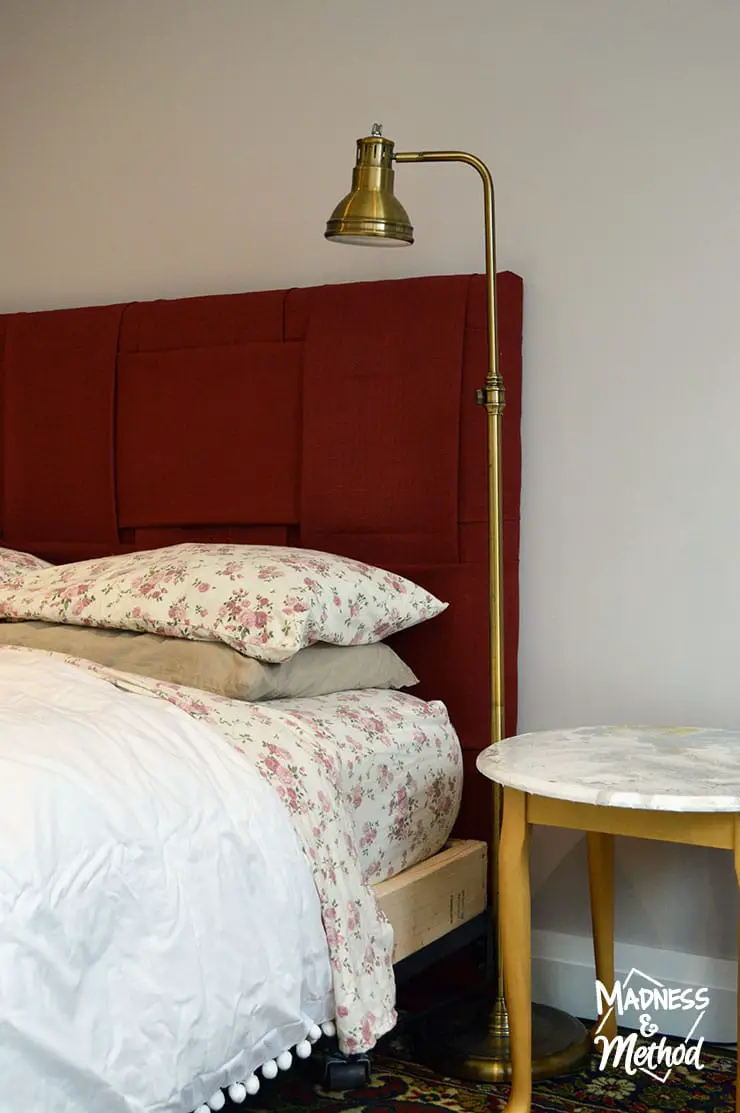
I had finished the paint pour marble nightstands in week 3 of the challenge, and everything was sitting in the room waiting for the bed.
Unfortunately, I had placed the nightstands on top of each other, and for some reason they glued together! I honestly used a hammer and chisel to separate them (also because that’s all we had) and some parts had glued together :(
I’ll just repaint those areas so hopefully, it’s not noticeable (and maybe do a few more clear coats!).
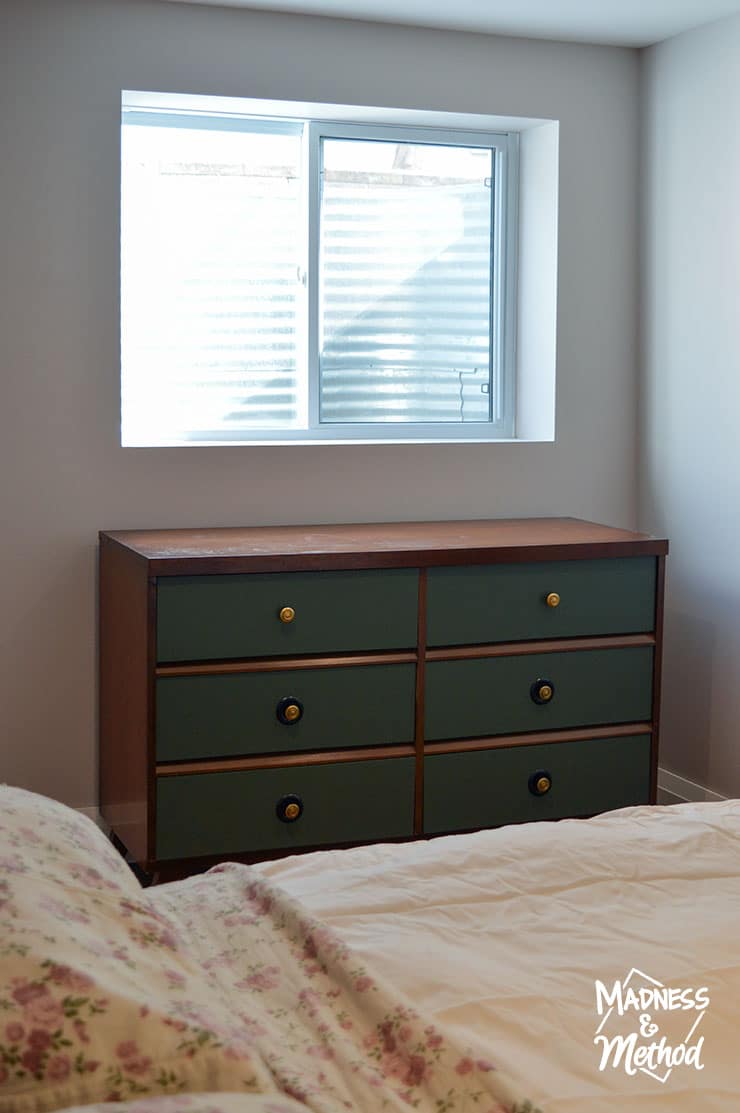
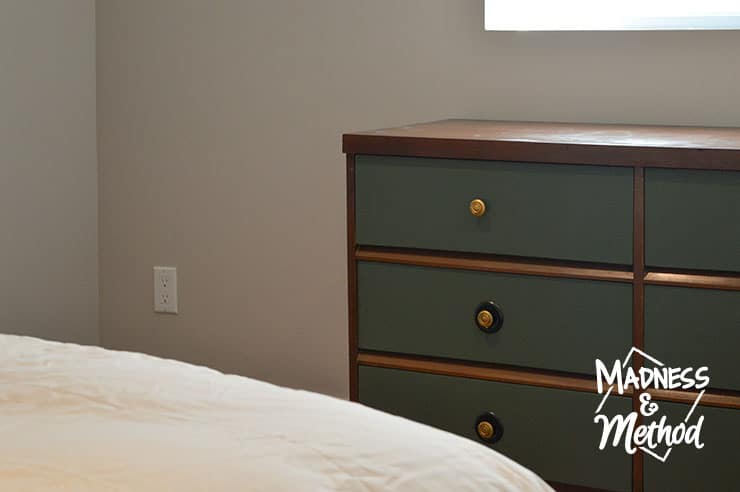
I had also completed the painted and stained dresser makeover early on and moved it into position once the baseboards were installed and patched (but I still need to caulk them).
The knobs were just painted gold, but I’m thinking that the back plates should be gold too? (The Husband says they are fine black). I was hoping to get a big plant or something for this corner, but I sent the Husband to the store to get one and he said there were none…
I was building the headboard when I sent him to the store so that we could get these pictures in time. (Grandma was watching the littles, so we were on a time crunch!).
We were hoping to have our occupancy permit in place by the time we brought the furniture down, but we still have a few small things to do. Our plan is to just sleep on the pull-out sofa upstairs (like we did before we bought a bed).
Although, the Husband did say that this bedroom looked so cozy and comfy now, and I’d like to say it’s because of my nice new headboard! (We just had the bed in the bedroom upstairs before, and our pillows would fall back constantly!).
Oh, and there was a boxspring that unfortunately did not fit down the staircase! The Husband was ready to quit bringing stuff down at this point (after the mattress came down already), but I told him we could easily build a wooden frame ourselves. (Cue me running to the hardware store to pick up the necessary lumber).
I’m planning on picking up some more matching fabric from the headboard and wrapping the wood with it to make it look like a proper bed.
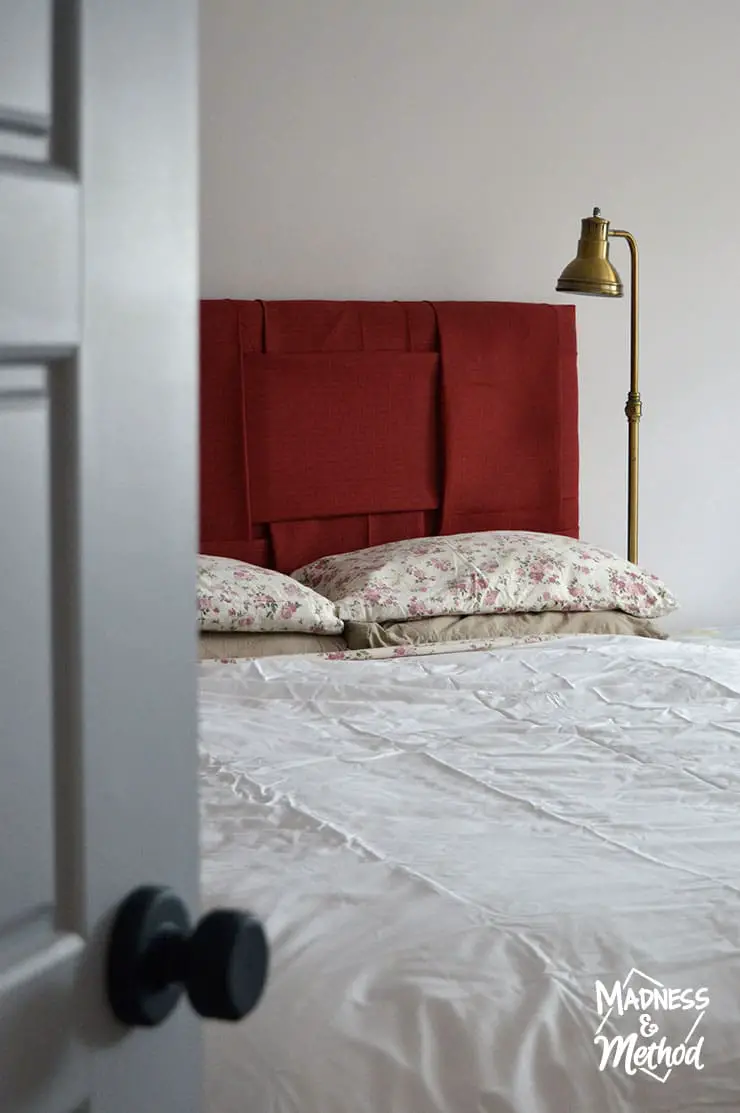
And that’s pretty much it for the basement bedroom reveal! There aren’t any accessories (since we’re planning on renting it, we have the bare minimum here). It would have also been nice to unwrinkle the duvet cover, but I literally just opened it and threw it on for these photos!
(SO picture us bringing the mattress down, attempting to bring down a box spring, then bringing it back up, dismantling the frame, building the headboard, painting the dresser knobs gold, hammering the nightstands apart, buying lumber/making a custom boxspring and trying to make the room look nice for photos, and taking said photos, all in less than 3 hours!).
Yes, it was mad rush… but at least we’re pretty much done!
Well, other than the small details of repainting the holes in the nightstands, finishing the boxspring, caulking all the baseboards, installing the curtains AND finishing the rest of the basement apartment…
(Oh, and I’d like to properly finish the headboard proper – but I did a quick rush for these photos and some of my seams could be nicer).
But alas, that was my bad for choosing to renovate TWO rooms for the One Room Challenge – next time I’m only doing one :)
And I can’t wait for that one!!!
See the rest of the reveals from the One Room Challenge participants. And follow our journey to catch up:
Week 1: Two Master Bedroom Makeovers | Week 2: Painted and Stained Dresser | Week 3: Marble Pour Nightstands | Week 4: Building Custom Nightstands | Week 5: Basement Bedroom Progress|AND our Moody Master Bedroom Reveal




No Comments