
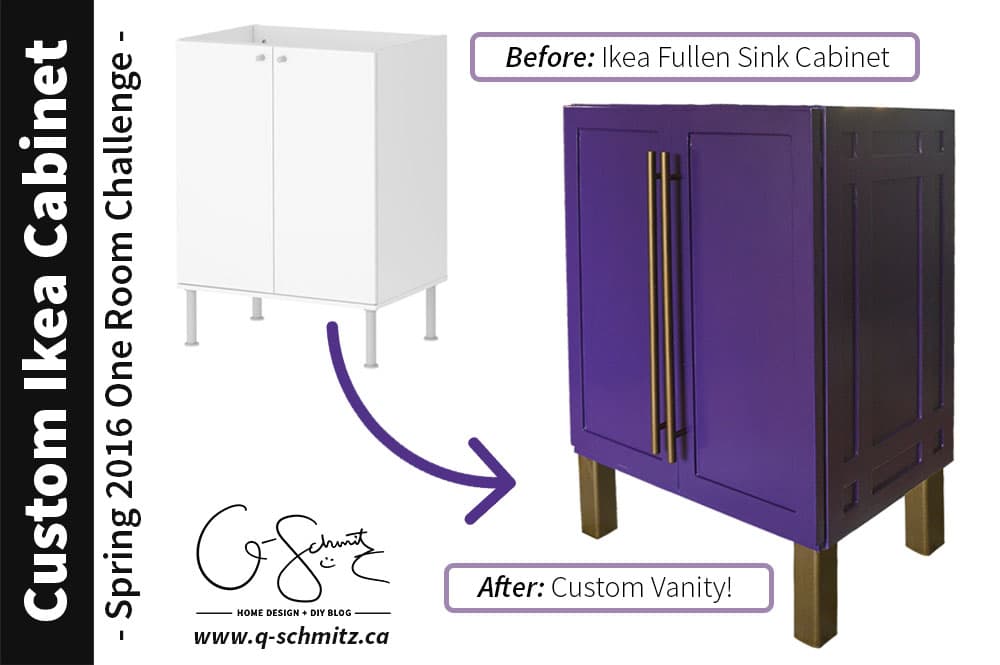
It’s the start of May, and we’re officially into crunch time with the One Room Challenge hosted by Linda of Calling it Home. For us, that means finishing off our basement bathroom addition; and I would have loved to tell you that everything is on schedule… but not so much. I did manage to create a custom Ikea vanity, so that is what I will be sharing with you today (along with my regular updates). Let’s have a look :)
– Note: This post contains affiliate links. See more information about affiliates here –
First off, my ORC posting timeline:
Week 1: Sharing Design Plans
Week 2: Plumbing, electrical + framing
Week 3: Installing drywall, patching, priming and painting
Week 4: Tiling (floors and walls)
Week 5: Grouting / installing trim + furniture (ie: vanity + toilet) (that’s this post!)
Week 6: Bringing in accessories for the final reveal!
Now, behind the scenes I’ve mentioned I like to have things done ahead of time right? As in, a week or two (yes we did lose a week because drywalling took me twice as long). BUT I was still planning on having everything done by May 1st. Seriously, I have a detailed spreadsheet of all the tasks that need to be done – and all the things we have left said – BY MAY 1st.
Now, you may be thinking – oh wow it’s May 3rd, everything must be done right?
Well, let’s just say someone decided to go on a fishing weekend with their friends… at that someone is an integral part of the last bit of things that need to get done around here.
No… it was not me who went fishing :)
I did manage to get some other house projects done this weekend though, but as far as the bathroom goes, we still have a lot to do before the big reveal next week.
(For-real list) Still to finish:
- Wire ceiling light + sconces
- Install the plumbing intakes and connectors
- Install a plumbing vent pipe (and re-route current house plumbing vent)
- Finish the baseboards (patching, priming, caulking)
- Install the vanity + sink
- Install the toilet
- Install the shelf, toilet paper hanger, towel hooks
- Seal the grout
- Decide on the mirror
- Install the door hardware and hang the door
- Decorate and take pictures
- Oh, and fix the phone cable wires (that were damaged during the demo)
Custom Ikea Vanity
But let’s forget all that for a bit (as soon as I publish this post I’m going to work on the baseboards and seal the grout) AND look at the custom Ikea vanity I was able to come up with and build during the rest of our bathroom progress!
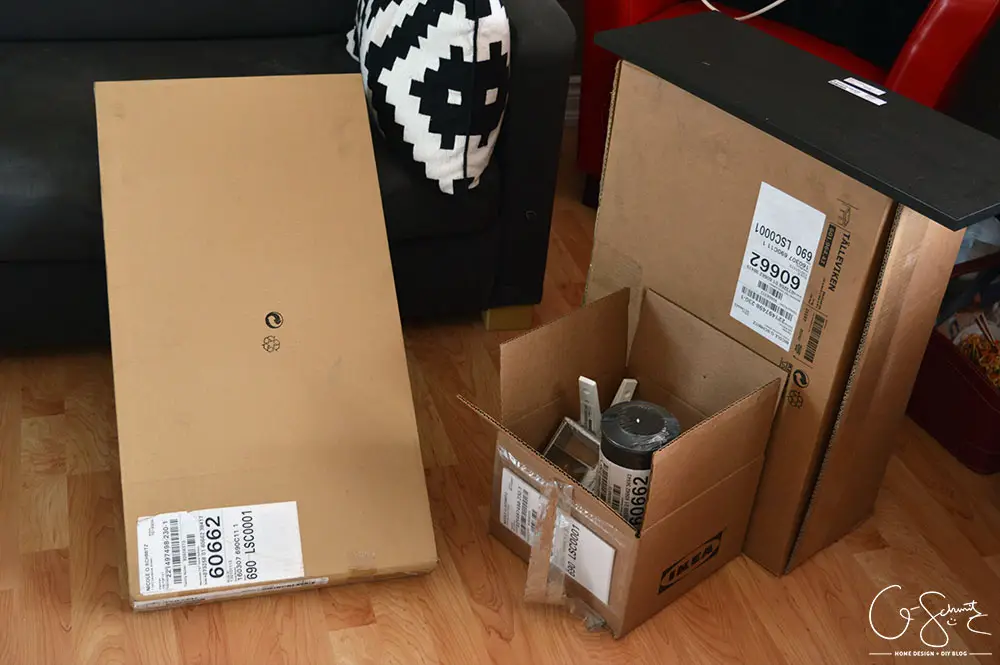
In the original bathroom design, I was planning on using a black Ikea vanity, but since we vetoed the purple tiles, I thought the black vanity might be a bit too much. But really, I just wanted to keep my purple in the room! I ordered the cheapest Ikea vanity cabinet (“Fullen”) available, which is still on sale right now for less than 20$!!! I also got it during their bathroom event, so it was another 15% off. Including the separate sink – it was less than 75$ (but we would have needed the sink no matter which vanity we went with).
Since the Husband didn’t want me taking a whole day to drive to Ikea (it’s about a 4 hour drive one-way), I had them delivered. Let’s just say delivery cost more than all the stuff I ordered (boo).
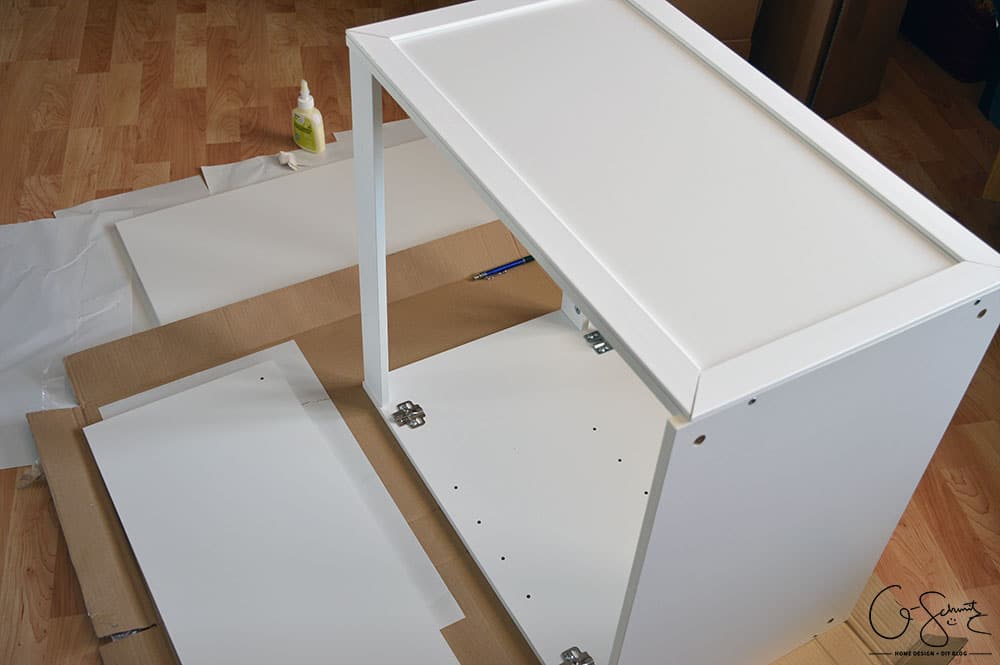
Anyways, I built the Ikea Fullen cabinet as normal, and then I purchased 3 lengths of thin lattice trim to dress it up.
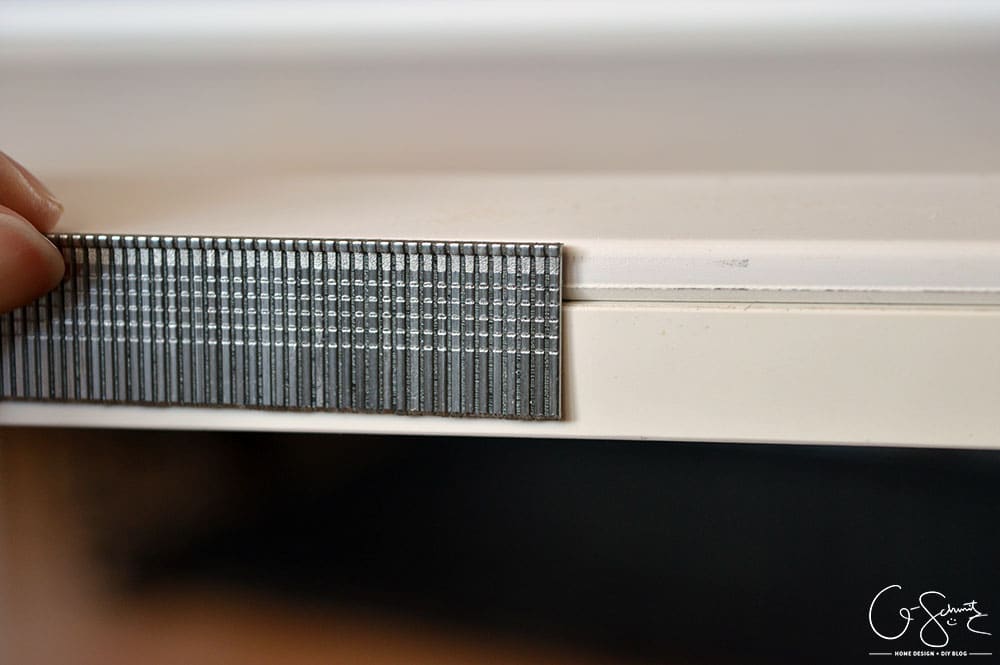
I got some 5/8″ long brad nails to attach the lattice to the cabinet, but 1/2″ would have been perfect (our nail gun takes 5/8″ as the shortest length though).
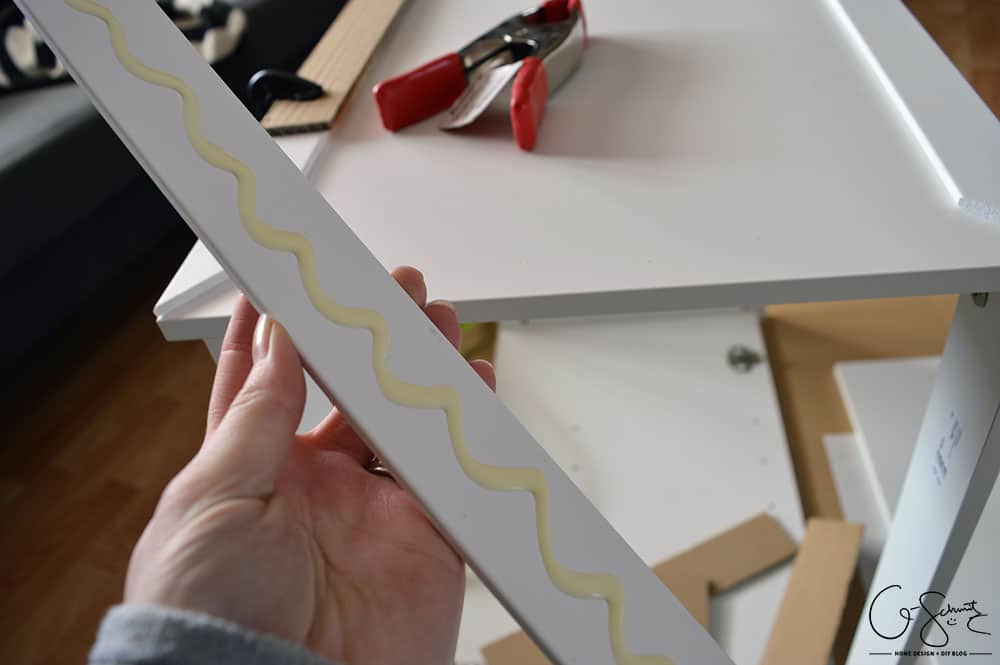
I also used some wood glue, then would put the pieces in place and nailed them in. (If I pressed too hard, the nails did go through – but at least 90% of them are fine!).
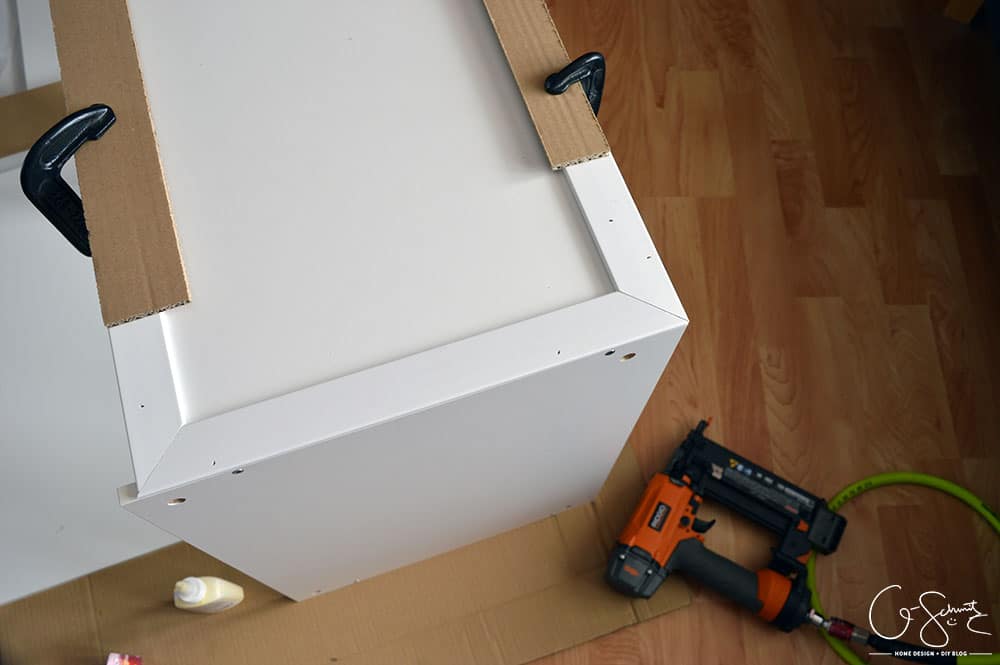
I clamped the pieces in (I really did not want these things to move!) and let them dry.
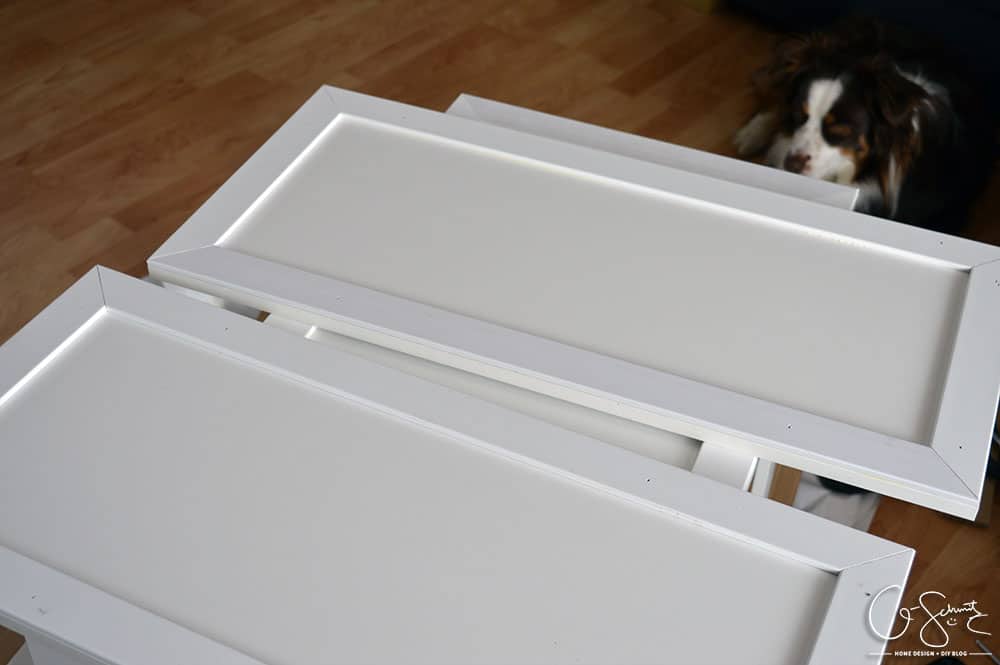
For the doors, I knew a regular shaker style would be perfect; but I wanted to jazz up the side of the cabinet a bit more (only one side would be visible in the room).
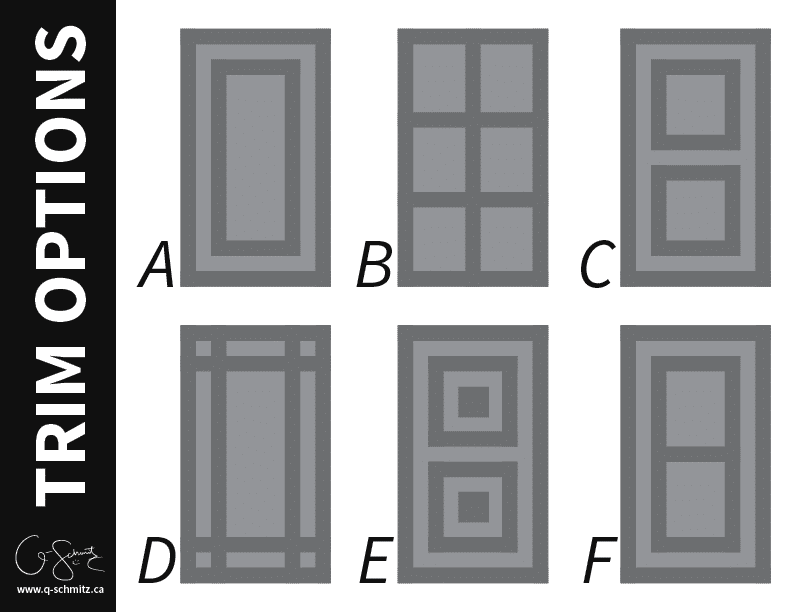
On my Facebook Page, I posted this above graphic and asked everyone to vote on their favourite design. Most votes were for style “D” so that is what I went with!
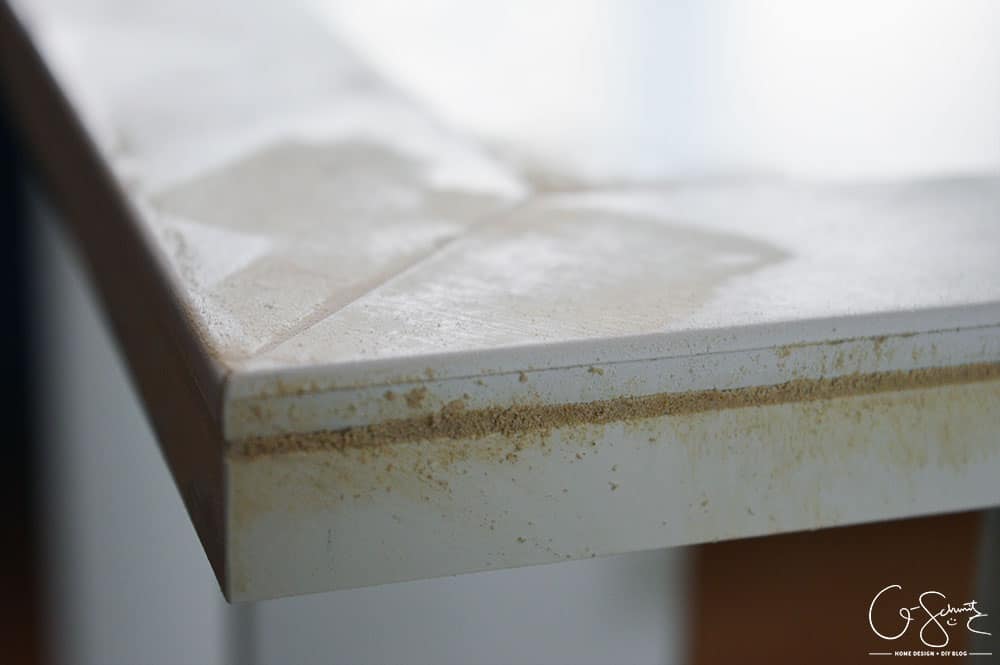
I then covered the holes and gaps with some wood filler, sanded everything – then caulked the inside edges and used drywall joint compound to smooth over any seams. I followed with a coat of Zinsser Bull’s Eye 123 Primer (including the actual Ikea wood part too).
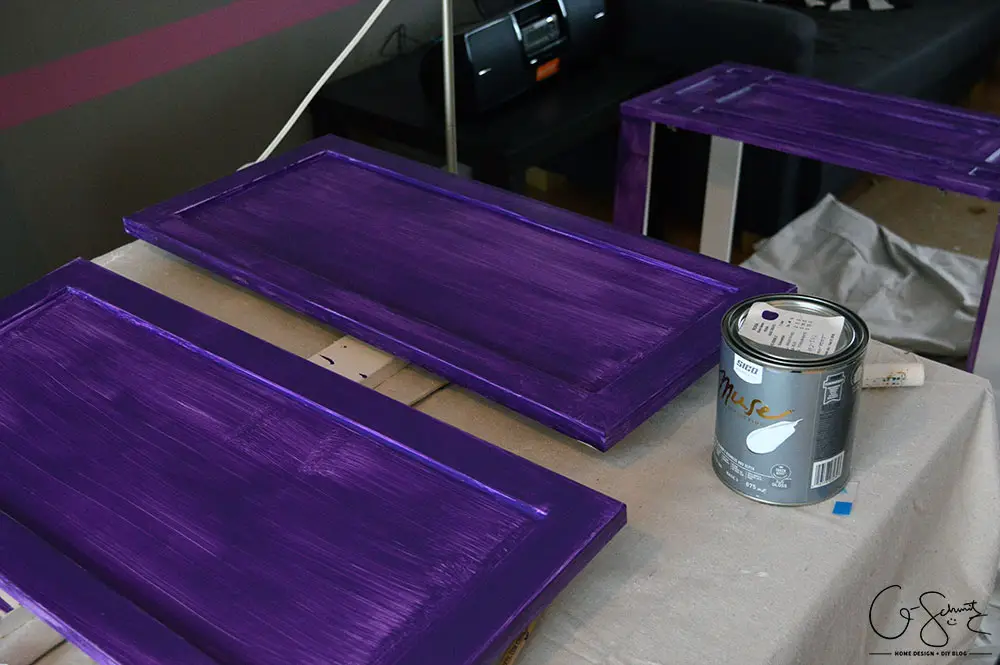
Since purple is my favourite colour, and I knew I wanted something bright – I went with the boldest one I could find. It’s Rona Collection’s “Wax Crayon” and they mixed it in a Sico eggshell quart-size for me. I needed about 4 coats to get a nice smooth finish. (And yes, I left everything spread about in the living and dining room for the past few weeks during this process haha!).
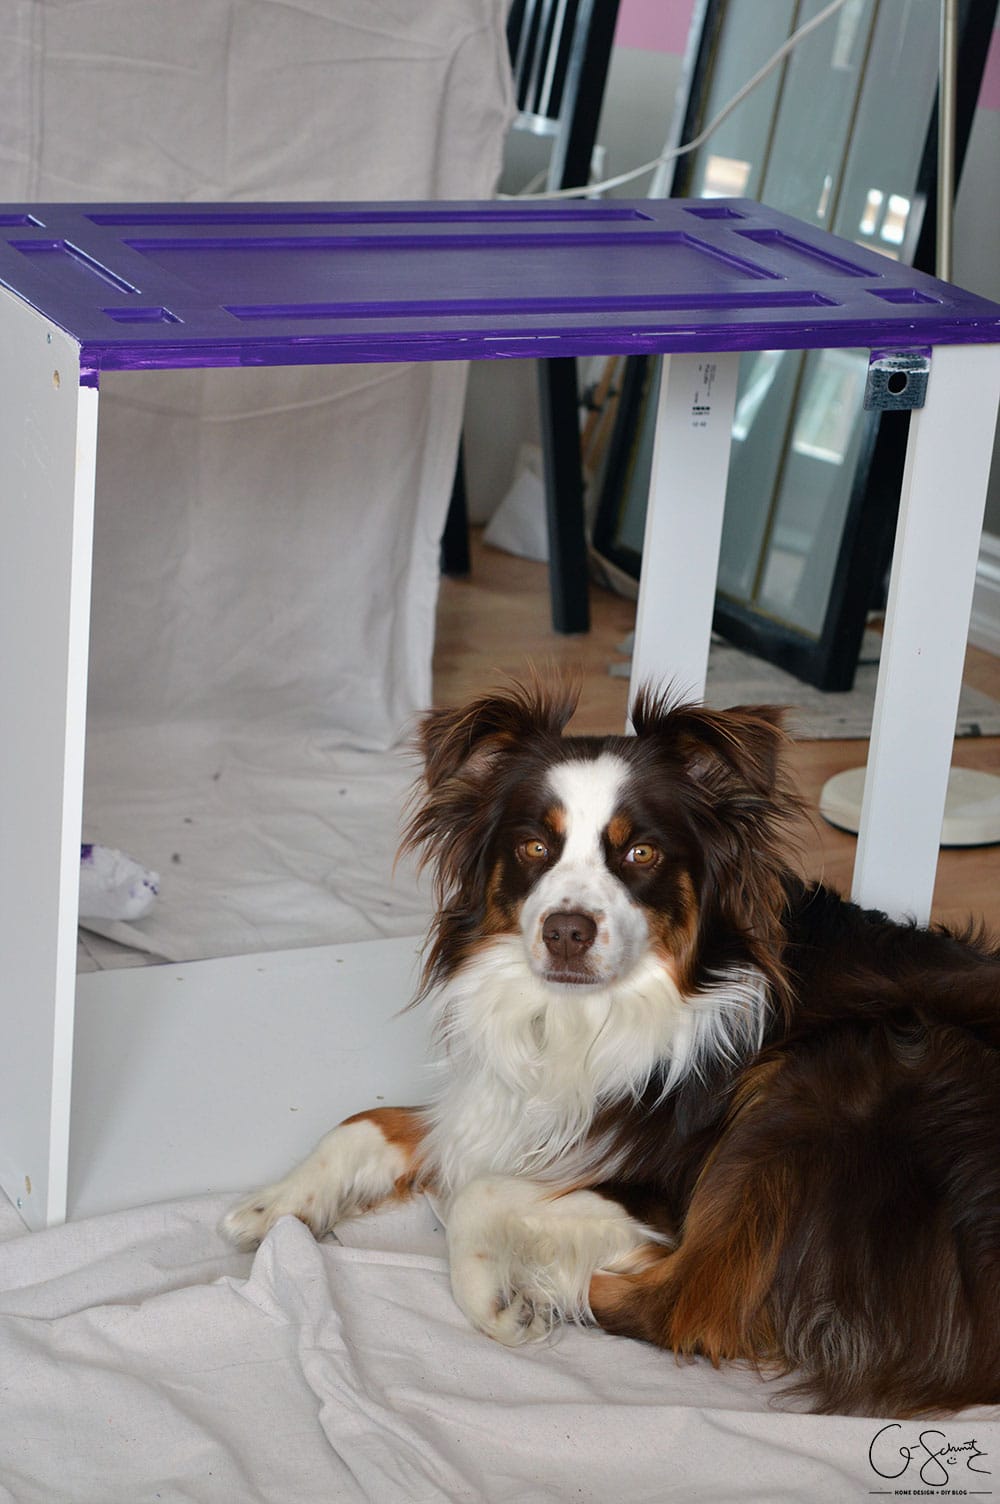
Thankfully I only painted the outside of the doors and the sides of the main cabinet that would be visible – or it would have taken much longer. Actually, I prefer a nice bright cabinet interior (easier to clean and see things). Tootsie loved laying on the dropcloth!
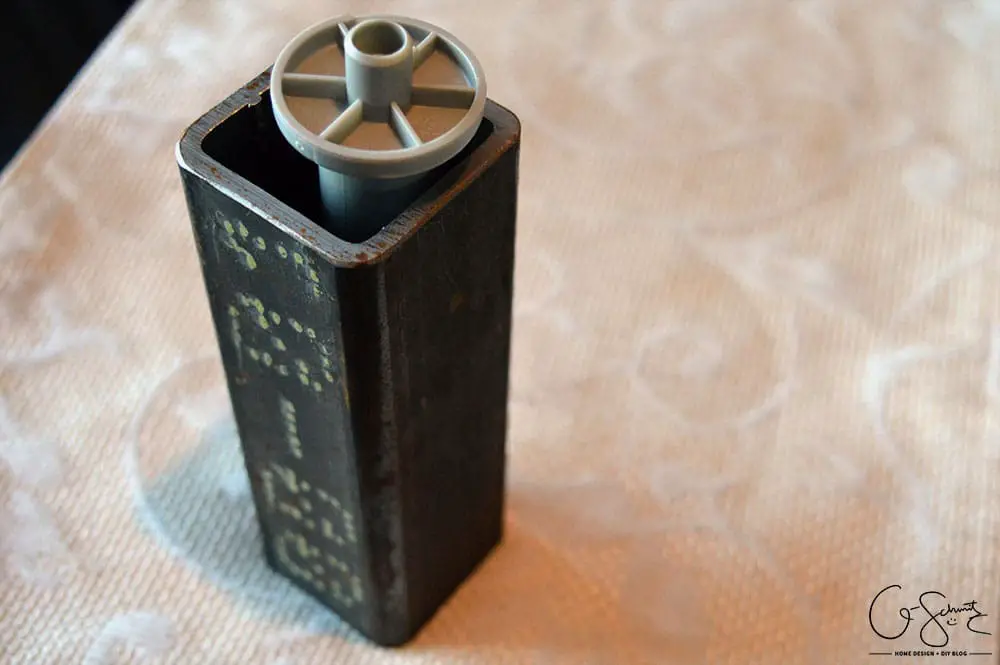
For the legs, I wanted something a bit chunkier/square-r, kind of like the legs of the Lillången cabinet (which I considered using in the original design). I had the Husband cut me 6″ lengths of 2″ x 2″ HSS (it’s square metal tubing) which fit perfectly around the legs that came with the Fullen cabinet. I still needed these to help level the cabinet of course, my little metal pieces would just be like loose “socks” that hide the plastic legs (the Husband said socks the other day, so that’s what I’ll call them!).
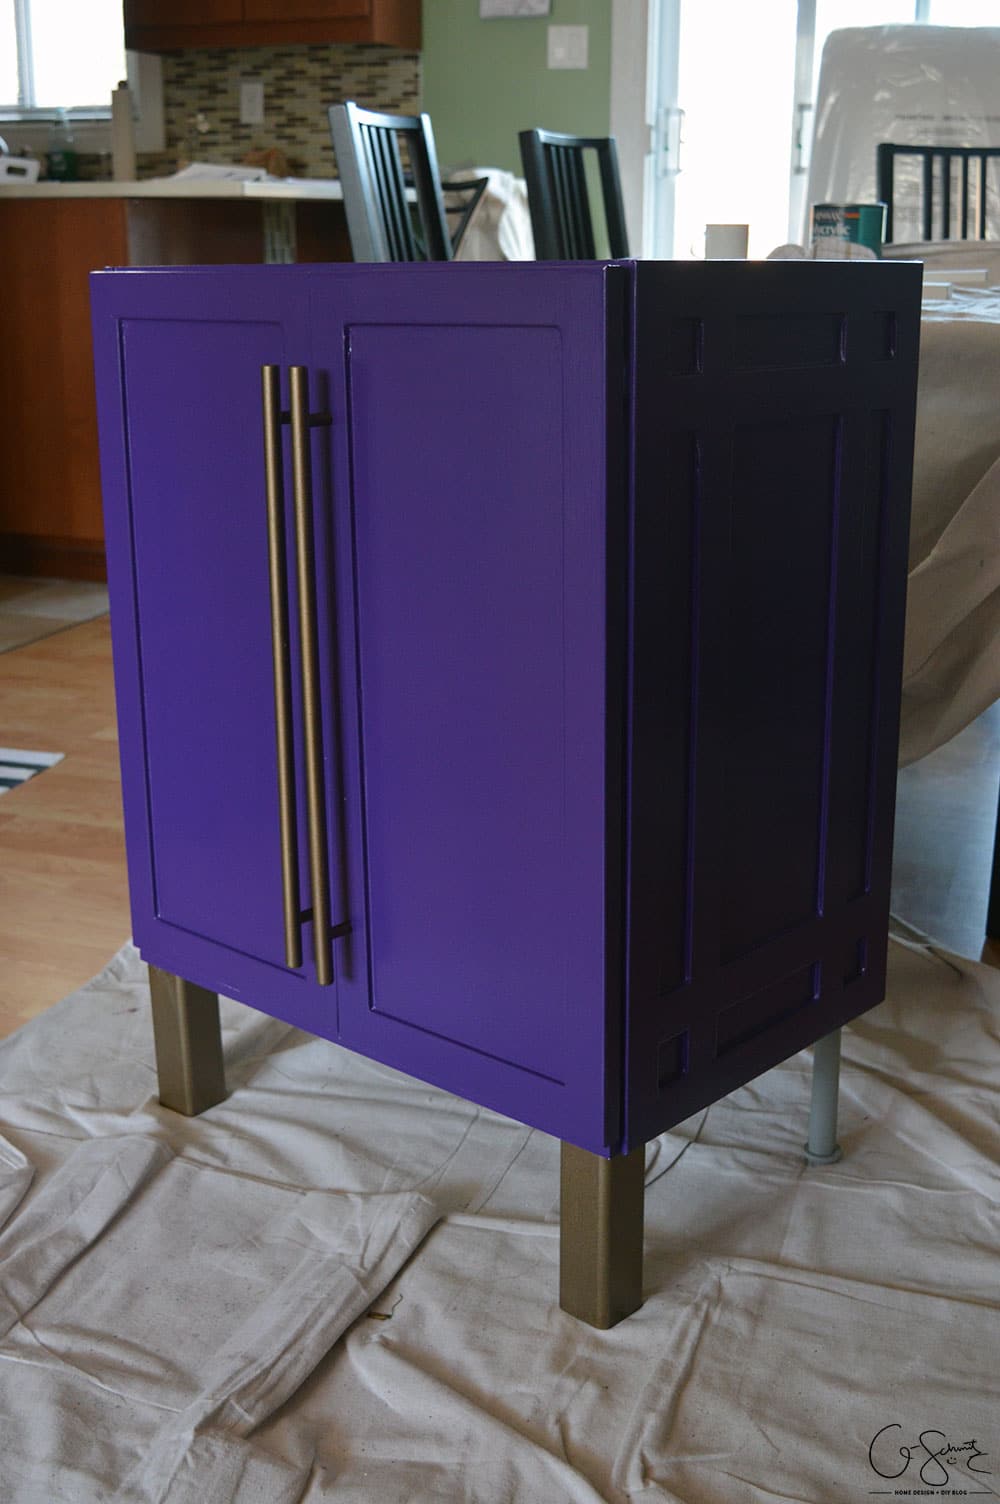
I spray painted them with some Tremclad rust-proof primer, then a coat of Antique Brass spray paint (that I used on the handles as well – and in some other places in the bathroom you will see next week). Don’t worry, there are 4 little metal “socks” – I just didn’t have them all on in this photo (and the doors aren’t screwed in yet either).
OH! I almost forgot! I did also add 2 coats of Polycrylic sealer on top of the paint, because I found it to be a bit too fragile/chippy as it was (yes, I did have to touch up some areas after someone decided to use my cabinet doors as a table surface).
Installing the Custom Ikea Vanity
It’s not actually in place permanently right now, but we did manage to kind of set it where it will be going.
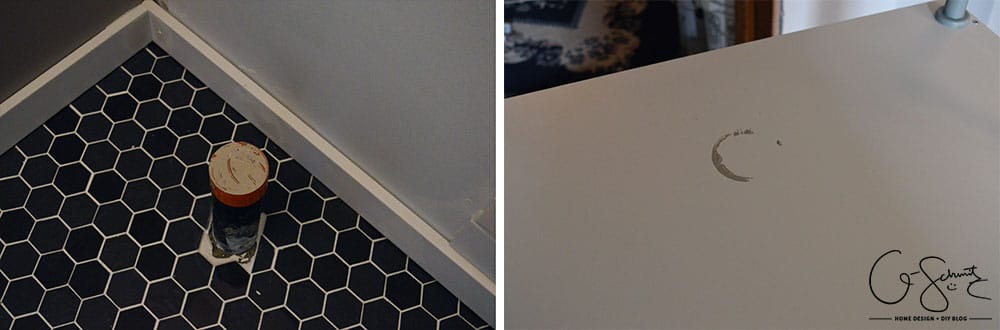
Because the Husband decided it would be easiest to plumb from the ground up (rather than go back through the wall like I would have preferred), I knew that our cabinet needed to be cut into in order for it to fit (and you know, have plumbing). Rather than measure the distance from the walls and then measure that on the base of the cabinet, I used my cheating method.
Which basically just involves painting the cap of where the plumbing pipe is, then holding the custom Ikea vanity down onto it to leave the paint mark.
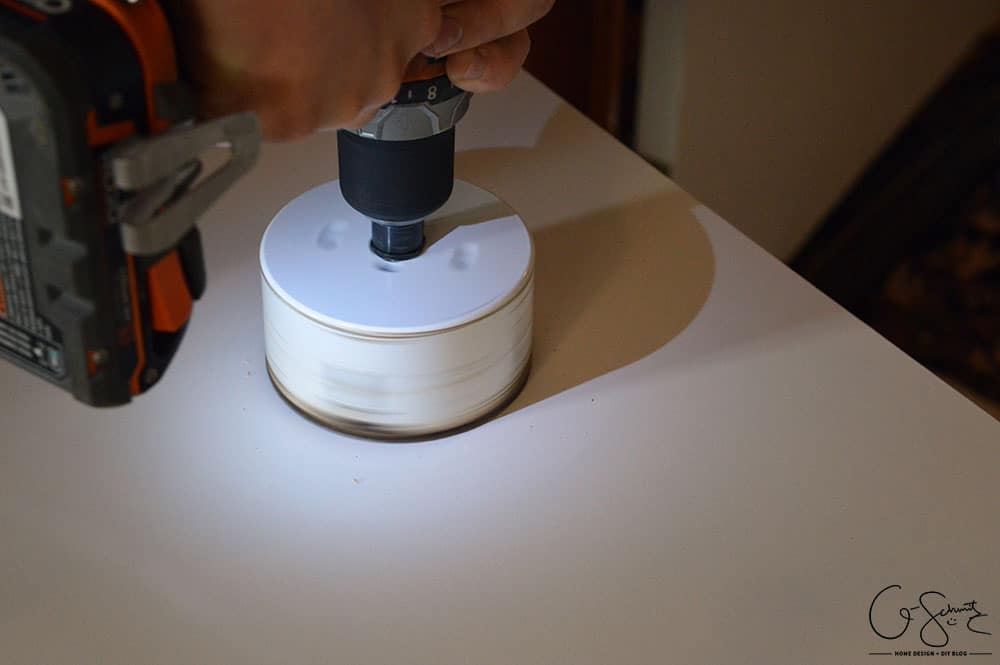
We then just had to drill out a hole so the plumbing would go through the cabinet, and we made it a bit bigger to account for any shifting we would have to do to install it to the wall and make sure it’s level (there will be a lot of that since our floors aren’t 100% level).
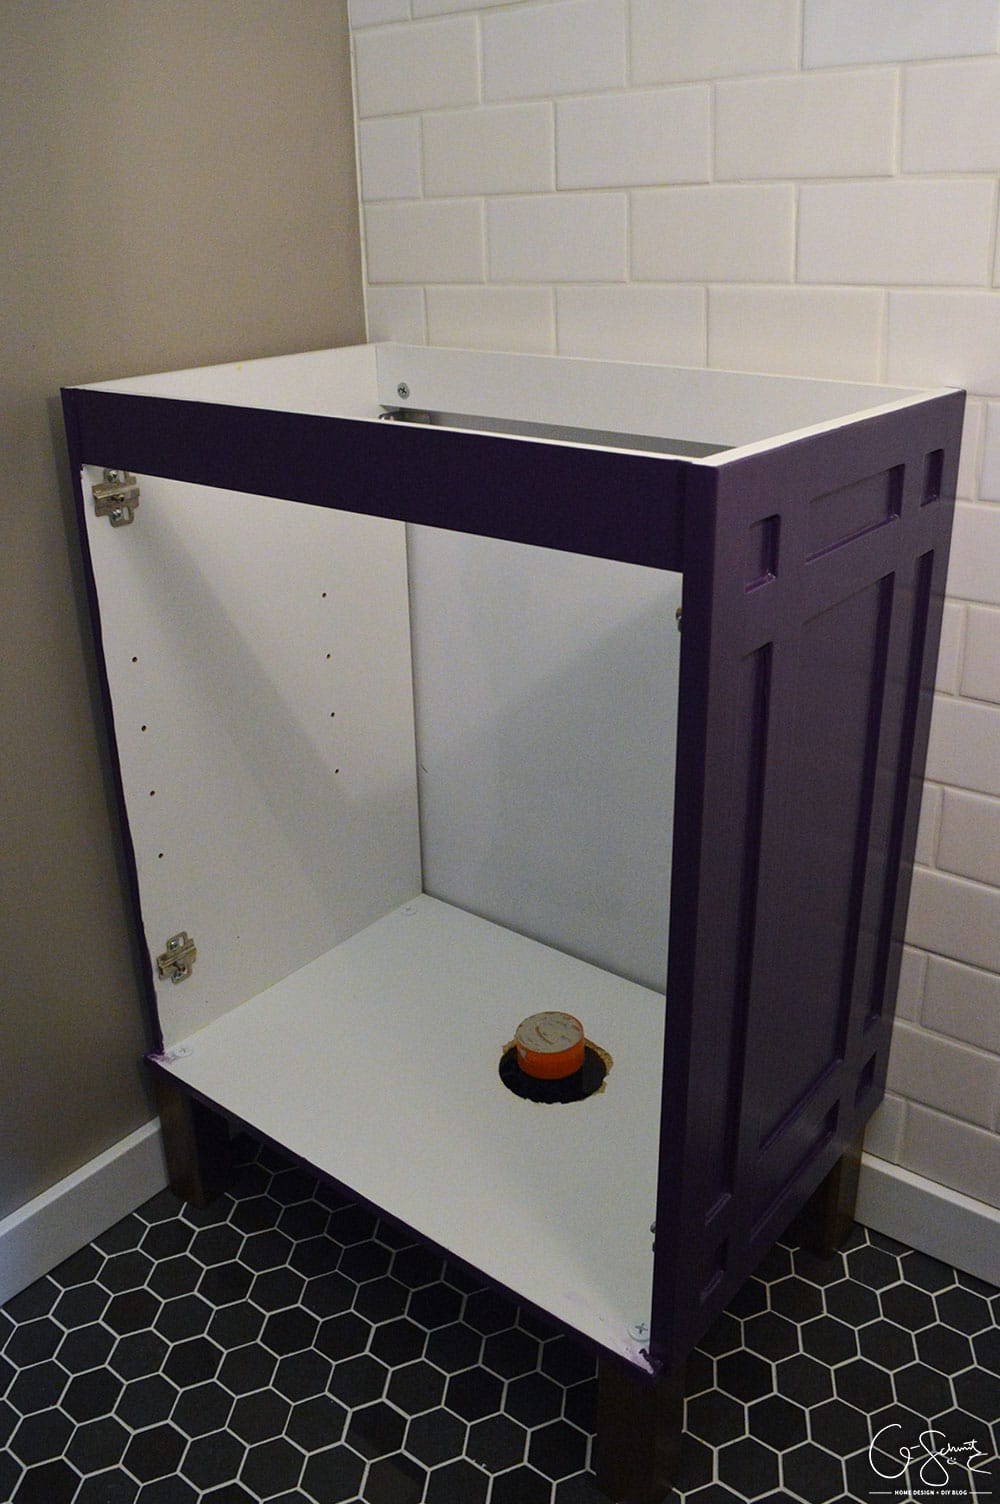
And here’s how it looks in the bathroom so far! It’s not screwed in, and the doors will need to be attached once the plumbing is done, but the little legs just work perfectly around the trim that I installed (and again, still need to finish). I’ll be putting in a drawer liner with the plumbing hole cut to exact size… just in case small things get dropped in the cabinet (but I mean, we could still just grab them from the ground I guess).
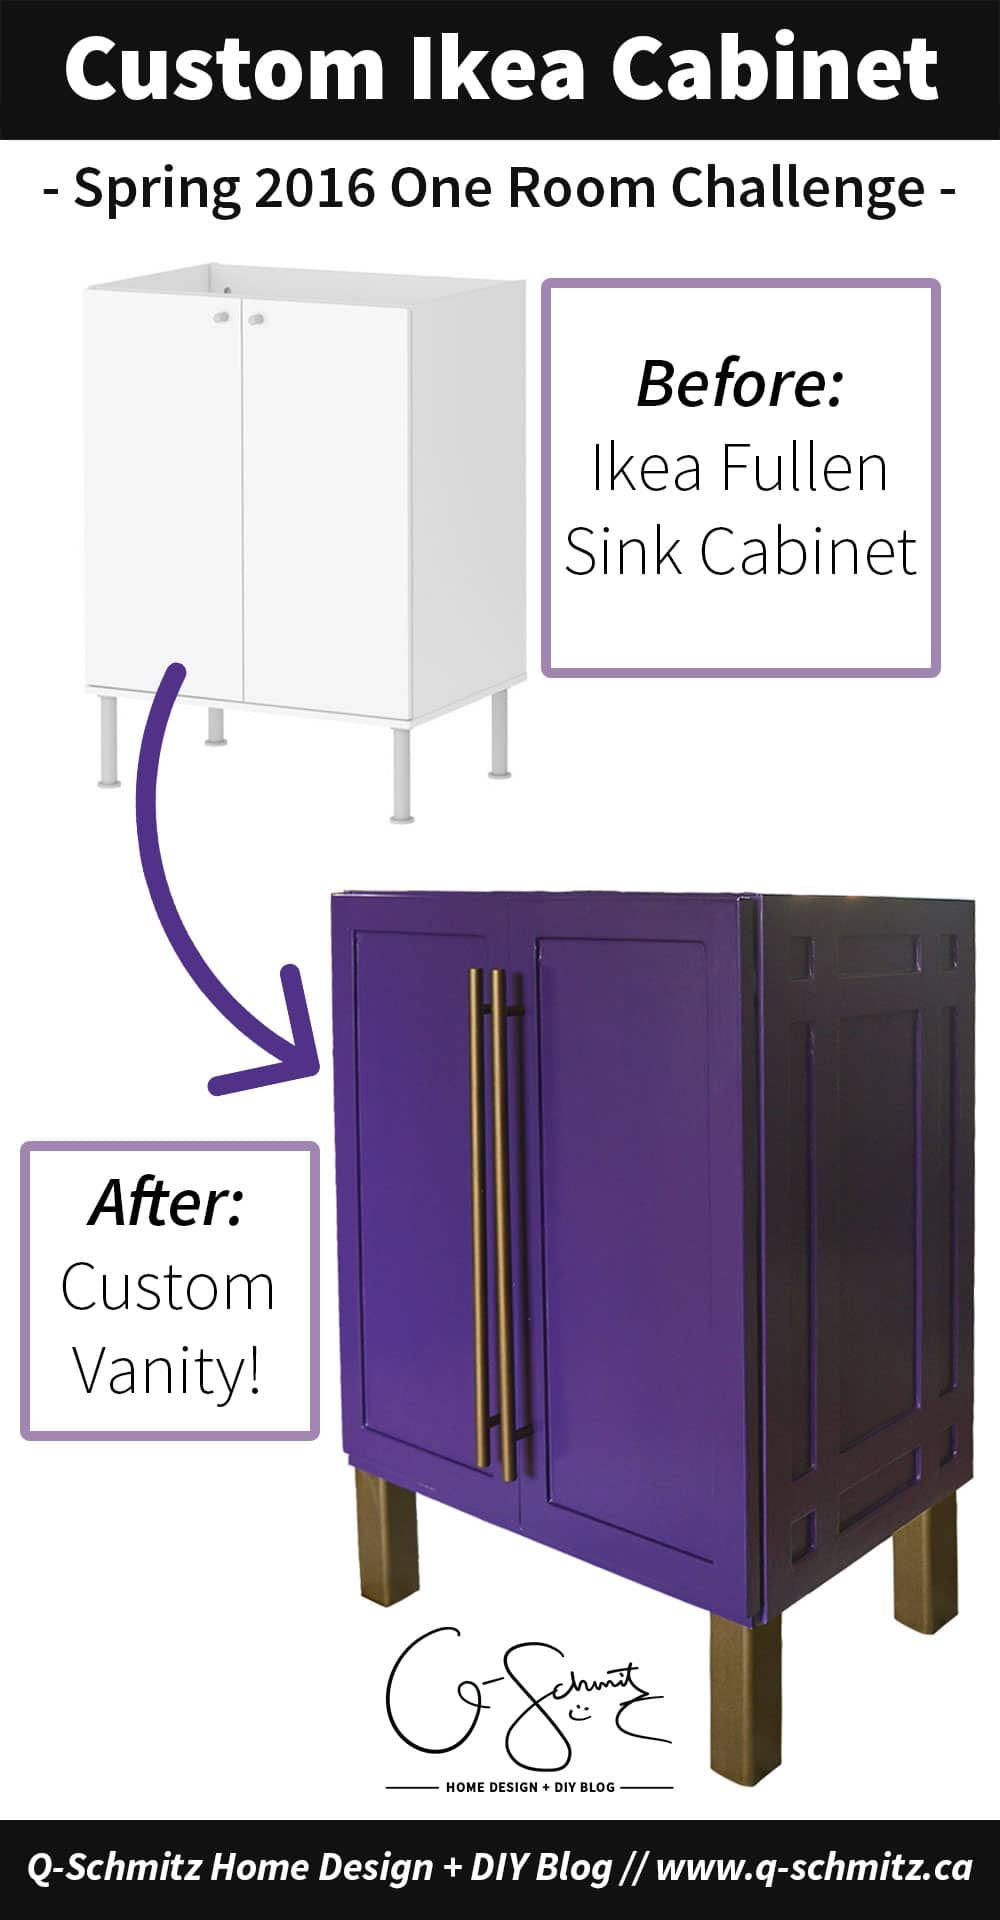
So, if you consider the price of the cabinet and include all the things I added; we’re in at under 150$ for something completely custom! Plussssss if ever I hate the vanity for some reason (or we need to change it because it broke or whatever), we can always use the same Ikea sink and get a different base cabinet to match.
Here is my pricing breakdown:
Ikea Fullen Cabinet: 20$
Lattice Pieces: 30$
Purple Paint + Nails: 30$
Pulls: 35$
Polycrylic: 20$
Antique Brass Spray Paint: 12$
Metal “socks”: Free
I already owned the Zinsser primer, wood glue, filler and Tremclad primer spray paint; plus I have a LOT of purple paint, nail gun nails and Polycrylic leftover, so there will be more projects that may use them in the future :)
And since I’m talking about the vanity/sink today – figured I might as well talk about our faucet options too!
Antique Brass Faucets
Believe it or not, the faucet was actually the first thing I purchased specifically for our bathroom renovation! Because I knew I wanted to get something that was already in an Antique Brass finish (rather than customize it myself), it made narrowing down my choices much simpler.
Apparently, there are not that many “off-the shelf” antique brass faucets available, but here are the few that I did find:
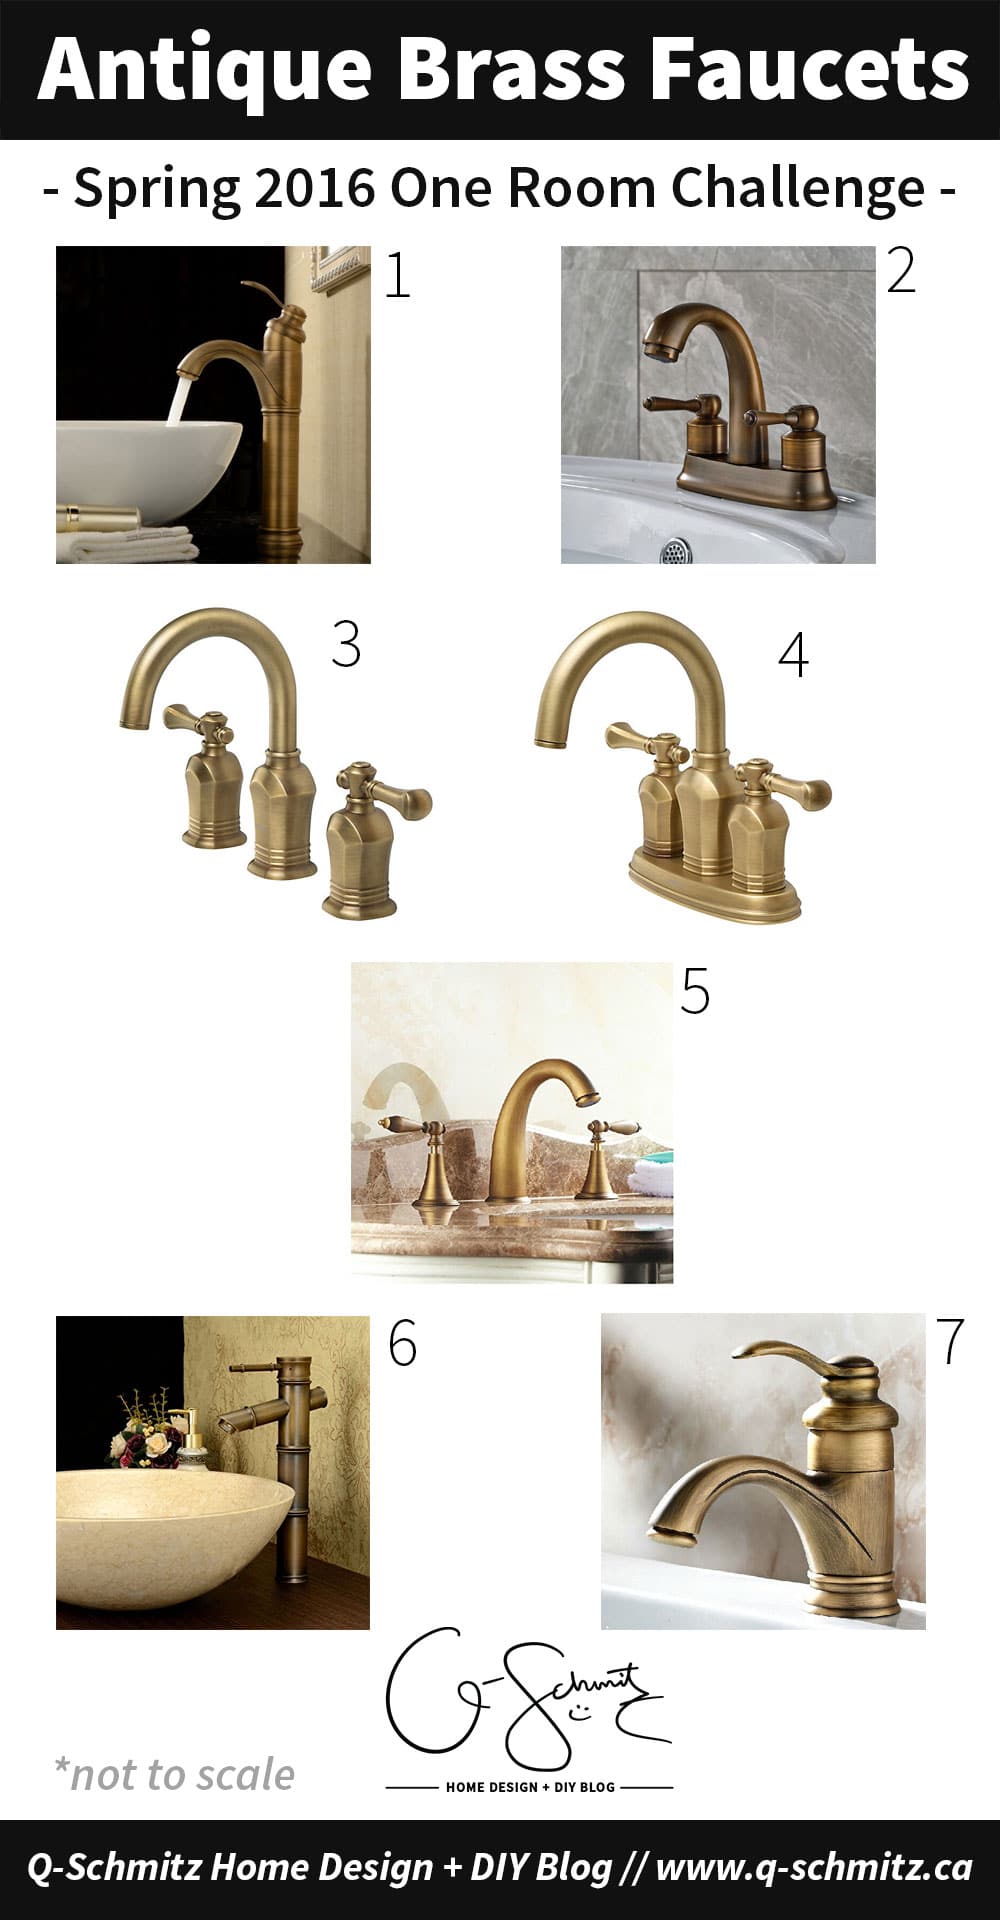
- Not available: Amazon Ouku Antique Brass Faucet – but similar here
- Amazon Rozin Antique Brass Faucet
- Home Depot Verdanza Widespread Antique Brass Faucet – no longer available (faucet here)
- Home Depot Verdanza Antique Brass Faucet – no longer available (sort of similar faucet here)
- Amazon Rozin Sanitary Antique Brass Faucet – no longer available (similar faucet here)
- Amazon Greenspring Antique Brass Faucet Similar
- Amazon Aquafaucet European Style
Thankfully, all the faucets were around the 50-150$ dollar range, so I didn’t have to splurge too much with the one I chose! Can you guess which one we ended up with? I’ll give a big hint – because we went with the Ikea sink, there is only one center hole (so that eliminates about half of this list, aka the ones that require multiple holes to function).
Wish me luck this week, and don’t forget to check out all the Week 5 One Room Challenge progress on Calling it Home!

25 Comments