
Wowee, it’s been a long time since I’ve given everyone an update on our basement bathroom renovation! While I knew I wanted to do miniature hexagon tile floors, I was not sure on the colour until we had everything else in place. Let me share the design and installation process.

Technically, the photos do tell you that we went with black tiles :) But! Let me share how we got there, okay?

If you remember way back from the bathroom design post, I had picked up some tile samples based on my initial idea. Which was: mid-gray walls and marble-look floors. I say marble-look, because I definitely didn’t want real marble on these floors that get used a lot. And by ‘used’, I mean walked on with outside shoes. Or roller bladed on.
Once we started working on the bathroom properly, I knew we would be doing white (off-white) walls, and the marble-look tile I loved was reading a little stark.
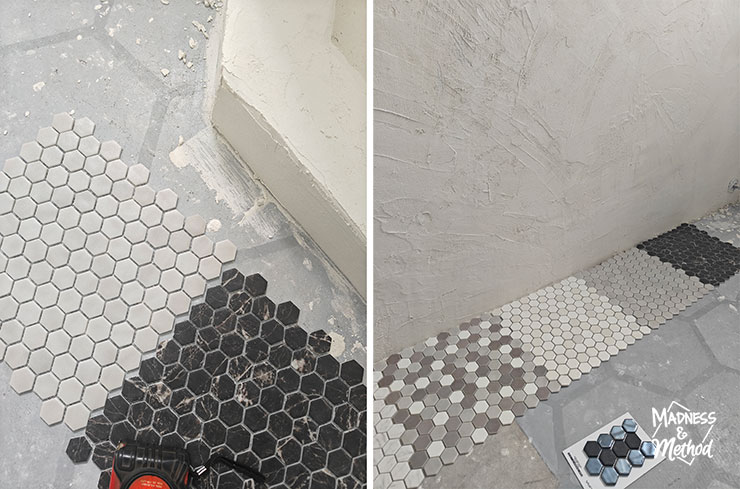
That, and our oldest Zachary realllllyyy wanted black tiles. (Élise wanted the square ones, but those were nixed). I picked up another couple of sample sheets (a gray and a black-marble look) and then did a vote on Instagram.
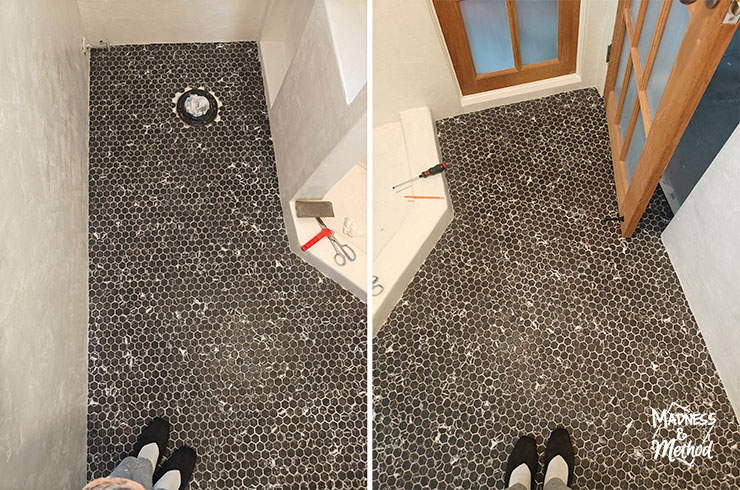
What can I say? I’m a sucker for black hex floors in a basement bathroom. I chose these black-marble-esque tiles because I loved the texture and the colour variation. As opposed to the original small black sample I had that was a combination of mirrored/shiny tiles and a more gritty texture, these were much better for this project. The “white” was more creamy coloured to go with our walls, and they were nice and thin.
Installing Miniature Hexagon Tiles
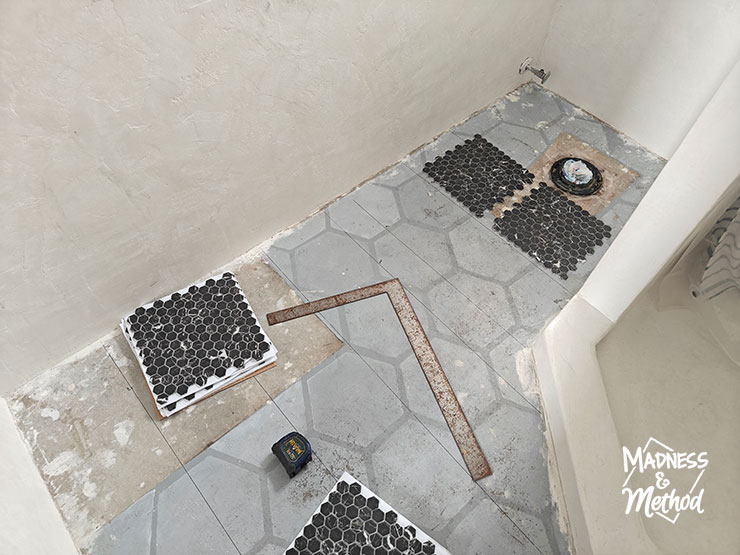
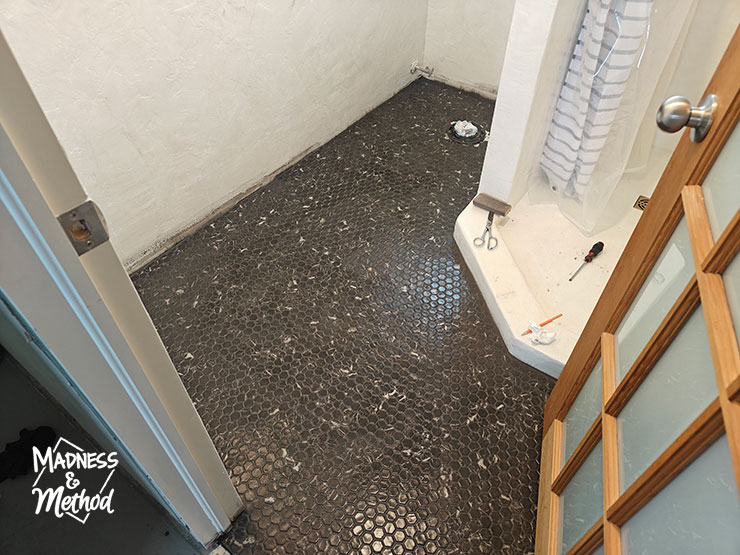
There was a lot of prep work before these floors could be installed. A few years ago, we removed the vinyl flooring that was in the bathroom. Then, I painted a cool large hexagon pattern when we gave the space a refresh. Unsure if the mortar would stick to the paint, I quickly sanded the floors with 80 grit to scuff them up. (Then vacuumed/dusted/etc.)
From there, I measured and marked straight lines against the walls as my guides. (You can see the black lines in the photo above). That way I could ensure that the tiles would stay “straight” against the walls of the room and wouldn’t get wonky as I went.
The little wall we added for the shower wasn’t even with the left wall (we measured it in the shower side). Even so, the small scale of these tiles (and the fact that I chose a similar grout colour) doesn’t make it super obvious.
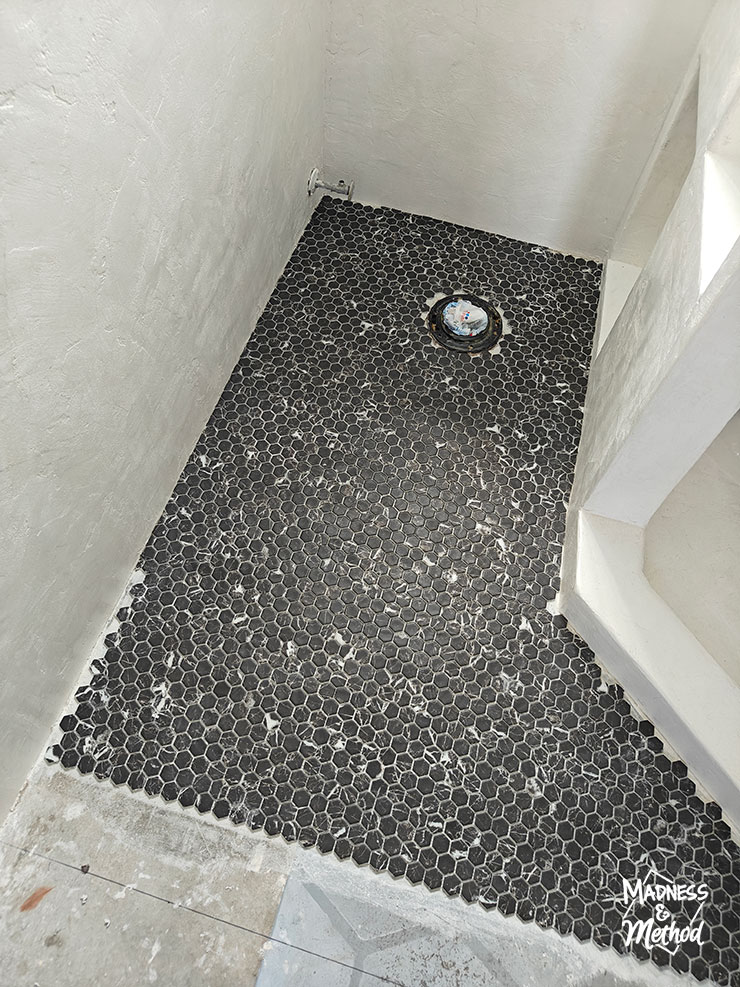
Installing the full tile sheets went by much quicker than cutting every. single. little. edge. At first, I was installing the full floors as I went, but eventually I quit doing all the small pieces and completed the main section first.
Then I went back and installed all the small pieces as time allowed. (As in, if I had an extra 20-40 minutes to spare, I’d go down and measure/cut/install another row or section).
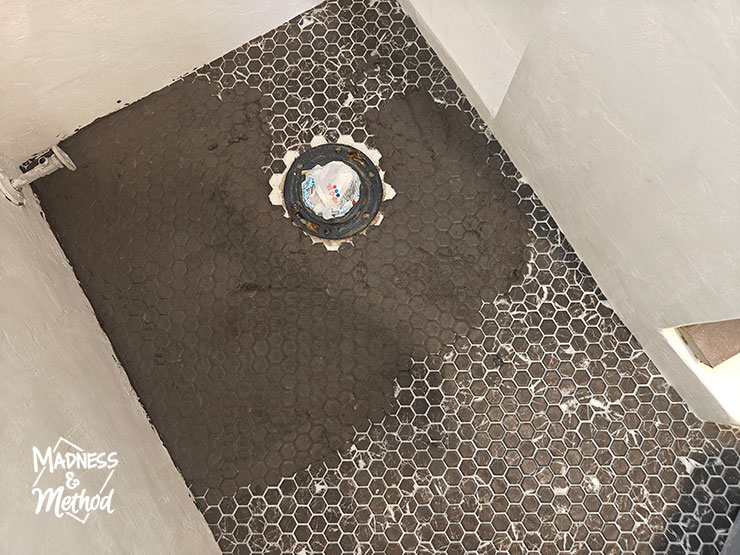
Eventually, the whole floor was all filled in and it was time to grout!
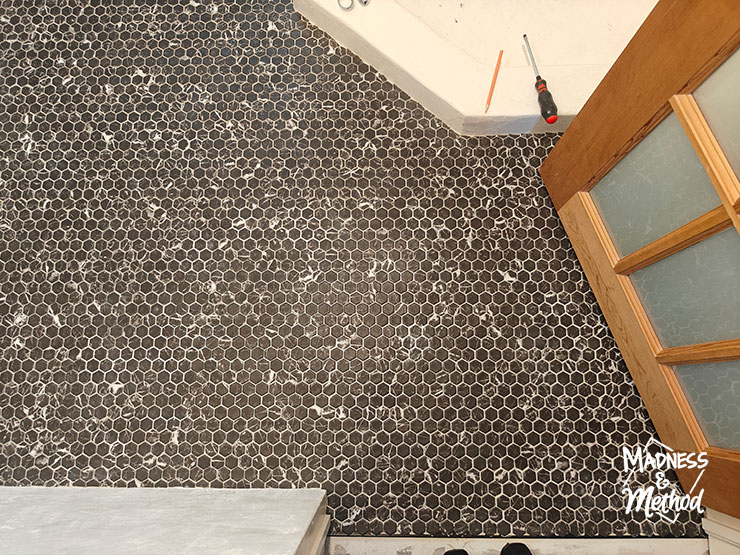
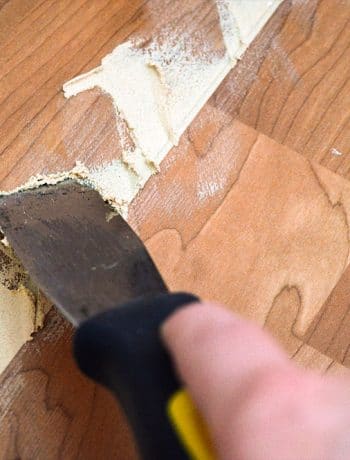
OH! I should also mention that I wanted the floors to go all the way to the walls. And by that I mean, I didn’t want to put any baseboards in this bathroom, so couldn’t have a gap along the edges. If you’re installing baseboards (which most people do), then you don’t have to be as perfect with all the small cuts with tiles this size.
Grouting Miniature Hexagon Tile Floors
The colour you choose for grout can drastically change the look of your tile project. For these black mini hex tiles, I could have chosen white grout, off-white, light gray, medium gray, dark gray, black (etc. etc. etc.) Anything in the same family as the tiles. ie: not beige, or brown. Basically, you want grout to complement the tile colour.
Or, you can go completely contrasting and choose a wild colour. But since rainbow shades are not readily available, we’ll ignore those for now.
If you choose a colour that is most similar to your tiles, it helps to hide any imperfections you might have with the installation. (Ex: dark tiles and dark grout OR light tiles and light grout).
A light coloured grout would have looked great too (it would have looked like the tiles before grouting). And a medium tone would be kind of the best of both worlds.
But alas, I chose a dark grout for another important reason: dirt! Or should I say, the forementioned walking on the floors with outside shoes/rollerblades/etc. There was no way I was putting white grout on a floor in this house!
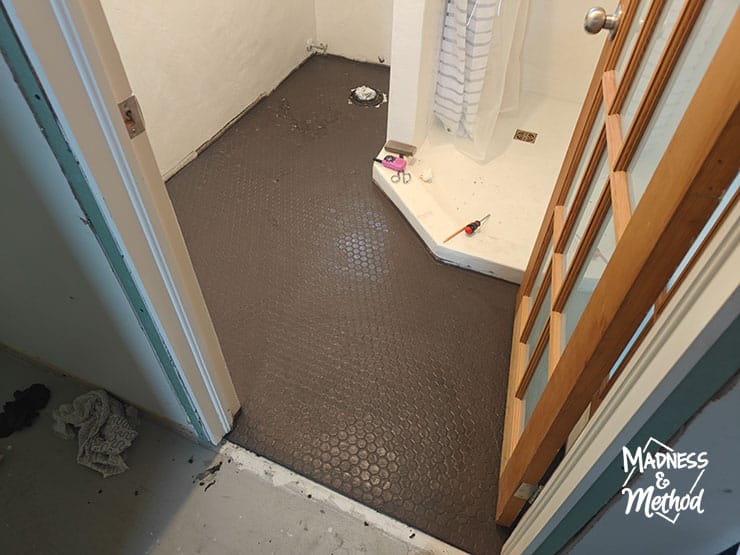
I went with the manufacturer recommended “Charcoal Gray” grout colour – and it looked great on install! I was a teeennnsssy bit worried about the grout marking up the edges of the walls; but the microcement sealer did a great job and it was mostly easily wiped up with water.
If you’ve ever installed tiles or grouted tiles, then you know that the cleanup of the grout is a tedious process. More so that it involves a lot of wiping up and the tiles never seem to get clean, lol.
You want to make sure that you clean up all the extra grout clumps so they don’t harden, while also ensuring that you don’t wipe too strongly to remove anything in between the lines.
Bathroom Sources
- Tiles: Centuro Nero Marquina Black Marble-Look Tiles
- Grout Colour: 929 Charcoal Gray
- Microcement Walls
In the end, I do find that the (dried) charcoal grout is a bit lighter than I would have liked. I was envisioning more of a tone-on-tone look when the grout blends more closely with the tiles. ie: how it looks when it’s wet.
But my tiling job was so good anyways, I’m not worried about “hiding” anything, ha!

The only area I sort-of messed up on (and not really a mess up – more like a “darn, I shouldn’t do it this way, but I’m too lazy to stop and fix it”) was the end-of-room transition. I needed to stick the plastic transition piece into the mortar while I was installing the tiles, but I should have offset it a bit so it would have ended in the middle of a tile. We couldn’t cut teensy-weensy little triangle pieces, so just filled the area with grout.
Related Basement Bathroom Projects
- Modern Microcement Bathroom Design
- Basement Bathroom Construction Progress
- Microcementing Bathroom Walls
- Non-Traditional Bathroom Vanities
- Install Frosted Window Film
With the kids starting school in a week, I *should* be back to a semi-regular blogging schedule over here. Next up I will be revealing the whole bathroom!
Hope you like it :)

No Comments