
Today I’m sharing another fun painting project from our cottage! This weekend I finished our floral stencil ceiling in the middle pink/flower bedroom downstairs. Completed in less than an hour and a half (not counting the week break I took), it’s a super fun addition to the space!
I knew I wanted to paint a nature-themed mural in each of the bedrooms. Last week I shared the painted forest mural, and today is all about the flower stencil ceiling. Using a stencil is a completely different technique than hand painting and it’s probably a better method for people who want something where they have a bit more control.
Essentially, stencils will guide the paint in an exact pattern every time – so you do not need to worry about having artistic abilities. You can also check out this post about the rainbow stencil we did in the hallway at our house.
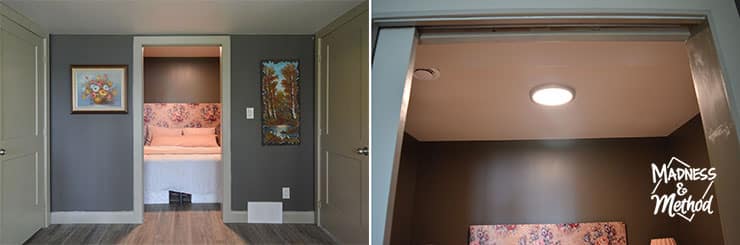
First, let me share how the middle basement bedroom looked. Technically, it doesn’t count as a real bedroom because there isn’t a window. It wasn’t part of the original plans and was supposed to be an open nook with two twin beds. But, the too-small utility room forced us to rejig the basement layout a bit.
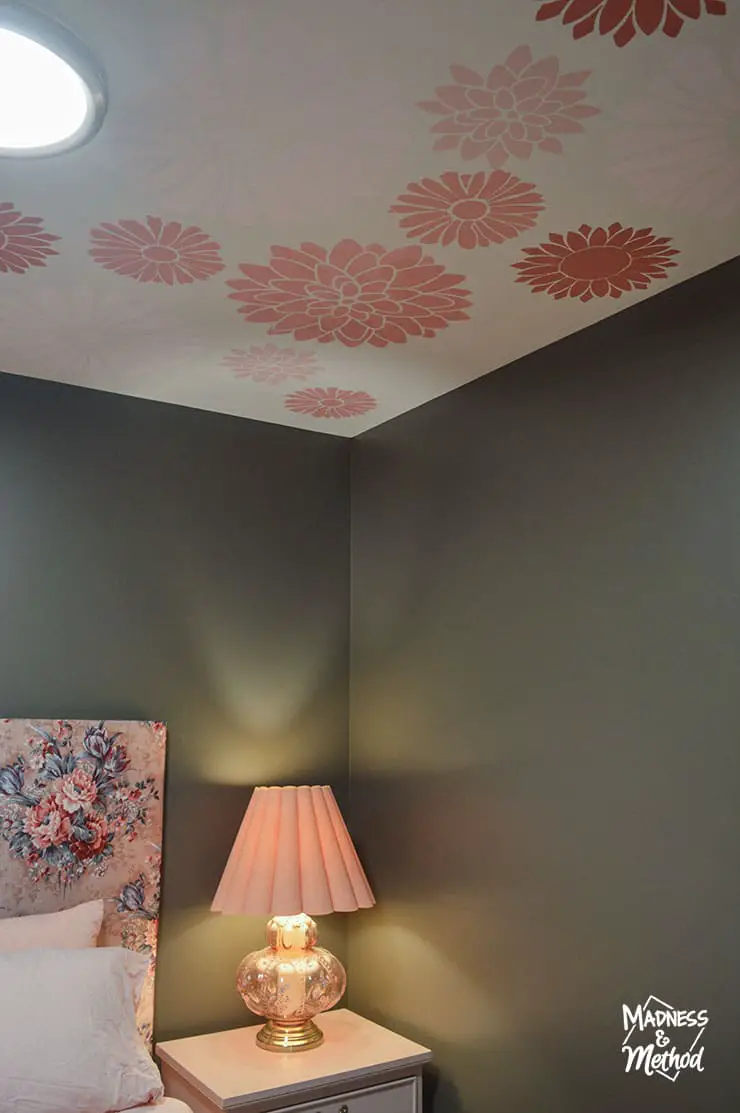
Anyways! I still wanted to do a floral mural, but once I brought in the nice big floral headboard (a DIY project following this method), I didn’t think there was enough wall space showing.
Then one morning I was snuggling with Élise in the bed and realized that the ceiling would be the perfect spot for a mural!
Floral Stencil Ceiling DIY
I ordered this daisy wall stencil, this dahlia stencil, and this sunflower stencil and picked up a couple small jars of pink paints. (Full disclosure: this post is not sponsored but I did receive the stencils for free – an extremely long time ago – this project took a while to get to!)
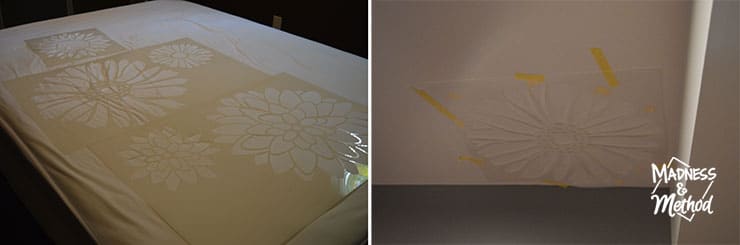
There were two big flowers and three little flowers, so I started with the big ones first. It was too tricky to tape up the full big stencils (with 2 flowers each) so I cut them to separate the two sizes. From there, I chose a spot at random on the ceiling and taped it up. I shared my method (and tips) in a video embedded below; but essentially it was easier to wrap tape on the back of the stencil rather than use strips on the front (as shown in the photo above).
I was able to paint three colours the first day I worked on the ceiling. There are five of each type of flower and was working around the kids AND in between waiting for the forest mural branch sections to dry. It’s recommended that you wash your stencil in between applications – but I was going for a quick and easy method. I’d simply un tape it from the area I just painted, find another one, stick it back up, and go again.
Of course, this did leave a few paint transfers on my ceiling because of the paint gloops stuck on the stencil. Because I was working on a ceiling, I knew that people shouldn’t be going to closely to look (I did cover all the big mistakes after, don’t worry!).
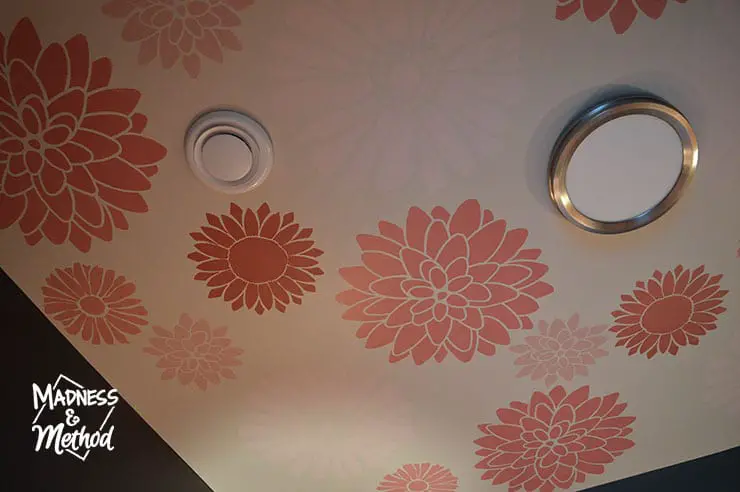
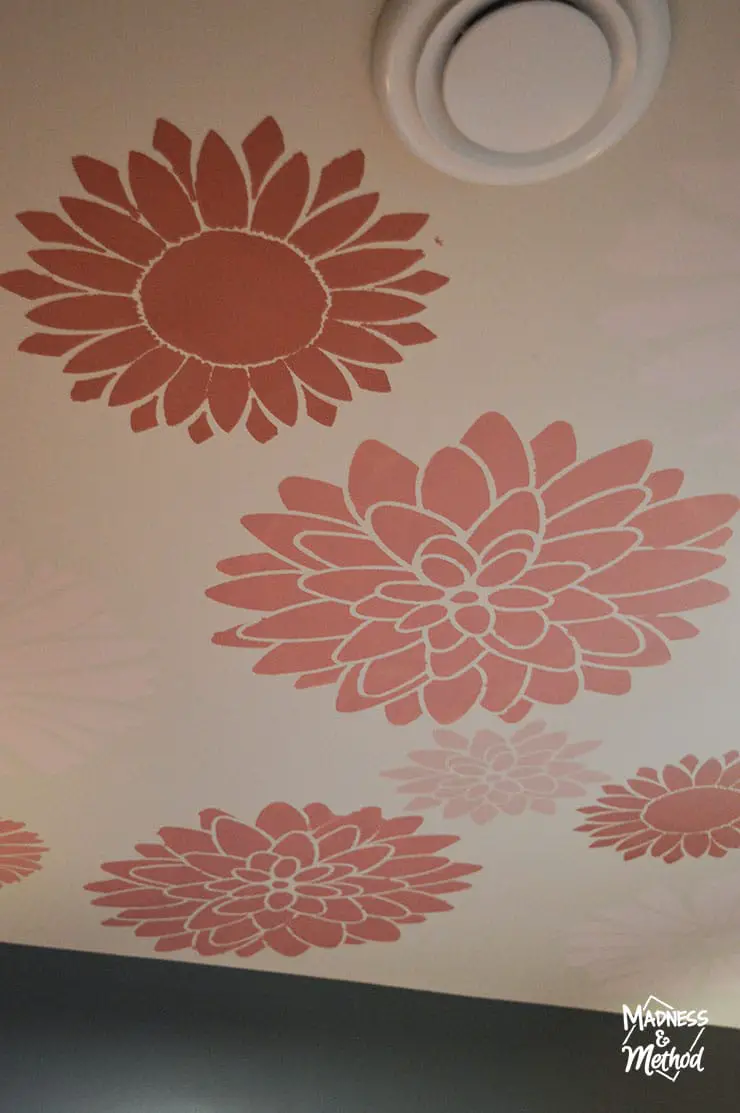
The photo above shows the approximate view from the bed before I did my touch-ups.
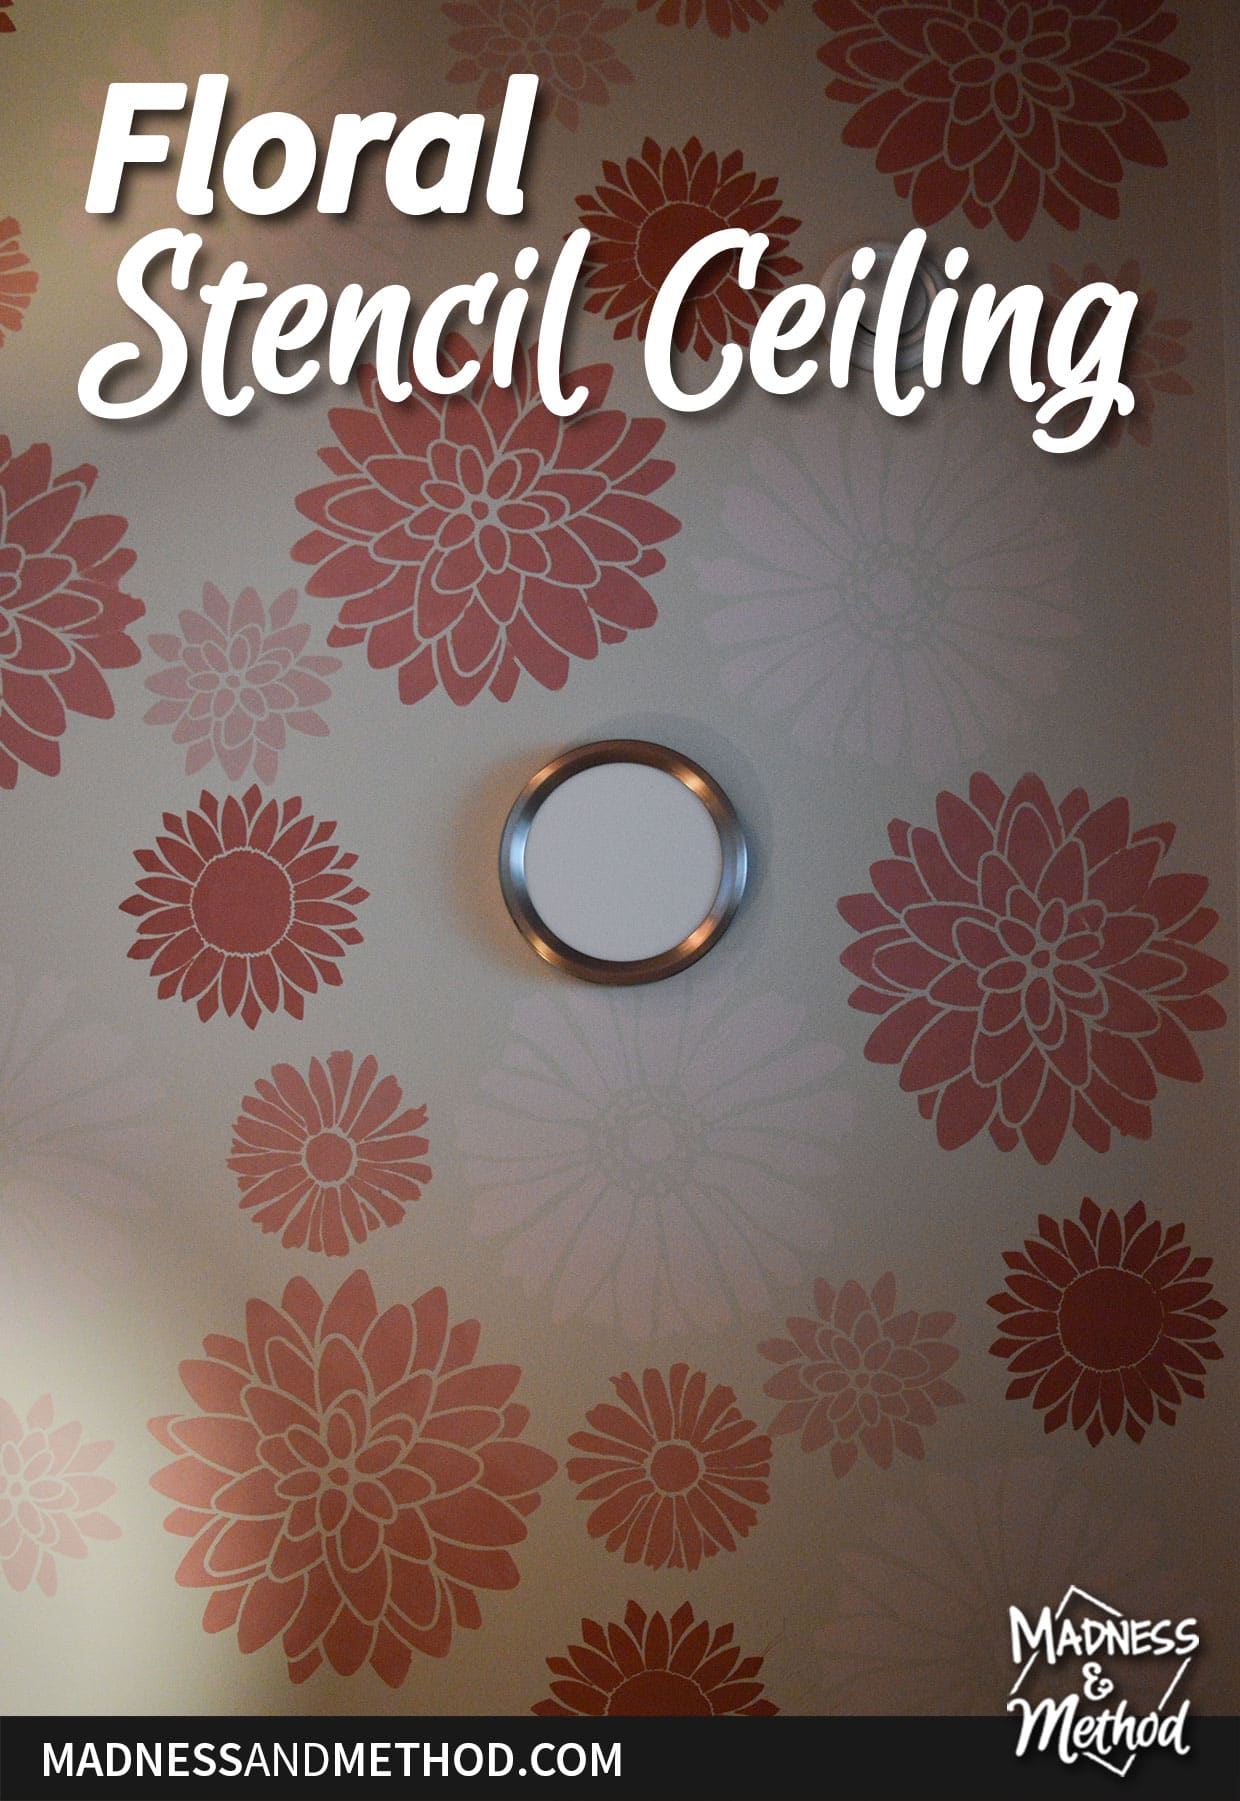
Floral Stencil Ceiling Reveal
To hide the mistakes and bleed-through, I simply went in with a small artists paintbrush and painted the ceiling colour again.

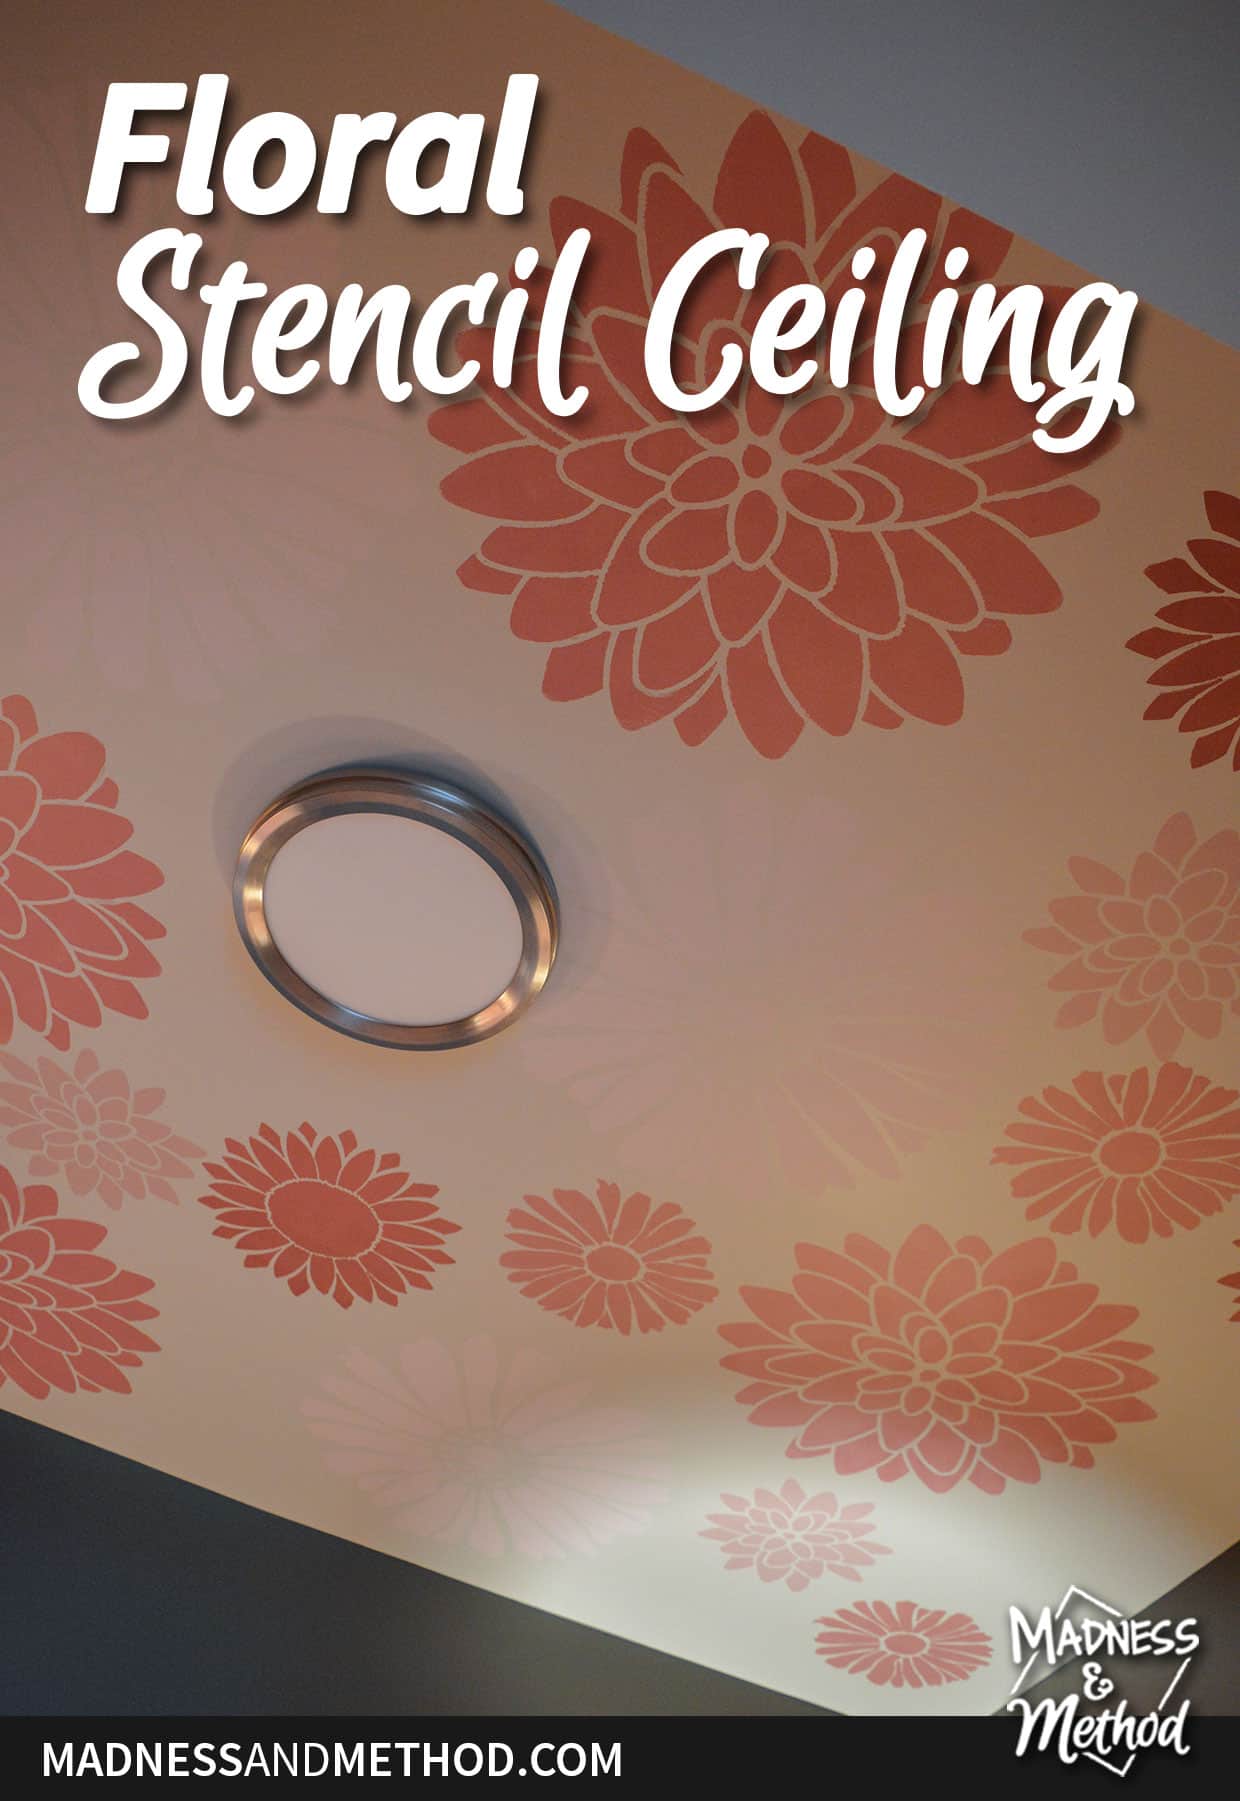
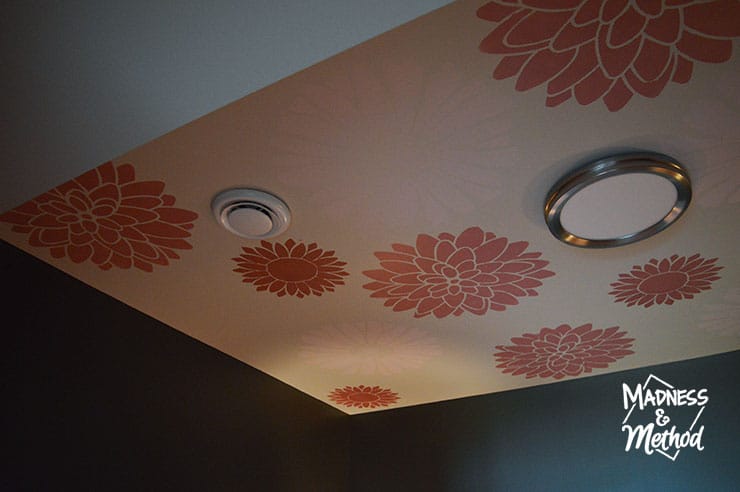
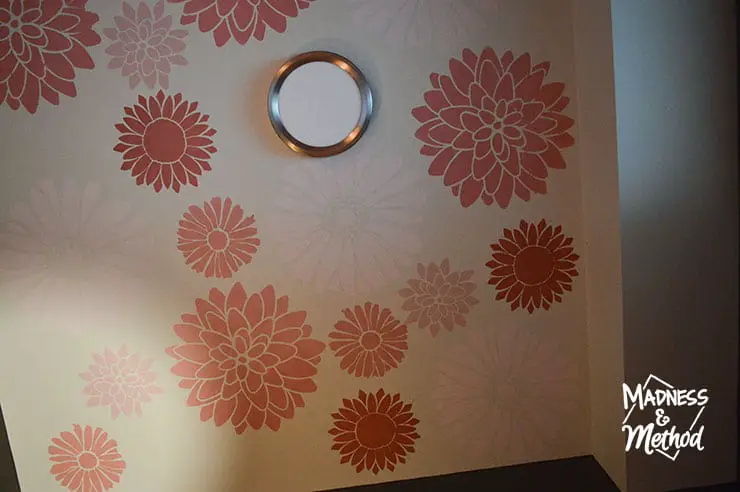
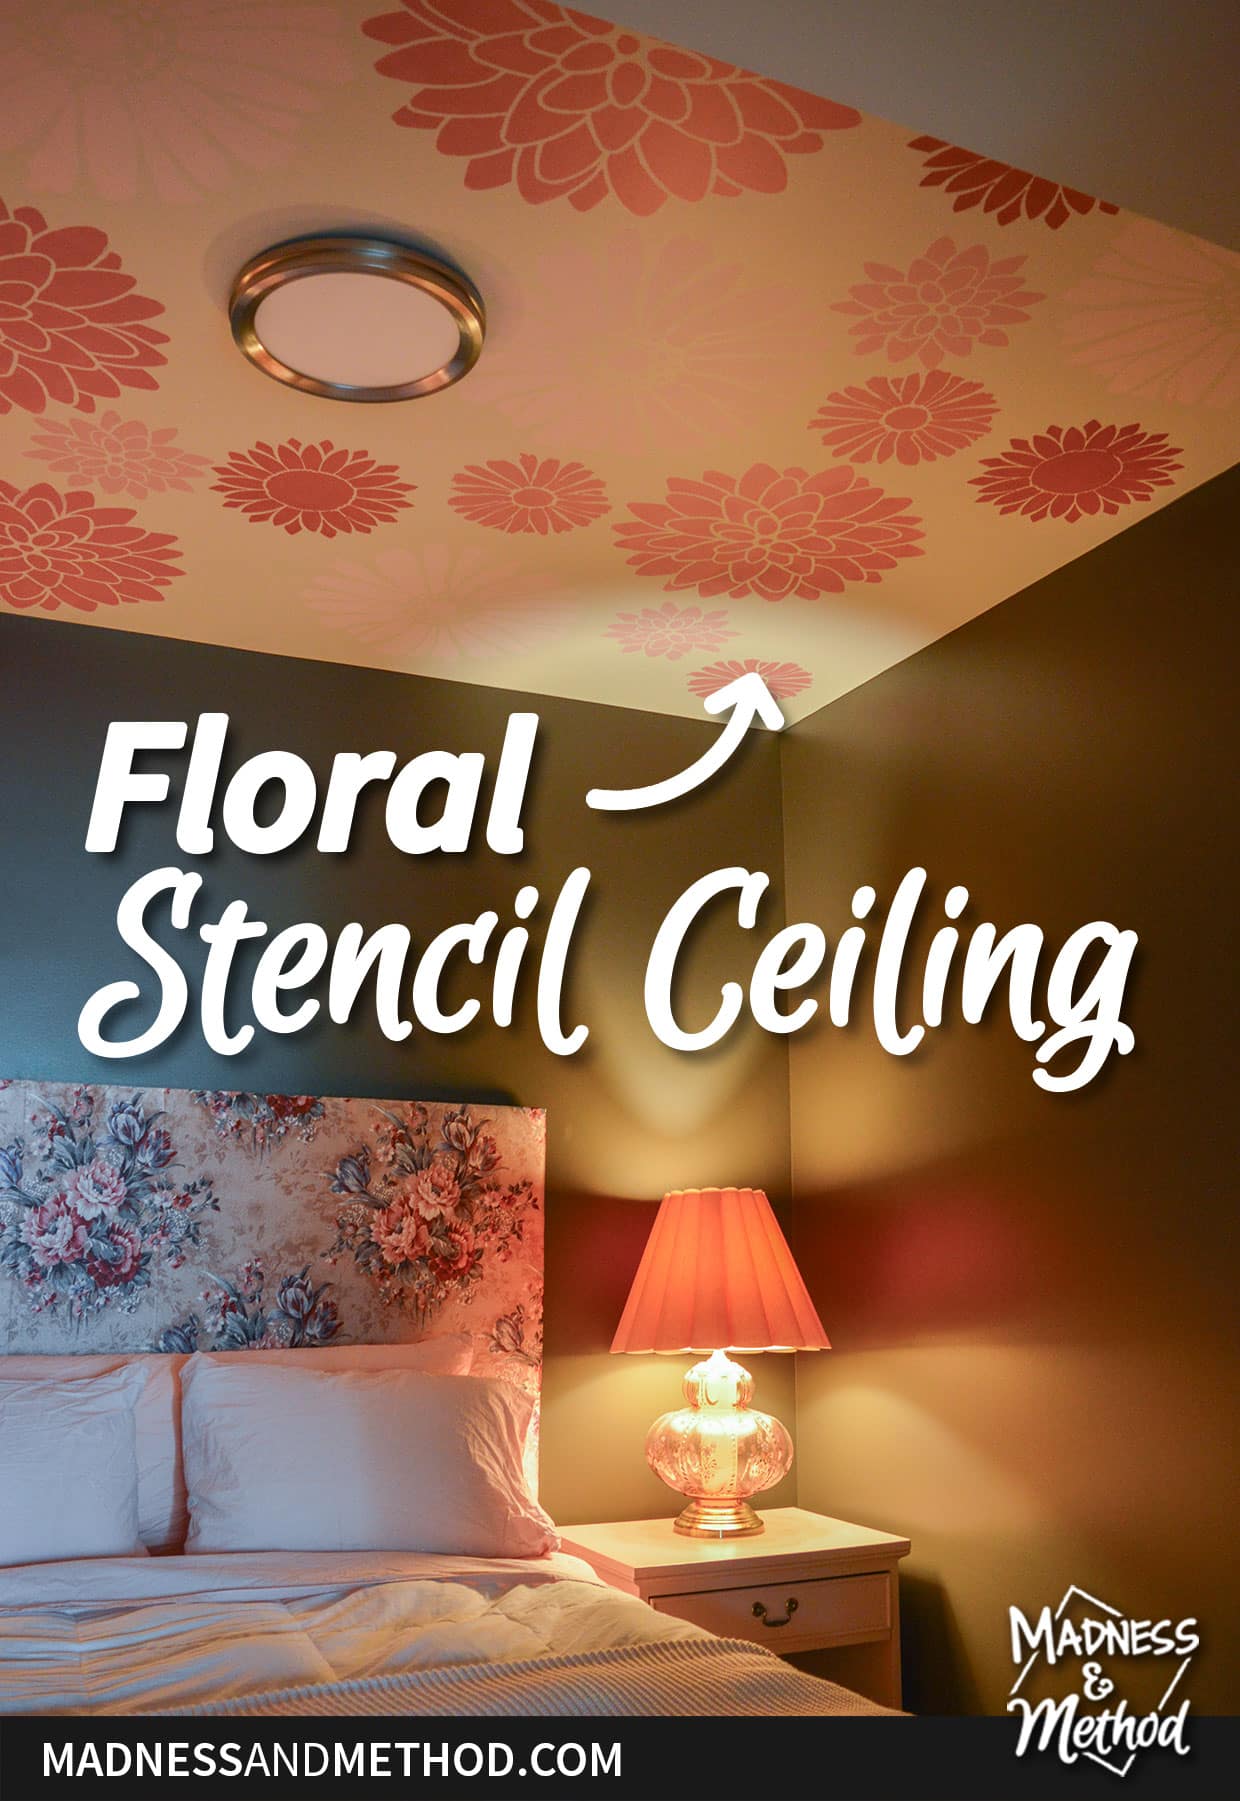
And here is what the painted flower ceiling looks like! Again, there are five of each flower, but it’s a bit tricky to see the big/light one I did first.
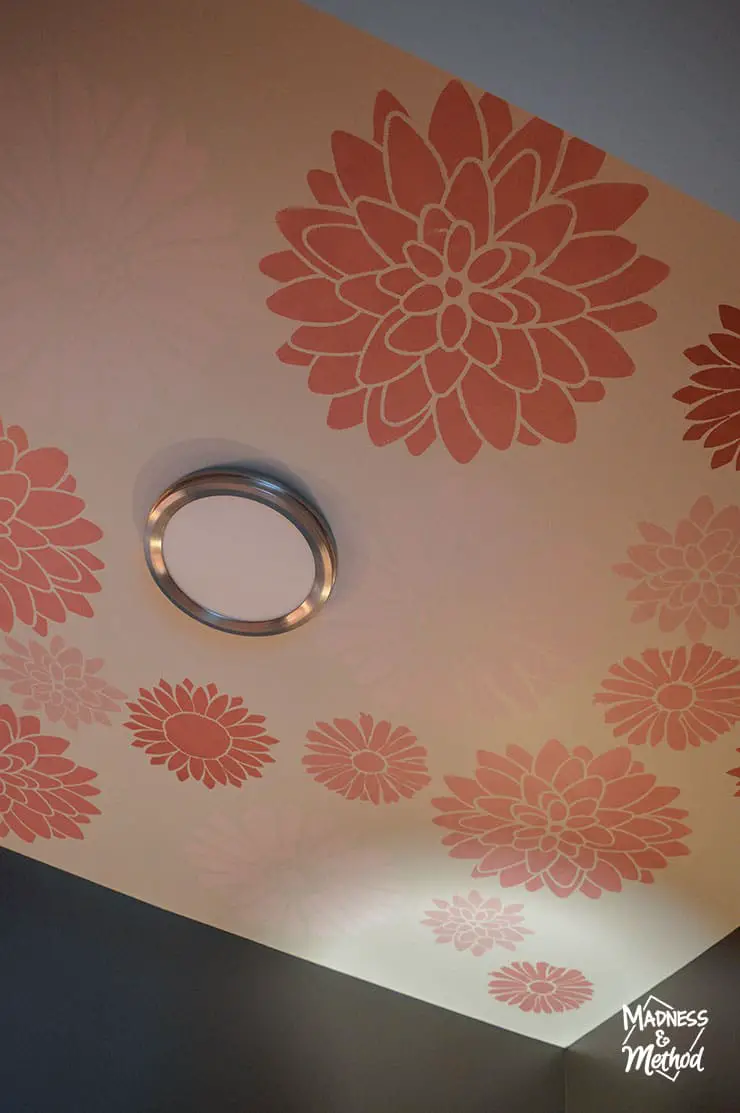
The light colour would have looked really nice against the dark walls, but I’m not changing it now, ha. Actually, the less contrast between the paint colours, the less you see any wobbles or mistakes in your paint.
I painted most of the stencils using the light from the lamps because it was too bright to have the ceiling fixture on when I was staring up there.

Here’s a little graphic that shows the difference-ish, between having the ceiling light on and off.
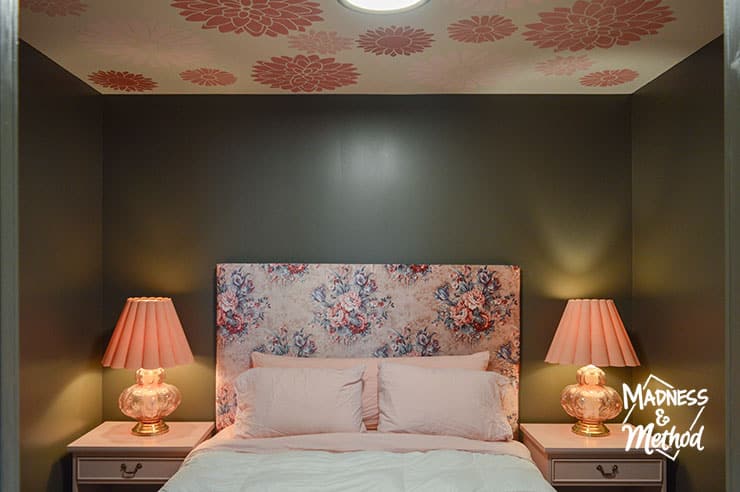
I kind of like that the mural is painted on the ceiling instead of behind the headboard. The flower style does not match the fabric as much, but also, it’s a fun surprise when you walk in the room!
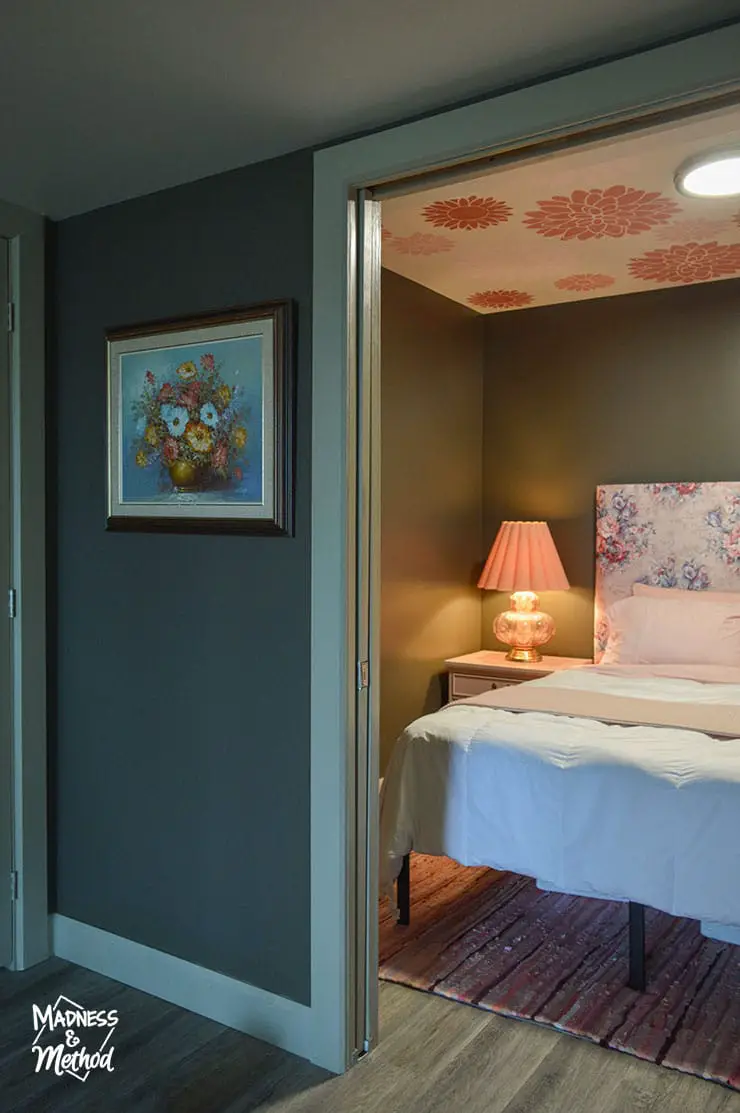
There’s also a flower painting hung on the wall outside the door (and a forest one on the other side closer to the forest bedroom). I still have to paint the water mural and the rainbow one – but I haven’t started either of them, so TBD when I share those.
Floral Stencil Video
The video above shows my quick technique for painting the ceiling stencils (plus tips for where things could have gone better). If the embedded video isn’t working, you can always watch it directly on YouTube here.
Hopefully you enjoyed reading about the floral stencil mural at the cottage! We’re winding down the summer rental season there, which means that I should have available time to work on the rest of the murals and other small projects.
Let me know if you have any questions about this mural, or painting a stencil in general! And, make sure to check out this post if you have more stencil-painting-related-questions.

4 Comments
Annette Leroux
October 12, 2023 at 1:03 pmhi Nicole, I do like the stencils being applied to the ceiling, good choice on your part.
I’m now thinking that I could try stencils in my guest room. If I do I will send you photos!
Nicole
October 17, 2023 at 12:23 pmSounds good!
Monica Dameron
October 19, 2023 at 12:13 pmHow did you do the stencils along the edge where only a partial stencil is used? I love your ceiling by the way!
Nicole
November 13, 2023 at 10:49 amThanks Monica! For this ceiling, there were no cut-off flowers, so I didn’t have to use a partial stencil (I floated them all to the middle of the room). You can check out this post: https://www.madnessandmethod.com/paint-multi-coloured-stencil/ where I go to inside corners (I just squished the stencil softly into place rather than cutting it).