
As we continue work in the basement, the main goal was to make everything look better visually, but I also wanted to address some cold spots, so that it can function better as well. Whether or not you are renovating your basement (or any space in your home for that matter) you will definitely want to fix areas that may be more exposed to the elements. Here’s a look at different ways to approach filling gaps in the basement (that we did) that you can certainly apply to other similar areas too!
– Note: This post contains affiliate links. See more information about affiliates here. –
It actually all started when I was working on the custom game shelf for the fireplace hole. I noticed that there was a lot of cold air coming from the exposed concrete floors and exterior walls. There were also holes between the wood panelling and the bricks – so I set out to fill those with caulk.
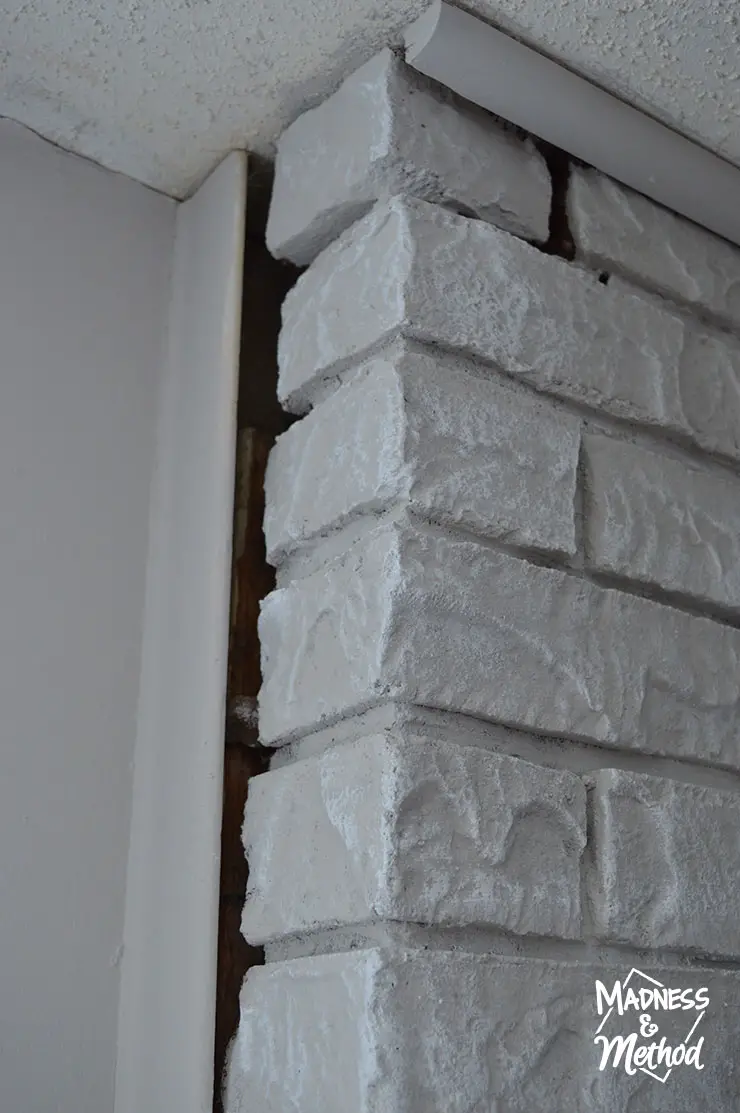
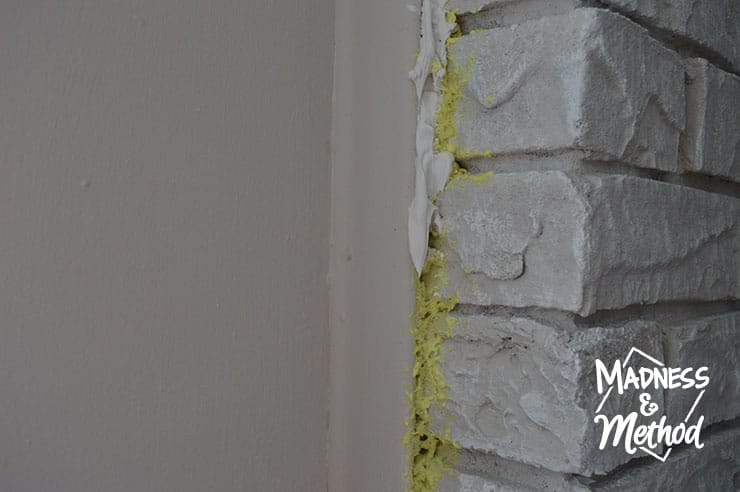
Not sure if you could tell when we painted the fireplace, but there was a HUGE gap at the top near the electrical panel. This was definitely a very cold spot, and there was no way that regular caulk would be able to create a nice seal in this area. (And that top brick was barely hanging on too!).
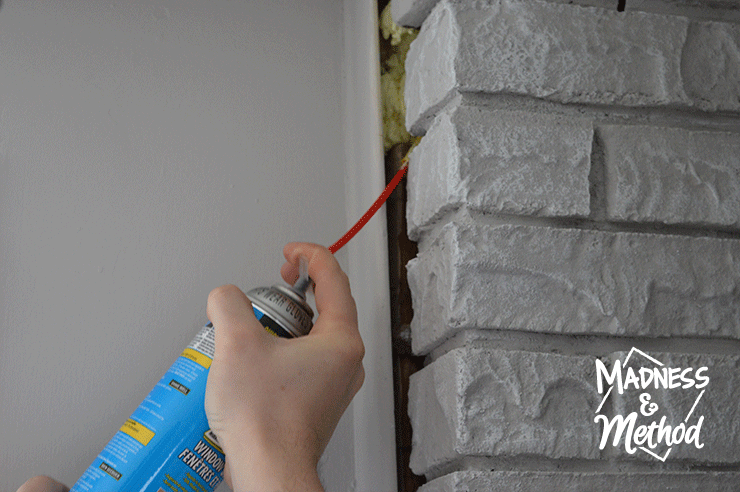
We picked up a can of Great Stuff and the Husband got to work filling in the space (while I took these pictures). I think it’s funny that the can clearly reads “wear gloves” when he has bare hands (do as we say and not as we do apparently!).
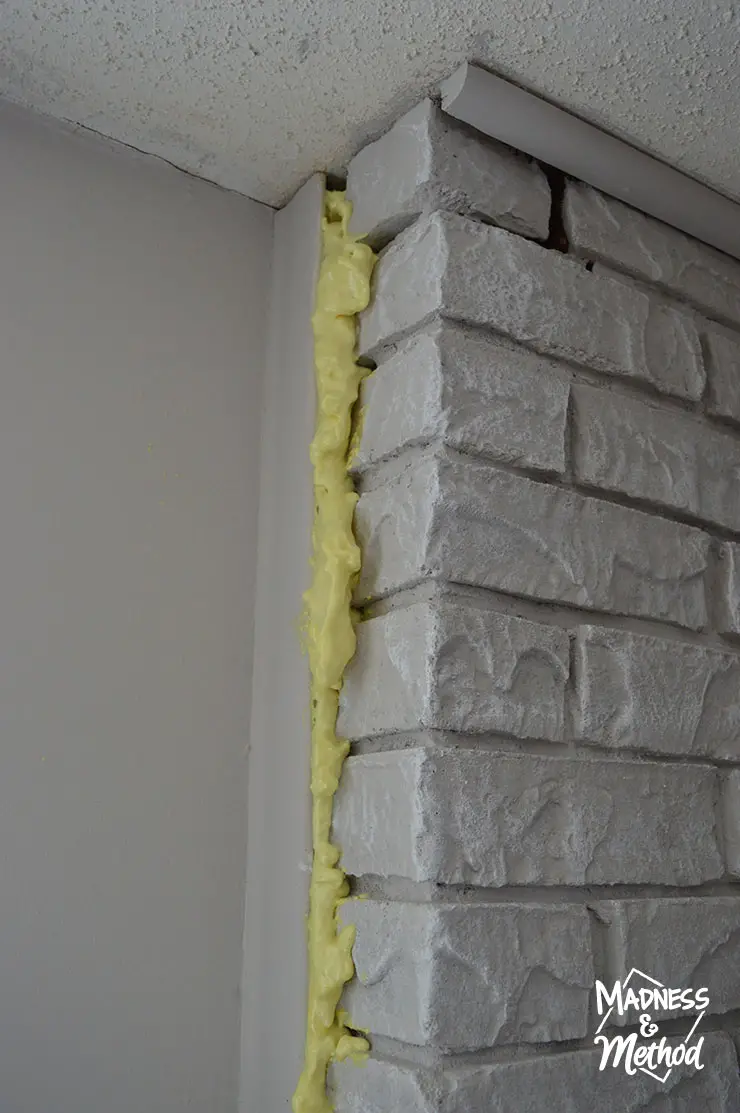
Once he had gotten a good portion of the gap filled, I went back and sprayed a bit in between the mortar lines of the top brick. At this point you may be worried that it looks really bad compared to the nice bricks and wall, but that’s where the next part comes in!
Basically, you need to wait for the Great Stuff to dry (we let it sit for a day or two) then you can go back and cut off any excess. I then globbed some more caulking on top of that and spread it with my fingers.
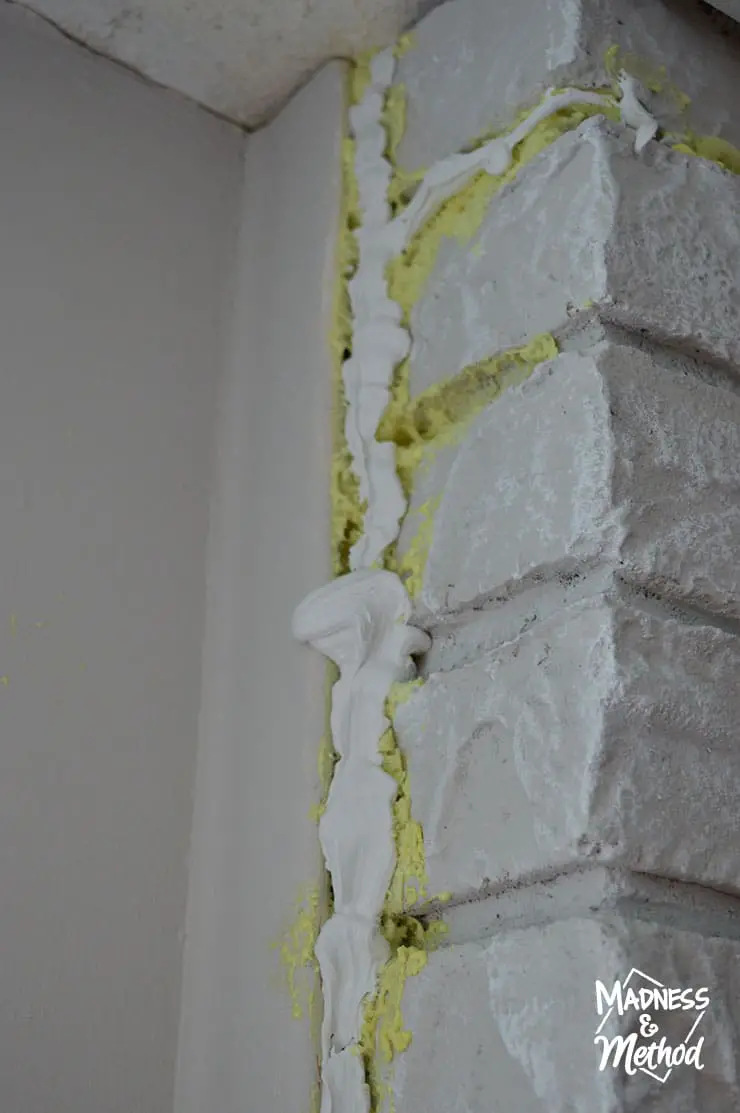
I was lucky to be working along the brick, so it didn’t matter too much if my caulking was bumpy and messy (but yes, I smoothed it out after taking the photo above!). You can tape off the nearby areas when you are filling gaps in the basement if you are worried that it will look off.
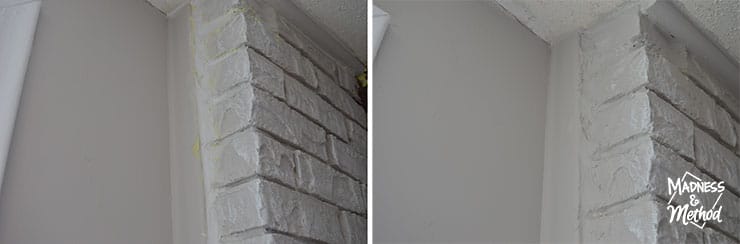
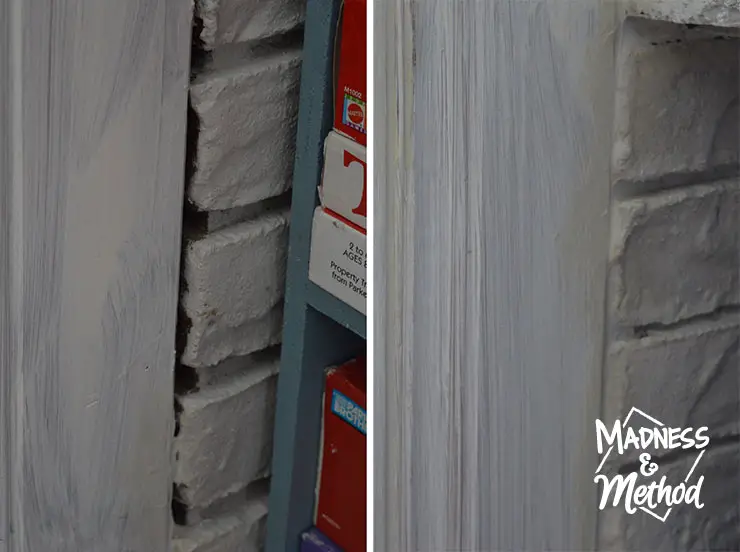
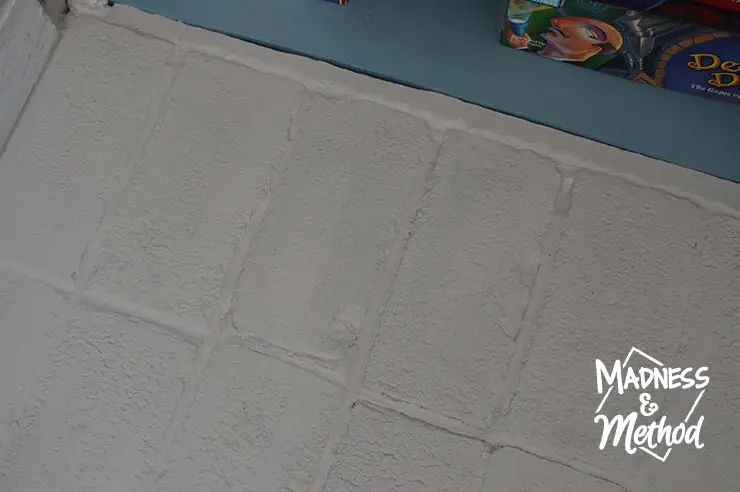
And then, once the caulking was all smoothed (picture on the left) I let it dry then painted everything gray again (photo on the right). I still have to do the white dry-brushing again on these bricks, but you get the idea.
Filling (Super Large) Gaps
Sometimes, you may come across an area that is large and/or that you want to keep smooth (where Great Stuff is a bit wild).
For us, that was the small gap between the brick hearth and the custom game shelf. My original plan was to have the shelf line up nicely with the hearth… but then there was the whole it’s stuck in position and not moving thing…
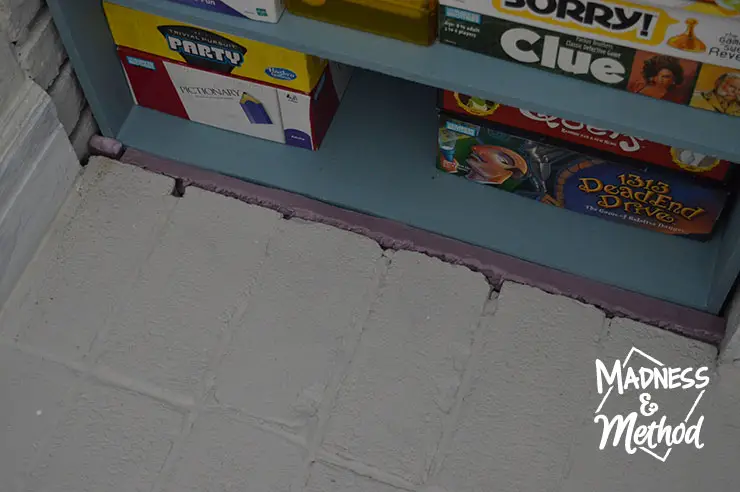
And, wouldn’t you know it this is where a bunch of cold air was coming through! Luckily, I saved a piece of foam insulation and was able to cut a small sliver to fit across the gap. (And shoved some more pieces below so it wouldn’t fall).
I then caulked between the bricks and the foam (and along the bottom of the baseboards and all the panelling – but more on that next week).
Again, once it was dry I was able to go in and paint a coat of gray – and I think it blends in nicely :)
Finally, we had one large gap along the top of the panelling and the wall that needed to be filled. Because it was so big, and I didn’t want to use an entire tube of caulking, we filled it with Great Stuff.
Update: You can also use a backer rod to fill in large gaps before caulking.
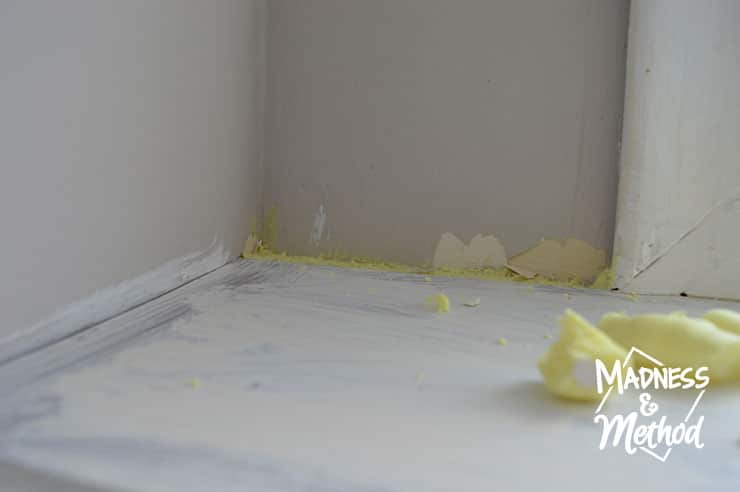
I did go back and cut along the top – but you should note that it did peel some of the paint off the wall. It’s a really sticky goo, and when it’s wet you need to remove it with acetone (think nail polish remover!). Luckily I did have a bunch of that – and didn’t have to go through the dilemma like the special primers.
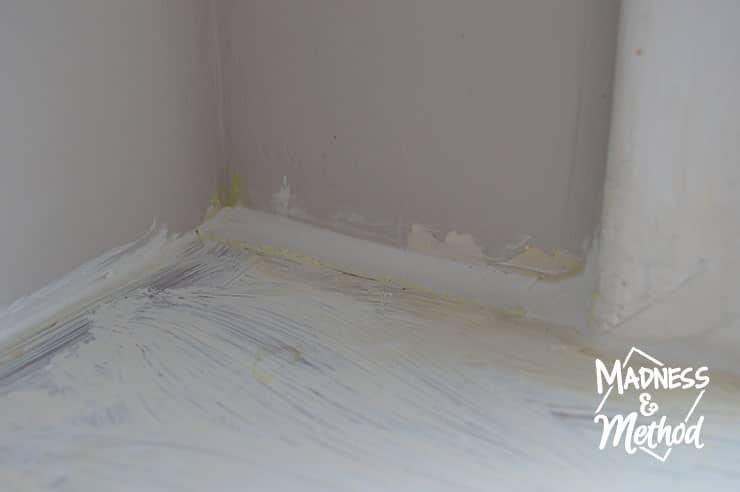
And again, I added caulk on top of that so that it would be a smooth surface and not a bunch of little holes!

Filling gaps in the basement is a great way to stop cold air from getting in… but I’m going to be honest and say it wasn’t my only reason for doing it (and no, not just because it looks better too!). Filling all the gaps also helps to keep the spiders and bugs out, so it’s one less thing I have to worry about :)
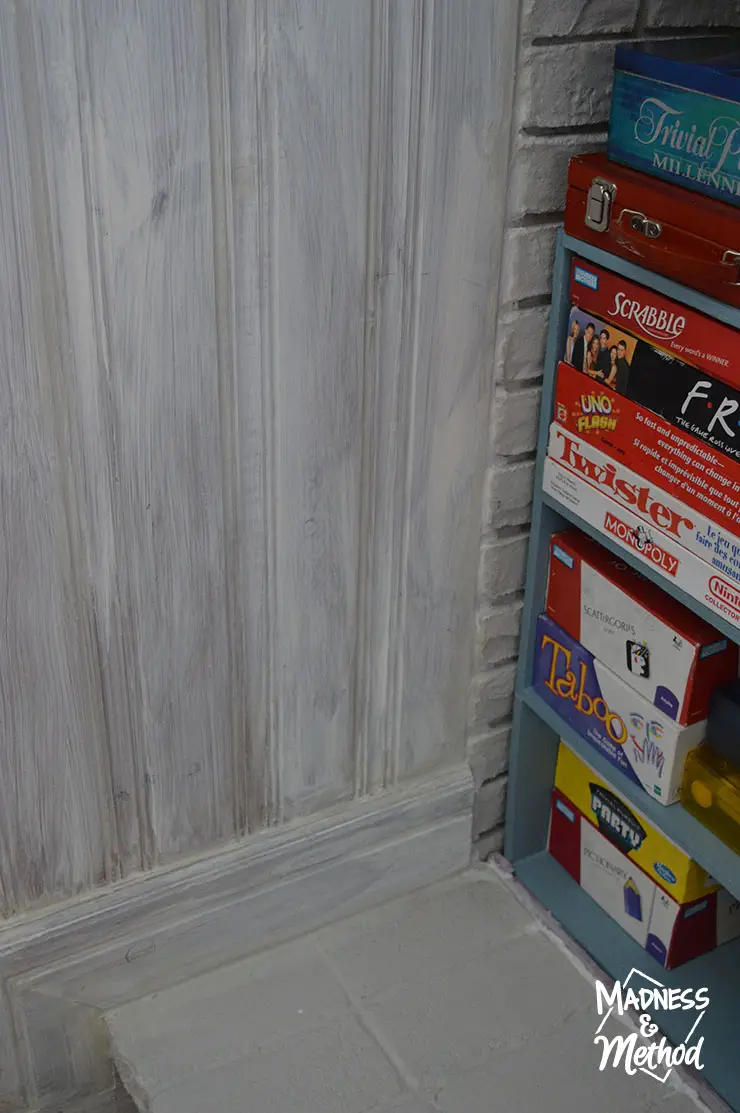
I’ve also been spending my time filling the gaps in the panelling, but I’ll talk more about that next week…


No Comments