
We’re already in the 4th week of Calling it Home’s One Room Challenge. Which means that everyone should be at least halfway done and then some (because technically the last week is for pictures). For those new to the Q-Schmitz Blog, we’ve chosen to add a completely new half-bathroom to our basement, and we’ve been documenting the process throughout the challenge! This week was spent tiling the bathroom, and I know that you guys are dying to find out which floor tile option we chose!
– Note: This post contains affiliate links. See more information about affiliates here –
But first, let’s recap the schedule then look at the wall tile installation, okay!?
Week 1: Sharing Design Plans
Week 2: Plumbing, electrical + framing
Week 3: Installing drywall, patching, priming and painting
Week 4: Tiling (floors and walls) (that’s this post!)
Week 5: Grouting / installing trim + furniture (ie: vanity + toilet)
Week 6: Bringing in accessories for the final reveal!
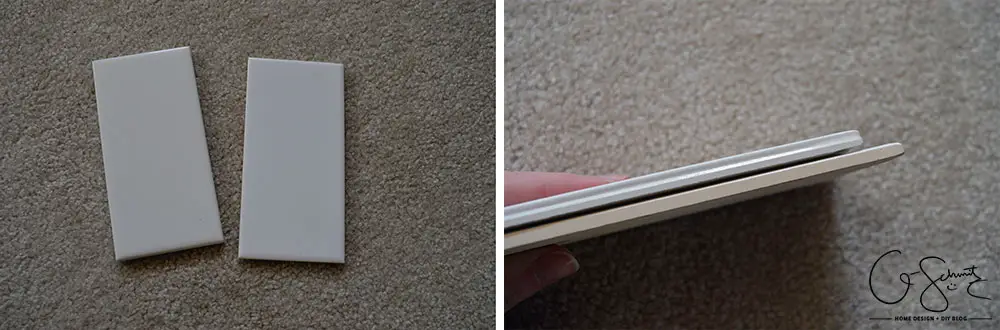
For the back wall, I knew I wanted to do a white subway tile (even though the Husband said he didn’t like subway tiles). I had almost a full box of subway tiles and I just had to get another one to cover the area. Problem was, apparently they’ve changed manufacturers or something since then, because my tiles were both whiter and thinner than the tiles available now (and yes, it’s the exact same Daltile product).
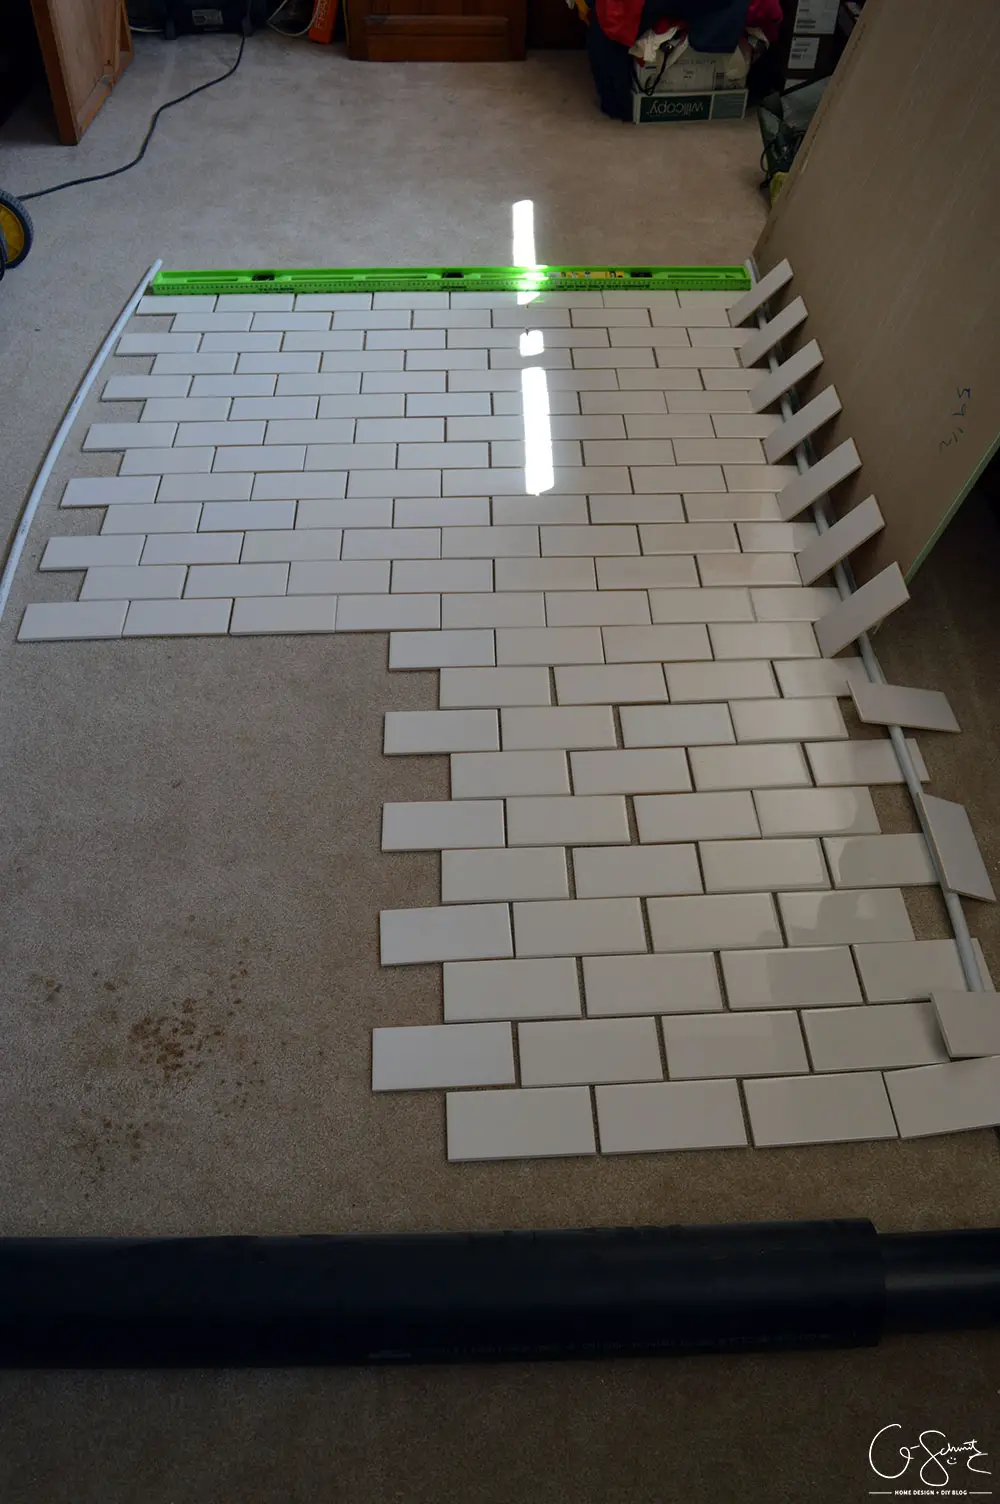
Having tiled many things before (like our kitchen floors, backsplash, bathroom and patio table) I know that you are supposed to mix the tiles up between different boxes, to account for any irregularities in design. These tiles were actually very different from one another, so it was extra important that I lay out my design beforehand (that space is where the vanity is going, no need to tile behind that!). Also, please ignore that gross carpet stain in our basement…
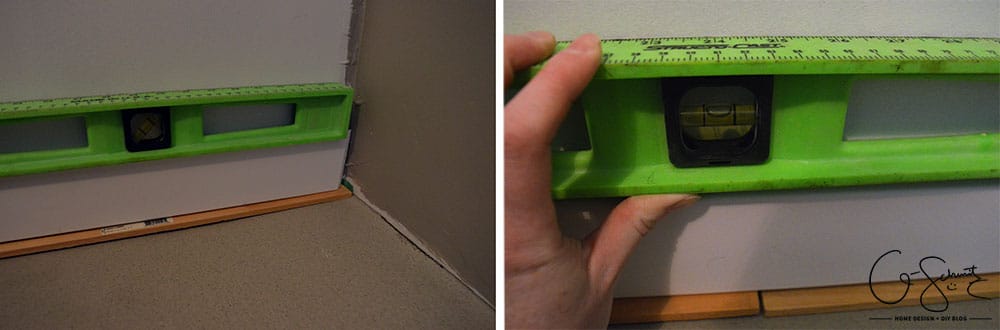
I was also planning on adding my trim between the floor and the wall (rather than have tile to tile in this spot), so I cut a piece and made sure it was sort of where it was supposed to go (accounting for the 1/2″ of space that the floor tiles were going to take up).

When tiling, you always want to draw some guide lines to make sure you are keeping level as you move along your space. If you look very closely at the photo above, you’ll see some horizontal pencil lines (and one vertical one to account for the vanity).
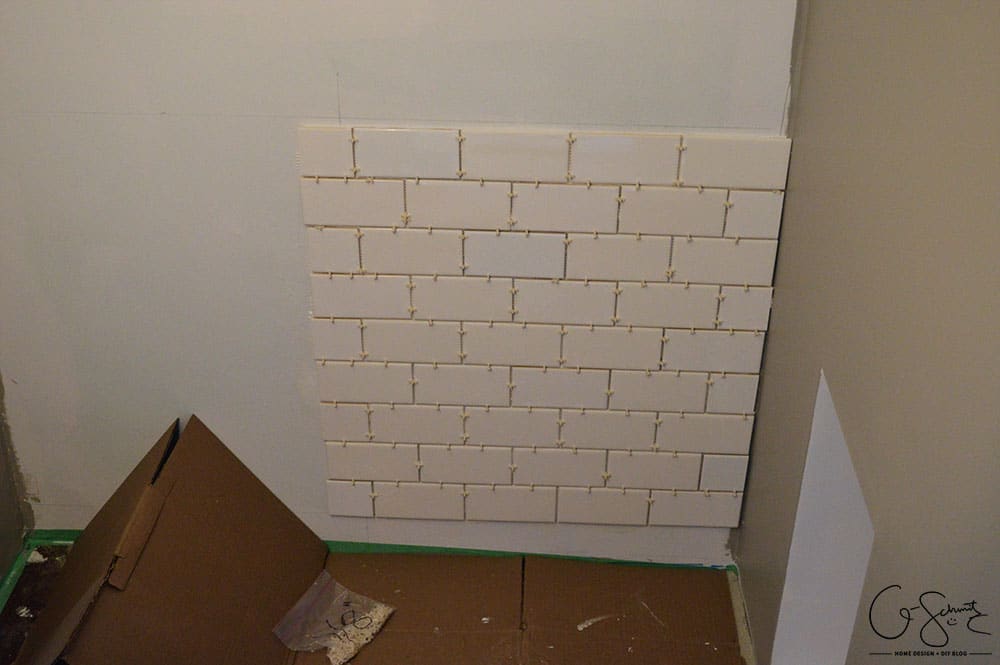
This was about 1 hour of work. Can you see the two different tile colours? The Husband says he doesn’t notice a difference, but he’s either blind or lying… I then let everything set for an hour or so before I moved on to the next section (a “perk” of being super pregnant – you need to take lots of breaks!).
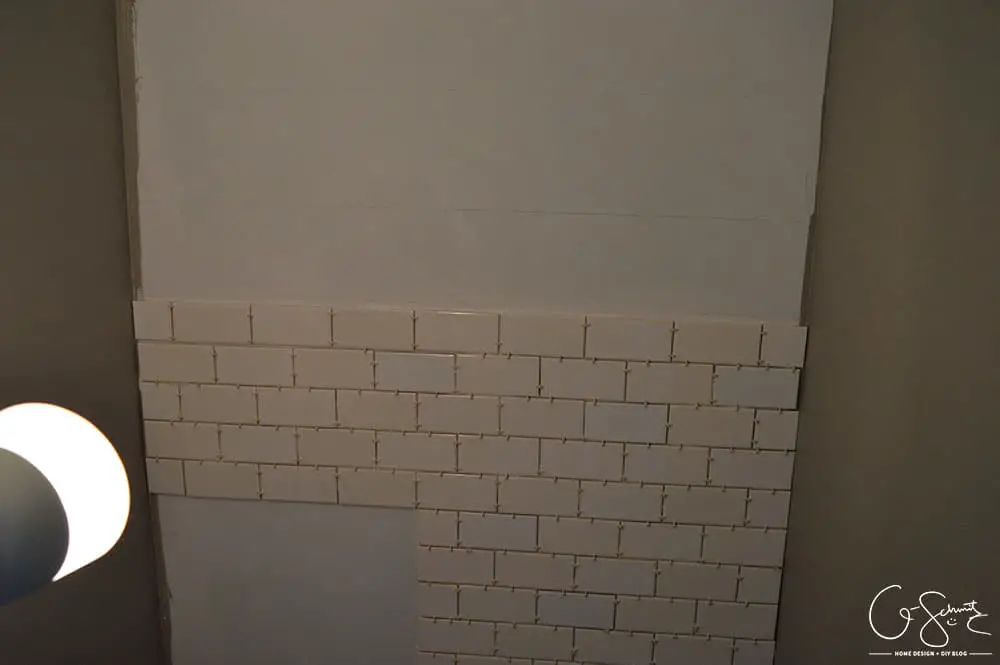
I then worked the next section, again taking about an hour to do these 5 rows. Trust me, subway tiling is time consuming since you have to put each piece on at a time. I also back-buttered all my thinner tiles so that they would hopefully be level with the thicker ones.
DIY-TIP: back-buttering means spreading your thinset onto the tile itself, as opposed to the wall. You would normally do this only if you were installing one or two tiles, or were working in a small area and couldn’t get your trowel in place to spread your thinset onto your to-be-tiled surface. For this bathroom, I spread the thinset on the wall as normal AND back-buttered my skinny tiles (again – to make them come off the wall a bit more).
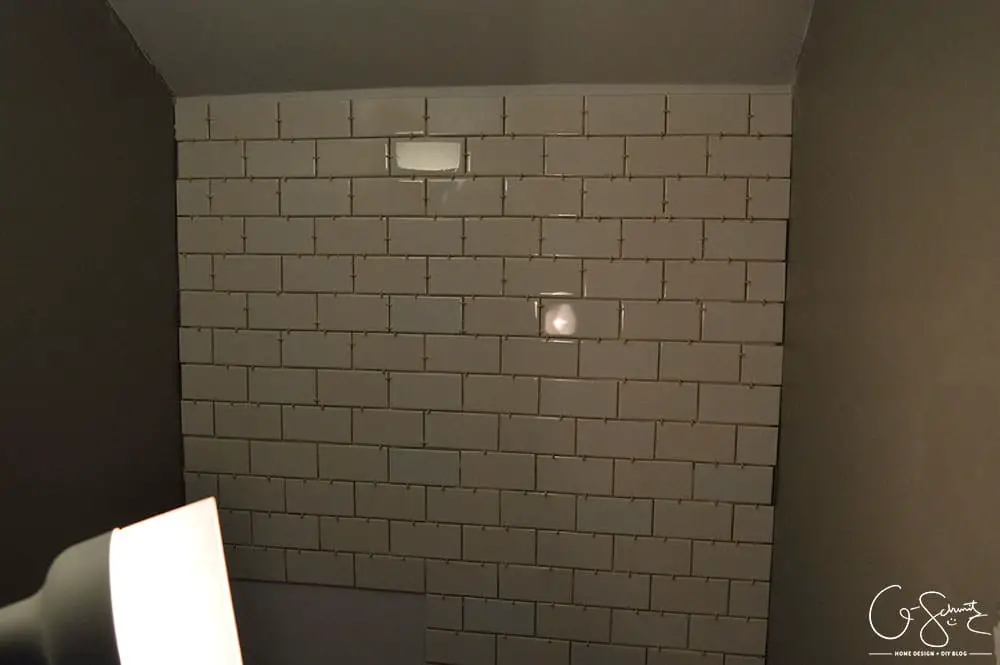
Then I had to take another break of course! Thankfully the Husband came home and I made him help me finish the last few rows (he was my back-butterer) and everything went much quicker! If tiling alone, I try to always have my tiles cut and ready ahead of time; but when I have a partner, they are usually in charge of cutting the tiles as I lay them.
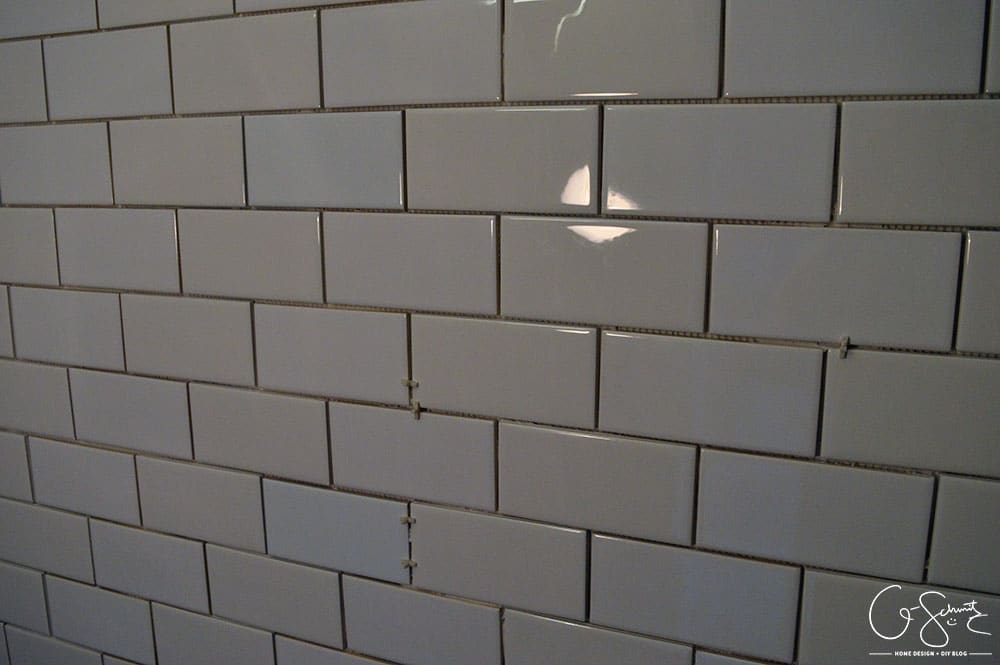
It’s very important to properly clean your edges before you start grouting. It’s easiest to clean up big goops as you are laying your tiles (the little spacers work perfectly!) but you still want to go back and check all the spaces once everything is set. I kept the spacers near the messy spots, then went back and cleaned them up.
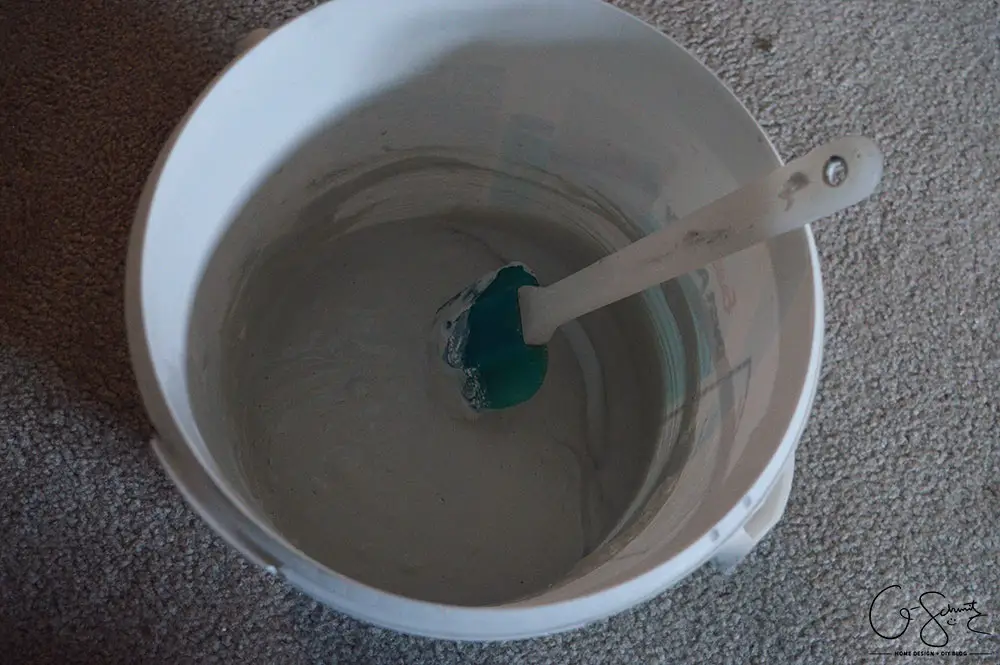
With tiling, you need to wait at least 24 hours for your thinset to dry before you grout. I think I gave an extra day, just because I knew I had a bit of time in my schedule. I mixed about half the amount of grout I needed, and then proceeded to do the messy spreading (and yes, that is my designated DIY spatula… I’ve used it one too many time to mix things to ever bring it back in the kitchen and touch my food haha!).
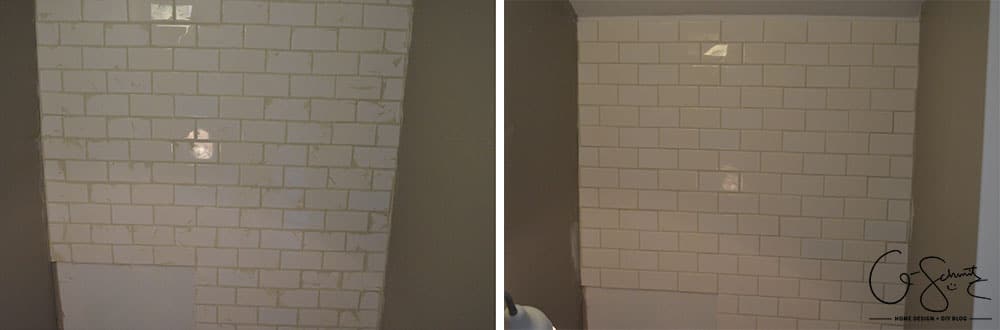
The photo on the left is what it looks like after I spread all my grout, and the one on the right is after I wiped my grout (you will be wiping grout a few times – so make sure you have some time booked in your schedule to account for this!). It’s still a bit wet in these images, and by now the grout has dried to a lighter – whiter colour (I used an unsanded white grout if you were wondering).
And yes, those beige + white stripes from the different tile types are killing me! But I’m hoping the mirror, sconces (see options at the bottom of this post) and shelf / accessories will help to cover up a lot of this wall…
On to the moment you’ve been waiting for! Last week I shared our floor tile options, and there were a lot of people who voted for different options – but ultimately it was the Husband’s decision. But first, let me tell you the order in which we tiled, starting with the face of the step into the room, then the main space, then the top of the step. (In week 2 at the framing stage, I talked about how I originally wanted to get the step carpeted to match how it was in our laundry room, the Husband again made a design decision to tile the step instead).
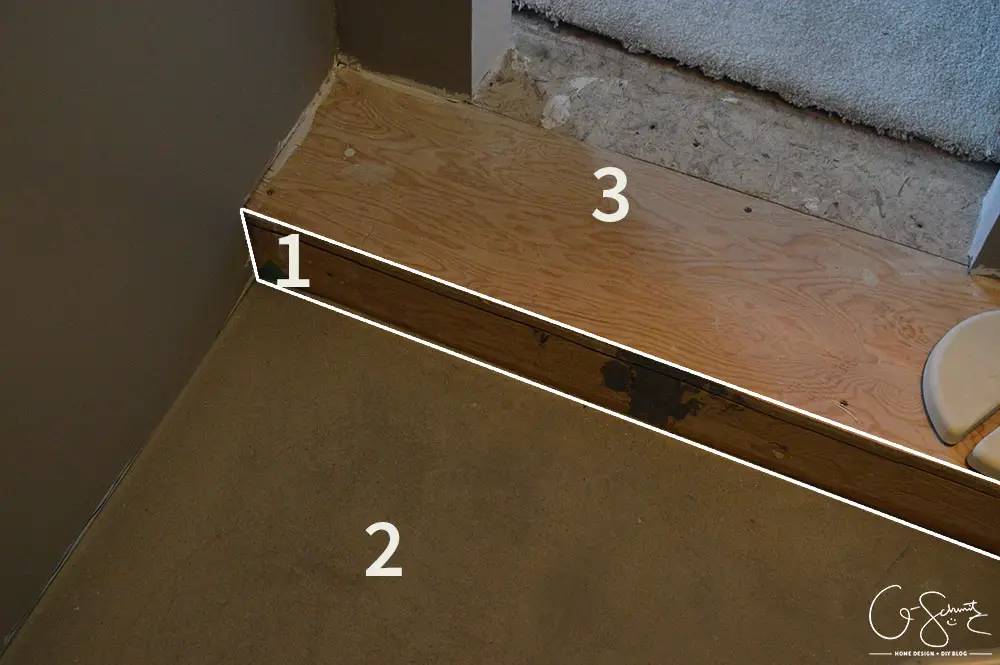
Okay okay… we went with tile #3 – the black hexagon pattern. I was really hesitant to do a black floor (besides, wasn’t the Husband the one who said he hated black and white bathrooms?) and would have preferred something gray. I guess my real concern with going black is that most spiders are black and I feel like they could more easily hide on these tiles… which probably sounds ridiculous – but I honestly hate spiders so much and assume they are more abundant in a basement…
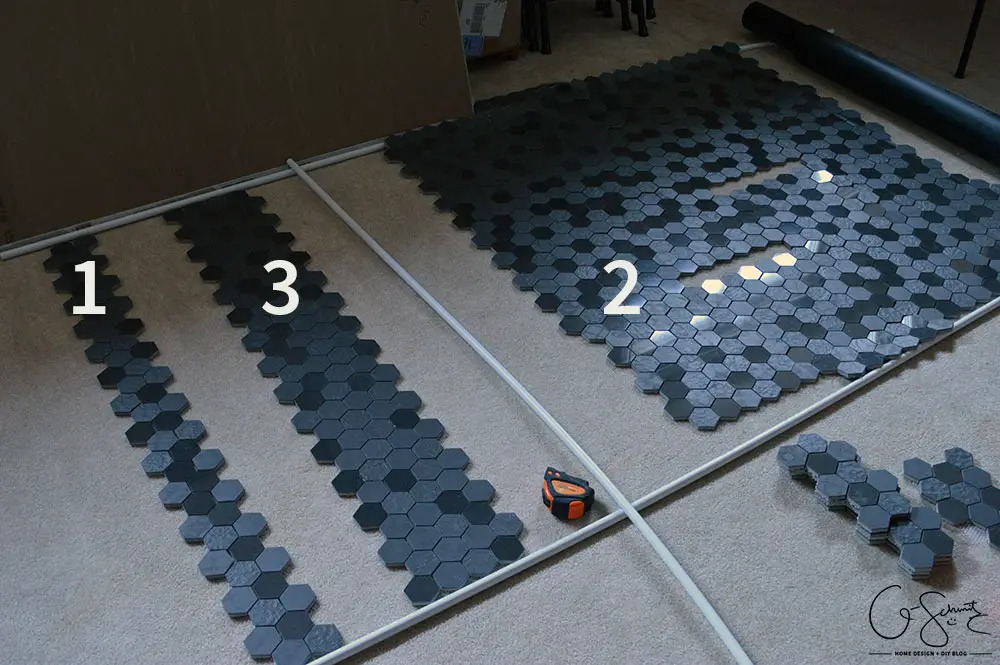
Anyways, once again I carefully measured and laid out the tiles ahead of time (if you’re not spending at least 50% of the time to plan your tile job… you’re probably either way too good… or going to make a mistake somewhere). I also inspected each tile on each sheet, and ripped out the ones that were spaced too closely or too far away from their neighbours.
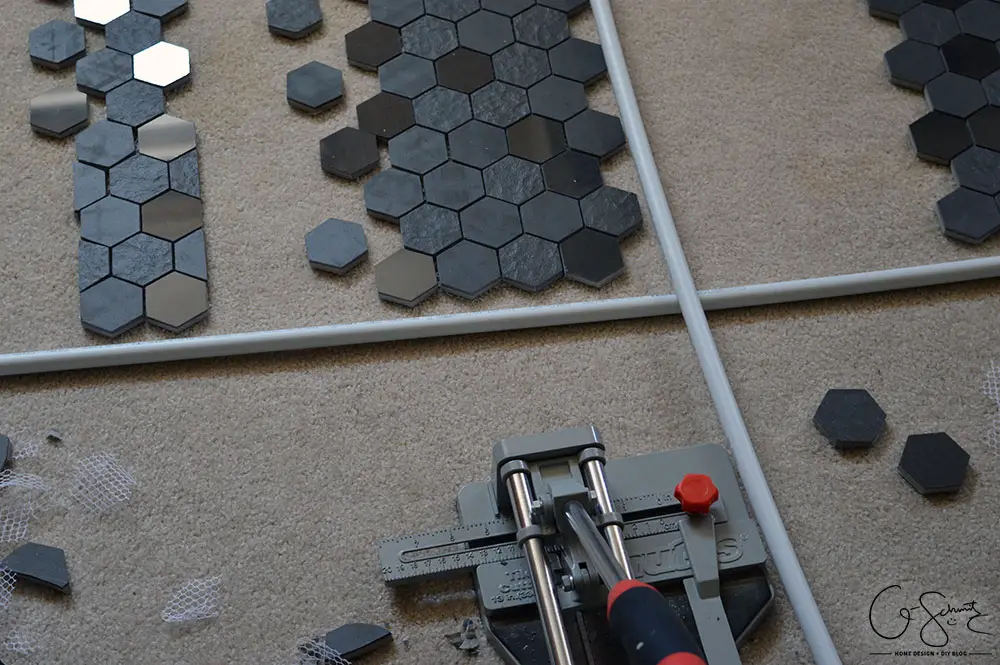
I knew approximately how many tiles needed to be cut in half, and I tested our tile cutter (that we aptly call “Brutus”) to make sure we could do the cuts. At 3/8″ thick, these were probably the thickest tiles we’ve ever had to install. For some reason the Husband couldn’t use Brutus to make nice cuts (worked fine for me!), so we borrowed a wet saw from our generous family members (thanks again!) and he got to work cutting while I installed.
I waited a day or two, and then sealed the tiles while they were in place (that’s what the store associate said to do… seems to me like it would have been more efficient to seal them before I installed them). But it was my first time with natural stone, so better to be safe than sorry!
And… I don’t have a picture for you – so I guess you’ll just have to wait until the final reveal to see what they look like in the space :)
(Okay, and I still have to grout them, but I’m planning on doing that tomorrow…).
Sconce Light Options
I’m not going to lie, choosing the two sconces to flank the mirror was a hard decision to make. Here is a little diagram I drew out (scaled properly) to envision how they would look (the horizontal line is where the angled wall juts out).
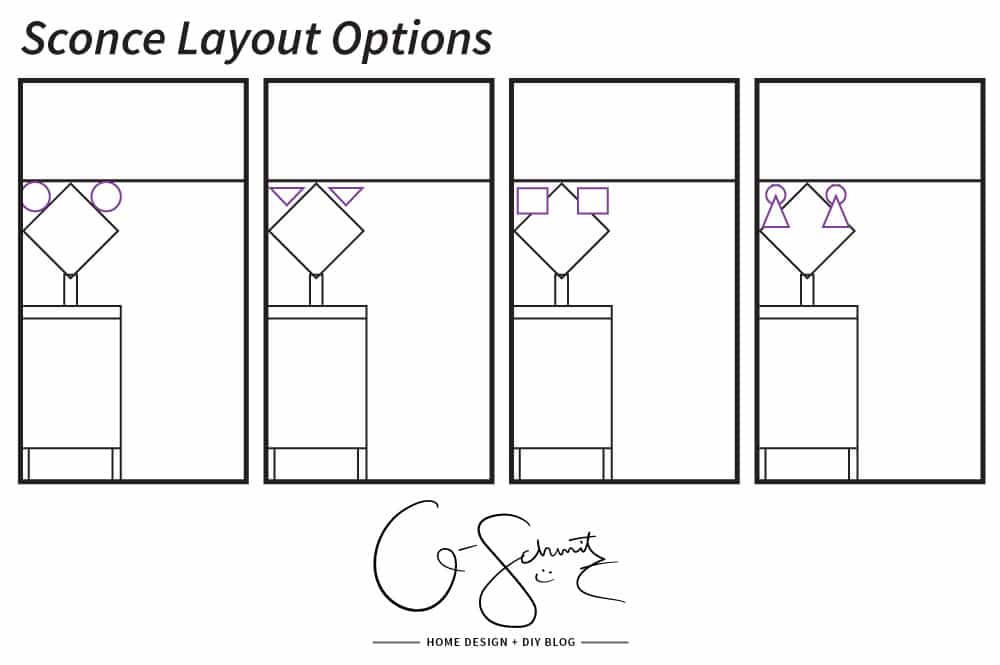
After a while I realized that some of my favourites might not even fit in the tight space that we had, so I had to either get something smaller – or get the Husband to mount them on the angled ceiling part instead (which mean that I needed to find options that could even be placed like that).

Sconce Sources:
- Home Depot: Antique Brass Light – no longer available
- Home Depot: Antique Brass Satin Light (similar)
- Ikea: Alvangen Sconce
- Amazon: String Light Brass Sconce
- Canadian Tire: Canvas Paxton Wall Sconce
- Canadian Tire: Canvas Bryant Wall Sconce
- Amazon: Ecopower Glass Sconce
- Amazon: Nuvo Sconce
- Amazon: LED Triangle Light
- Amazon: Ecopower Industrial Sconce
- Amazon: Ecopower Vintage Sconce
- Amazon: Ecopower Cage Wall Sconce
So, maybe people are wondering: ummm what the heck is your style, because these sconces don’t seem to match the flushmount lights?
Guys – I have no idea :(
Okay, I just wanted to get lights that I liked and that would fit size-wise, and I’m hoping everything will work out in the end, even though it’s a big mish-mash of styles and now I’m worried that this will be some sort of weird modern, industrial, crazy bathroom…
Oh, and next week I get to finally introduce you to the “purple” element I’ve been talking about since Week One, so add that to the craziness-mess I have going on.
Two more weeks until we’re done at least… join me for the final reveal and tell me I’m not crazy please :)


16 Comments
Netasha
April 26, 2016 at 7:37 pmIt’s coming along really nicely Nicole. Love the black tile!!!
Nicole
April 28, 2016 at 4:25 amThanks Netasha :) Although technically Kenn picked it out – but at least he didn’t go with something too crazy
Louise aka Mommy
April 26, 2016 at 8:48 pmI think the variation in the subway style is good .. so if the rest of the craziness-mess does not work just blame it on pregnancy hormones and enjoy not having to run up the stairs to use the bathroom when you are downstairs
Nicole
April 28, 2016 at 4:26 amWell, most of them will be covered – and we always have the option (in the super future) to paint them if I get too bothered by it.
Suzanne
April 28, 2016 at 2:14 pmLove your progress and can’t wait to see the floor! I like sconce #3 #7 and #12. But if you need the light to be able to angle since it will be on the angled wall I like #11. Good luck! Hopefully you end up loving your new space when it’s all over.
Nicole
April 29, 2016 at 8:08 pmI think it will be one of those times when you love it because you put so much work into it – and I guess I like all the elements individually, so hopefully they all come together in the end :)
Carrie at Kenarry: Ideas for the Home
April 28, 2016 at 2:33 pmNicole, love the Subway tiles on the back wall. I see what you mean about the slight difference in color, but honestly I’m not sure I would have noticed if you hadn’t pointed it out! I love the floor tiles your husband chose for the space – but I never thought about the spider factor! Eek! I’m excited to see next week’s post once those floor tiles are installed and grouted. You’re doing such a great job with this space!
Nicole
April 29, 2016 at 8:11 pmHa, I don’t know if people are crazy enough to factor things like spiders into their designs, which is one reason I’m hesitant to do an all black room (although I do love the look). We’re so close to the finish line, but I keep seeing little things I’d like to fix to make sure it’s perfect, thanks for visiting :)
celine @ aquahaus
April 28, 2016 at 9:47 pmWow. I’m so impressed by your diligence in tile laying. Beautiful job.
Nicole
April 29, 2016 at 8:15 pmThanks, I have had my fair share of experience, and you definitely get better each time – any mistakes I have made in the past I try and correct for the better now :)
Sarah
April 30, 2016 at 7:21 pmI love the two tiles you chose, especially that black hex tile! And my vote is for sconce #6!
Nicole
May 2, 2016 at 12:19 pmThe hex tile ended up being super sharp looking and “cooler” than anything we’ve done before – I think it’s a step in a new design direction I’ll be taking from now on :)
Jen @ Fresh Crush
May 5, 2016 at 9:34 pmIt’s really coming along! And, great tiling tips! I have a lot of that ahead of me, so I’ll have to remember these. :)
Nicole
May 7, 2016 at 8:38 amI think the number one rule of tiling is to give yourself ample time (and then double the amount of time you think it will take). I’ve been caught in the past trying to rush something, and it doesn’t work out!
Katy {ashadeofteal}
May 10, 2016 at 10:06 pmThat’s such a bummer that the white tile’s don’t match. But you really can’t tell once it’s up.
Nicole
May 11, 2016 at 9:26 amYa, I think if one day I go crazy I could always paint them all to match