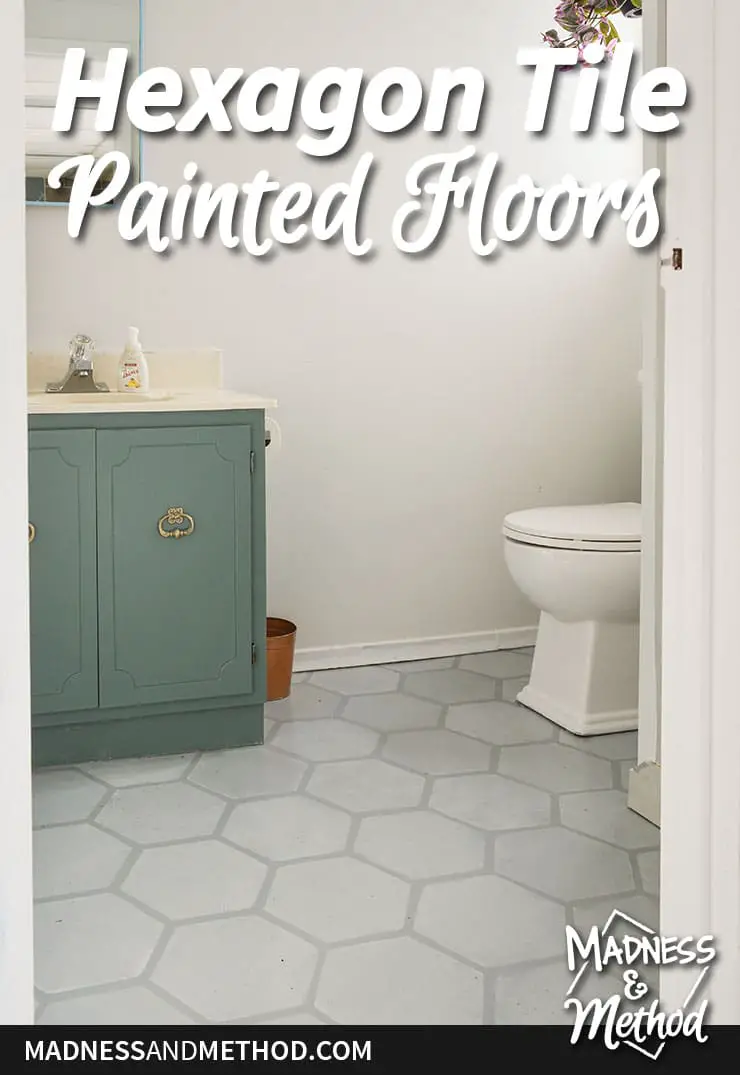
Yes, you can paint concrete floors! (Probably any type of flooring really – you just need to right prep and products). These hexagon faux-cement tile painted floors were SUPER easy to do. Plus, over a year later, they still look amazing. Let me share how to do something similar :)
– Note: This post contains affiliate links. See more information about affiliates here. –
For this 8-week makeover, I’m refreshing/resetting my raised ranch basement. So far, I’ve removed old vinyl flooring, painted the entry and removed the carpet in the bedroom. So far, most of my big DIYs all have to do with painting concrete floors, and I have a great project to share!
Painted Bathroom Floors
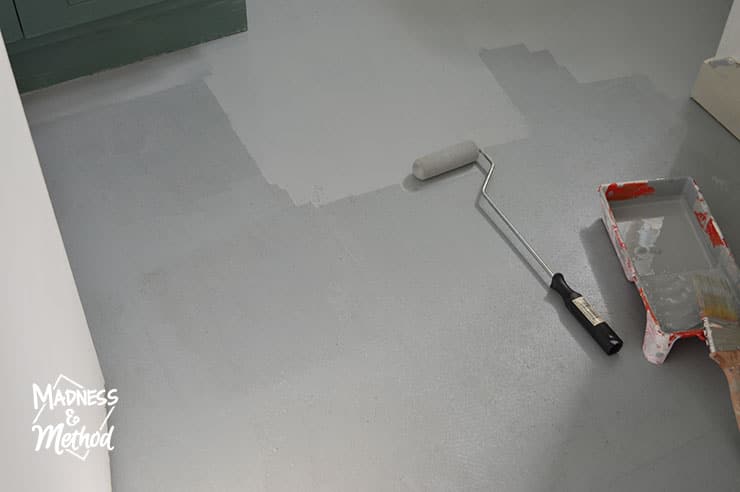
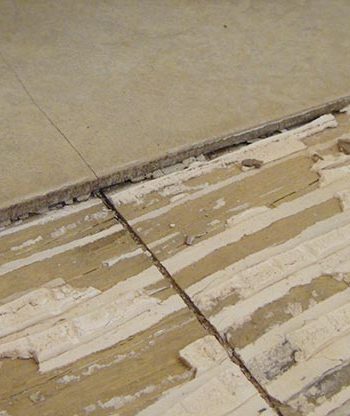
After removing the existing flooring, the ground was still pretty sticky from the vinyl tile adhesive. We scraped a few more times (and I even tried peanut butter). In the end, I decided to just paint them, even though the adhesive wasn’t fully removed. (It was just a little tacky, rather than the lose-your-socks-stickiness that it was at first). From what I read online, it was either going to cause flashing (aka weird drying spots, like when you paint over a drywall patch without priming) OR screw up the paint and not set properly.
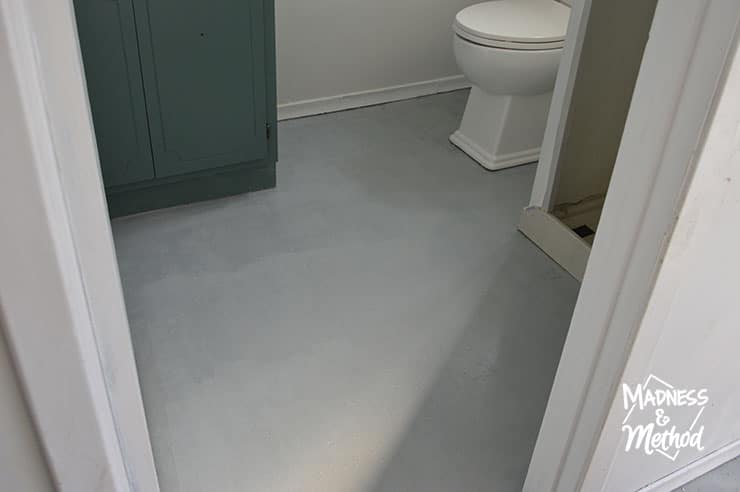
I was not prepared for the second option, so LUCKILY we just ended up with a bit of flashing. You could see where the stubborn spots were, and the outline of the tiles.
Oh, and I also painted the vanity too. I didn’t do any special prep or use a topcoat, so we’ll see how it lasts.
The second coat completely cleared it up though! You do still see some ridges from where the glue was trowelled, and there are weird concrete spots near the toilet – but it’s all the same colour/sheen.
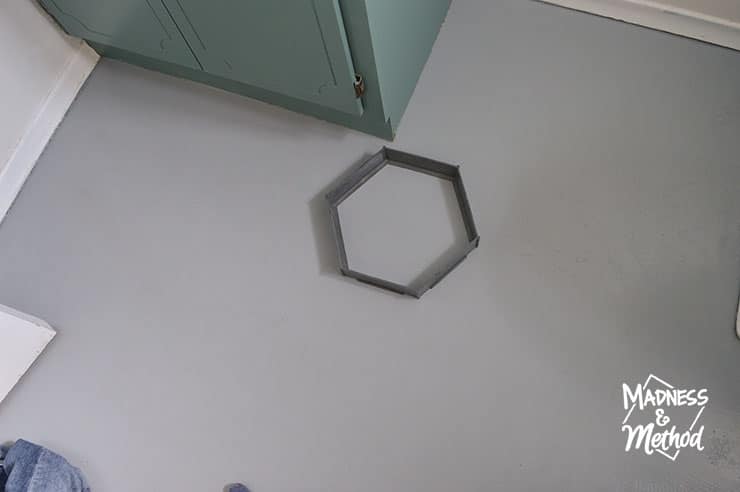
I was debating what pattern to do, when I remembered that I had a hexagon shape (here’s something similar). It’s really used to make concrete pavers. But, it will work as a stencil of sorts. I’m going to do a subtle/sponge pattern!
Hexagon Faux-Cement Tile
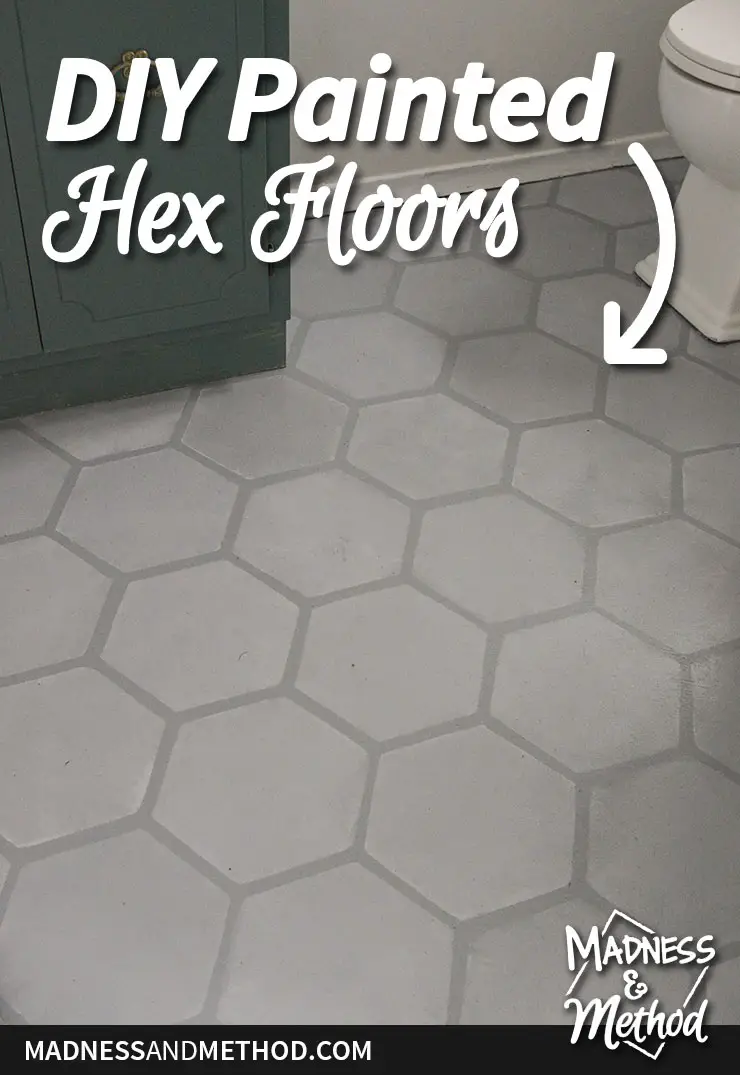
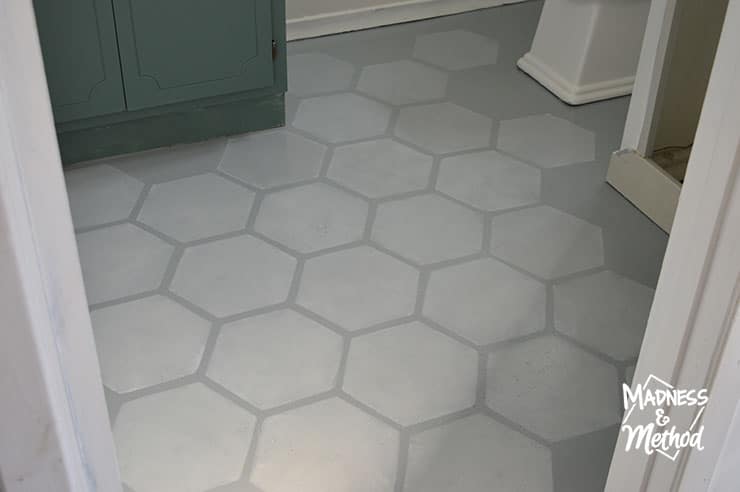
Here’s how it looks!
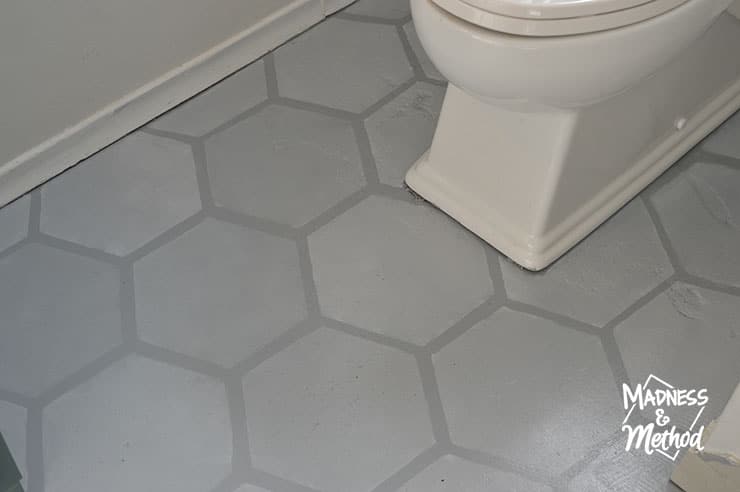
I used my hexagon-shaped mould (similar to this) and sponged in the pattern. I didn’t want it to be a super crisp perfect solid colour, and it turned out really well!
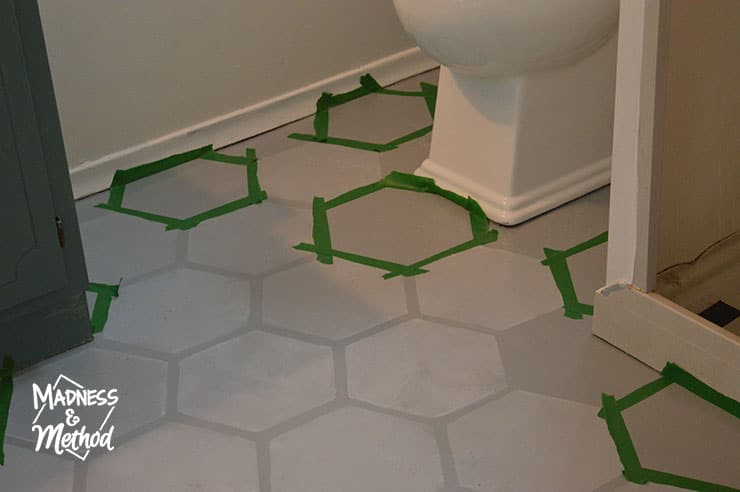
Because I used a hard plastic mould, I obviously couldn’t cut it to fit the edges. Luckily, a hex shape is fairly straightforward, so I taped up every other space.
I removed the tape immediately, and when I was done with half the edges, went back in and filled in the spots I missed. You can see the new paint is a bit lighter in the photo above, so it should dry a tad darker.
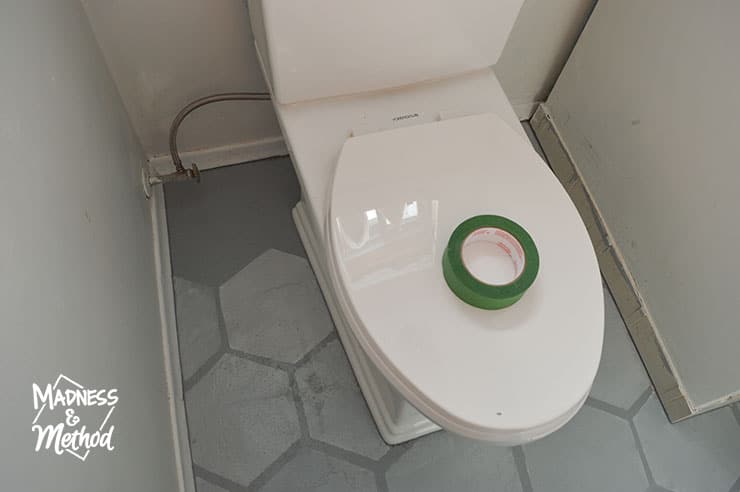
There is a small spot to do behind the toilet, but I had painted a few new hexes and couldn’t get back there without going on them. And, if you’re wondering, our toilet is NOT even with the wall, so the pattern isn’t off, ha.
About the One Room Challenge
Check out the One Room Challenge featured designers and hundreds of linking participants!
Follow my basement project:
Basement Reset BEFORE (ORC Week 1)
Removing Old Vinyl Flooring (ORC Week 2)
Painted Basement Entry (ORC Week 3)
Removing Carpets & Painting Concrete (ORC Week 4)
Wall-Mounted Headboard + Hex Floors (this week!)
And my budget breakdown:
2nd Week: – 2.95$
3rd Week: – 7.20$
4th Week: + 29$
This week I purchased wood for my headboard, glue, tape and a hook for 49.48$
Total: 30.63$
If you’re wondering where the photos of the rest of the basement are, don’t worry – nothing has changed since last week. The living room / laundry / workout room are still a complete mess. I promise you though, once the bedroom floors are done, I can start to move things. I’m looking forward to setting up the new bed frame and really maximizing the hidden storage in there.
Other than that, I’ll also finish the last little bit of the painted hex floors. Then, maybe focus on building the other nightstands so we have a matching pair. Any stain/colour suggestions?
Just a few short weeks left!



No Comments