
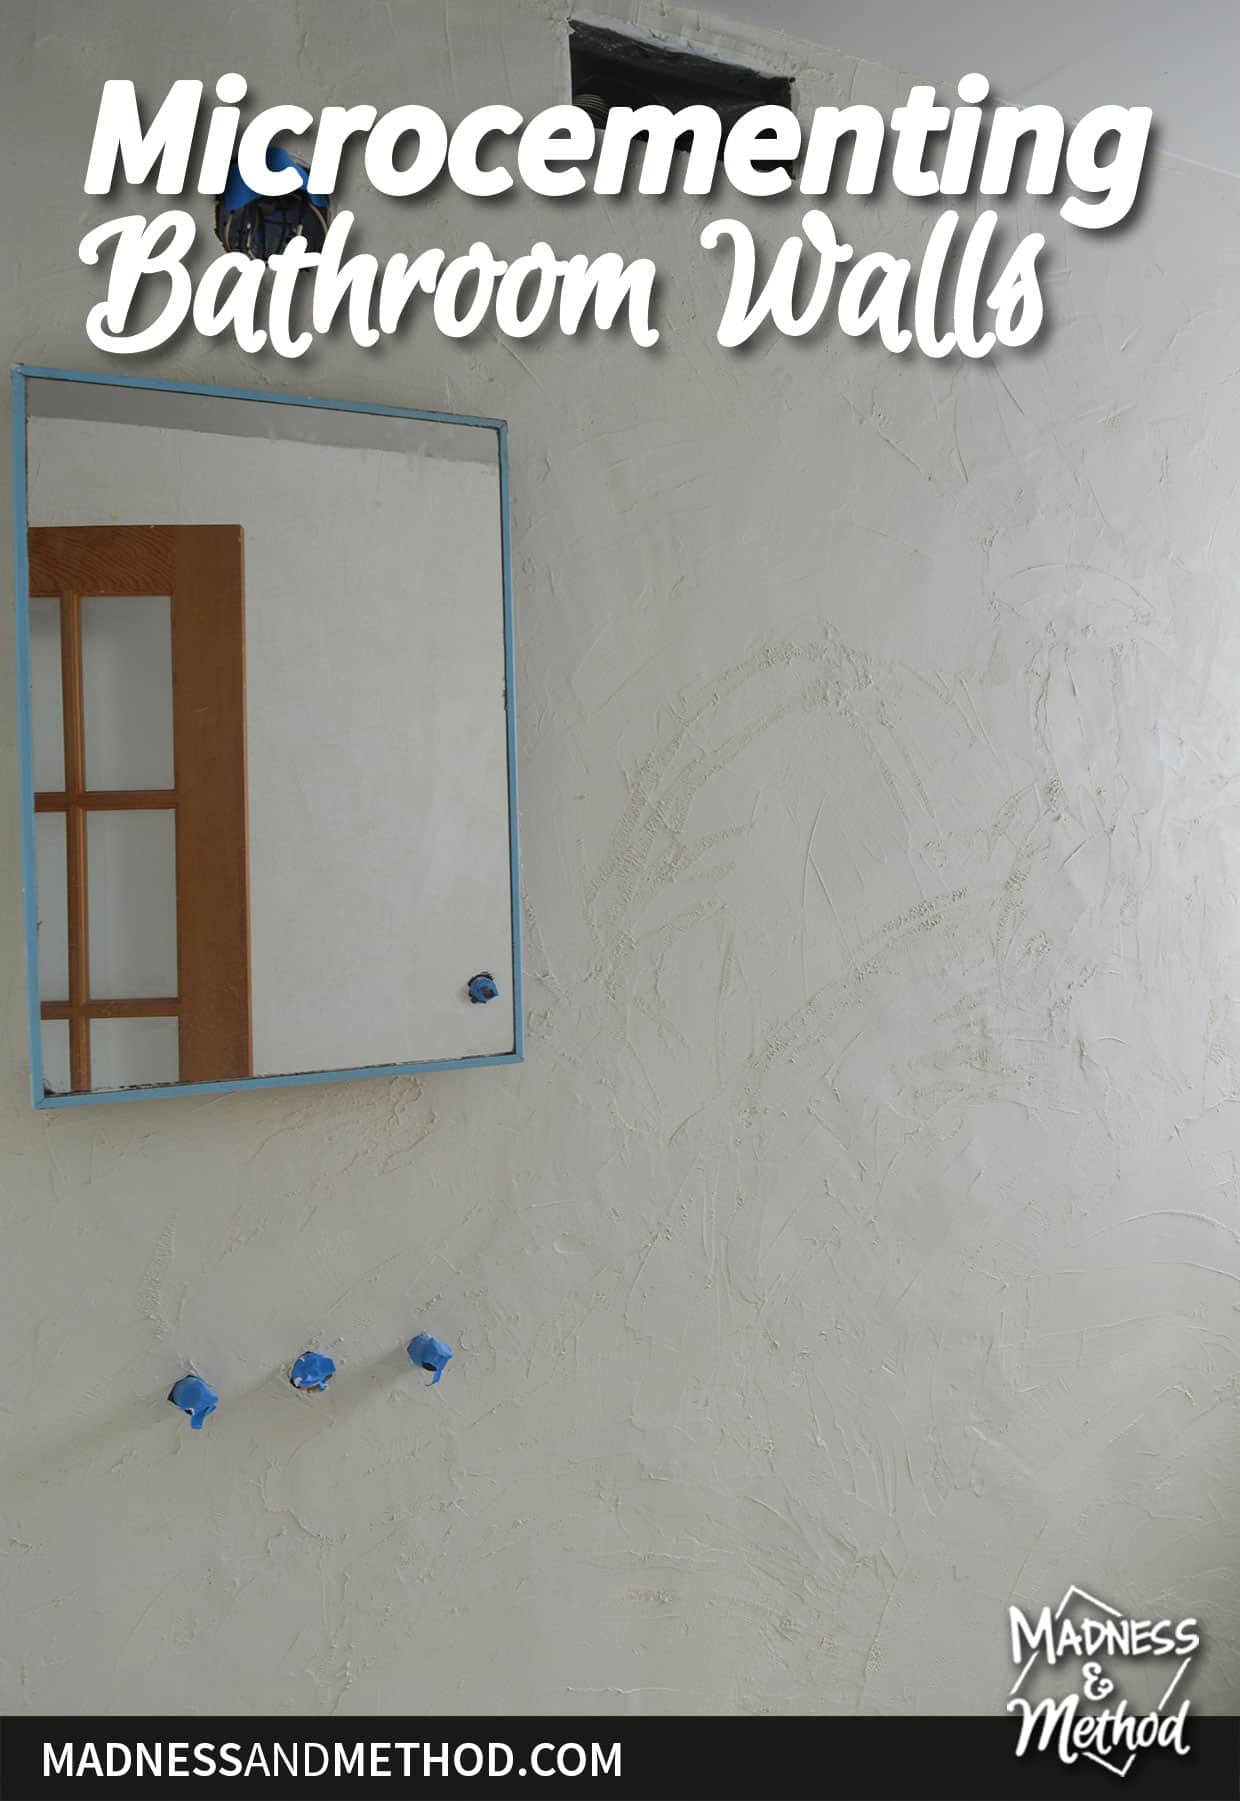
Today I’m going to be chatting about our basement bathroom! More specifically, about microcementing bathroom walls. It’s not my first time using microcement in a basement bathroom (is it my thing now!?), but this was my first time doing the shower floor with microcement. I have a video and plenty of photos to share, so let’s get to it!
Whew, where were we last with this bathroom renovation?! Back at the start of April I posted about the progress so far. We were hoping to have everything done-done by Easter weekend, but unfortunately it did not happen.
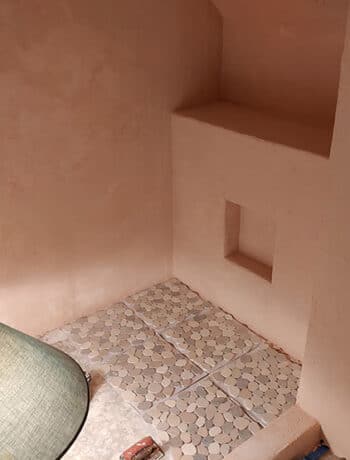
Since then, the walls have been completed, the floors have been tiled (will share that next!) and the toilet has been installed. (And taken out, then reinstalled, ha). The only thing left to finish in the bathroom is the sink installation. But who needs a sink :)
Either way, let’s get to the microcement! As mentioned, this isn’t my first rodeo with microcement (and it probably won’t be my last). A couple of years ago, I completed the basement bathroom at our cottage with the same treatment.
FYI: Microcement is a thin cement product that can be applied to walls, floors, ceilings – both inside and outside.
You can read about my first foray into microcement when I talked about the prep work here, the application of microcement, the sealing of microcement (and even the semi-completed bathroom photos).
For this bathroom, I wanted to do a plain white microcement, and made a whole modern bathroom plan.
Steps to Install Microcement
All my progress can be watched on my YouTube video (that is also embedded below). I’m using the ISOMAT Durocret line of microcement, which includes a “FLEX” product as the base, and a “FINISH” product for the top coat(s).
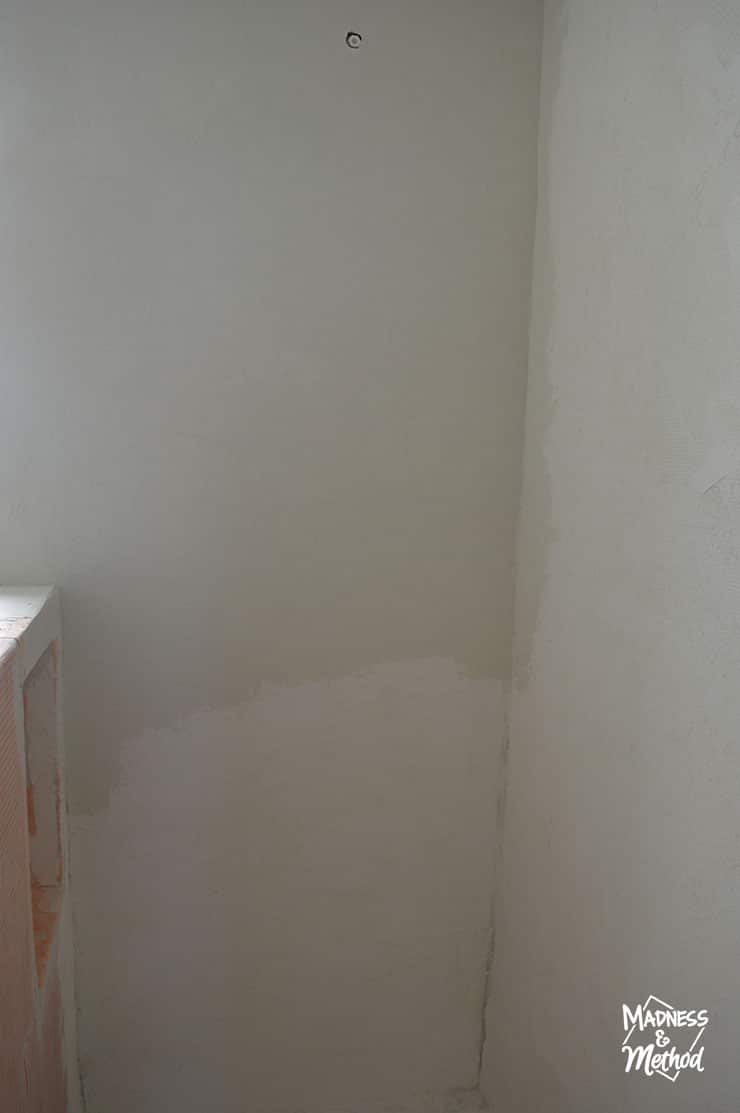
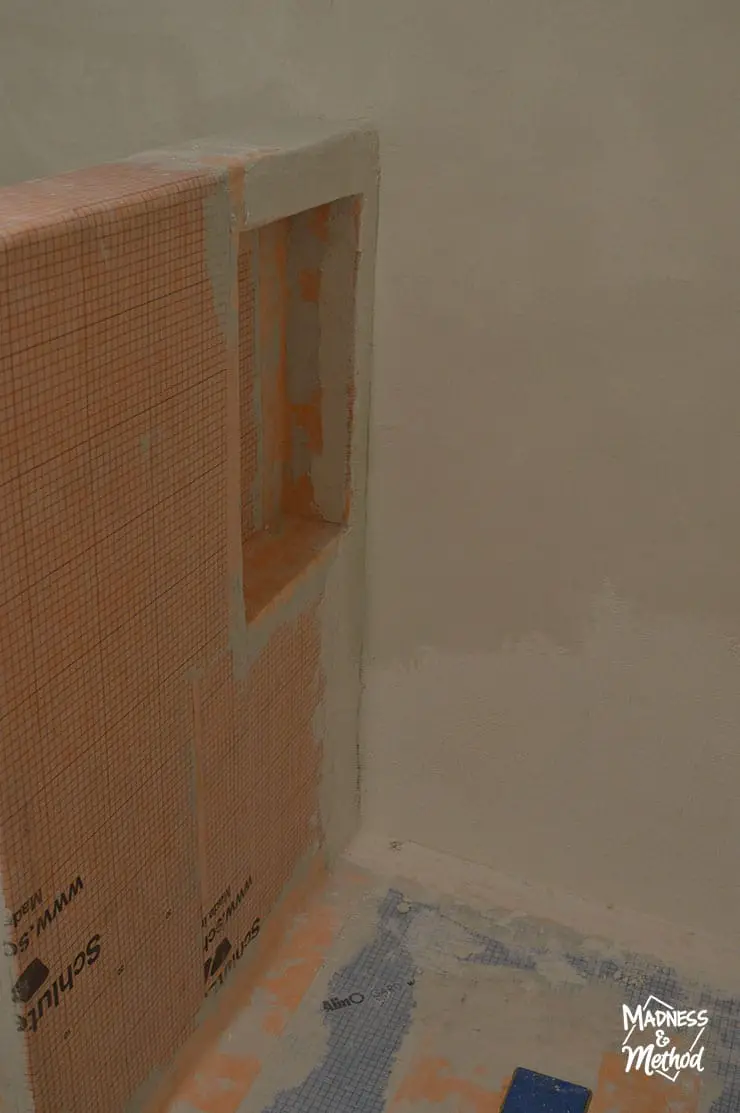
Unfortunately, I couldn’t find a distributor in Canada to buy more product, so I used what I had on hand. After prepping the walls with the very liquid-y primer, I cut and installed a few sheets of fiberglass mesh.

I didn’t have enough FLEX to do the entire bathroom, but focused on the areas where my drywall needed extra reinforcing. Like the few patches we had from moving the door/window.
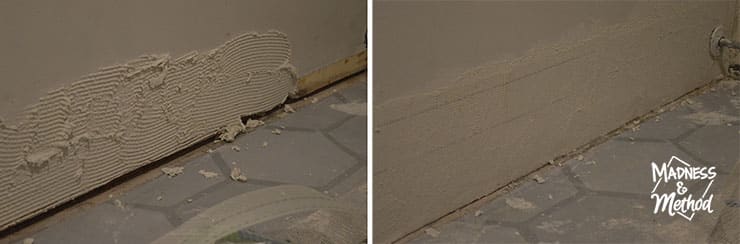
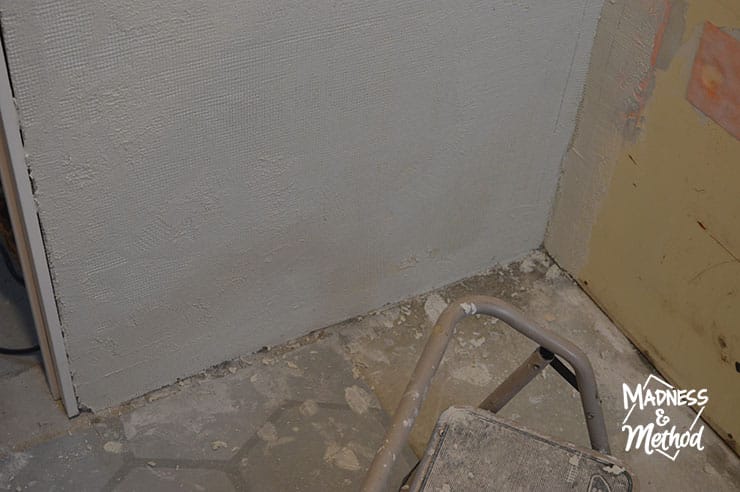
I also ensured that the base of the walls went down a bit farther – almost to the floor. The plan was to tile the floors all the way to the walls without using any baseboards. So I definitely didn’t want any gaps.
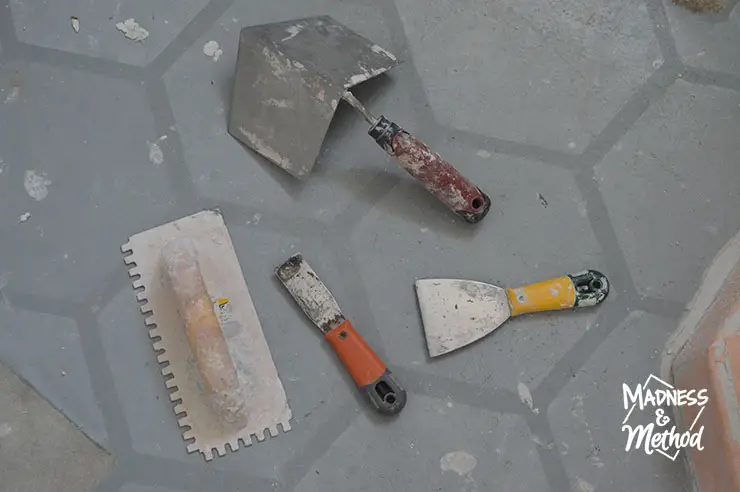 For microcementing bathroom walls, you will need a few tools. Other than the cement itself (and the mesh if you are using it), you will need a good trowel, small trowels for small areas, and an inside corner trowel.
Of course, a bucket and a good mixing attachment for the drill are also essential.
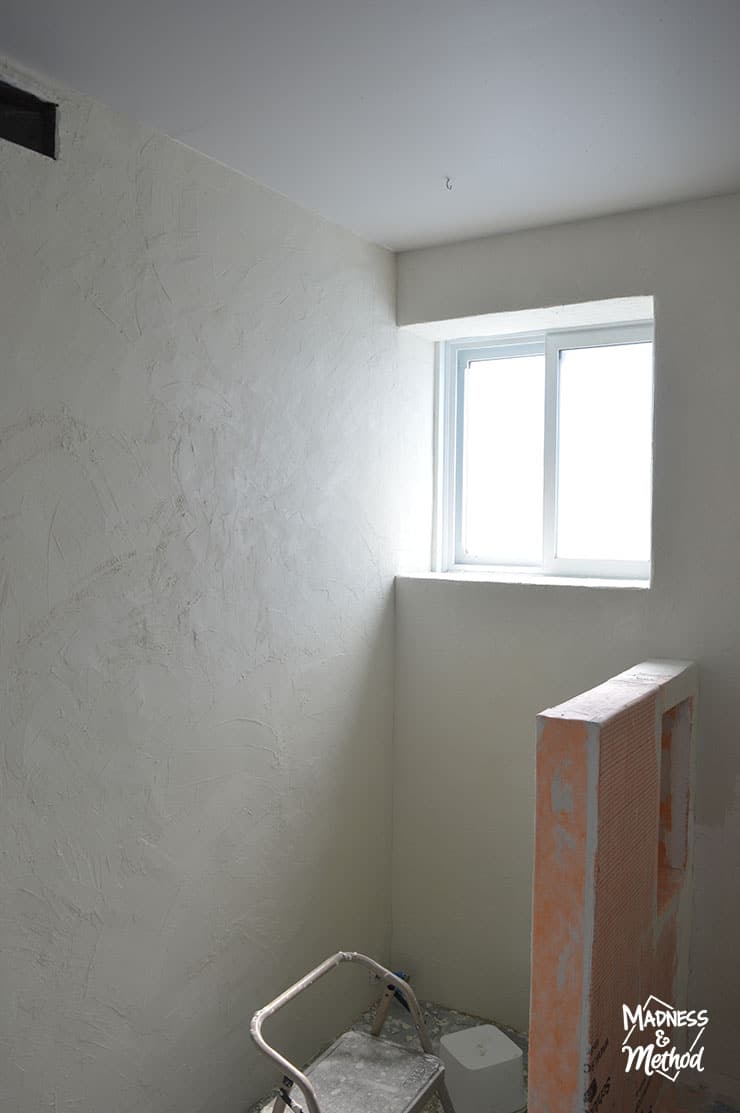
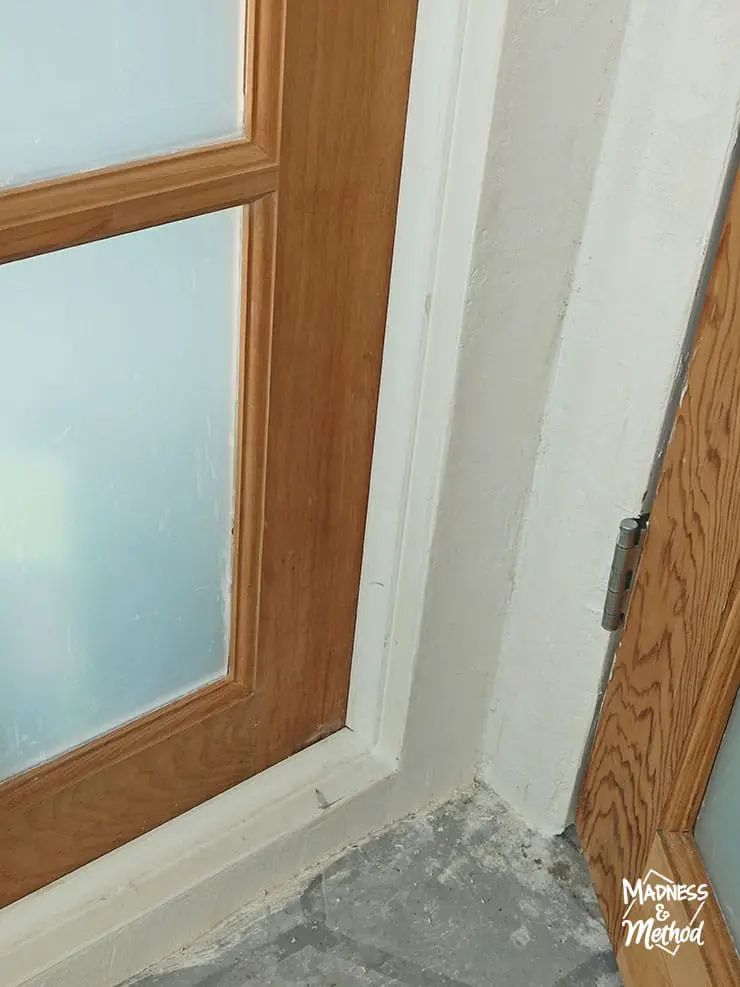
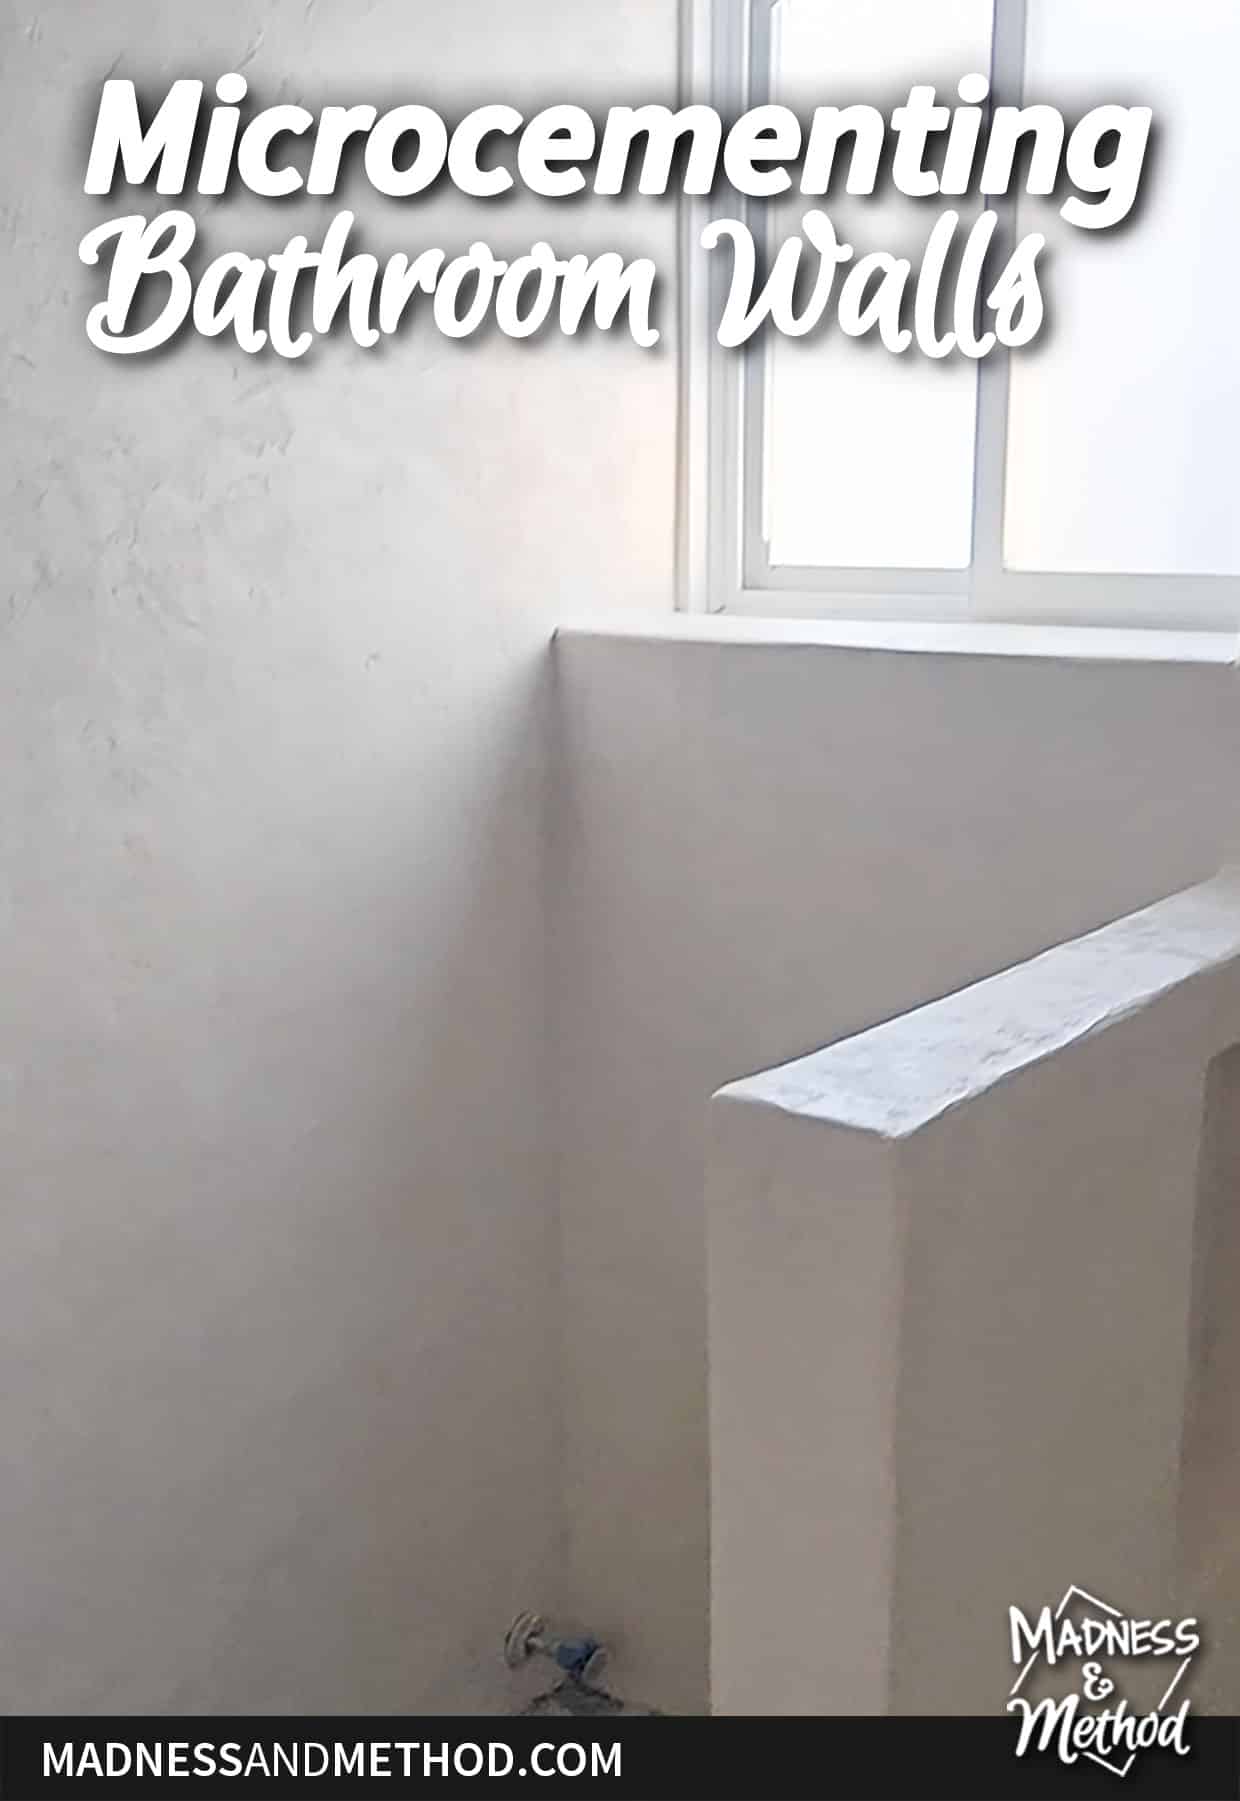
For our bathroom, I knew that reframing the awkward window was going to make a big difference in the space. Now, everything looks nice and finished.
Microcement Finish Coats
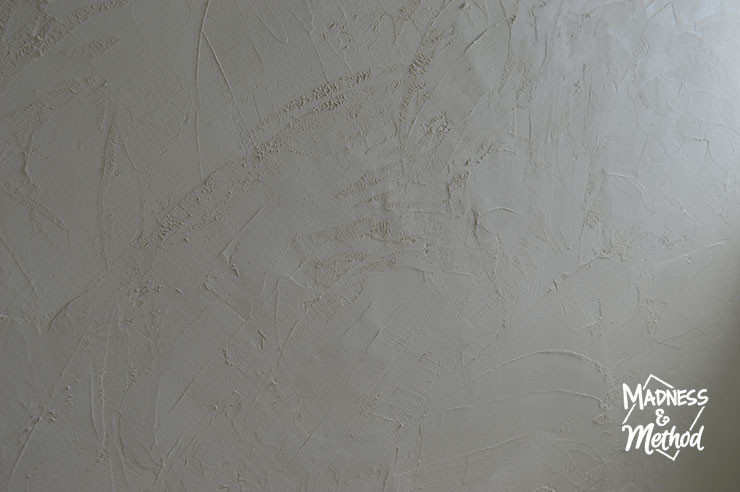
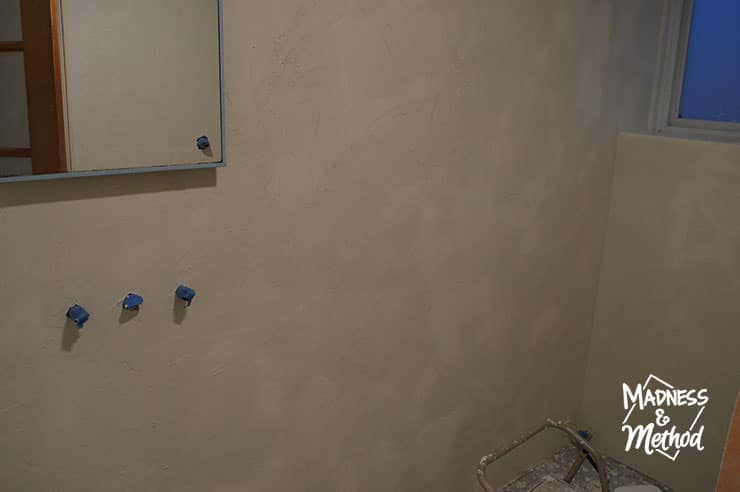
Up-close, microcement has various different textures and patterns depending on how it was installed. I’m definitely not an expert finisher and try to get as smooth/even a surface as possible.
Microcement is installed in thin coats, and sometimes you can get by with just one. However, I like to do 2-3 so that everything is covered nicely.
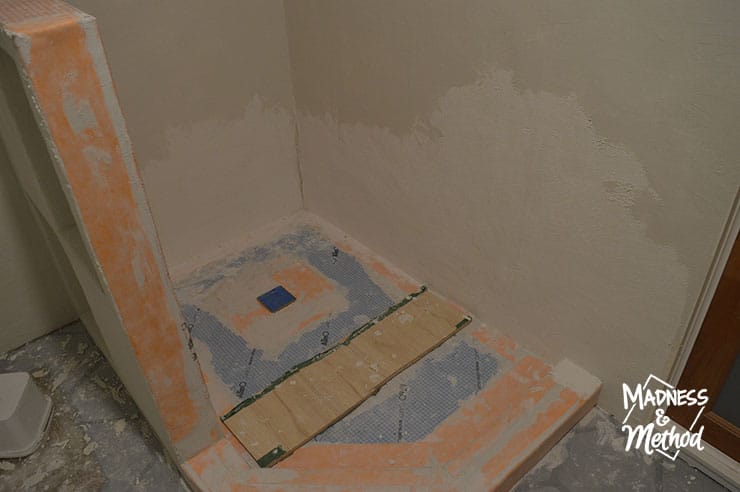
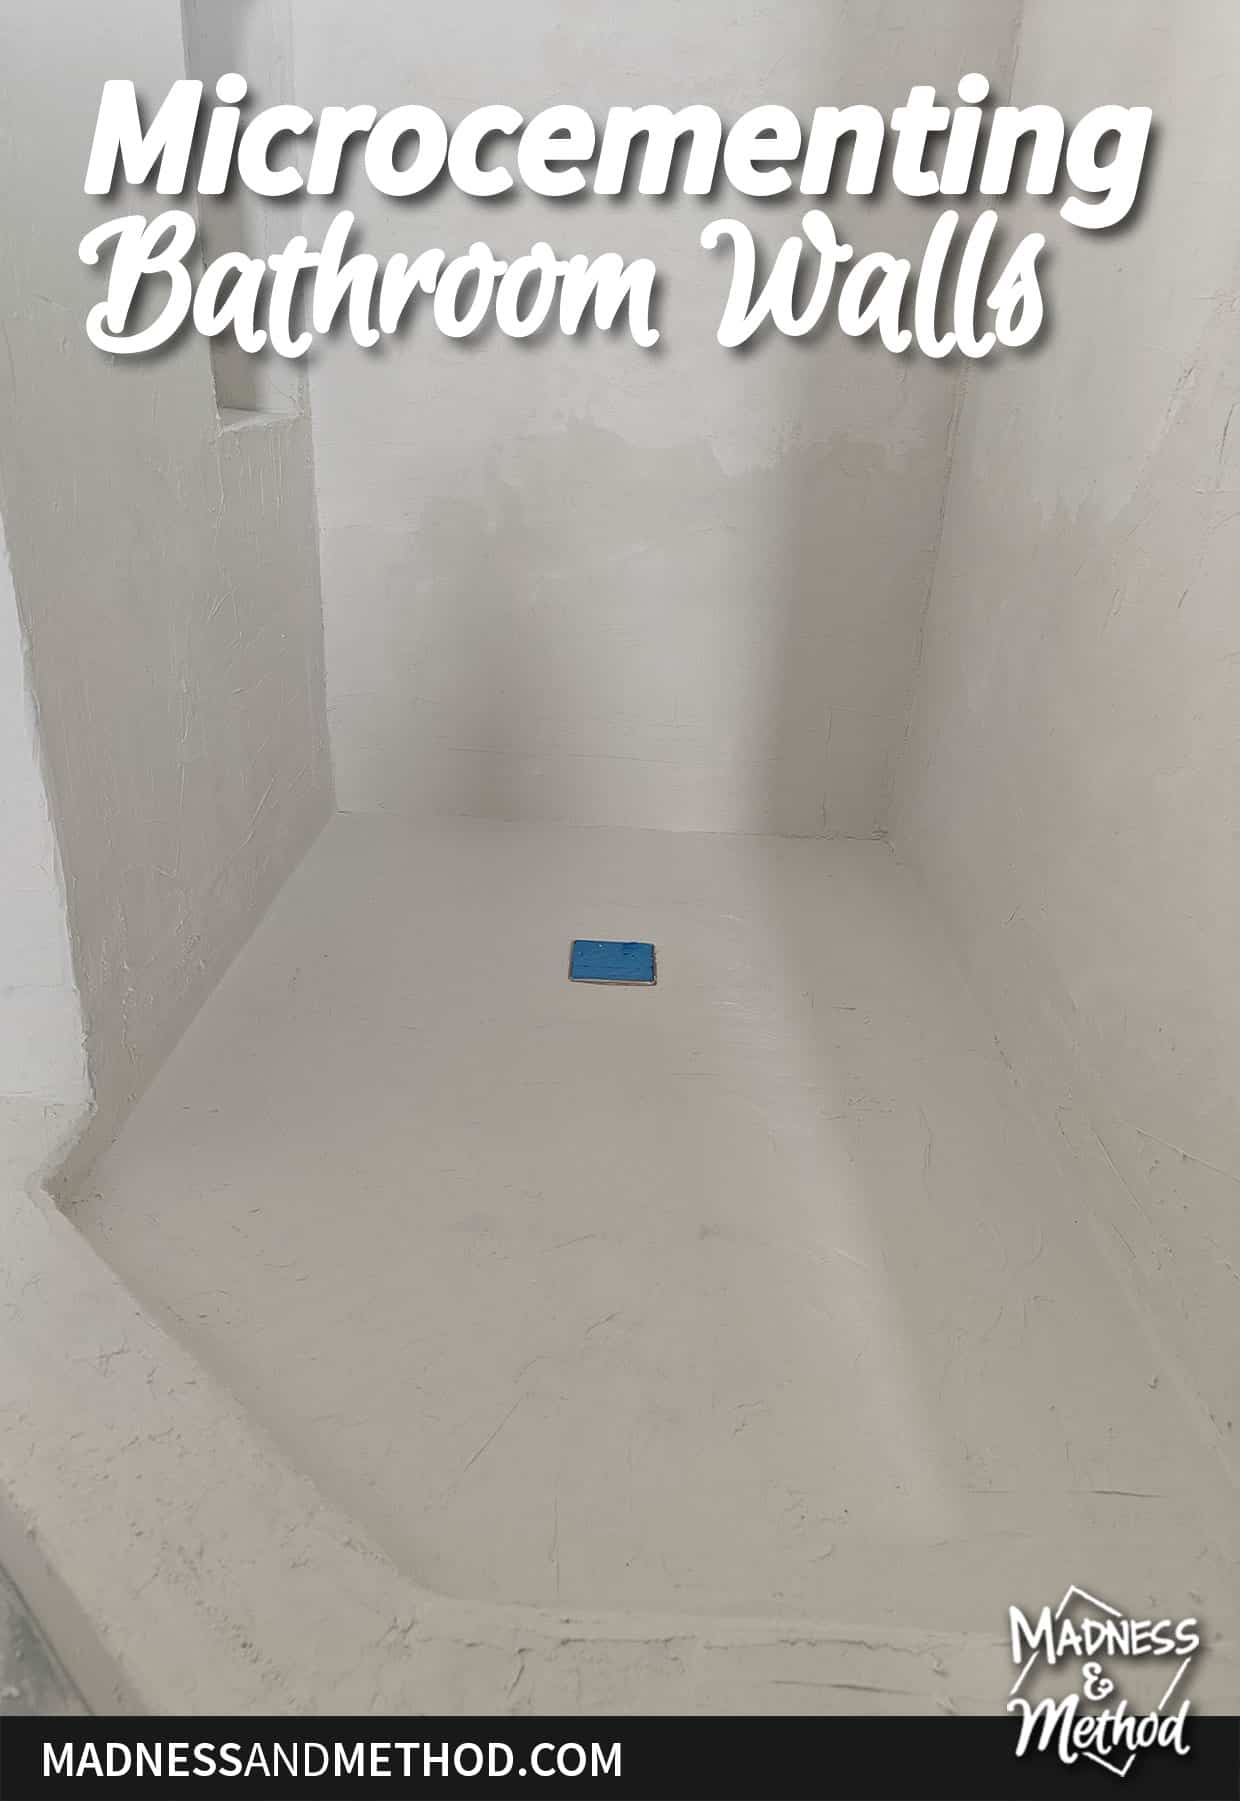
It’s time-consuming for sure! For the shower pan/floor, I put a piece of wood across that I would stand on. That way my weight was distributed more evenly and I’d avoid getting divots in the foam.
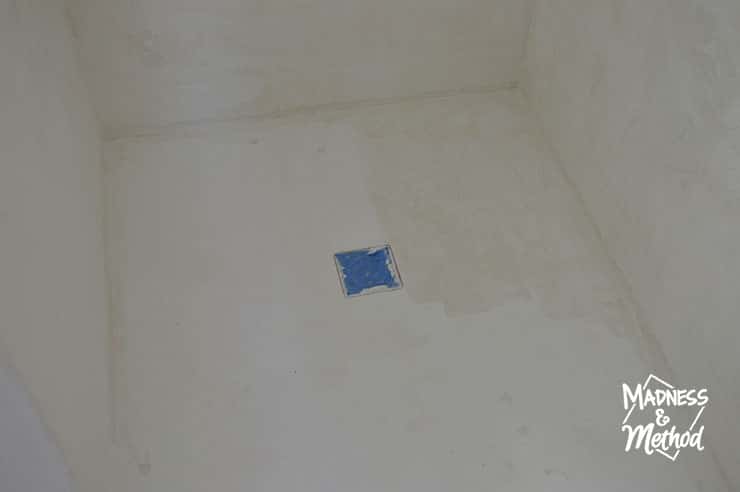
 As I mentioned above (and in the video), I ran out of the Deco FLEX so I couldn’t install the fibreglass mesh everywhere. In hindsight, I should have also prioritized the shower floor.
The mesh is supposed to strengthen your surface to help eliminate cracks. And, you guessed it: I got cracks in my microcement shower floor :(
Sanding & Sealing Microcement
 For this bathroom, I didn’t put down protective paper on the floor since it was concrete. And more importantly, I’d be scraping/cleaning it up before tiling either way.
 Although, by not doing a microcement ceiling, I was able to minimize a LOT of mess, ha.
Once everything is dried, I went over all the walls with a power sander (hooked up to my shop vac). Then, everything was swept, dusted and vacuumed.
 Remember when I mentioned I didn’t have a lot of materials and couldn’t order more? The same thing applied to the sealer. Instead of using the same one, I found another (Canadian) company that has microcement products.
Using the wet-look sealer, I added 5 (!) coats to the walls. I wanted to make sure it was all sealed (and was worried about those shower cracks too). I wouldn’t say the sealer looks very wet, and there are definitely some patches where it looks glossier than others.
I’d probably blame my first coat application for that (where I used a small foam roller). I since switched to a larger (regular) paint roller and a brush for the edges – and that worked a lot better.
I’m super happy with how these microcemented bathroom walls turned out (minus the whole cracked shower thing). In the future, we can remove the microcement on the shower floor and then either redo it, or tile the slower floor instead.
But for now, I am ignoring the problem and pretending it isn’t there :)
Either way, let me know if you have ever microcemented something, if you are interested in microcement bathrooms, if you have any tips or questions… basically anything, ha.
Check out the video with all the microcementing steps. If you can’t see the embedded video above, you can always watch it directly on YouTube here.

No Comments