
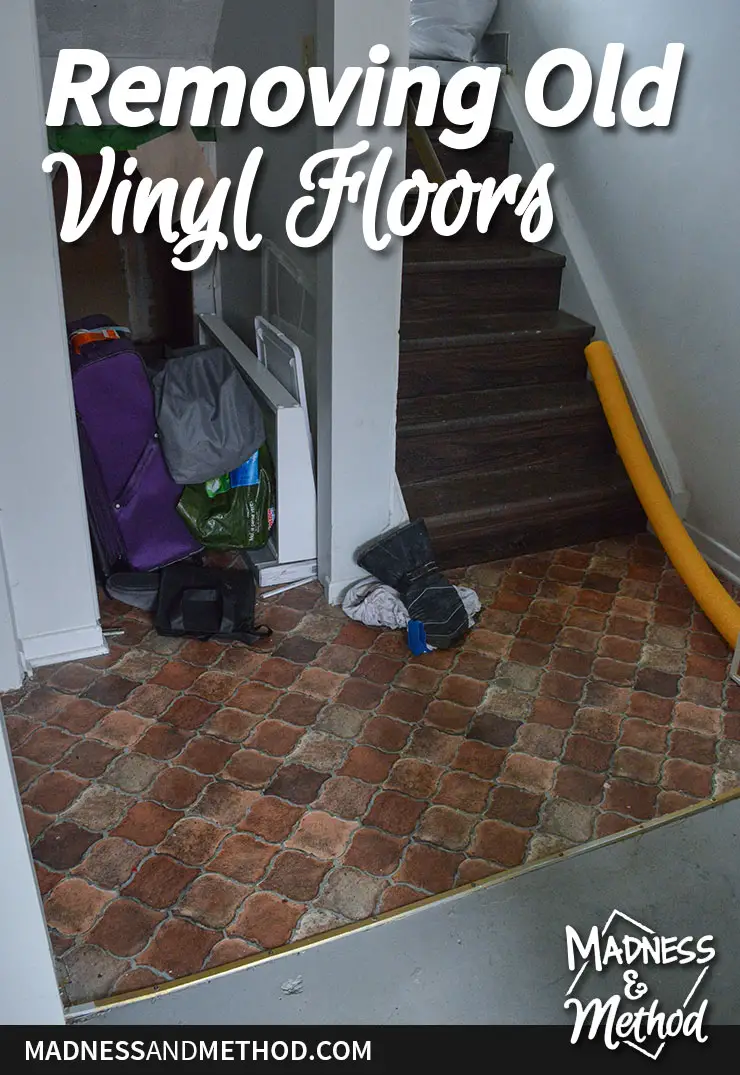
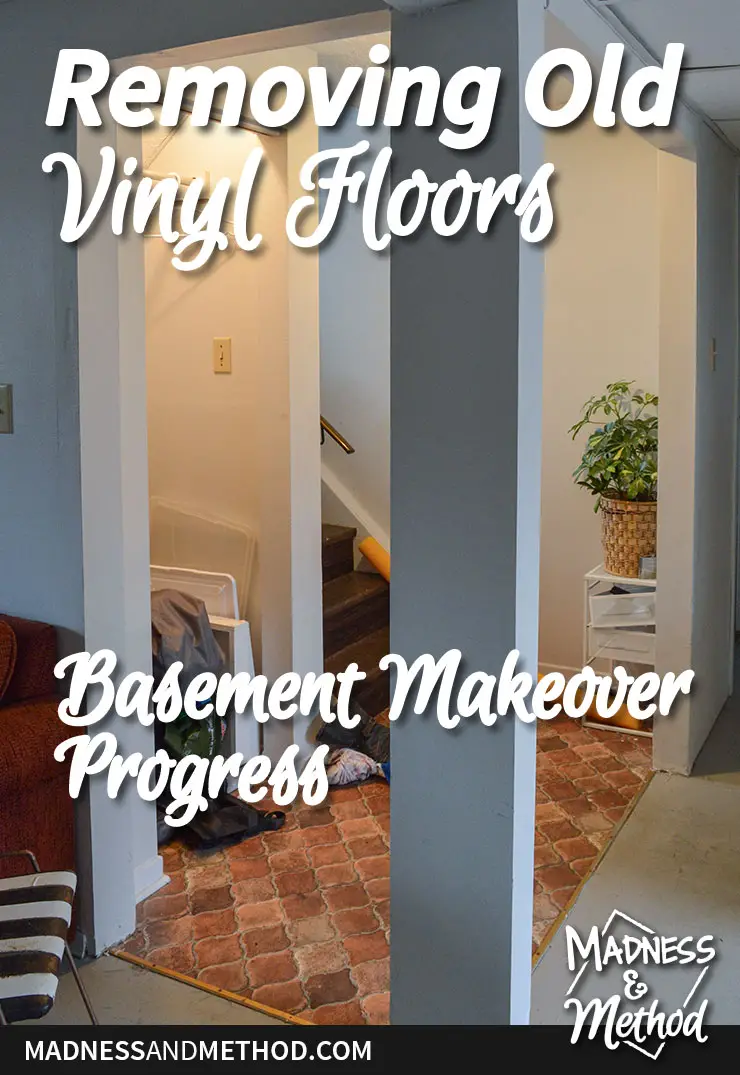
Welcome back to our basement refresh project! I’ve gotten a couple of my messier projects out of the way already, aka: removing old vinyl flooring. One area went a lot better than the other, so I’ll chat about both. Otherwise, I’m pretty much just trying to move ahead on what I can do. Let’s get to it :)
– Note: This post contains affiliate links. See more information about affiliates here. –
Alrighty, we’re in the second week of our 8-week basement refresh. (I’m linking up as a guest in the One Room Challenge). Last week, I shared the before photos of our basement, and I have a few current photos (below). OH! And I have the basement layout (and my future/design concept for the bathroom) too.
Before I begin, let me share this FUN FACT that I just read. You see, I’ve always been using vinyl and linoleum as interchangeable terms since I didn’t know what kind of flooring we had. But turns out, they are completely different in that linoleum is a natural material! Once the plastic-y vinyl came out, linoleum became less popular, and in our case, both of the floors I removed here were vinyl.
Removing Old Vinyl Sheet (Paper Backing)
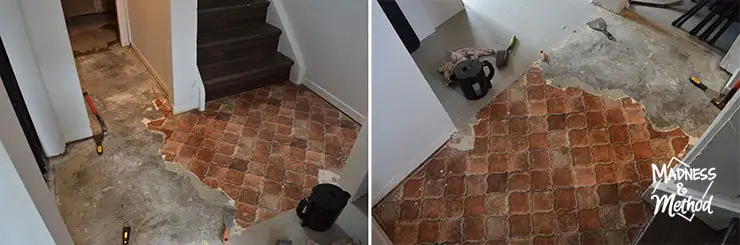
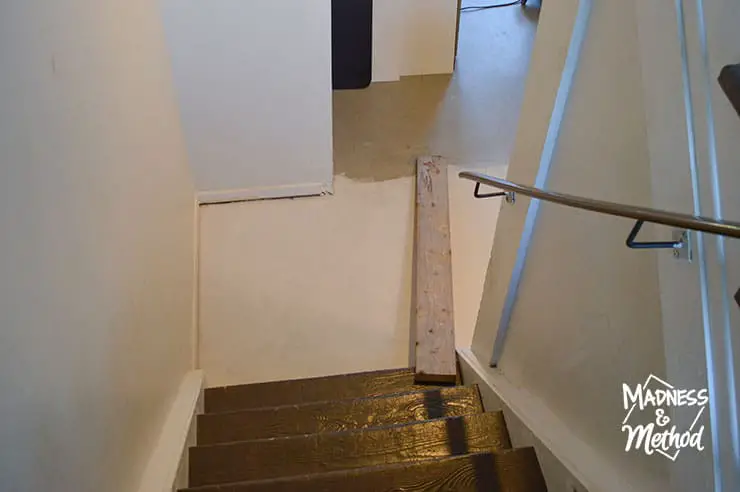
First up is the little landing area at the base of our stairs. This pattern was under the old kitchen cabinets when we took them out, so it must have been used in a few places.
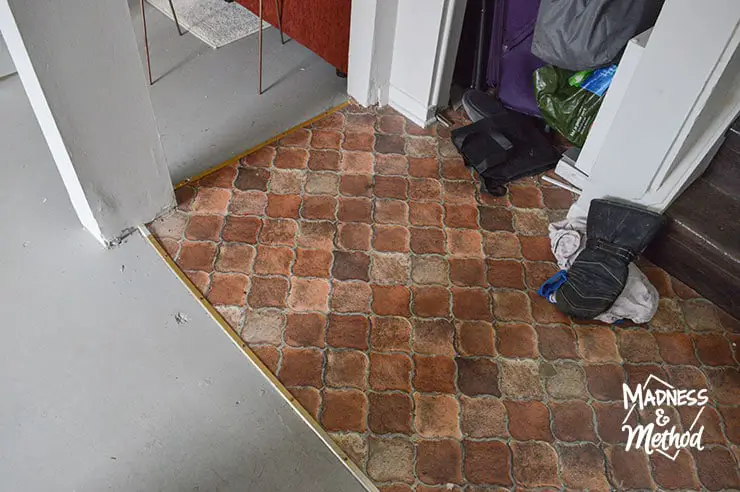
I wanted to tackle this area first because it leads to our understairs storage. Ideally, I’ll put some of our items down here, that way I can get to the rest of the basement :)
The photo above shows it a bit better. We did have some old renovation materials (that came with the house) below the steps. As well as our suitcases (that the Husband just took out and didn’t put back…grrrr). Our last house had a full crawlspace, and I’ve realized that I don’t really like bending down to access my storage, ha.
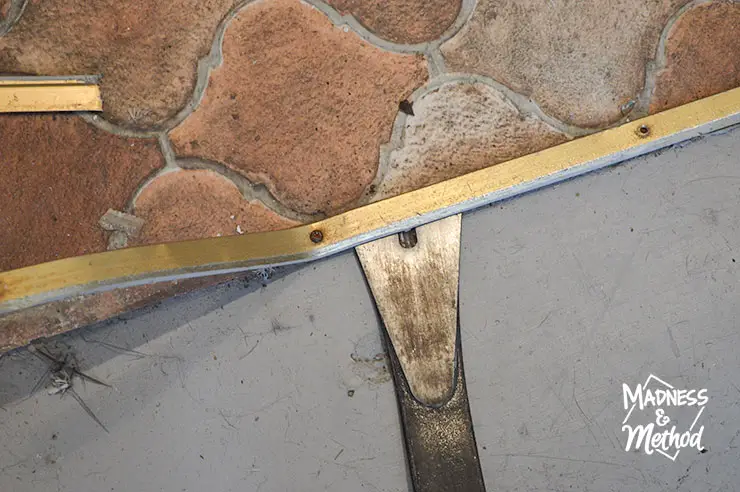
Anyways, once all the stuff was moved out of the way, I got to work taking out the metal transitions.
The old screws were anchored in, and rusted/stripped. So out the muscles came! I managed to get all the anchors out except two, but just hammered them in flush.
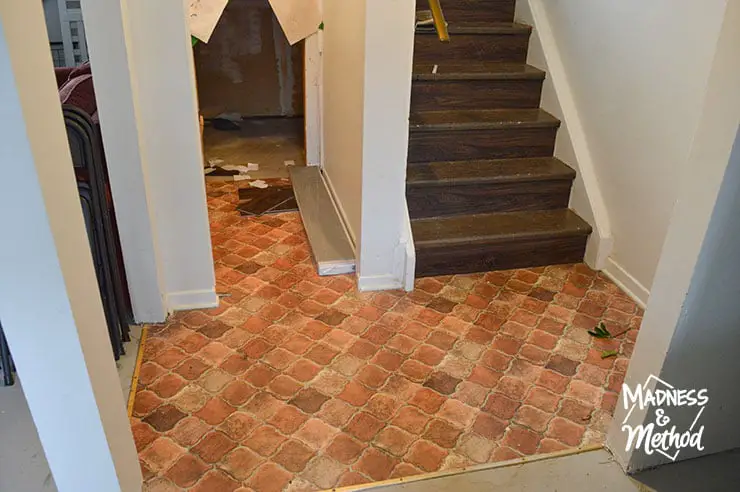
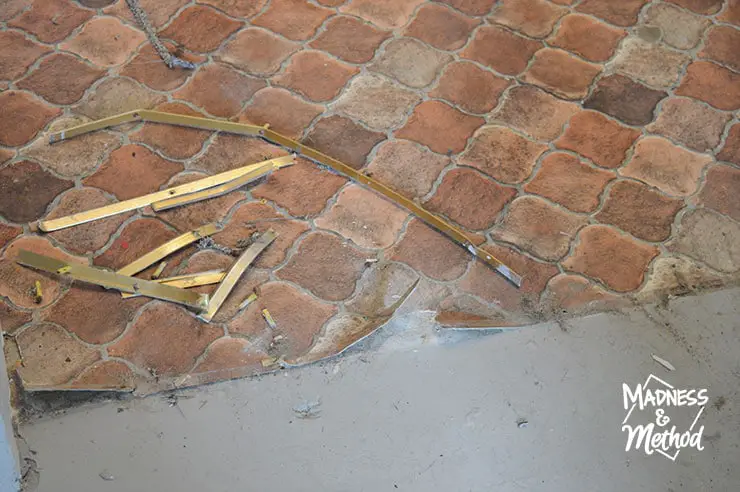
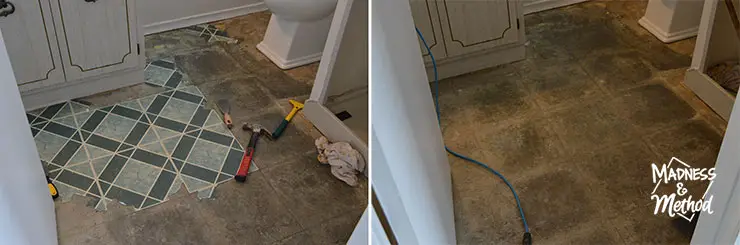
From there, I chiseled out the vinyl sheet flooring with scrapers and a hammer. I would pour boiling water in an area to loosen everything up, and remove what I could. Some of the process was shared on my Instagram Stories :)
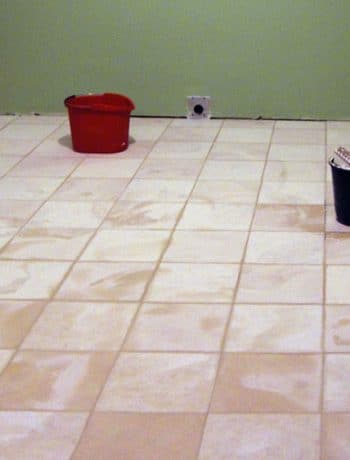
I had just a little adhesive/paper stuck afterwards, and another round of scraping and hot water cleared it up nicely.
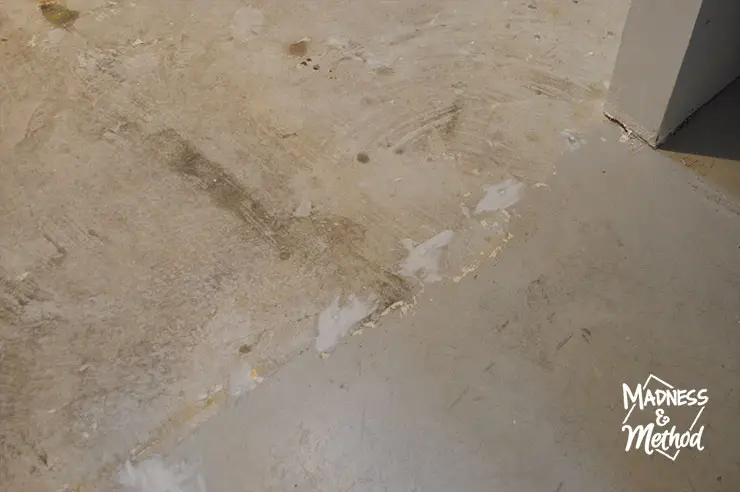
Finally, I used concrete caulk to fill in the old screw holes.
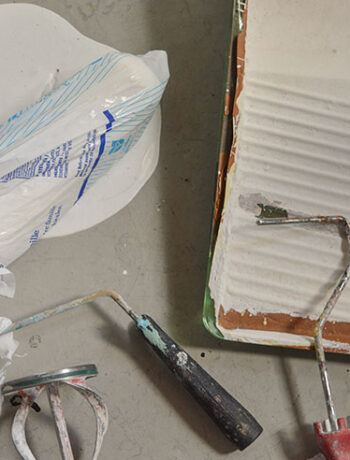
Just this morning, I did one coat of floor paint. I’d like to match the colour of the rest of the floor, but was worried we wouldn’t have enough leftover paint to do this area. So, I used another floor paint I had as the “primer”.
Removing Vinyl Tiles
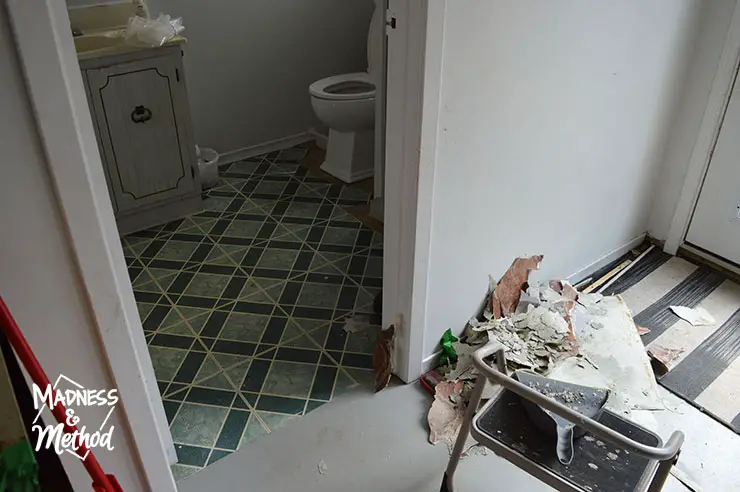
On Sunday, I thought I would take out the bathroom vinyl tiles too. I figured I’d do all the heavy floor work at once, to get the pain over with, ha.
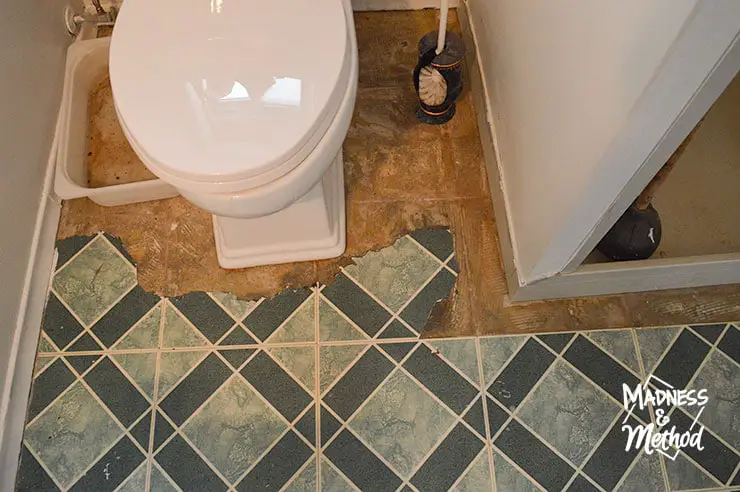
When we replaced the toilet last year, I was able to scrape out the old tiles nearby. The plan was always to paint these floors OR just wait for our bathroom renovation.
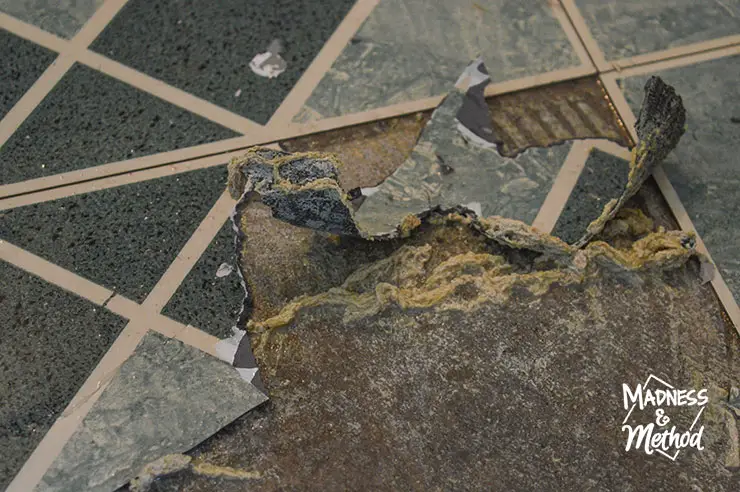
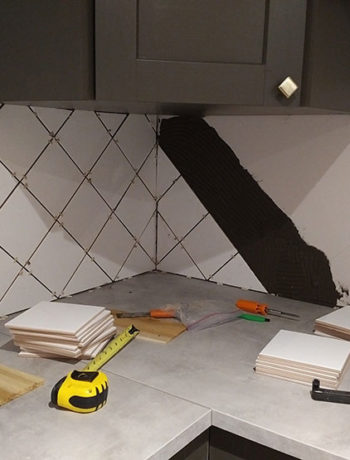
But these tiles were a different beast! I think they were asphalt backed as opposed to paper backed, and the glue was sooooo sticky. See the closeup photo above? All that yellow gunk was glue that I would try to scrape up after.
At first I tried to take up as much glue as I went, but it was so sticky. So I just worked around then kept a little spot for me to stand on so I wouldn’t stick. My mom helped remove the last few tiles because I was tired!
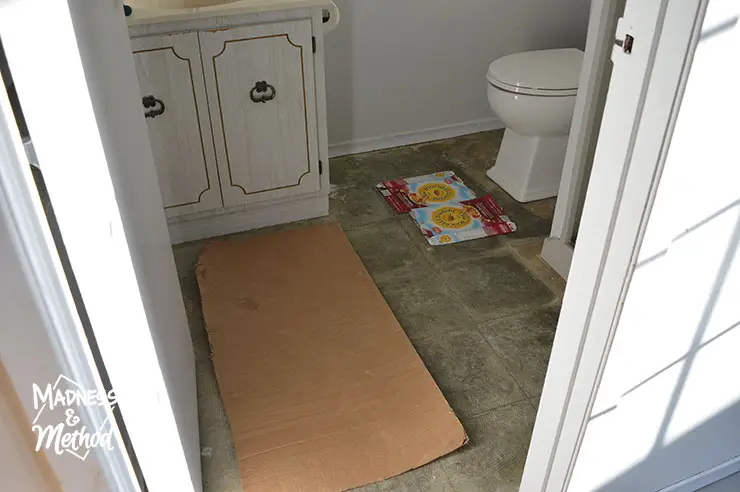
Now, because the floor is so sticky (and my mom is staying with us and using this bathroom), we put some cardboard down. Yep, we have a 5-star guest experience here :)
Today, my mom sprayed a bunch of Goof Off and scraped some adhesive off. I haven’t gone down to check the progress, but I think she said we need another round or two.
Basement As-Is (And Future Design Plans)
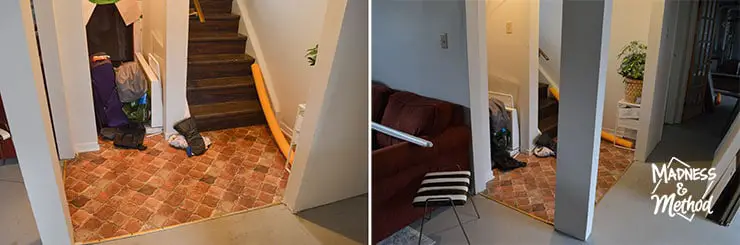
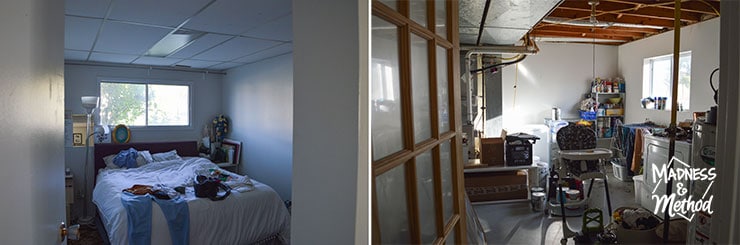
Let me share these photos of what the basement looks like now:
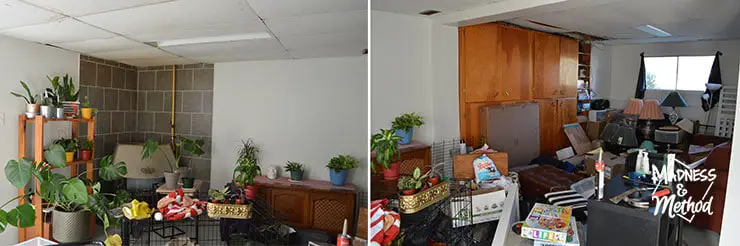
Yep, all the stuff that was in the guest bedroom and closet are now in the living room.
I’m starting to try and sell things to make room (and money), so hopefully I am successful in that!
As promised last week, here is a layout of our basement. A few months ago, I had the idea that we could completely separate the basement from the upstairs and create a 2-bedroom apartment. (This wouldn’t be our first rodeo, but our current house setup would be much easier than our first time!).

Assuming we’d leave the bedrooms and most of the layout exactly as-is, I’d turn the current laundry room into a kitchen. It has almost the same hookups (water, big electric cable) and plenty of space. The hot water tank would be moved closer to the back wall and we’d tuck it into a small closet.
While we could leave the double patio doors entry and bathroom as-is, in an ideal world, I’d add a tub. We’d have to turn the double-doors into a single, but then the hallway to the kitchen would be much wider. The old staircase would be blocked out and each unit would have their own laundry room from that space.
Alternate: Basement Design Concept
BUT then that brings me to design concept for the basement bathroom. Before I had this whole basement layout swap idea, I did have the bathroom designed to fit the layout as-is.

Essentially, we’d do a small marble tile on the floor and gray tiles up the wall (the colours are similar to the kitchen we finished). The shower would be upgraded to one with all glass walls to let more light in, and make everything look bigger. The vanity would be a Ikea Nordkisa nightstand with a vessel sink, and there would be a cool rainbow stripe ceiling/wall mural (like a call back to our rainbow bathroom upstairs!).
Honestly, I have no idea if we’ll transform the basement into an apartment. It won’t be a decision we’ll make anytime soon, and it will 100% have to do with finances and what we’ll need later. (ie: do we sell our house for money all at once, or create two apartments and rent them out for long-term lower payouts).
About the One Room Challenge
The One Room Challenge is a twice-yearly event that was started by Linda of Calling it Home. There are 20 featured designers and a bunch of linking participants that makeover a space in the 6 (or 8) week timeline.

Follow along with my basement project:
Basement Reset BEFORE (ORC Week 1)
Removing Old Vinyl Flooring (this week!)
Tentatively, my schedule looks like this:
03 Staircase and Bathroom floor paint
04 Laundry/Workout Room Cleanup/Re-organization
05 Bedroom cleanup and floor
06 Bedroom DIY headboard and walls
07 Living room painting/reorganization/feature wall sneak peek
08 Reveal
Normally, I have things a bit more organized, but this is a different project. And considering I already re-ordered my schedule once, we’ll see how it goes going forward :)
And here’s a budget breakdown for this week (since I’m aiming for a 0$ spend):
Purchased:
- Rug 28.24
- Rod Brackets 6.78
- Rug Pad 14.68
- Curtains 39.99 45.20
- Scraper/Blades 29.81 (although I used a plain scraper/trowel that worked much better…)
- Curtain Sewing 30
- Curtain Clips 28.24 (I measured incorrectly and my curtains are too short, ugh)
Total This Week: 182.95$
Sold:
Nursing Bras/Spray Paint: 30$
Found: 150$
Difference: 2.95$
And there we have it… I feel like everytime I try removing old vinyl flooring, it’s a new learning curve. If you’re tackling something similar, make sure to have hot water, some good scrapers/hammer, and lots of patience!
Again, I painted the first coat on the entry floors this morning, so it’s about 24 hours until we can walk on them. I’ll probably do the second coat in the next few days, and hopefully work on getting the rest of the glue in the bathroom off. Then I’ll have to decide how I’m going to paint the bathroom floors (maybe a fun pattern?), and eventually clear out the guest bedroom and do those floors too. (Make sure to read Week One for my whole to-do list).
Okay, wish me luck, and good luck to everyone else tackling a space this season :)

No Comments