
I always love in renovation projects when walls start going up. I mean, you’re usually nowhere near being complete (especially for a kitchen renovation), but just the fact that your starting to rebuild, rather than demolish your room(s) makes everything seem like it’s going forward! Today I’ll be sharing the process we took to get the walls installed in our kitchen, which is pretty much the basic for any sort of drywall-ing project!
– Note: This post contains affiliate links. See more information about affiliates here. –
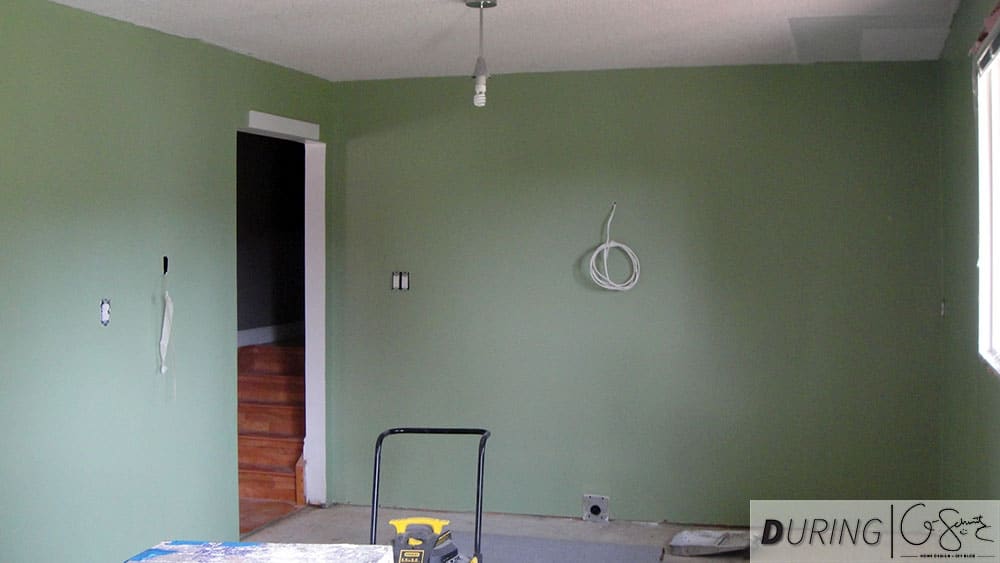
Now, for our kitchen remodel, we had to move a few electrical outlets over to different areas. If you look back at Deciding to Renovate the Kitchen, and scroll down to the second last photo, you’ll notice some little pink stickys (aka post-its) labelled with the new locations for the electrical stuff. Basically, we were moving the outlet that was to the left of the sink all the way to the corner (where the pantry used to be) and we were moving the light switch to the west wall, at the actual entrance of the kitchen (and not tucked into a little hole). We also had to move the oven outlet and put in a new regular outlet for the exhaust fan.
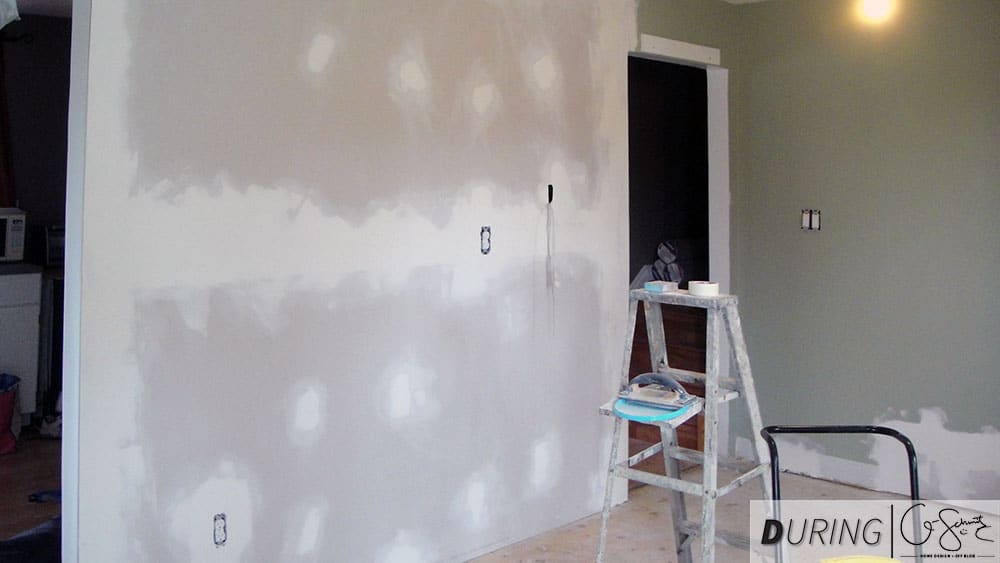
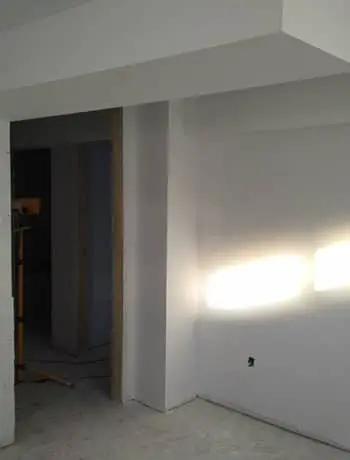
So magically of course, the Husband and his helper friends got all that done and I was able to go in and put some drywall sheets up. DIY/PRO TIP: When you’re installing drywall, it’s always best to remove all the old drywall, and just install new (full) sheets. However – for our kitchen (as you’ll see in the photo above) we cheated and used random patches to fill in the holes we took out. Why you ask? Well, we knew that the cabinets would be covering 75% of the wall space here, so it didn’t matter if the walls weren’t perfectly smooth, and we also knew that we would be installing a tile backsplash, covering pretty much the rest of the space.

It’s probably a lot more time consuming to measure out and cut all the little pieces and then patch all the spots; but I was being cost-effective by reusing small pieces we had kept from other projects (and knowing that perfection didn’t matter here). I then went around all the drywall and patched up the seams, then sanded, then re-patched any uneven spots, and sanded again. I actually almost never use the actual drywall sanding tool and prefer to use just a small sanding sponge block. Ok, I know I said perfection didn’t matter, but I like my little block because I can get a much smoother finish and get into smaller areas.
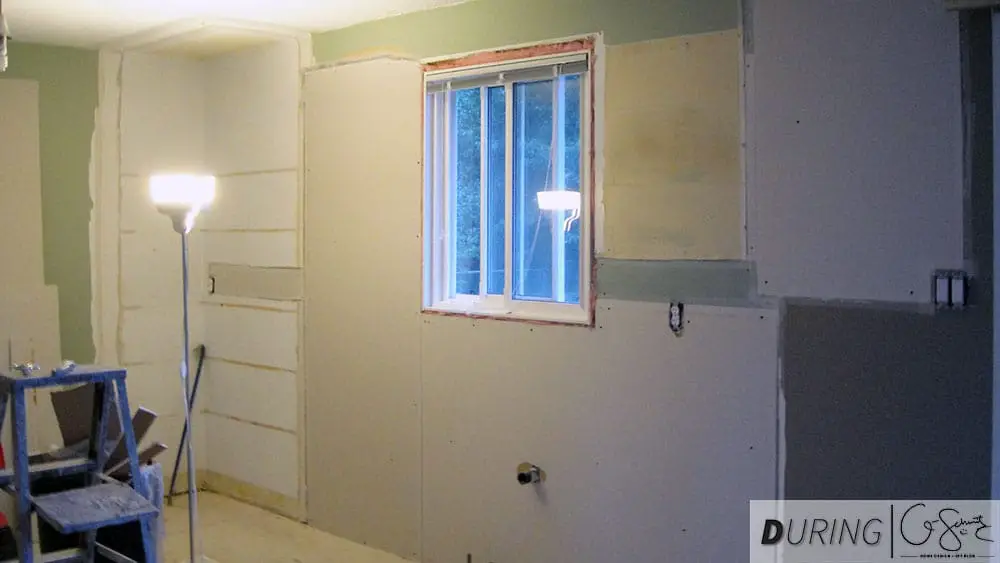
For the south wall, we had removed all of the drywall (on the kitchen side) because of the residue left behind from the vinyl glued tiles (read about the demolition here) and so we put up two (almost full) sheets of drywall. Design Change! We actually decided somewhere in between the demolition and the electrical updates to leave the fridge in it’s original location; rather than have it in between the coffee station and the new pantry, or to the right of the pantry (see the original layout ideas 2 + 3 here).
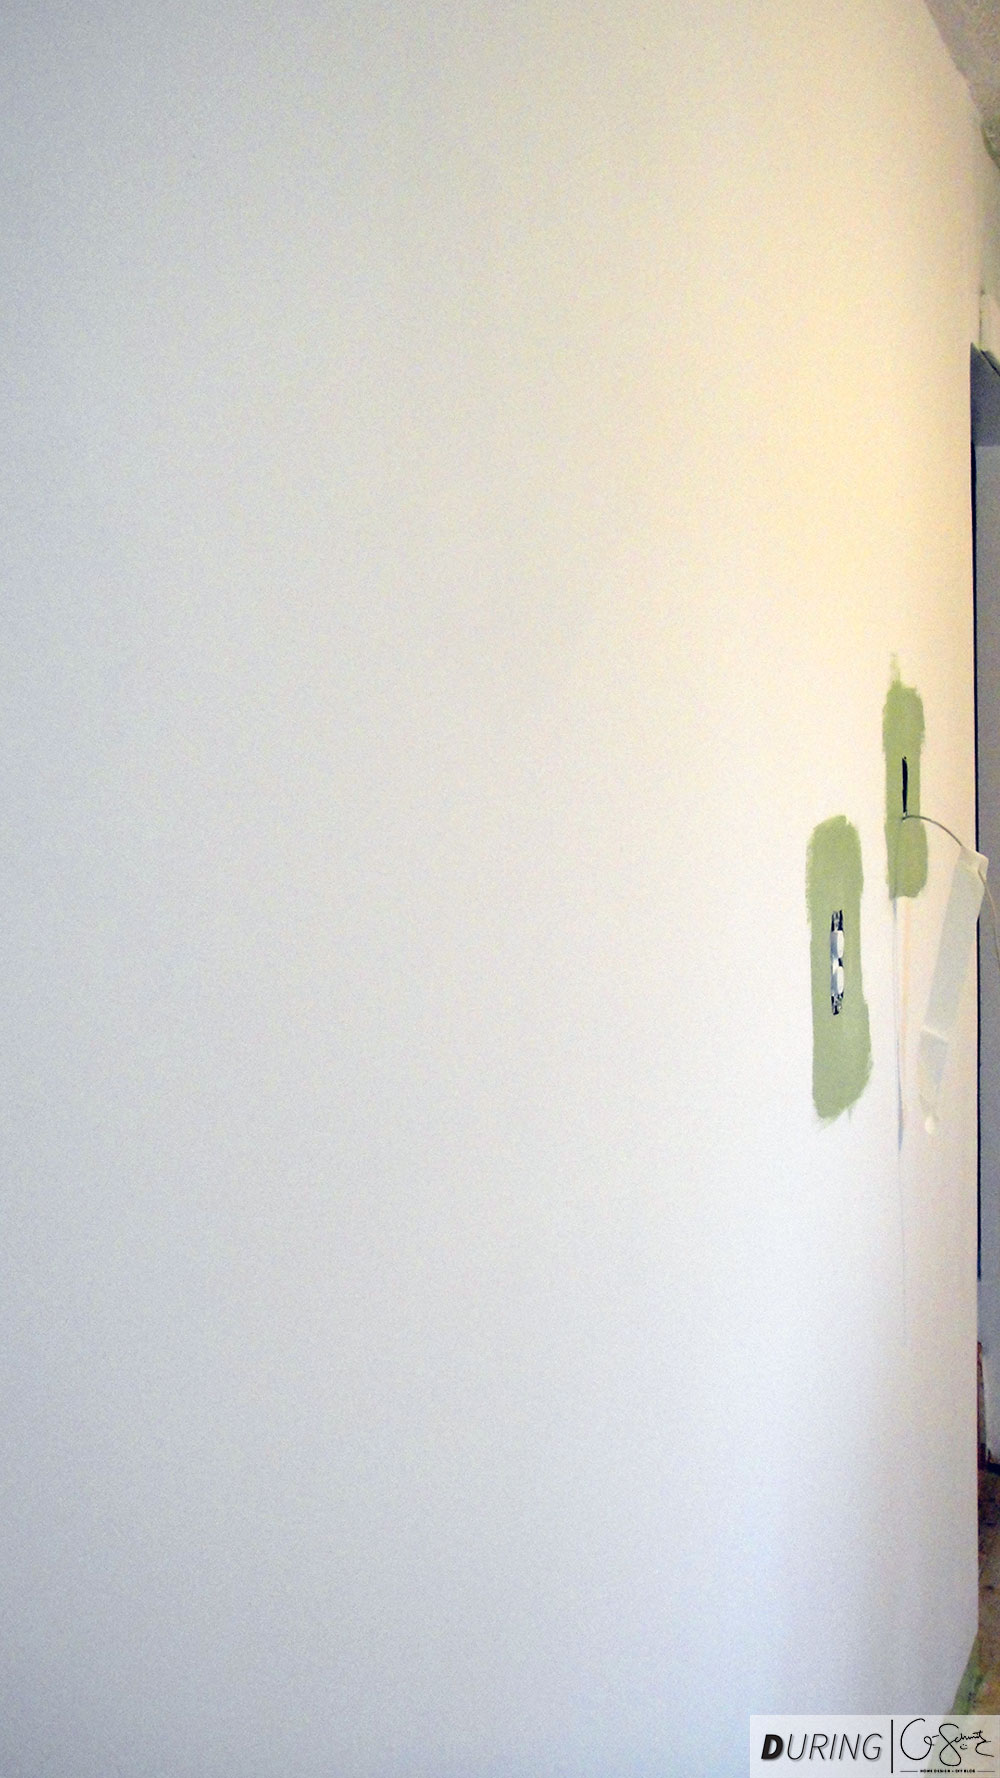
Once all the walls were smooth to my satisfaction, we put up a thick coat of primer and waited for it to dry. Isn’t waiting the hardest part?! I mean, first I had to wait a day or so in between patching and sanding, then another day or two after the second coat, then priming and waiting, then again waiting for the paint to dry! It worked out for us since we were both working full-time throughout the entire renovation, so of course we tried to time things so that we could work on them in the evenings, early mornings or weekends; but who knows how the professionals do it, I guess it must take them lots of waiting time too?
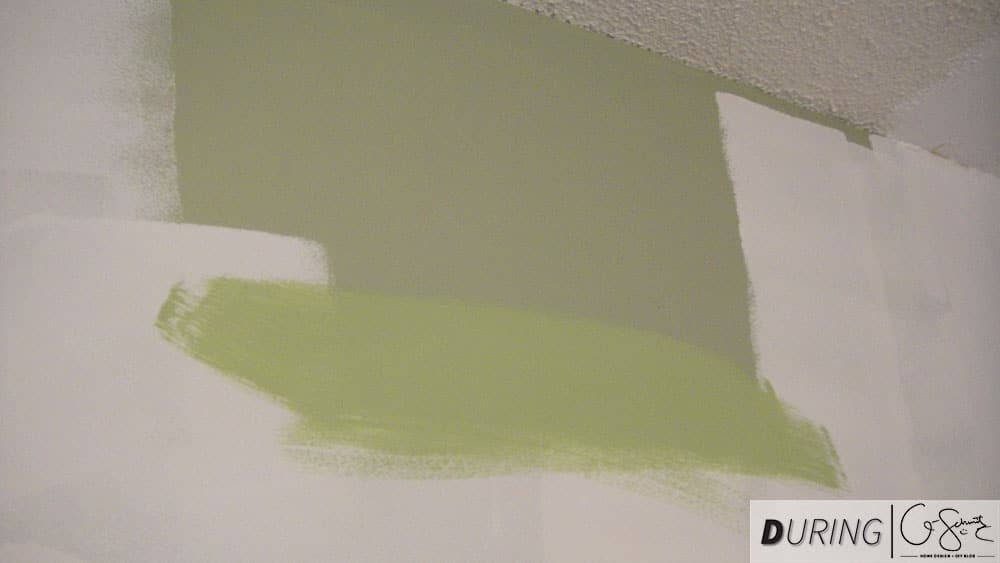
Anyways, once we were finally able to paint the walls, I had an “ohhhh” moment. I realized that the colour I had chosen for our new kitchen was almost exactly the same colour as the kitchen had been before (the colour we painted right away when we moved in). To which my Husband said, “wait, our kitchen was green before?” (wait, what? how did you not notice that?) and then told me that he didn’t like the green. Well too bad! I for some reason have some sort of weird fetish for green kitchens (future design hint: I am also thinking of doing a nice green apple/lime as the accent colour in our forever kitchen). Remember the Renovation Inspiration Post? Well, for those who are wondering, we went with Rona’s Eco Paint in “Lichen”.
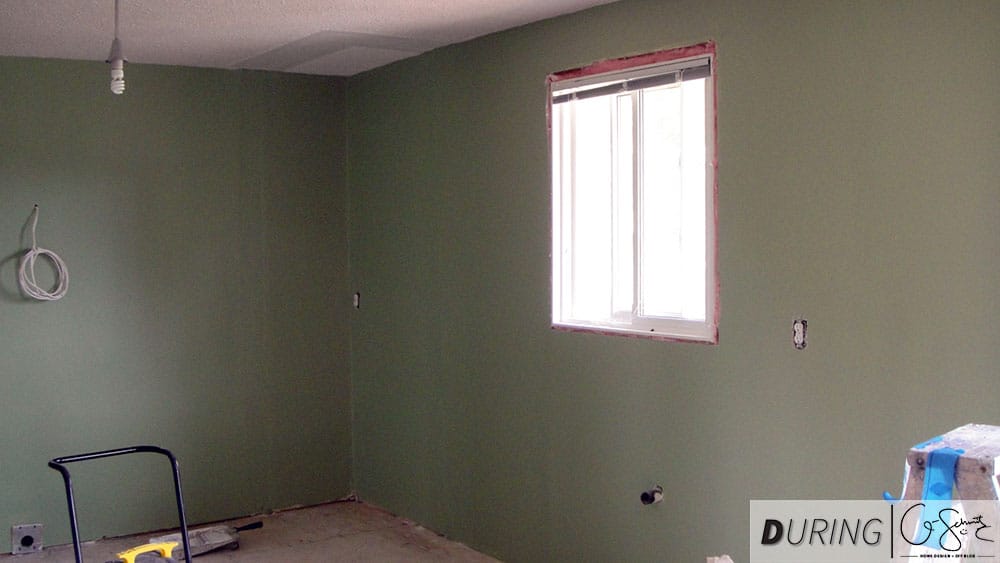
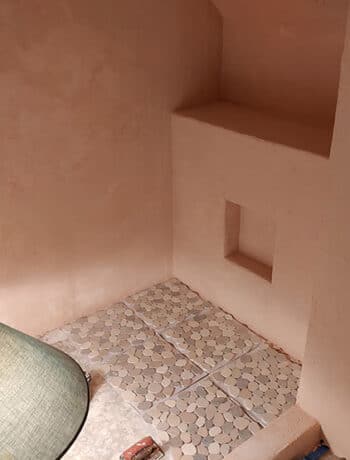
So fast forward to a coat and a half of paint later (did I mentioned that I love Rona’s paint coverage, one coat is almost perfect in most areas, and I just do a few touch ups here and there afterwards to spots that need it), and we have ourselves a lovely green room (unless you ask the Husband, who apparently doesn’t like this colour). Now, you can probably notice from the above photo that there is still some uneven areas where the old pantry walls used to be, well don’t you fret because of course that will all be covered by cabinets and backsplash tiles in no time.
What’s the next step after finishing the walls, and before installing the cabinets? The floors! DIY/PRO TIP: I think it’s always easiest to do the walls first, that way you don’t have to worry about covering up new floors when you’re splashing around your paint and getting drywall dust everywhere. Next week, we tile – so be sure to come back and read about that!
No Comments