
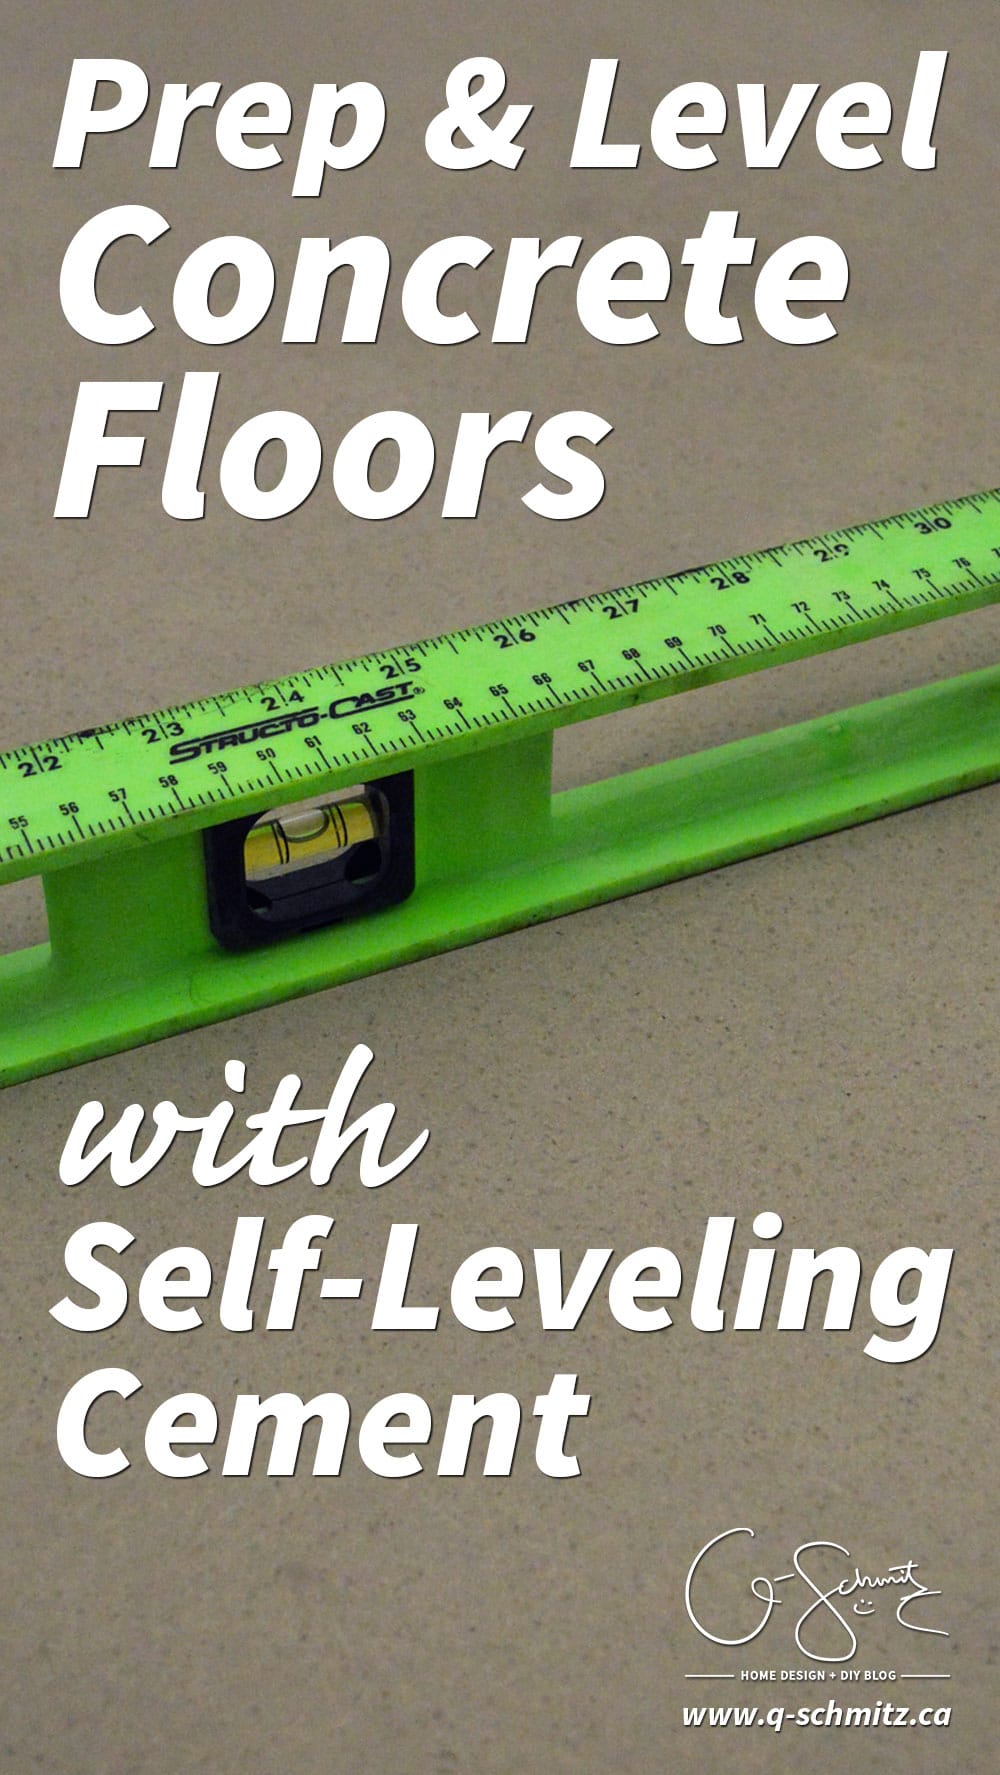
While we covered most of the big stuff for our basement half bathroom renovation during the six-week One Room Challenge posts, there were a few smaller details that I casually mentioned in passing. For example, last week I shared how I was able to customize all the accessories using paint; and today I’ll be explaining how we levelled the floors in preparation for tiling. If you’ve ever worked with some uneven flooring surfaces (or are planning to), then you’ll definitely need to know how to prep and level concrete floors!
– Note: This post contains affiliate links. See more information about affiliates here –
If you’re going to be attempting this same DIY, please note there are some tools you may need:
- Large level (we use a 48″)
- Self-Leveling Cement
- Self-Leveling Cement Primer
- Bucket
- Drill
- Mixer attachment
- Trowel or float
- Marker, tape, foam roller, water etc.
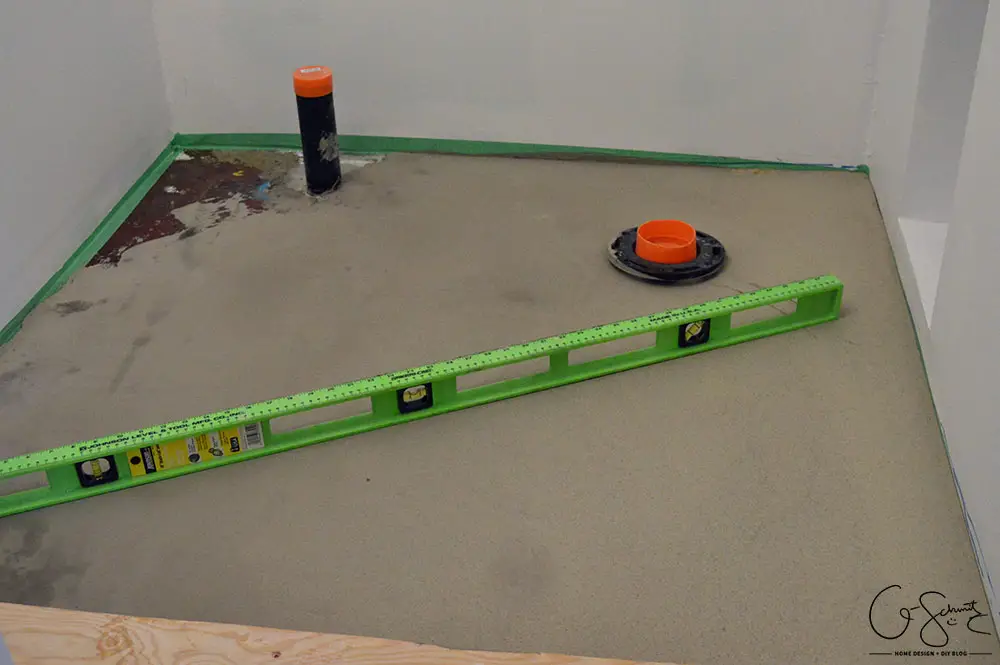
First thing, you’ll want to use your large level to mark a line across the walls and see where the dips in the floor are. We knew the back right corner (behind where the toilet would be going) was a low spot, and that’s where we had to concentrate our efforts.
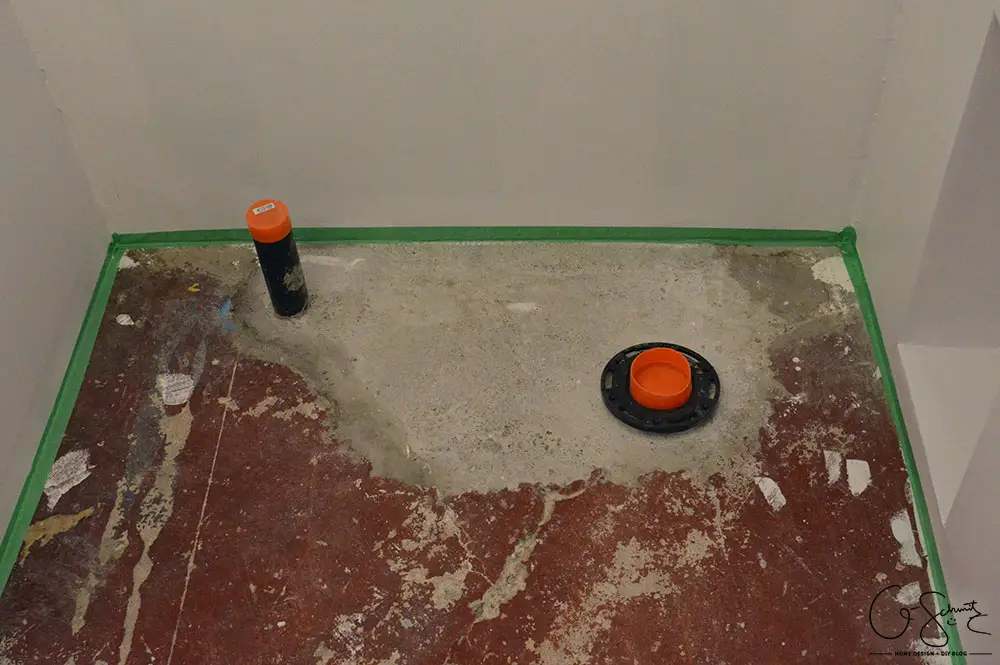
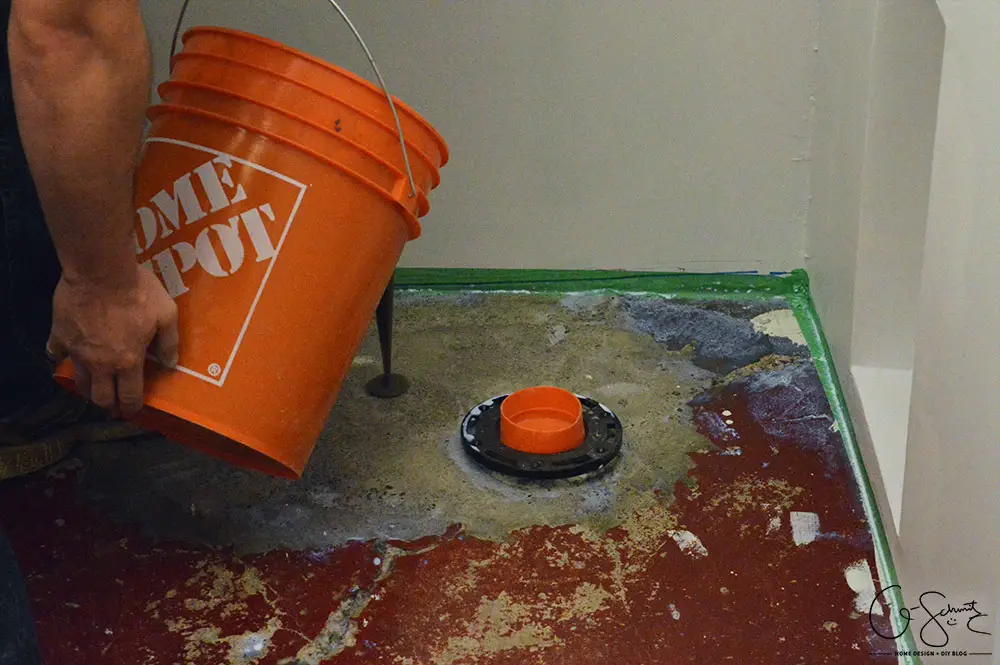
It’s also nice to have some tape on hand to seal any seams between the walls and the floors. I read a few tutorials online before we attempted this project, and none of them really mentioned how to stop the self-leveling cement from pouring out of your room.
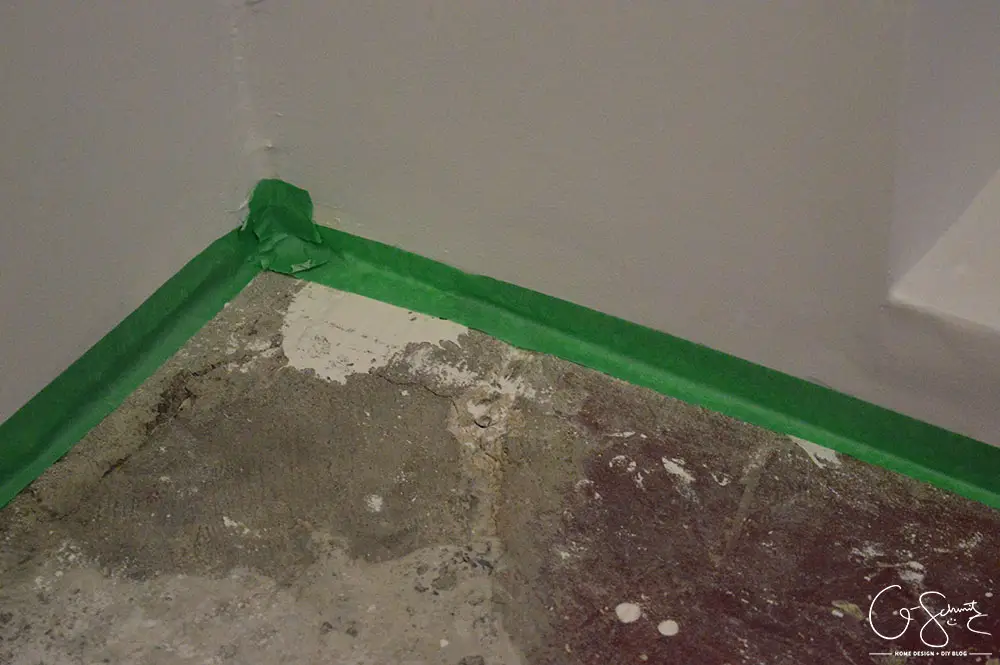
Yep, I just put some painter’s tape along the bottoms of the walls and made sure it was stuck on tight. You’ll want to make sure your room is properly dusted and vacuumed so there is no residue or dust on the floor.
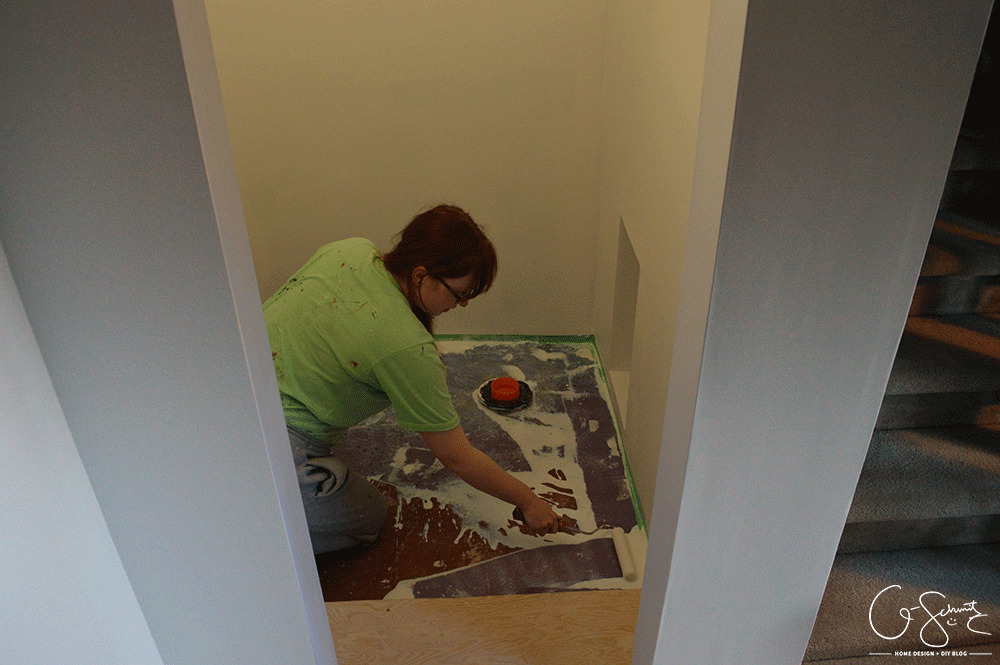
The self-leveling cement has its own required primer, so I just used a foam roller and rolled a bunch on (we poured from the bottle directly on the floor). Just follow the instructions on the bottle (I think it was a 30-60 minute wait time for it to set up). And yes, this is my designated “DIY/work” outfit – aka some sweatpants and an old t-shirt covered in paint (still fits fine even with my big pregnant belly!). The Husband was real excited when I told him he could take a picture of me working haha!
Maybe this photo also helps give a scale to the room – very small!
I tried to spread the primer across the floor evenly, and went back on a few areas that were dipped lower. The primer definitely absorbed differently in the raw concrete vs. the painted red sections (we had no idea what type of paint it was or when it was done).
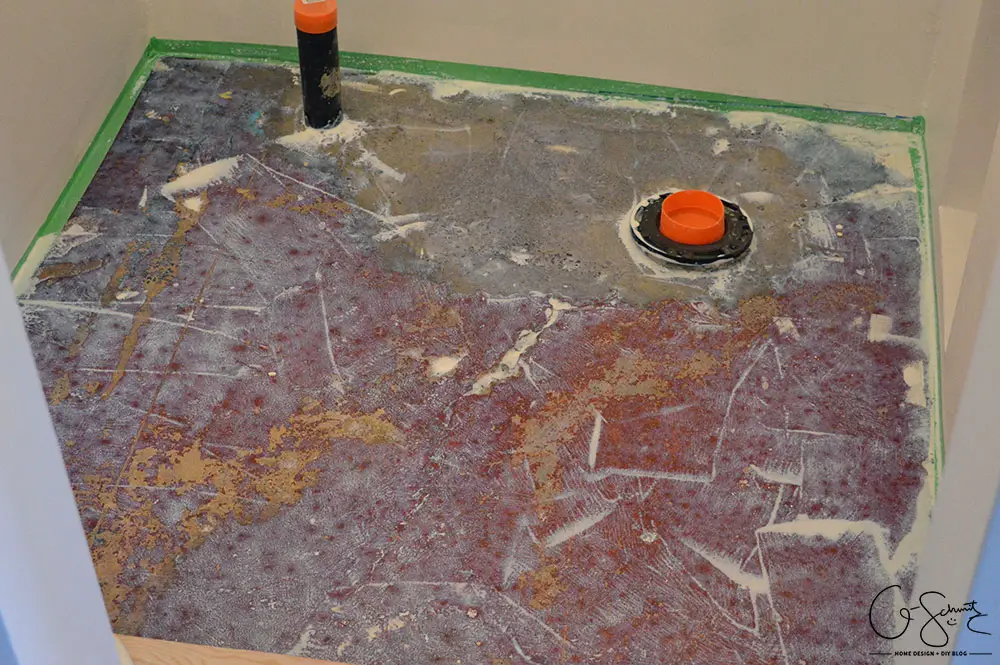
Once the primer had set for the proper amount of time, we mixed one bag of the self-leveling cement (using the instructions provided) in a bucket with a drill and mixer attachment. Because our room was so small (about 20-25 square feet max), we decided to only use one bag of the mix.
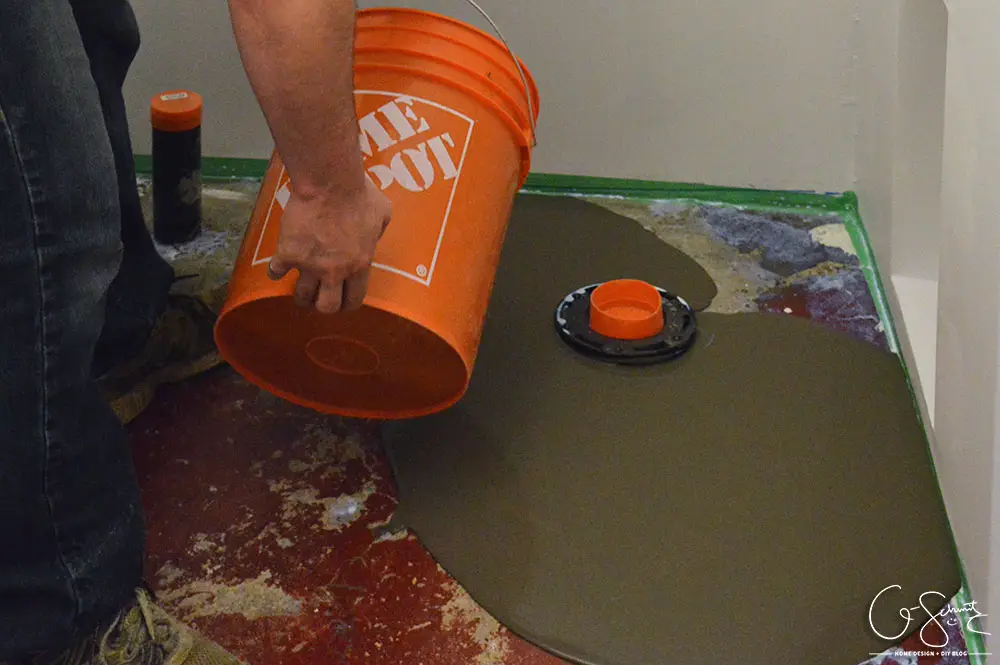
It basically does all the work for you, which is what I figured since it’s “self-leveling” and all. The brand we purchased can go from a thin 1/8″ up to I believe either 1″or 1.5″ thick. And I do think we went the full 1″ in that back right corner!
I did use a float in the thinner sections, just to help spread the cement and so I could get a smooth transition from the areas that the self-leveling cement didn’t cover. We knew the back left corner would be hidden by the custom vanity, so we didn’t fuss too much with it there.
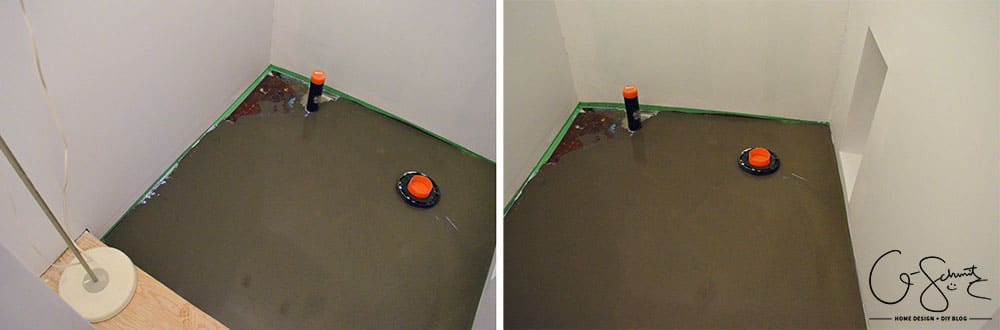
Also, if you look at our original marker line (the blue one along the back wall on top of the tape), you’ll notice that we would have had to apply more self-leveling cement to get the entire room completely level. However, 3 out of 4 walls were perfect, and the diagonal from the corner was level as well – so we considered it a success! (Note: the tape was just put on willy-nilly, so yes, there are some areas that seem un-level if you look at the tape!).
I waited a full 24+ hours before I walked on the floor, even though the bag says that you can wait less time.
After dealing with “real” concrete in both the first week of the bathroom remodel, and for other outdoor projects, I can tell you that this self-leveling cement WAS SO EASY TO USE. It turns out really smooth, and was the perfect base for our tiled floors. I honestly wish all concrete was this easy to deal with, so if you’re worried that having level concrete floors will be a big fuss to get – I urge you to try out this product.
Now remember of course, our room was very small and we only needed one bag – but I don’t think mixing another bag and applying it in a larger area would be that much different, as long as you properly prep the floors and plan the course of action! (AKA making sure they are clean, sealing any edges and marking where your low spots are).
Let me know if you have any bumpy concrete floors you need to level, and/or if you’ve already tried this product (or something similar) and wanted to share your opinion.
Thanks for visiting, see you again soon :)

6 Comments
Kelly
May 26, 2016 at 11:54 amOh man, I am so glad to read this! Our concrete floor is a mess, super bumpy where the underground plumbing went in and got patched back kind of poorly, and the existing floor is not level either. We actually already bought a patching/finishing compound product and were planning to try to level it ourselves, because my husband is worried about the self-leveling concrete flowing out the doorway into the living room. But after reading this and sharing it with him, I think we’re convinced that it is worth a shot! I think we would have been doing it the hard way for sure trying to float/screed it to level ourselves. And after our shower pan experience, I’m ok with a product that will do the work for us! We’re going to return the patching compound and try your method. Thanks for sharing!
Nicole
May 26, 2016 at 1:34 pmNo problem! As long as your room doesn’t slope towards the doorway already, you shouldn’t have an issue with it pouring out of the room (but I would check with a level just to make sure). From what I read online about the self-levelling mixes, as long as you get the multiple bags mixed and poured in a reasonable amount of time within each other, they should evenly distribute together. But seriously – super easy to have it just level itself :)
jody
July 20, 2016 at 12:38 amHello,
I would like to level my living room floor becuase I want to acid wash/paint the concrete floor. Would self-leveling concrete work with acid washing/painting like a normal cement would react? And how can I make sure everything is leveled when the living room is big? I have called for estimates and they are so expensive! I would appreciate any tips you could give in steps of on how to level a 450 sq. ft. living room damaged concrete floor.
Nicole
July 20, 2016 at 9:35 amHello Jody and thanks for visiting! While I have experience with both regular concrete and the self-leveller, I am not an expert (so my advice may not be 100% correct). First, when working with a large space you might want to consider getting the self-leveller that is a normal dry time (we used the rapid set version); that way you have more time to work with the product. You will need a lot of bags, and it would be best to have a few helpers with you as you pour everything. If it’s all poured at around the same time and hasn’t had time to harden, the room should be levelled correctly. If at any point an area starts to harden, you may have to wait for it to fully cure before you continue with the rest of the bags.
I’m not sure how it would react to the acid washing compared to normal concrete. You have a couple of options, 1) you could do a small test with a bit of the self-leveller in a different area (aka not on the living room floor) and see how it reacts and if you like the look. 2) You could make sure the entire living room surface is covered with the self-leveller and there is no normal concrete showing; that way if there is a difference between the two, you wouldn’t get any big patches.
Either way, make sure to mark your low areas and start in those sections and work your way out when you are pouring the self-leveller. Again, if you don’t have time to level the entire surface in one go, you should wait for it to fully cure before doing another layer. Good luck :)
REGINA SMITH
December 10, 2020 at 9:42 pmCould you use this to level kitchen counters or do you have a better idea thanks
Nicole
December 11, 2020 at 11:20 amHello Regina! Not sure what kind of counters you have, but yes, you could technically use the self-leveller for counters. You’d have to block off the edges so that it doesn’t pour down the sides and plan for a mess on the floor anyways. I don’t know how “food safe” this product is, but I’m guessing you could use a clear sealer on top – assuming you’re going for the concrete countertop look?
Conversely, you could also purchase a resurfacing product (like Ardex Feather Finish) if you want the concrete look. It’s a bit thicker to work with, so you have more control. I’ve never used it, so I can’t speak directly to it – but there should be a lot of other resources online.
So I guess the question is, are you looking to level your counters, or are you just looking for them to look like concrete?