
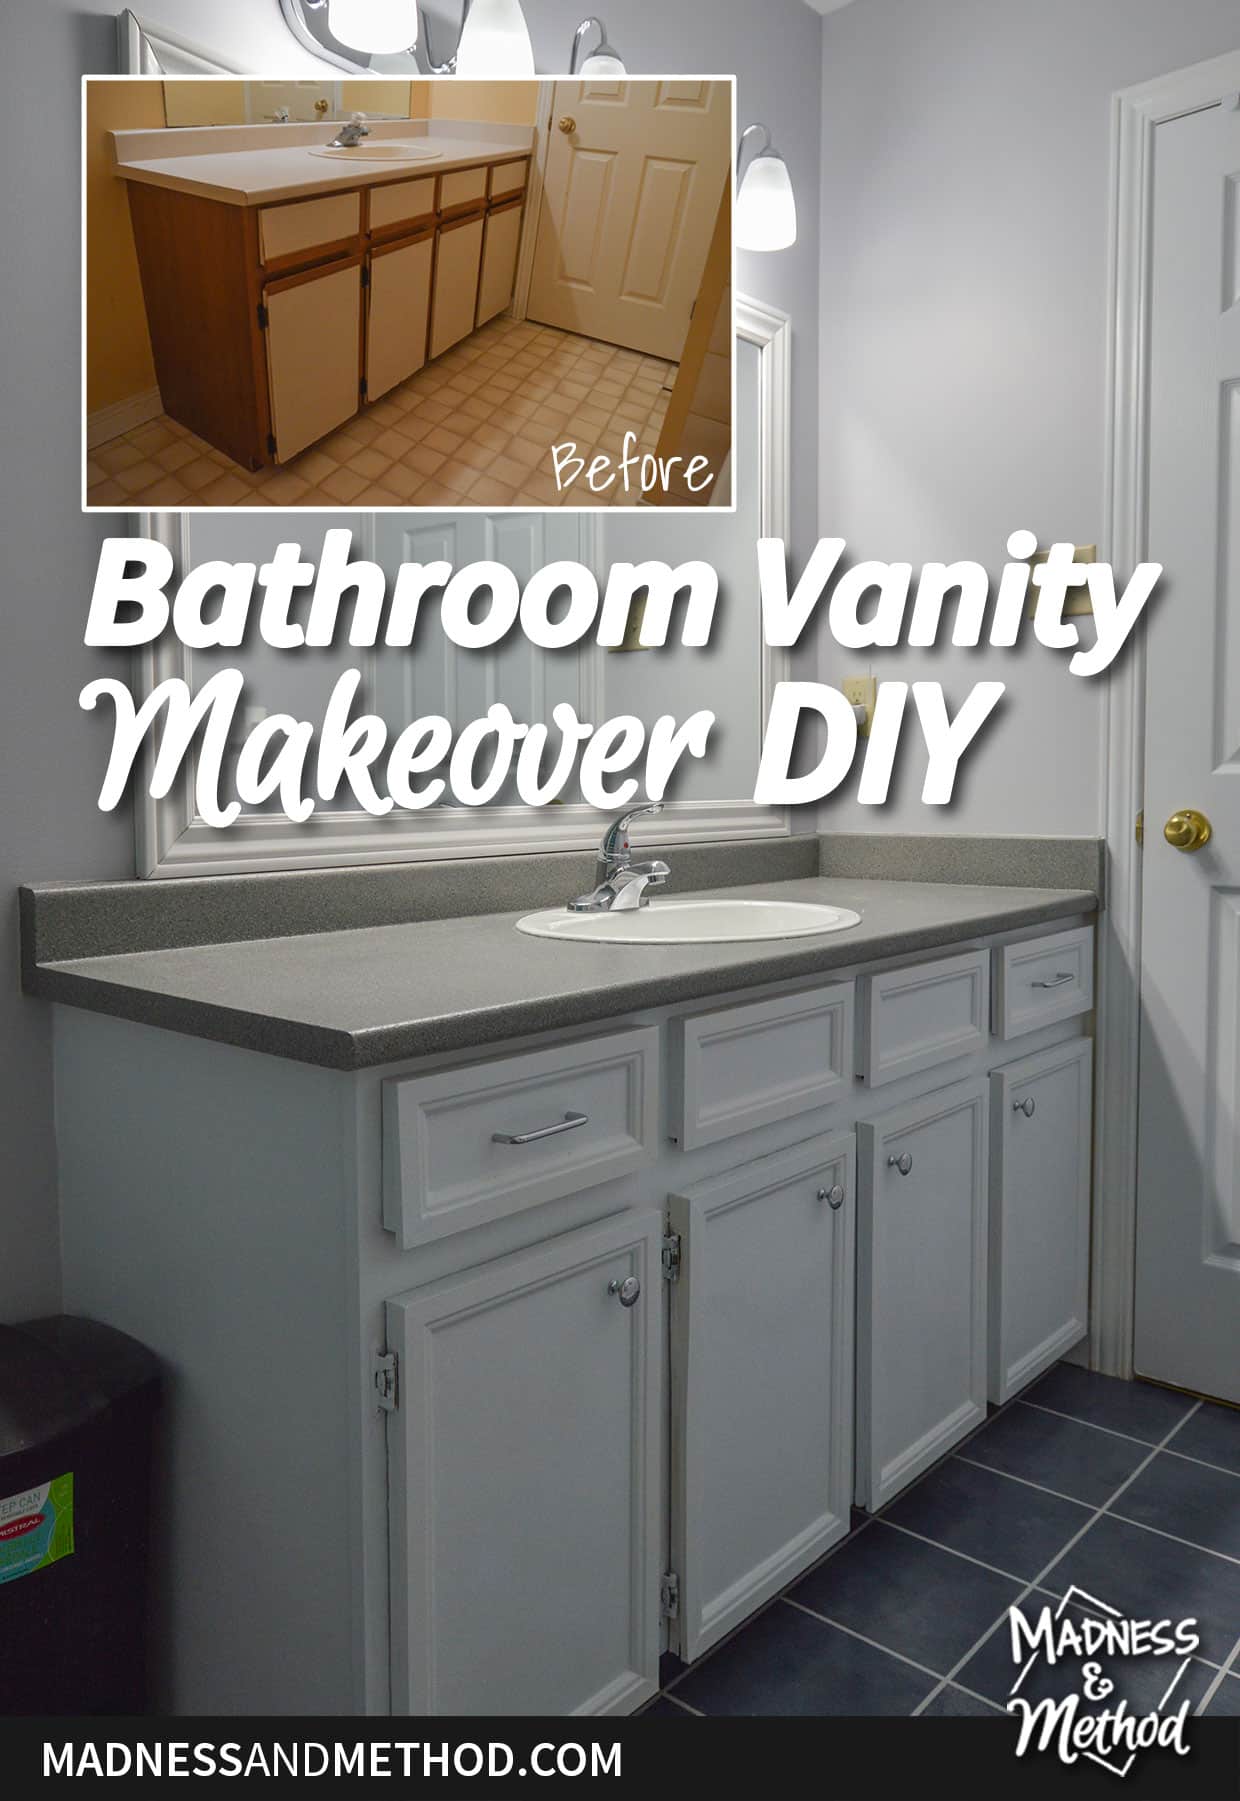
Can you paint an outdated vanity and completely update its look with a few extra pieces of trim? This bathroom vanity makeover DIY shows that you can! You won’t believe what this vanity used to look like… I can guarantee you’ve seen these type of cabinets before too. Why replace when you can refresh!?
It’s week 6 of the Spring 2023 One Room Challenge! For this round, I’ve been sharing my brother’s bathroom renovation and things are starting to wrap up. If you missed any of this project, check out these links: beige bathroom intro, painted floors, toilet installation, tub and tile paint, and building a mirror frame. Let’s get to the vanity, shall we!
I was able to finish most of this vanity project the first time I visited my brother. Minus the handles, because the default screws they come with were both too short (pulls), and too long (knobs). Not having handles didn’t affect how this vanity worked, so I just waited until I came back since I had extra hardware bolts at home.
Either way, most of this project was completed in just a few days :)
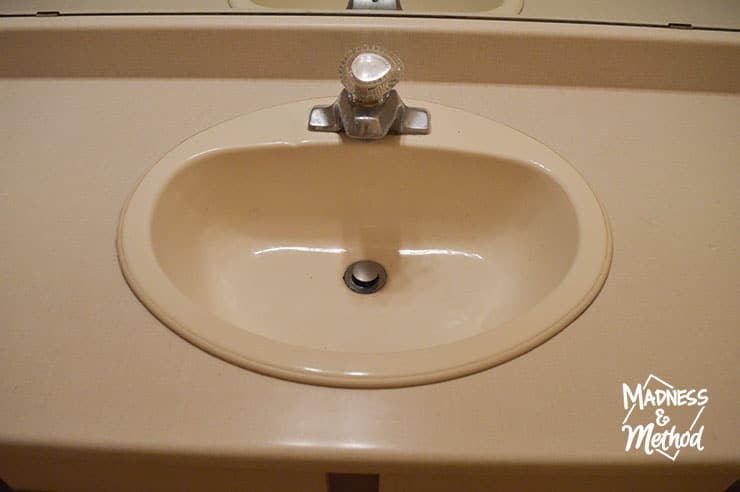
Like the rest of the bathroom, this vanity was beige on beige. The sink was beige (almond?), there was an older faucet, and the counters matched.
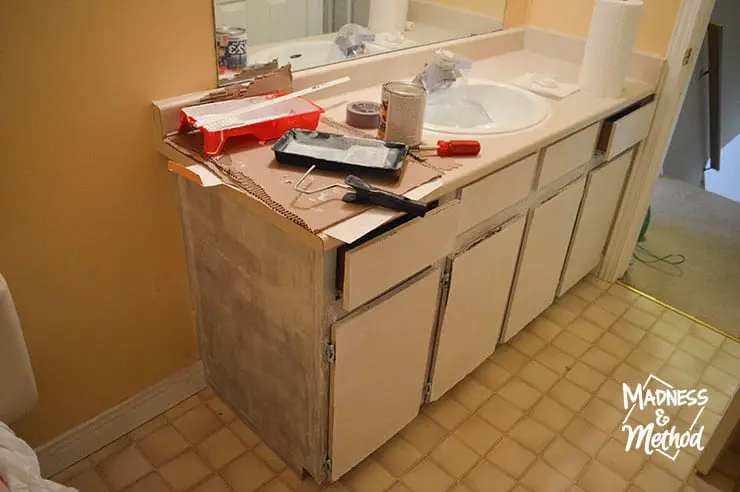
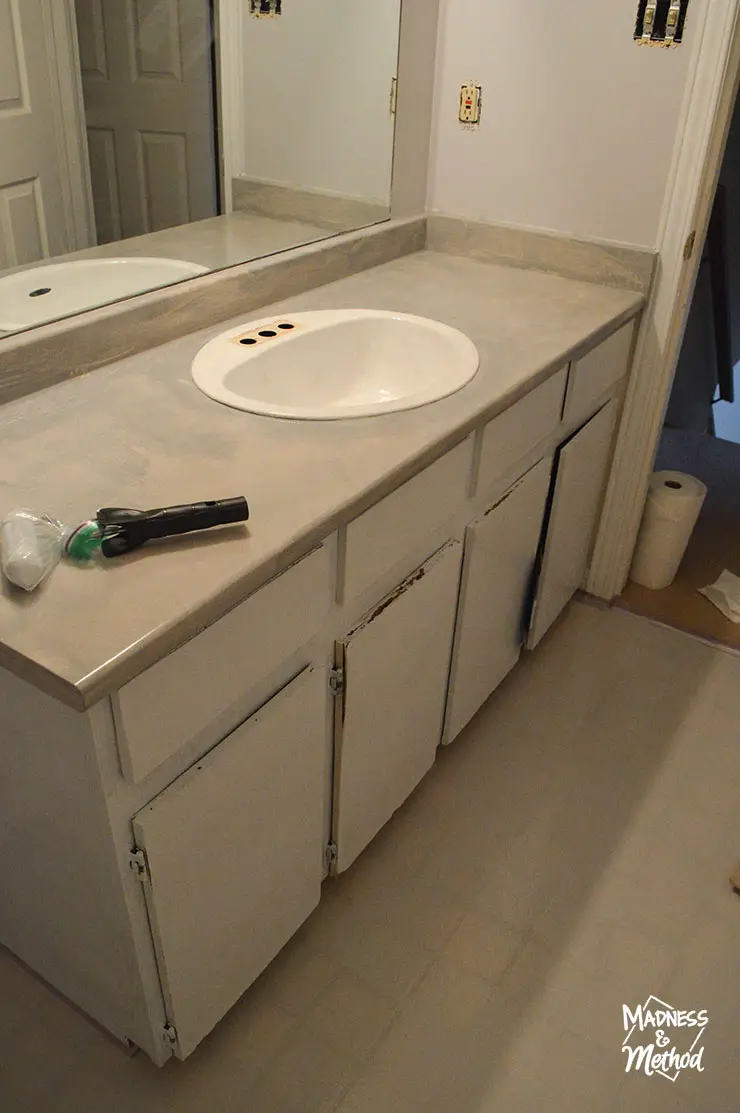
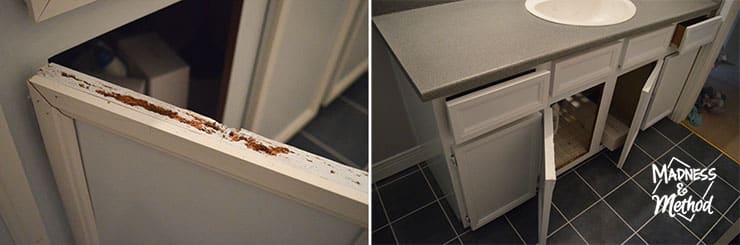
I always think of this style of vanity as 80s cabinets. Off-white melamine doors with a medium-wood tone “handle” at the top or bottom. The photo above is after removing the wood parts, with a coat of primer. I have a video embedded below that shows the whole makeover, or you can watch it on YouTube here.
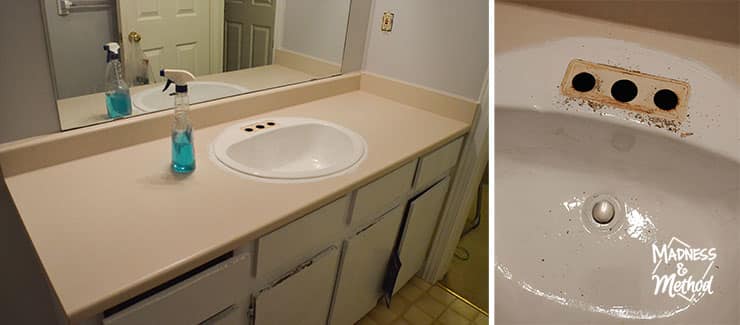
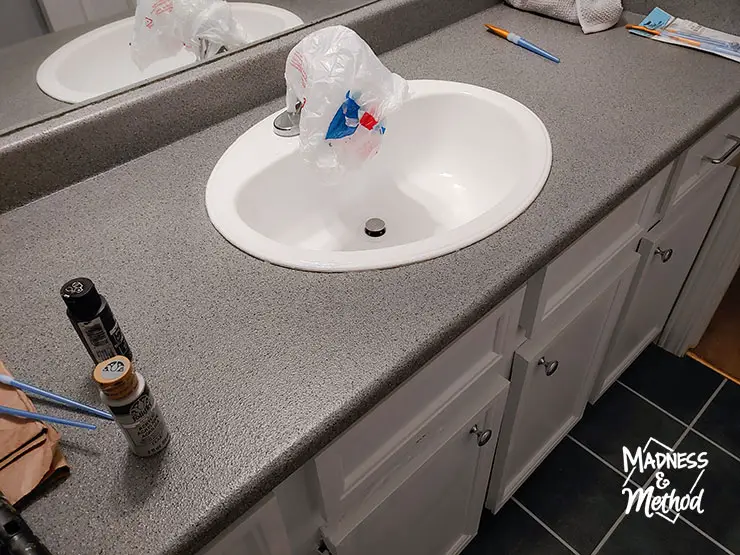
The sink was painted when I did the tub and tiles, but the faucet was still attached. It had a slow drip, so we removed it before I did the second round of paint. (ie: when we removed the old toilet).
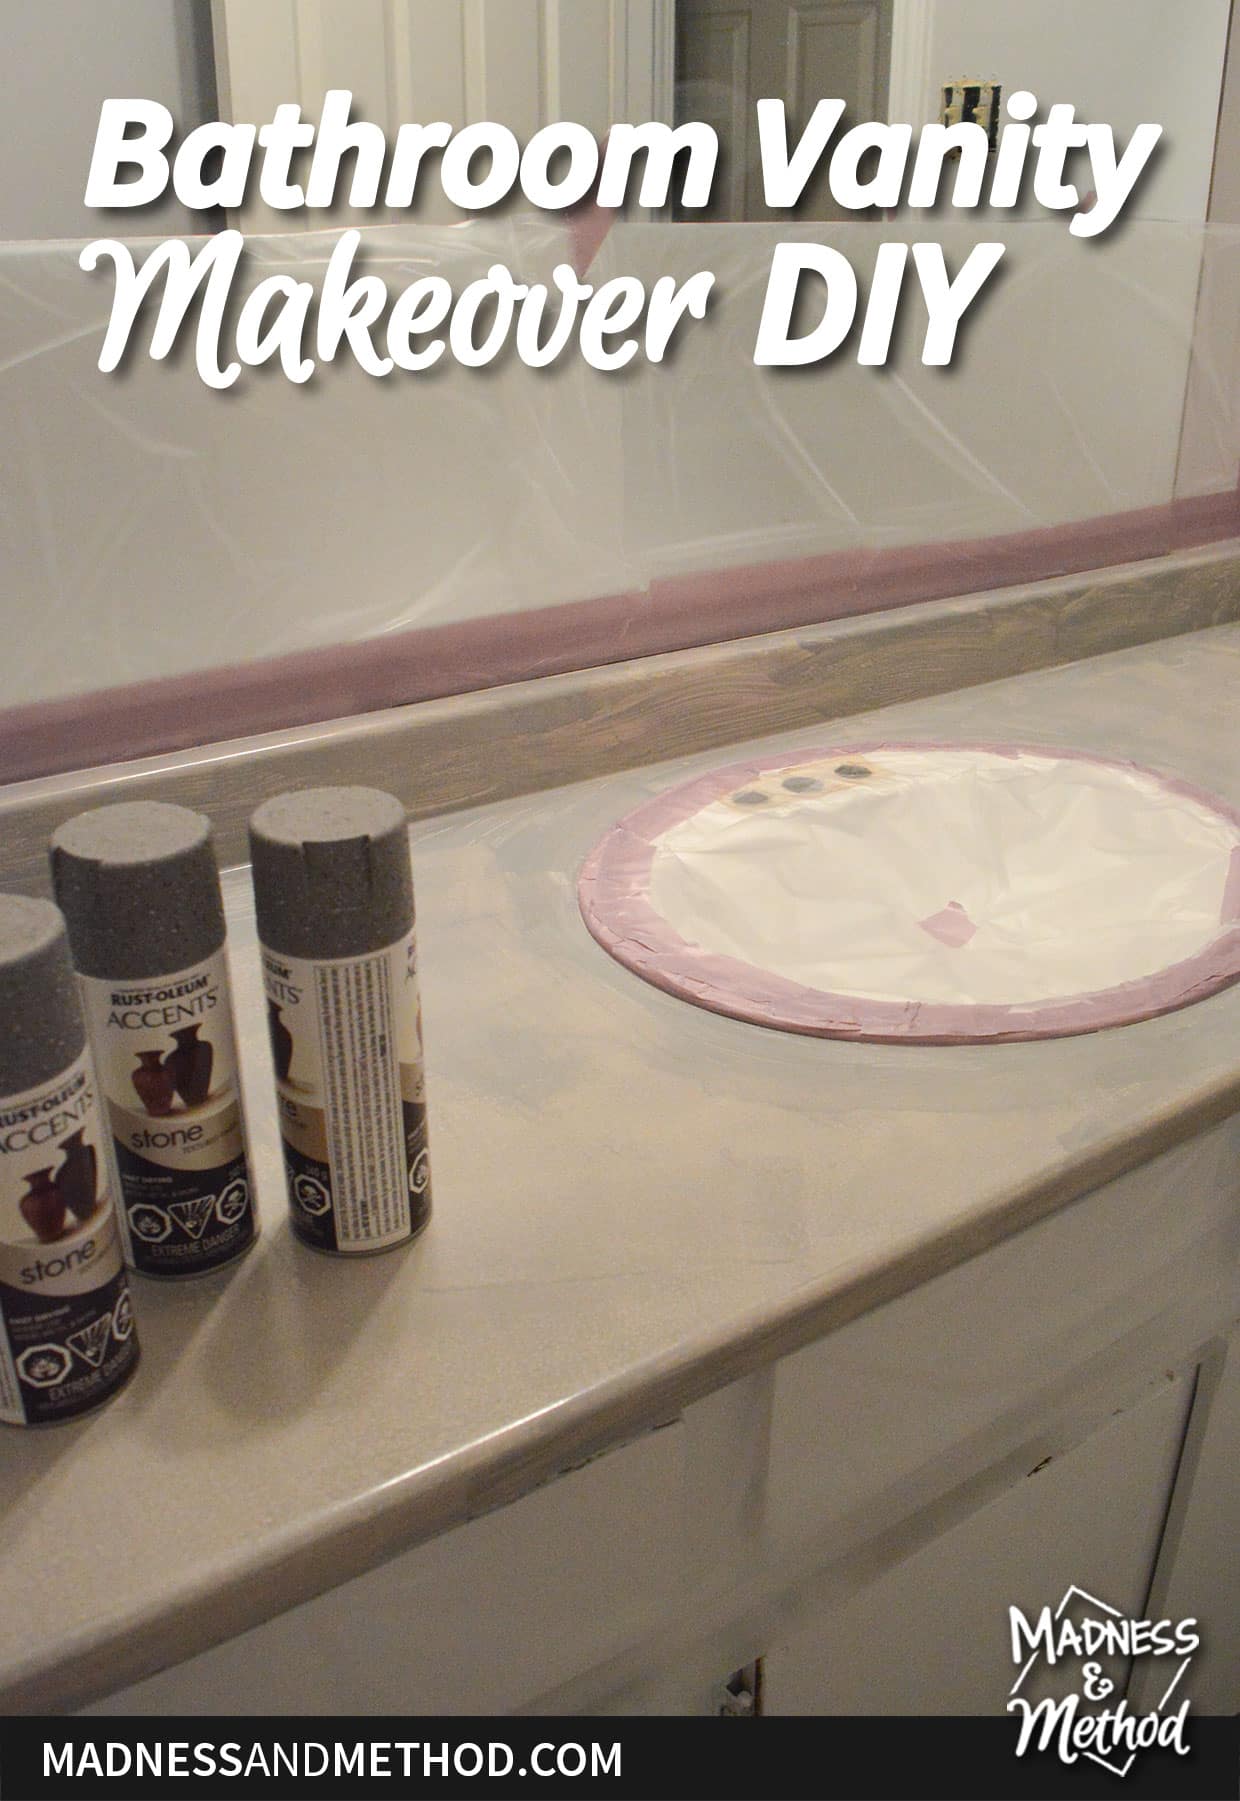
Bathroom Vanity Countertop Makeover
Just before putting the first coat on the floors, I painted the base coat on the vanity too. If you didn’t know, I did a similar countertop project in my brother’s other bathroom. BUT it didn’t last very long. I then attempted an updated version in our bathroom, and that’s what I did here. (Because it has held up so well!).

Once the paint was dry (I left it overnight), I prepped my spray painting zone. I kicked myself because the paint should have covered more (you could still see some of the colour variation at first).
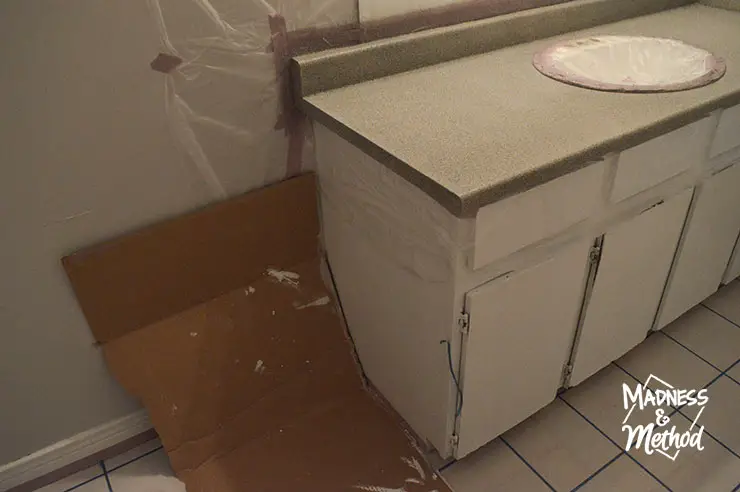
I also like to hold a piece of cardboard under the areas I am spraying. This paint tends to leave little clumps that look like dust, and if you wipe them quickly, they leave a streak. They can be easily wiped up when they are wet, but they dry like hard lumps. Which can also be scraped away, it’s just more annoying.

While the texture paint says that it dries in an hour or two, I have not found that to be true. It’s most likely because I put on a heavy layer (which clumped a bit in corners). More than once I nudge against the counter, or touched it with my finger to test if it was dry. Then of course had to redo those areas and wait an even longer time…

Finally, once everything is dry – I applied a coat of Polycrylic. After the first coat, I carefully cut along the tape and removed my plastic sheets. There was some pull off along the wall, where I assume was silicone. From there, I followed up with two more coats of Polycrylic.
Bathroom Vanity Door Makeover
While I was working on the countertops, I also worked on the vanity cabinet portion. I believe I mentioned that they had been primed and painted.
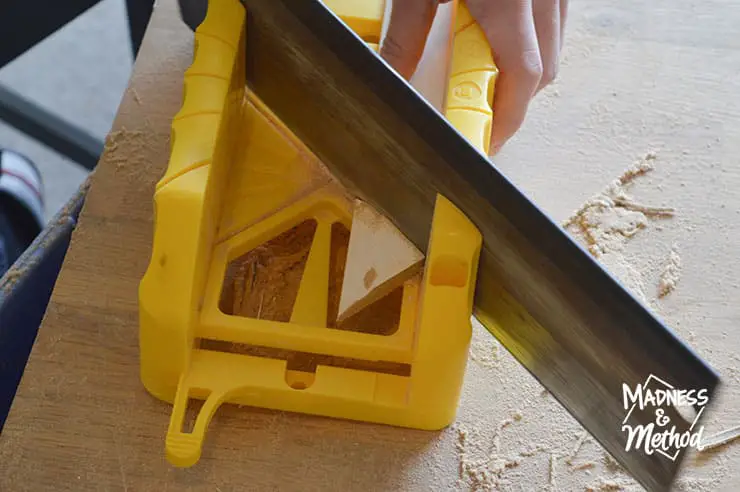
To really elevate the look and ‘transform’ the 80s vanity style, it’s best to add trim! We chose a simple ‘door stop’ style, but a flat lattice, or something more ornate could work too. I didn’t bring my mitre saw (it was busy at the cottage!), but borrowed my dad’s handsaw. Honestly, I knew how long and tedious this would be, so I made my brother do it all, hahahahahahah. Plus I mean, I was busy working on other parts of his bathroom, you know?
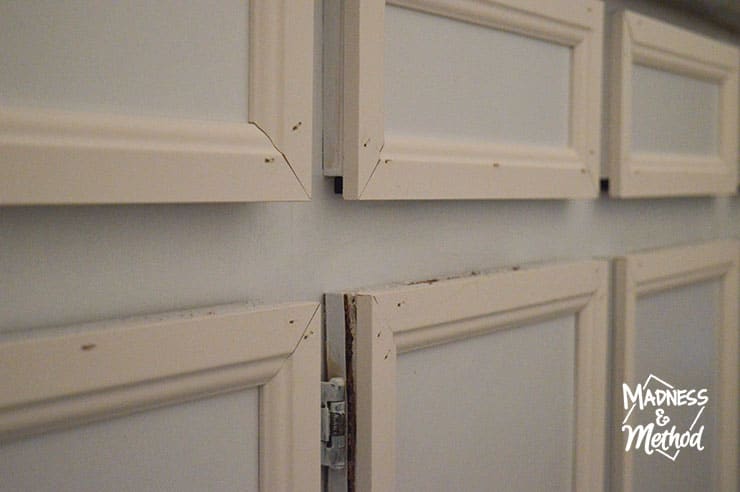
There were 32 pieces he had to cut in total, for all the perimeters of the doors and drawers. If you can see in the photo above, removing the old door handle/wood piece leaves a gap. You could always add something to the cabinet frame itself, but it’s a lot easier to just make the the side pieces slightly longer to hide it.
From there, I patched all the nail holes, filled in broken/cracked pieces, then sanded and caulked. I believe I only had to do one more coat of paint to cover all the caulking and match the trim to the rest of the vanity.
Oh, and I accidentally got some white tub & tile paint on the new counters! Instead of re-spraying everything, I used some acrylic craft paint and painted the white. Then followed with a coat of Polycrylic on the small areas, and you don’t even notice. (I think you can see the white in the mirror post from last week).
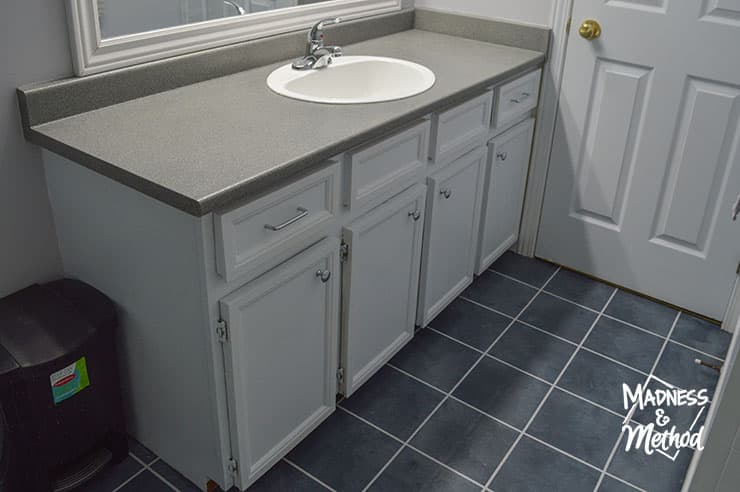
Oh, I installed a new faucet too – but everything else is the same.
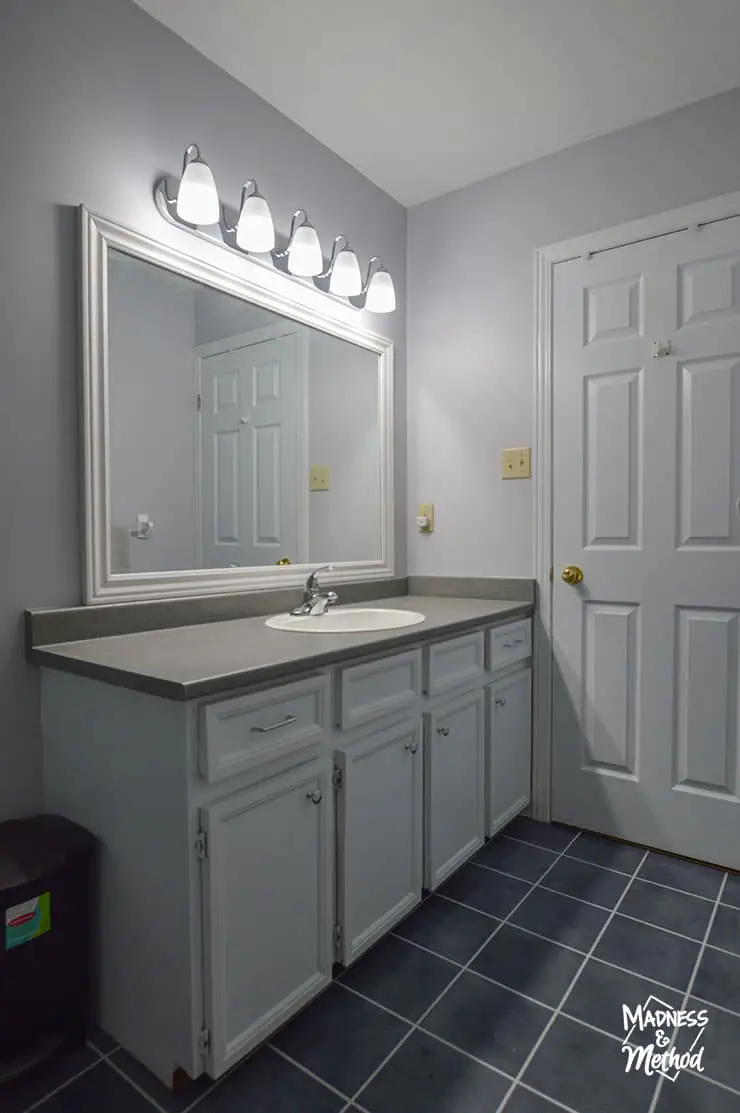
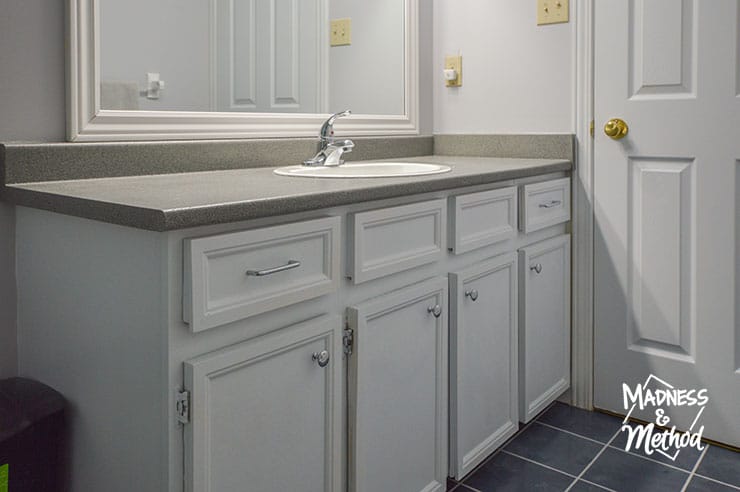
Again, here is the beautiful new/old vanity and framed mirror.
About the One Room Challenge
If this were the olden days (ie: a couple of years ago) the Spring 2023 One Room Challenge would be done. Alas, we still have 2 more weeks to go – so I hope you’ve been enjoying it so far!

Follow this bathroom renovation:
Beige Bathroom Before (+ Plans)
Faux Tile Painted Floors
How to Install a Toilet
Tub & Tile Paint Project
Build a Mirror Frame
Bathroom Vanity Makeover Video:
Watch the video to see the whole vanity makeover from start to finish. If for some reason the video is not showing above, click here to watch it on YouTube directly. Oh, and hit that subscribe button while you’re there too :)

How crazy good was this bathroom vanity makeover DIY project!? You can see a bit more of the painted floors now too (I didn’t want to show the vanity back then). Next week I’m going to share which painted mural we went with, so you’ll finally see the other side of the room, ha.
Anyways, let me know if you have any questions about this project, or any of the others I’ve shared so far for this bathroom!


No Comments