
Whew, what a week we’ve had working on our half-bathroom for the Spring One Room Challenge! As promised, today I’ll be showing some in-progress pictures from all the bathroom framing + plumbing that we did, and at the end I’ll also be sharing some design options for square flushmount lights (one of which we will be using in this space). Let’s dive into the “messy” renovation pictures, shall we?
– Note: This post contains affiliate links. See more information about affiliates here –
A reminder of my timeline (remember, in real life I’m trying to finish everything a week-ish earlier than what is below):
Week 1: Sharing Design Plans
Week 2: Plumbing, electrical + framing (that’s this post!)
Week 3: Installing drywall, patching, priming and painting
Week 4: Tiling (floors and walls)
Week 5: Grouting / installing trim + furniture (ie: vanity + toilet)
Week 6: Bringing in accessories for the final reveal!
Bathroom Framing + Plumbing
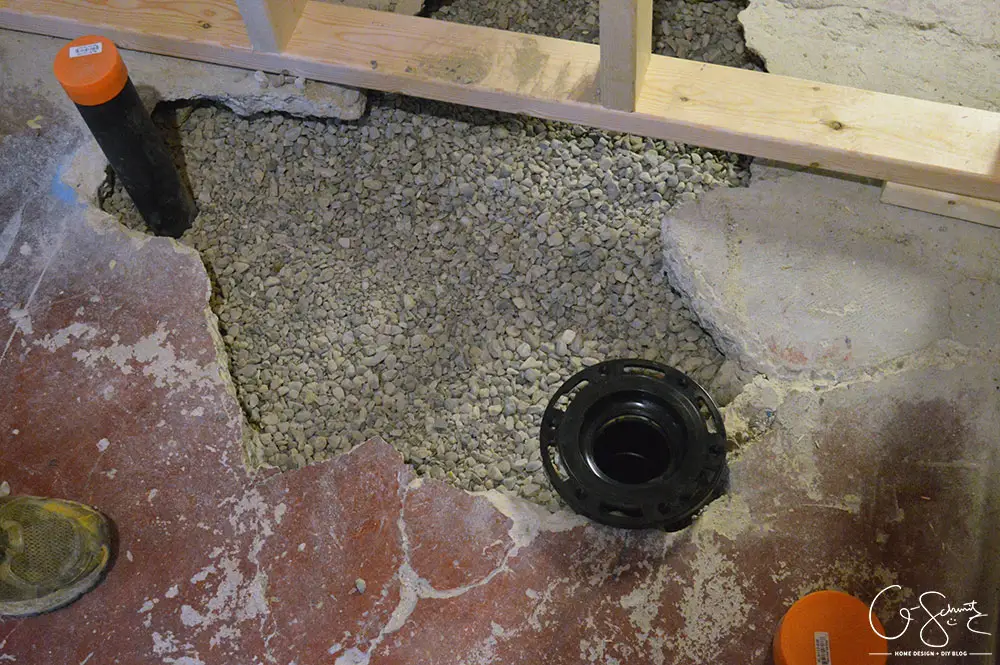
The Husband had broken a little hole in the concrete when we cleaned out this space a couple of weeks ago. We are actually super thankful that we knew exactly where the plumbing waste pipe was (our house was originally on septic wayyyy before we moved in and they attached to the city sewer later, so there was already a “newer” concrete patch right where we were going to put the bathroom).
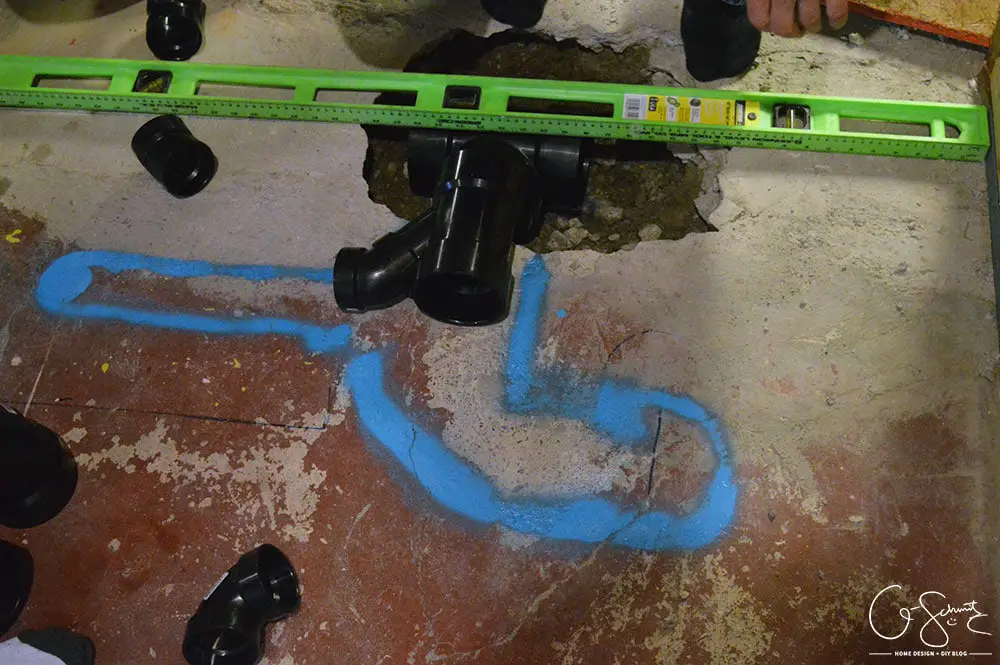
Once we dug down (and I mean mostly me, I was in charge of taking all the rocks out of the hole) he was able to plan out the layout of the space. See the faint black line on the left? That’s where the vanity will be going, and I just guessed where the toilet was going (it was still on back-order at this point).
He actually convinced two friends/relatives to help break the rest of the concrete to clear out the space, and then they plumbed everything in.
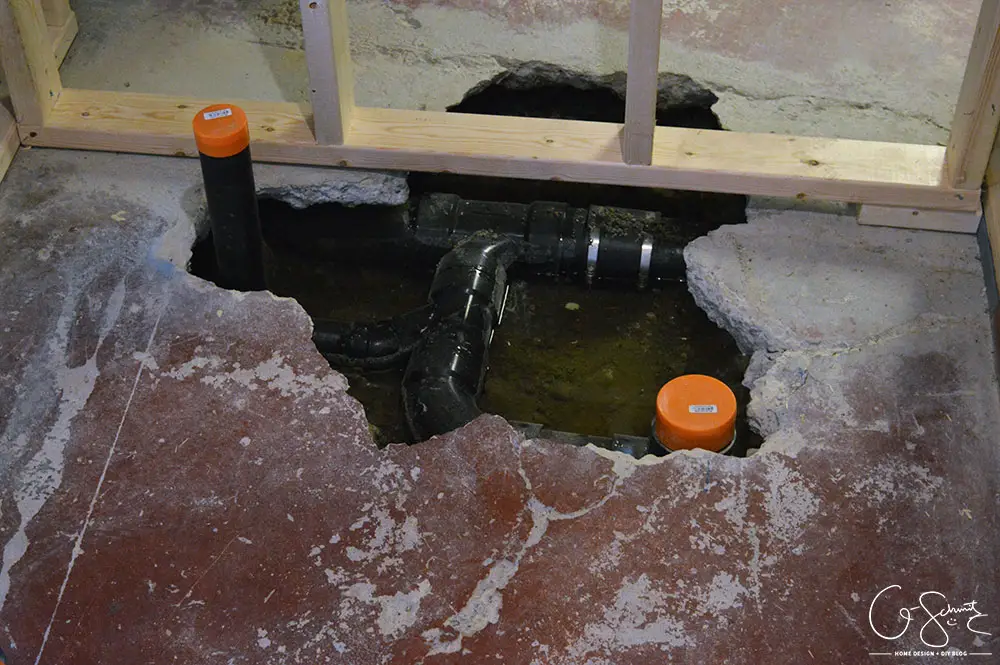
I freaked out a few days later because the hole was FILLED with water. I thought that clearly the Husband had done something wrong and the pipes were now leaking.
Thankfully? It was just the ground water coming up because we had a small period of warmer weather and the snow was starting to melt. (It’s since snowed more of course… and the hole had dried back up in time for the inspection). I was really scared our whole basement would flood, but we have a sump pump so I guess it did its job…
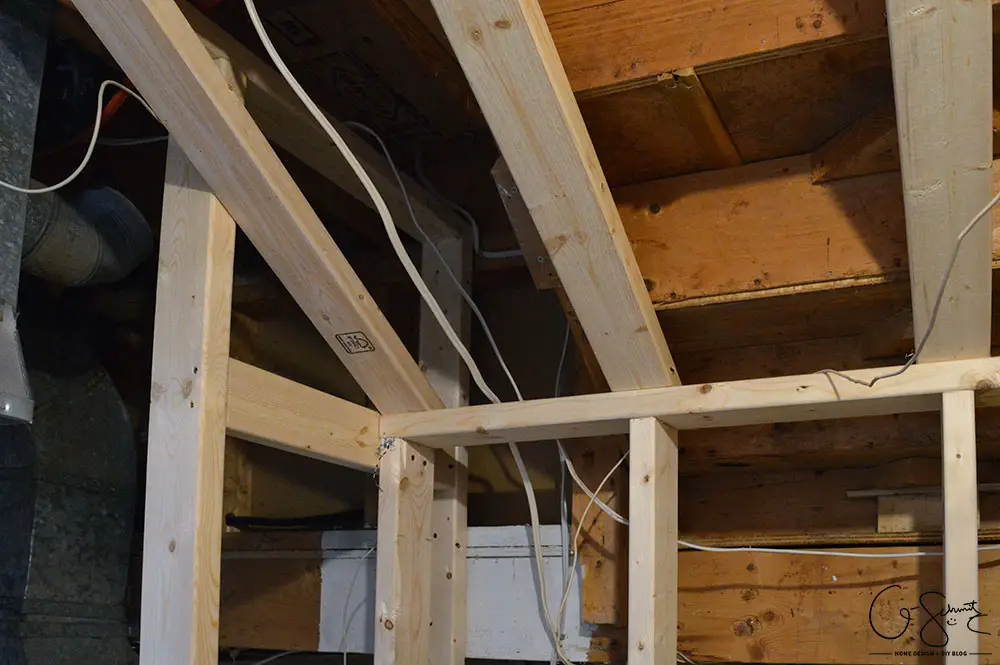
Above that area, we have our angled wall that’s below the staircase. See those phone wires just hanging willy-nilly? Ya, apparently the Husband thinks we’ll get those looked into afterwards; and now one of my phone jacks has mysteriously stopped working…
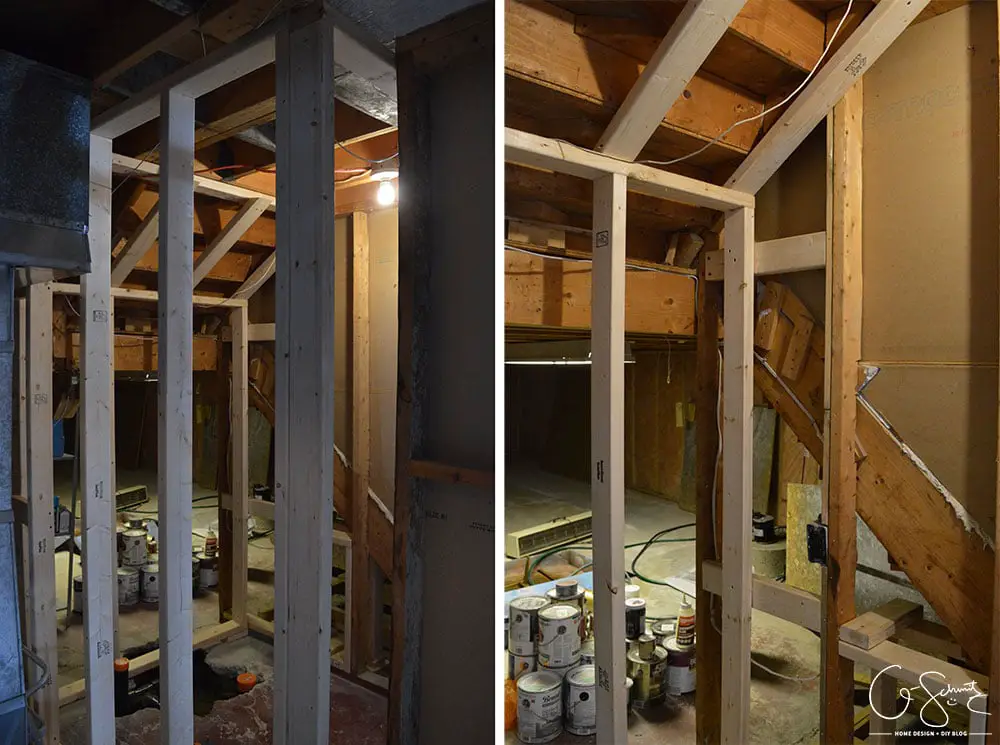
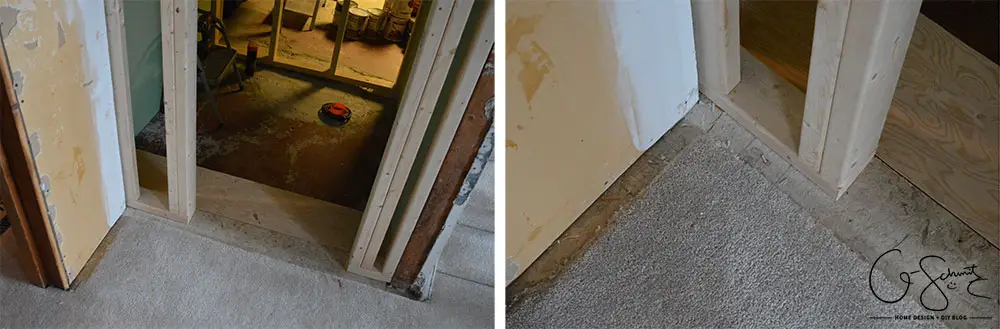
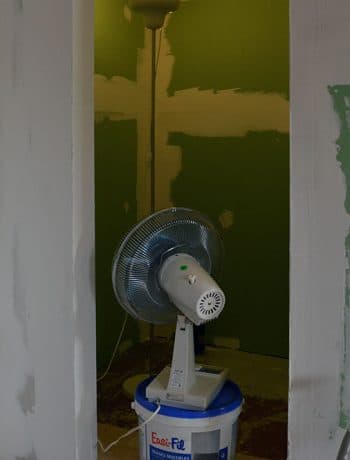
The photo on the left is the framing edge from the laundry room side, and then the right is what it looks like when you’re in the room (the toilet will be in this view). I think I’m going to need to get a wide-angle camera lens, because this room is going to be hard to photograph pretty soon!
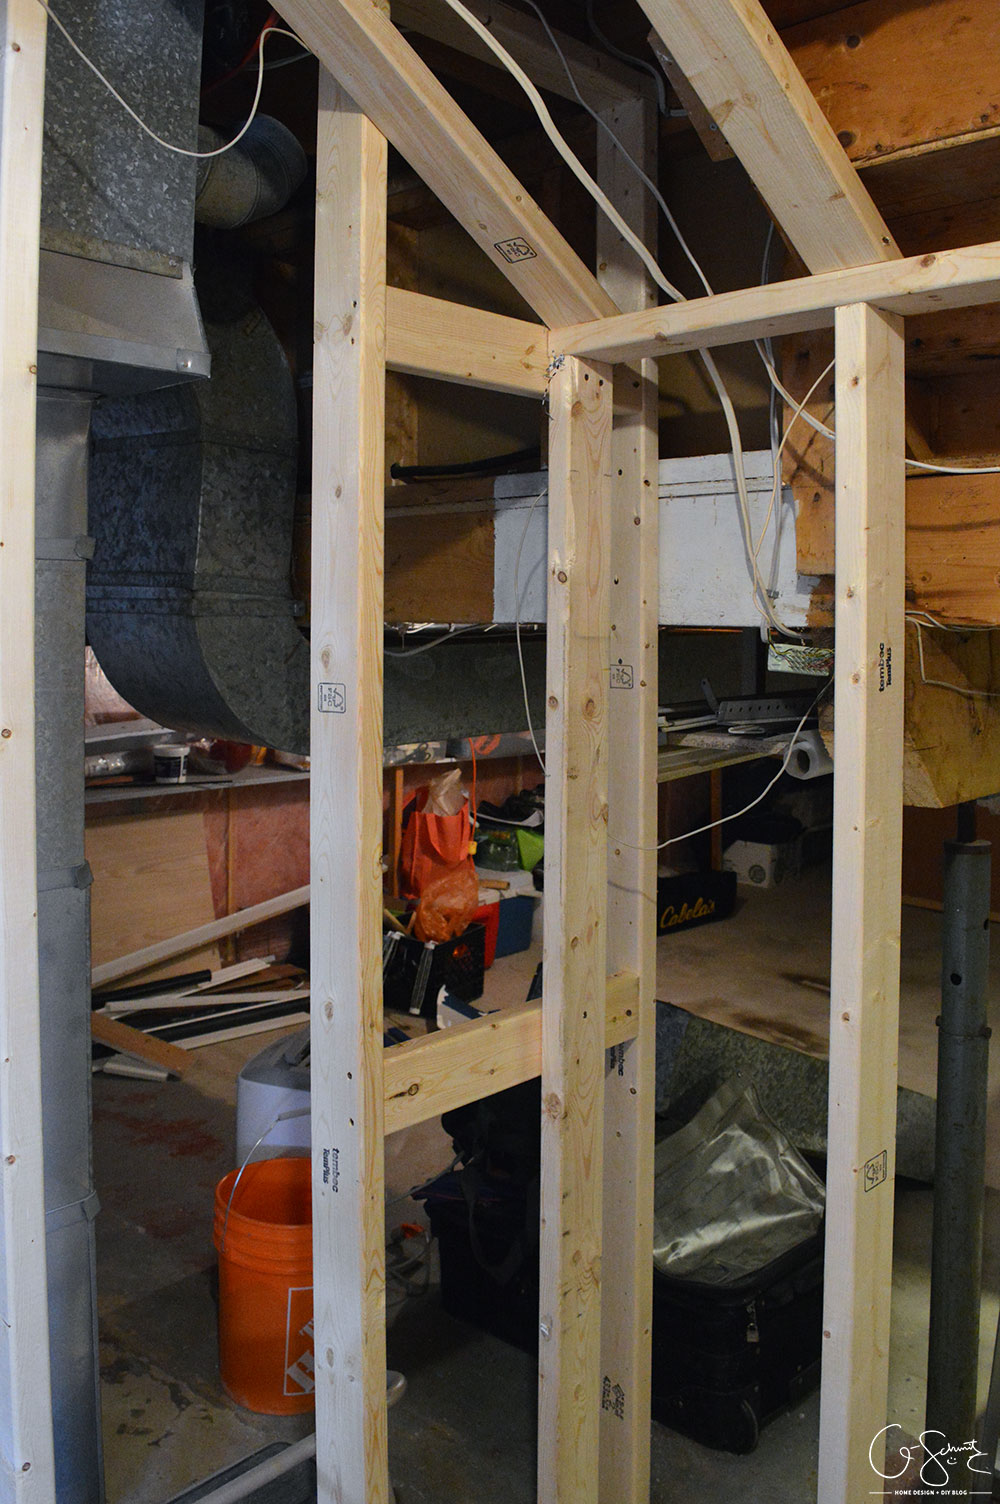
Here’s the opposite corner, looking to where the vanity will be (and I am standing in the doorway). It’s actually super convenient that we built this room attached to our laundry room and crawlspace, because we can still easily access all the sides from the back!
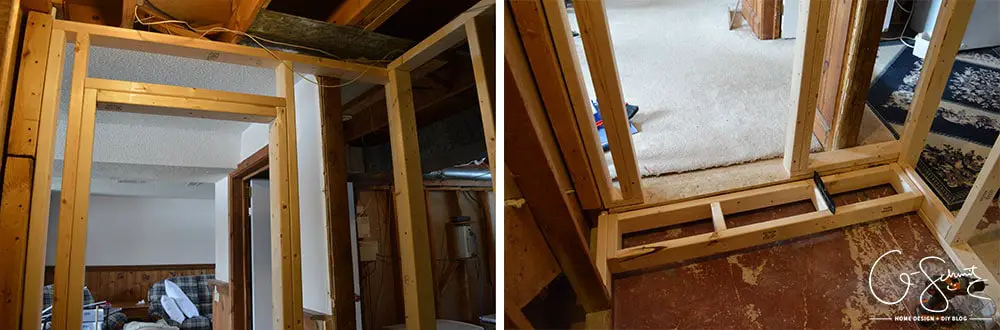
Looking at the entrance (where my painted + frosted French door will go), we added a little step into the room so that it would match the laundry room side (see that through the frame in the photo on the left?).
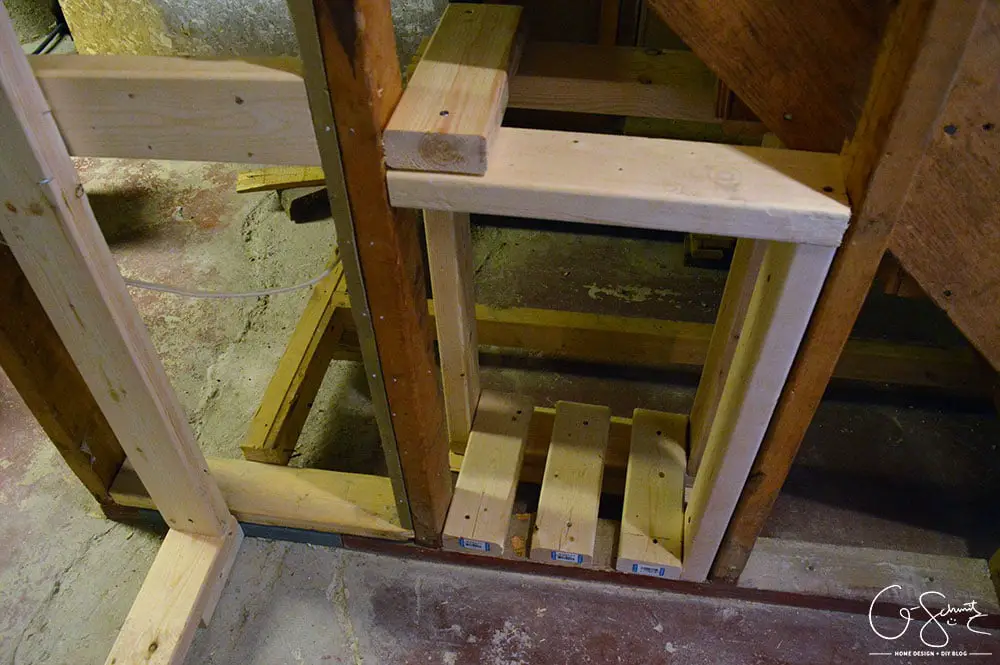
Now this is one of my favourite things in the room! I made a little cubby hole frame underneath the staircase :) I was originally going to make two (one for the garbage + plunger, and one for the toilet bowl brush), but we didn’t have the space coming into the room to actually take the garbage pail out to access the plunger. So now this one cubby hole will hold the plunger + toilet bowl brush. I don’t know yet if I’m just going to drywall it only, or tile the inside too… we will see…
Oh, and the Husband thought the cubby hole was the most ridiculous thing ever (I mean, it will definitely be a pain to drywall and mud in there for sure, but that’s my job so he shouldn’t have to complain too much…).
We were actually able to get the plumbing + framing inspection by the city a few days earlier than I was planning, which is a good thing since I underestimated the amount of time it takes for concrete to set. We do still have to add a vent to the plumbing, and bring all the intake lines in (which I did want to get done by now…) but the Husband assured me he’ll get to them later (and since we’re keeping the back of the walls open, the city will still be able to see these when they do their final inspection).
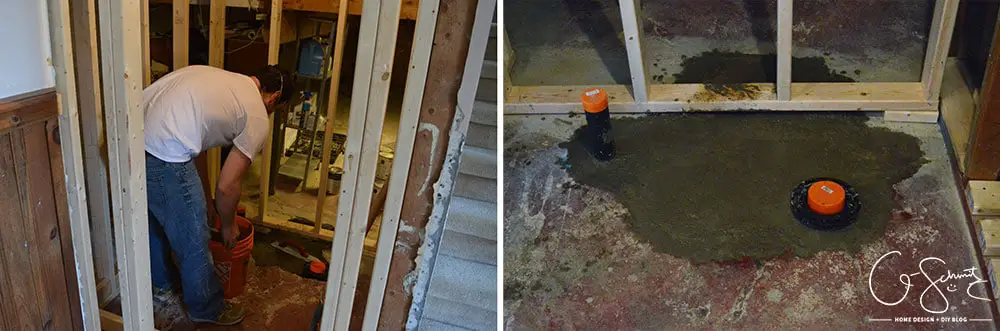
“Get your concrete mixer Wife”, said the Husband later that day… umm dearest, I don’t have a concrete mixer. And so he was “forced” to mix the concrete by hand (he thought I could do it… hahahhahaha) and I did all the troweling and leveling (I did have those tools from when we did our front walkway though!).
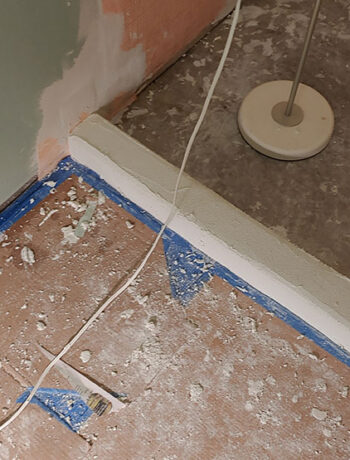
We still have to level the floors (I have a bag of floor leveler I plan on using once all the drywall is up). The Husband thought that the basement was perfectly level and/or that the room was small enough that it wouldn’t matter and that I was crazy (a recurring theme…). Until we had to install the framing of course; notice how that back wall touches the ground on the left side but there’s at least a 1.5″ gap on the right? Ya… the wood frame is level… but the floor is not!
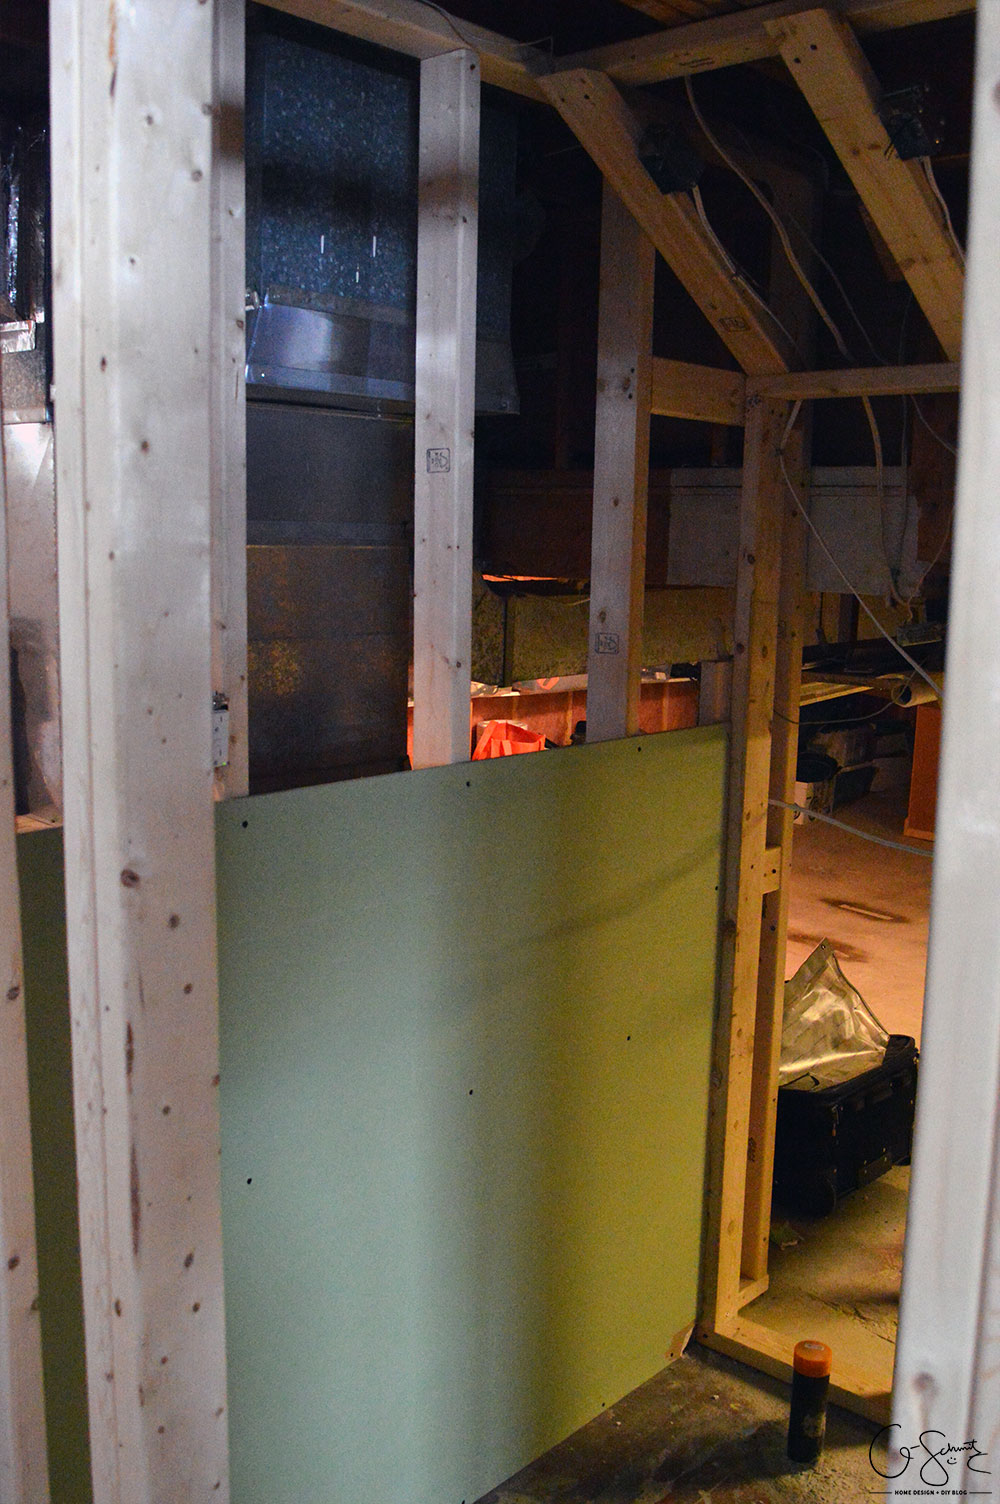
And so we’ve just barely started the drywalling portion (but I will talk more about that next week, once we’re actually hopefully done).
For the little step, we covered it with some plywood to match the height of the rest of the basement. My original thought was to have the step carpeted once we finally got around to replacing the carpet in the basement (years down the line from now). It would match how the laundry room step is, and I wouldn’t have to worry about it too much for our bathroom, other than maybe putting in a temporary carpet or platform to cover the bare wood.
The Husband did not want this, so we compromised and I’m going to tile the step up to the doorway, and then there would only be a few inches of a gap until we replace the carpet. Or do a transition piece… we will see I guess…
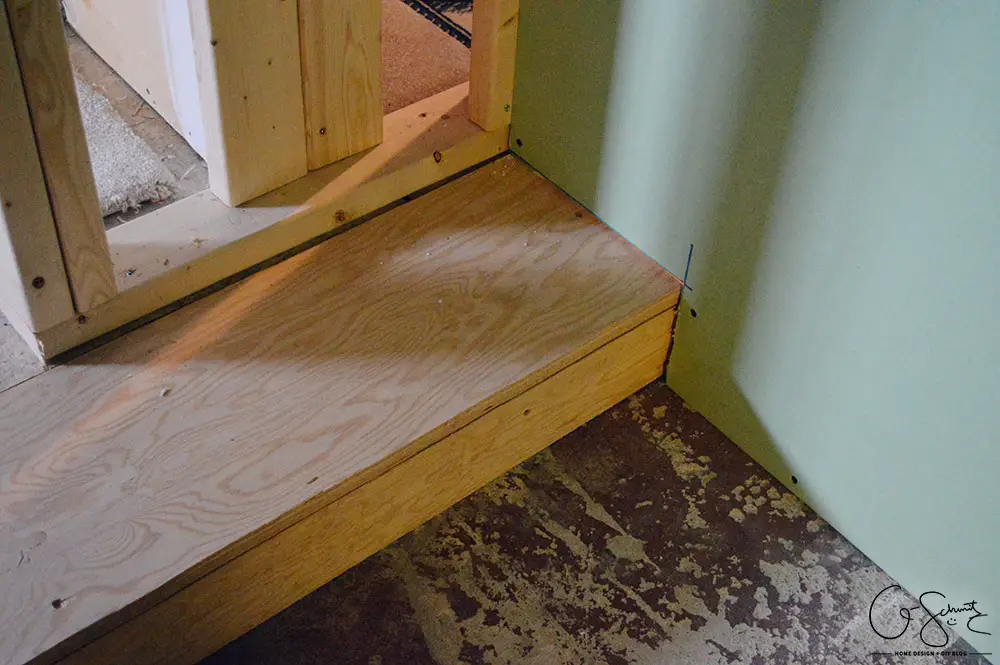
Problem was, we had already made a little lip in the top piece of the plywood – so that had to be sawed off, and now I just need to sand the edge to make sure it’s all even/square … but at least the Husband is happy :)
Timeline wise, we are 95% on track so far (even though there is plumbing that still has to be done…) and as long as I can get my butt into gear this week with the drywalling, mudding, priming and painting, then things should be okay. My baby shower is this weekend though, so I will have to plan my schedule around that and hopefully not lose too much time (although most of my stuff does involve waiting for things to dry).
Wish me luck :)
Since the original single light bulb that was in the room was removed (and everything is supposedly wired properly) – I’m kind of left in the dark with the work I have to do now! I think our ceiling light will be the first thing to go in the room, as soon as I’m done finishing the ceilings of course…
Square Flushmount Lights
Here is the short-list of flushmount lights I considered for the basement bathroom addition (there was a MUCH larger list, but I narrowed it down to only square flushmount lights because I prefer squares!). The prices range from 30$ to 180$ (all in Canadian funds).
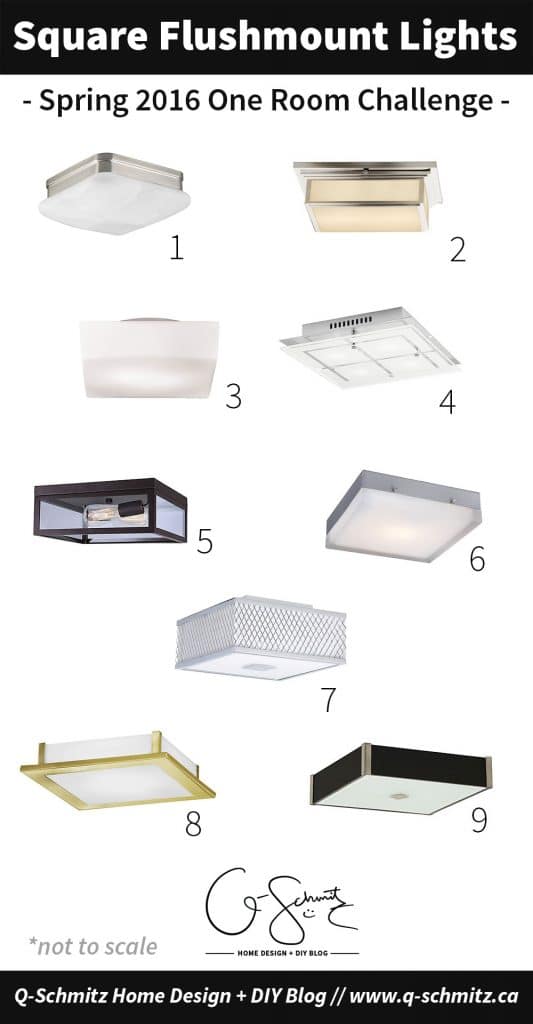
- SIMILAR: Home Depot 2-Light Brushed Nickel Flushmount, $
- Similar Flushmount, $
- Home Depot Amata Collection White Flushmount, $$$
- Lowe’s Kichler LED Flushmount, $$
- Home Depot Oil Rubbed Bronze Flushmount, $$
- Home Depot Satin Nickel Flushmount, $$$
- Rona Batello Flushmount, $ – no longer available (similar here or similar here)
- Home Depot Brass Flushmount – no longer available, $
- Home Depot Dark Wood Flushmount, $$
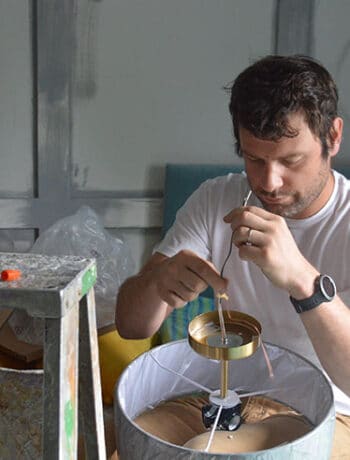
Can you guess which one I went with? Now, keep in mind that I would want to customize the finish to something that would match our antique brass theme, and/or keep the light as-is and hope that the finish wouldn’t compete with the rest of the room.
See you guys back next week – and don’t forget to check all the ORC linking participants too (and the featured designers)!

24 Comments