
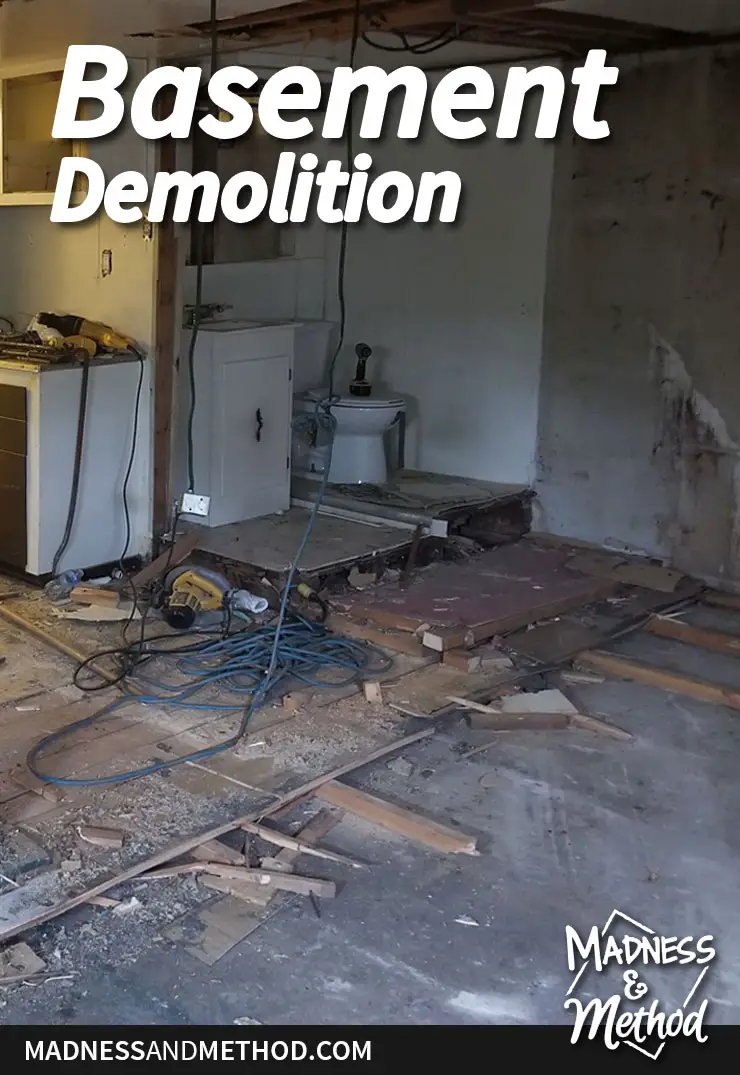
Adding a second living unit to our rental home is undoubtedly the largest renovation we’ve taken on to date – and although we’ve done our fair share of projects, there have been many different issues and obstacles here that we’ve not dealt with before. While I’m hoping to be able to start the kitchen in October (just a few weeks away!), I feel like we’re in an endless demolition and rebuild is taking forever… Either way, I need to start sharing some progress – so let’s check out the basement demolition!
I may have mentioned before, but we hired contractors for the rental basement demolition, and they’ll be doing most of the rebuild as well. Eventually, we’ll take over for the finishing touches, but we’re super happy that we didn’t have to do the bulk of the heavy lifting!

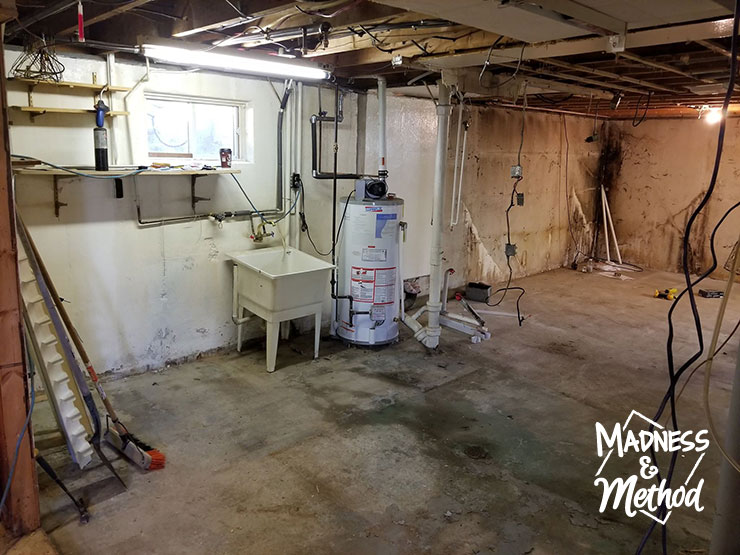
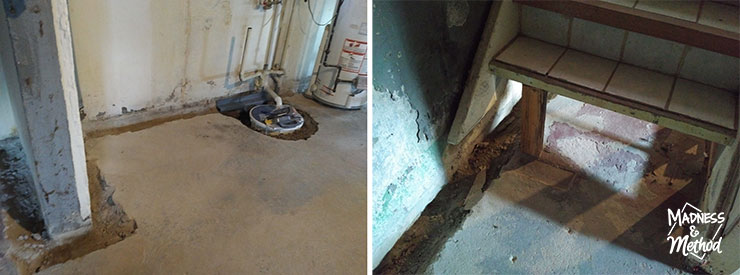
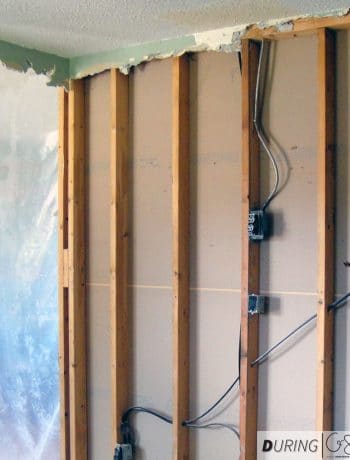
Starting in the “back” of the basement, furthest from the staircase – we have the area where the bedrooms will go. As soon as they started ripping down the panelling and walls, they realized there were a lot of small cracks in the concrete where water had seeped in.
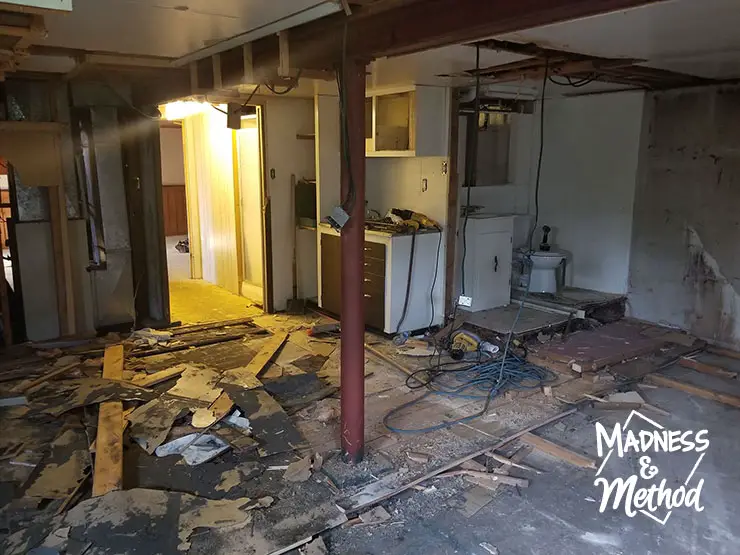
We also uncovered a support post, and the view in the photo above is looking from the bedrooms to where the old kitchen was. This will be where the bedrooms meet, and where the kitchen cabinets are, is where the bathroom will be.
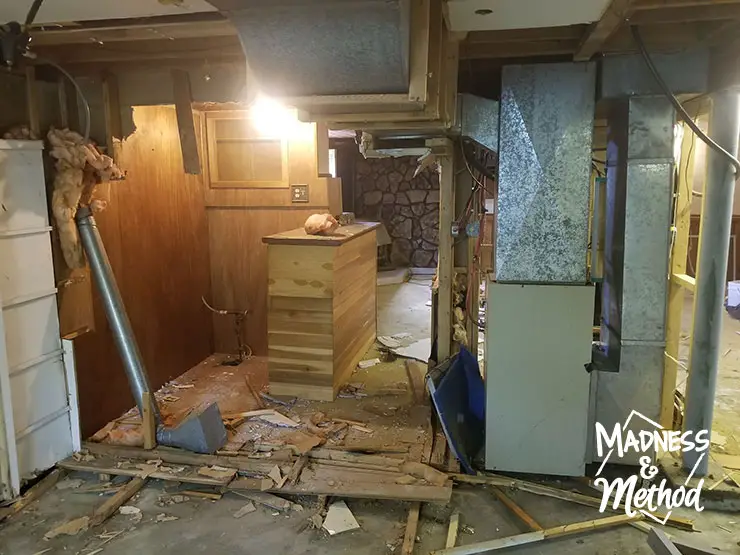
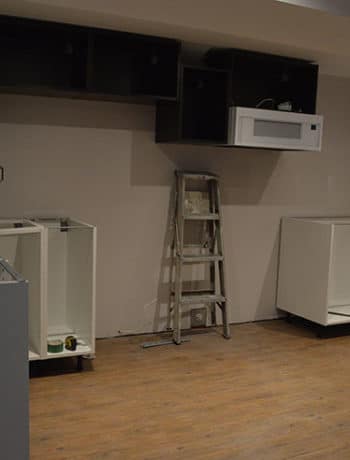
There was a lot to tear out in the bar zone, because it was a weird mashup of closets, walls covering the furnace, and the bar (you can see the basement before tour here for a better idea).
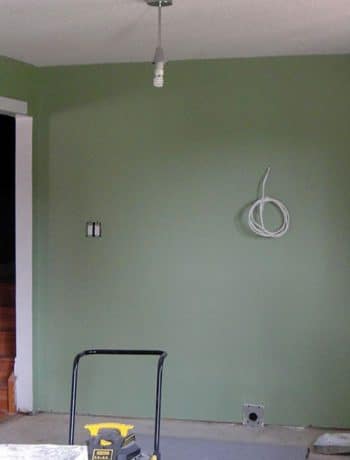
Goodbye weird shower hallway! The basement had been such a weird layout before, I was pretty excited when the Husband sent me these pictures, because it was already looking better :)
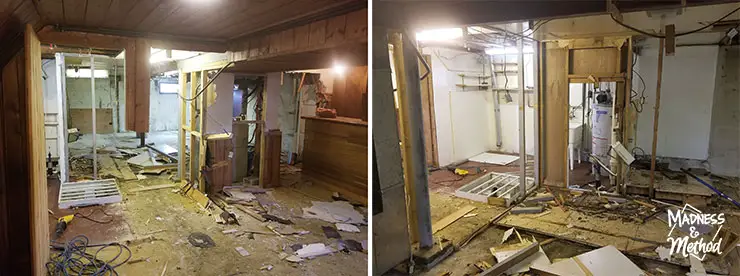
Because we aren’t moving the furnace, I had to design the layout with its current position in mind. The floors were also built up from the concrete, so we actually gained a couple of inches of space by taking them out.

Unfortunately, we discovered a concrete wing wall, which is right where I was planning on doing my dining room (with a cute built-in bench and everything). Apparently, when the house was first built, the doorway was a few feet lower and they just covered everything up (which explains the weird subfloor in the entrance!).
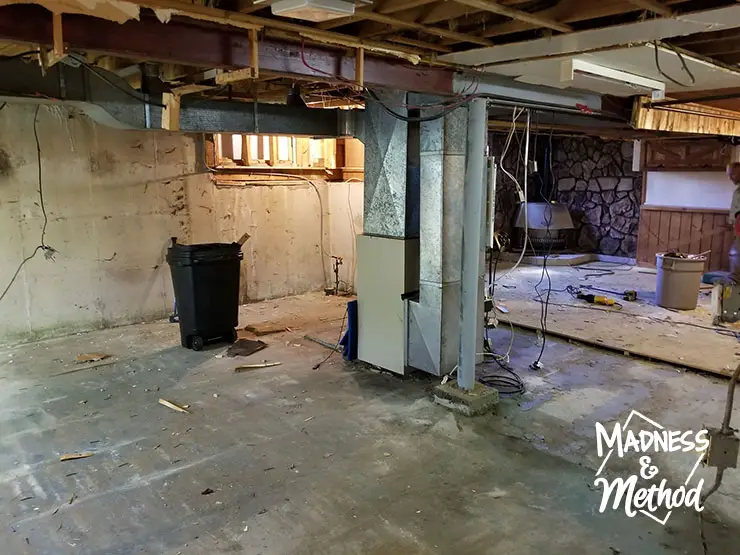
Once everything was removed and thoroughly cleaned, we then had to address a large number of cracks along the foundation walls.
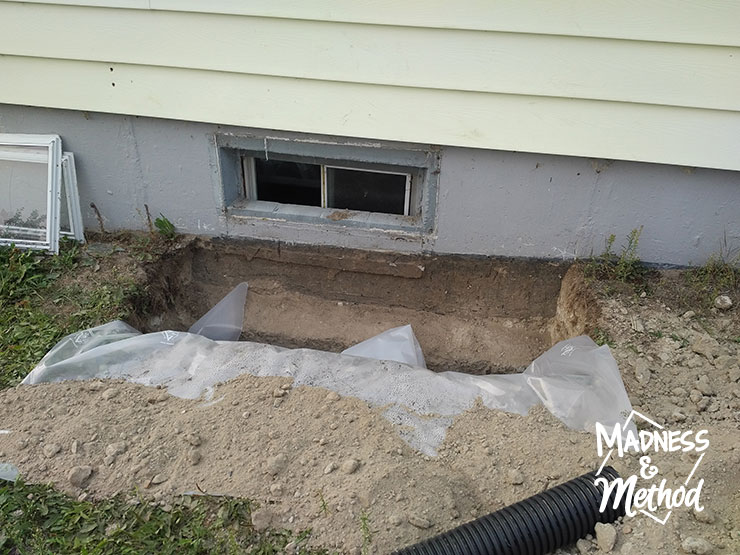
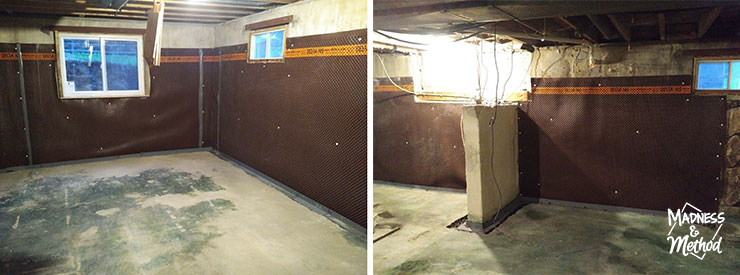
While we were waiting to hear back from the foundation company, our contractors continued to work on other areas. In order to make the bedrooms up-to-code, we needed to add a window with proper egress in case of emergency.
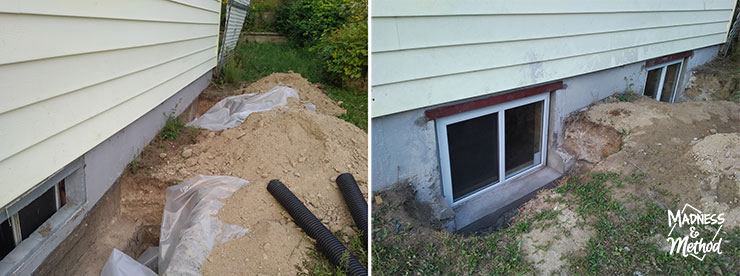
Which meant we needed to remove the way too small window and add a larger one, and add a window in the second bedroom from scratch. The old window was about 12″ high, and I went with some HUMONGO 4′ x 3′ windows for the bedrooms. I figured that if we were going to have to cut through the concrete to add a window, I was going to go big!
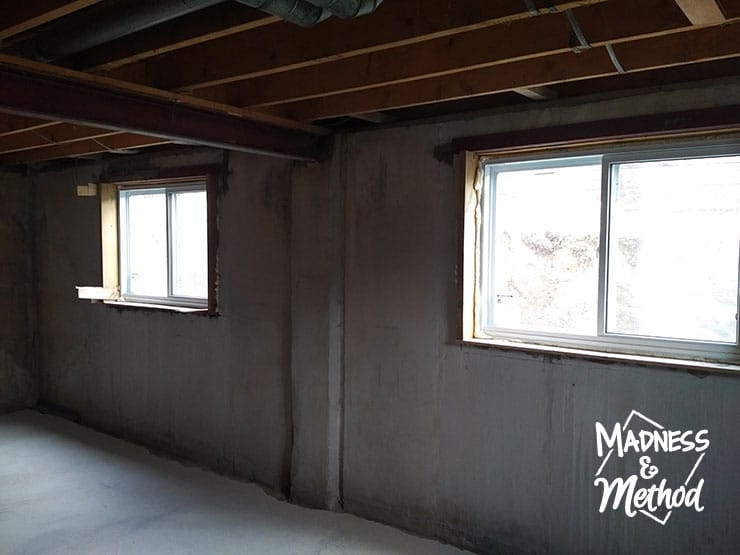
Apparently, the concrete was over 16″ thick in the lower portion of the walls, so it was quite a beast to get through. The new windows literally make everything look so much brighter and the bedrooms won’t feel “basement-y” at all.
The Big Expense
I mentioned last week that we had an unexpected expense come up, but thankfully everything is fixed now (obviously after we paid 20k).
In order to deal with the cracks, the basement specialists recommended to dig out a trench throughout the edge of the foundation and add a water catching system. That way, any water that did come in the future would funnel down into the pieces, then into the added sump pump and pipe out the yard.
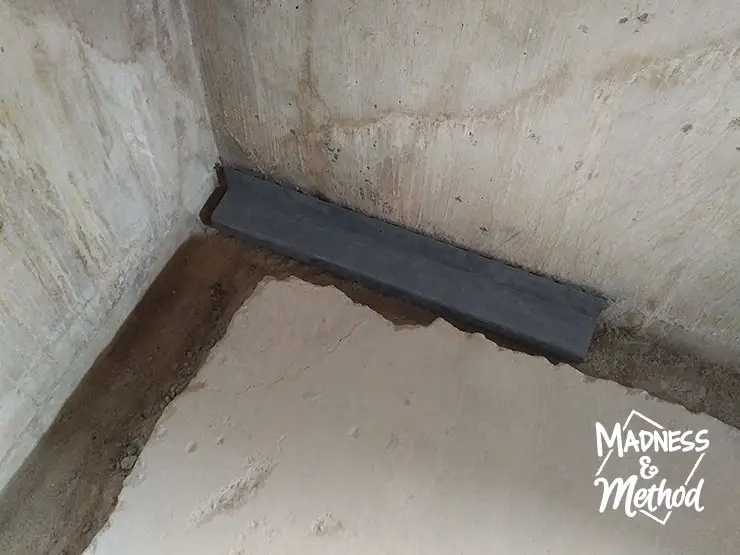
While we seriously considered just sealing all the cracks properly and hoping for the best, this method ensures that no water would get through the walls and ruin everything. Still, the expense was ginormous and we’ve had to stretch the wallet for something that we weren’t planning.
It also took an extra few days off the “schedule” but thankfully they were able to come in pretty quickly to get it done. I use the word schedule lightly, because it seems like whenever something is supposed to happen, an issue comes up and puts everything off track.
But the Husband has assured me that everything should be built back up in the next two weeks (plumbing, electrical, drywall), ready for us to start the kitchen by the first week of October. Unfortunately, we’re also at the mercy of passing a bunch of inspections, and because we’re located in a pretty small town, some of them don’t happen too often and we would get pushed much further back on our timeline if they don’t go well.
Next week I’m going to share photos of the framing (which should be completed tomorrow?) and talk more about the layout and what’s changed since I originally shared my plans. There were more (smaller) problems that came up; but thankfully they have just involved some design tweaks rather than large deposits of cash…

No Comments