
I’m SUPER excited to share this project with everyone today for a few reasons. For one, have you ever been searching for something for a while, only to find what you’re thinking about in your head (and at a great price!?). And two, have you ever thought about how a project is going to turn out, and then you do it, and it’s exactly how you pictured it!? That’s what happened to me recently when I found a piece of furniture that I was looking for and was able to transform it to fit our space perfectly. So, without further ado, here is the story of our storage ottoman makeover!
– This post contains affiliates. See more information about affiliates here –
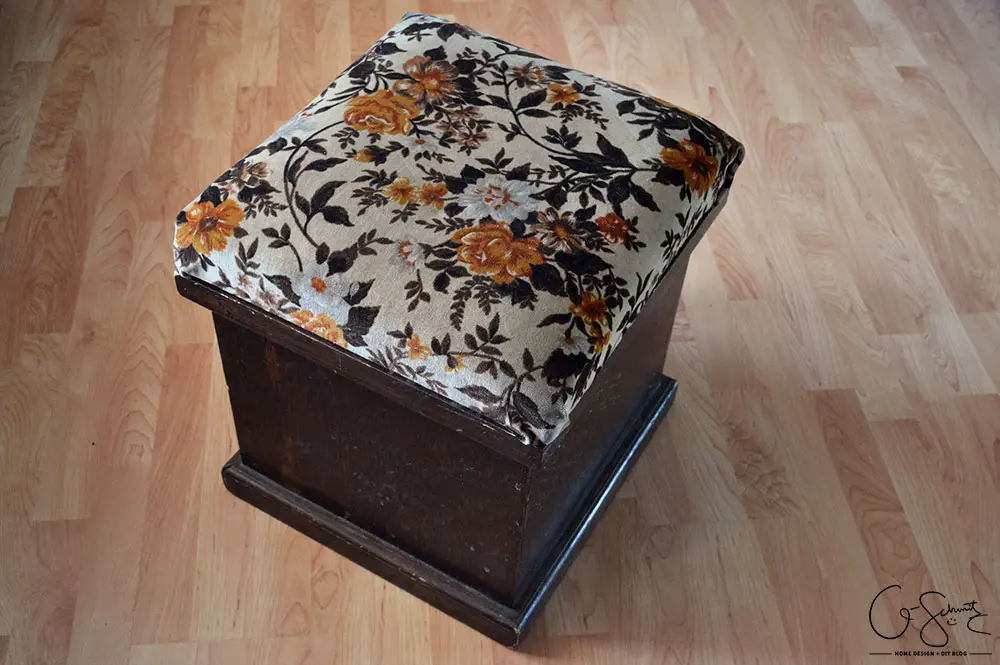
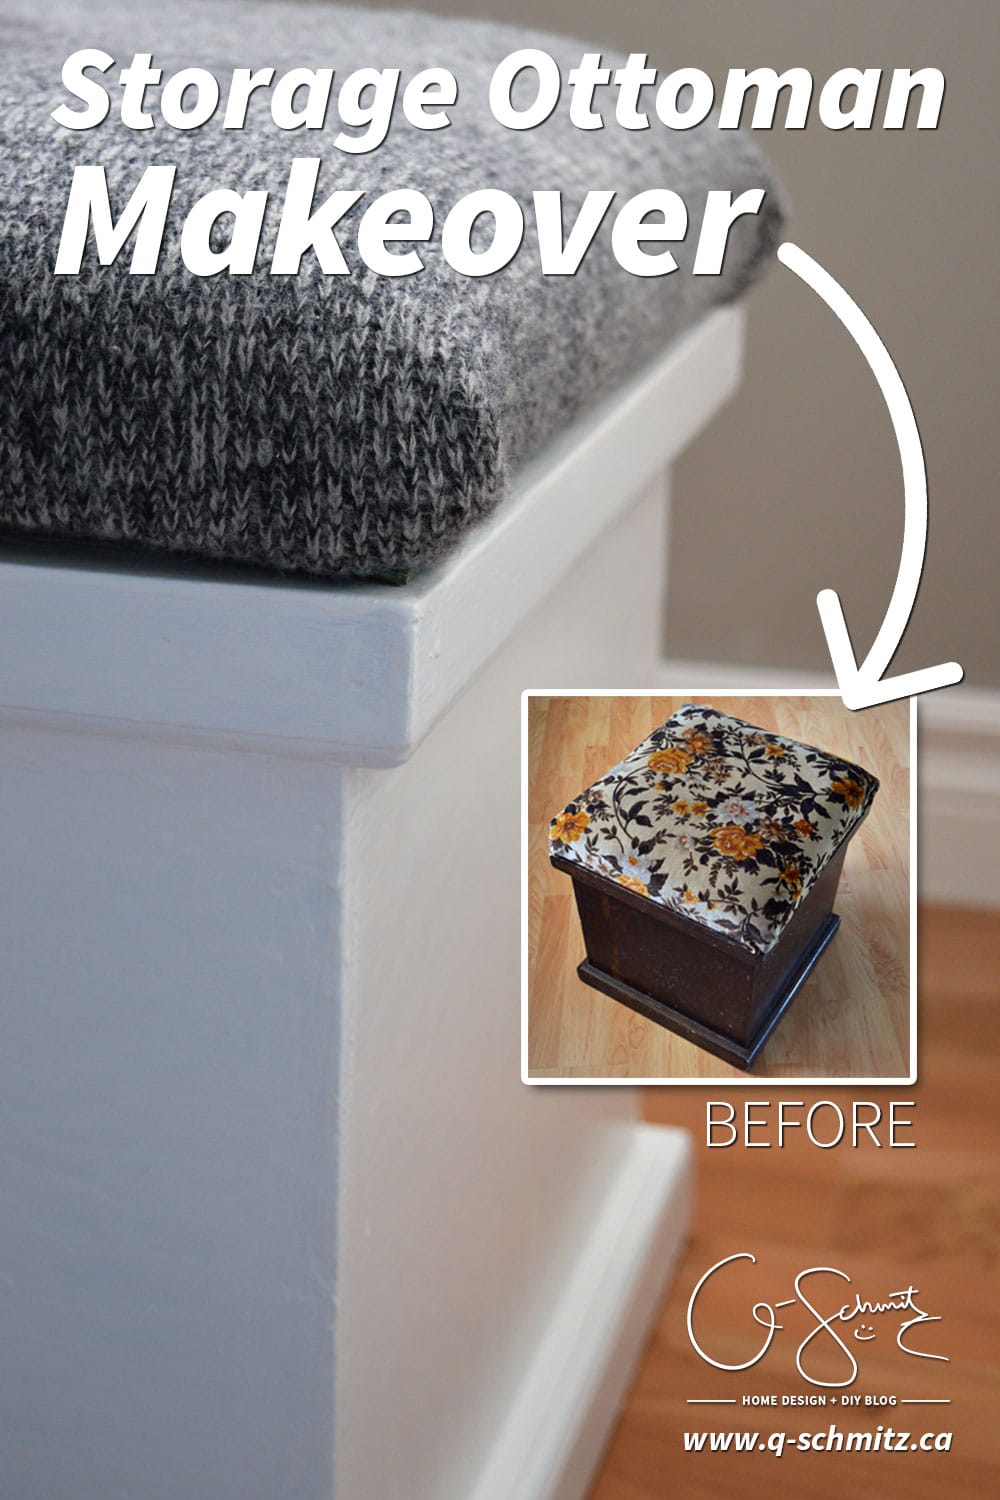
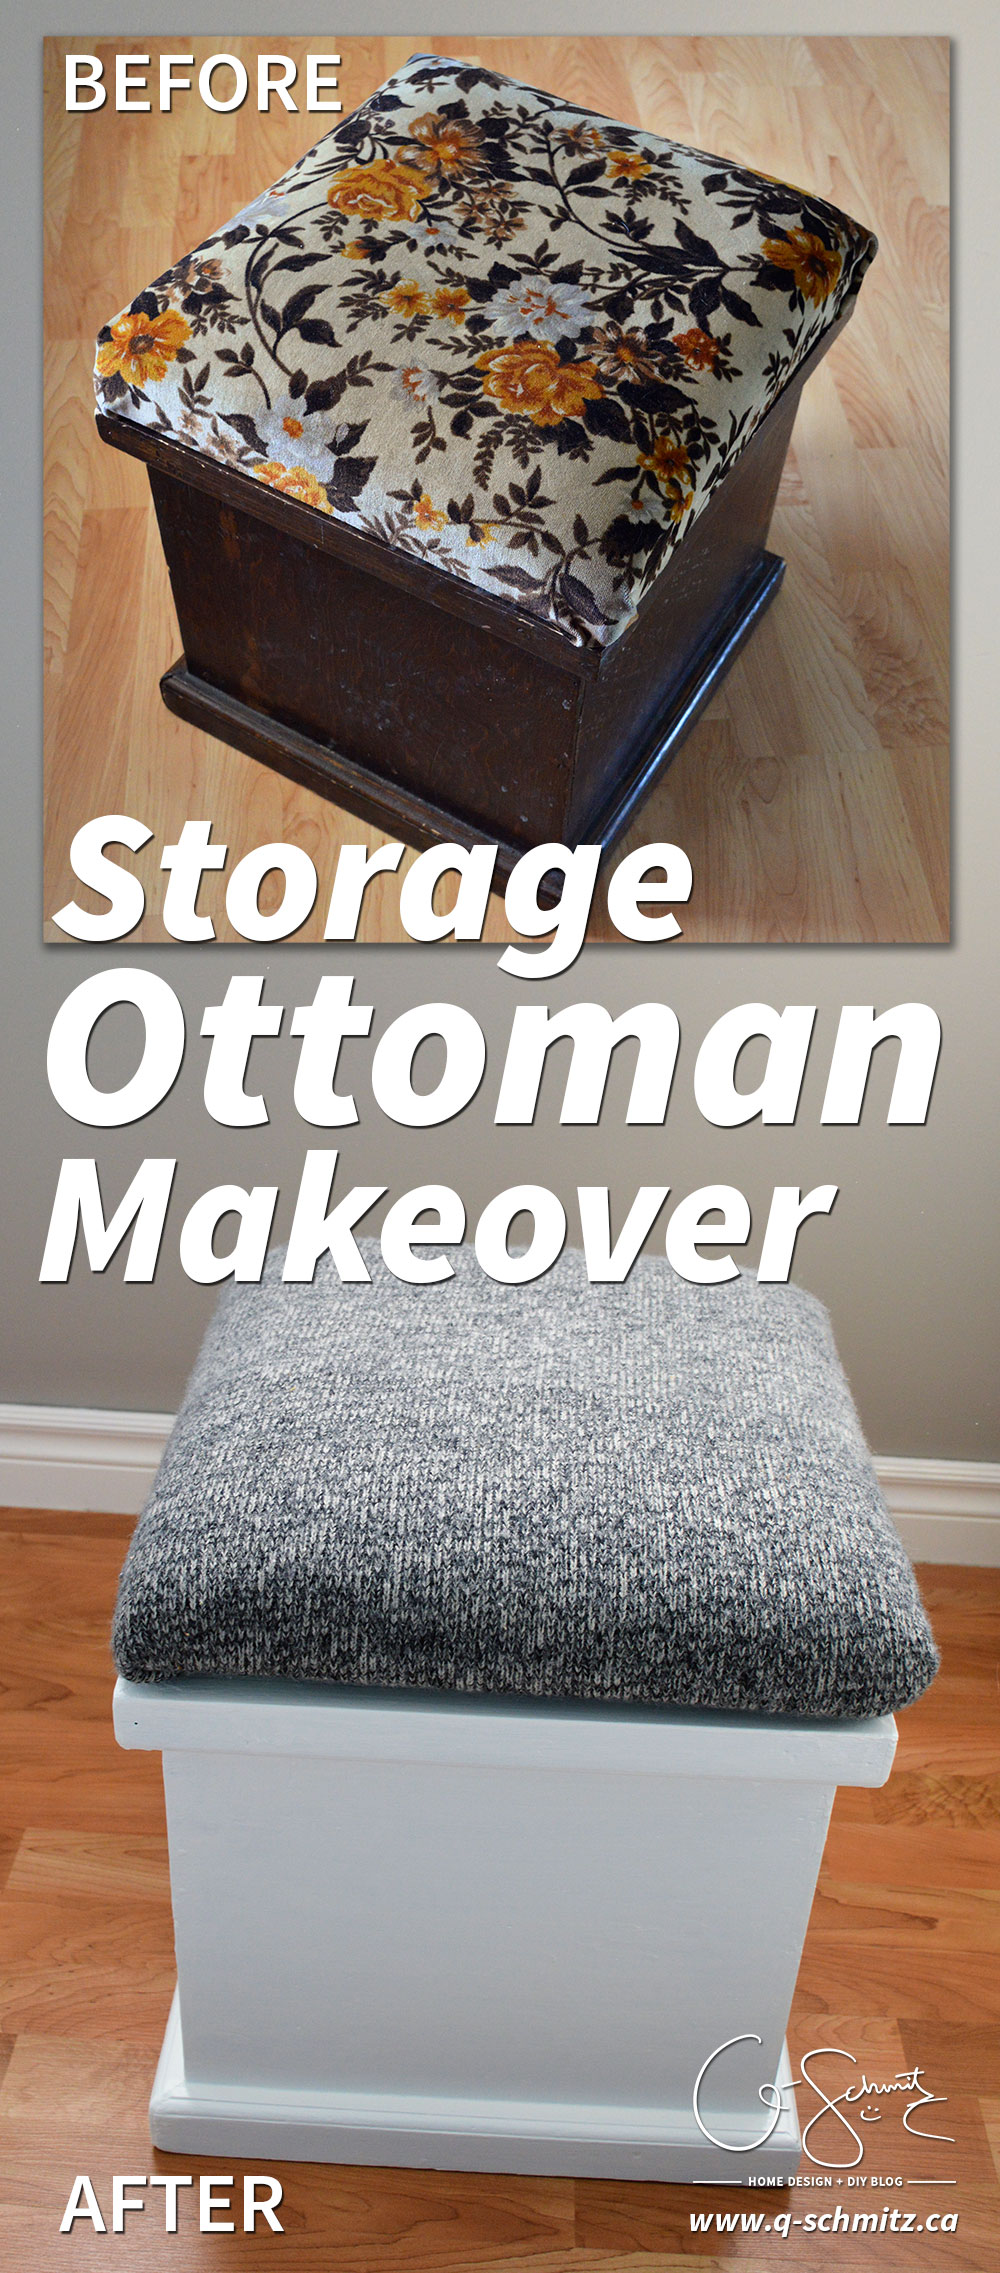
Now, maybe you remember that I shared a before picture of this ottoman I purchased in August at an antique’s sale. But, in case you don’t, here it is again:
I had wanted to add a storage ottoman to our nursery to hold all the baby’s books so I could easily access them (I had them in the closet before). I was originally going to put a shelf in, but then I realized that we needed another place to sit (you know, in case anyone comes to visit me while I am feeding the baby).
That’s when I figured that a storage ottoman would be the best of both worlds. I would casually browse for them online on Kijiji or Facebook sale groups, but I could never really find what I was looking for. I even considered having the Husband build me one out of steel from scratch (I had drawn up plans and everything) but in the end, I found exactly what I needed!
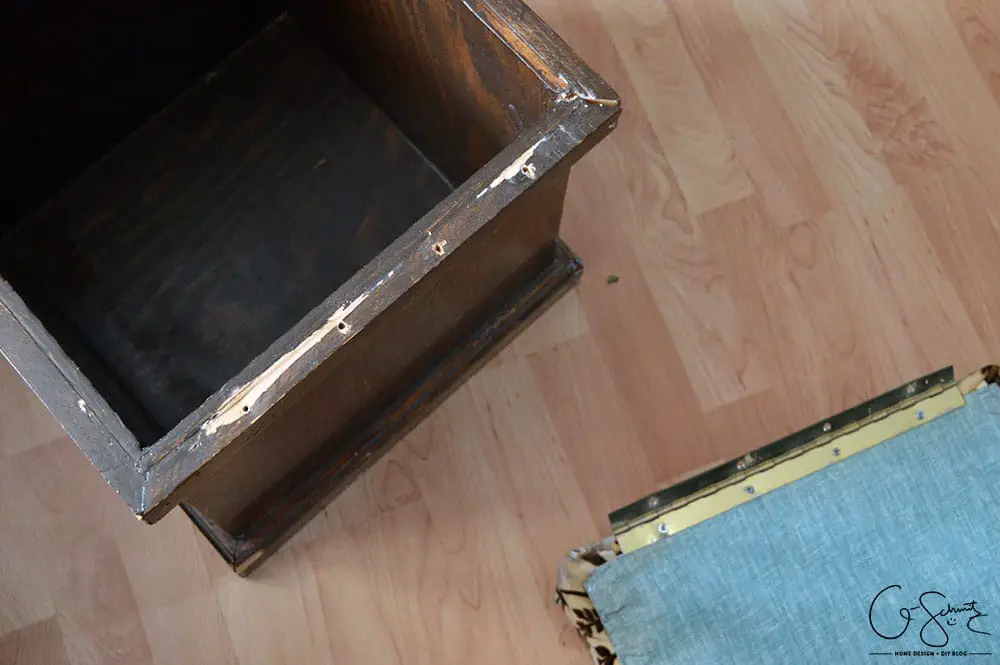
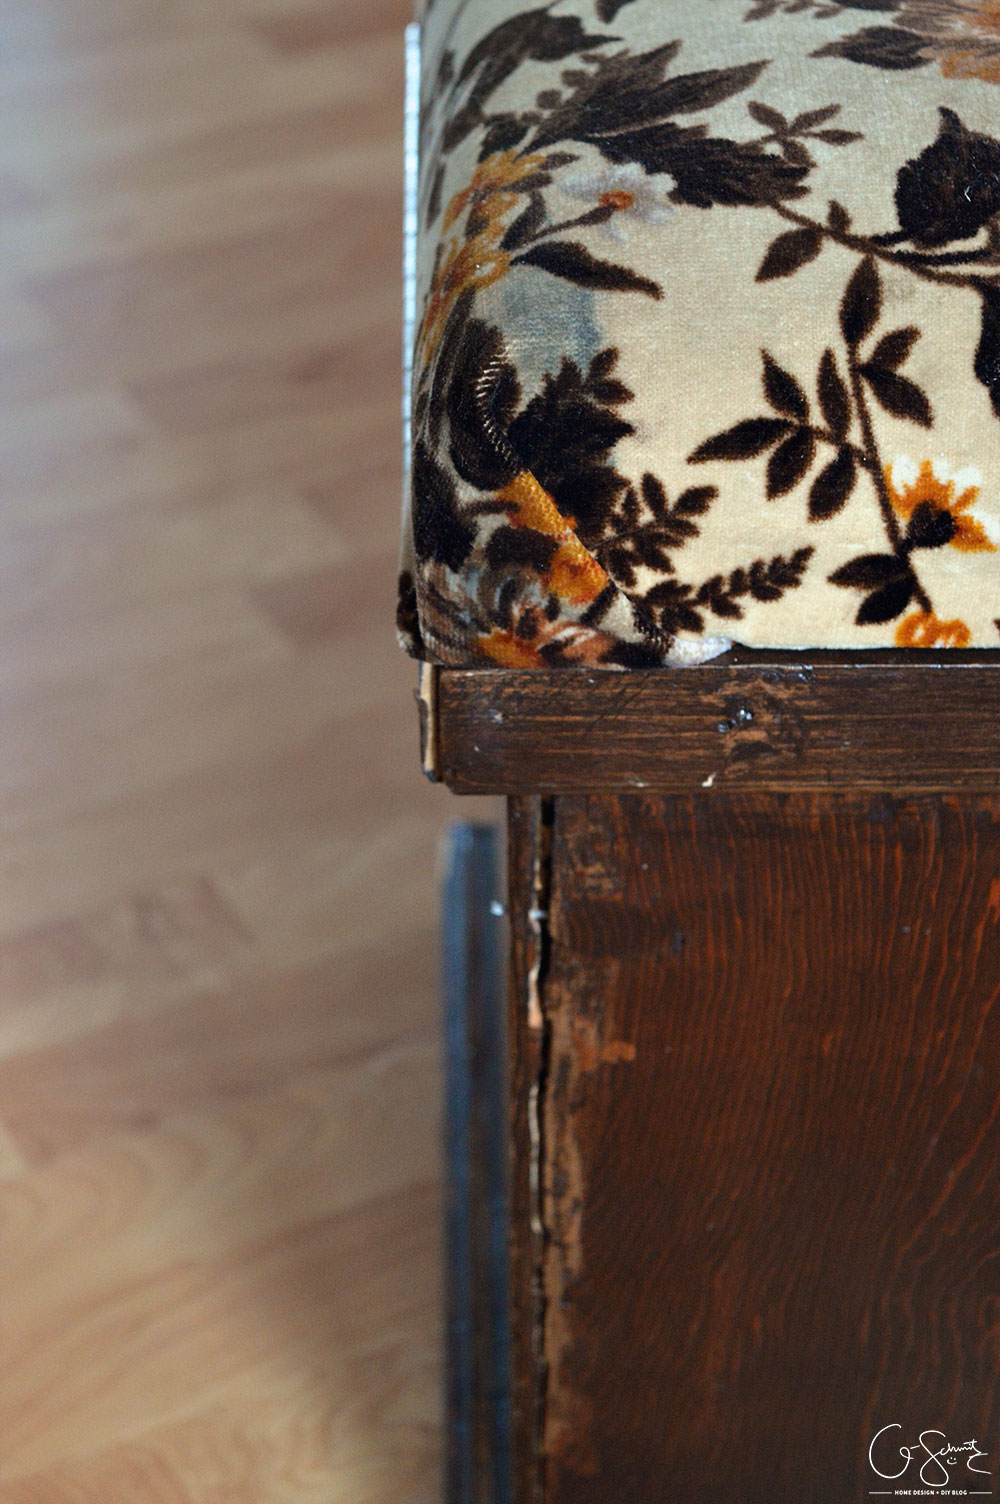
I separated the base section from the top/seat and got to work! I wasn’t really feeling the dark wood (not to mention there were some damaged sections that needed to be repaired) and the fabric that was there before didn’t really match my décor!
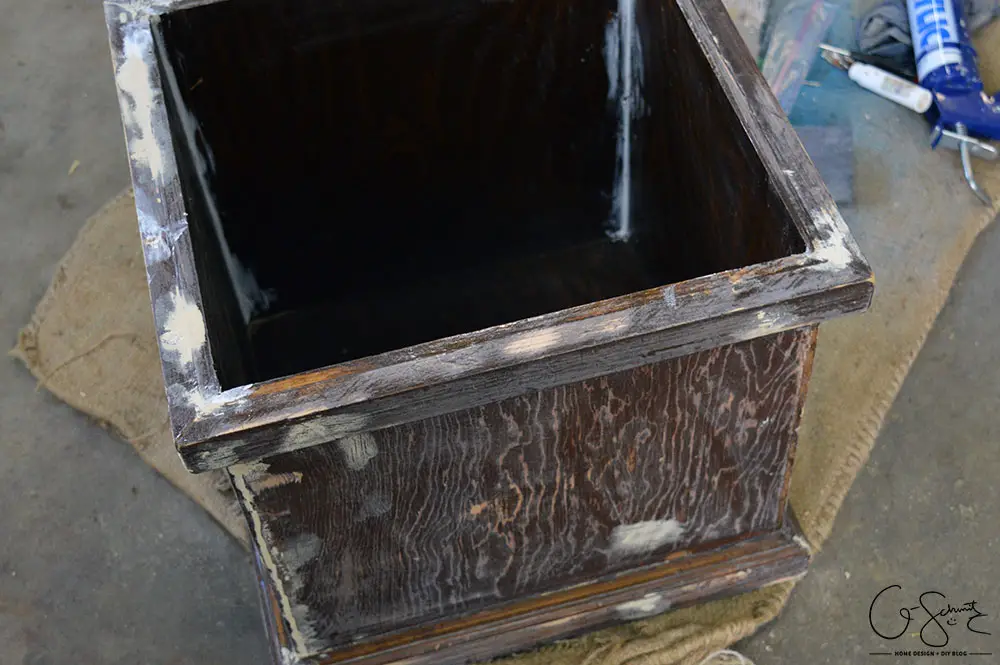
Using an electric sander, I gave the base a quick sanding before I wiped everything down. I hammered the nails at the joints in better, caulked the inside seams where there were gaps and used wood filler to patch up any holes or notches. Once the filler was dry, I used a sanding block and went over everything again.
(I then painted two coats of Zinsser primer and 2 coats of white melamine paint on the entire surface, spread over a few days).
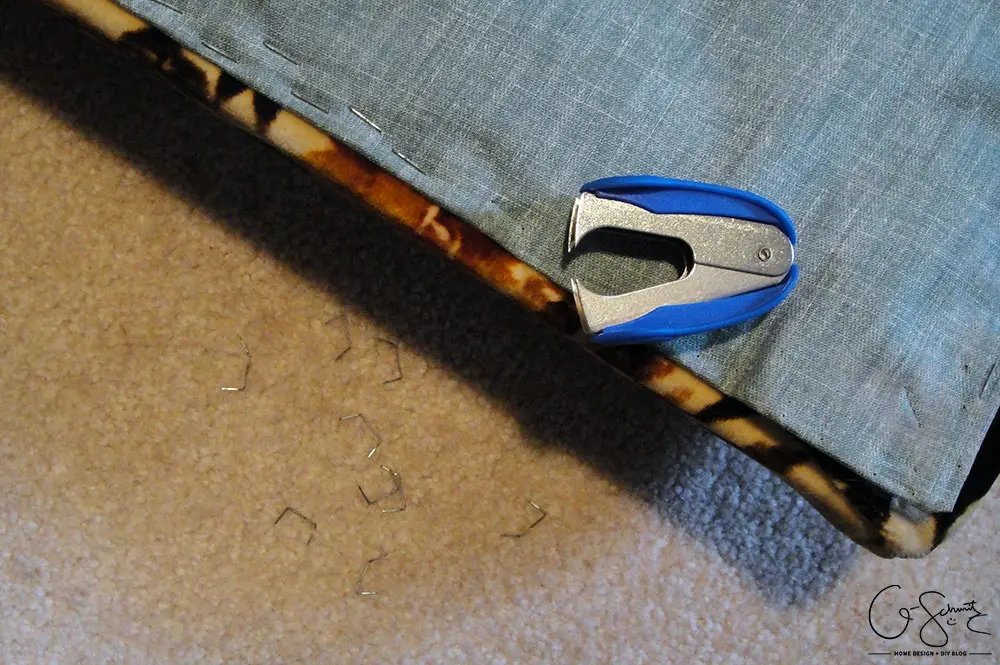
For the top, I removed what seemed like a gazillion staples and put everything aside. On the scale of “these should just barely hold the fabric in place” and “let’s make whoever has to remove this have the most difficult time ever, both physically and emotionally” I would say this ottoman fell closer to the latter category! But, I have to be honest, this was my first time ever working with upholstery, so maybe this many staples was normal?
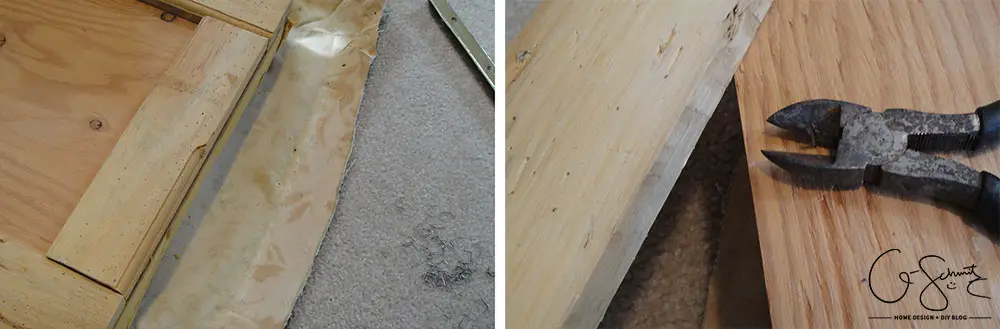
Now, there were also some extra wooden pieces that made up a frame-like border on the top piece. I thought they were unnecessary (I figured I could just use shorter screws to attach the base to the seat) and some were even loose. I ripped them off, then snipped the nails down (they had been installed on the foam side, but it was glued on and I didn’t want to rip it off).
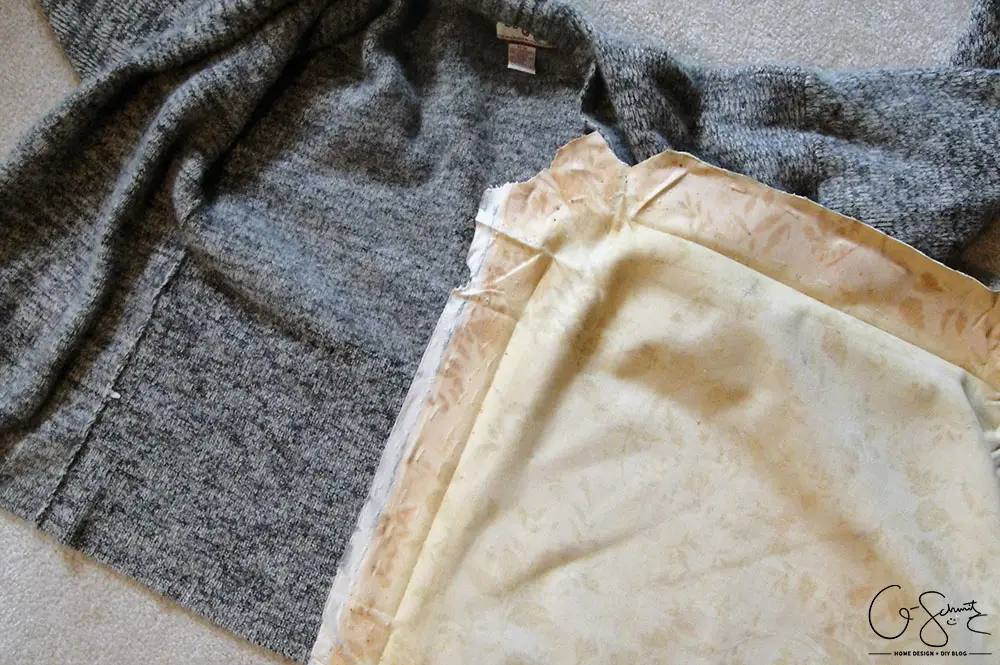
Anyways, I also had a piece of fabric in mind that I wanted to use (an old wool sweater that belonged to my grandparents) and it was just a smidgen smaller than the original piece of fabric. I was originally keeping it to make a pillow or two (I loved the colouring, but it didn’t fit me properly and there was a small hole in one section).
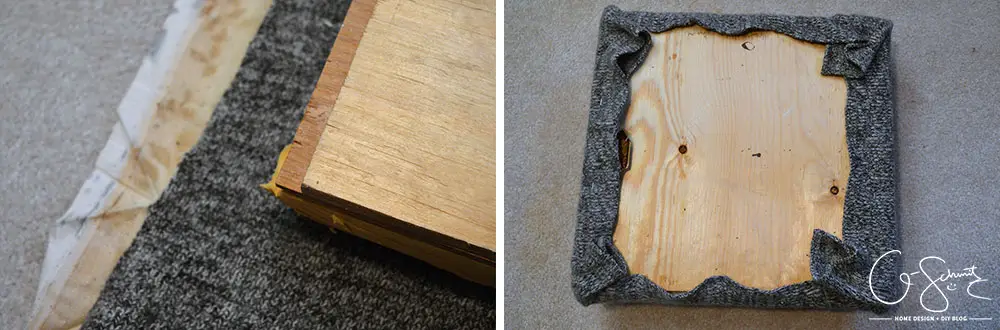
I did add another small (maybe 1/4″ thick piece of plywood) so that the screws wouldn’t poke through (I glued and nailed it in). After cutting the sweater along the sewn edges, I just stapled it into place using our industrial stapler (with a minimal amount of staples in case I ever had to replace it!).

Then, I simply re-attached the original backing piece on (again, didn’t use a lot of staples), got the Husband to help me screw the hinge back on, and added the books we have! I put two boxes in to hold the little books in sections so that when you grab one, they don’t all come tumbling down.
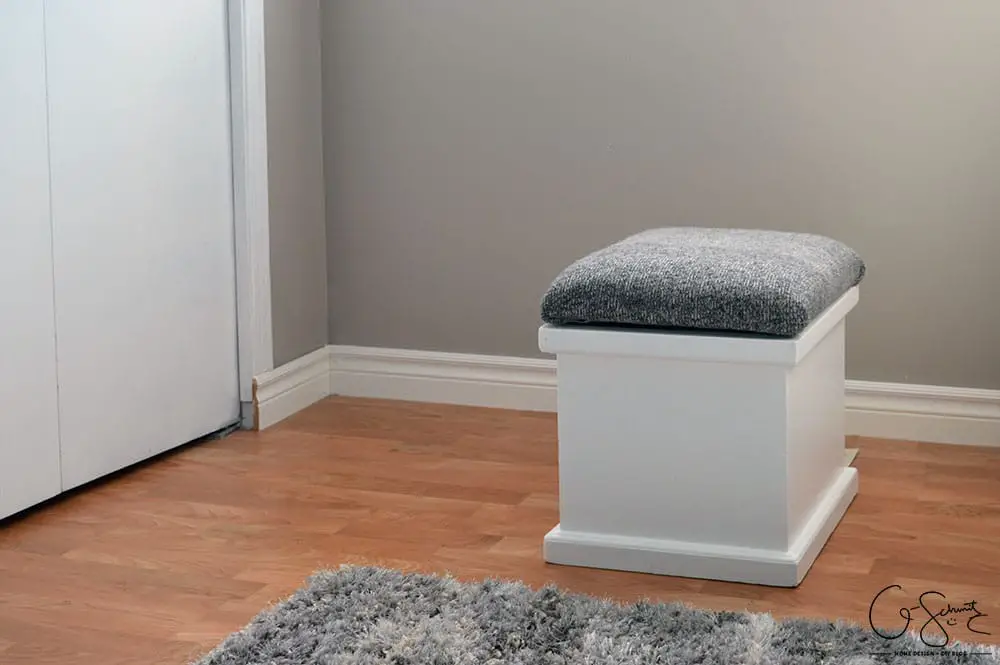
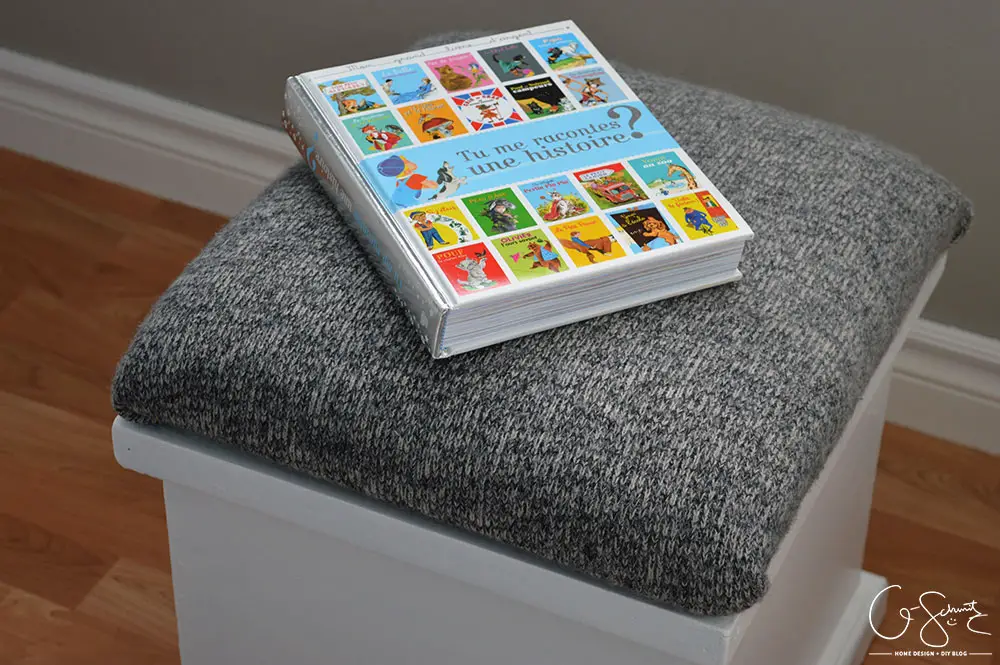
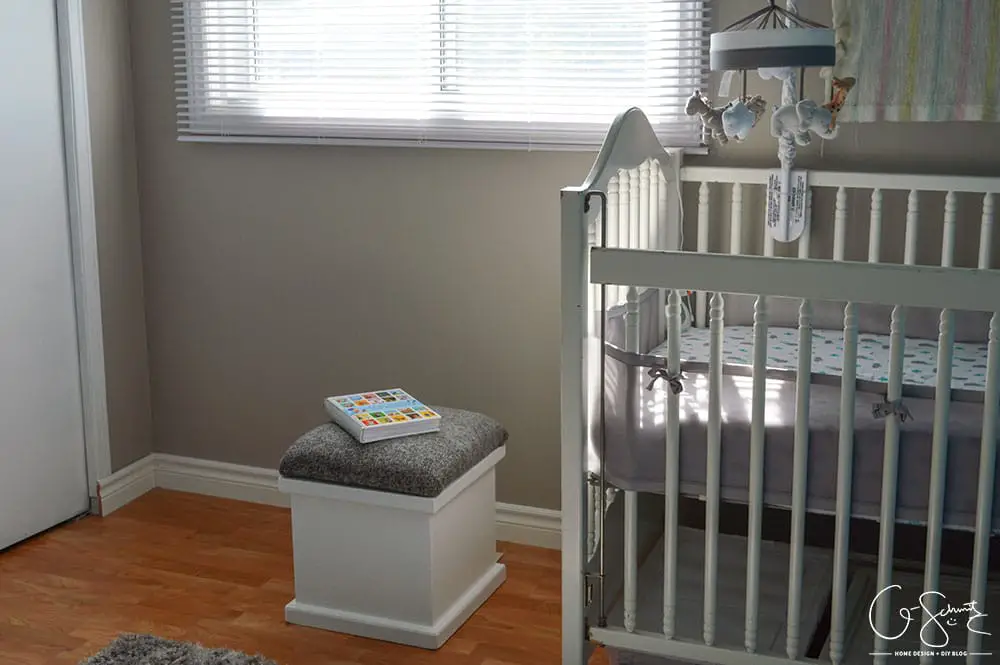
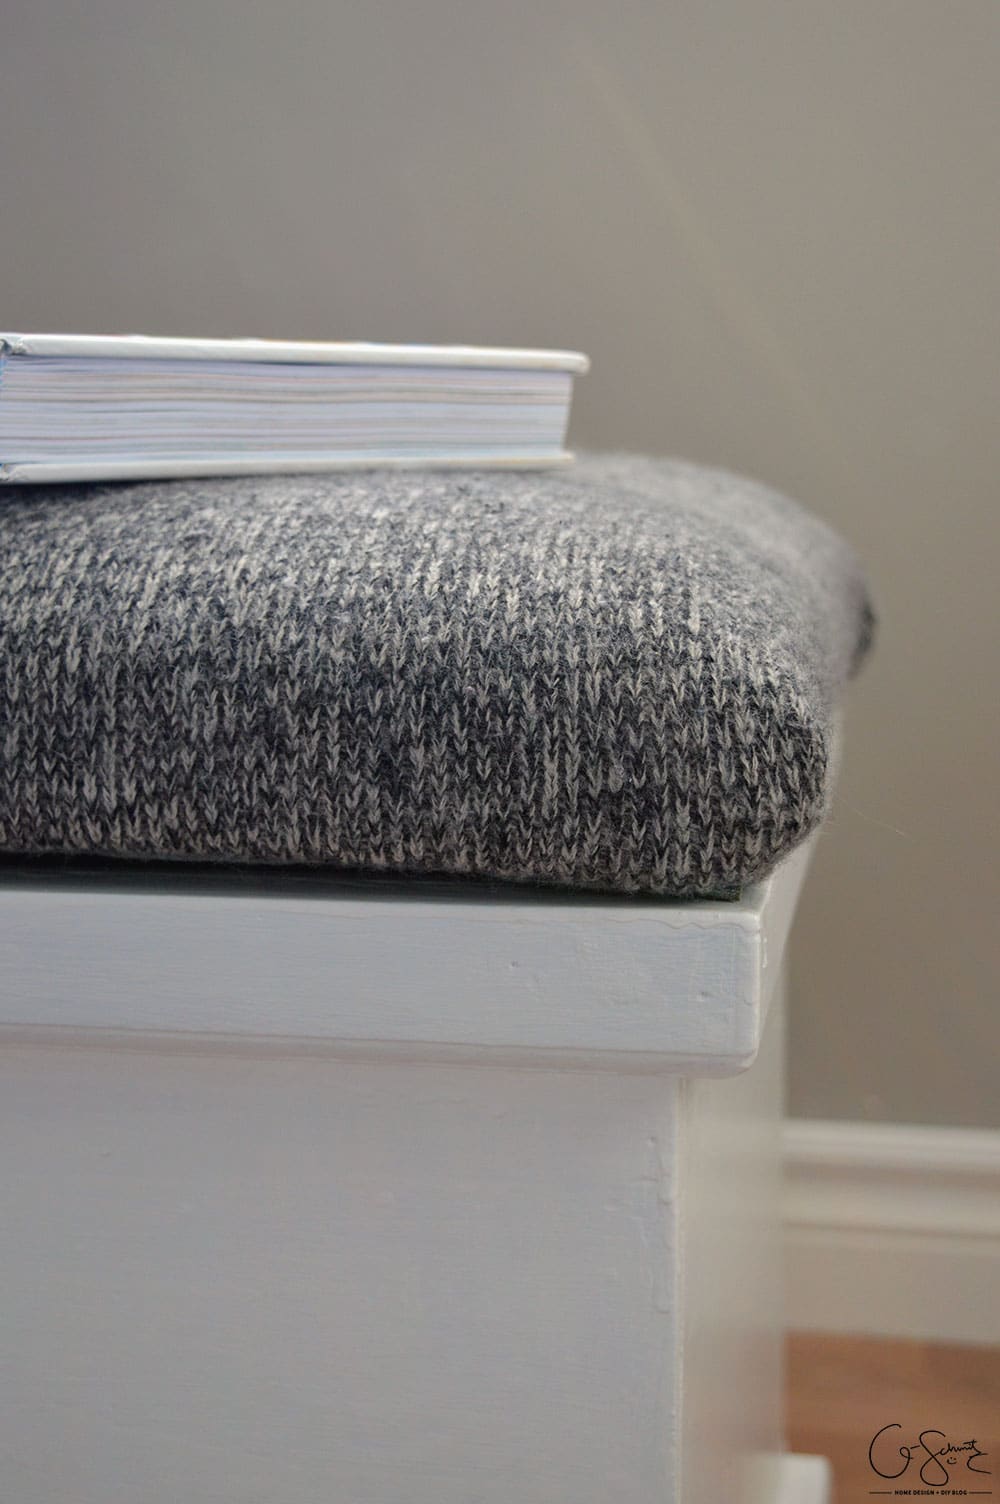
And, here’s how it looks in the nursery! (I put the ottoman in front of the heat register, so that’s the poking thing you see on the ground behind it).
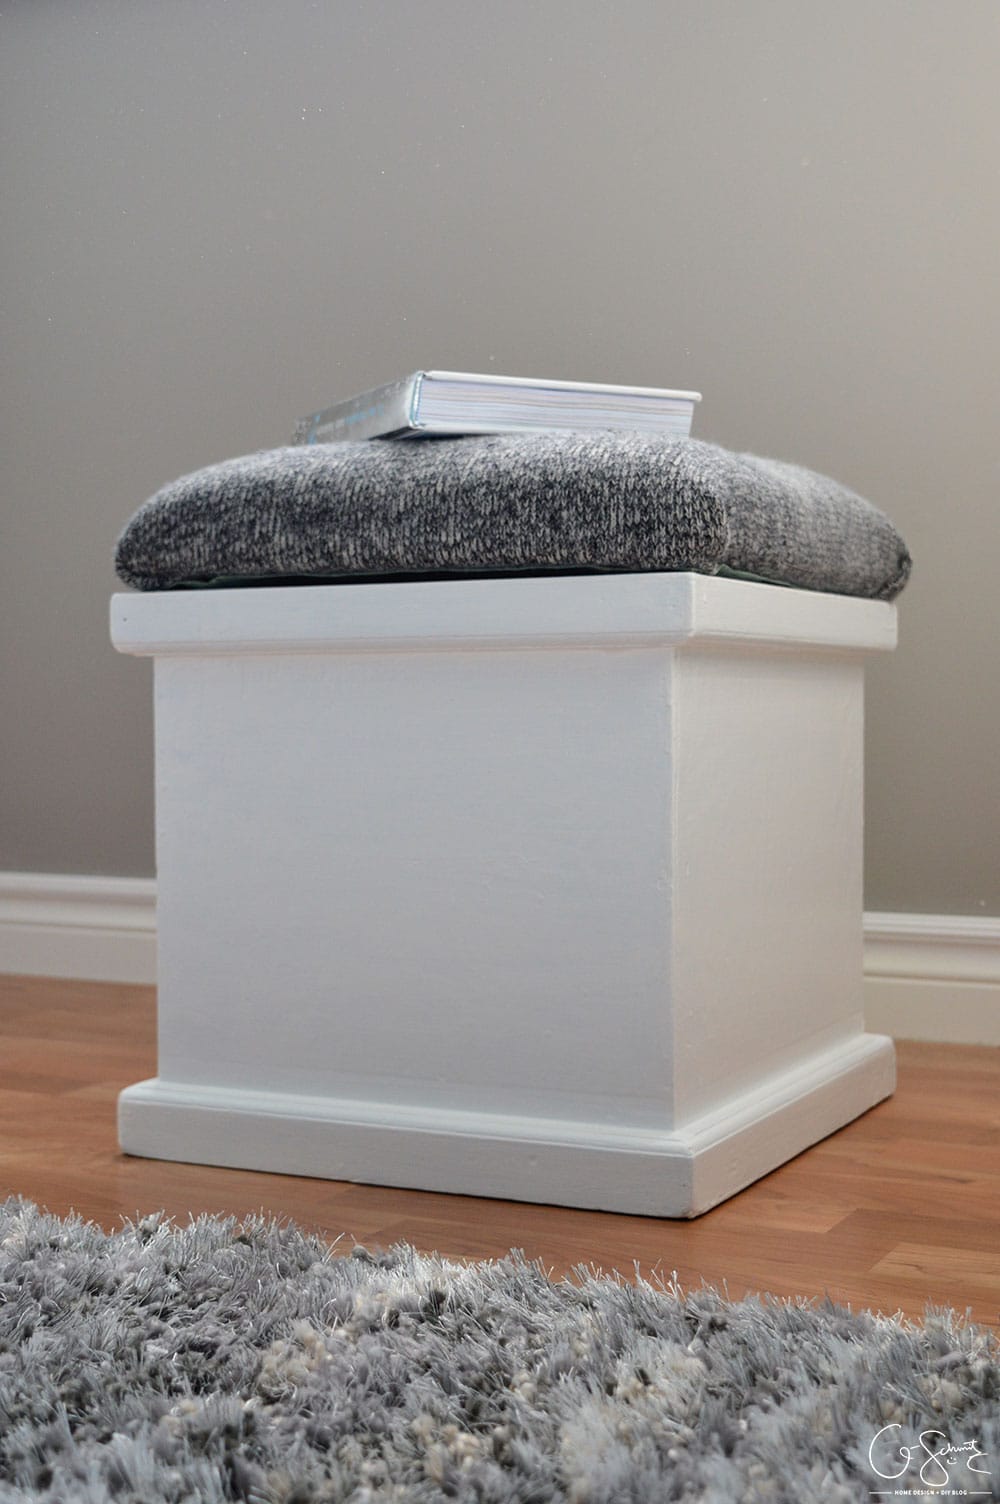
This was such a fun project, but I don’t think I’m going to go selling furniture makeovers anytime soon. There are some imperfect areas in the paint (including some pieces of burlap that got imbedded in there!) but for a piece of furniture that will be used for children, it works great!
The Husband has even called it “his bench”, although he has yet to sit on it (other than for testing purposes). I can keep the book we are reading on top for easy access (no more having to walk all the way to the closet!) and eventually the little man will be able to open the storage ottoman and choose his own books to read.
Throughout the storage ottoman makeover, I kept thinking of the piece as a perfect example of “something old, something new, something borrowed, something blue” (even though that’s normally for weddings). The ottoman is old, the coats of paint are new, the sweater was borrowed and we can pretend that the original backing is blue (it’s more of a green hue…).
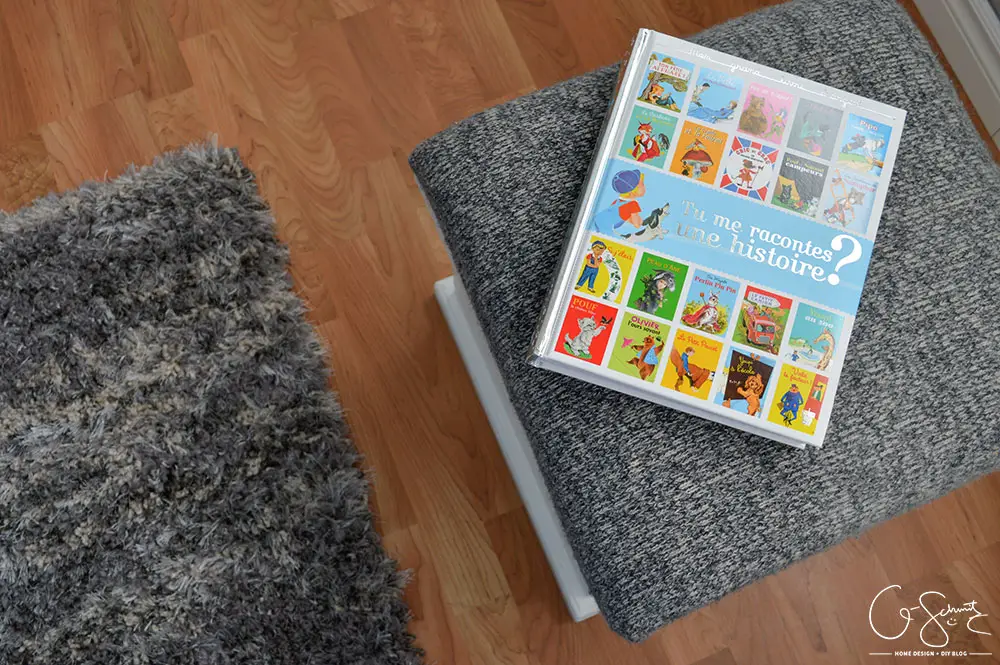
I love that the colours in the sweater go perfectly with the rug in the nursery too! Of course, I did make sure they would go together before I cut it up… I do have a few scraps left, so maybe I can squeeze out some tiny pillows after all (you know, once I learn how to sew and all haha!).
No but seriously, this storage ottoman makeover is probably one of my favourite DIY projects to-date! And, considering it cost me less than 10$ (that includes the few books I bought at the antique sale too) – it was SUCH a good idea on my part :) It now matches perfectly with the décor in that space, and better fits my overall design aesthetic (you know, if I had one of those).
Just goes to show you that if you can’t find exactly what you’re looking for, try and find something in the shape you want, and just alter it to fit your wants/needs!
See you next time :)
2 Comments
Louise aka Mommy
December 22, 2016 at 8:07 pmclever use of the sweater and a memento too!
Nicole
January 2, 2017 at 2:03 pmI did really like that sweater, so I’m happy it worked out :)