
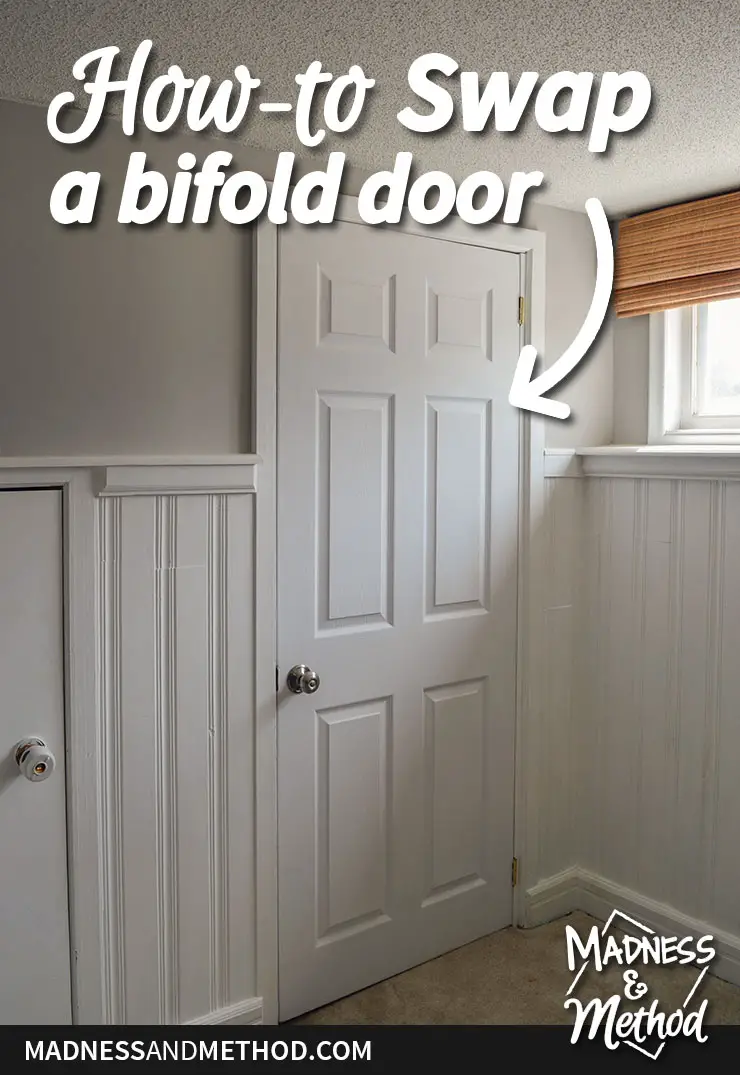
Before we listed our house on the market (it went up yesterday!), I made a list of things we needed to do. One of the obvious items was fixing our broken closet door in the basement. And, I figured it was a good opportunity to take a video to show how to swap a bifold door for a regular/slab door! Let me share the process :)
– Note: This post contains affiliate links. See more information about affiliates here. –
This project dragged on a few weekends, so please excuse the outfit/lighting differences in the video. It could easily be accomplished in much less time (assuming you have all the tools/materials you need).
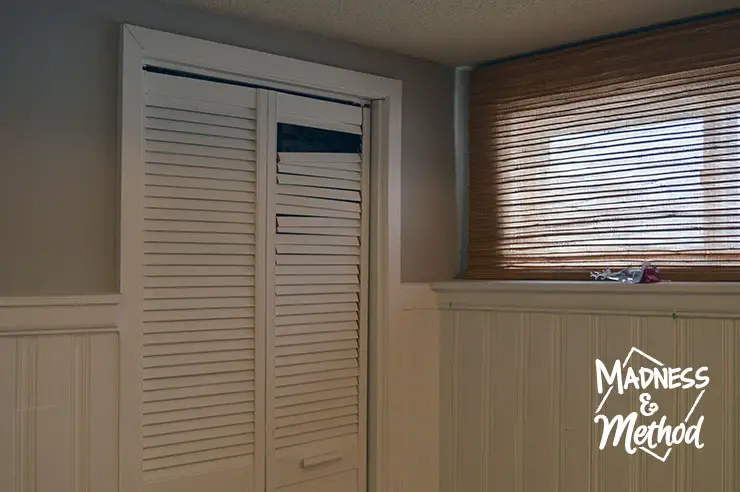
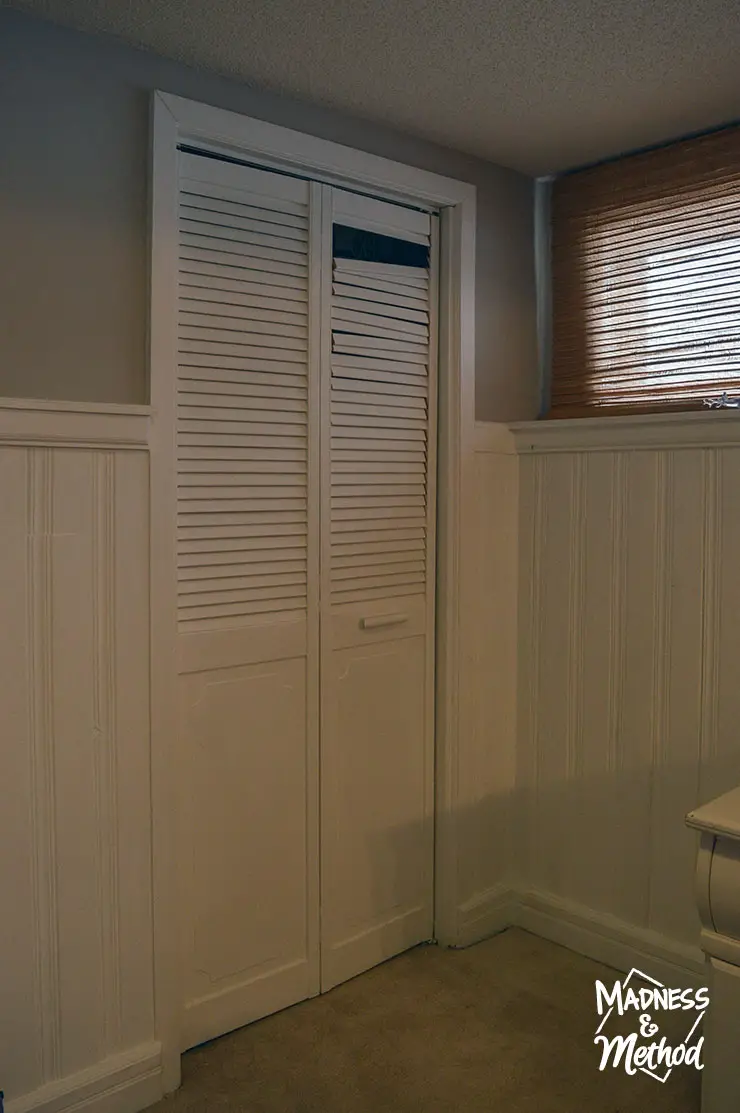
The original plan was just to fix the broken slats in the door. However, once I attempted to glue the slats, it was not working out. I was frustrated sticking them back in and they started falling out completely. Then, cue the kids, and this “quick” door fix was getting out of hand.
Here’s a breakdown of all the steps to follow to swap out the bifold door. And a handy list of items/tools you may need:
Materials Required
- Slab Door to fit opening (ours was 78×32, but measure your area!).
- Hinges (here’s a good deal on a pack)
- Doorknob or handle (we used this closet knob)
- Tools required: chisel(s), hammer, screwdriver, drill, 2-1/8″ saw bit, 1″ drill bit (I like these spade bits)
- OR get a door hinge installation kit and door knob install kit
- Miscellaneous: Paint, brushes, pencils, measuring tape, level, vacuum etc.
Hopefully, you have your items ready to go when you start your project. I was hoping we could get by without a regular doorknob, so it took a bit longer because I had to wait for one to come in.
Step 1: Measure Opening, and get a slab door
The first thing to do, BEFORE removing your door, is to measure the opening you have available. I measured the height, and width at both the top and bottom (in case there was a discrepancy). From there, I looked at hardware store websites to see if there were doors that fit those dimensions. If there aren’t, you might have to order a new bifold door, an accordion door, or possibly make/cut a slab door to size.
You can order custom-sized doors, but I wanted this project to be as low-cost as possible. I also looked on secondhand sites for used doors that could fit and browsed our local Habitat Restore a few times.
(We started this project before the quarantine/stay home regulations, but didn’t finish until a couple of weeks ago).
Step 2: Remove Bifold Door
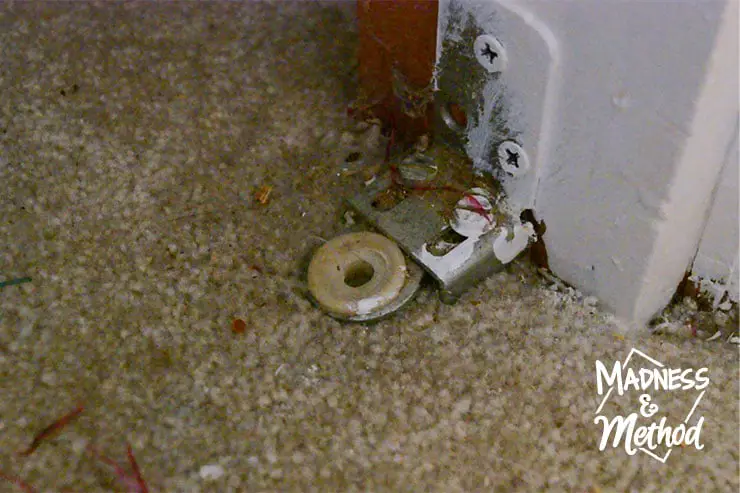
Bifold doors usually have a track along the top, a pin that sticks into the door (that slides along the track) and another piece/pin in the bottom corner. Our door hardware was all secured with Phillips screws, so I just used a regular screwdriver to remove them. Most times, you can push down the pin at the top and slide the door out.
Once the door was taken down, I removed the track and any hardware that was left. I quickly patched the holes and primed everything. (I painted the panelling a few years ago, and there were areas I missed in the door frame).
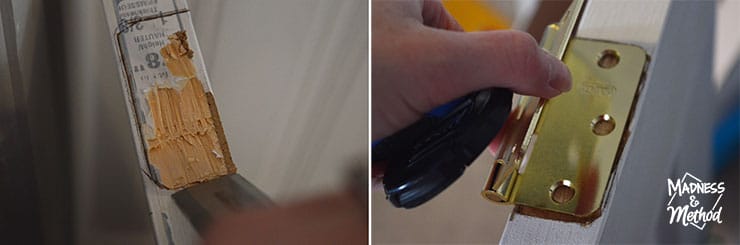
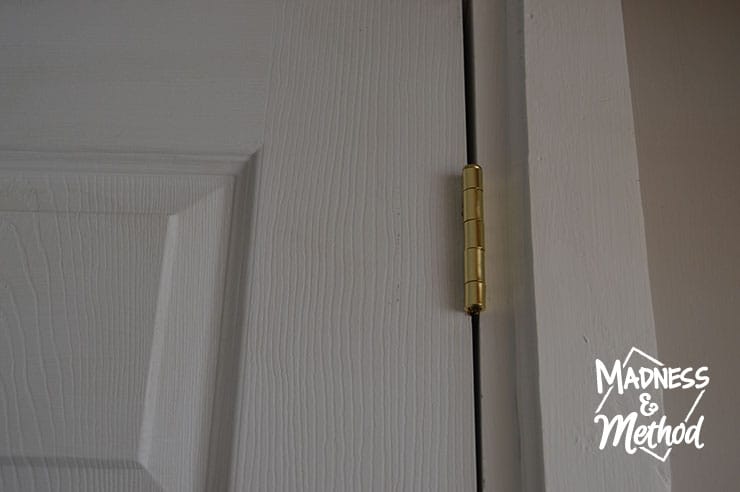
Step 3: Test Fit, and Install Hinges on Slab Door
I had also given the door a coat or two of prime, so now was time to test fit and install the hinges! The video (below) has all the steps as well, so check that out if you want more details. I try and avoid doing extra work – so if the door would have fit with the hinges, I probably wouldn’t have chiselled them.
(The Husband did one of the hinges for the video. I didn’t have my tripod at the time and it would have been impossible for me to do it while filming!).
He was the one who bought the hinges, which is why the finish doesn’t match the doorknob (these would have been better). Yes, you can buy door hardware in other metal finishes – and it’s good if they go together :)
Step 4: Install Doorknob
I didn’t buy the doorknob right away, but it turns out – we needed one! By now, hardware stores were closing, so I ordered this knob on Amazon. Even though it was Prime, I still had to wait a bit longer since it wasn’t a priority shipment.
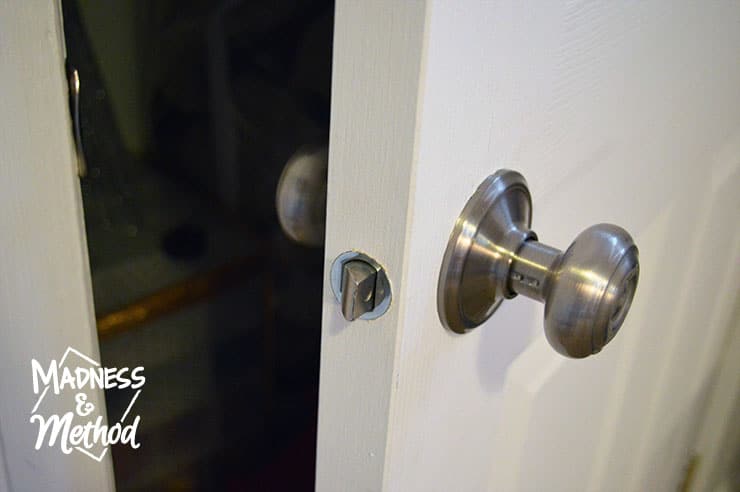
If you buy a pre-hung door (meaning it comes with the frame), the holes will most likely be drilled for you. Because this was a slab, I had to drill them myself, but it wasn’t the first time (although you may get that impression in the video, ha!).
If you’ve never installed a doorknob before, make sure to read the instructions a few times before you begin. They come with a little template to mark where to screw your holes.
Step 5: Install Strike Plate and Doorstop
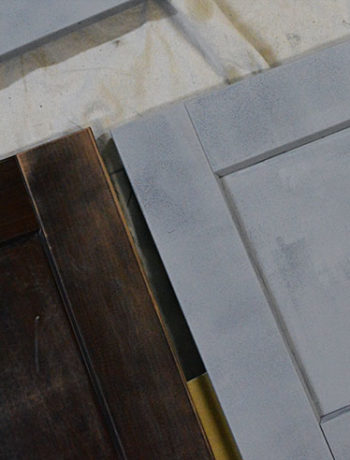
Again, I tried to be lazy, but I also had to chisel out the notch for the strike plate. This is probably the easiest part of the doorknob installation, and you can always adjust this if it’s not lined up perfectly.
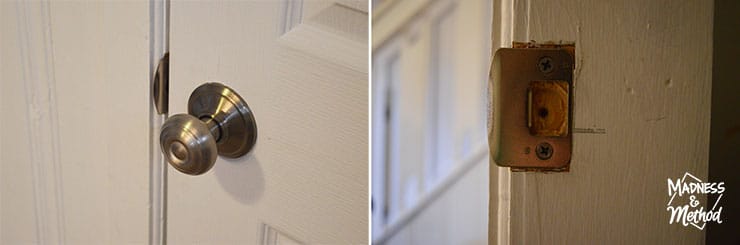
In the photo above on the right, you can see the mark that the door bolt was rubbing. That helped me find the location where to drill the hole.
Tip: drill your hole first (before installing the strike plate completely). That way, you can adjust the location/height before notching out for the plate.
AND I didn’t show the process of installing a doorstop (we have to do that still, whoops!). But it’s essentially just a piece of trim that goes along the jamb and stops your door from swinging too far in. I’ll do that this weekend :)
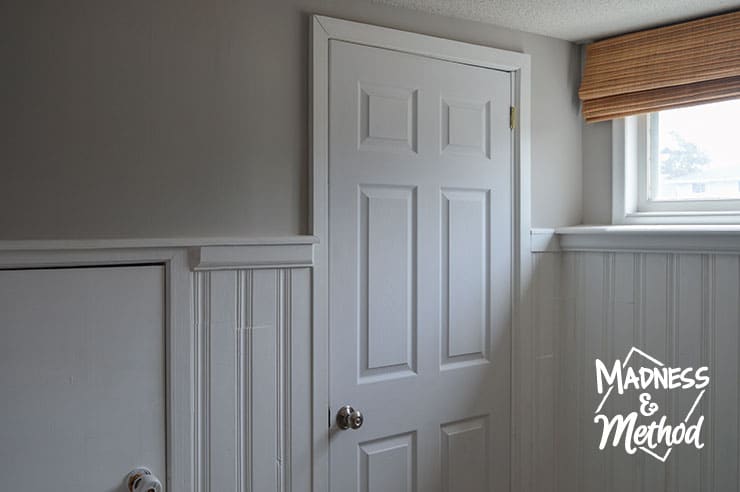
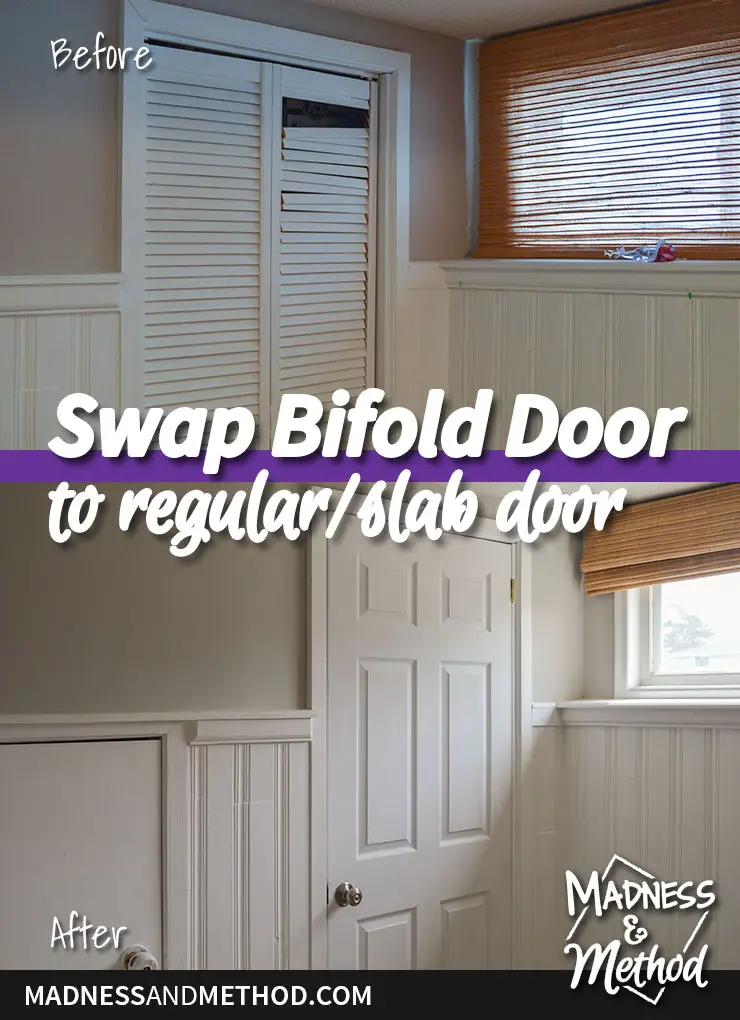
Here’s a little before and after:
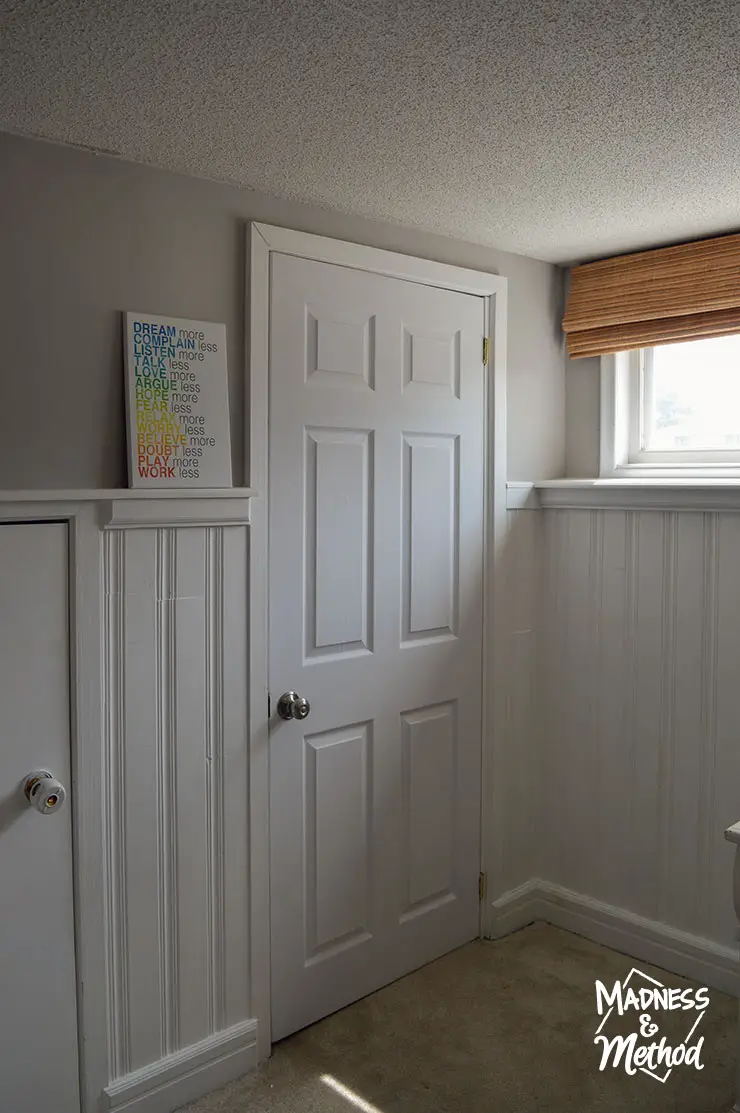
We didn’t paint but just opened the blinds to let all the light into the basement. (Normally I have the blinds closed because my desk is right there and it’s a little blinding). Now that our house is for sale, we have it set up for showings almost all the time.

I still need to paint the door to match the colour of the panelling. (Right now the primer is a bit blue/cool toned), but it looks a lot better now that the door isn’t broken/falling apart.
Video: Swap a Bifold Door
Check out the video above for the (sort of) step-by-step process of swapping the door. I had a lot of issues with batteries dying while filming this (both in my drill and camera). And sometimes the littles would just walk in or scream, so I tried to cut that out, ha!
Either way, I’m hoping it was helpful to share the steps on how to swap a bifold door for a regular door. Or at least, have given you the idea that it is possible, and/or that you don’t need to live with your broken doors anymore!
I did like the louvred look of the old door (and spent a LOT of time painting it all), but alas this is much simpler. At least painting the panelling made it easier to match the look of the new door :)

2 Comments
Friendly Carpenter
January 7, 2021 at 11:46 pmNeeds a fame stop molding they sell stop moulding sets at Home Depot lowes ect. Also it pops open because you set the hinges too far in on the door. They do have templates for that.
Nicole
January 11, 2021 at 9:24 amYes, I mentioned the stop moulding and linked one in the post, but might not have mentioned it in the video :) Interesting about the hinge placement – will have to keep that in mind next time!