
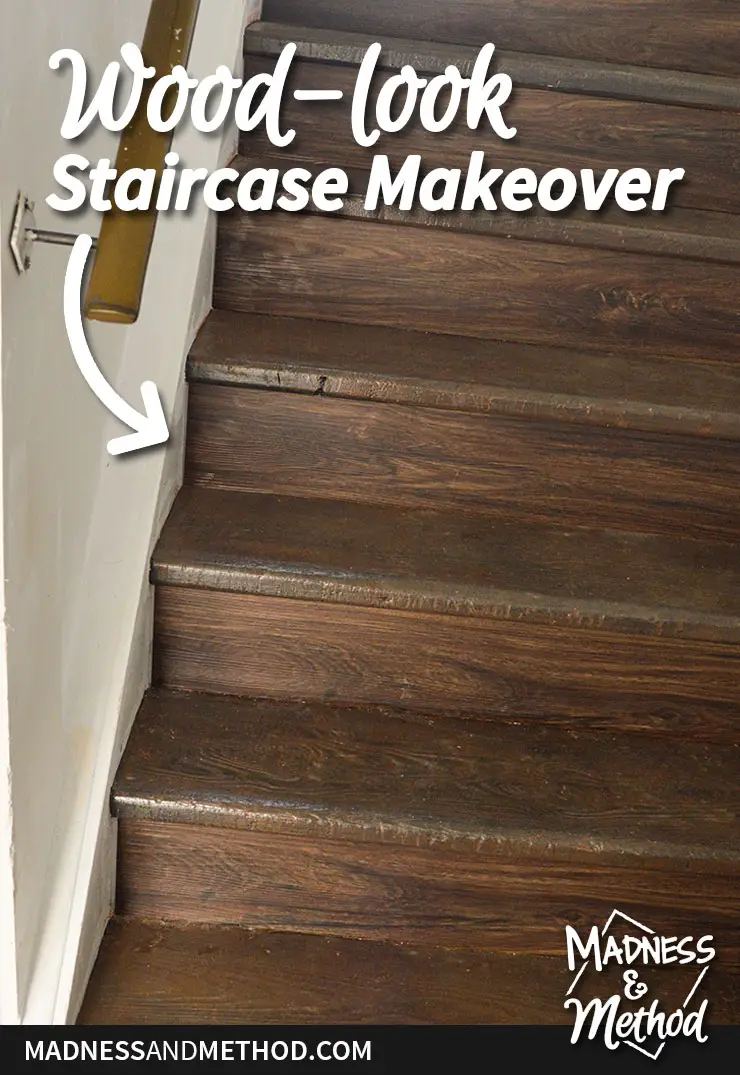
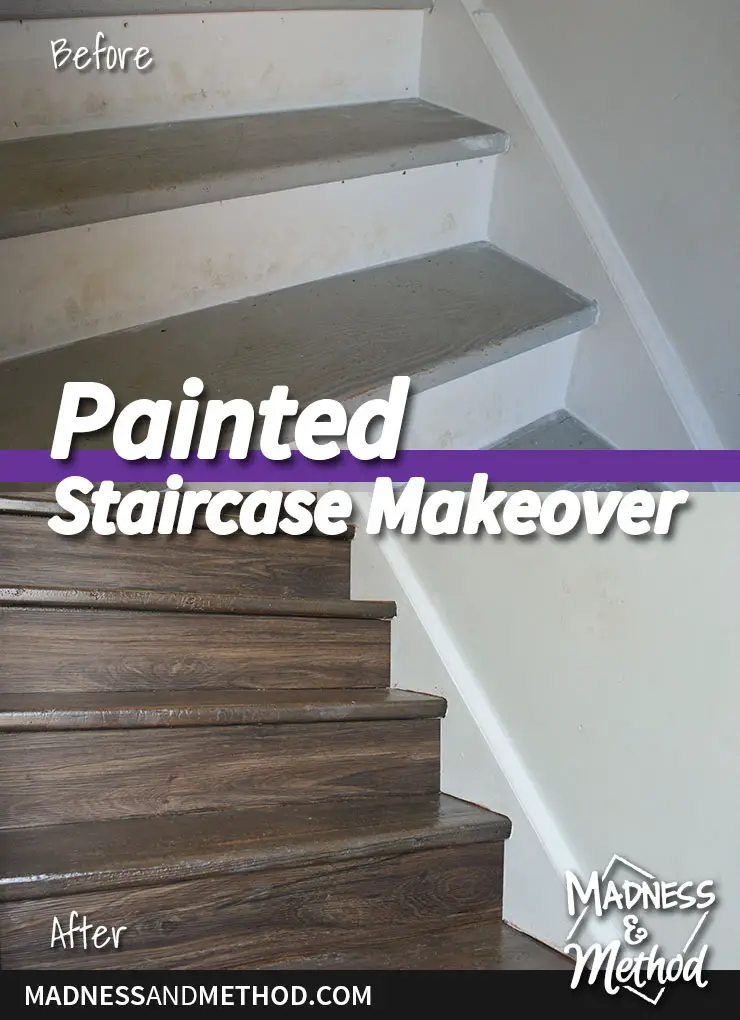
I have a super fun transformation to share today! We’ve been living with our new wood-look staircase makeover for a while now, so I almost forgot how different it used to be. Picture a plain-jane white and grey staircase. Now get ready to be blown away with this faux-wood painted version!
I also have a video that shares the same step-by-step that I’ll be sharing here. So you can always check that out (and I added it below) if you would prefer.
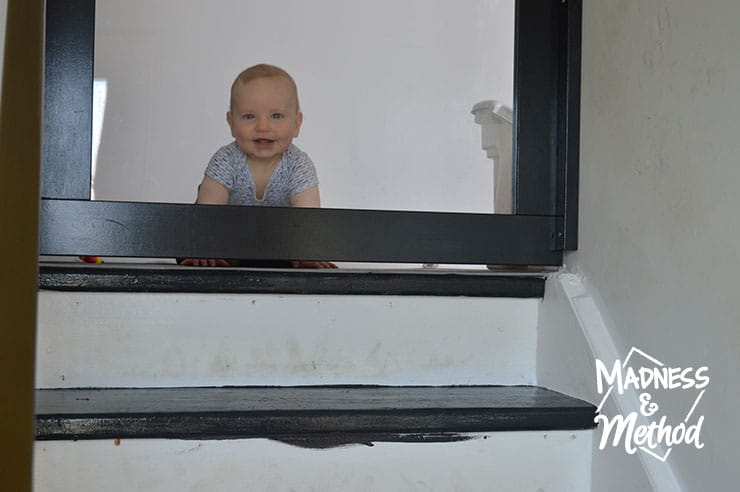
Oh, and heads up if you don’t like feet – I have a few feet photos included :)

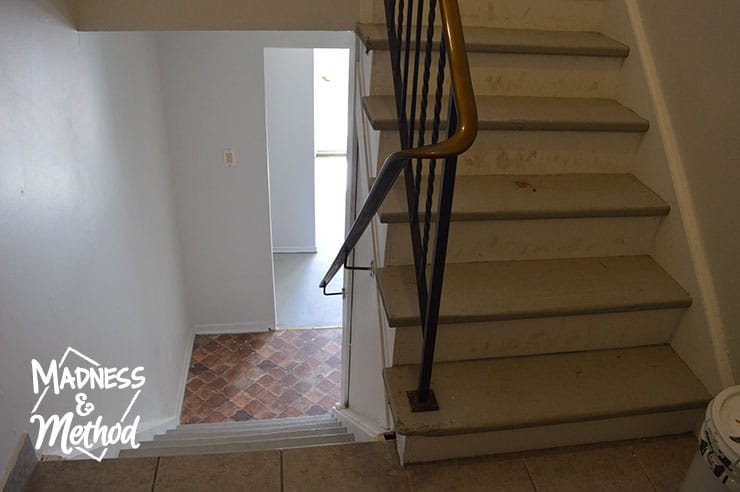
Okay, but before we get to the craziness that is the after, let me remind you how our raised ranch entry staircase used to look:

By adding a new front door, we brought in a lot of light to this area. But, we still had a long way to go.
Well, I should say, the Husband hated the white and grey stairs
He thought they were cheap looking, but I didn’t mind the grey that matched the tiles. They were also easy to sweep and I knew that I did NOT want any sort of vinyl floors or transition pieces added. Our last house had laminate stairs, and I found that the dust/crumbs would always get stuck in the edges/lips.
Prepping the Floors
After a while, the white risers started getting dingy looking, and I knew that I wanted to change that.
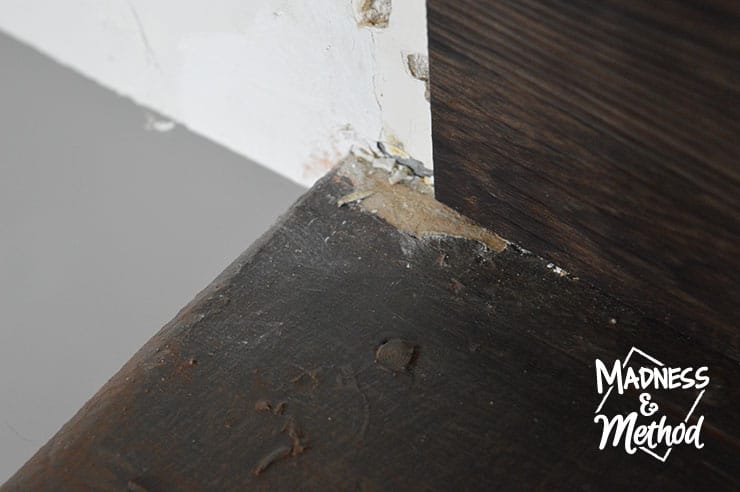
I got to work removing all the old carpet staples, filling in large cracks and caulking the edges. I then primed the caulk and wood filler, and was ready to get the stairs painted!
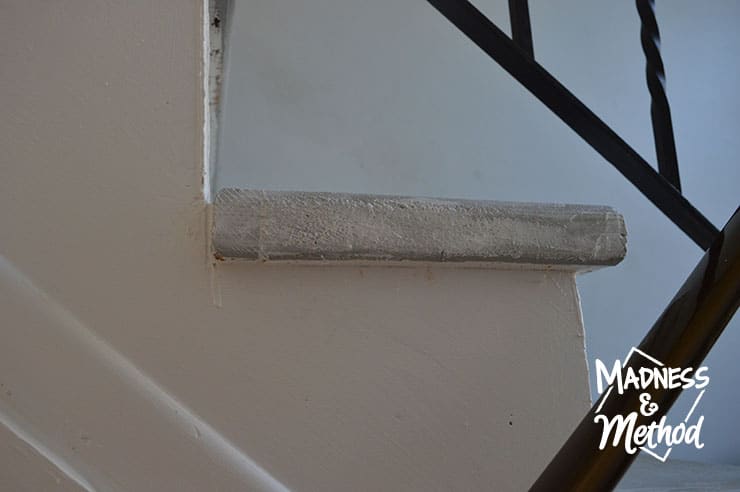
For the lower part of our staircase, each step goes wall-to-wall. The upper section has a visible nose, so I also caulked a bit there to remove some of the saw bumps.
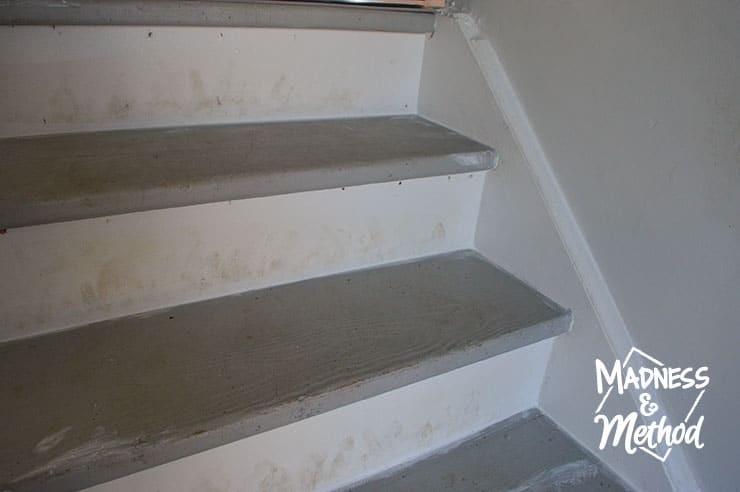
Then, it was time to paint!
I was really inspired by this image I found on Pinterest. I can’t find the original source, but essentially the idea is to put a vinyl or laminate piece on the riser.
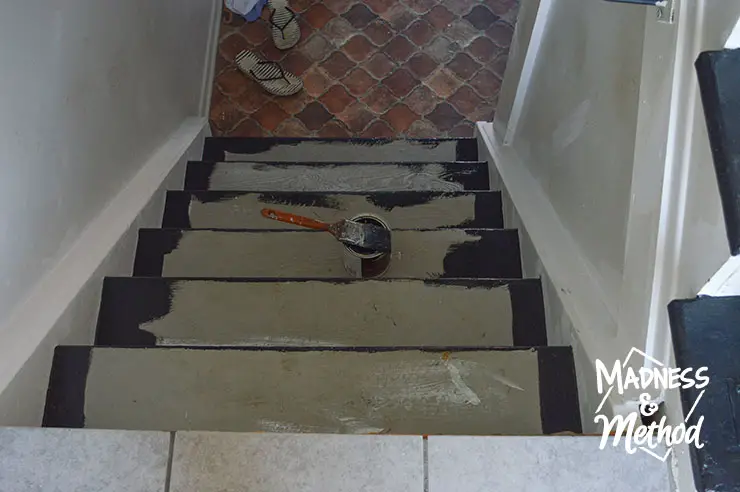
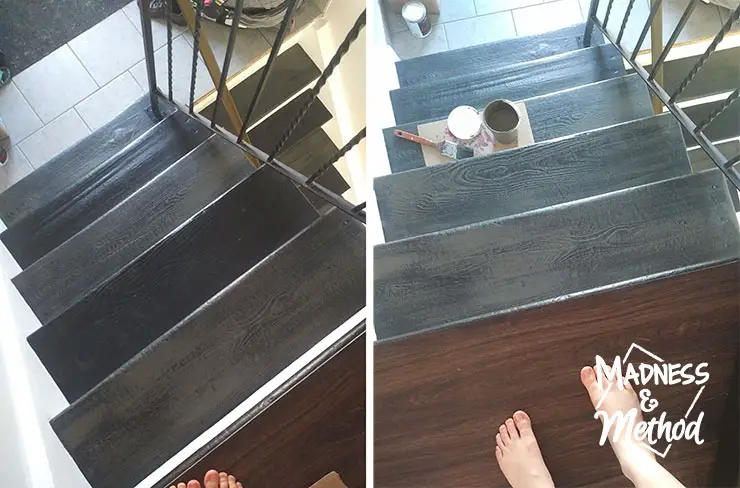
To match the look of our vinyl floors, I thought it would be a cool idea to paint the treads the same.
I wasn’t too worried about getting my paint along the riser (it would later be covered by a vinyl plank), but I tried to carefully brush the edges so I wouldn’t have as many touch-ups. Thankfully, my parents were watching the older kids (and Tootsie), so I was able to get this staircase makeover completed without the worry of little feet everywhere.
I believe I did two coats of black paint, an exterior latex. I didn’t want to buy new paint for this project, so used what I had.
Adding the Wood-Look
To create the faux-wood-look that I was after, I used a lighter colour (leftover from our rental renovation) and did a dry brush technique.
Basically, you lightly load your paintbrush, wipe up the excess, then slowly drag it across the steps. It’s the same technique I used when I painted the bricks at our old house, and I have it on video if you want to see more.
So that I could move around if needed, I painted every other step, then waited for it to dry, then did the remainder.
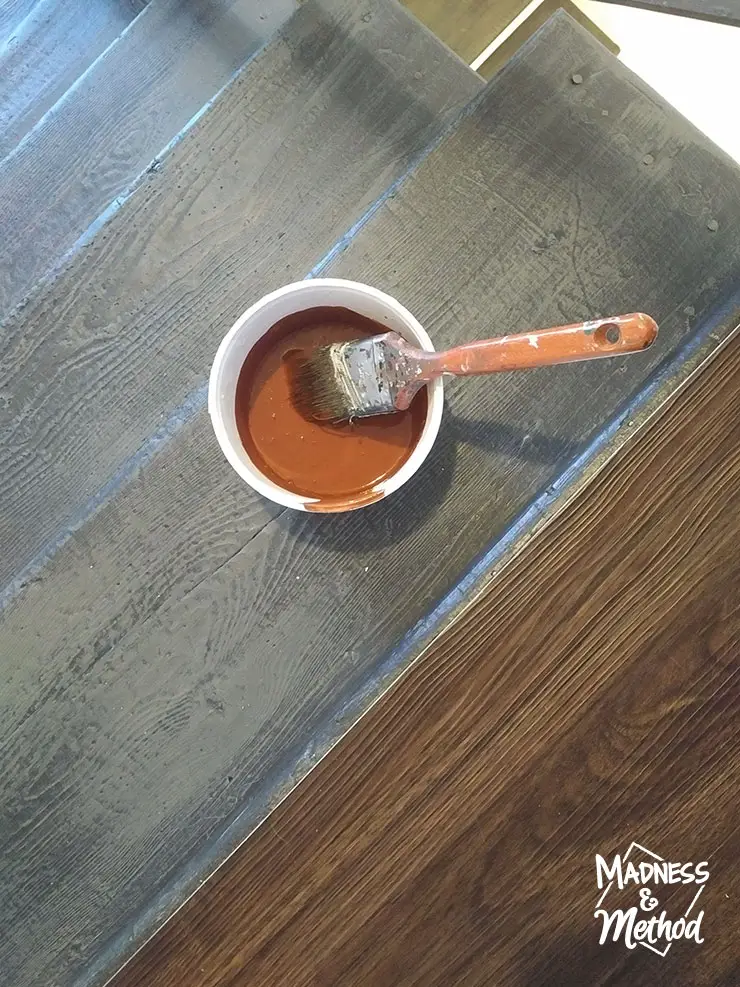
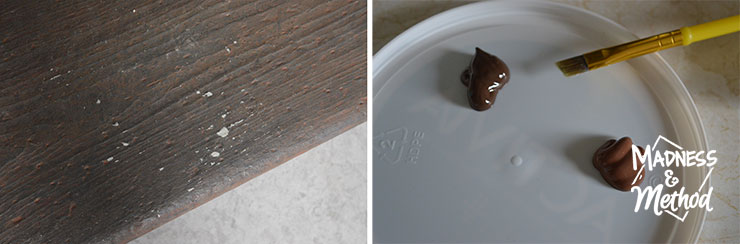
Because I had chosen colours that I had, rather than exact matches for the floor, I found that the tone wasn’t perfect. To fix this, I grabbed some acrylic paint in a warm brown and mixed it with water (a 1:1 ratio).
Then, I would brush the watered-down paint on a tread, wait a few seconds, and wipe up the excess with a rag. I used the same rag for 3-4 steps, then switched to a new one when it got too wet.
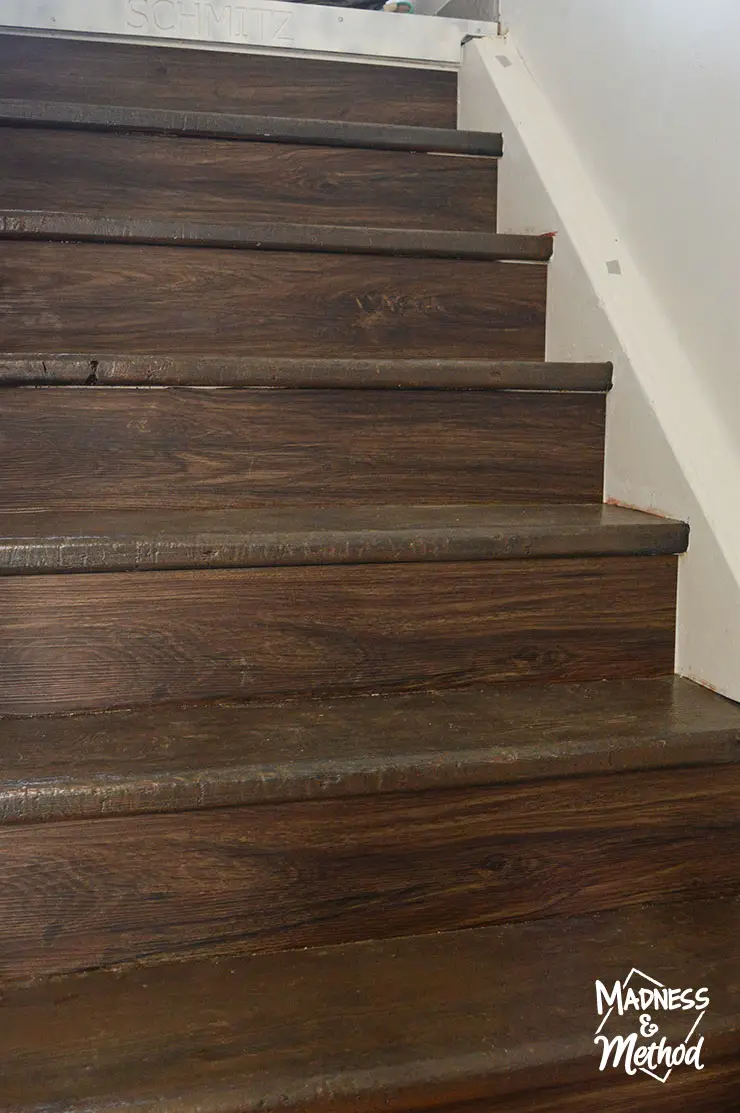
I did this late one evening, and it was looking good! The brown-wash also helped create a bit more dimension, so now you can see all three shades throughout the steps.
Adding the Vinyl Planks + Touch-Ups
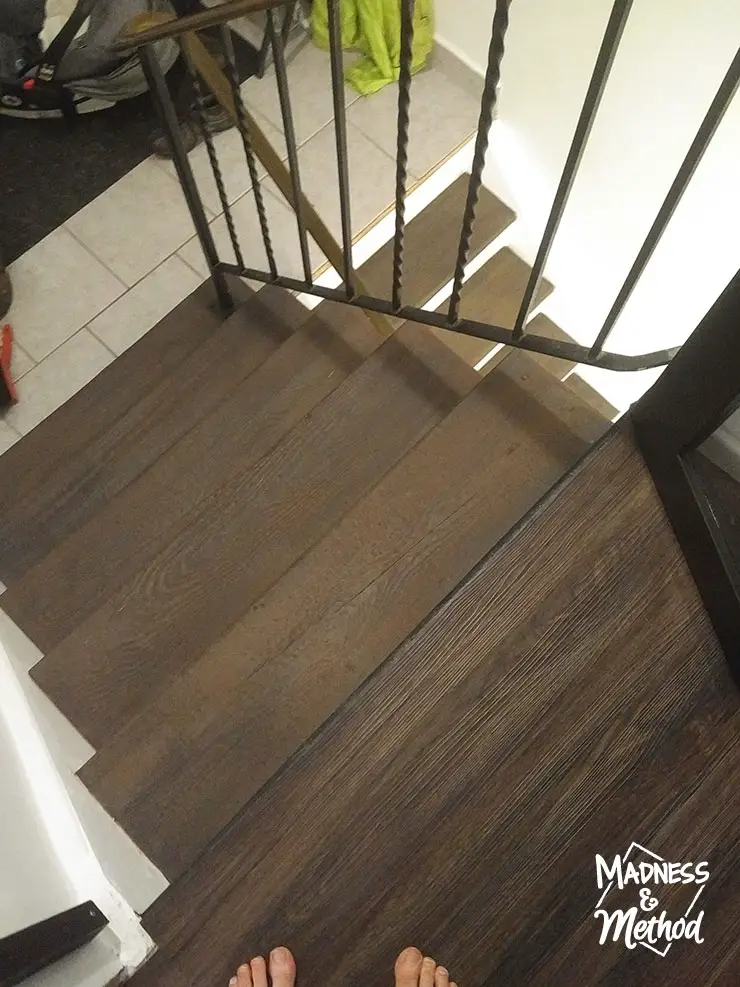
The Husband cut and installed the vinyl planks when I went back to pick up the kids, so I don’t have photos of that process.
But really, all he did was cut the pieces to the size of the risers, then glued them on with construction adhesive. I did find there were a few spots of paint that came up, so I had a few touch-ups to do.
We also had some wear spots on the first step, so rather than repeat the entire process, I just mixed some craft paint to the correct colour and blended in the holes.
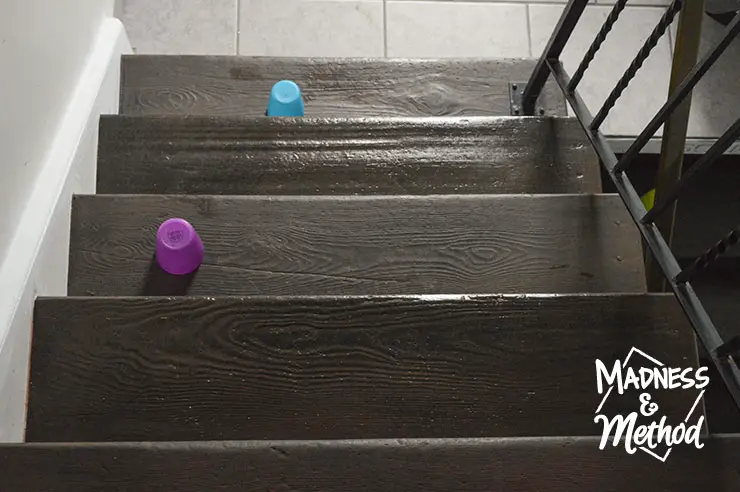
Then, I did a couple of coats of satin Polycrylic (wished I had the matte!) and everything has been good since. Secret time: I only did two coats on the first half, and only one coat on the second half (hopefully I’ll get to that again).
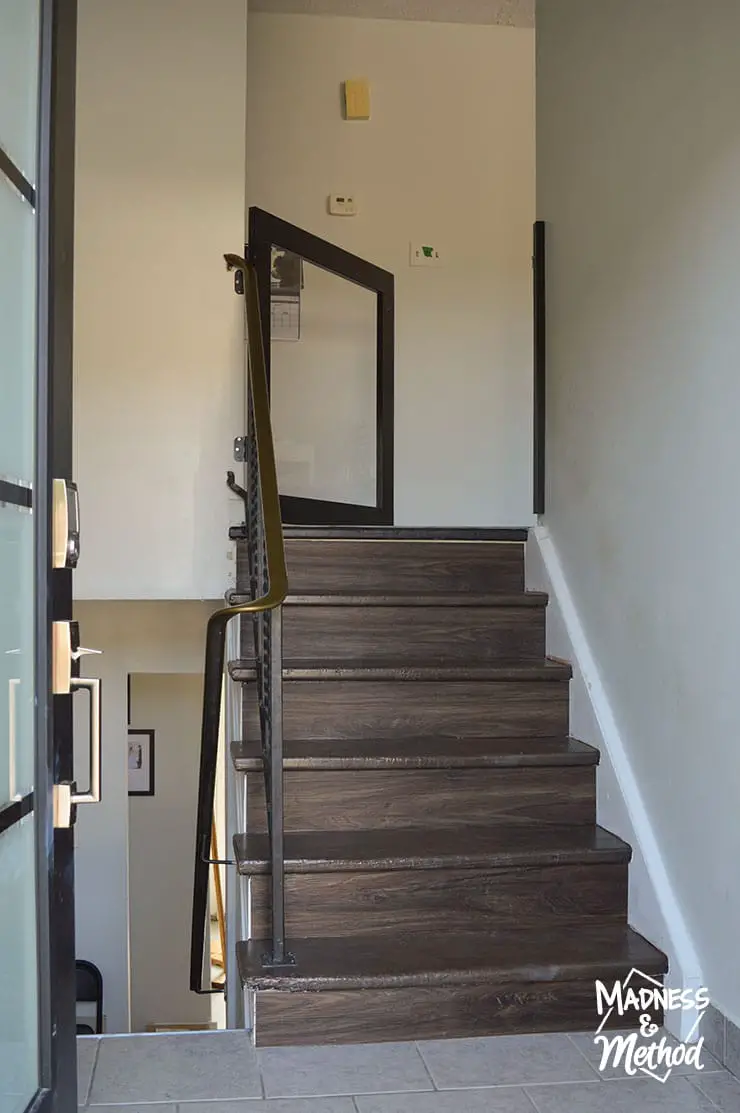
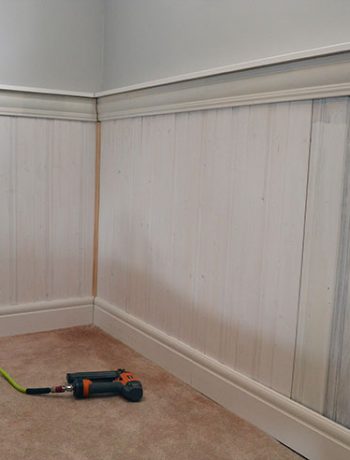
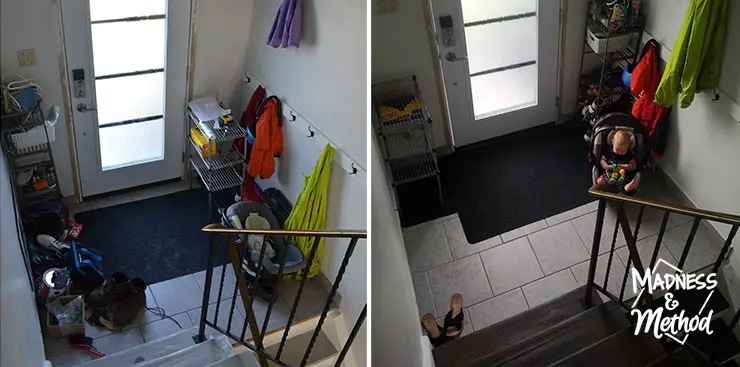 I also took the opportunity to re-configure our entryway a bit. It wasn’t working perfectly for us, and this setup is a lot better. I wouldn’t say it’s permanent, just better.
Wood-Look Staircase Reveal
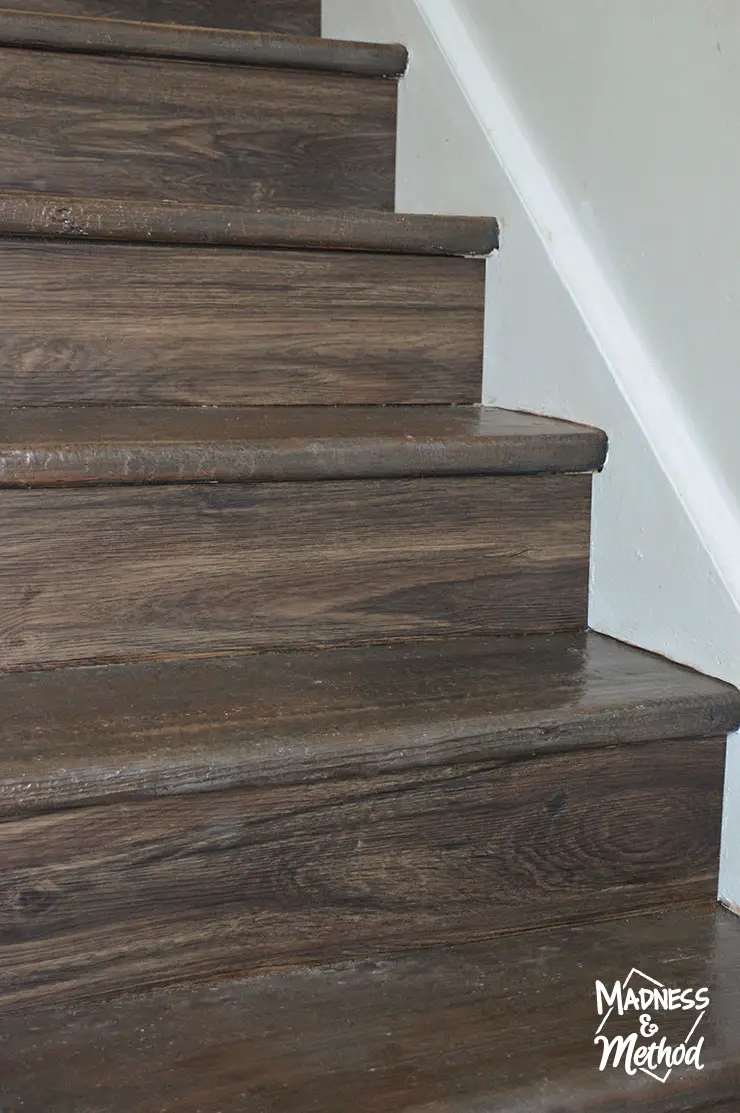
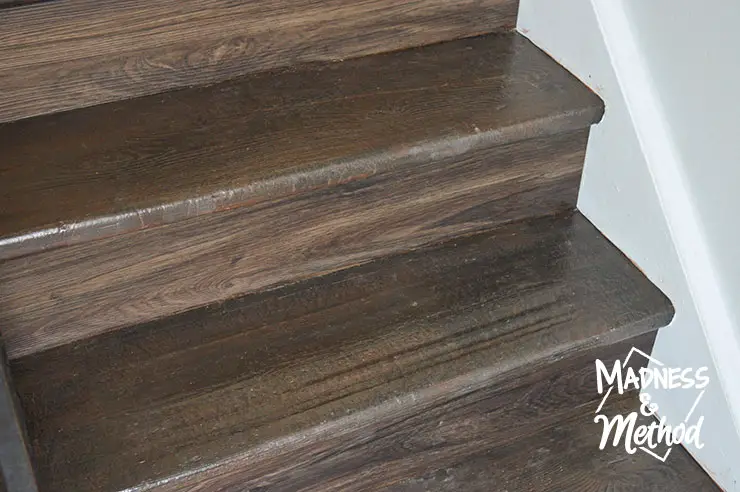
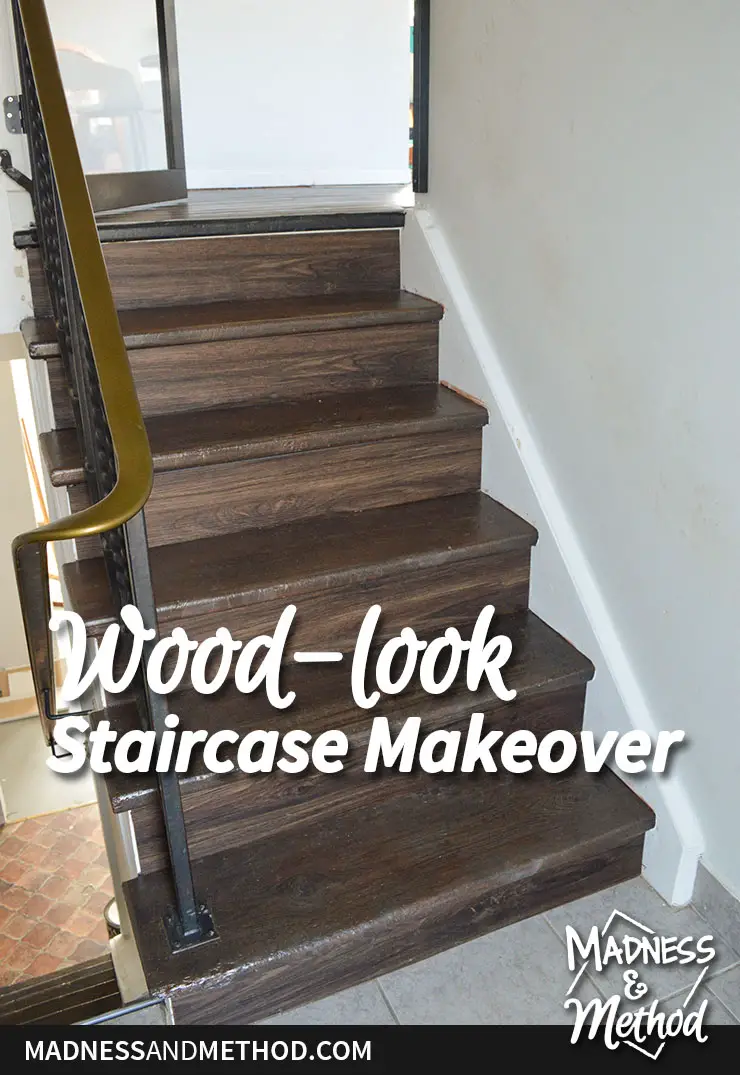
Can you believe this is how our staircase looks now!?
I mean… the paint looks so similar to the vinyl floor colour, and I love the different tones.
And, while I did try to keep the paint from getting on the white parts as much as possible, I did make a few messes when I was wiping my brown-wash.
But I mean, compared to the before:
(This was with the old door too, so very dark).
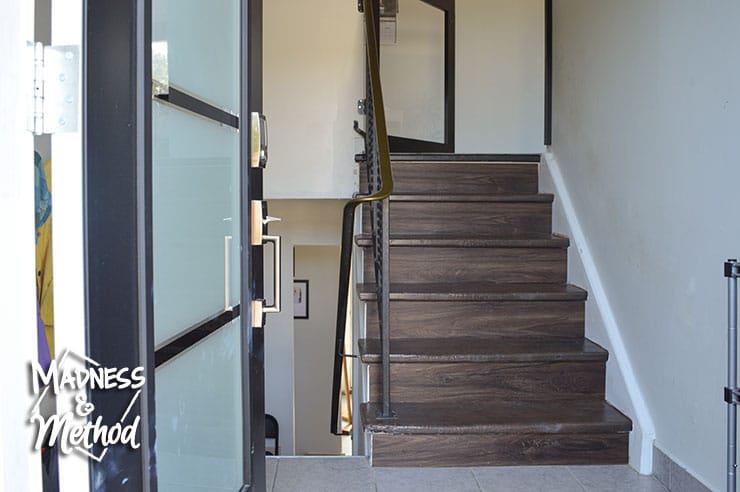
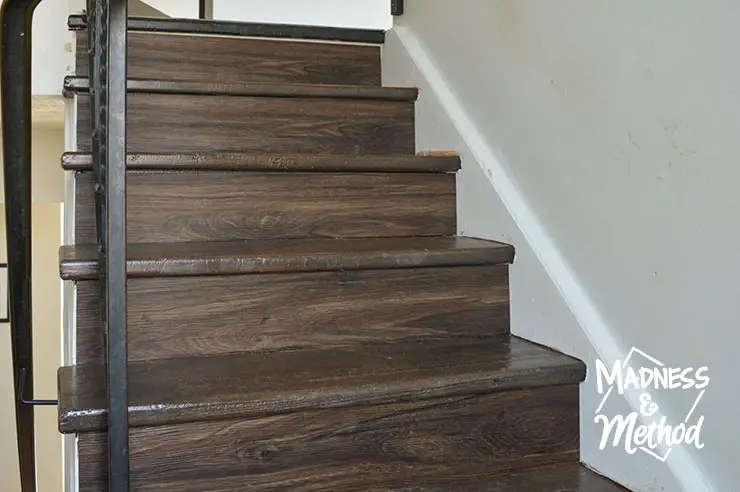
And now this after!
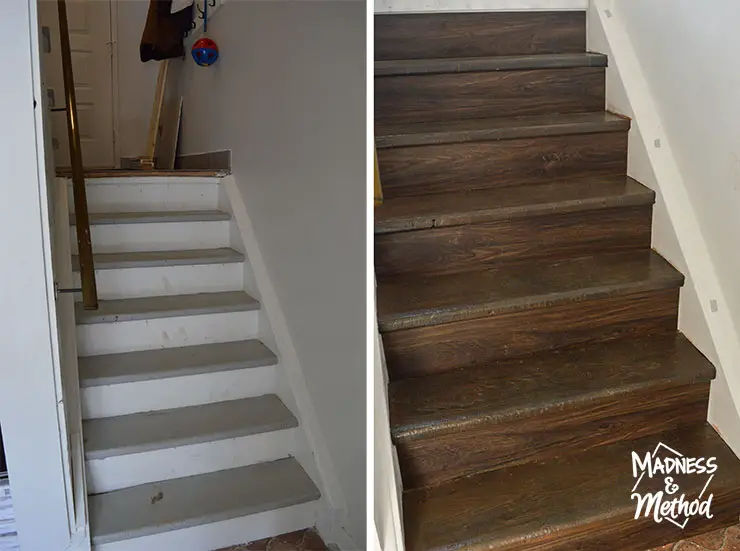
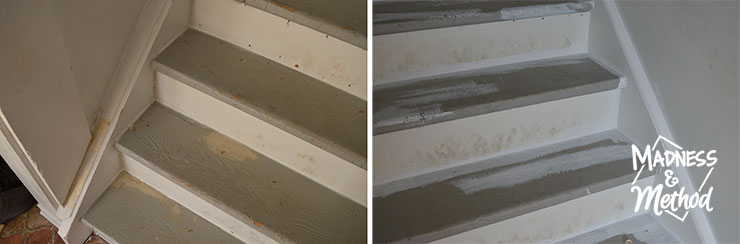
And here’s the before/after for the basement section. (Ha, notice the tape still on the wall when the paint was drying).
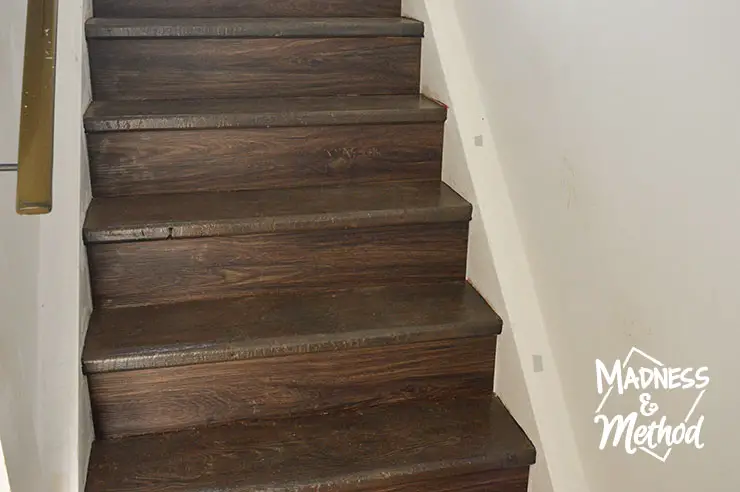
I think I might have to paint the top cracks where the vinyl meets the riser. Although, you can only see it if you’re looking up (which doesn’t happen when you’re walking around like normal).
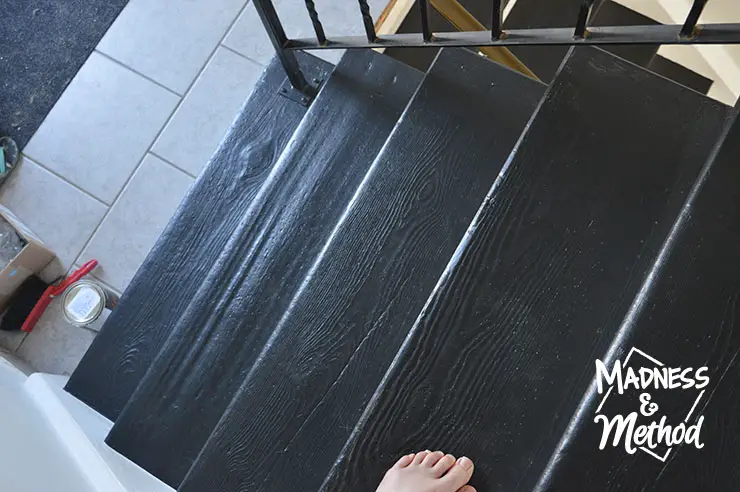
We were lucky that our wood treads had a deep wood grain groove. It made it a lot easier to dry brush.
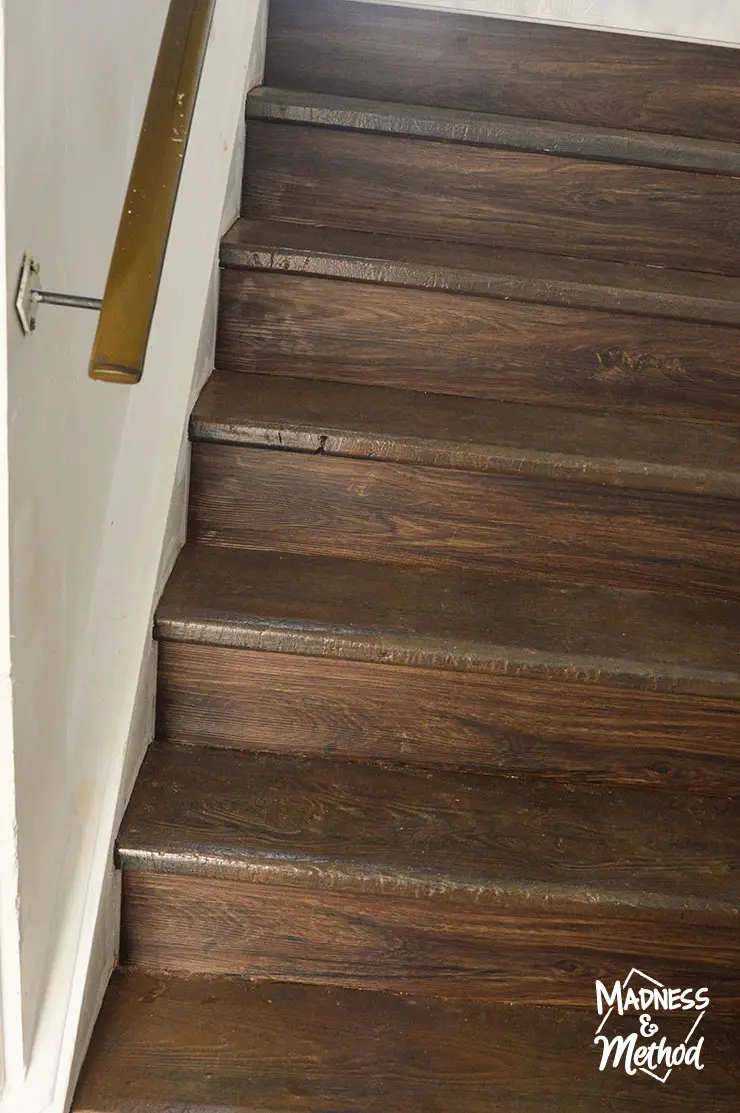
Otherwise, I would have had to be a little more artistic in my painting – but it would still have been possible.
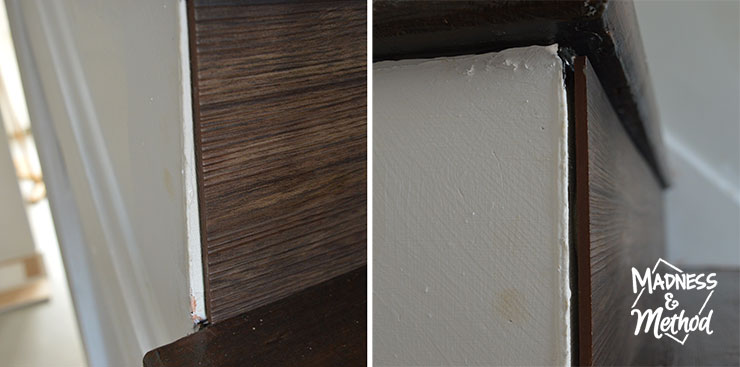
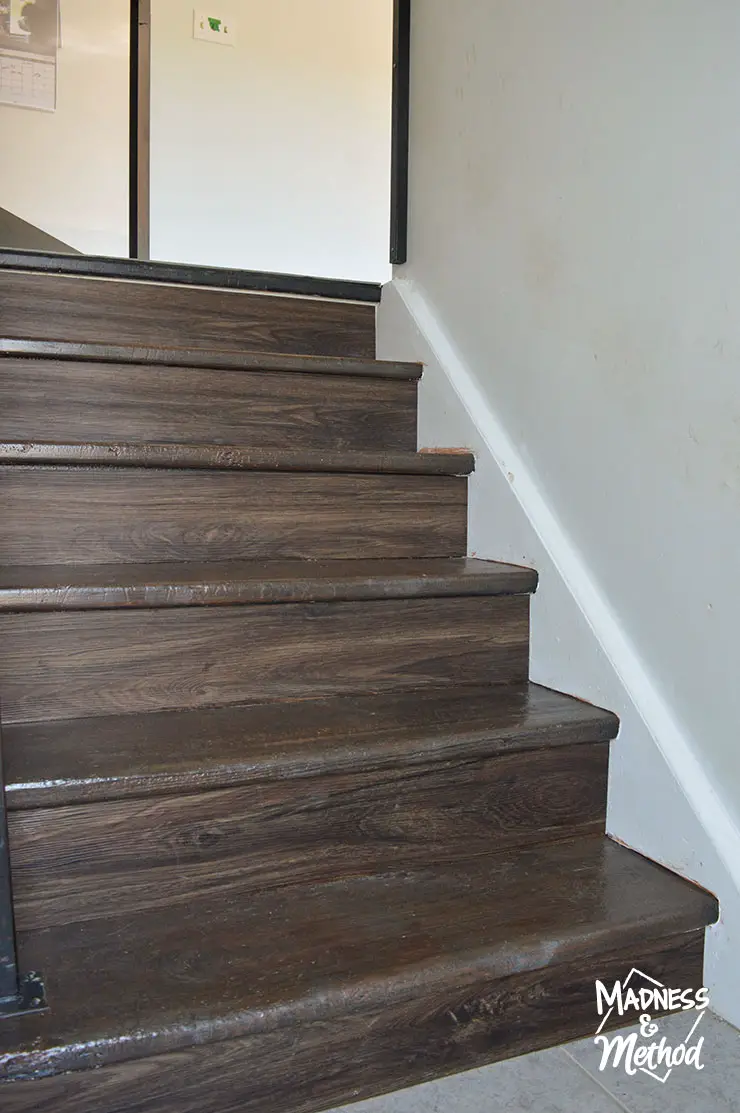
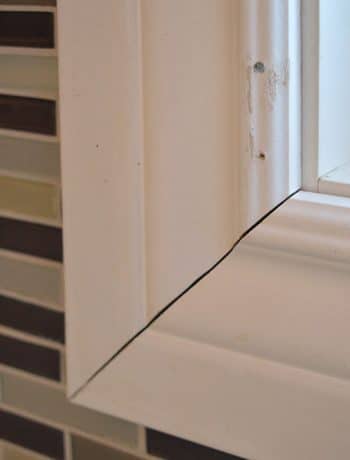
As mentioned in the video, I do still have to caulk the edges where the vinyl planks were. If you’re recreating this look, you might not have a step that is exposed on one side.
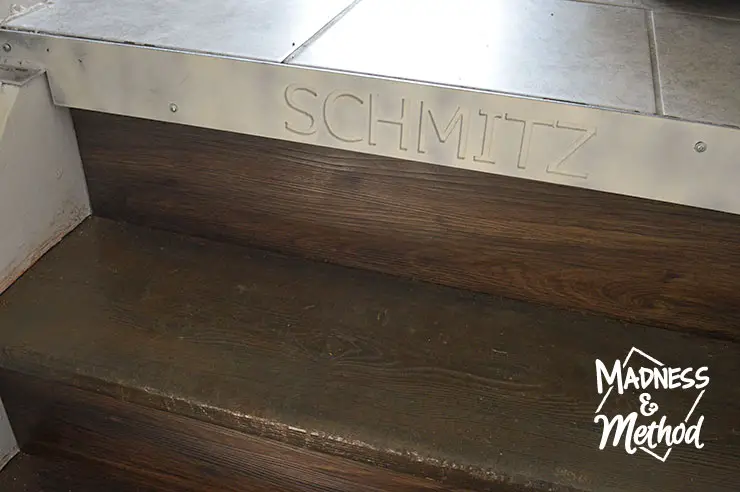
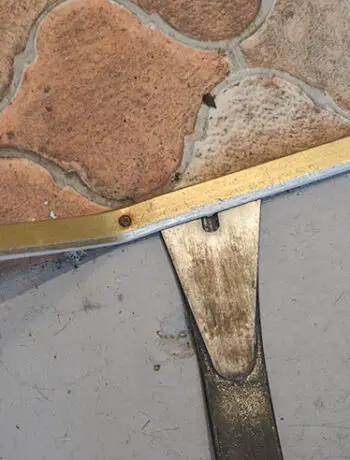
Oh, and the Husband made his own custom transition where the stairs meet the tile. Before, the multiple layers of subfloor were exposed, so this covers it up. Although, I think “watch your step” would have been a cute message (it’s a bit higher here).
I’m still not 100% convinced on his transition, so it’s not permanently set in yet.

The photo above shows the location a bit more. Basically, it would just need to be grouted/caulked along the top to finish it off.
But I mean, would you believe it if I told you that this was just a wood-look staircase makeover and not the real deal?
Staircase Makeover Video
Check out the video above to see these steps with my lovely voice-over, ha! I did something a bit different this time (rather than a full video tutorial), so let me know what you think.
And there’s one more before and after to remind you how the stairs used to look!
I have it on my calendar to share our 6-month home tour next week, so I think that’s what I’ll do :) We’re actually gearing up for our next makeover project (for the upcoming One Room Challenge), so it will be good to remind everyone what’s been done so far.
Do you have any suggestions for rooms we need to show? There’s a lot that hasn’t changed in the last 3 months, but there are other spaces that have been slowly updated in that time.
Hmm… guess that means I should probably get the house cleaned/in order, see you next week!

No Comments