
Can you believe we’re already in Week 3 of Calling it Home’s Spring 2016 One Room Challenge? It seems like just yesterday I was still planning the bathroom renovation, and now we’re knee deep in it! This week I’m going to talk about the drywalling, priming + painting for our bathroom, and then go over some of the flooring tile choices (because I wasn’t able to get penny tiles like I originally planned…). Let’s recap shall we?
– Note: This post contains affiliate links. See more information about affiliates here –
Now, first let’s go over my ORC posting schedule:
Week 1: Sharing Design Plans
Week 2: Plumbing, electrical + framing
Week 3: Installing drywall, patching, priming and painting (that’s this post!)
Week 4: Tiling (floors and walls)
Week 5: Grouting / installing trim + furniture (ie: vanity + toilet)
Week 6: Bringing in accessories for the final reveal!
I had mentioned before that “behind-the-blog” we were trying to get everything done a week or so ahead of this schedule. Thank goodness, because drywalling took me TWICE as long as I was planning… as in 2 weeks – but thankfully for you, I won’t drag it on for 2 posts, and it will look like everything got done on time :)
(And yes, that means I need to up my schedule for tiling so that I can have something to show next week… oh the threat of deadlines!)
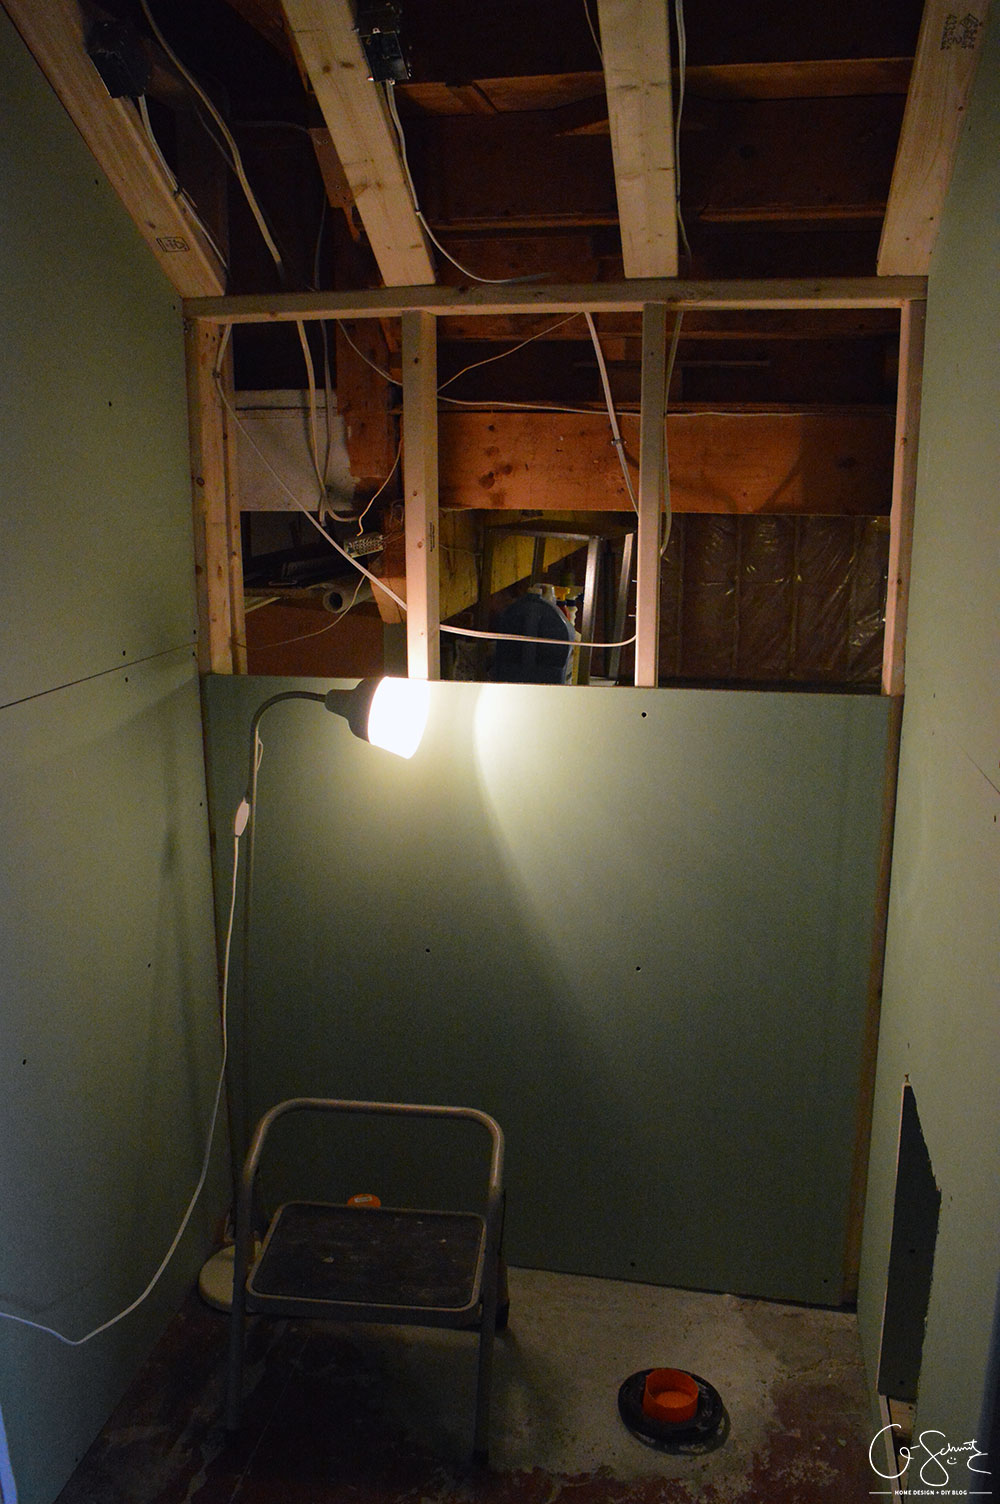
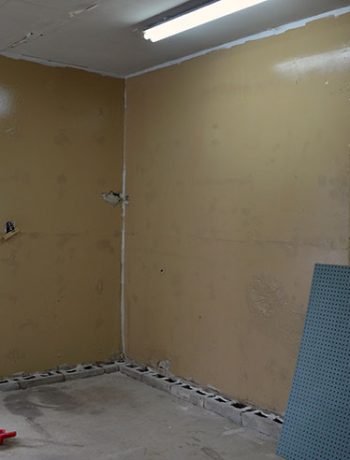
Okay so here we are with some drywall on the walls! We had splurged and got the moisture resistant drywall, even though this is just a powder room and there wouldn’t really be any humidity from a shower or tub…
I think we bought 6 sheets (4×8) but we probably could have used another 2, because that back wall is – get this… 49.5″ inches wide. We cheated and just used the 48″ side, but then I had some thick gaps to try and fill with the mud.
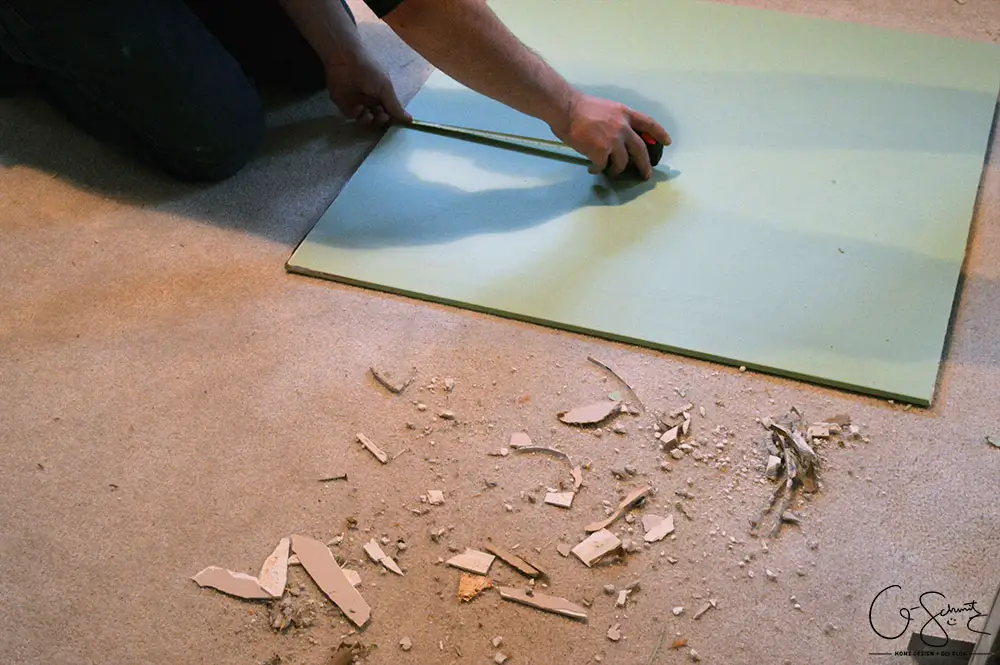
Ha, speaking of buying the drywall – the Husband quickly found out that I was incompetent when it came to lifting the sheets and so we had to stop and pick up a friend on the way to our house so they could carry them into the basement for me (normally I would be a better helper, but me and my big pregnant belly are a bit less capable of lifting things these days…).

We soon discovered that little Tootsie was not a very good helper for this part at all (normally she just watches us quietly while we work). For some reason she thought it would be a good idea to sit on the sheets of drywall (as they were measuring and trying to cut them) and then of course, eat all the little drywall pieces that were cut off. So we banished her upstairs…
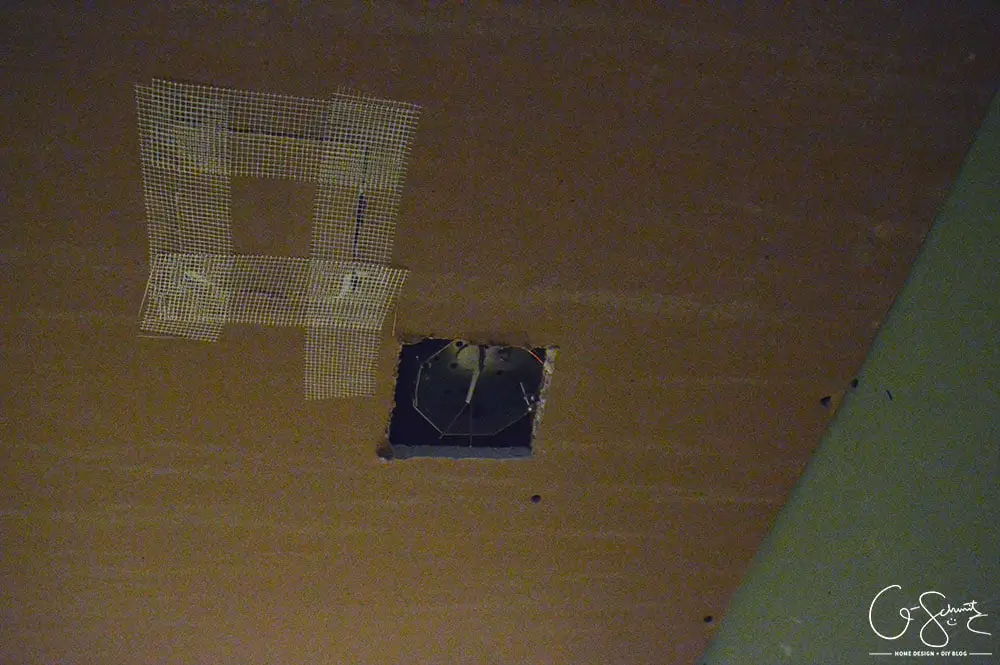
Remember how we could have used 2 more sheets of drywall? Well, when it came time for the ceiling, the Husband realized he cut the hole wrong. So we had to tape it back up and try again. But thennnn we discovered that it was measured incorrectly again, and only fit if the drywall was put upside down.
I know you’re not supposed to install them like this, but the store was closed, and I needed to get to mudding ASAP (and the Husband would be gone at work, and there was no way I could buy another piece of drywall, bring it into my house, then install it all by myself on the ceiling). So we left it like this.
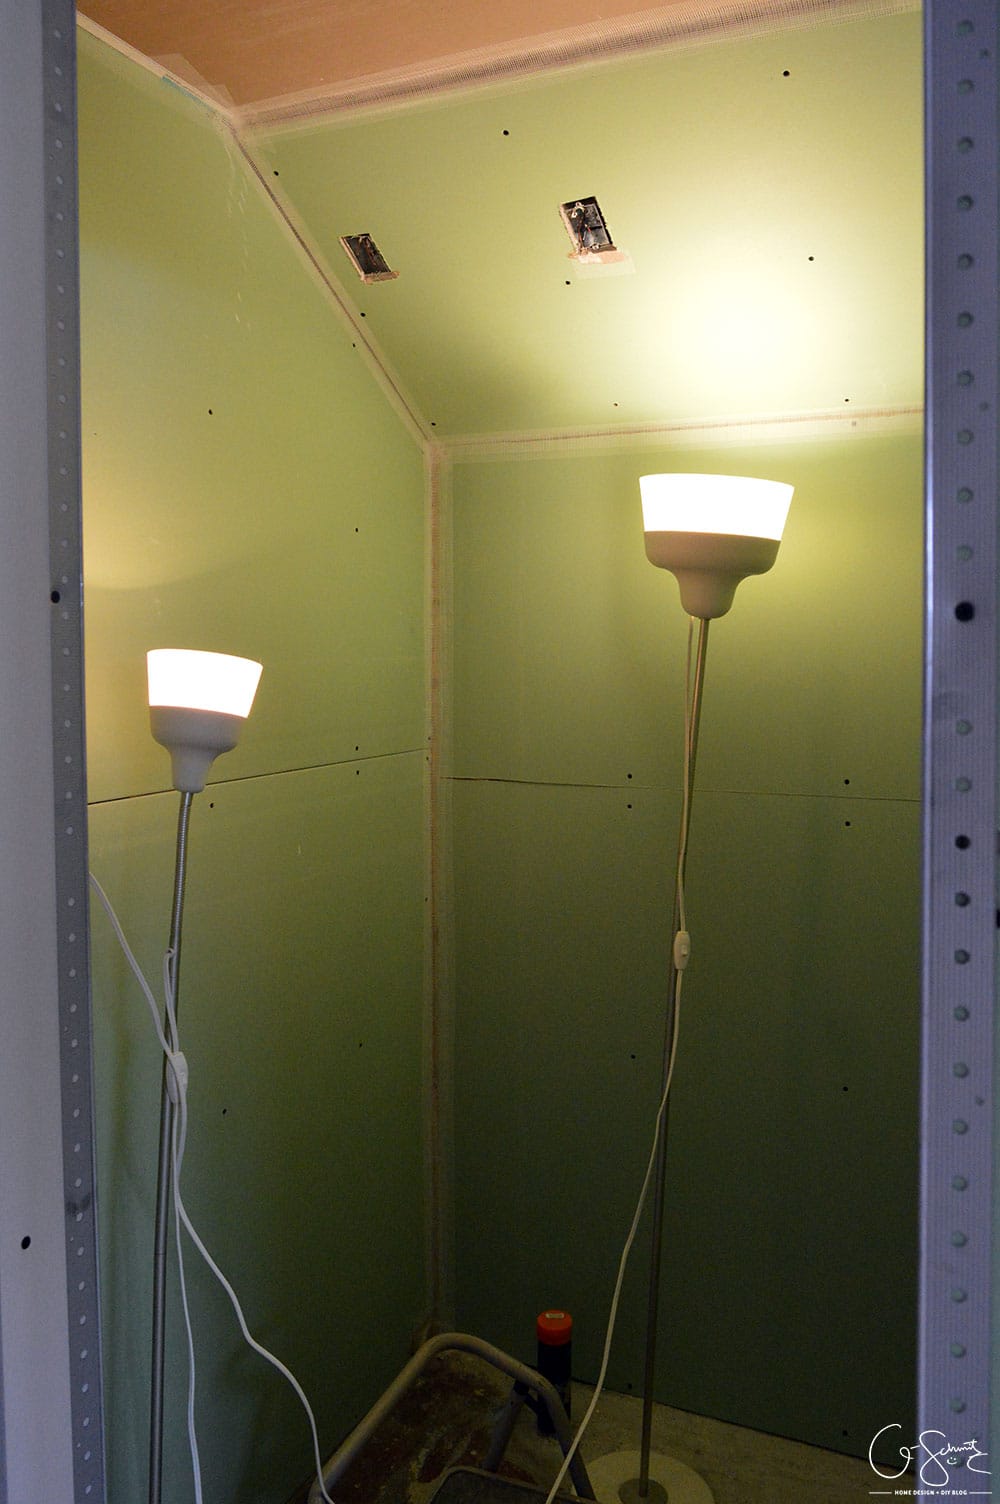
Have you ever done any drywalling + mudding before? Do you like the mesh tape or the flat joint tape? Honestly, I like to use both, but if I had to choose only one – I would go with the flat, paper style. I only like to use the mesh tape in the inside corners, or to fill super large gaps (which I also had a few of in this room!).
Oh and those outside metal edges? We had a bunch leftover from when we did our kitchen renovation; and I was in charge of measuring and cutting them all. And wouldn’t you know it that the only manual hacksaw I could find had a dull blade. Afterwards, I told the Husband that I never wanted to cut those things again (I did use our saws-all with a metal cutting blade – but it was a mess).
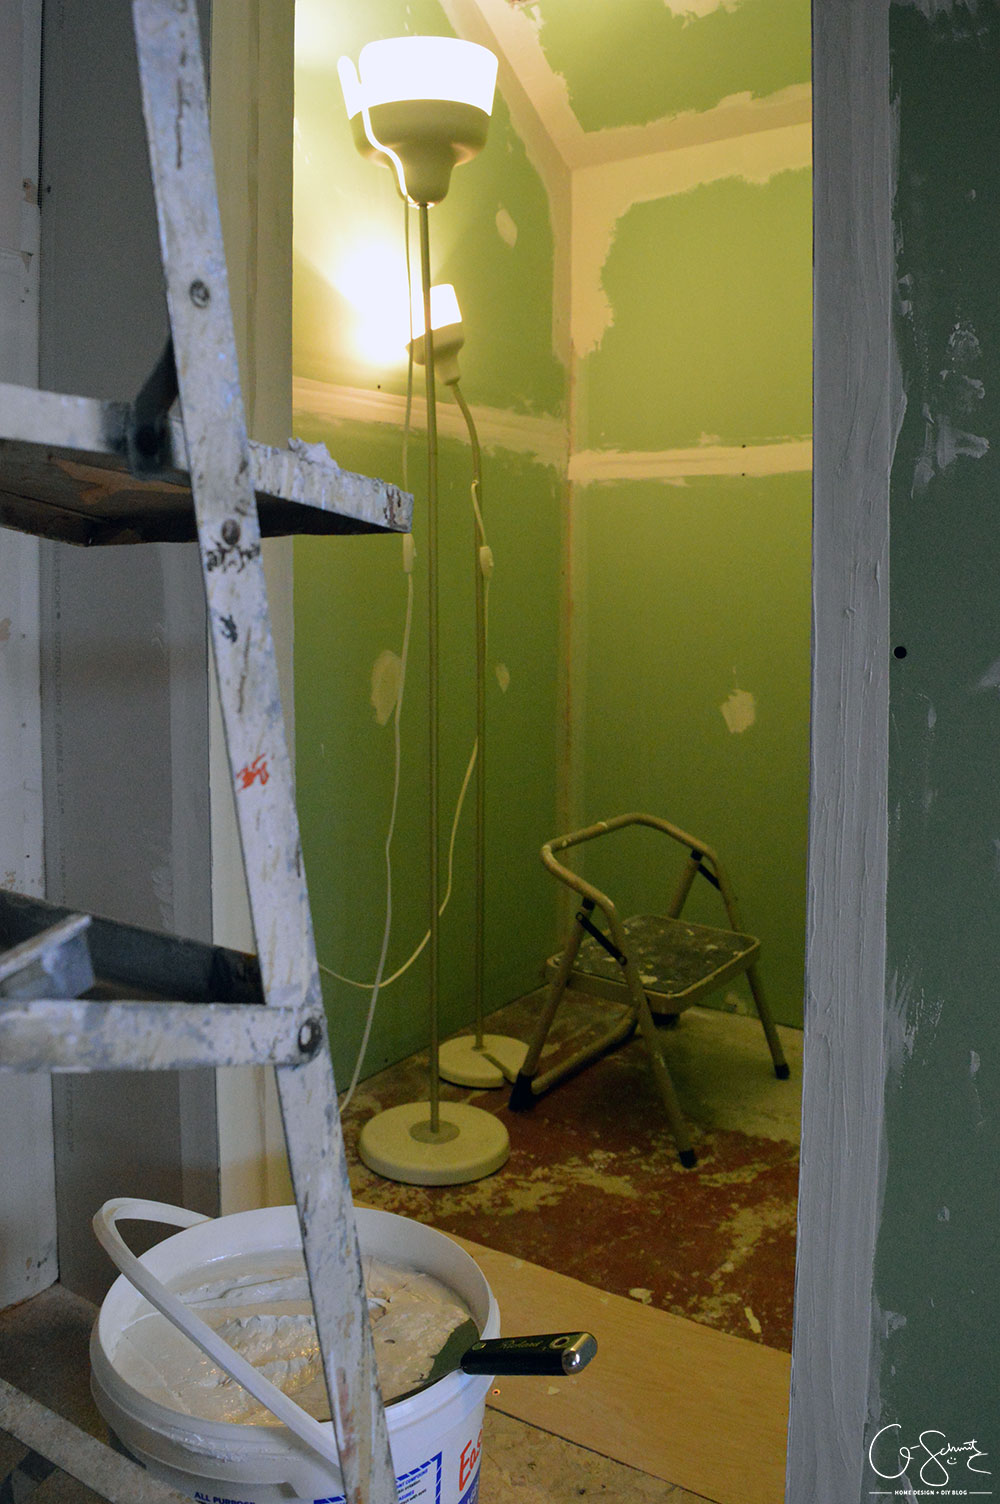
For the flat/paper joint tape, I like to put them up like paper maché. I rip the tape to length, then dip it in a watered down solution of drywall joint compound, then stick it and smooth it out with my fingers (it’s very messy, but to me I get the best adhesion this way). I had two little baby buckets of joint compound, but ran out after doing the ceiling edges and had to go to the store to get a big bucket (seen in the photo). I had already gone to the store earlier that morning to get more joint tape… so let’s just say I wasn’t as prepared as I would have liked to be.
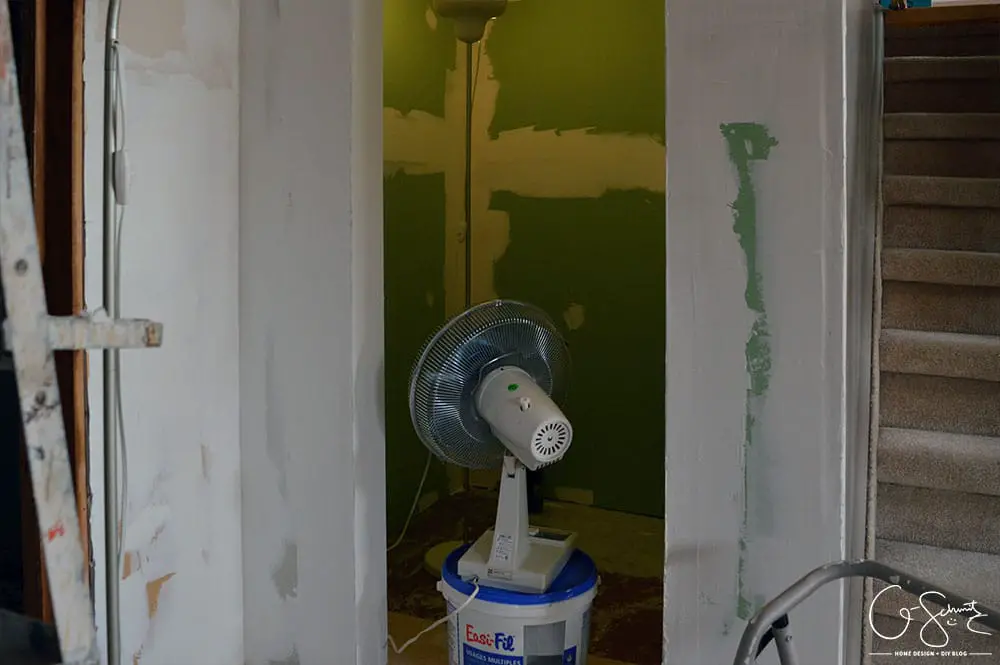
And here’s what the space looks like after 1 or 2 coats (I can’t remember) of mudding. I brought down a fan to speed up the drying process, but I still had to wait 20+ hours in between coats so I could sand and reapply.
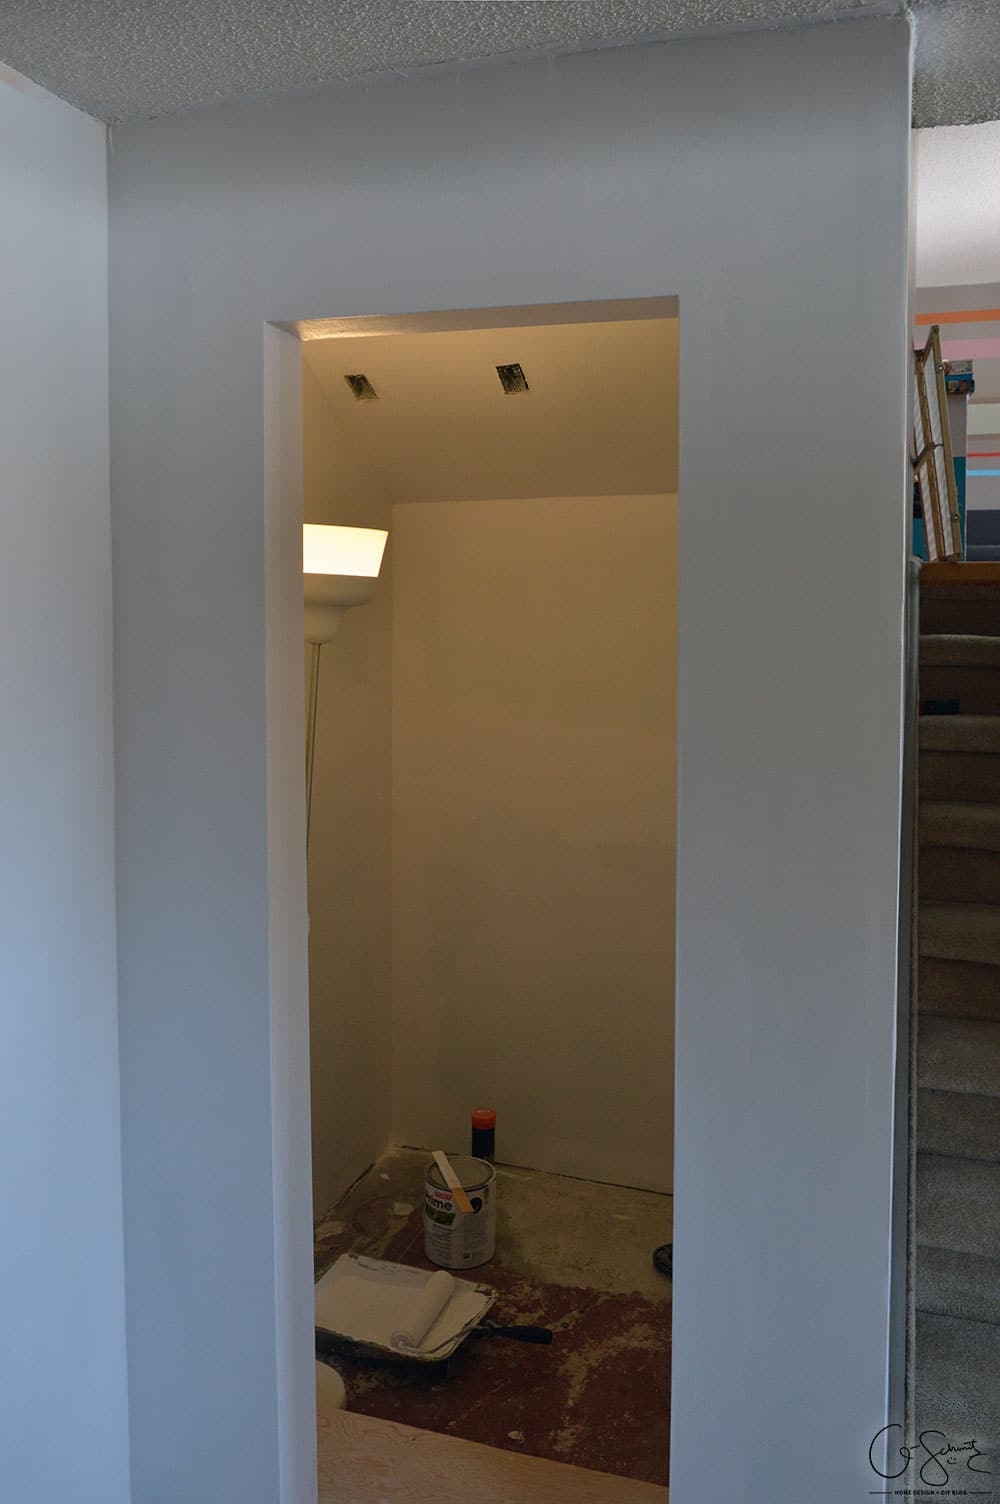
I only accounted for 2 coats of mud + sanding in my original timeline, so I primed the walls once those were done. Only problem is that I am way too much of a perfectionist, and the walls were still awful looking at this point – so I had to do another coat (adding another day to my schedule, obviously). Actually, sometimes I like to prime in between coats anyways, because it helps to see everything all the same colour.
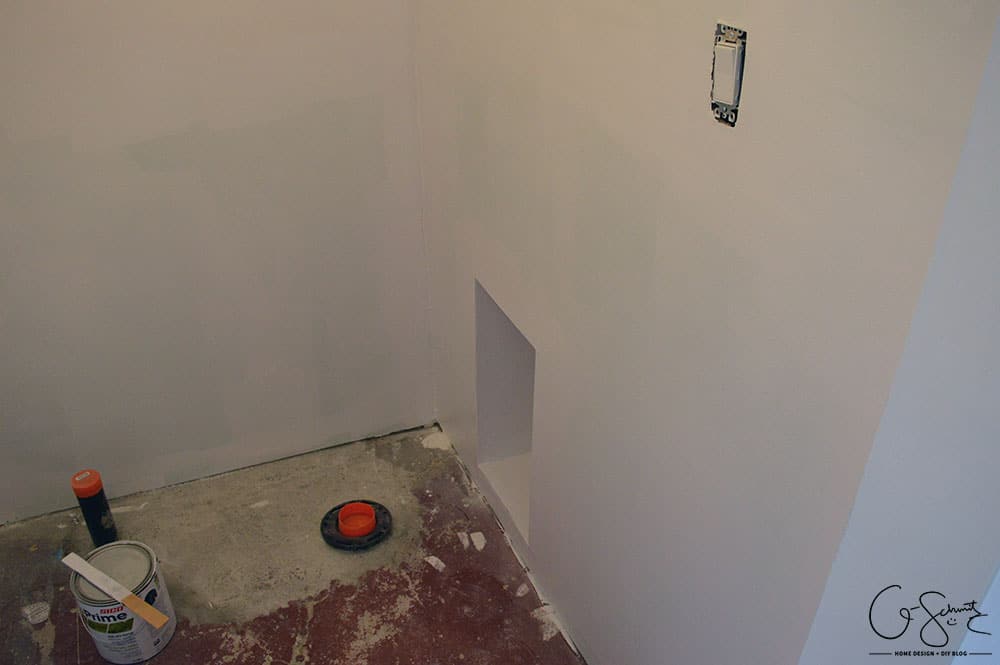
Here’s what the bathroom looks like with its new walls! (I kept the back wall with only 2 coats of the drywall mud, because I was going to be tiling over it and didn’t need it to be 100%). Look at that cute little cubby hole :)
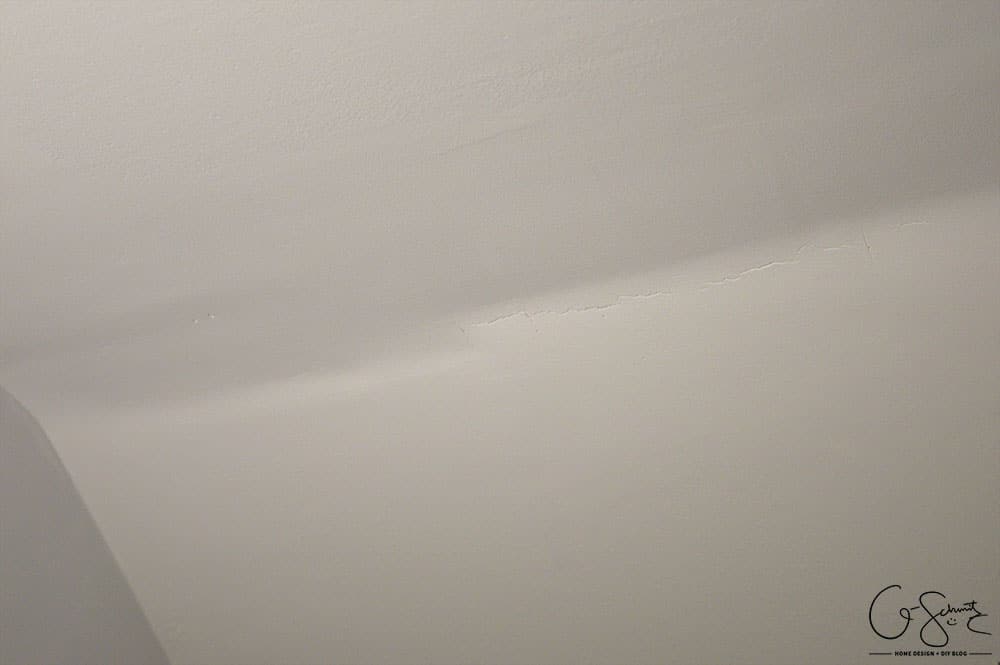
For the ceiling, I had a huggeeee gap to fill where the angled wall met the flat part. And so I gave in and did a 4th coat of drywall mud just in this one patch, to even it out and hide that crack (the drywall mud cracks if your seam is too large). In the meantime, I could still paint the walls – so that is what I did!
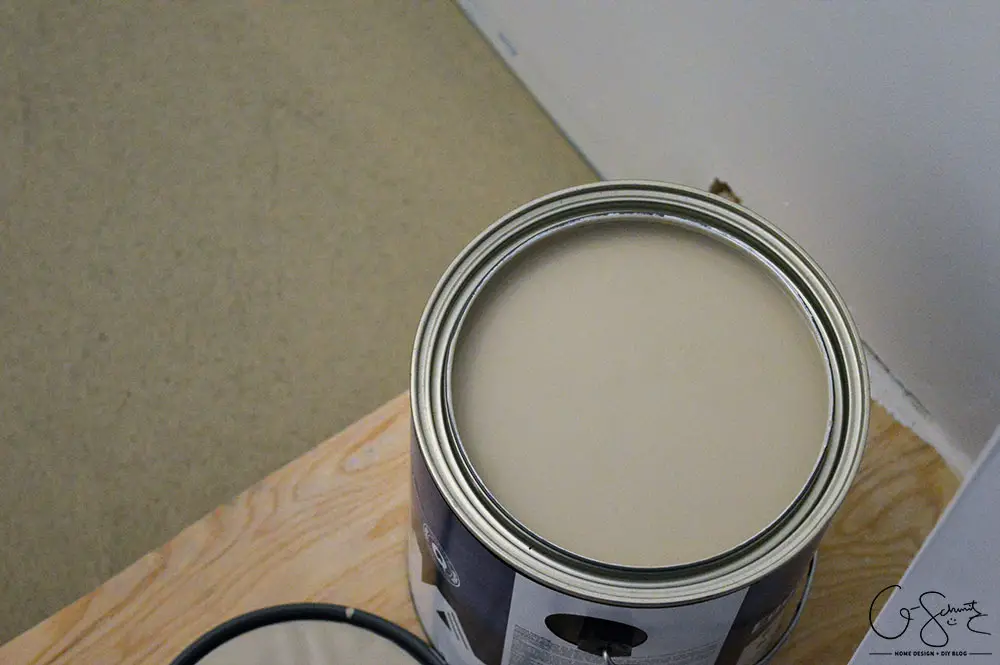
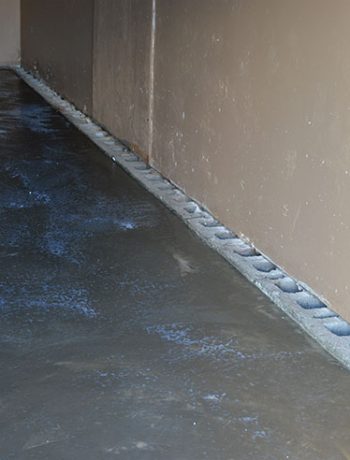
(Oh and we leveled the floors too while waiting for that mud to dry – but I’ll explain all that in a later post).
I was originally going to do a light purple wall with some leftover paint I had from my last house, but I didn’t want it to clash with the purple I would be bringing in anyways, so I decided to do a neutral gray instead. This is actually a super warm gray tone, called “Moon Grey” from the Rona Paint Collection.
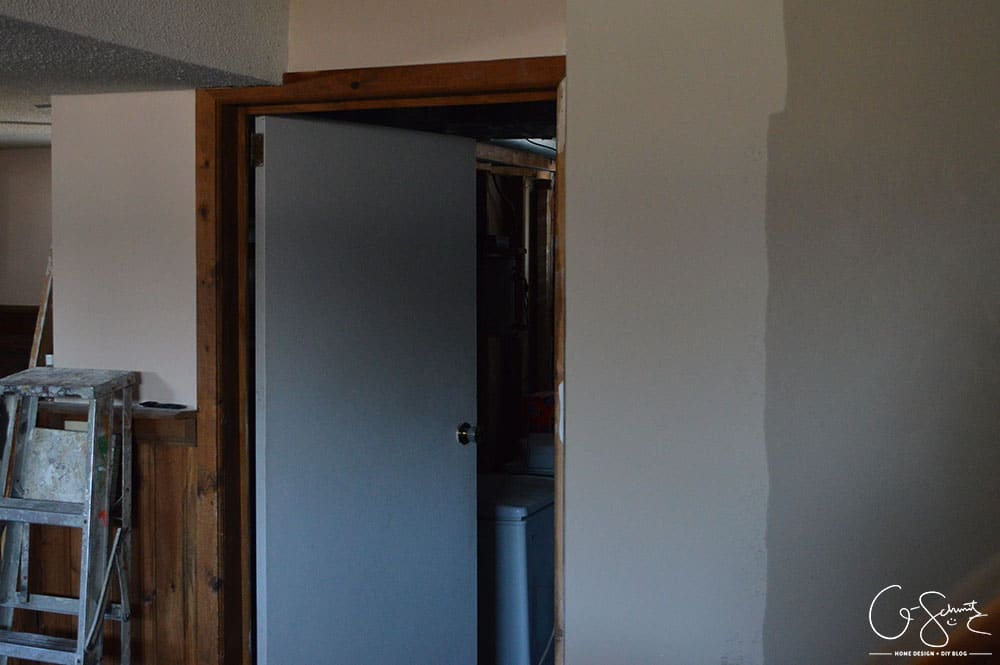
It’s about 50% whiter than the main gray we have throughout the house (which is called “Taupe”, again from the Rona Paint Collection). And I painted the edge of this wall (the basement staircase) just to show the difference in colour.
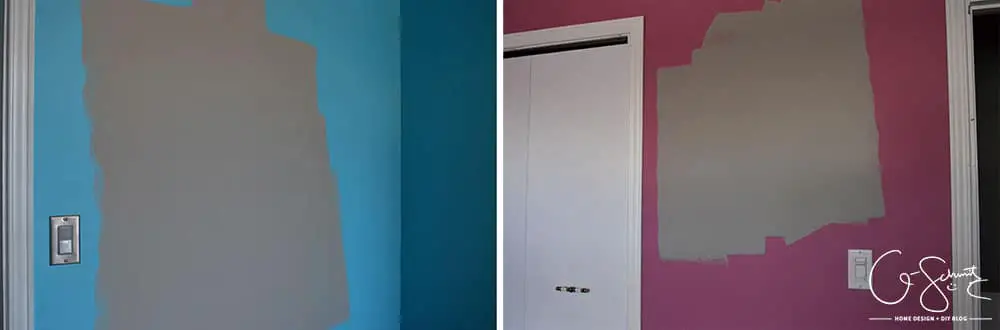
It’s also the same gray I bought on sale in January, with the plans of using it in the Blue Room and the Pink Room to “tone down” the crazy colours in there. I would have liked to paint these rooms concurrently with the basement, but unfortunately I am behind on my upstairs projects as well, so I need to finish this bathroom soon!
Next week I’ll be posting about the tiling, so I figured I might as well talk about the flooring options, since I’ve already told you that I couldn’t have my gorgeous purple penny tiles…
About the Floor Tiles
Back in the middle of February the Husband and I took a roadtrip down to Florida. On the way back up, I convinced forced him to stop at a Floor and Décor store, because we don’t have any in Canada and I hear so many great things online. I headed straight for the penny tile section to see what they had to offer.
About 2 seconds later, is when my whole original bathroom flooring design ideas had changed. This was the first time I had told him about my flooring choice, and apparently I should have given him a warning before entering into the store. We would not be using penny tiles, and he wanted something a bit larger in scale. (I knew I wanted something small, because regular 12×12 tiles in such a small space were not gonna cut it… and I wanted a wow-factor floor).
We then walked around the store a few times, and he agreed that a hex-shaped tile or similar would be okay, as long as the scale was a bit larger (similar to these). I knew I didn’t want a white floor because it would compete with the white subway tile wall I would be doing (which he also disagreed with, but we compromised on that choice). We did find a nice gray porcelain hex, but there was only one sheet in the middle of nowhere and he was getting tired. There was also this amazing metallic hex that he and I both liked, but I felt it was a bit too copper, when I wanted more antique brass… not to mention that at 16$/foot US, it was a bit more of a splurge than I really wanted to spend.
I mean, I knew I would be paying a lot more for the wow-factor floor tiles than I normally do… but still… we were not ready to commit to anything at this point.
Back in Canada I looked at small/medium scale tiles at all the specialty flooring stores and the big box stores in our area. I would take pictures of the ones I would consider using, and bring them back to show the Husband and get his opinion (I kept my hand in the photos to show the scale).
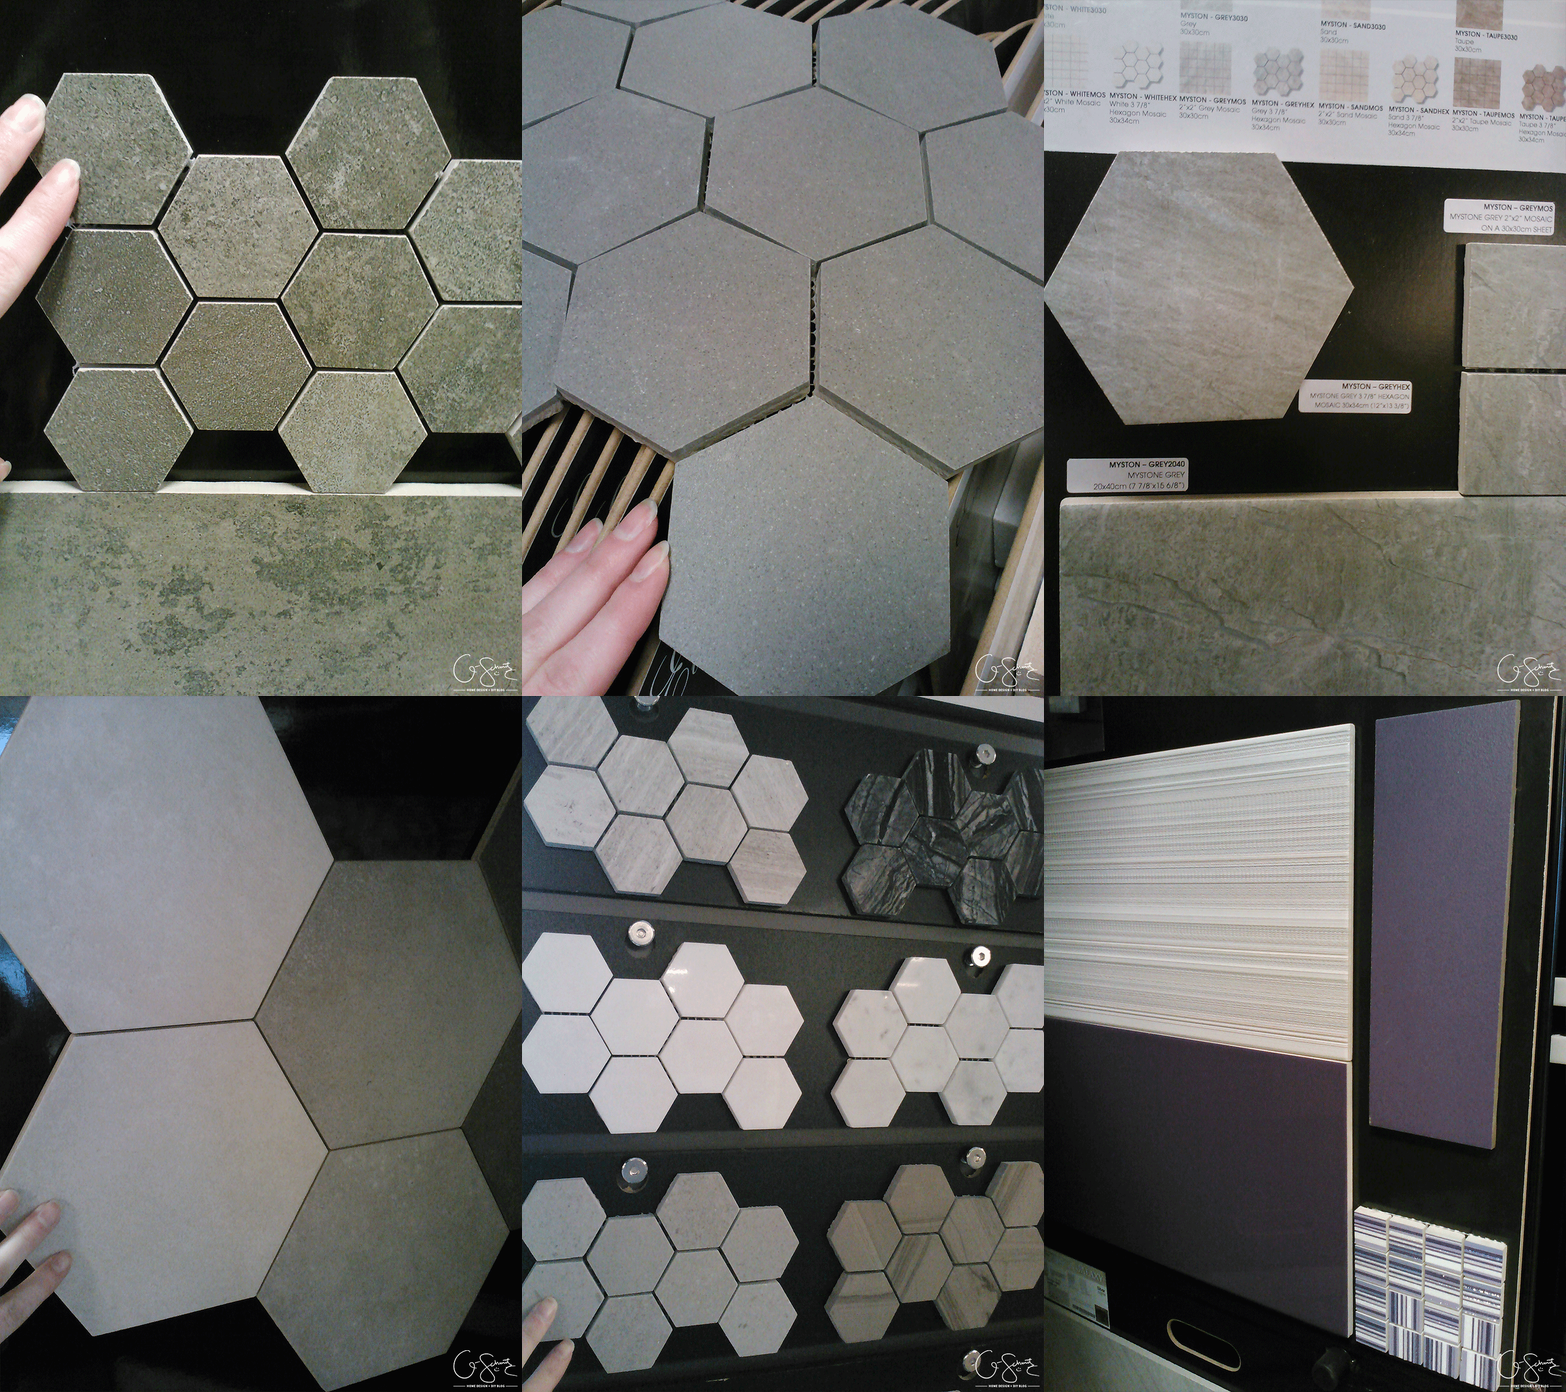
Problem with the specialty stores is that the Husband liked all the super expensive ones (think 20+ $/square foot). We only have about 30 square feet in this space, but spending half the budget on floors wasn’t something I could easily swallow. Not to mention if we ever needed to order another sheet or two, I’d have to wait for them to come in from the specialty stores.
It was finally settled that I would be getting my tiles at a big box store, and here is the shortlist I came up with:
Flooring Tile Choices
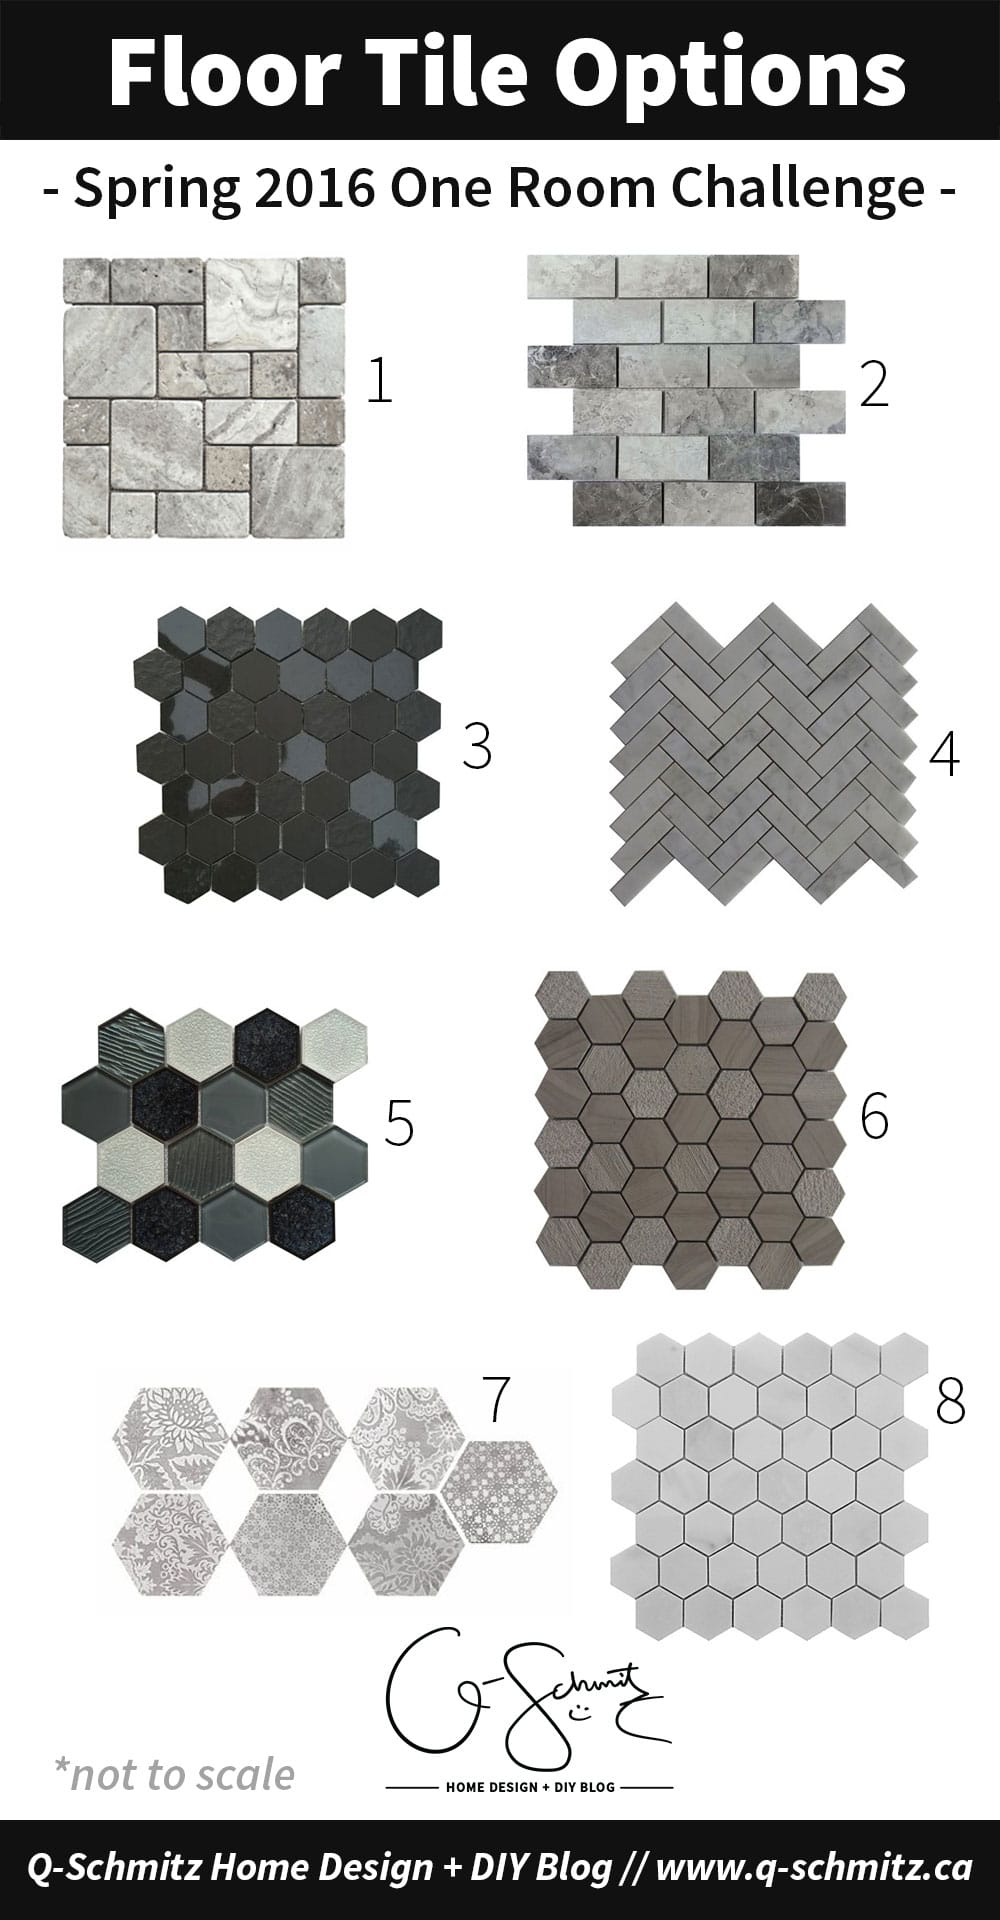
- Rona, Travertine Tile
- Lowes, Avenzo Tile
- Lowes, Bestview Black Hex Tile
- Lowes, Herringbone Tile
- Lowes, Gray Mix Hex Tile
- Lowes, Bestview Athena Hex Tile
- Lowes, Faber Pattern Tile
- Home Depot, Marble Hex Tile (similar)
I wanted to stick with a gray/neutral colour for the floors (don’t worry – I’ll be bringing in some bright purple in a big way!). And though I think I liked #7 online the best (there’s a plainer gray version too I was going to mix in with these) – in person, they were just a bit too large for what I wanted :(
Actually, looking back now I realize those are the cheapest… I think I will have to figure out a project so I can buy and use those haha!
In the end, I let the Husband choose the tiles in the store; and you’ll just have to wait until next week to see which ones we went with :)
Out of these options, which is your favourite? Or would you go crazy and get the purple penny tiles anyways!?
(Don’t forget to check all the Week 3 One Room Challenge linking participants too!)

26 Comments