
Oh goodness, where are we? What day is it? Why is this bathroom cottage not done yet? This past week, I had two solid days of work put into prepping our bathroom for microcement. Are we close to finishing that? No, apparently not! But I have a solid base (and time estimation for the rest of the project). Ready to see!?
Before we dive in, I’ll remind you that we’ve been building a cottage for the last 1.5 years. While most spaces have been slowly coming together all at once, we left one room until the end.
Thankfully, it’s also the Fall One Room Challenge, so I figured I’d motivate myself to finish our basement bathroom during this time. First, I introduced the space, then shared my design plans and the construction progress, and last week I had the shower ledge built-ish.
Prepping the Shower Area
Essentially, the frame of the ledge was built and one piece of the cement board was cut. The first day I went to the cottage this week (it’s an hour away from us), I finished the shelf:
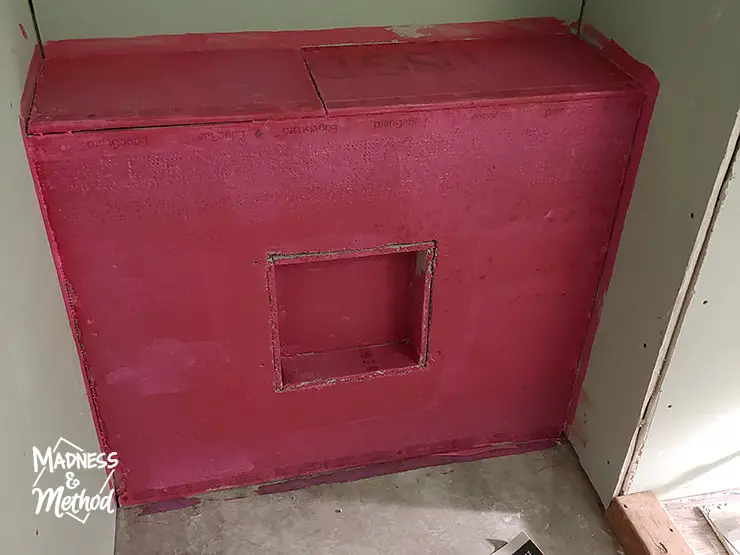
Yes, I know I didn’t do the edges with the thinset/mesh tape for the cement board.
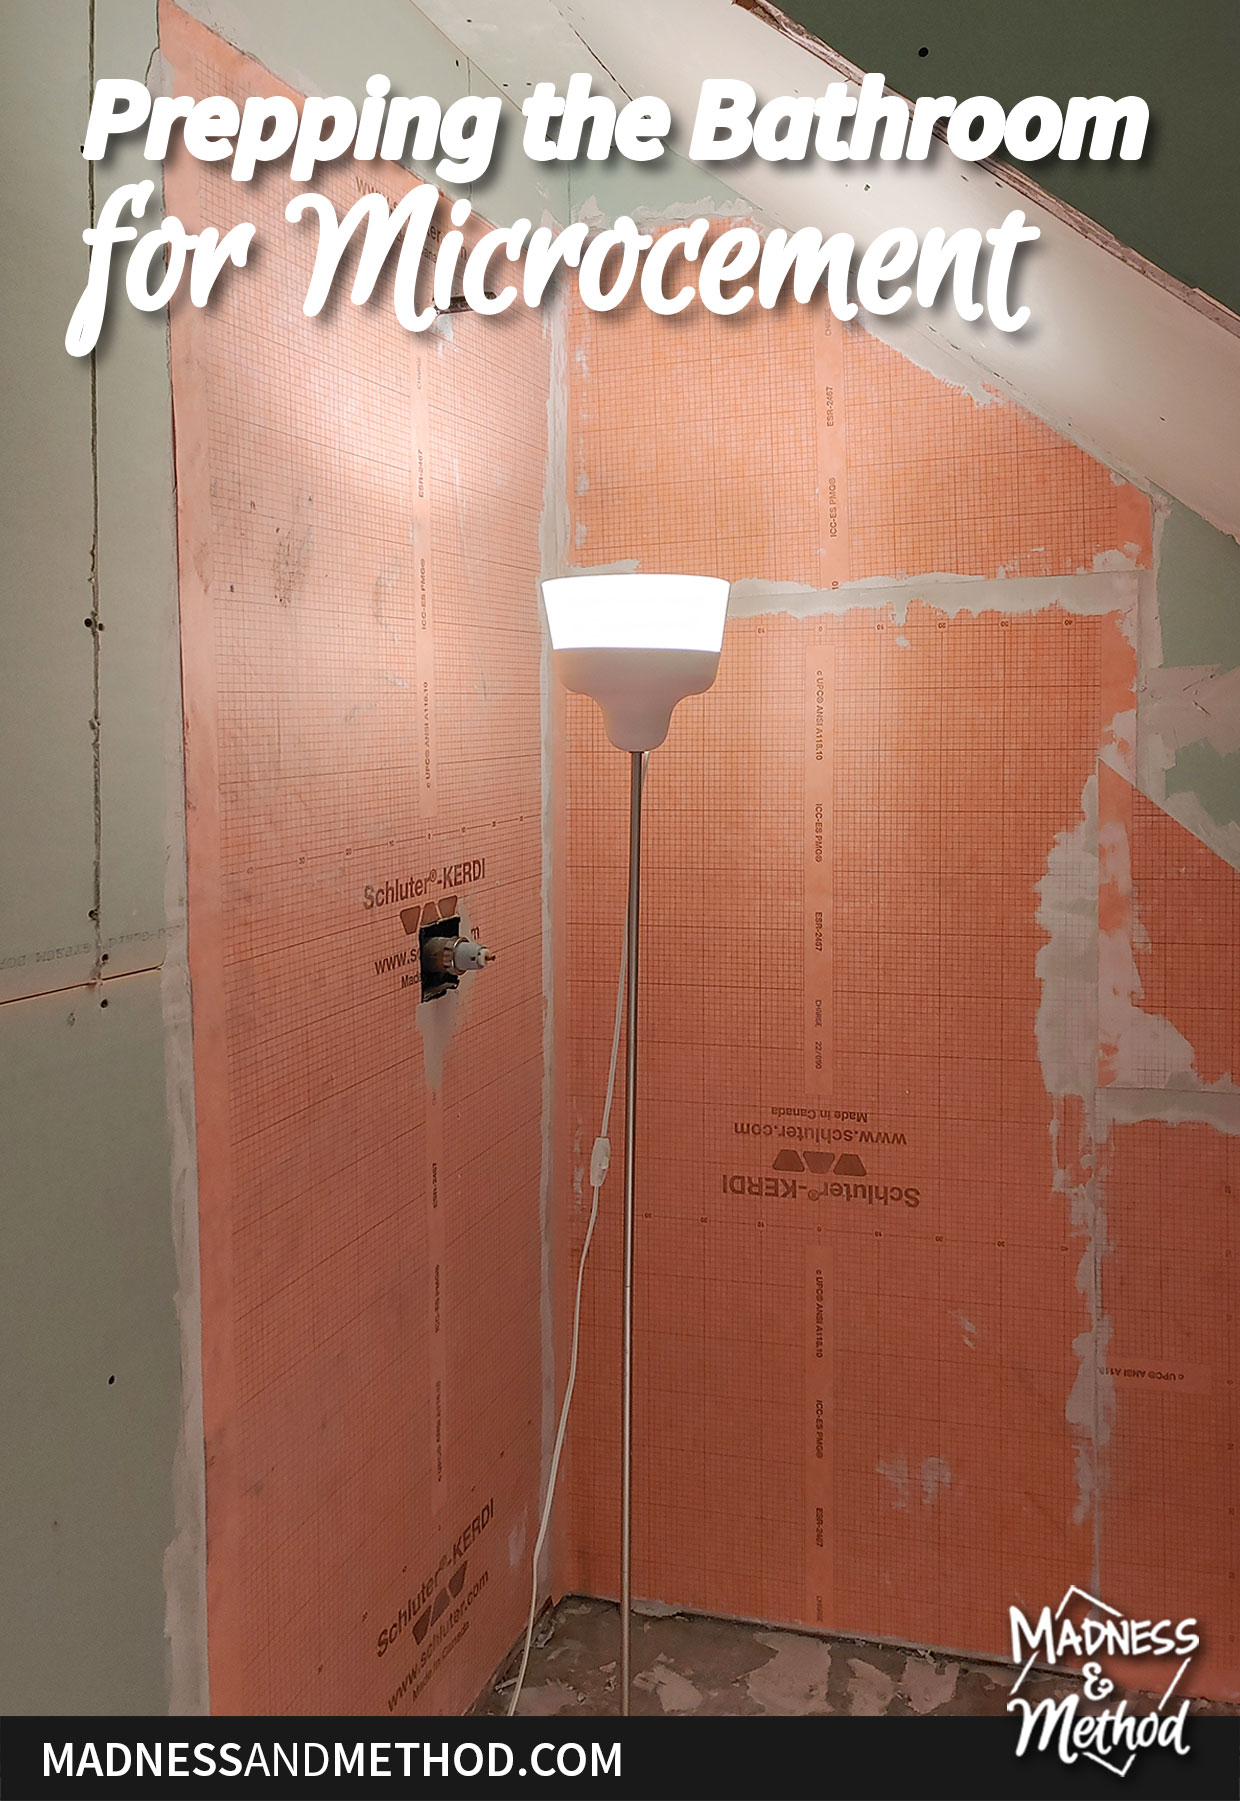
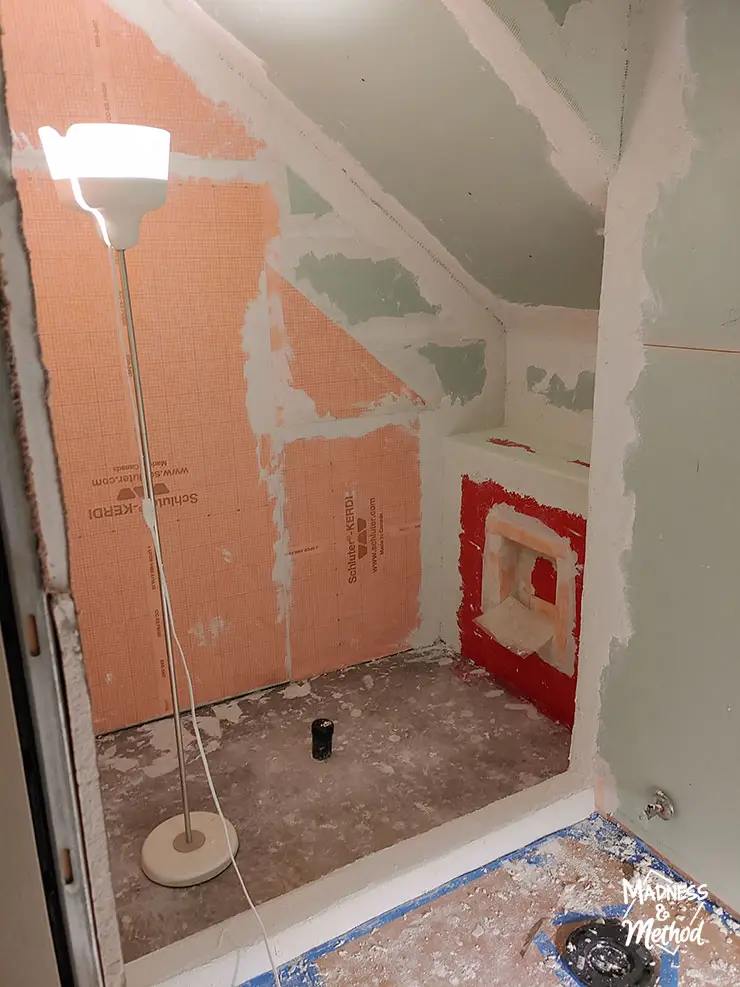
I also used a Kerdi membrane to waterproof the main area of the shower. (So I used the edge band to do these edges). As I mentioned in my Instagram Stories, you shouldn’t usually mix these two systems.
Technically, the microcement that I’m using says that you can use it directly on drywall. I don’t know about you, but I was still a little wary of trusting the drywall on its own. So I did some waterproofing (ie: the Kerdi and the Redgard).
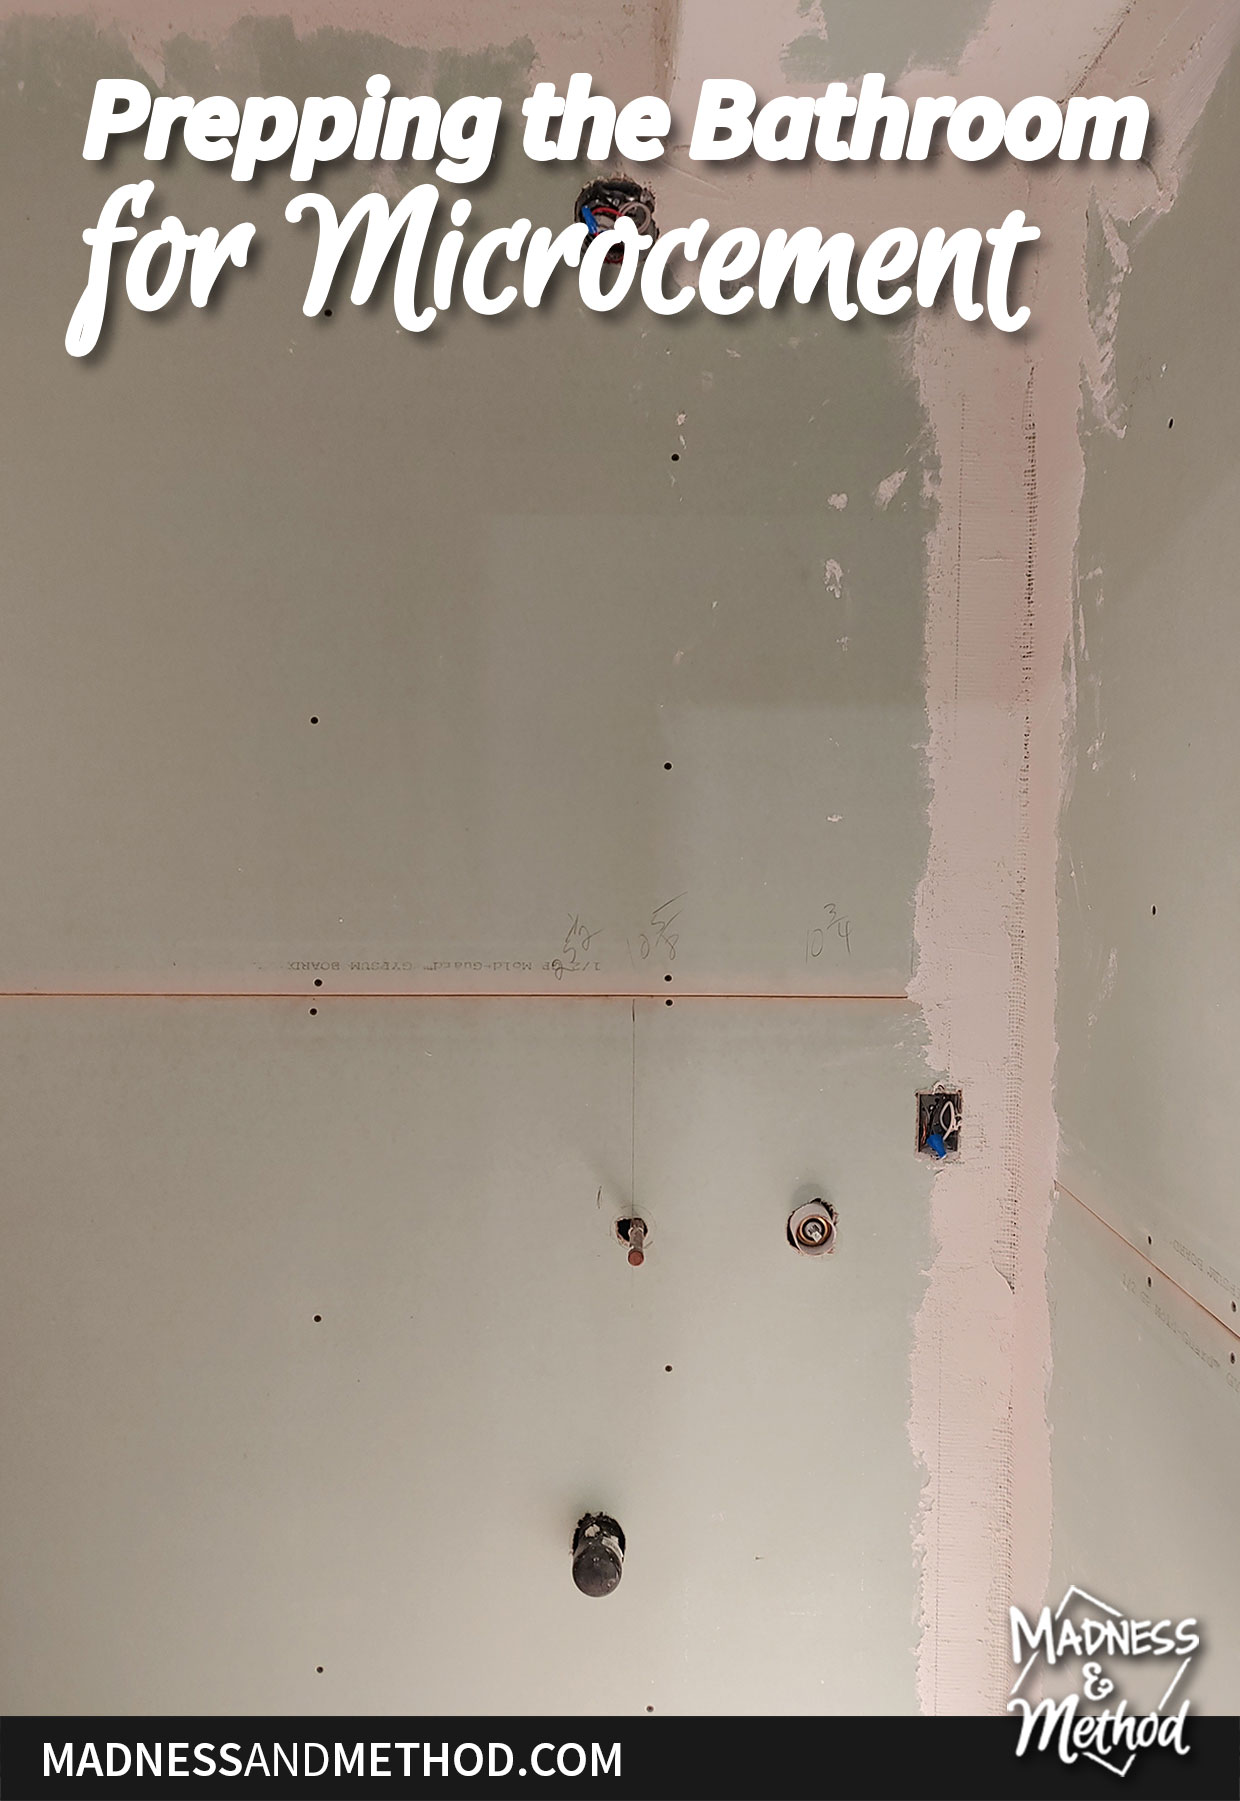
Starting the Microcement Process
If you didn’t know, microcement is a finished surface that looks (and is) smooth cement. It’s super common in Greece (saw it everywhere there!) and can be used indoors/outdoors. I was originally interested in microcement to cut down my time tiling (although it will probably be the same amount of time). But more importantly, I wanted something that would be super easy to clean since we want to rent out the cottage.
Check out this video to apply the microcement to drywall. Aka, all the steps that I will be going through!
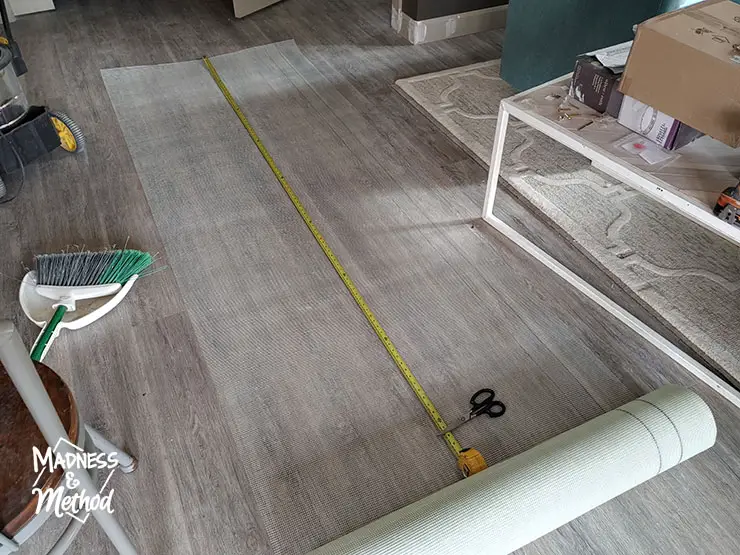
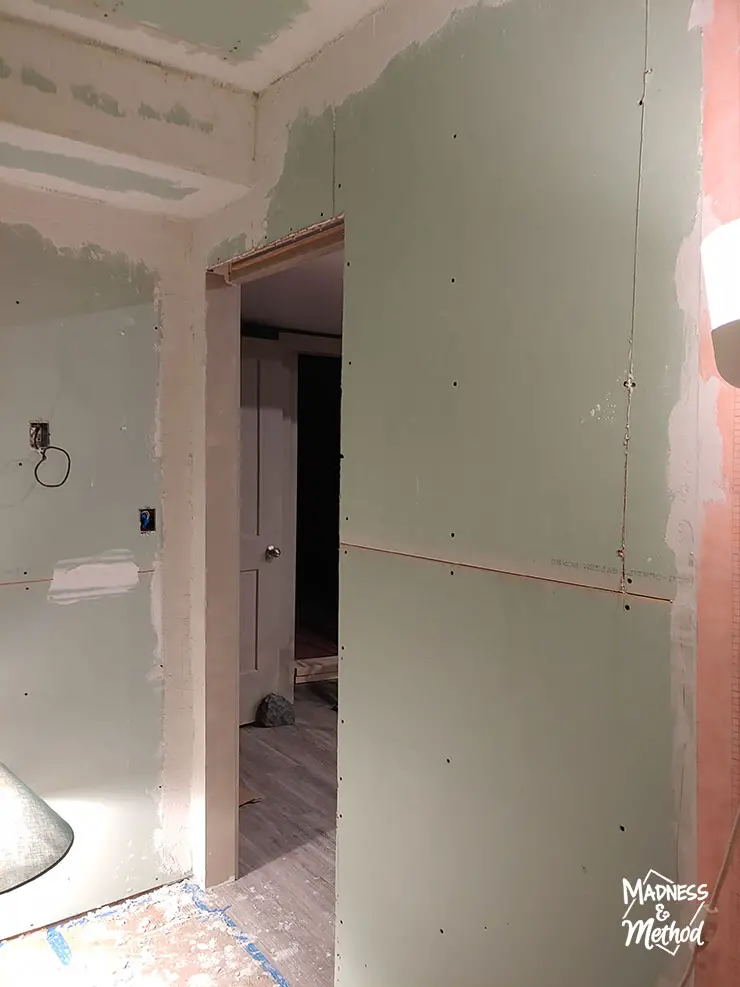
On Sunday, I primed the walls and ceiling, then got to work cutting the mesh for my edges. I was able to get 6 x 6.5″ strips cut per width of my mesh. (I also finished the baseboards in the cottage, but not bathroom related, ha).
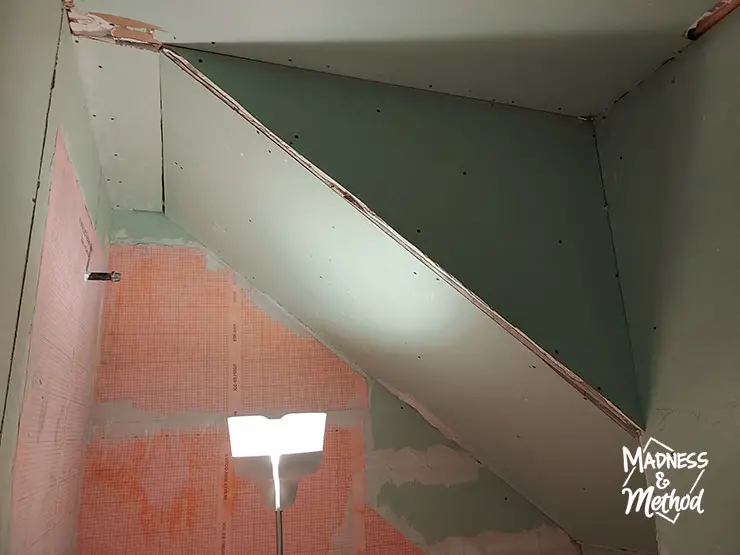
Turns out, our bathroom had a LOT of edges! A normal rectangular room would have 4 corners and 4 ceiling seams. I think our bathroom had at least 20.
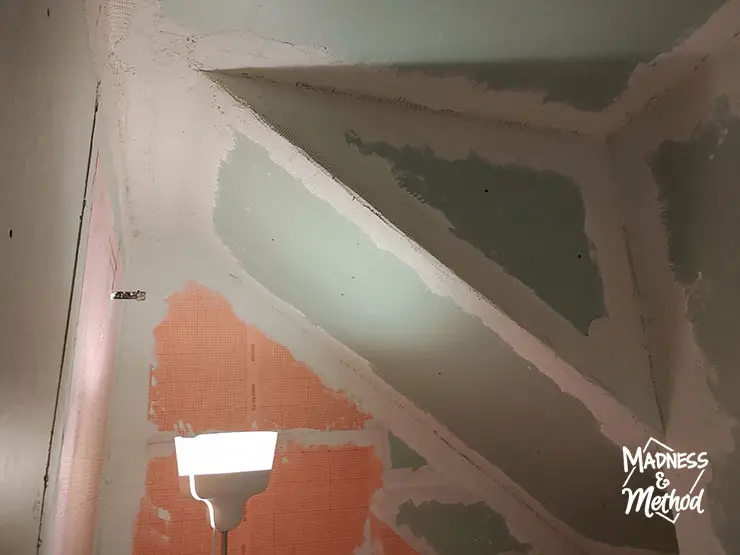
Before starting this project, I estimated it would take 8 hours to do the Flex (base) coat. I worked on all the edges (only) in almost the same amount of time. And I still have to do all the walls and ceiling!
And, whomp whomp, I don’t think I’ll have enough material :(
Prepping the bathroom for the microcement did let me know that I need a ladder. I was using a lawn chair, and it was jussssttt a little short. (I could reach the ceiling, but my arms were fully outstretched). Oh, and maybe a hat – this stuff gets everywhere!
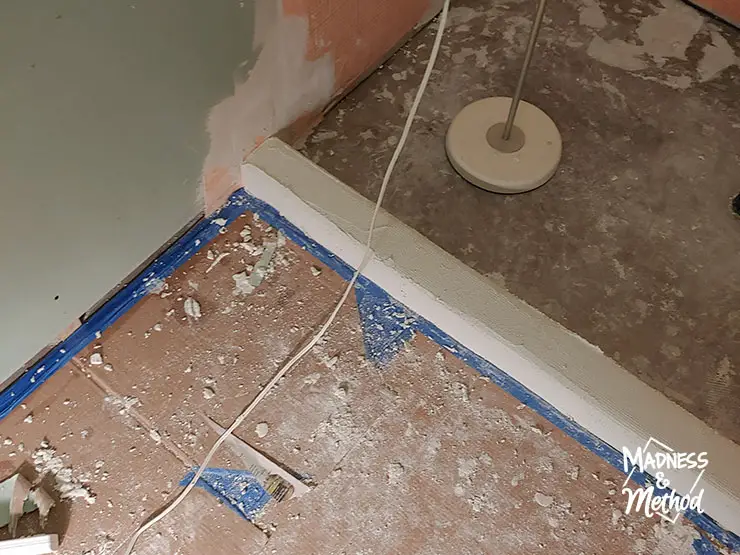
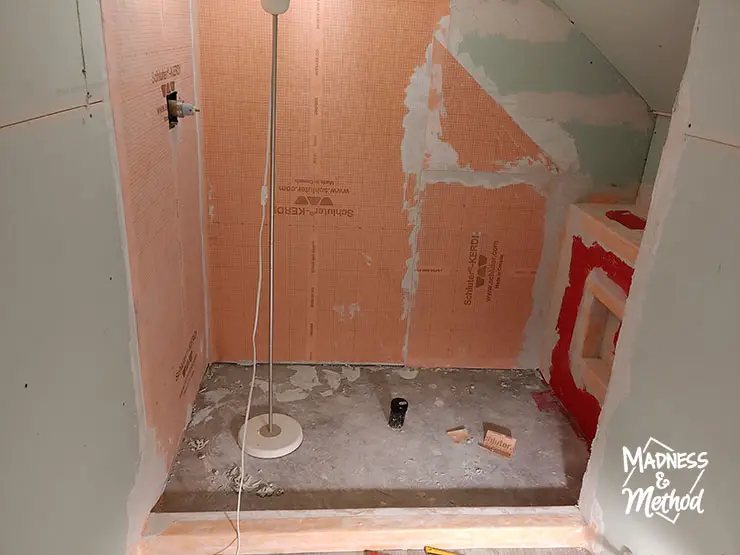
Luckily I anticipated that and covered the vinyl plank floors with cardboard and tape. I also scraped up everything in the shower before it fully hardened. Trust me, much easier to clean it up before it’s rock solid!
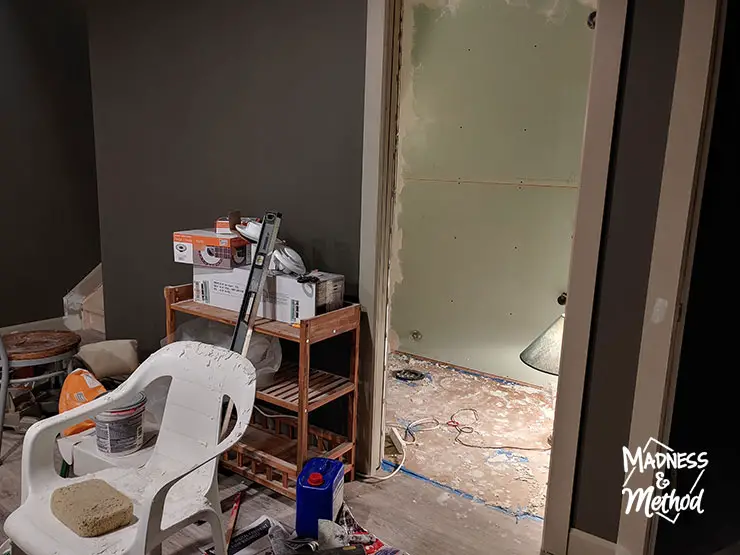
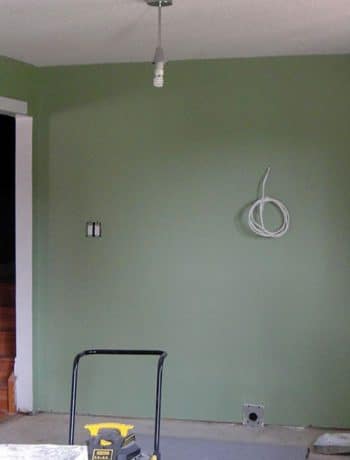
Here’s a view into the bathroom now, and my aforementioned lawn chair step. (I also didn’t like having to step up and down every 5 seconds to grab more cement…
Anyways, as I mentioned – I still have to coat all the walls and ceiling! I used a whole bag (and a bit) of the flex cement but may need to purchase a third bag. Corners/edges do take a lot more material, but I think I am still short. I reached out to the company I bought it from to see what they suggest.
(Did I mention that each bag is 25kg – heavy!).
About the One Room Challenge
Have you checked out the other projects on the One Room Challenge blog yet? I’m sharing updates in Stories as I work on them, so check me out on Instagram too.

Follow My Bathroom Project
- Cottage basement bath plans
- Bathroom timeline and original design idea
- Building a custom shower ledge
- Prepping the bathroom for microcement
Upcoming (High-Level Tasks):
Finish the flex coat and finish coats for the microcement
Put in the shower pan/floor
Clean up and finish building the vanity
Install the shower rock tiles
Toilet/accessories installation (I keep forgetting about the toilet, ha)
Get plumbing/electrical hooked up
Going forward, I need to finish the flex coats on the walls/ceiling, then do the finish coats of the microcement. Unfortunately, this weekend I am busy AND the Husband is doing a guys’ weekend at the cottage. So I may not have any updates next week -_-
Once the walls are done, the next big project is the shower floor (installing the pan and tiling). From there, the electricians/plumbers will finish their work here (I think, ha) and it’s pretty much done! Oh, I have no idea about trim like baseboards/door casings. That will be something to figure out when we get there I guess.
In totally unrelated news, I just realized that my previous blog post also starts with “prepping”, so apparently that’s the theme for this week.


No Comments