
Today’s post is brought to you by dirt. No, I don’t mean dirt is a sponsor – I mean that there’s going to be a lot of dirt talk today, with dirt pictures, dirt tips, dirt everywhere! If you have some sort of weird aversion to dirt, I’d stay away. However, if you’re looking for information on filling and planting DIY raised gardens (that involves dirt), then this post is for you!
– Note: This post contains affiliate links. See more information about affiliates here –
But first, a small recap on how to build a raised garden bed in case you missed it last week. If you have a garden bed ready to go – just skip down to the newest section here.
Materials Required
- 2 lengths of 4′ x 4′ boards*
- 12 lengths of 2′ x 6′ boards*
- Sledge Hammer
- 4′ level
- Drill (we have this drill)
- Saw (we have this mitre saw)
- Screws
- Staple Gun
- Landscape Fabric
- Garden Spade
- Dirt to fill + plants!
*We used pressure treated lumber as mentioned when we built the garden beds. If you’re worried about chemicals, you can certainly switch to cedar! The lengths needed will also depend on how large you would like your garden beds :)
Raised Garden Bed Recap
Click here for the full building instructions!
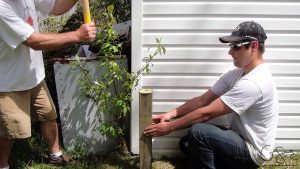
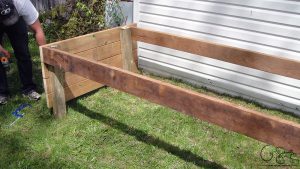
Step 1: Hammer 3 even lengths of 4×4 posts into the ground (I like this unsafe looking photo – it should be titled “things that could go wrong” – but they didn’t!)
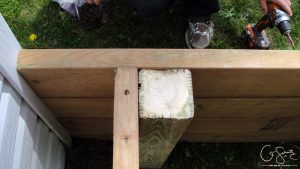
Step 2: Screw your cut 2×6 pieces along the tops of the 4x4s.
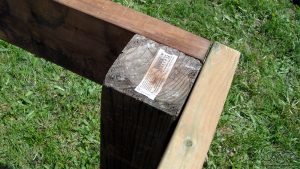
Step 3: Make sure all your boards and posts are level. Put in your final post.
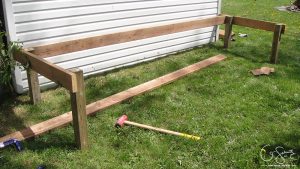
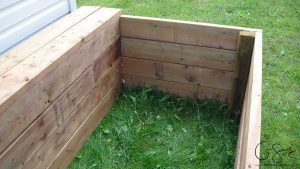
Step 4: Starting on your short end, screw other pieces of 2×6 going down, leaving a bit of a gap in between each board.
Step 5: Continue placing your 2×6 boards
Step 6: Once both short sides are done, you can continue to the long sections.

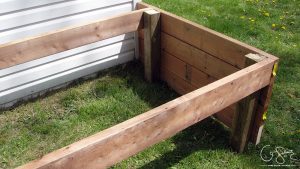
Step 7: Add a 2×6 ledge across the top in between your garden and structure.
Step 8: Put your final boards down the inside of the ledge and call it a day!
Again, for more details and better instructions, make sure to read the full Build a DIY Raised Garden post.
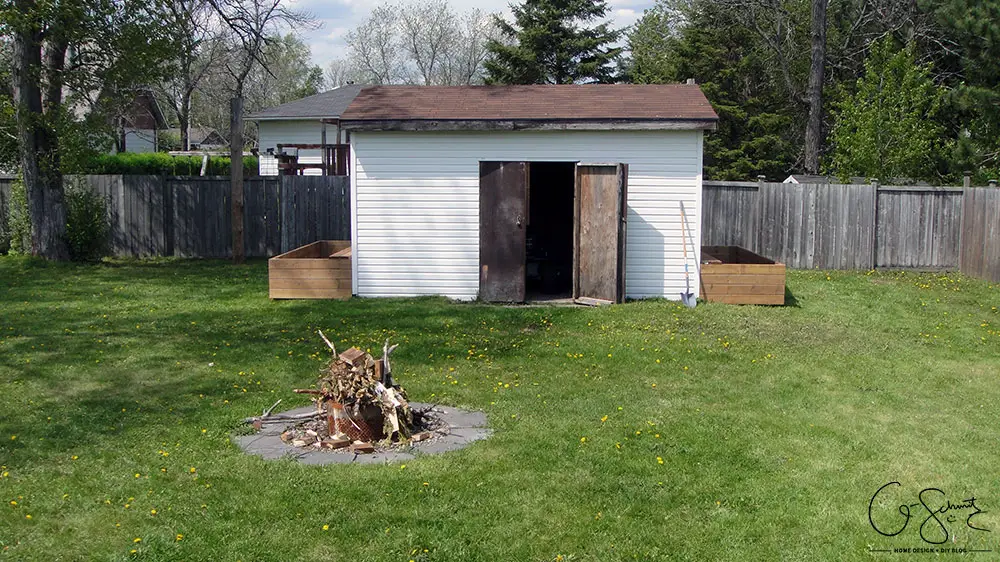
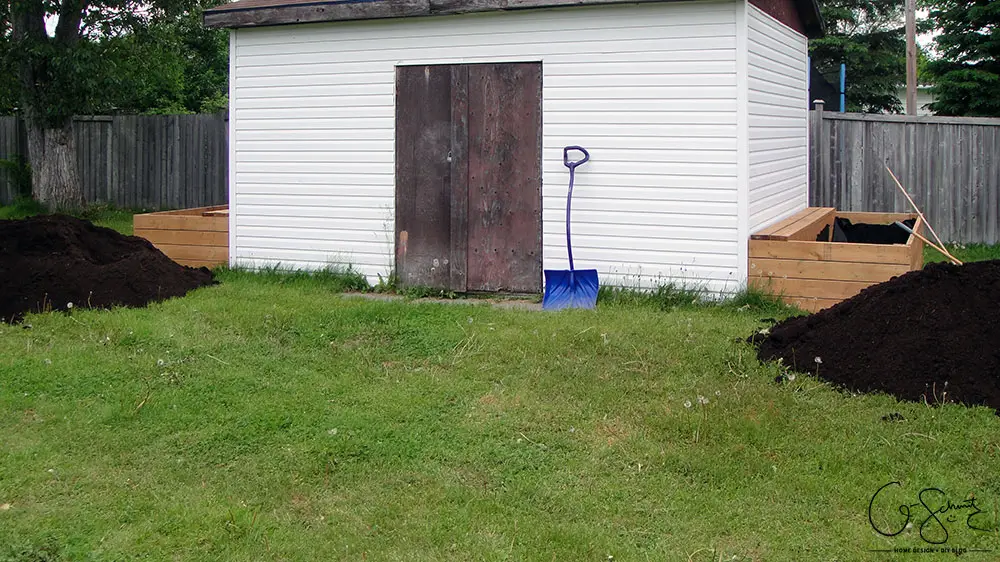
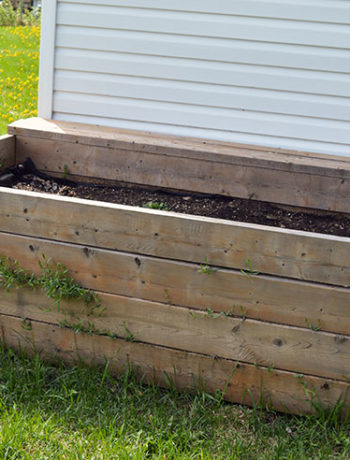
Here we are with the progress so far, two large raised garden beds (4′ x 12′), waiting for some veggies!
Lining the Garden Beds
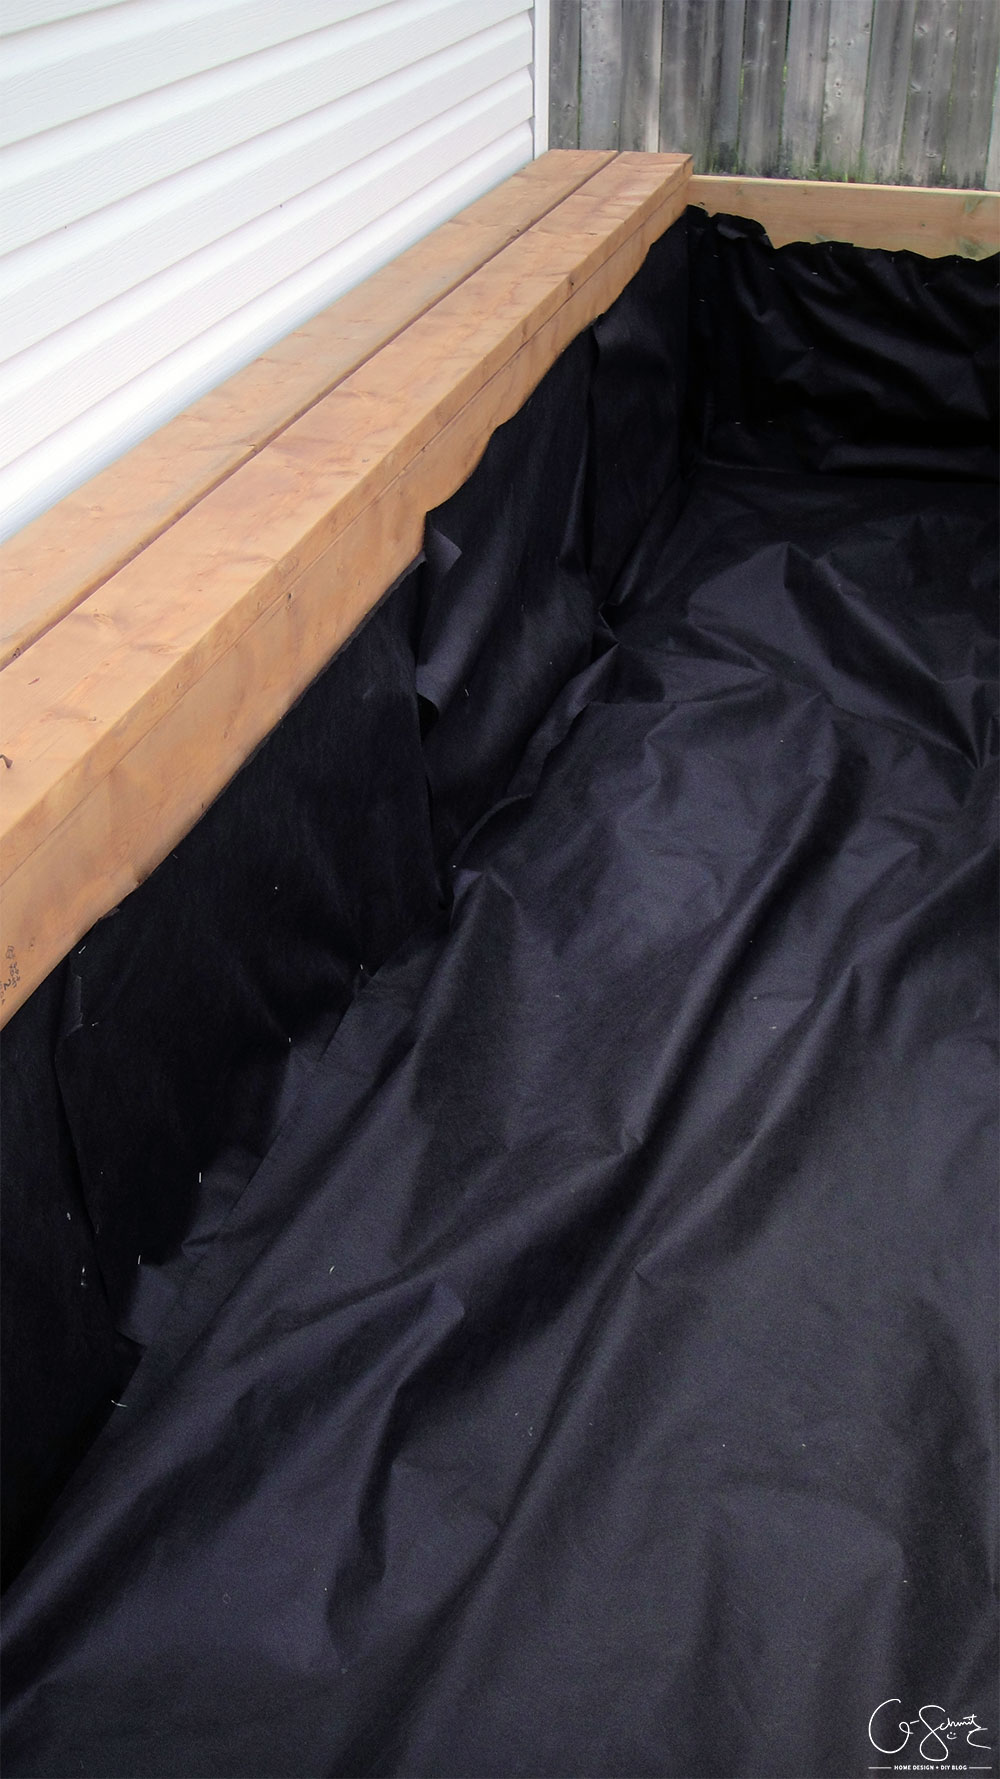
As you could tell from the photos, we never actually removed the grass beneath our boxes. To ensure that no weeds or grass would come through, we decided to line everything with landscape fabric.
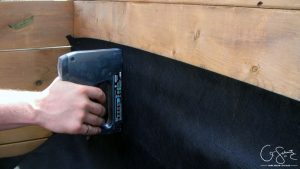
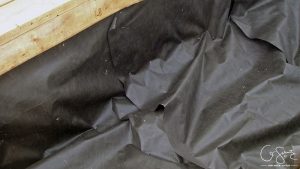
We used a staple gun, and first put the fabric width-wise (the short way); which took about 4 pieces.
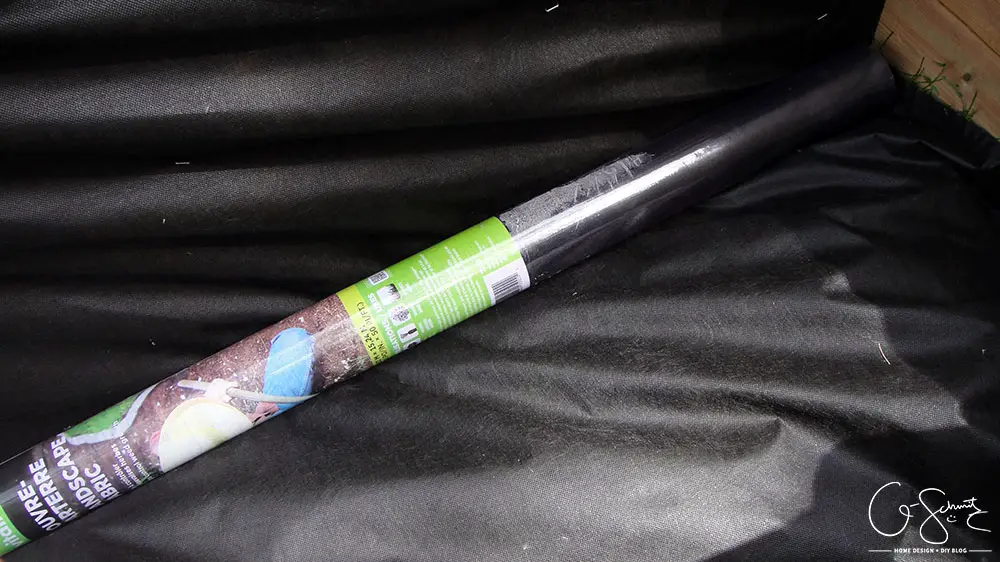
We had purchased 2 rolls of fabric, and we used the extra one as a “holder” for the base. We would staple along the top, then down the sides, keep the bottom loose (but use the roll to hold it in place) and staple up the other side.
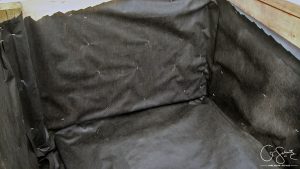
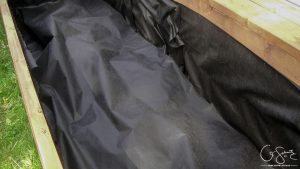
Once the sides were done, we took one long piece lengthwise across the entire garden bed.
And now we just needed to order some dirt and have it delivered!
Filling the Garden Beds, Step 1
For our beds, I had the idea to line the bottom with rocks so that it would drain nicely; and that way we wouldn’t have to pay for premium dirt, considering the plants’ roots would probably never go that deep.
We ordered the dirt on Saturday, and they were able to deliver the first batch on Monday evening.

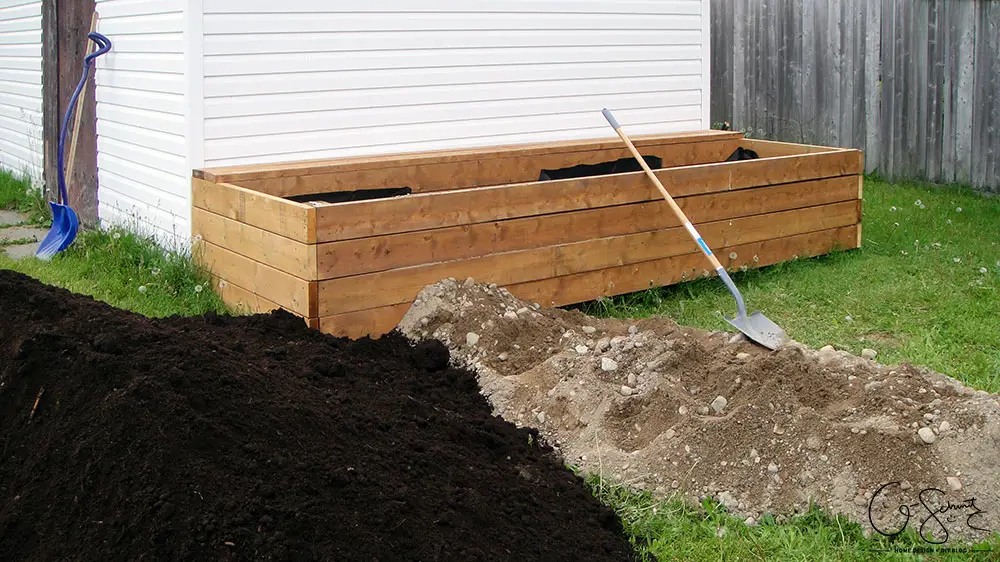
Instead of plain rocks, we ordered what was called “pit run” or something – basically it’s a mix of stones and sand, and is the cheapest fill available.
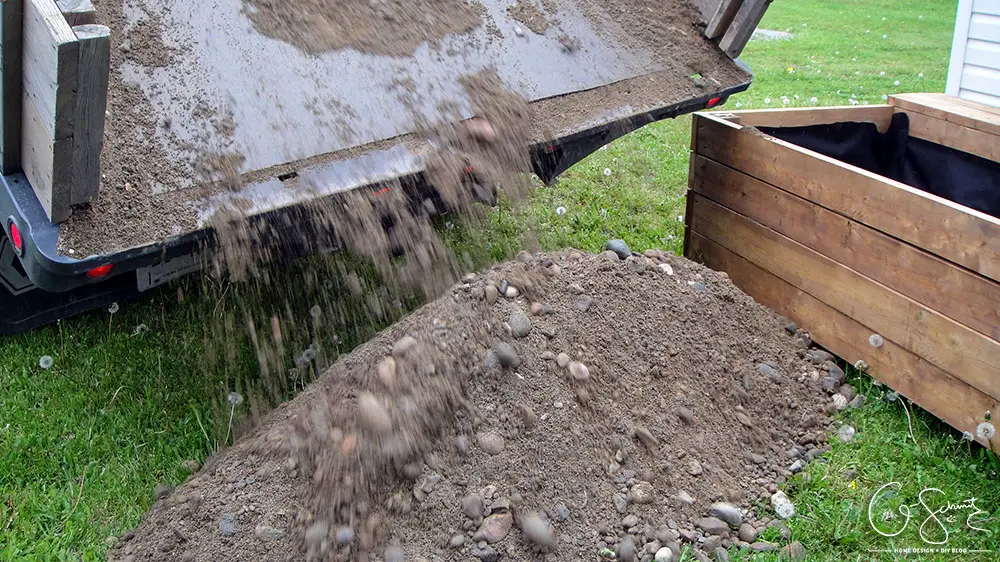
The truck was able to backup into our yard, dump half the load next to the one garden, and the other half at the other one.
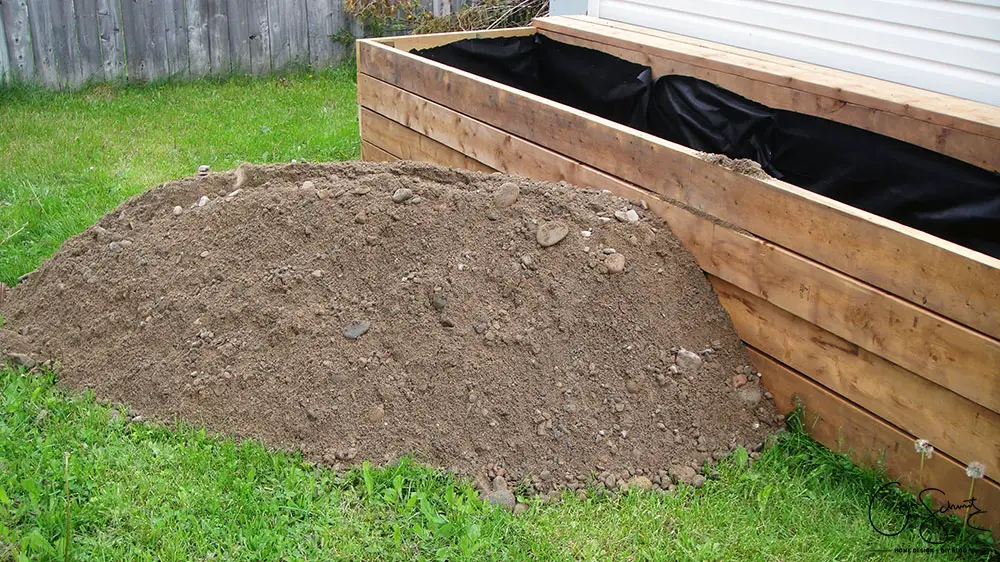
Notice how it never actually made it directly into the garden beds? It turns out, our beds were about 3″ too high to clear the bottom of the truck (once the back is tipped over). So close… yet so far… Maybe this should be something you account for in your planning stage?
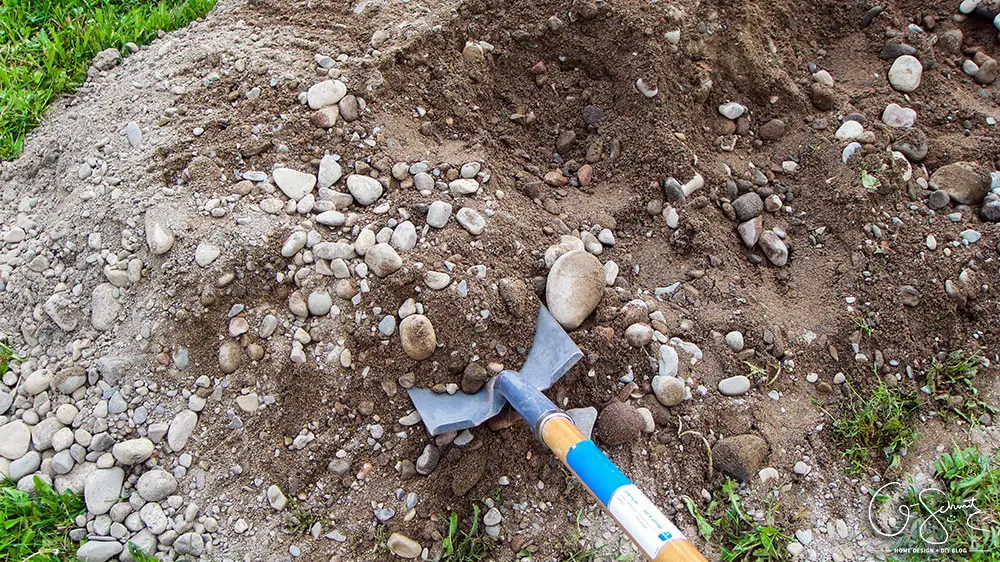
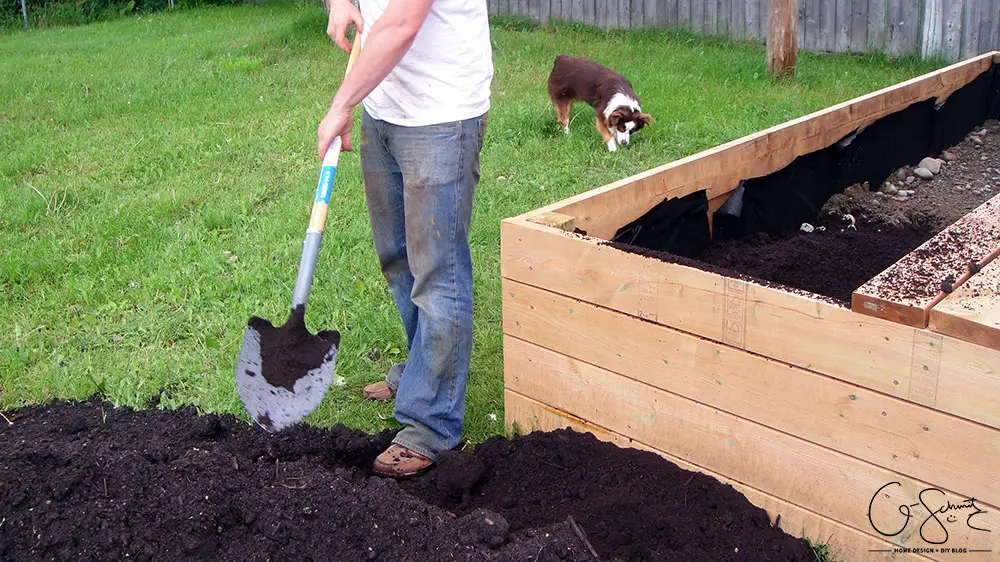
For those who follow the Facebook Page, you might recognize the photo above of me shoveling. Yes, this “pit run” was VERY heavy. It took me over an hour just to fill one garden bed! I could only do one bed on Monday night, and then I had to do the other bed the following day (the Husband was not home).
It’s times like these in your DIY projects, when you’re sweating profusely, using so many muscles, getting eaten alive by mosquitoes and feel like you’ve barely accomplished anything… that a little professional help doesn’t seem like such a bad idea…
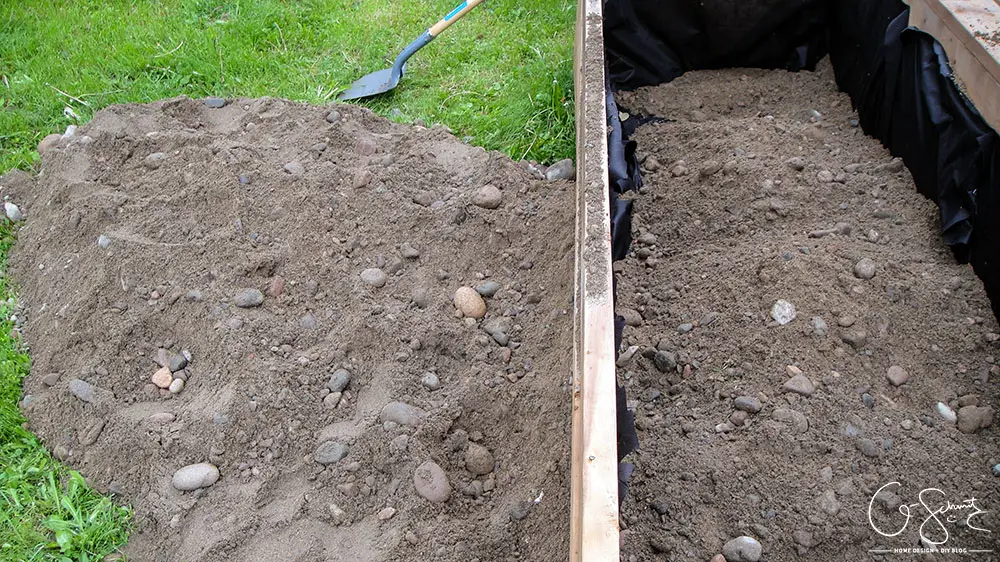
But alas, I was able to get all the “bad” dirt into the beds and leveled it all nicely.
I should mention that the dear Husband of mine miscalculated the amount of dirt we would need… and we had almost double the amount! Thank goodness the soil was MUCH lighter and easier to work with. After 2.5 hours of shoveling heavy rocks and sand, the black dirt flew off the shovel like a cloud!
Filling the Garden Beds, Step 2
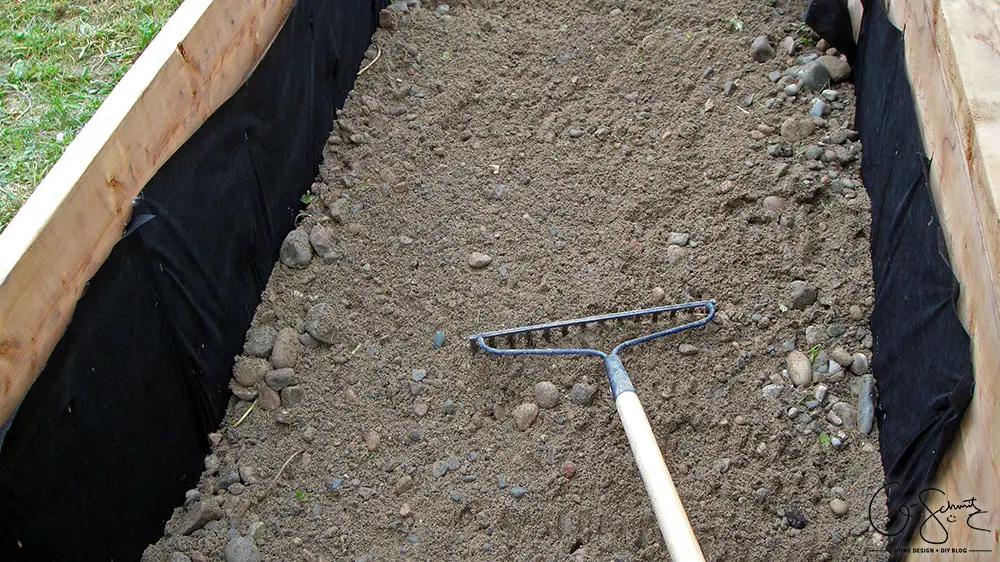
As mentioned, the first load of dirt was delivered on a Monday, and the second load was delivered the following day. Ignore the snow shovel in the photos. I thought that it would make shoveling the dirt much quicker, with its larger size and everything, but it could not scoop up the rocks at all. You need a garden spade for this job!
And yes, I wasn’t done the first pile, but now I had two more waiting for me. Ugh.
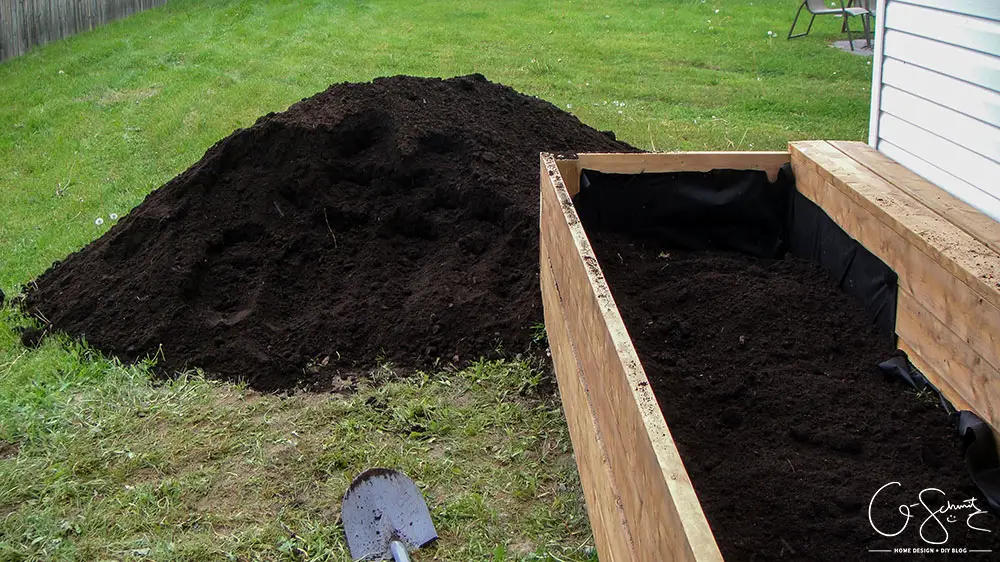
After flinging as much of the black loam (that’s the name of this dark soil) into the bed for one day; and because I was exhausted from the heavy dirt – I decided to call it quits and let the Husband fill the rest of the bed(s) in.
When I came home the next day, he literally flung all the dirt into the gardens to fill them up. Notice the dirt on the ledge? I mean… it was much cleaner when I did it, right?
But I know I can definitely not complain about his technique, especially since he was a good helper :)
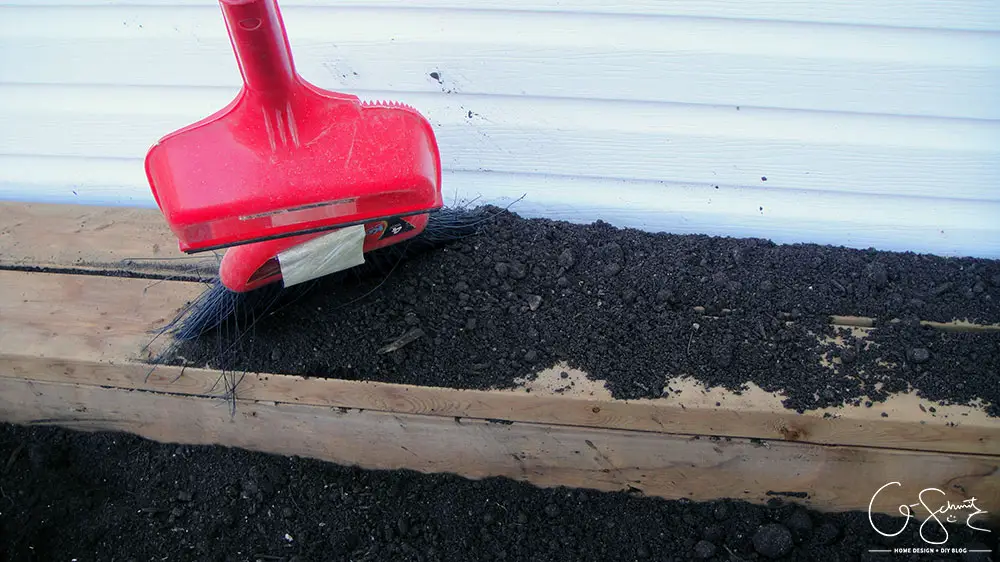
I just took my broom and swept all the dirt away!

For those who might have been wondering, yes the raised garden ledge does support the weight of a person. I had to actually climb on it to sweep it up nicely.
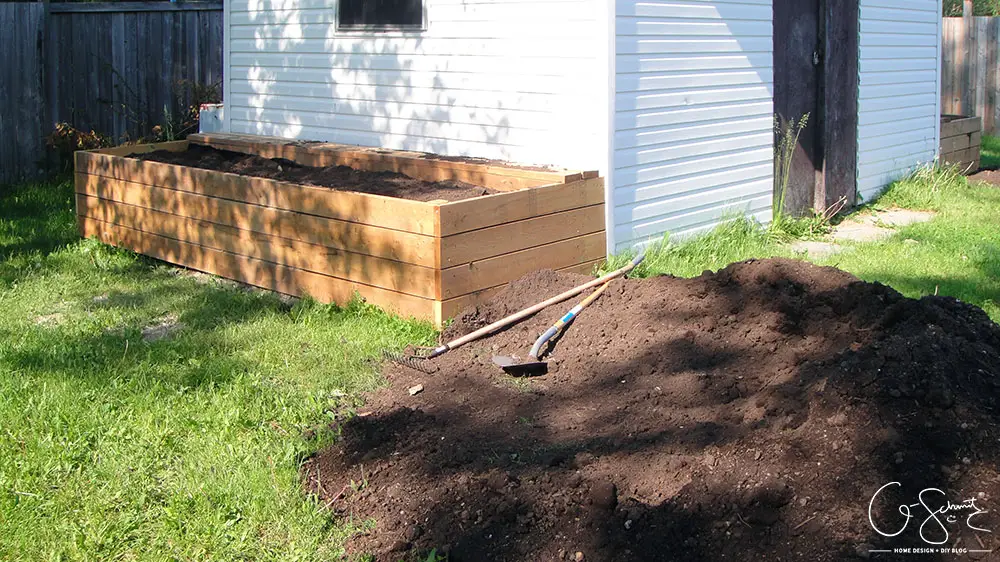
Notice how much dirt we had leftover? Good thing our yard is super uneven and we had lots of holes to fill up.
Planting Veggies in your Raised Garden Beds
I need to let everyone in on a little secret: I am not a gardener. Maybe you’re a professional and you gathered that from above? Either way, my way of thinking is that plants should be able to take care of themselves, right? Like how else did they do it before – in nature? Anyways, here’s what we did:
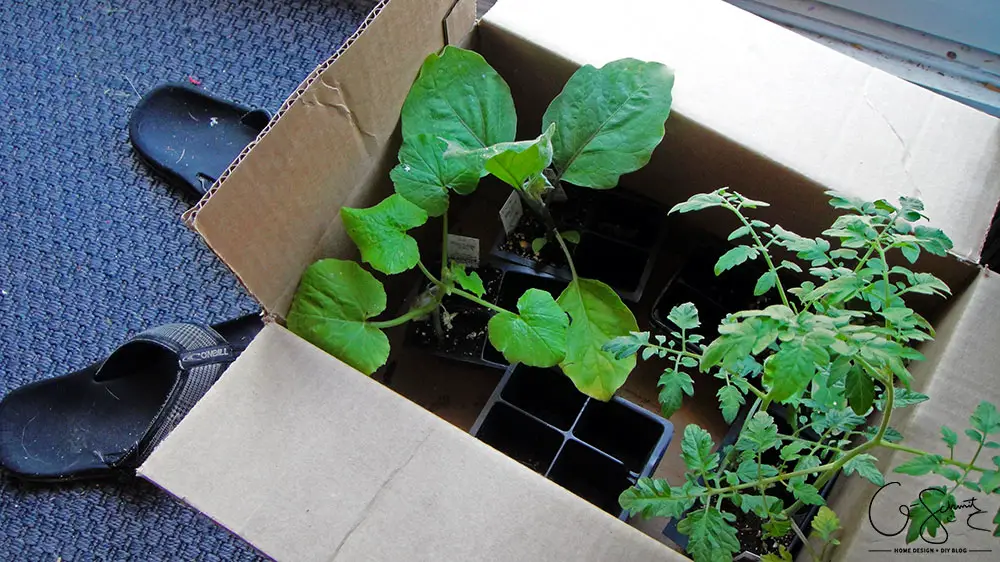
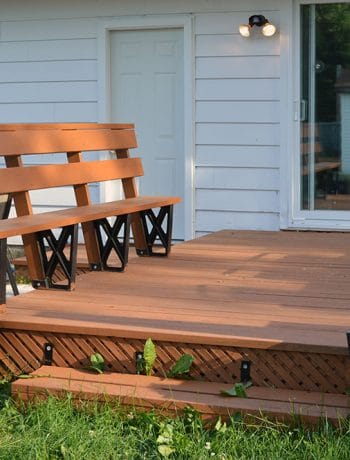
My parents had brought us some plants when they came to visit a few weeks ago. We had to wait for all the frosty mornings to subside before we could bring them out. They sat patiently waiting by the back sliding door, and I had them in the sink a bit to make sure they were watered.
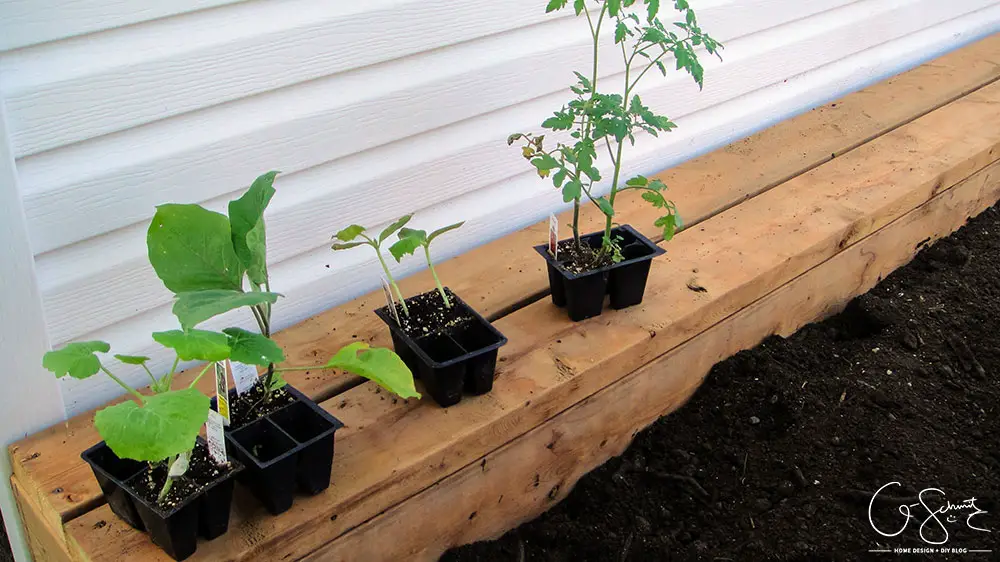
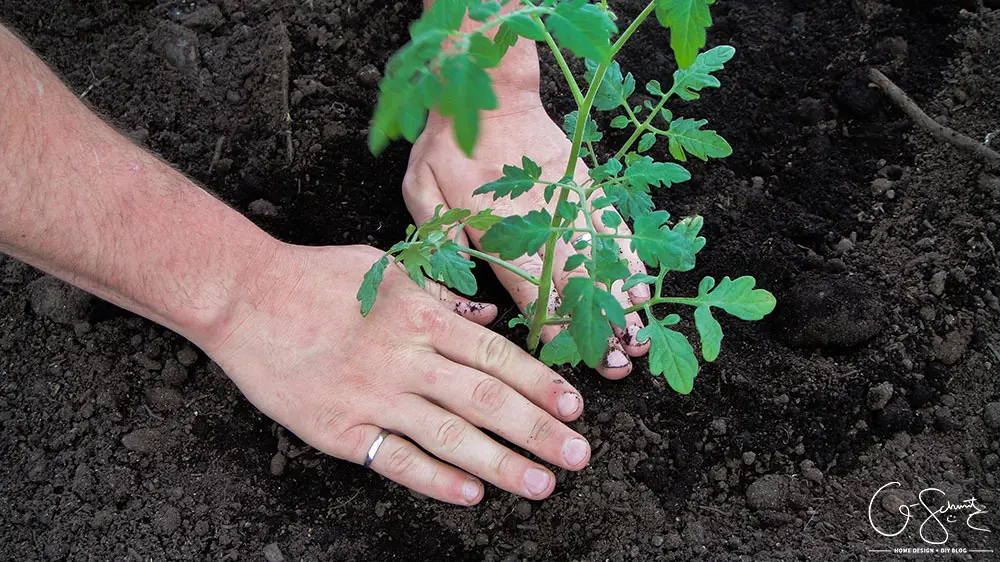
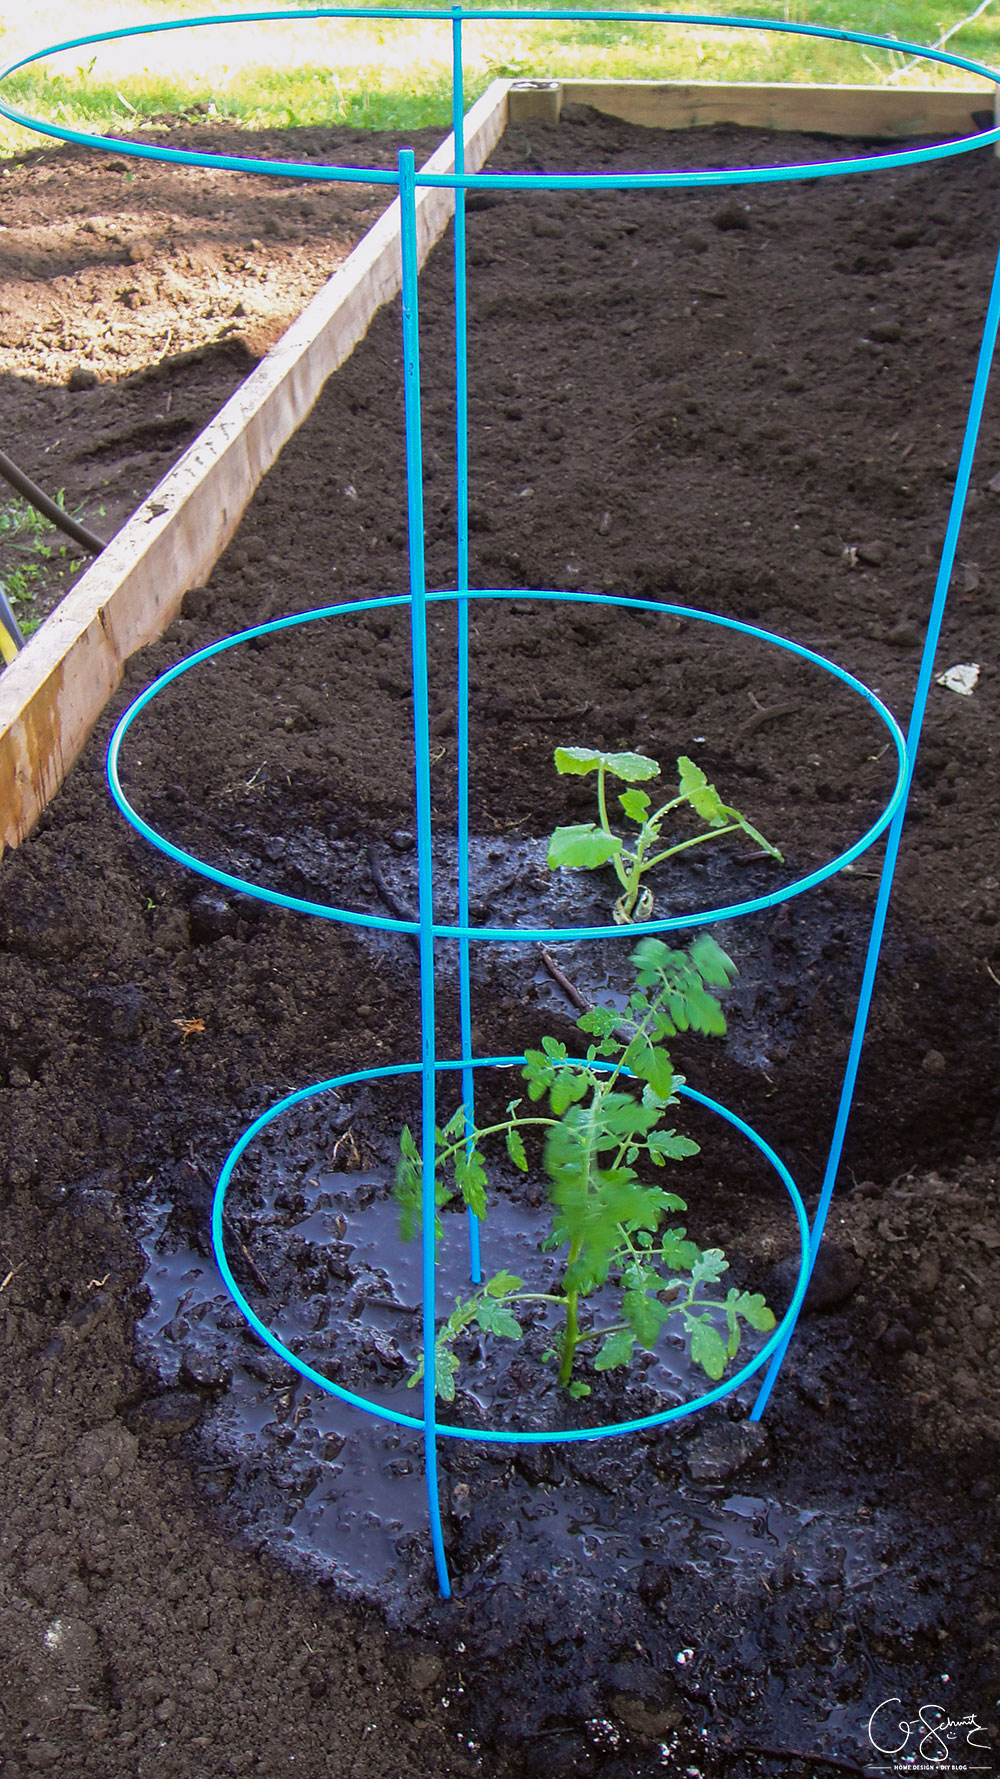
We had received 2 tomato plants, 2 cucumber plants, 1 zucchini plant and 1 eggplant (plant). Thank goodness the Husband was very concerned about our veggie garden, and he did all the work actually planting them. There’s still room for more plants, but as of yet we haven’t had the time to go buy some more.
He loves fresh veggies and last year I never got the chance to actually taste anything we grew, because he would just eat everything first. But our garden was very small back then; and we’ve essentially expanded our space at least 5 times larger.
I should also mention that I don’t really like veggies that much… of the list of what we have, I really only eat the cucumbers. Well, I use the zucchini to make bread… but I’m always trying to be better at least! Sometimes I wish we just had a strawberry garden… maybe next year?
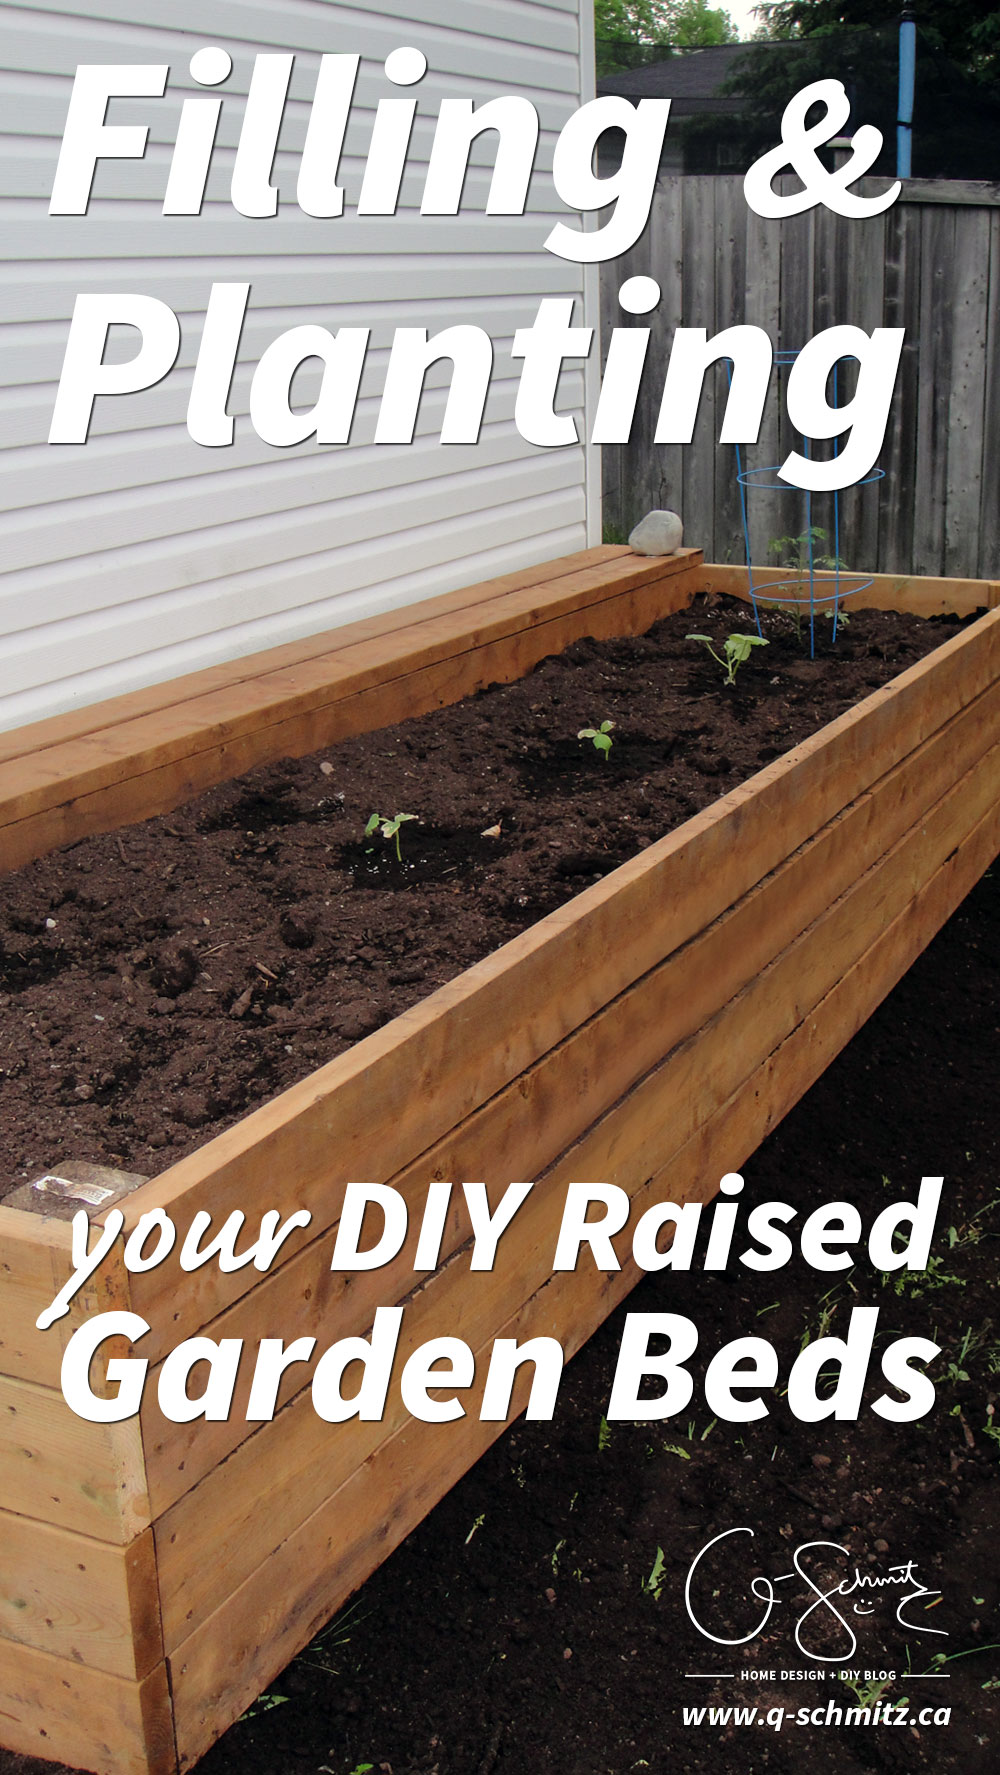 So there are the updates I have for you today! If there’s one takeaway from this post, it’s that when filling your raised garden beds, make sure to properly calculate how much dirt you actually need! Just a reminder too, that we have our beds on the East and West sides of our shed, so one bed will get the morning sun, and the other will get the afternoon sun. I wanted to plant the same veggies on either side, so we could see which was better – but it didn’t end up that way.
I’d love to hear some tips on how we can make our raised garden planting even better – so if you’re an avid gardener, make sure to leave your comments!
If you’ve read through the whole post and thought “well, there weren’t that many pictures of dirt, I was expecting more” then here’s an extra section for you :)
Using Extra Dirt
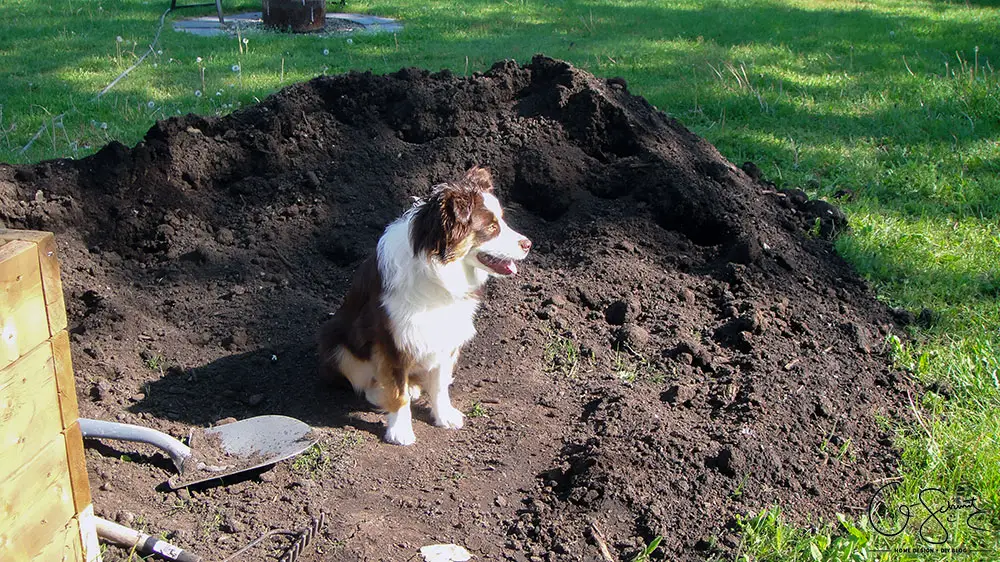
We had so much dirt left over, it was crazy. We had ordered 2 cubic yards of the pit run, and 4 cubic yards of the black loam. I think just 4 cubic yards would have been fine, maybe 5 just to be safe. And, had we only ordered the dark soil, my filling job would have been a lot easier. For the most part, Tootsie stayed out of the dirt – but I did have to wash her feet once, which she did not like.
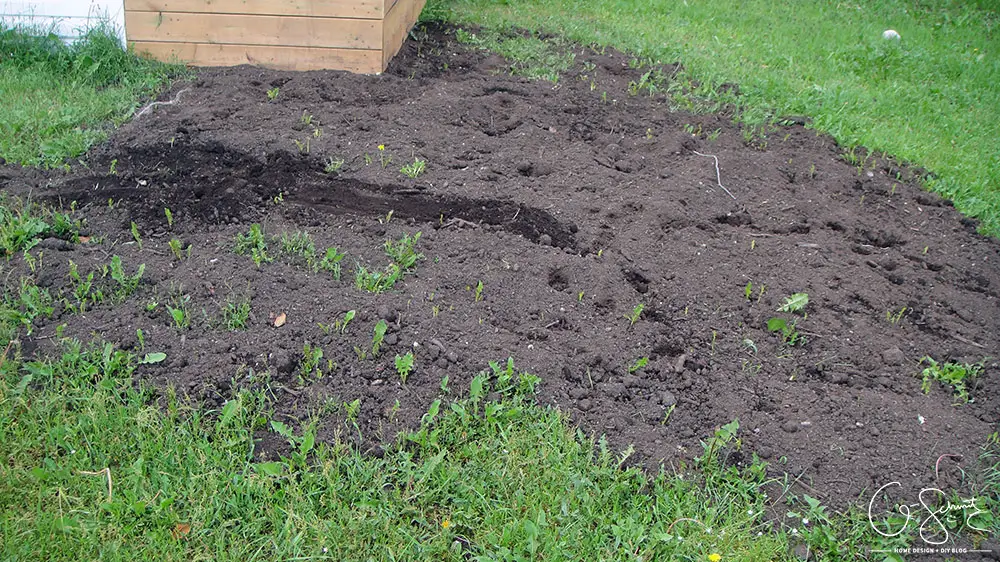
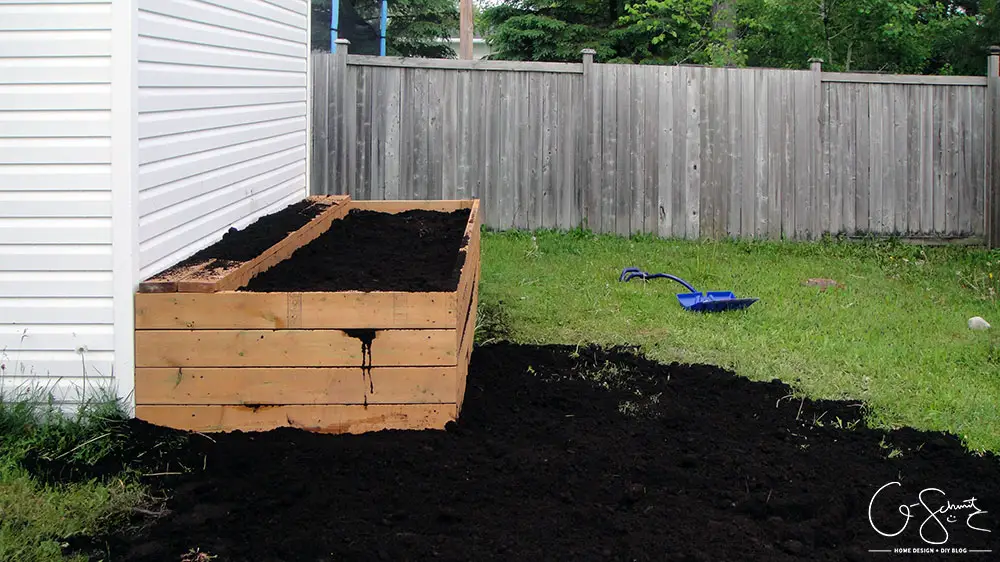
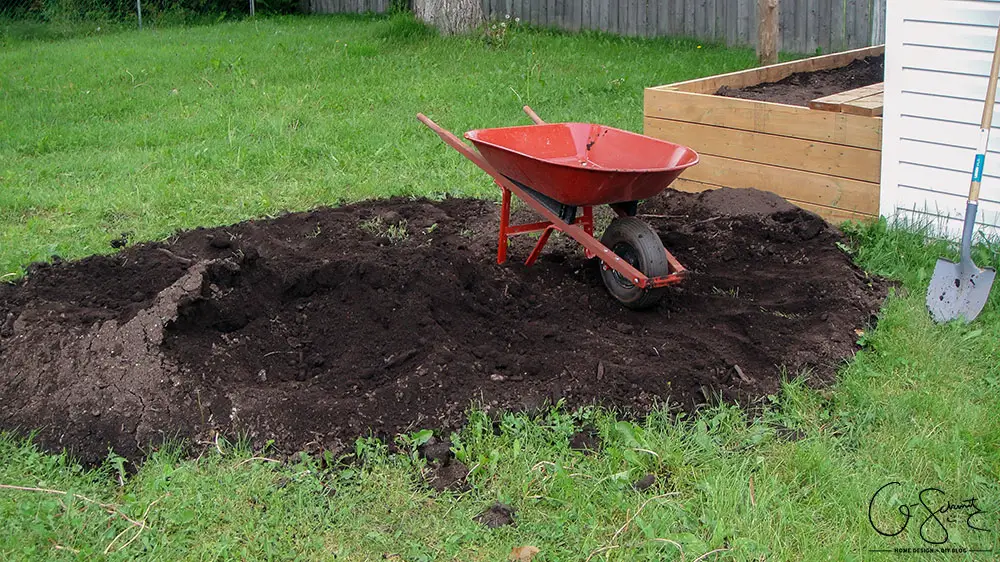
We had most of it gone from the West section, and we just happened to have some uneven spots there (a big hole in fact).
It’s hard to show how un-level the ground actually is here, so I guess you’ll just have to believe me?
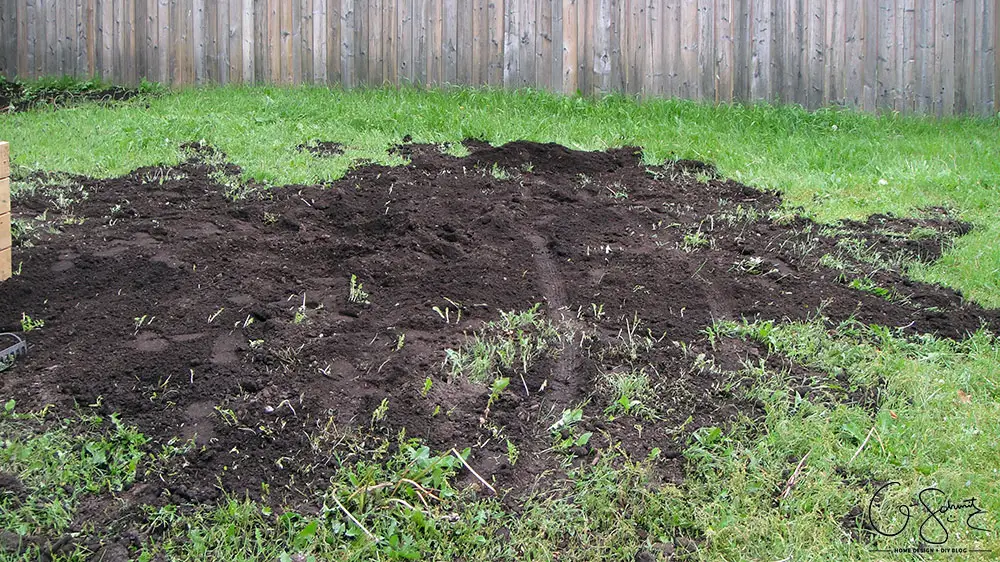
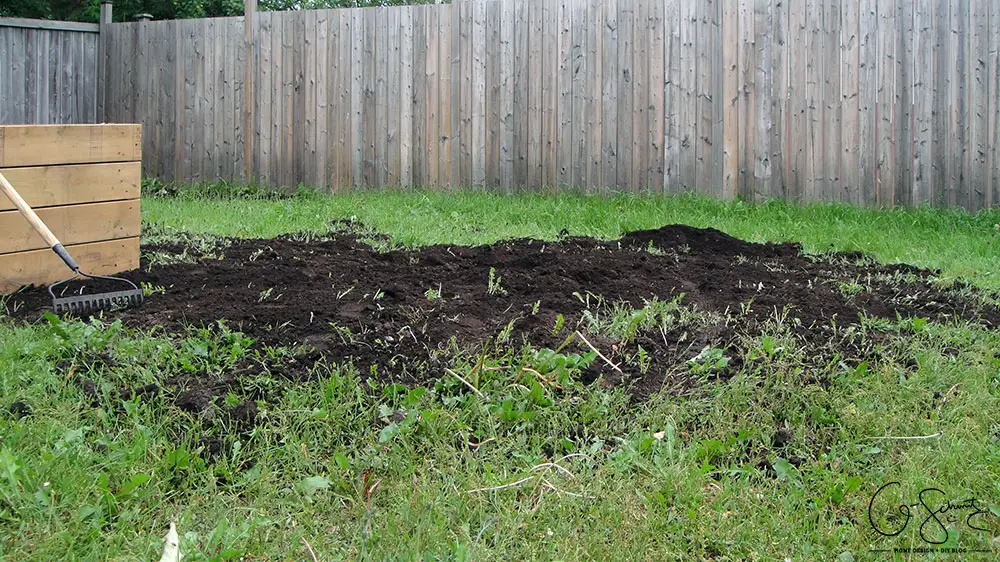
I also put a few more wheelbarrow loads full from the other pile into this section, so I could spread it around better (the Husband made more of a mini hill).
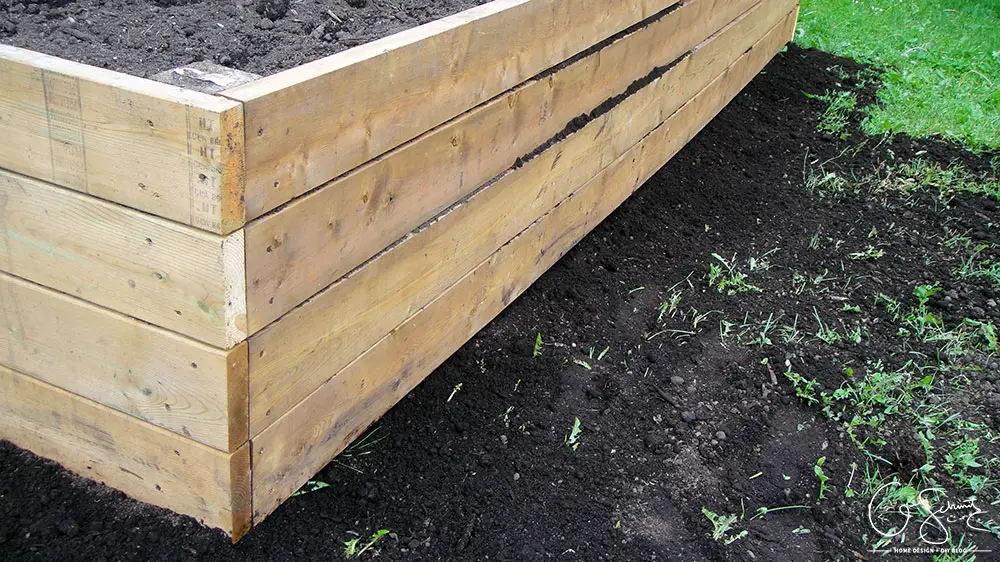
Remember in the garden building post when there was a gap along the bottom of the garden bed? Well, I was able to use the extra dirt to fill it in.
After more than 10 wheelbarrows full of spreading dirt around the yard, I was tired and it seemed like there was a never-ending pile.
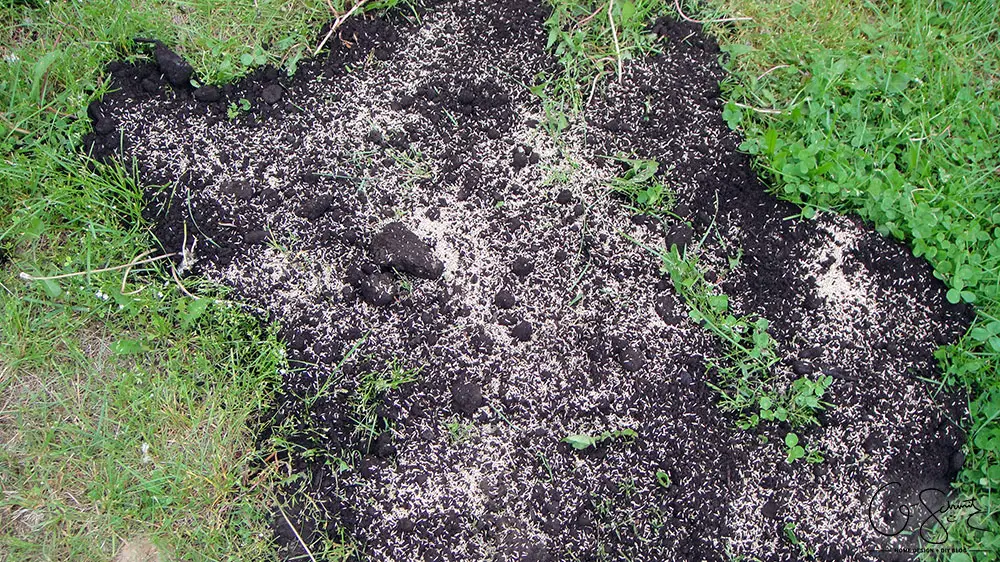
We had some grass seeds leftover from last summer, so I sprinkled them across my patches and watered everything nicely.
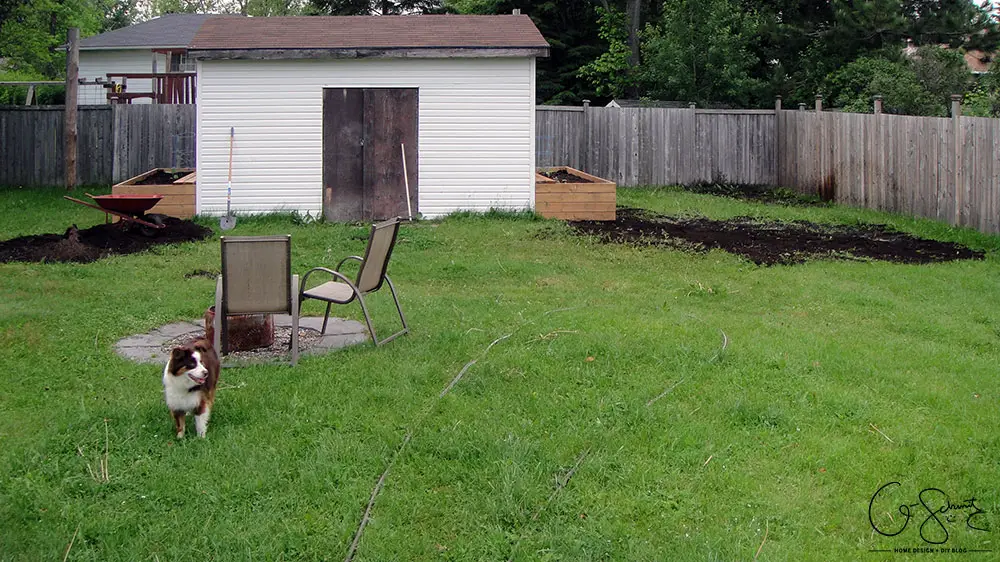
And here’s a shot of the whole backyard again, but now you can sort of see all the spots with the extra dirt (well, except the one on the left, which is still the pile I have to go through).
Okay okay, I’m sorry for all the dirt-y talk! But I did warn you… and I feel like I went through such a physical struggle to actually shovel it all, that I needed to somehow get my plight across here.
Until next time :)
14 Comments
Louise
June 16, 2015 at 10:53 pmThe tomato plants are cherry tomatoes so you probably will still want to get some larger tomatoes
Nicole
June 17, 2015 at 6:22 amThanks Mom :) Husband would not have been happy when he found that out…
Choice Furniture Superstore
November 6, 2017 at 1:07 amLove it. This is an amazing tutorial. Thanks for sharing this post.
Nicole
November 7, 2017 at 12:44 pmNo problem – they’ve definitely come in handy!
V
May 12, 2018 at 9:06 amDo you have a problem with water weeping between the gaps in your boards? I was hoping to stain mine to make it a bit more decorative but I’m worried about water seeping between the cracks
Nicole
May 14, 2018 at 12:51 pmUnless I really give the garden a good watering, I don’t get much leakage between the boards. I was also thinking of staining ours eventually, but I wouldn’t worry about the stain and water mixing I don’t think (is that what you’re concerned about?).
Jan
May 15, 2018 at 4:02 pmThanks for the tutorial. This is my 1st year of raised gardening. I am looking forward to starting. I received two raised gardening carts from my children for christmas. On wheels!! I already have it lined with landscape fabric. My question is, can I fill it with just Miracle Grow Gardening Soil? Or is it better to put a rougher type soil in bottom? Thanks, Jan
Nicole
May 16, 2018 at 8:40 pmThanks for visiting Jan! In regards to your question, I would say – it depends. For example, it may be lighter to move around (assuming you want to use the wheels) if you just fill your gardens with the topsoil. But, depending how big/deep the gardens are, it is better to have the rougher soil on the bottom for allow for proper drainage.
Liz
August 27, 2018 at 10:22 amCan you overwinter perennials in a raised bed. Zone 5
Nicole
August 27, 2018 at 1:02 pmWe had perennial strawberries last 3 winters (they died off this year unfortunately)
David
February 26, 2019 at 8:22 pmHave you had issues with your 12 foot long 2×6’s bowing from the pressure of the wet soil?
Nicole
February 27, 2019 at 11:14 amNot really… here are the most recent photos of the garden I planted: https://www.madnessandmethod.com/raised-garden-veggies/ last summer. There is a tiny bit of difference between each board, but it’s pretty similar to how it was as soon as we set them up. We do get a LOT of snow, and it really compacts the dirt so probably contributes more than any over-watering/rain during the summer season. You could always add an extra post in the middle if you’re worried!
Laurie
March 17, 2019 at 11:26 pmVery nice garden beds! I wouldn’t recommend staining them though, as it can seep into your soil and your food.
Nicole
March 19, 2019 at 4:01 pmThat’s good to know! They’ve stayed okay looking for a few years now, so we’ll probably leave them as is :)