
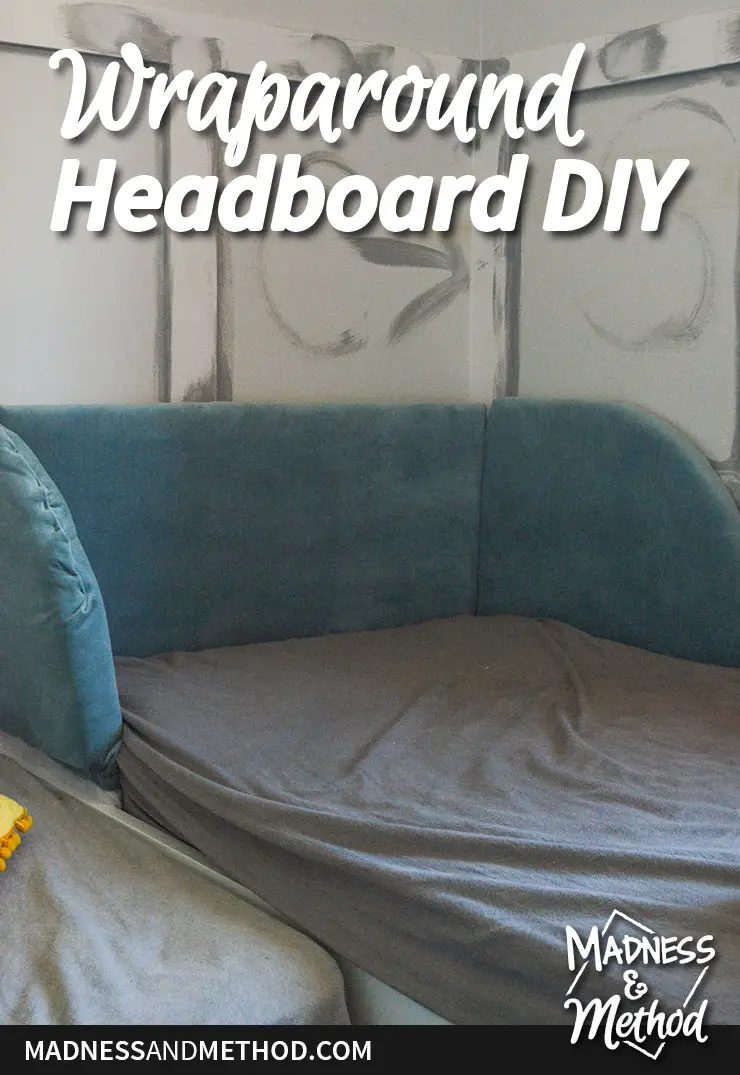
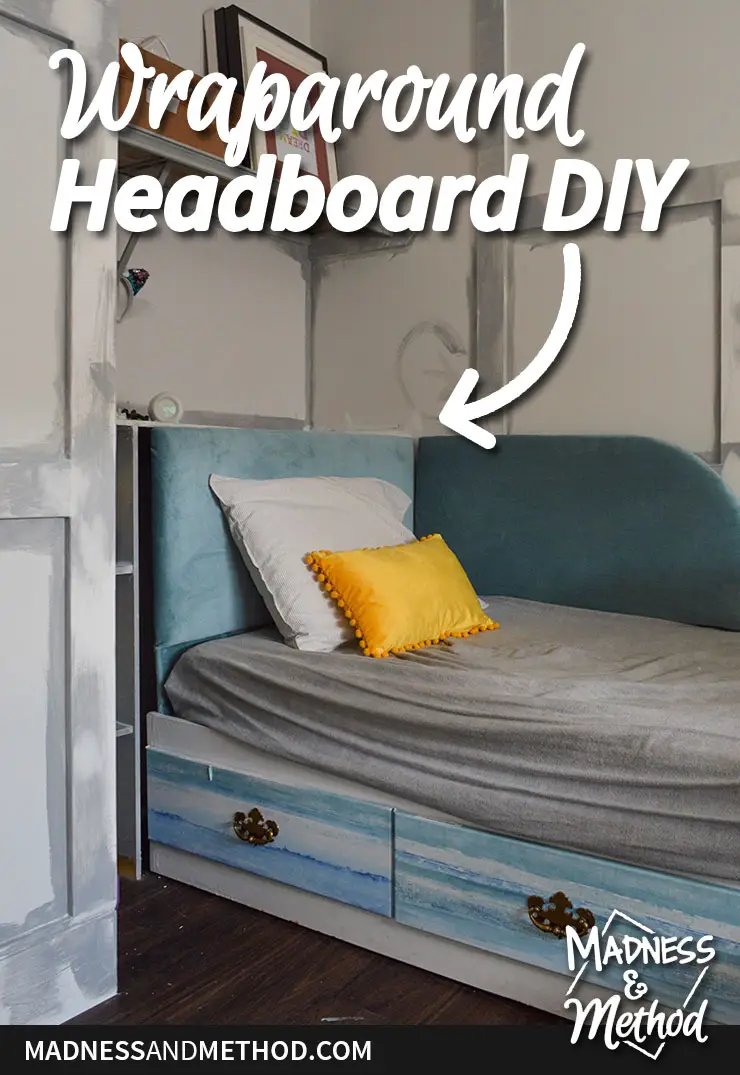
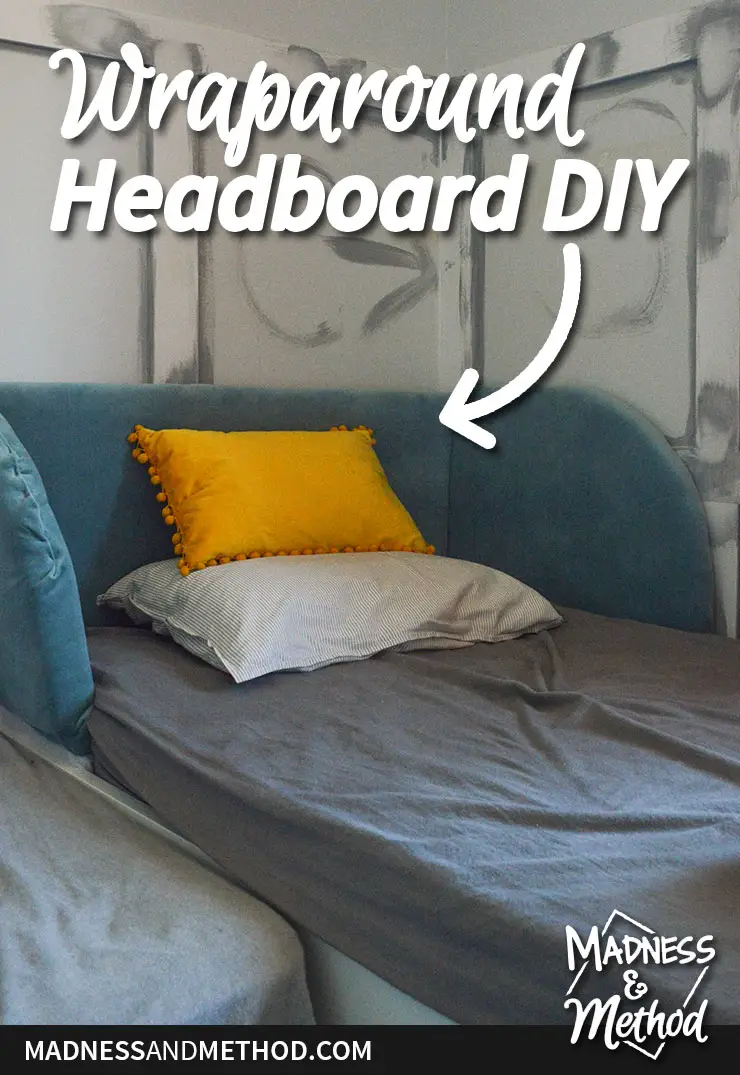
We’ve passed the halfway point on the 2021 Spring One Room Challenge and are rounding the finish line. The kids’ bedroom still looks really similar to how it has been, but we’re getting there. Yesterday I finished the wraparound headboard DIY, and I have all the details! I knew I wanted to do something a bit different for each (because of the placement of their beds), but I think it can be easily recreated.
– Note: This post contains affiliate links. See more information about affiliates here. –
Before I dive deep into the wraparound headboard DIY plans, let’s recap:
I’m reworking our oldest two kids’ shared bedroom for the Spring One Room Challenge. This season is a special 8-week event, and in the first week, I introduced the design plan, then talked about how to easily measure and plan a room. In week 3 I dove into the wall treatment details, and last week was all about the closet nook. We only have a couple of weeks to transform this space!
To-Do List Items Completed:
- Finished sanding/caulking wall trim
- Primed the window casing and closet bar
- Worked on the headboards (cut and attached foam, stapled batting and fabric, installed in the room)
The main thing that was holding me up for the headboards was getting fabric. I ended up finding a local store that did curbside, so I made an appointment and brought a painted paper in the colour I wanted. It probably took a bit longer, but I couldn’t wait the weeks we have until stores open up here again.
DIY Headboard: Cutting Wood
I had originally planned to buy a 4×8 piece of plywood to make the two headboards:
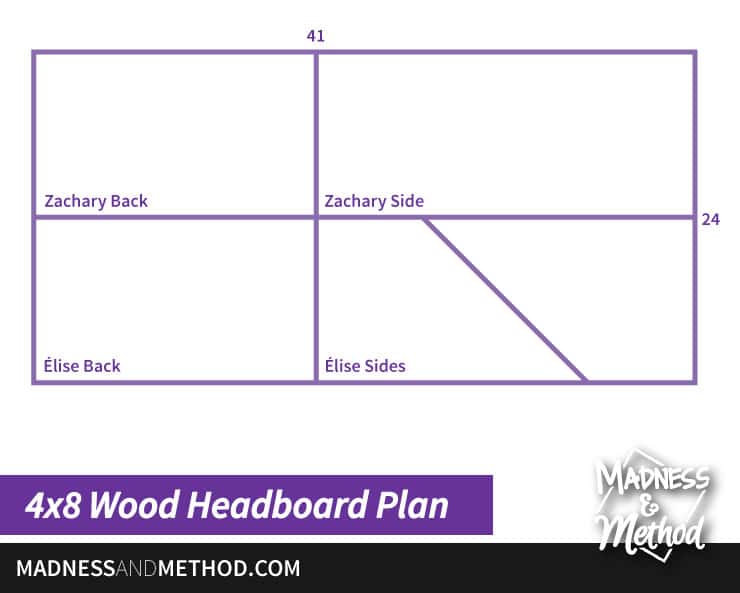
First, cut it across at 2′, then do two 41″ sections for the backs of the beds (the approximate size of a twin headboard). For Zachary’s bed, he would have a long section against the wall, and Élise was going to have two side pieces. She was still in her crib when I was drawing this up, so I figured it would help to keep her in the bed, kind of like a guard.
But then we ended up putting her in the twin before I had the headboards made. AND our stores closed for in-person shopping in mid-April, so buying plywood was trickier. And the price! Luckily, I had a bunch of random pieces of wood in the garage from our build last summer, so I tried to see what could work.
There was just enough plywood for the back pieces but had to use some Aspenite for the sides. It’s sometimes called “chip board” and is not really nice to use. Even so, I knew the headboards would be covered and this was free.
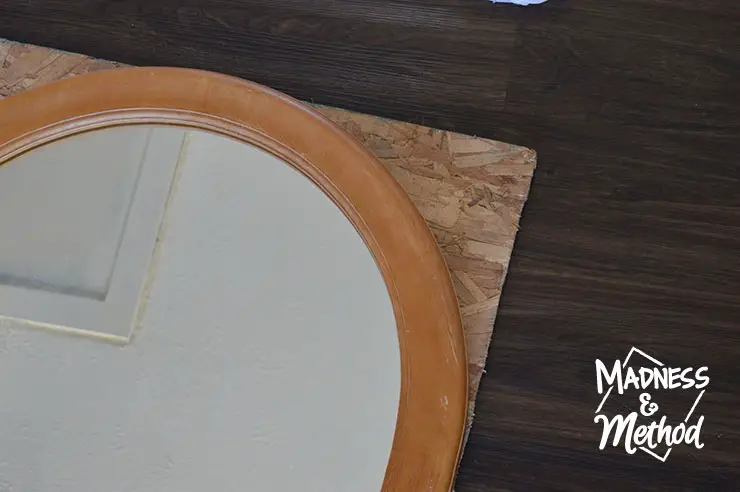
Because I used random pieces, I didn’t have as much length to work with. I also decided to do a nice curve on the side sections. Arches are really in right now, and I just traced the arch mirror I picked up for the room to get the shape. (Plus, I love the idea of the repeating element from the mirror = win-win!).
Honestly, the wood was cut so long ago and I was just waiting for foam/batting/fabric. I think I saved the highlights to my Instagram stories here :)
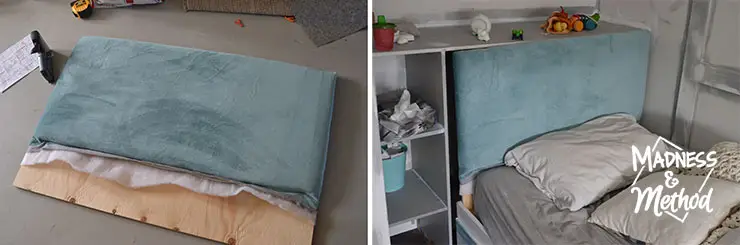
Here’s a reminder from last week’s post on how Zachary’s looked as just wood.
DIY Headboard: Attaching Foam
The last time I made a few custom headboards, I found a local bedding place to buy the foam. I was hoping to go that route this time (ie: cheap!), but since moving, the “local” place is now 2 hours away. Plus again, stores are closed! I couldn’t wait until mid-June and ended up purchasing this foam mattress topper. The thickness was perfect, and the delivery was good. (As opposed to proper “project foam“, which may have been cheaper but delivery was like a month plus).
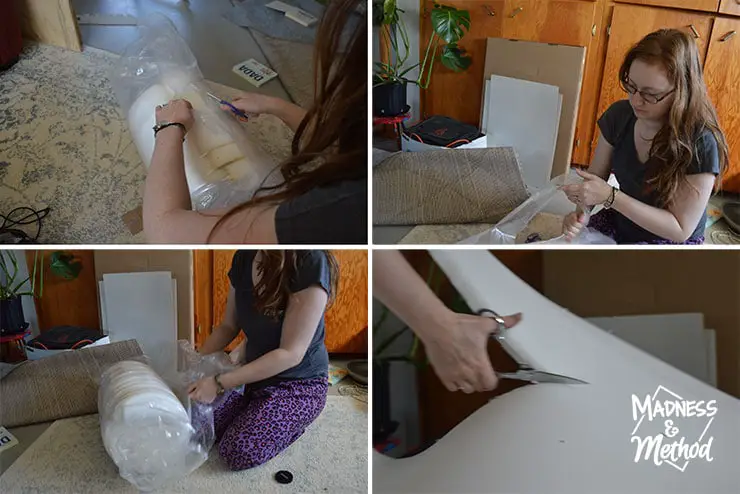
Here’s a selection of photos that Zachary snapped while I was making the headboards yesterday. I thought I had the perfect sections of foam cut so that I only used half, but forgot that I wanted to double layer the one section.
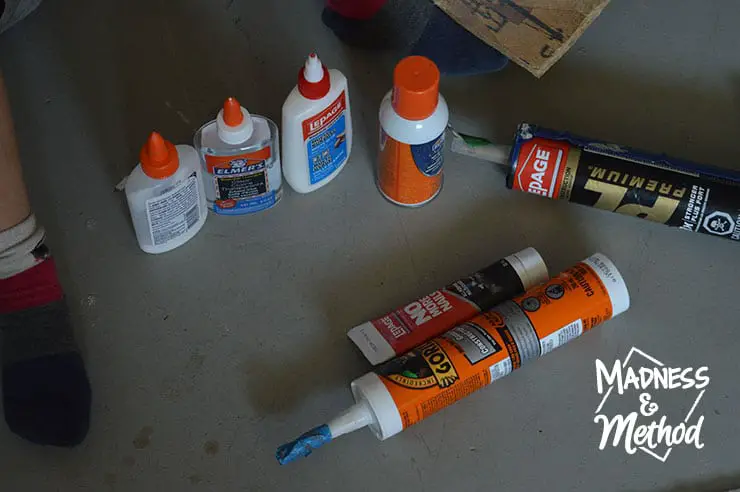
Ideally, you’d attach your foam with spray adhesive (it works really well!). Unfortunately, I knew I was low so assembled ALL the open glues I had. Spoiler: I only have two left now haha.
If you go with non-spray glue, just be sure to spread it so that it’s a nice thin layer as opposed to glops.

Because of the risky glue situation, I was worried it wouldn’t adhere too well. I stacked all headboard pieces (5 of them) in a pile, then put a heavy table and some books to weigh it down. I left it for a few hours and it seemed to work.
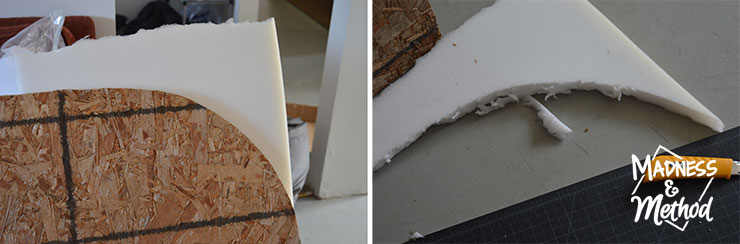
For the arches, I just cut extra foam and glued it on without cutting it. Once it was stuck, I tried trimming the edge with a utility knife. It made a jagged shape and scissors definitely worked a lot better (see the nice edge in the right photo above).
DIY Headboard: Adding Batting + Fabric
From there, I could now add the batting and fabric! I purchased both locally this past weekend, and I was really excited to see how the fabric would look.
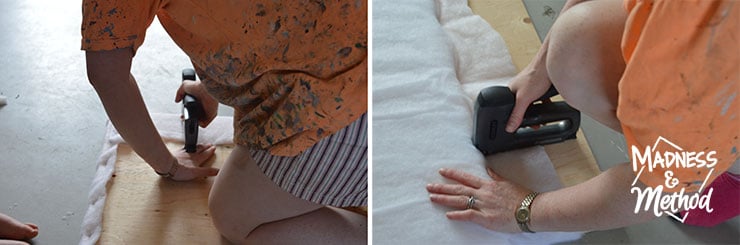
Here are some more photos that Zachary took of me working. Essentially, you just cut a layer and staple it around the back of the headboard.
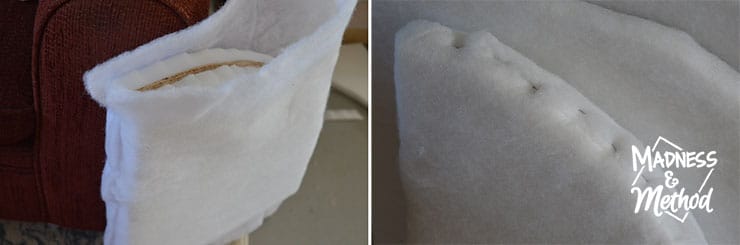
This is a photo of the “double foamed” section. I realized that the one section of Élise’s bed would be visible on both sides, so wanted both of them to be soft. It was a bit tricky to finagle, but I got it done (although the fabric part leaves a little to be desired).
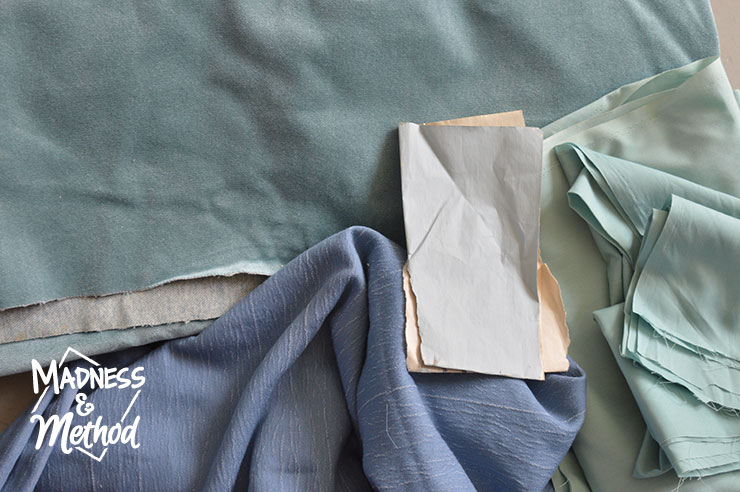
As I mentioned, I did curbside pickup for the fabric. I wanted to get a blue that was a close match to the colour of our living room wall, so painted a piece of paper and brought it in. While there was some fleece that was really similar to the colour, they advised that it wouldn’t be good to use for a headboard. I saw a bunch of other fabrics that could work and ended up choosing the one on the top.
Bad news though: there was only one piece, and it would just accommodate the size I needed. (I wrote down the sizes of the wood, but figured I could play a bit and overestimated my measurements). Nothing else was speaking to me, but they sent me the other materials (bottom too dark/blue, right one a bit too green) just in case I ran out and had to piece something together.
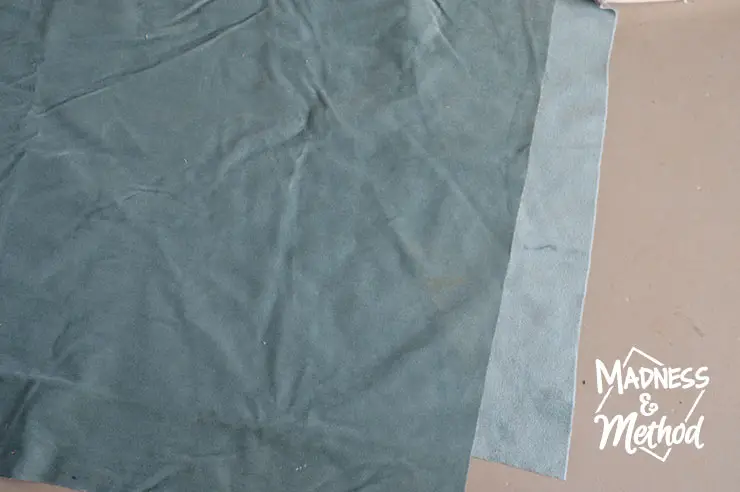
I carefully measured (and re-measured) and cut my first two pieces. The kids were walking all over at this point, so I had to do a couple of stain spot treatments to clean it. I also steamed it because it was a bit wrinkly too. Notice how different the colours look depending on which way the fabric is?
Because there wasn’t much fabric to work with, I only wrapped the bare minimum of what I would need. The process is the same as installing the batting, I just used about double the staples ha :)
Wraparound Headboards Installation
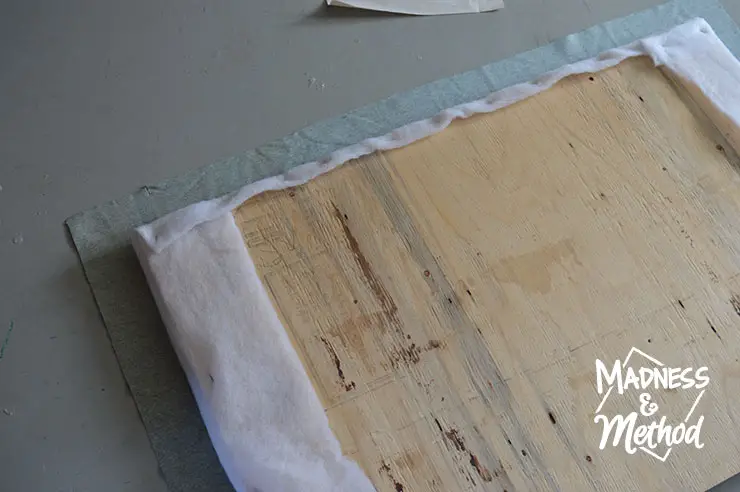
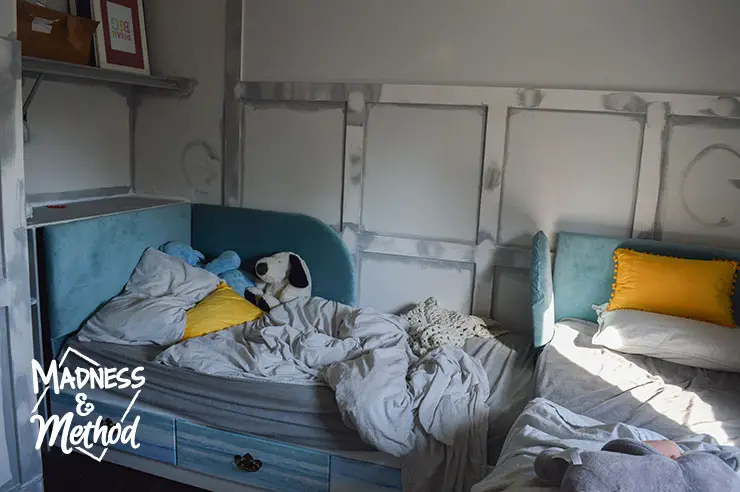
Not sure if you could tell from the photos above, but I left the bottom section of wood uncovered:
This was because I was “mounting” the headboards directly behind the mattress, sitting on the bed frame. I didn’t want the foam taking up space (and definitely didn’t have enough fabric to go all the wall across).
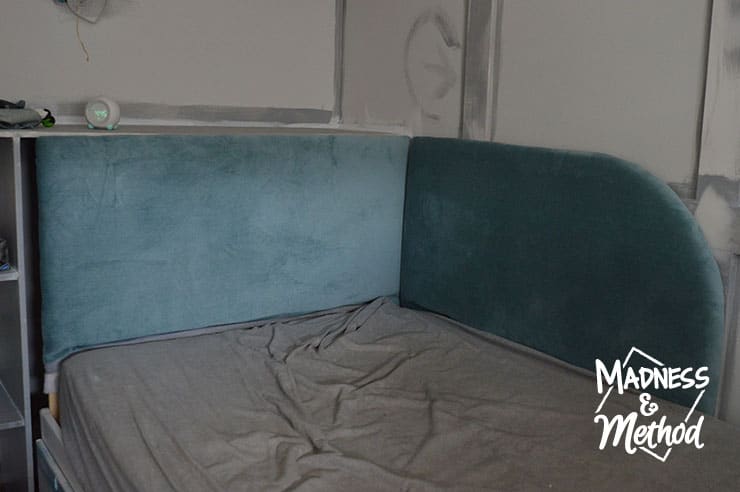
I originally thought I would screw the two pieces of wood together and THEN add the foam/batting/fabric – but that would have been too complicated. The second piece just sits on the side, again wedged in behind the mattress.
I had a few little pieces of off-cuts from my angled sections, and I used them to cover the exposed wood section. It looks so good right!?
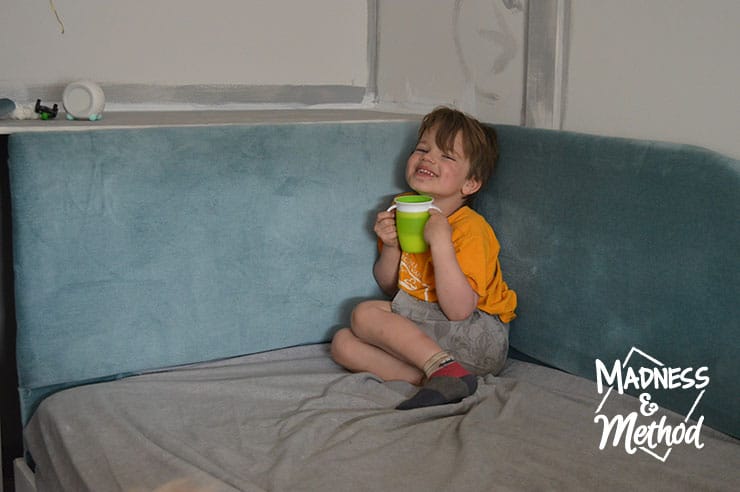
Here is Zachary modelling his wraparound headboard! He had “helped” for most of the construction, but I put them in place myself and surprised him.
Recreate these Wraparound Headboards
- 1″ Foam (this is what I purchased)
- Fabric Batting
- Similar velvet blue fabric
- Staple Gun
- Spray Glue
- Plywood
- Angle Brackets
- Misc. Tools: Drill, measuring tape, scissors
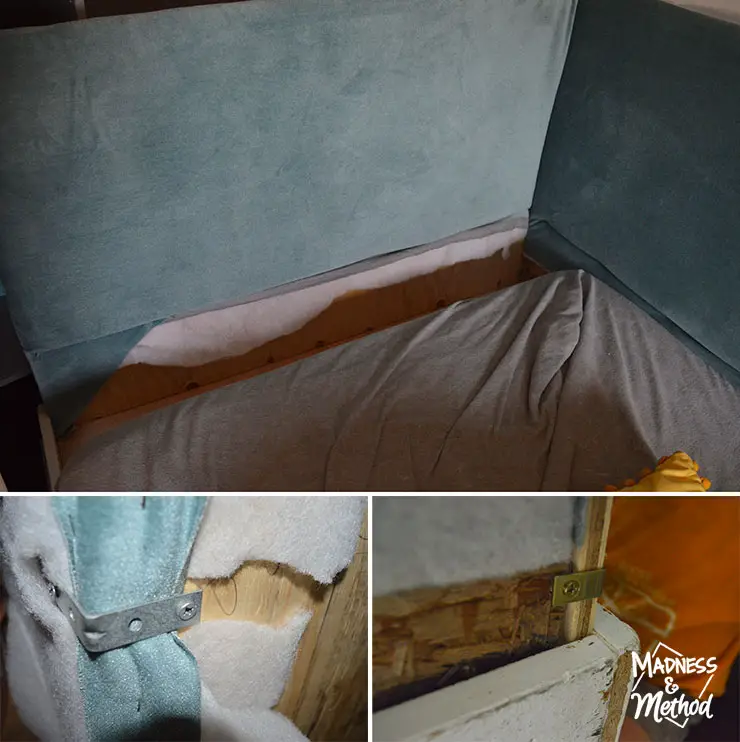
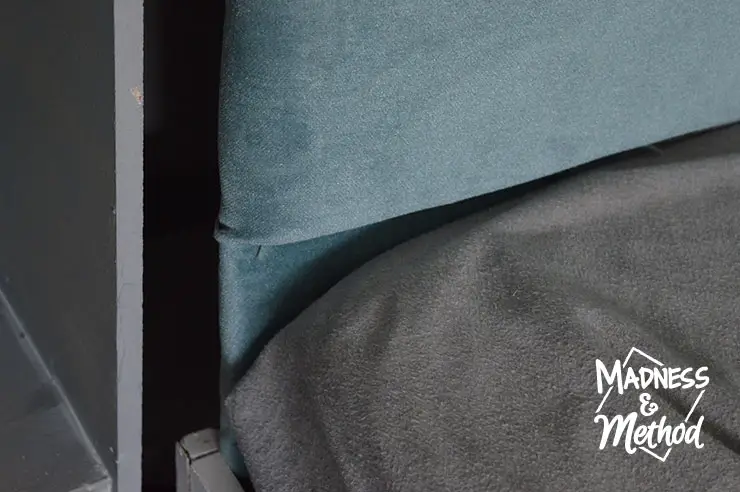
If you move the mattress, you can clearly see the exposed wood – but the mattress hides it well. To attach them together, I just used a couple of angle brackets I had; but I need to buy more for Élise’s bed. (This time I cut the batting away because it does not play well with the drill).
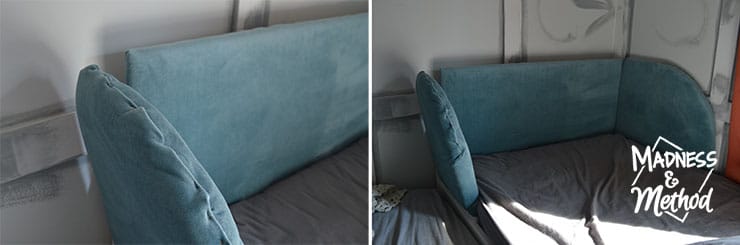
You may also notice that the fat section is a little wonky looking. If I was someone who could sew, I would have done two nice edges like a cushion. But clearly, I went a little staple crazy, and the arch part isn’t too lovely (the back looks better ha). It also pops off a bit because it’s so fluffy, so will need to be reigned in.
Now I have no idea how I’ll attach it to the main part. I might try to get an angle bracket in the back (opening the fabric a little), but need to buy more brackets before that happens. Aka a couple of weeks from now…
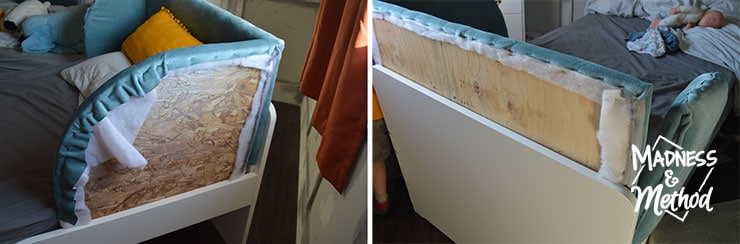
Here’s the back of the other two pieces on that part if you were curious. At first, I was worried about the exposed wood (especially the aspenite) and I can always add more batting if it gets chippy/messy. I definitely don’t have enough fabric to cover it, ha :)
Bedroom Progress
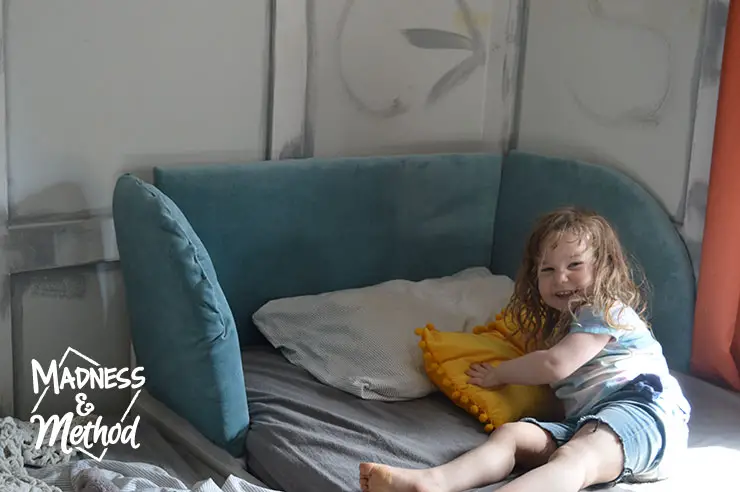
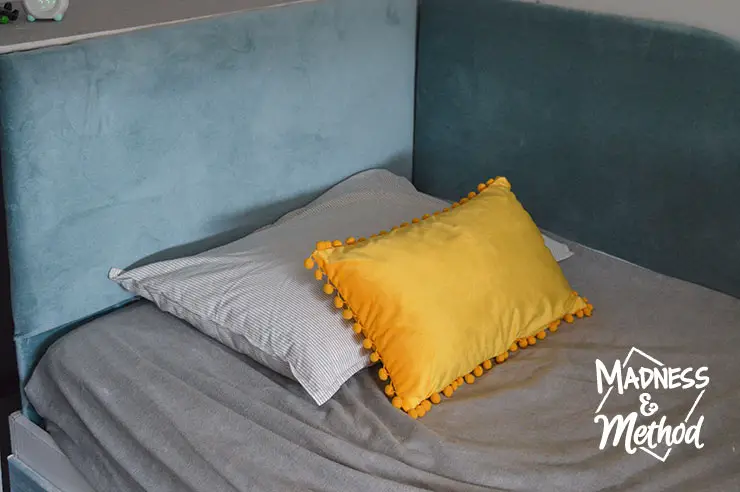
Either way, Élise was happy with her new bed setup! At bedtime, I asked if she liked it and if it was comfortable. She said yes, and that it felt just like a sofa. I think that’s a compliment?
Here’s another animation showing the different pillow setups. I took this opportunity to open the yellow pillow covers I got for their rooms, but I still haven’t picked a good combo.
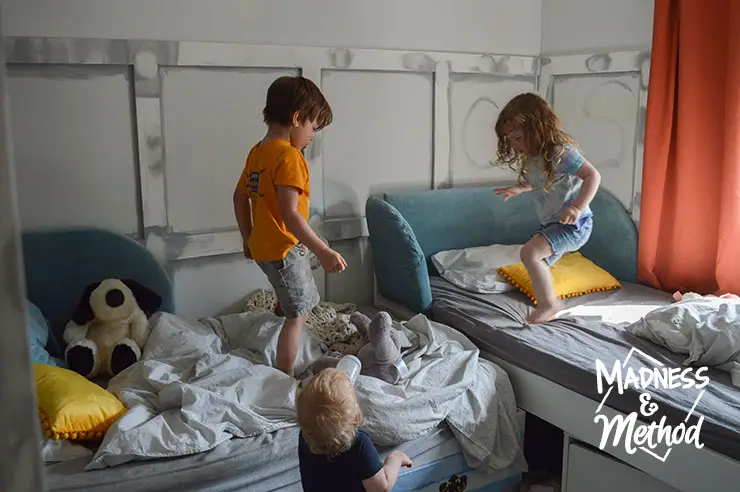
The kids were really happy with the new headboards, and now that we have them in place, their beds are butted together.
Here’s a real-life look at how the room looks like on a regular basis, ha! I also thought about doing a full wraparound/wall headboard covering the whole side of Zachary’s bed. With my original mockup (using a 4×8 sheet of wood), it would have come out more, but I think the walls would have been hidden too much.
Remember: they’re going to be painted a rusty red colour to match the curtains, so this room will look a lot different!
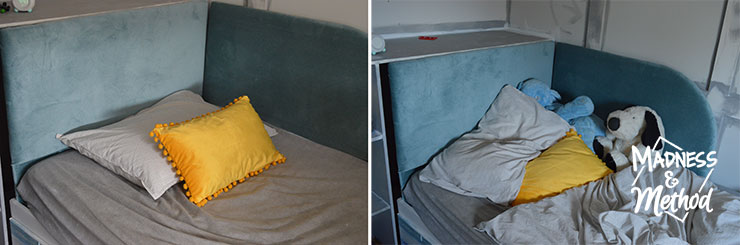
And here’s another fun comparison of how I set it up for the photos, vs. how Zachary “likes it”. Well, not sure about the yellow pillow since last night was the first time they used them.
A couple of pompoms already “fell” off -_-

About the One Room Challenge
Just a couple of weeks to go! Check out all the other linking participants (and 20 featured guests!) on the One Room Challenge website. Here’s my progress so far:
- Shared Kids’ Room Before
- Quickly Draw & Scale a Room
- Wall Treatments: Wood vs. MDF
- Kids Custom Closet Nook
- Wraparound Headboard DIY (this week!)

Because we’re nearing the end of the One Room Challenge, you may have forgotten the original tasks I wanted to get done, I figured I’d recap what’s left:
- Re-prime the sanded/caulked sections of the wainscoting
- Paint the wainscoting and closet interior red
- Wallpaper the top section of the walls
- Finish the headboard install
- Figure out how to hang the mirror
- Swap the light fixture and block off the old baseboard wiring
- Added: put up the door decal
- Dresser makeover?
- Figure out the art
- Bring the rug in
- Clean up and take photos
It looks like a lot is left, but most of those tasks shouldn’t take too long. I’m hoping to have the walls primed and the wallpaper up for next week, but we shall see! Then there’s one more week to get things done before the final reveal. My plan is to figure out all those little things that last week, then get the paint when stores open just before the reveal.
Wish me luck!

4 Comments
Louise aka Mommy
June 1, 2021 at 9:51 pmMaybe a little wood sealer on the exposed wood to smooth them a little?
Nicole
June 4, 2021 at 4:09 pmYa, I could probably paint it too
Michelle
June 2, 2021 at 2:58 pmIncredible tutorial! I can’t wait to see this room finished!
Nicole
June 4, 2021 at 4:10 pmThanks – it’s coming along :)