
I’m finally able to share the dark teal nursery reveal photos with you – and I’m so excited! Well, mostly because this room is pretty much done and all I have left to do is wait for baby to come (and pack our hospital bag). There are a few super small things that I could add to the to-do list (aka paint touch-ups along the ceiling), but we’ll just ignore that for now :) Let’s check out all the pictures!
– This post is part of a sponsored series sharing our new nursery and may contain affiliate links. Click here for more information on affiliates.
Follow along here:
Week 1: Colour Journey | Week 2: Design Plans | Week 3: Upgrading Flat Doors | Week 4: DIY Baby Change Table Top | Week 5: Easy Dresser Makeover | Week 6: Dark Teal Nursery Reveal-
I’m super thankful for all the sponsors who contributed to this space. I’m going to try and highlight the details of all the products that were used in the nursery, but if I forget anything and you have questions, feel free to ask them in the comments! (I’ll also be sharing some follow-up projects for this room, so stay tuned for more!).
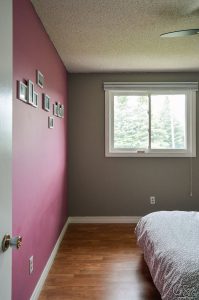
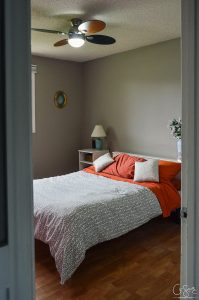
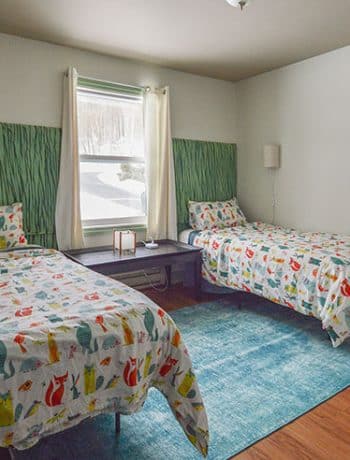
Just a couple of months ago this room was used as our guest bedroom (with the most up-to-date pictures here):
And after 6-ish weeks of work, we have a brand new nursery!

Which if you can remember, looks pretty close to the mockups I shared a few weeks ago:
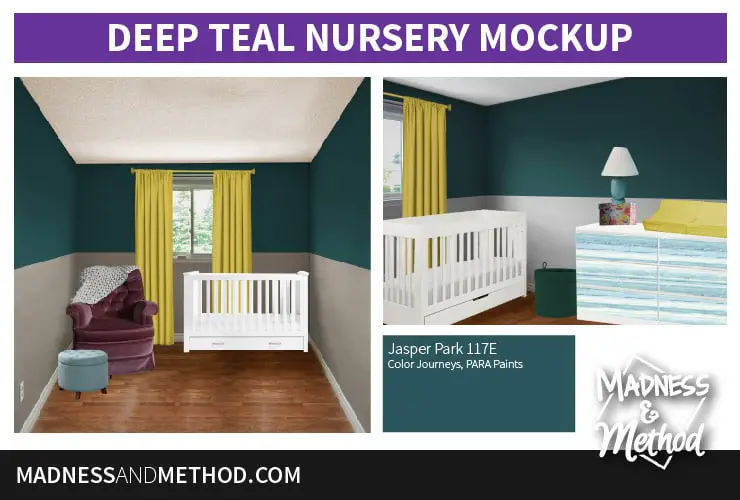
Photo First Appeared in Deep Teal Nursery Plans
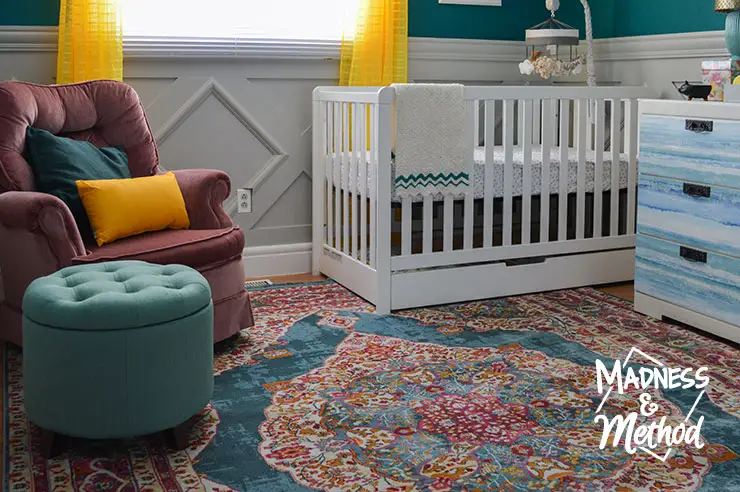
Dark Teal Nursery Photos
Let me go around the room and show the different elements/angles:
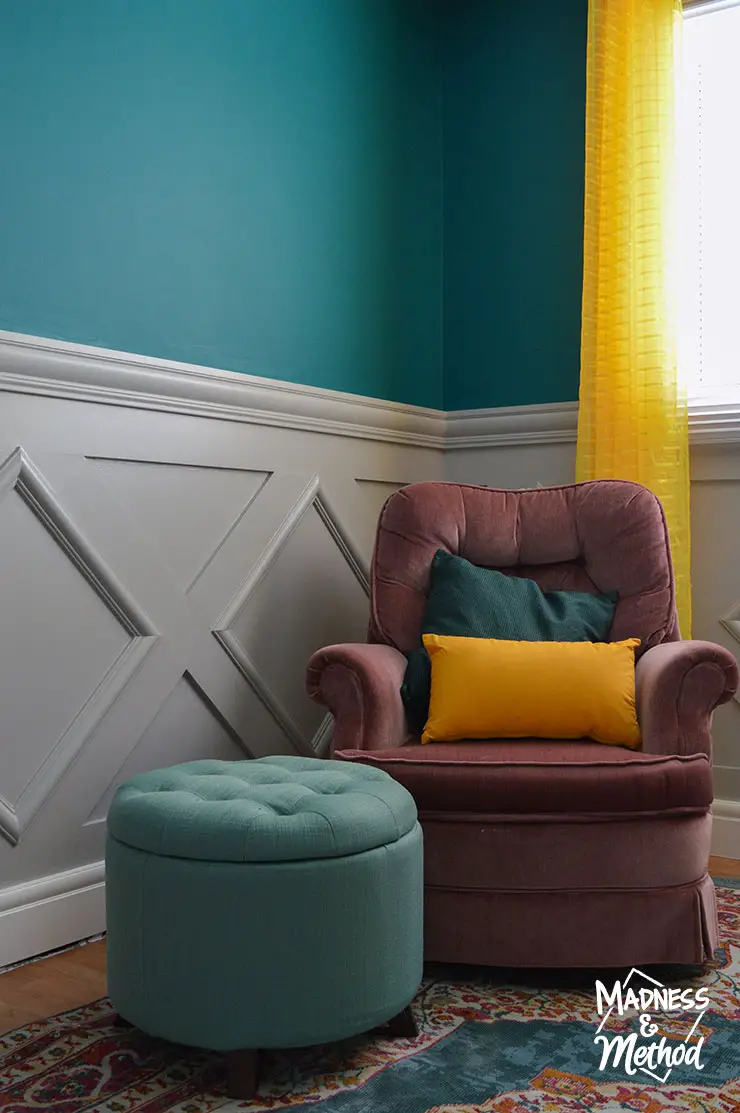
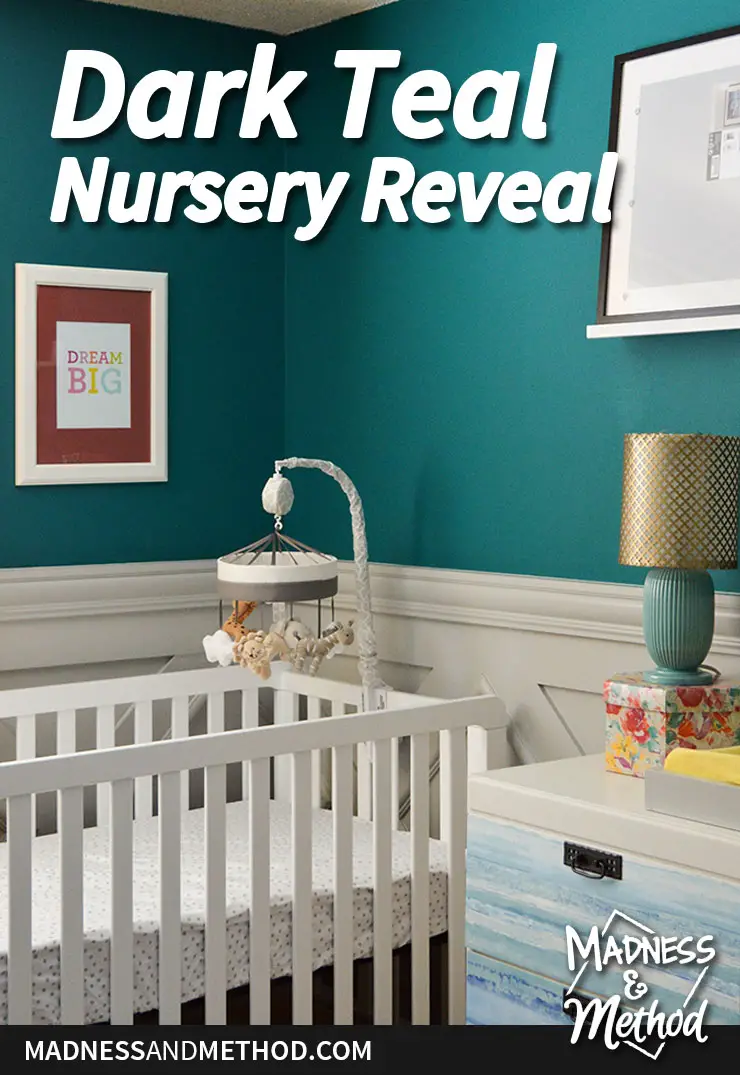
After using this pink chair in our first nursery for feeding and cuddling, I knew that I wanted to bring it into this room since it was super comfortable. The colour choices for the nursery pretty much revolved around that, and I think it worked out!
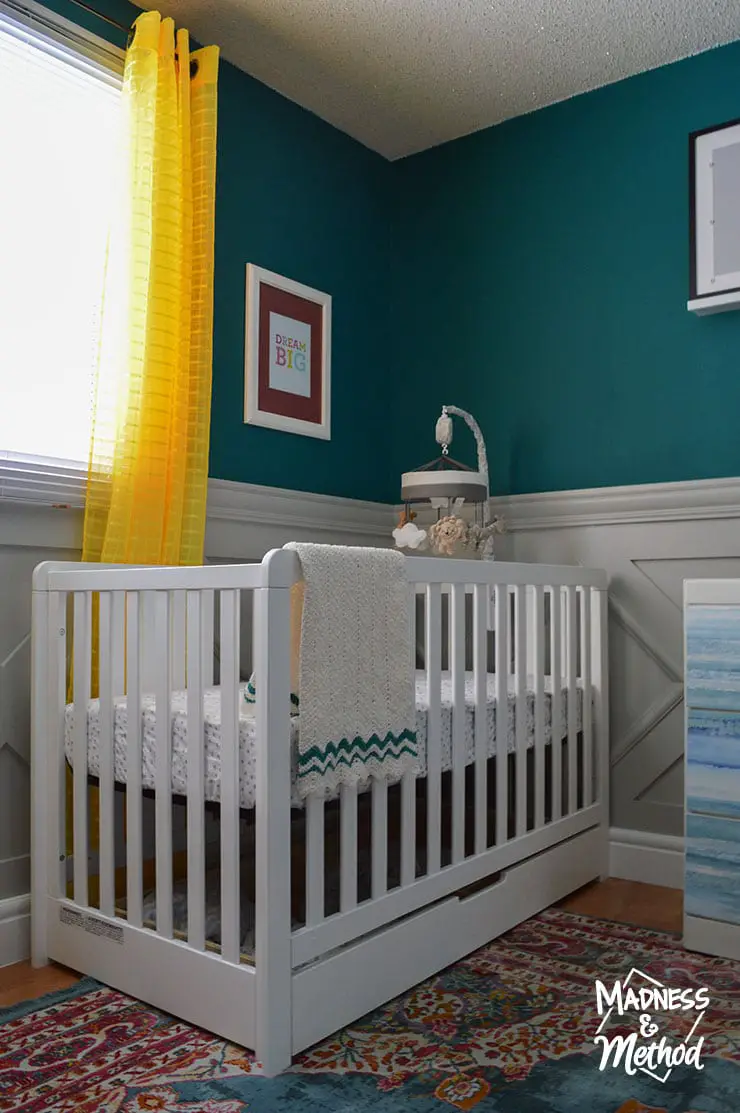
Yellow Curtains | Crib (Similar) | Mattress | Similar Sheets | Mobile | Dream Big Print | White Frame | Rug
I purchased a new white crib for this room, and I knew that it definitely had to have its own storage to hold sheets, blankets, etc. Luckily its super easy to browse on Wayfair.ca, and I grabbed a bunch of other items for this room there too.
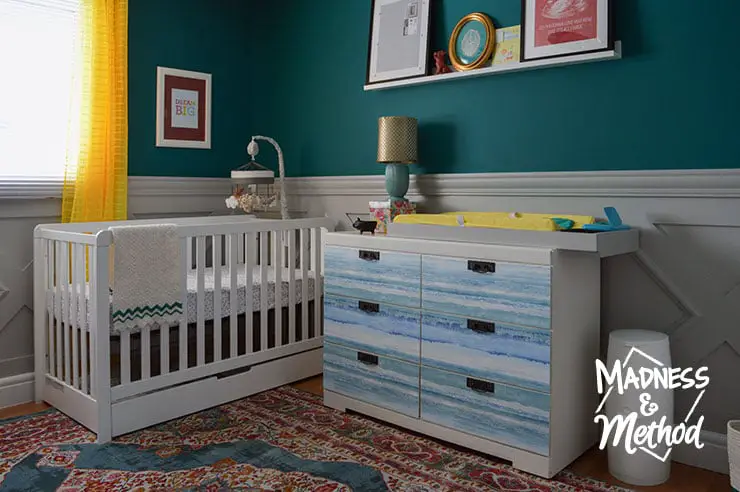
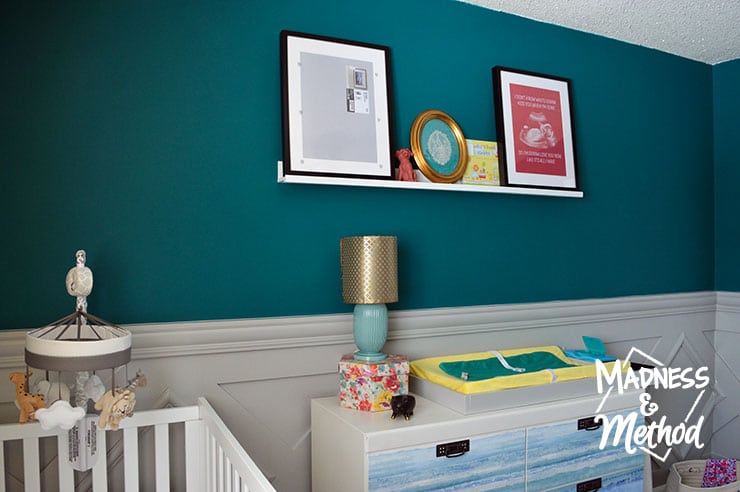
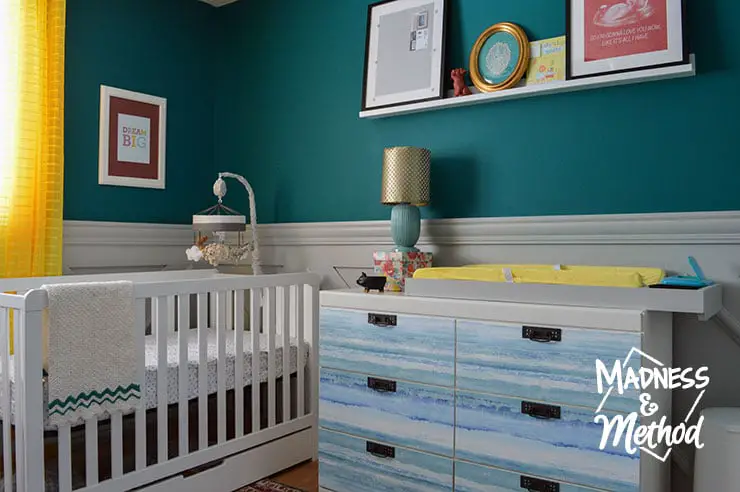
Last week I shared the dresser makeover with you, and now I can show off the whole space. We have it perfectly centered on this right/West wall, and re-installed the photo ledge (much higher) above it.
There’s just enough room to open the drawer on the crib, and I’ve already gone ahead and filled all the dresser drawers with baby clothes :)
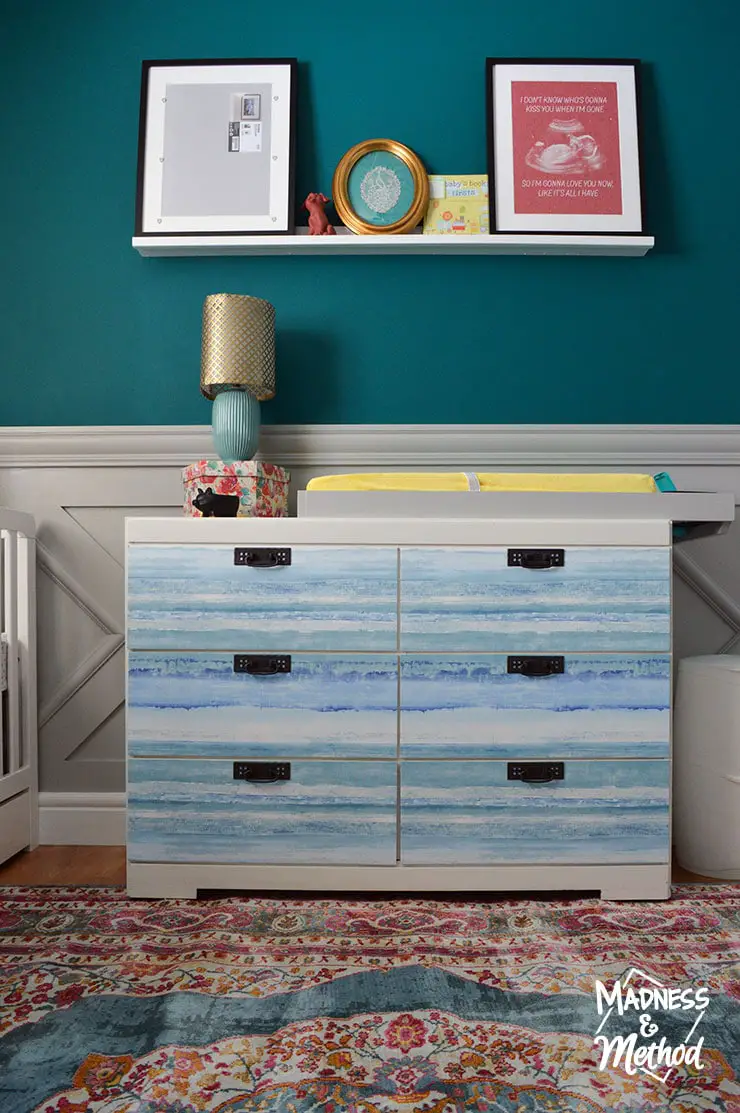
Dresser Wallpaper | Hardware | Black Frame | Change Top DIY | Change Pad | Yellow Change Pad Cover | Baby Book | Rug | Diaper Genie
And, in case you’re wondering, the frame that doesn’t have anything in it yet will eventually be filled with some baby handprint art. I guess I could have put Zachary’s art up there for the photos, but it wouldn’t be authentic haha!
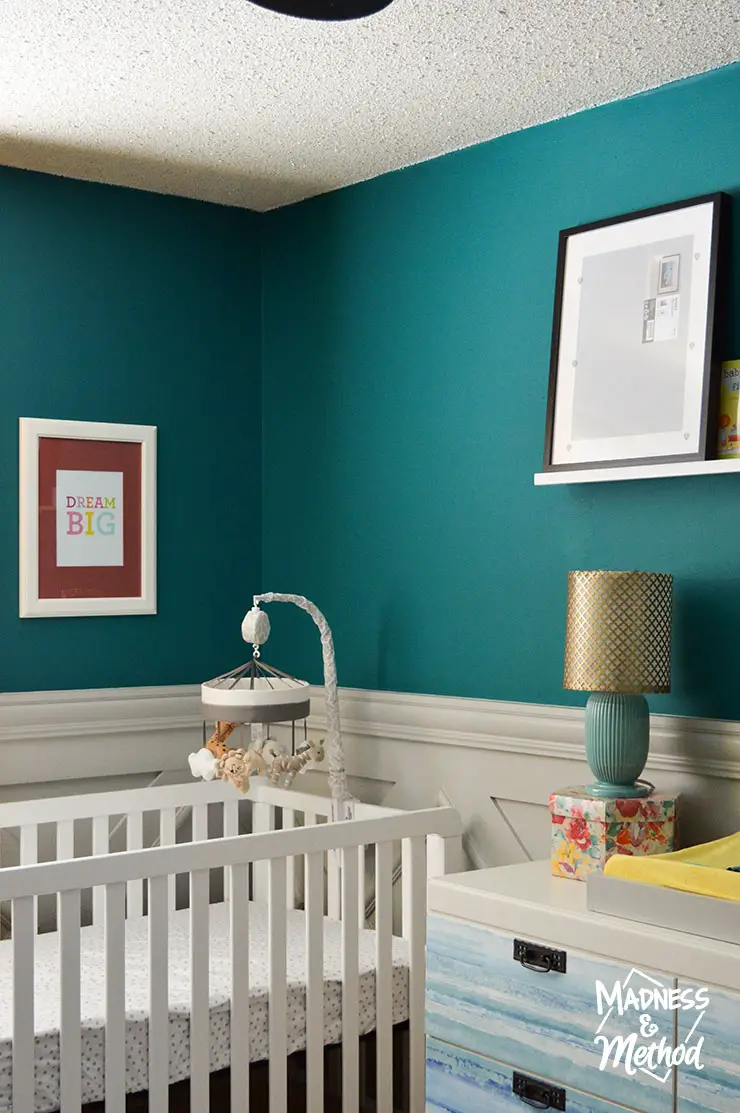
I’ll talk about the other custom accessory pieces in a later post, but we pretty much had everything beforehand. Notice how I tried to keep the yellow-pink-blue secondary colour scheme going throughout?
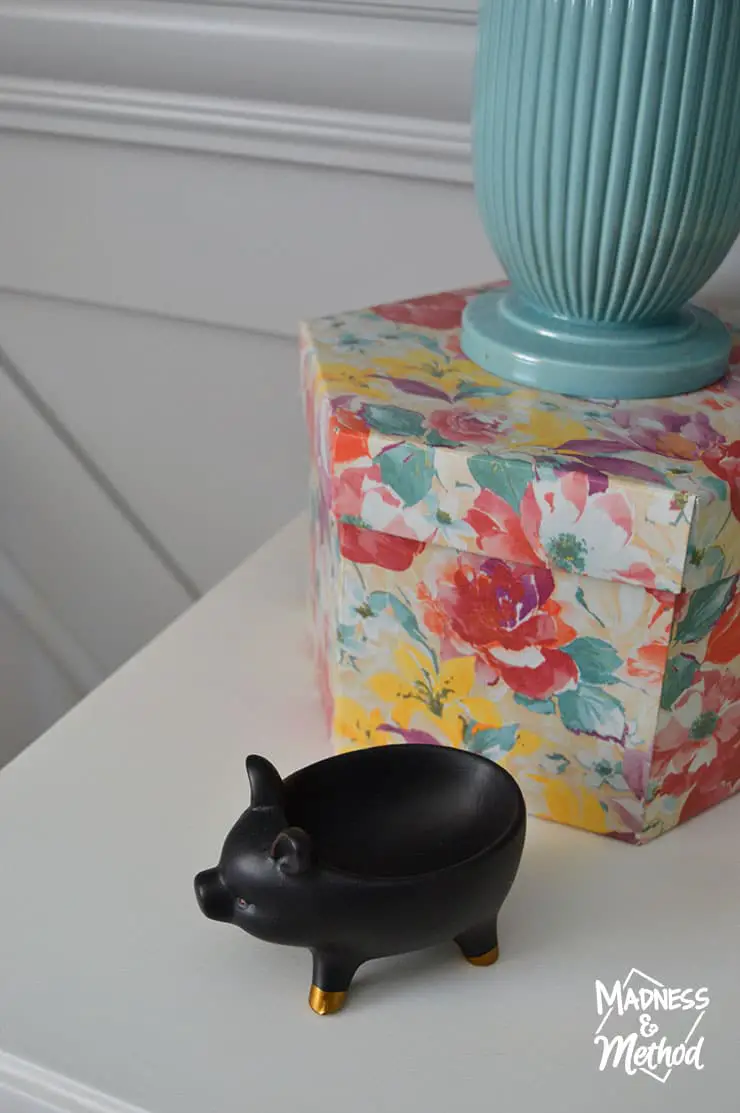
Everything was influenced by the various colours included on this storage box (which is currently empty but will be filled with baby’s keepsakes, like the hospital bracelet and whatnot). Ha, Zachary and I saw this little pig at the grocery store a while ago, and we just had to buy it for the new baby (although I’m sure he would have preferred to keep it!). It’s technically supposed to be an evil/Halloween themed pig, but I thought it was cute. I’m thinking that eventually I’ll have a humidifier here instead, so the little piggy will probably be moved to the photo ledge or the storage basket.
Dresser Wallpaper | Hardware | Yellow Change Pad Cover | Change Pad | Baby Book | Black Frame | Diaper Genie | Storage Basket | Rug
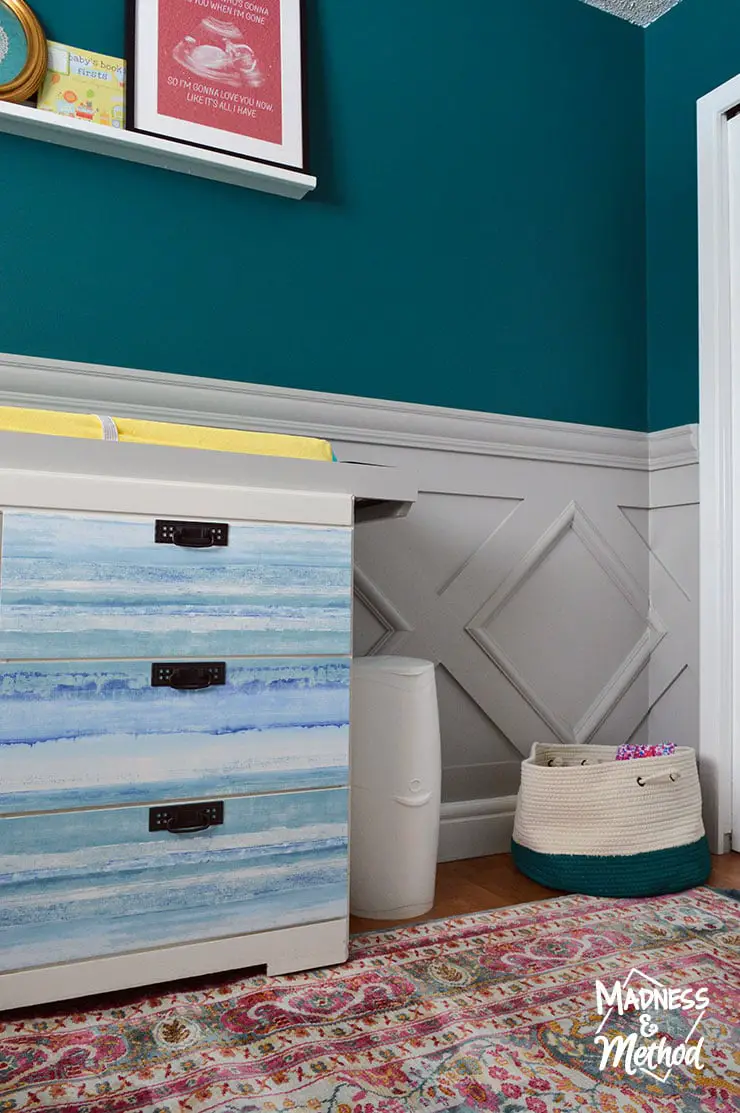
I built the custom baby change top area a few weeks ago, and this is how everything will be set up when baby arrives. (Right now I moved the Diaper Genie back to Zachary’s nursery).
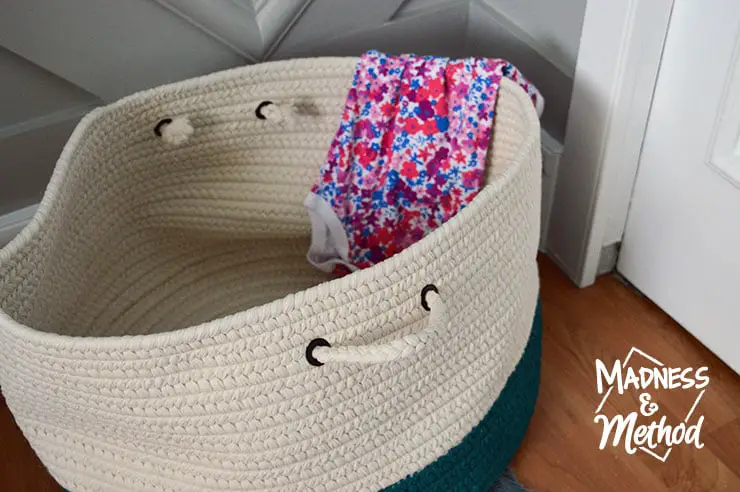
The storage basket on the floor will eventually be used to hold all the dirty clothes (because babies go through a lot!). We had Zachary’s hamper/basket in his closet, but I pretty much had to keep the doors open 24/7 with all the clothes I went through.
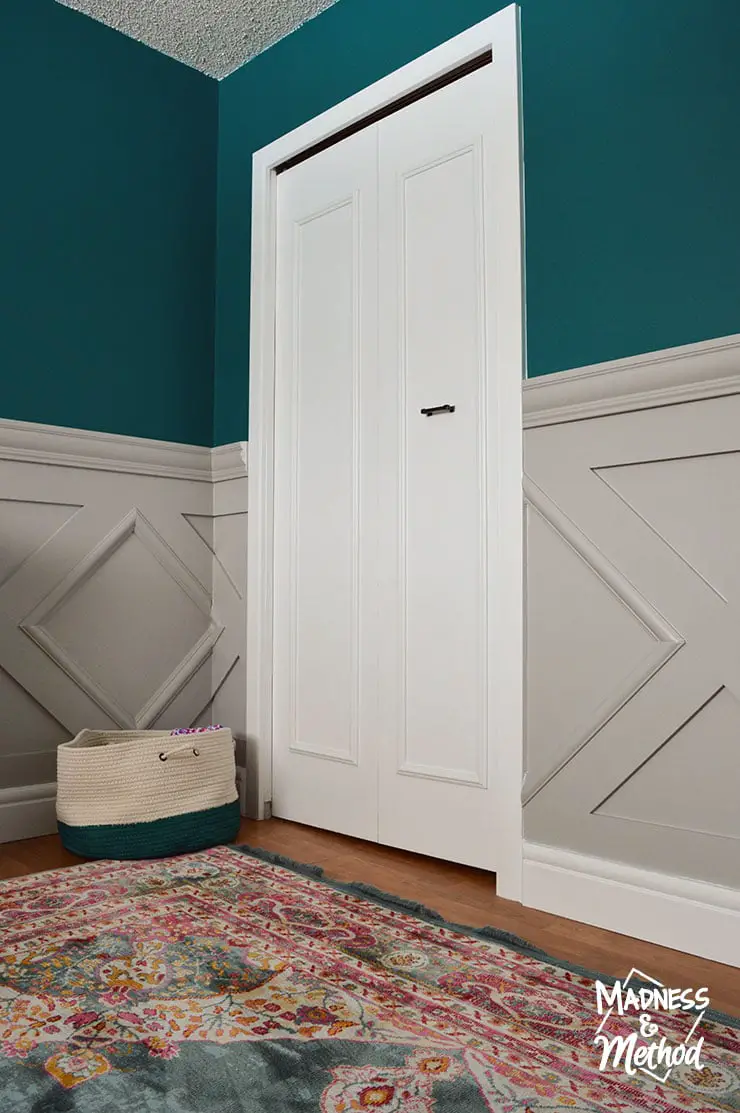
But since I did makeover these once-flat doors, I kind of want to keep them closed and looking good :)

Oh, and I’m sure you’ve noticed the beautiful Metrie wainscoting throughout the room? Next week I’ll have a huge post with all the details about that project, so definitely come back for more!
The dark teal nursery ended up turning out pretty close to how I had pictured it. And I’m really hoping I can keep it looking good like this even after baby comes…
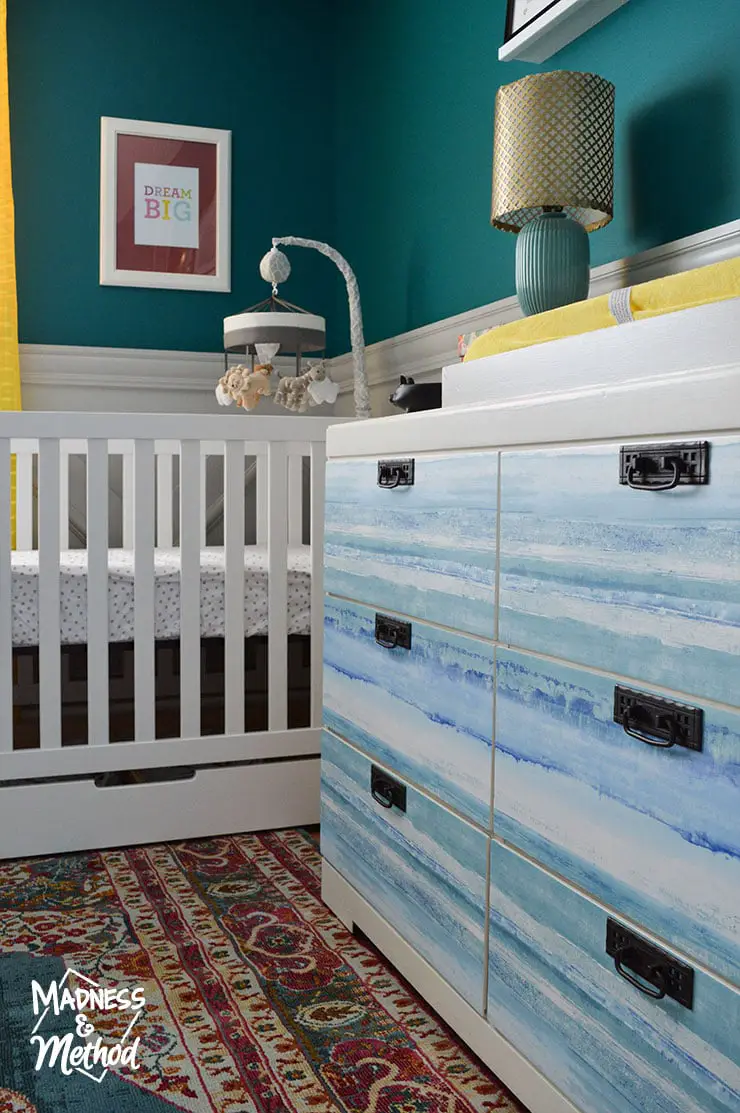
Crib (Similar) | Mattress | Similar Sheets | Dream Big Print | White Frame | Mobile | Dresser Wallpaper | Hardware | Yellow Change Pad Cover | Change Pad | Rug
In a couple of weeks I’m planning to talk about how I organize all the baby clothes; but basically we have all the clothes that baby will wear in the top drawer on the left; and the top drawer on the right will have the diapers and other miscellaneous accessories so they’re easily accessible for changing.
Oh, and that metal lampshade? Totally made it myself! You definitely have to come back to check that out, because it was honestly super easy :)
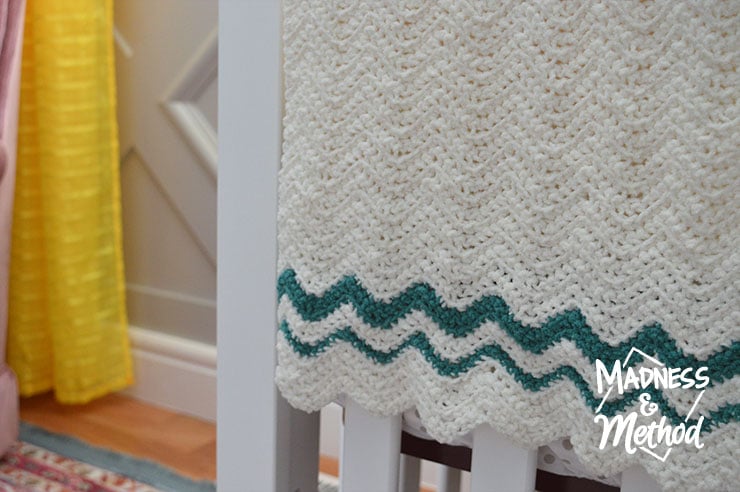
Since we already have a baby, I didn’t really have to buy any new clothes, blankets, sheets, etc. It just so happened that my good friend had made this little blanket for Zachary, but he didn’t receive it right away since she lives out of town. How perfect that the colour matches the walls almost exactly right?
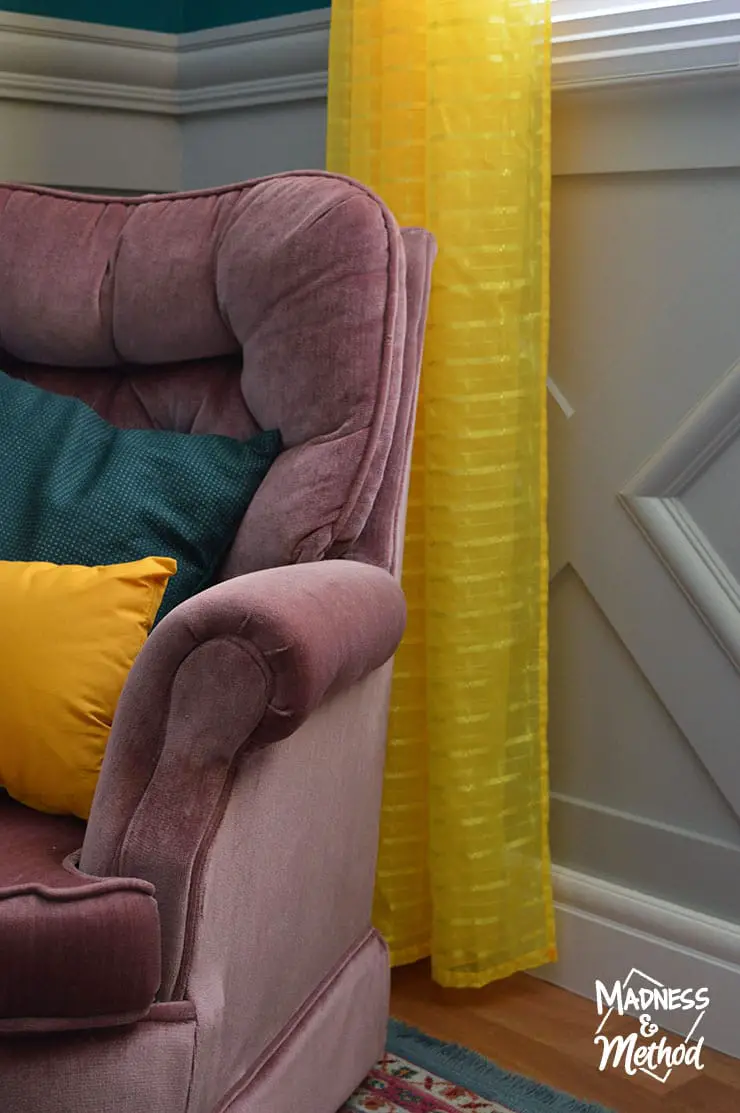
I tried to find a pillow that was the same teal colour as the walls, but this one ended up being just a smidgen darker. Either way, I LOVE the fun pops of colours throughout the accessories, especially those bright yellow curtains!
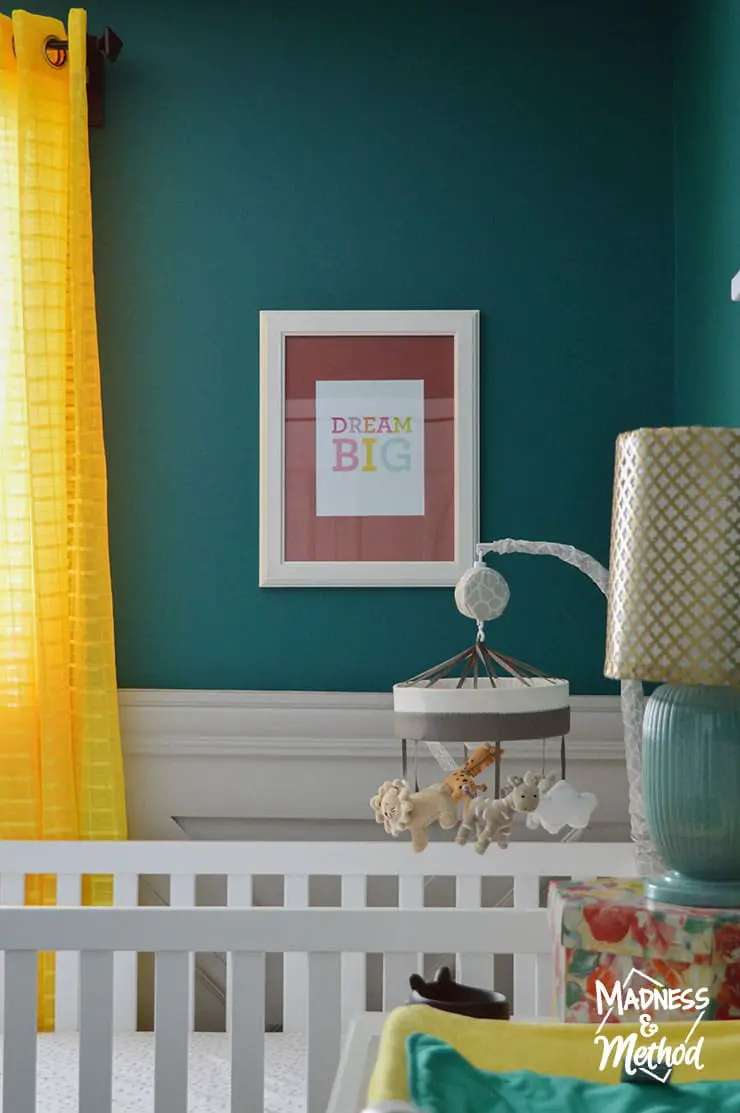
Yellow Curtains | Dream Big Print | White Frame | Mobile | Crib (Similar) | Yellow Change Pad Cover | Change Pad | Similar Teal Change Pad Cover
I hung the same print that was in the room before (but moved it from the photo ledge and put all the other prints in the basement office) and painted the matte to match the other accessories. I also hung up the animal mobile, since it’s been removed from Zachary’s crib as soon as he could pull it down.
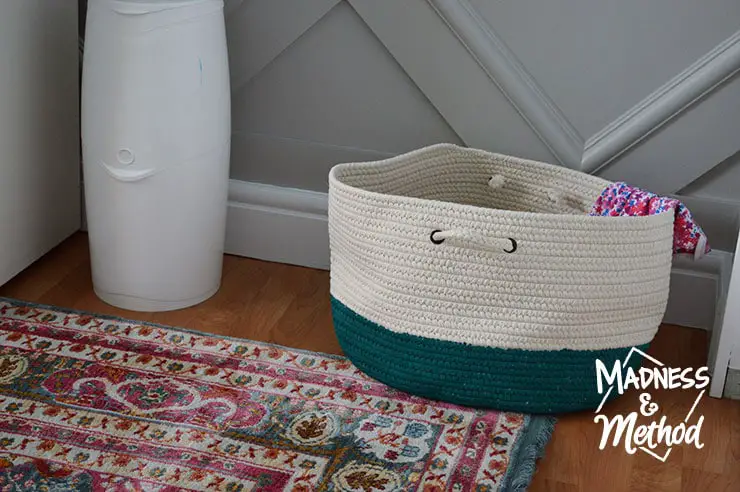
And yes, the extra pink accessories and little outfit in the storage basket is our hint that baby will be a girl. I bought that outfit to reveal the gender to the Husband, and figured it could show-off the functionality of the basket, ha!
Shop This Post
- Dresser Wallpaper, Hardware and DIY instructions
- Change Top DIY, Change Pad, Yellow Change Pad Cover
- Black Frame, Baby Book, White Frame, Dream Big Print
- 8×10 Rug
- Diaper Genie
- Storage Ottoman
- Yellow Pillow,Green Pillow
- Similar Yellow Curtains
- Similar Crib, Similar Mattress, Similar Sheets,Mobile
- Similar Storage Basket (and DIY changes)
Did you enjoy looking at the photos from our dark teal nursery reveal? In case you missed the post about the colour choices, the walls are PARA’s Jasper Park 117E and the gray wainscoting is PARA’s Livingsten Grey 409C. I really think that dark teal is a perfect gender-neutral colour, and you can choose different accessories if you wanted (although I still tried to incorporate both blue and pink evenly).
All in all, here is the high-level list of what was accomplished in this room:
- Take everything out of the room
- Patch and prime holes
- Paint deep teal colour
- Install new casings and baseboard
- Install wainscoting trim
- Door makeover(s)
- Patch and caulk all trim
- Paint all trim
- Paint closet and photo ledge
- Dresser makeover
- Build change table pad holder
- Fix fan blades and install new lightbulb
- Install curtains and rod
- Clean everything, bring in rug pad + rug
- Assemble crib
- Finalize and bring in accessories
- Organize all the baby clothes + stuff
Like I mentioned, other than a few paint touch-ups – we managed to accomplish everything before baby came! Next week I’ll be sharing the DIY wainscoting, then there’ll be a few more projects afterwards (like the metal lampshade I made!).
Stay tuned :)

Thanks to all my nursery project sponsors:
![]()
![]()
![]()
![]()

2 Comments
Louise aka Mommy
March 13, 2018 at 9:21 pmLooks good – can’t wait to see it Easter Weekend. I have a pink accessory for the room. Grandmaman received it when I was born then made it over when you were born. Won’t take up much room on the shelf!
Nicole
March 21, 2018 at 1:44 pmOn the photo ledge? I guessssss I could add it :p