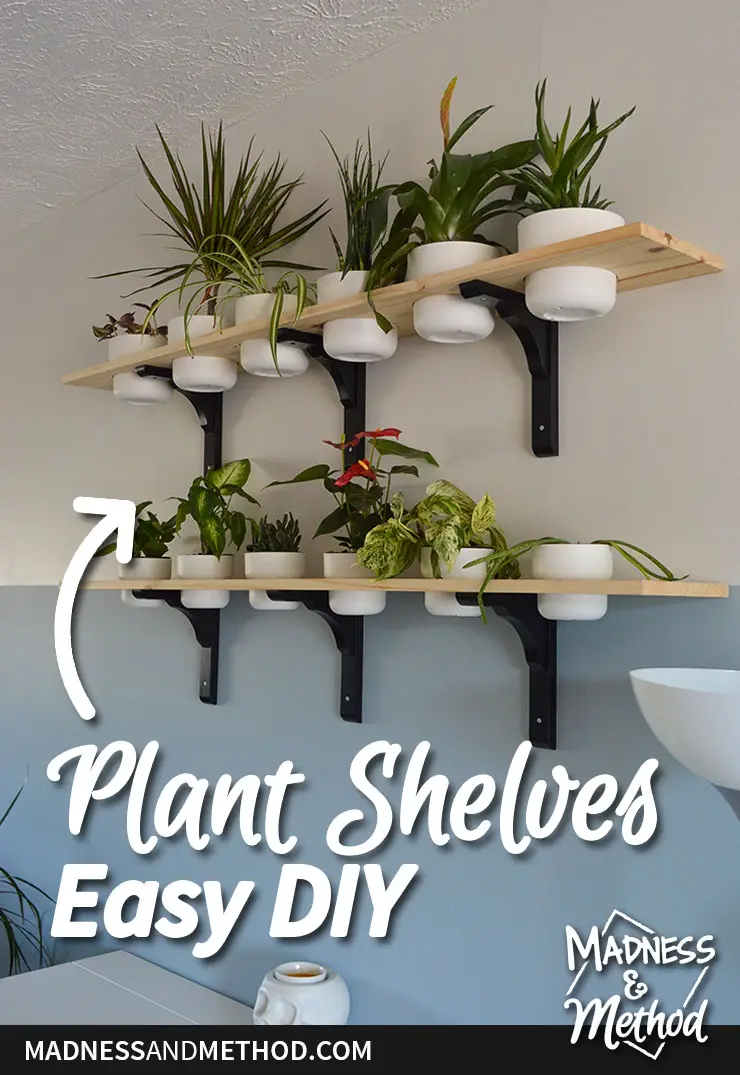
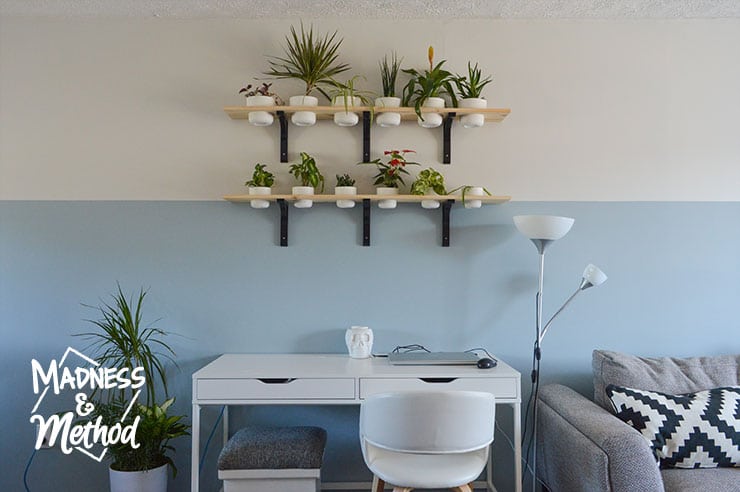
I’ve had the idea to do some cute plant shelves ever since I started thinking about the layout of our new house. Due to delays in shipping/whatever, I finally finished this easy plant shelves DIY (yesterday!) and I have all the details now. I’m also sharing our new office area setup, so let’s get to it!
– Note: This post contains affiliate links. See more information about affiliates here. –
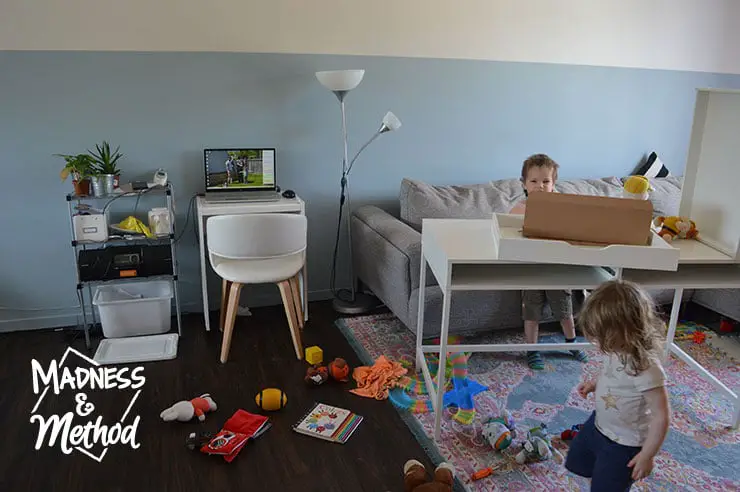
In our last house, we originally had a designated office in a spare bedroom. Then, little Zachary came and we moved our desks and computers to the basement. We downsized a lot of furniture when we sold our house, including both computer desks and chairs.
I’ve been doing the whole WFH thing for as long as I can remember (that’s Work From Home if you didn’t know). Even though I made the switch from desktop to laptop last year, I still need a designated workspace. The ability to use a mouse is top priority, and I don’t like the idea of moving around if I don’t need to.
If you checked out the 3-months home tour, you would have seen the office area in between the living room and dining room.
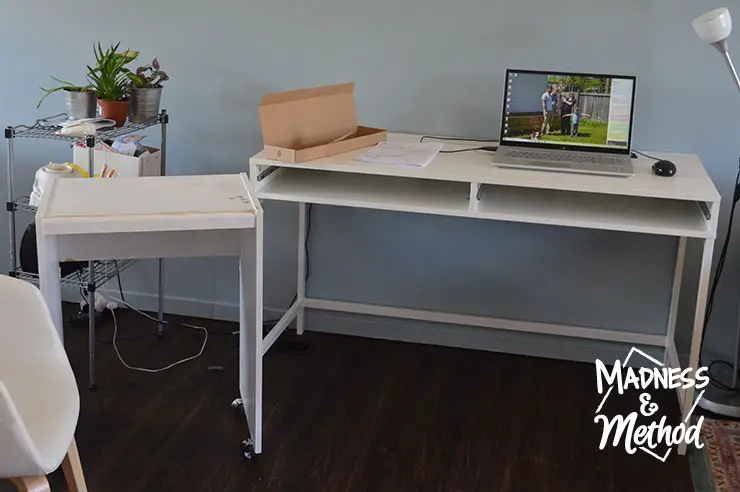
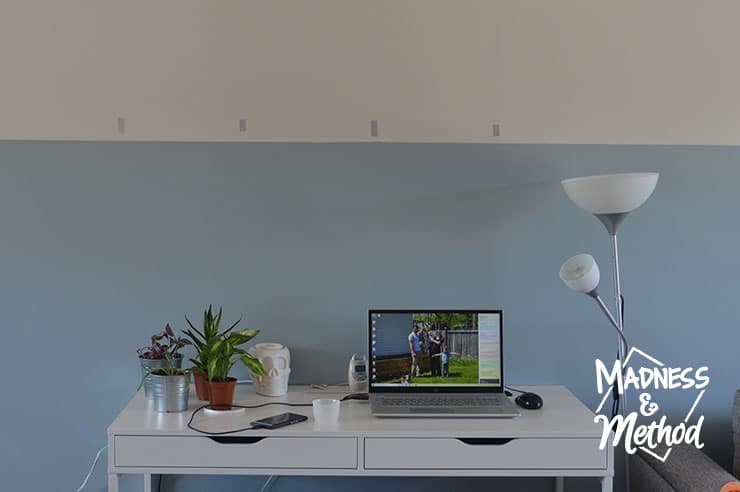
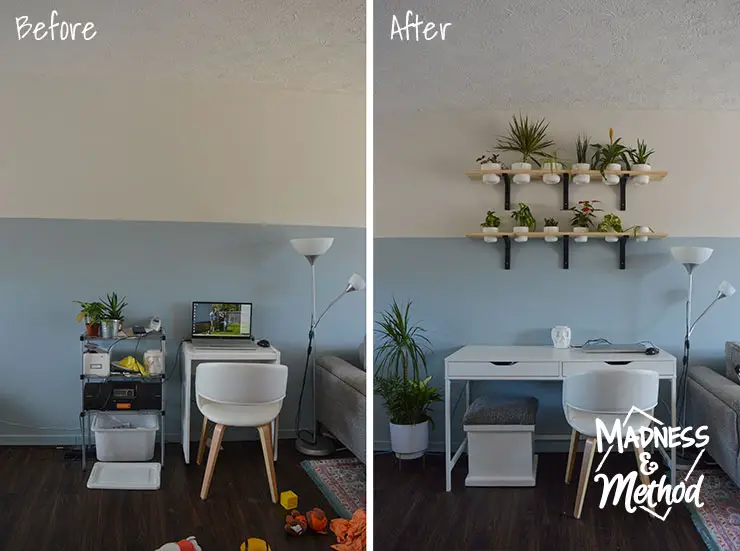
I was using the little shelf I hacked to hold our printer (the printer is in the basement), and it was juuuusssttt wide enough to use my laptop and mouse. Whenever the Husband would bring his laptop from work, he’d have to set up on the table to use it. I had ordered the Alex desk from Ikea (similar) back in May because I wanted something as basic as possible (but still with drawers).
Unfortunately, I didn’t get my delivery until the end of July, but I set up that desk as soon as possible!
By then, I was used to the small space, so now the Husband has a dedicated spot for his computer when he needs it. We’re rarely using the desk at the same time, but I’m thankful we both fit :)
Okay, now that we have the office zone, time to make it look nice!
Building Plant Shelves
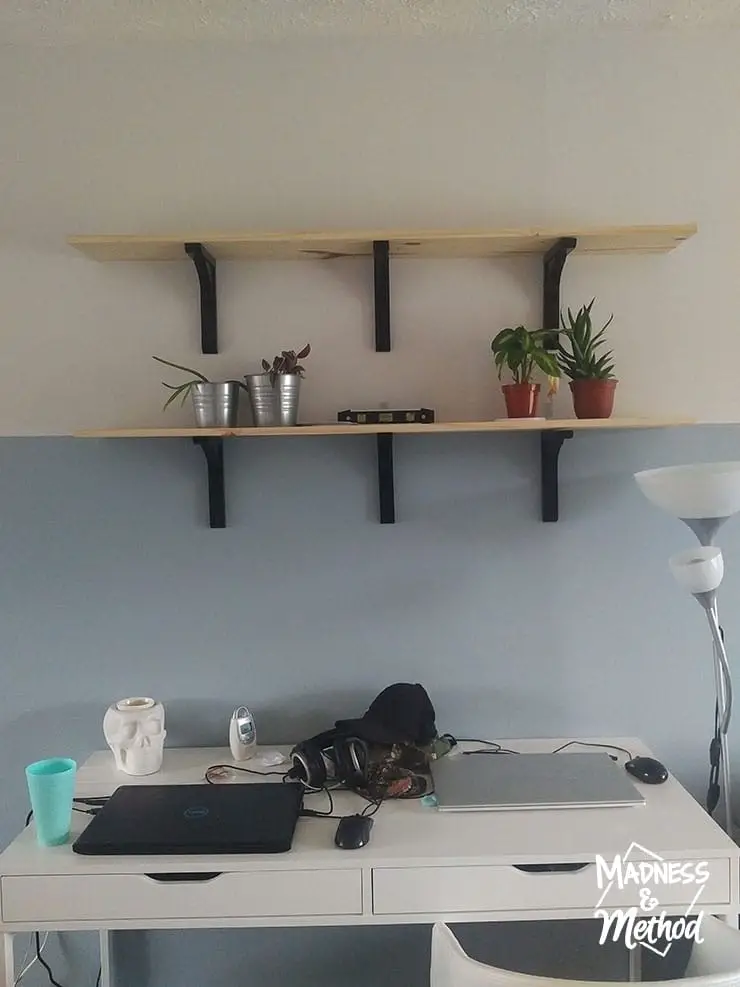
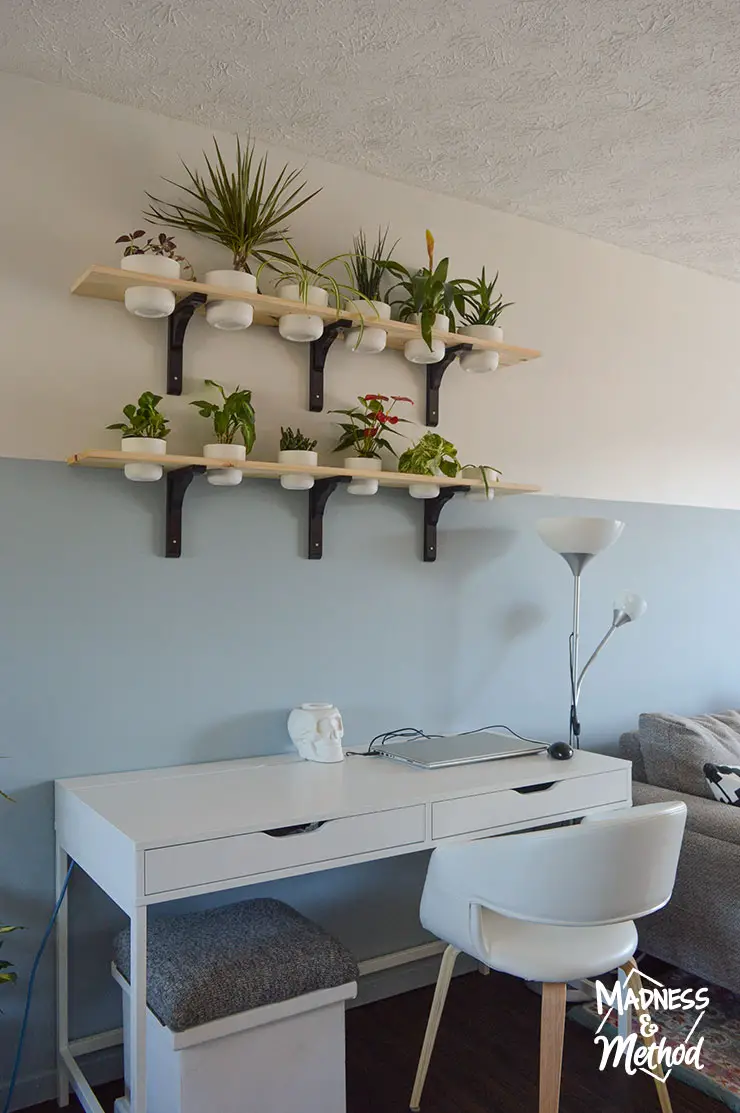
The second part of my office setup involved adding shelves above the desk. I needed a place to store all my plants now that there was no room for the shelf. But let’s be honest, they also needed to go somewhere out of reach from little hands.
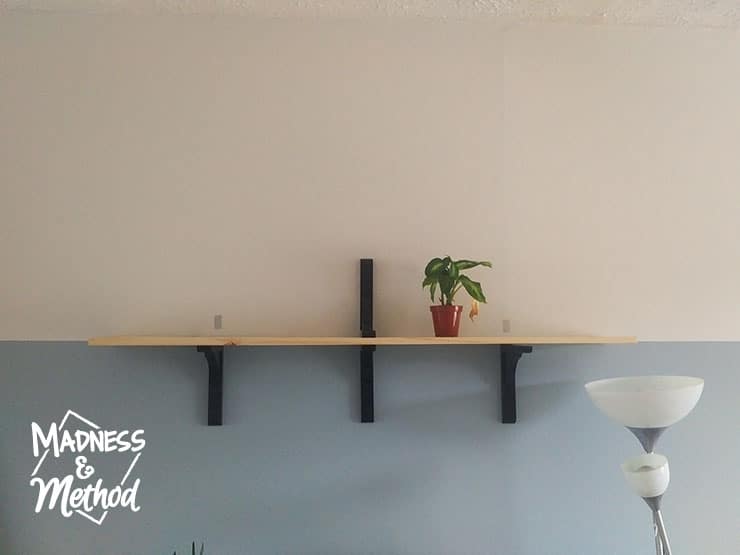
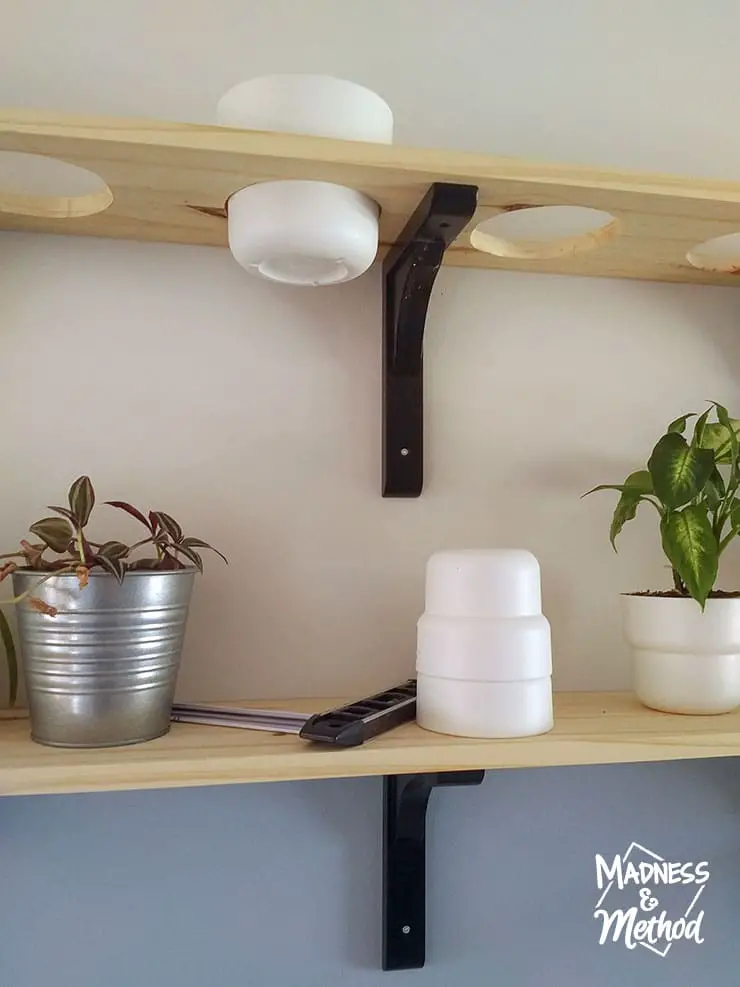
I marked the studs on the wall and decided that three would be the perfect amount of brackets. Luckily I had ordered 6 of these black brackets when I got the desk, and I knew they would fit my shelves perfectly.
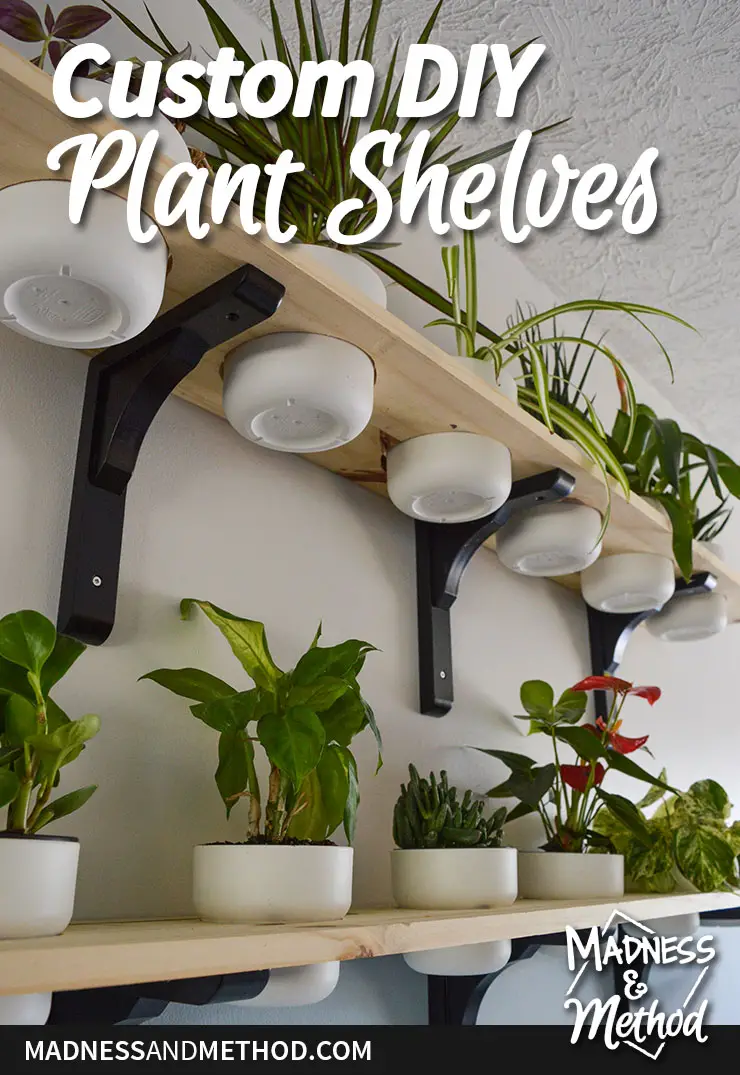
Using a piece of wood ripped in half (a shelving board we had leftover from our apartment), I had the idea to cut holes for little pots to sit in.
I did a poll in Instagram Stories (on whether the bottom shelf should be at the paint stripe, or below) and the popular vote won. To determine the height for the top shelf, I held a bracket in place and my (then tallest) plant. I also wanted to make sure I could easily reach it, so had the Husband hold it up to do a test. (FYI it’s 16.5″ taller, and the bottom shelf is around 60″).
The brackets and plant shelves were installed for a while before I drilled the holes. I was mostly getting this project done when I had a few moments (aka when most of the children were napping).
Build these Plant Shelves
- Pine shelving cut to size (ours are 7.5 x 53.5″) or these cheaper boards could work
- Ramshult Brackets
- Jigsaw OR 3-3/4″ hole saw and 4-3/4″ hole saw
- Tapered pots (I used the 12cm Förenlig and the 9cm Förenlig)
- Misc supplies: clamps, pencil, measuring tape, drill, screws, stud finder
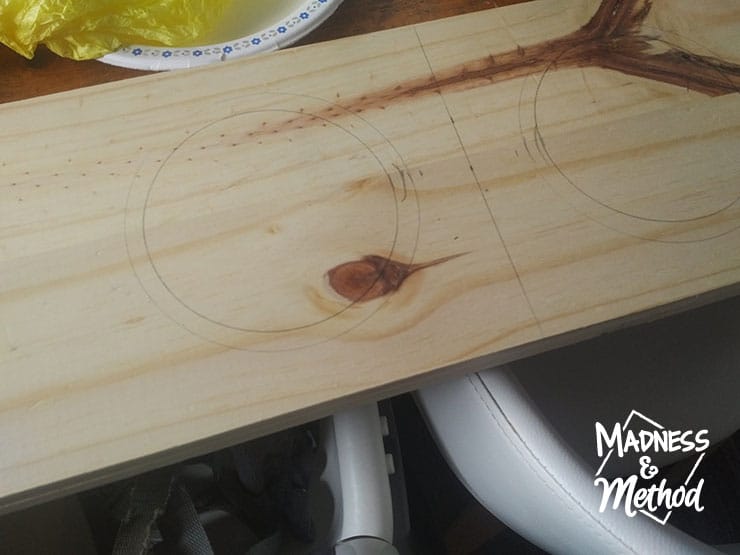
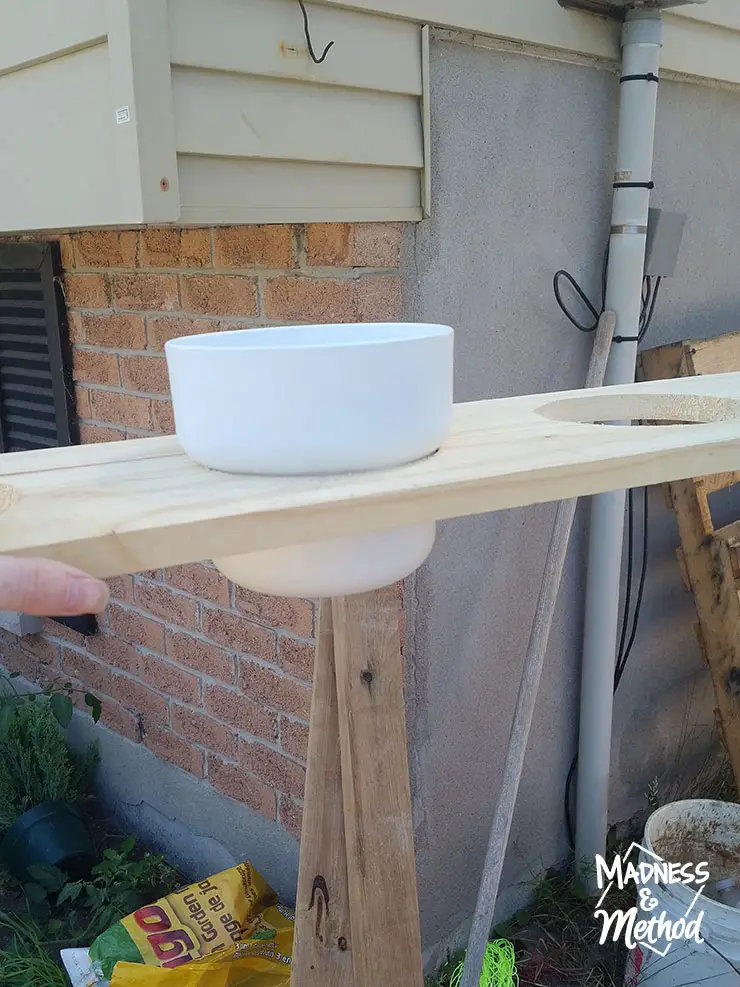
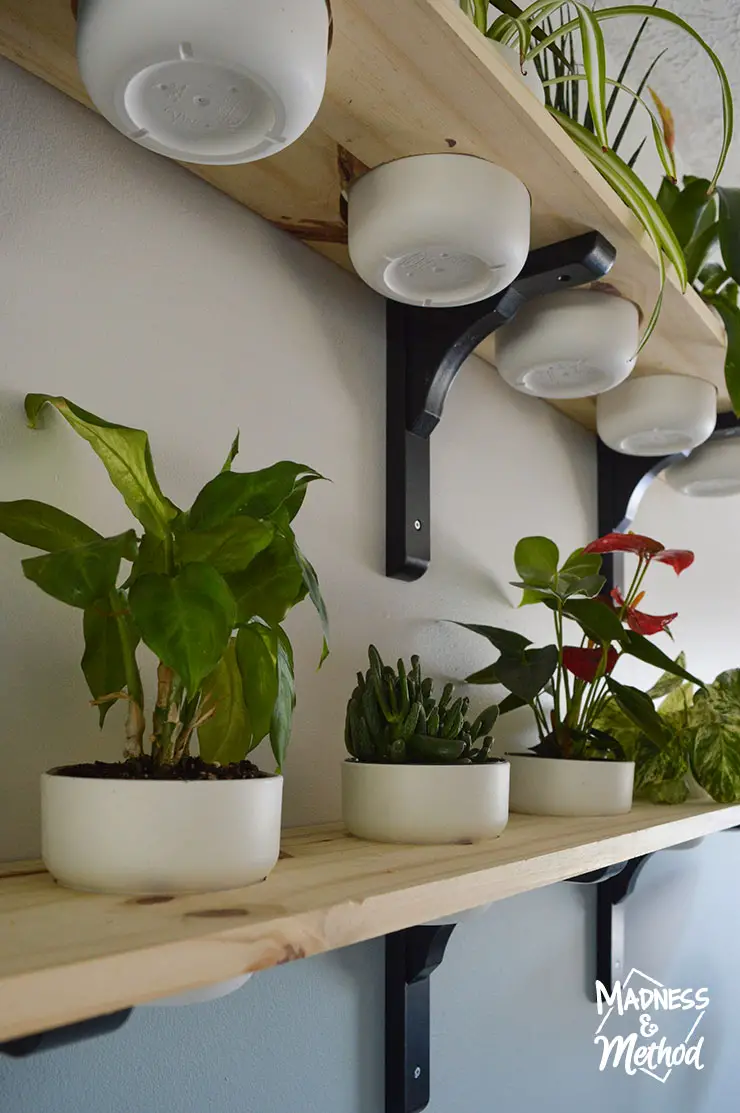
I was hoping to be able to find some hole saws that were the proper size to my pots. For the big pot (the 12cm Förenlig), I just traced out the max size (the top of the pot) and found a bowl that was the same size as the narrow part. I wanted each pot to be evenly spaced along the shelf (taking into consideration the brackets). It took a few attempts, but I finally figured out a nice spacing.
For the little pots (the 9cm Förenlig), I decided to continue the same spacing. I tried to get a few more in, but it didn’t line up nice with the brackets.
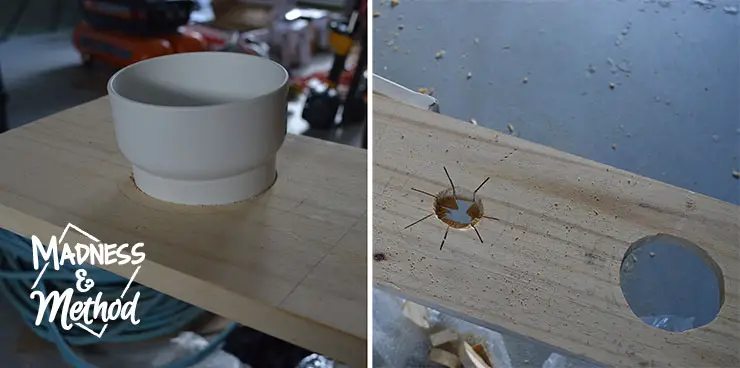
This time, I bought a 3.5″ hole saw BUT it was just slightly too small (see photo on left). There were no 3.75″ hole saws in-store, so I decided to use the jigsaw again. If you’ve ever drilled with a hole saw, you know that they are a pain. This time, I didn’t have a cup or anything to get the correct size, so I just traced out the max size, and tried to stay about 1/2″ within that.
The photo above shows the big pot in the hole, but essentially I was looking for it to fit nicely along the lip.
Filling the DIY Plant Shelves
Once I finally had everything drilled to size, it was time to install the shelves. And, then I could add my plants! (We stopped at Ikea this past weekend and I picked up some more pots and plants).
Before I left, I took an inventory of what I had, and what I needed to add (3 more big ones, 4 small ones). A few of my plants have died, but I didn’t think I needed that many more!
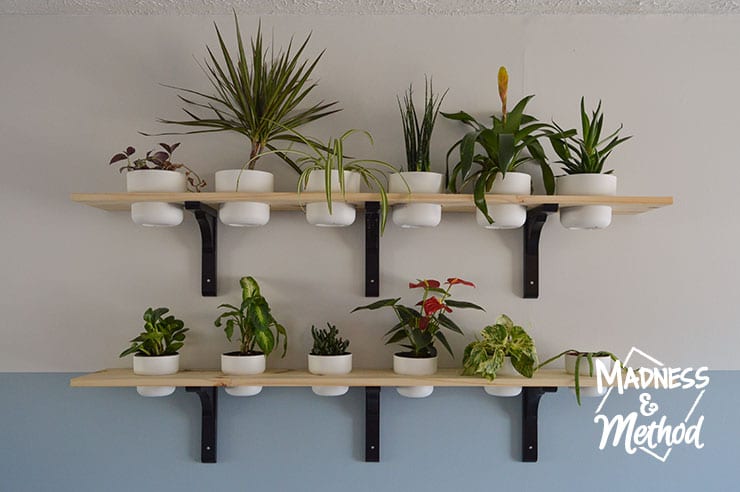
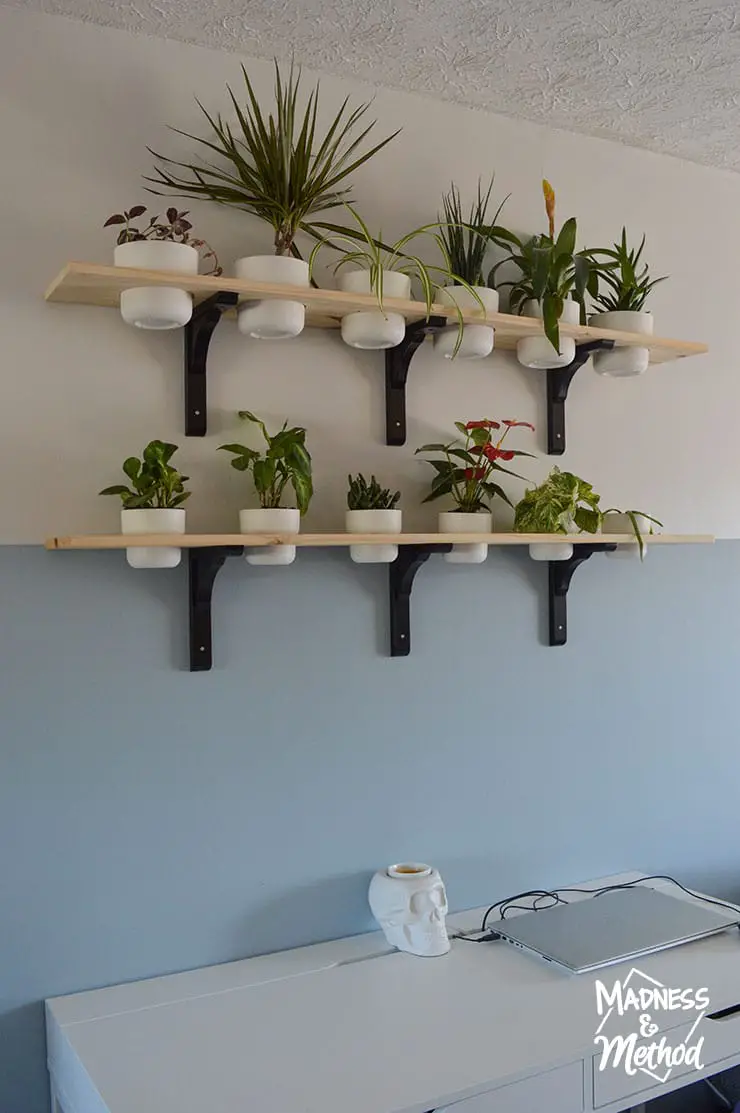
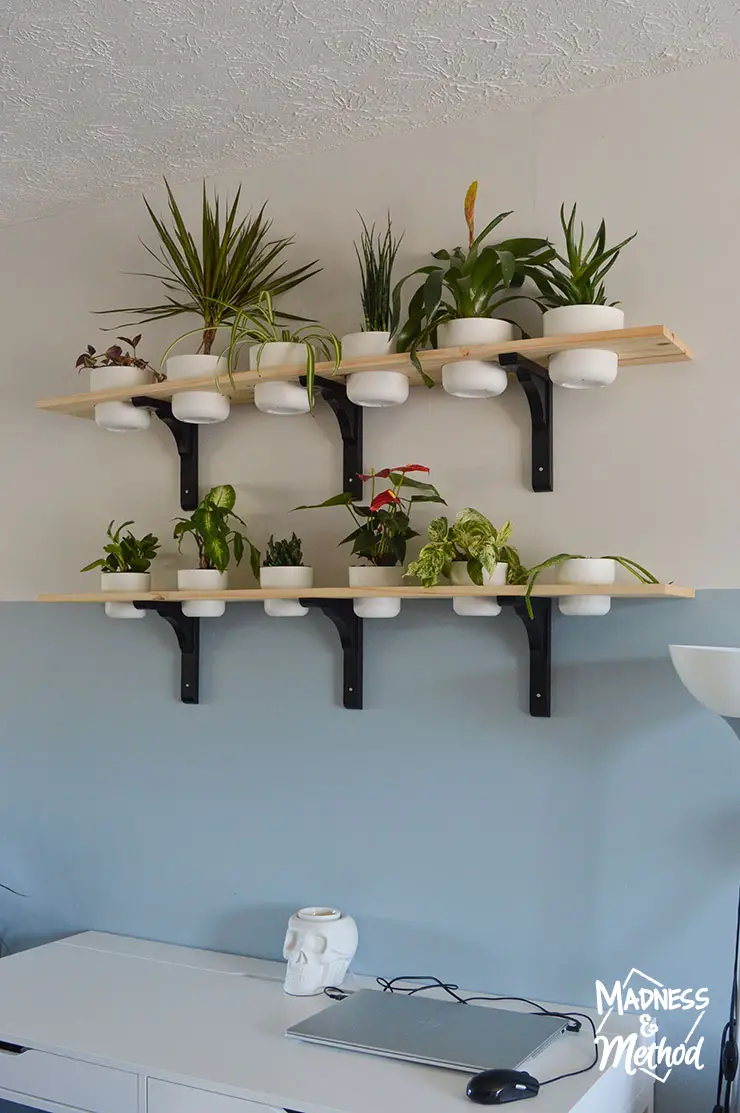
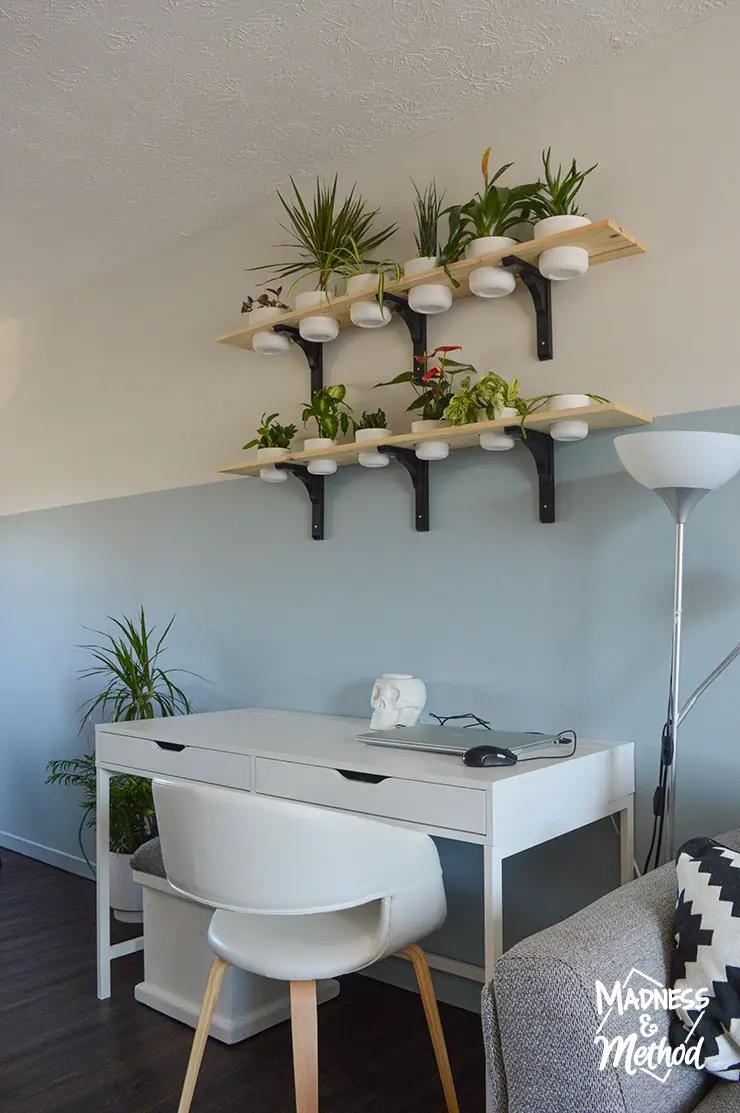
But the plant shelves (and office) is looking super cute, right? I may have also bought a few other (mostly) big plants this past weekend too…
Obviously I hope they all stay alive, but I’m realistic and know I might lose one or two. Then I’ll just have to try again :)
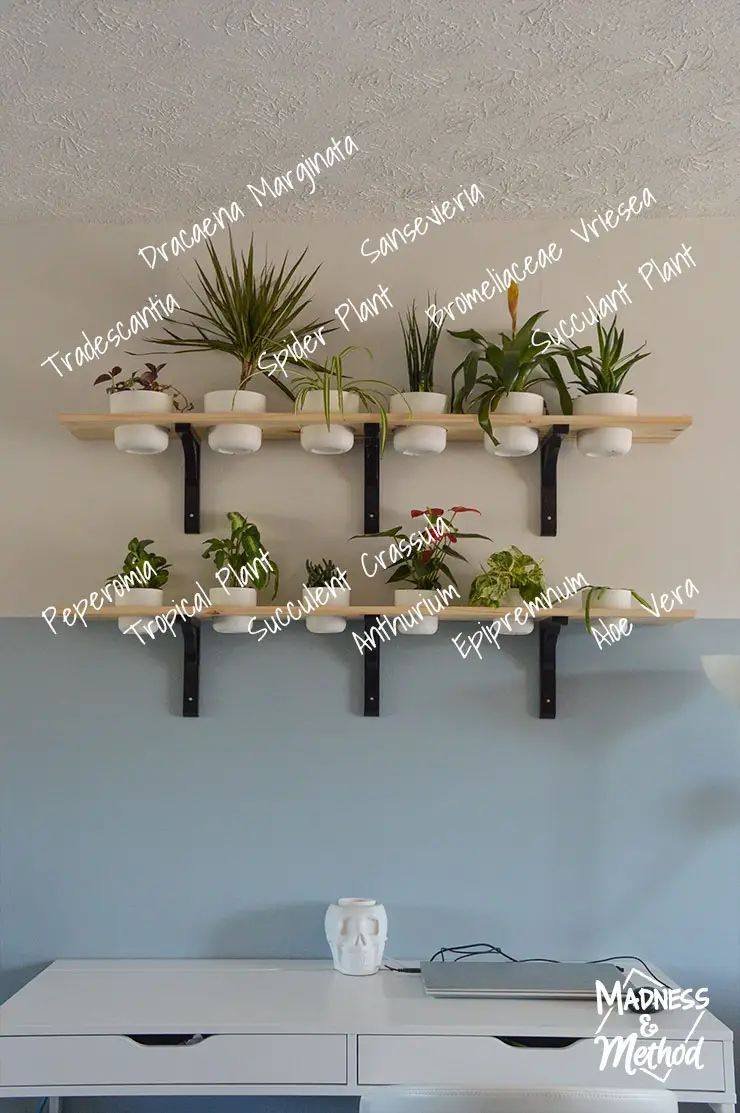
Here’s an overview of what we have:
All the plants with a “plant” at the end are the ones I had before (aka I don’t know the proper names). And the sad Aloe Vera, I’ve had that one for a long time and it’s always been droopy. I’ve normally not had any luck with succulents EXCEPT for that succulant on the top right. It was a tiny little plant for years. I transplanted it into a bigger pot once, and then it’s been growing ever since.
I’ve since repotted it 2 more times, and it’s one of the only ones that’s properly planted in the pots here. The others are just sitting in their original pots. That way, I can water them without fear of overwatering (since I didn’t add drainage holes).
New Office
That’s a pretty good before and after right? The larger desk also accomodates the storage ottoman I madeover a while ago. It was my desk chair before I got the new dining chairs. I also used the striped ottoman for the longest time too (but that’s a better sidetable).
The Husband said my plant shelves DIY turned out pretty cute (although he had a lot of complaints during the build). I’m excited for the kids to see the shelves when they get back (they’re visiting the grandparents now!).
And, with all the people working from home, and the discussion on making offices both functional and pretty, these plant shelves fit the bill! (See this podcast for what I mean). Although, my intention wasn’t to make my video conferencing view better (I face the other way!).
What do you think about the plant shelves DIY? If you followed on Instagram Stories, is this what you pictured? While I did consider just having the plants on the shelf (more variety of pots/shapes), I really like the consistent look and spacing.
And, it’s a lot more secure to have them sitting in their little holes. Especially considering that these are right above our computers. They’re out of the way from the children AND will not tip over if they get knocked (or grow too big).
For watering, I can easily lift them out of the holes (and then out of the pots). That way it guarantees that water won’t spill on our desk/computers, and they shouldn’t sit in water for a long time.
Oh, and I left the shelves unfinished because I wasn’t sure of our future design plans. Eventually, I could stain them to match our wood wall (in the living room) OR will stain/paint everything the same colour when we redo the kitchen.
I’ll keep you posted :)




No Comments